In this video, we learn how to make a u-turn on a motorcycle. You must be able to complete a u-turn without putting your foot down. Depending on the size of your motorcycle, you will need 20-24 feet to do this properly. The most common mistake is oversteering and putting your foot down. Keep the clutch in the friction zone, drag the rear bike the stabilize the bike, add throttle if needed, and shift your weight. Keep your head up and make sure you are looking all the way through the u-turn. D...

In this tutorial, we learn how to draw hands in the anime style. When you are drawing hands, they have a square look to them. So, start out with that shape and then start to draw the fingers onto the hand. Indicate where the joints will be and then you can further elaborate with the fingers. Make sure you make the fingers the correct sizes. The pinkie should be away from the wrist, as well as the thumb. Use a line to help center all of the fingers and then draw them around this. When finished...
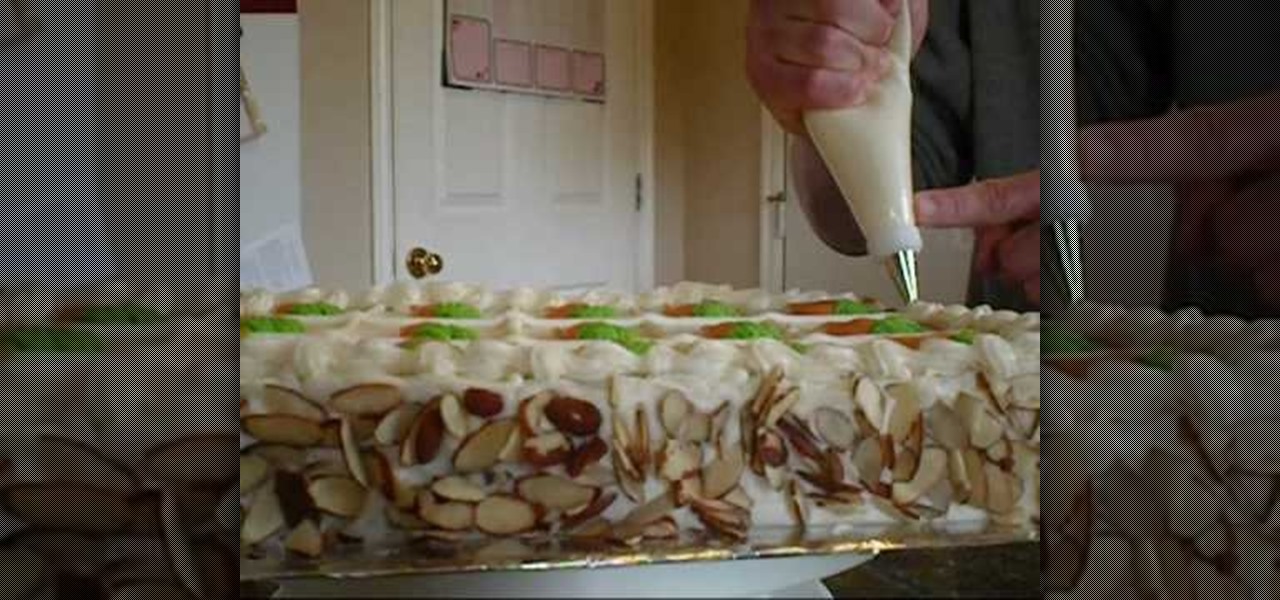
In this tutorial, we learn how to decorate a carrot cake. First, apply icing all over the top and the sides of the cake. After this, apply sliced pecans to the side of the cake using your hands to press them on. After this, use your icing to create squares in the cake to make equal size pieces. Then, use orange and green icing to create carrot shapes on all of the individual squares. Once you're finished making the carrots, you will be ready to cut this up and serve. If you want more icing, y...
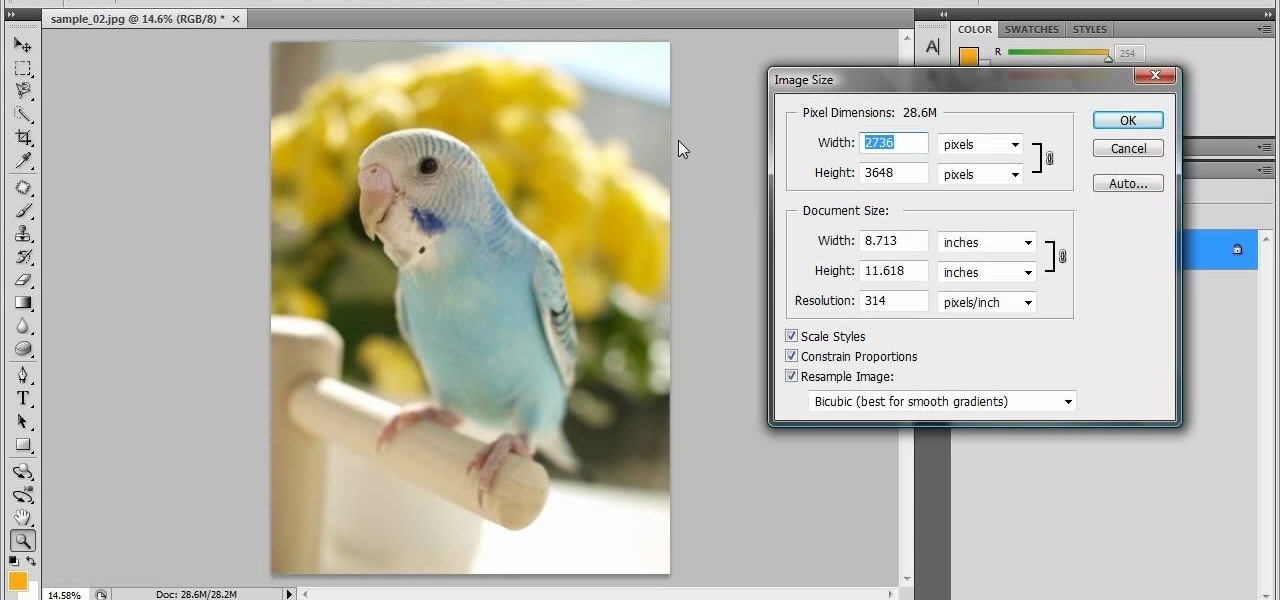
In this tutorial, we learn how to resize photos in Photoshop CS4. First, open up Photoshop and then open up your picture. The quality of your picture will effect the outcome of what it looks like when you resize, so use a high resolution picture for the best outcome. Now, go to image and then image size. From here you will change the width and height to what you need it to be. Then, you will need to click on the boxes at the bottom, click on all of them. When finished, you will save this and ...

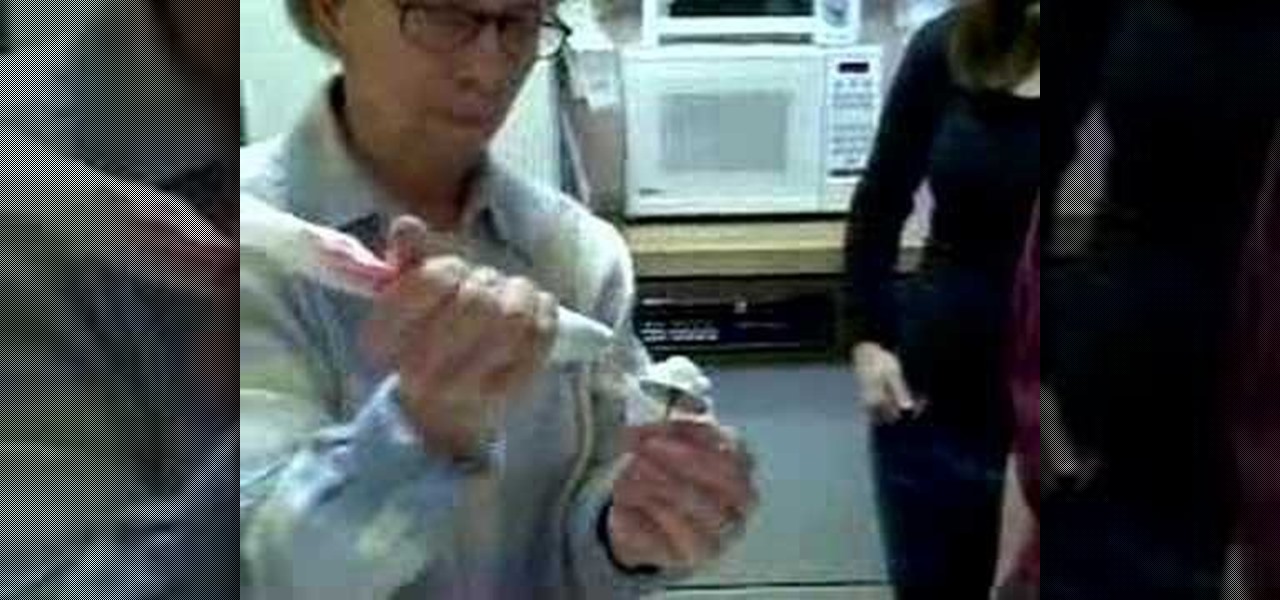
In this tutorial we learn how to cheat on a test using a Band-Aid. First, go on your computer and type out the answers and information that you need. After this, you will need to shrink down the size of the font until it's really tiny, but you can still read it. After this, you will print it out and cut it out around the edges. From here you can do one of two things. The first option is to roll the paper up and put it inside your pen and then take it out to use on your test. The second way is...
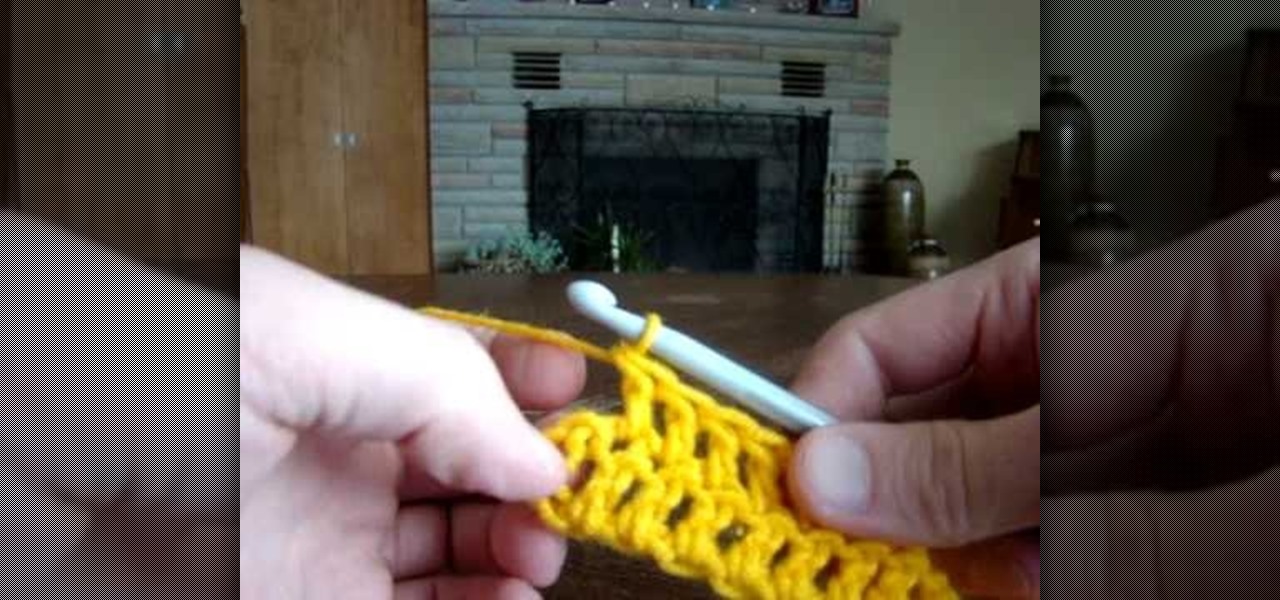
In this tutorial, we learn how to make a standard blanket from crocheting. First, you will start your crochet by positioning the material into your hand. Then, you will need to tuck in between your ring and middle finger and around the others. The fingers will control the tension in the string. Now, start the first stitch by rotating the string around the finger. Then, grab the back one and pull it over the front. Use your finger to pus up and then you have your first stitch. put it on your h...

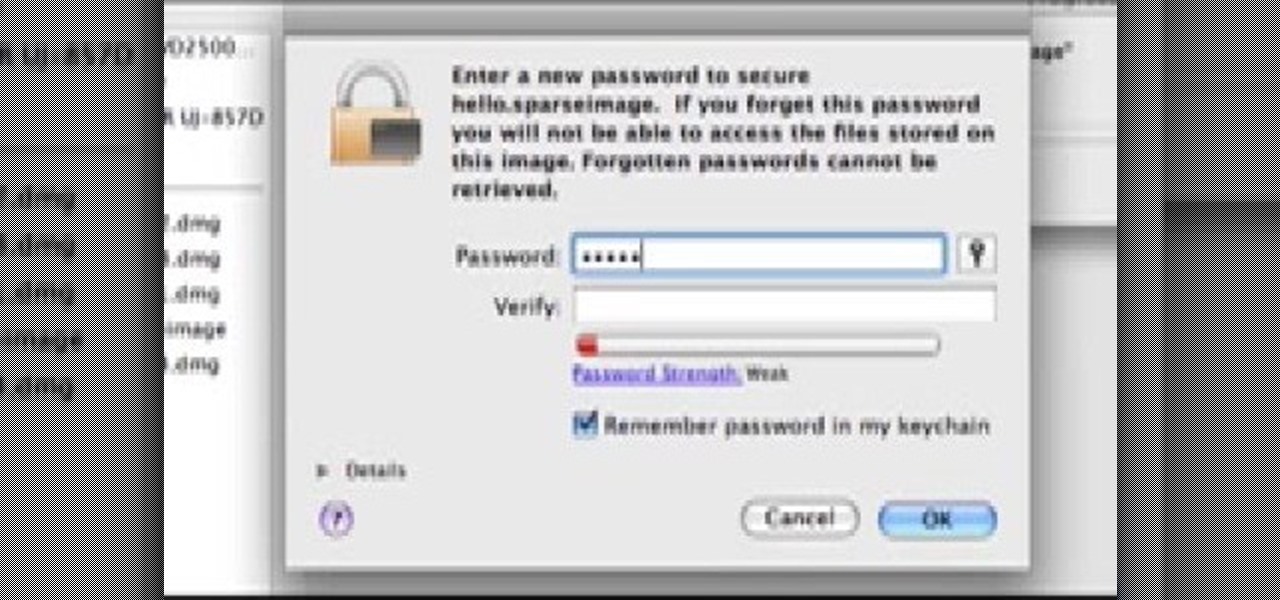
In this tutorial, we learn how to password protect your folders on a Mac computer. First, use the spotlight tool to type in "disk" and then click on disk utility on the drop down menu. From here, go to the save as menu and enter in the name for the volume. After this, change the size of the desktop and change the encryption choice. Use the one that is recommended and then click on 'ok'. Form here you will be asked for a password, then you will need to verify that password. From here, click on...

In this video, we learn how to cook perfect broccoli. When making broccoli, you want something that is not mushy but not hard and bright green. First, you will need to cut the florets so they are all the same size. From here, boil some water with lots of salt in it. After this, you will put the broccoli into the pot. Let this cook for exactly three minutes. After this, take the vegetable out using a filter so the water drips off. Then, put it into ice cold water so it stops cooking. From here...

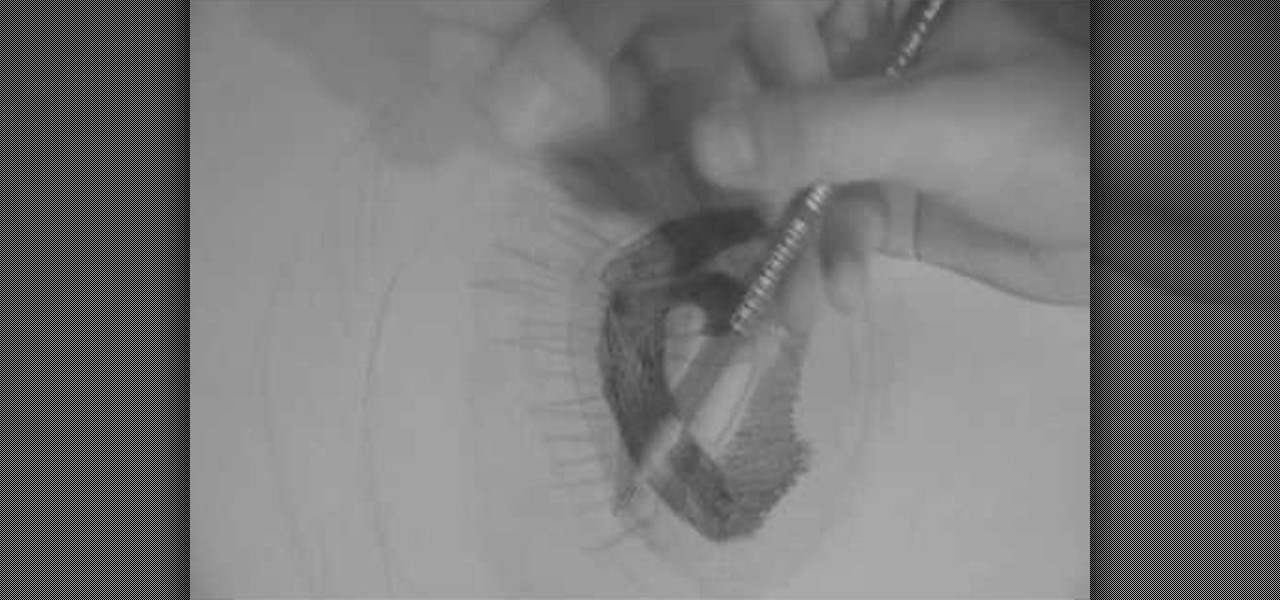
In this video we learn how to draw hands without references. First, draw the basic structure of the hand using a photo to make sure it's true to size. After this, draw on boxes and circles to create the wrist, hand, and the knuckles. Then, you will draw on straight lines for the bones in the thumb. After this, start to add details of the fingers and make out their basic shape. As you continue with details, erase any background lines and start to add lines in for wrinkles on the skin. Finish t...

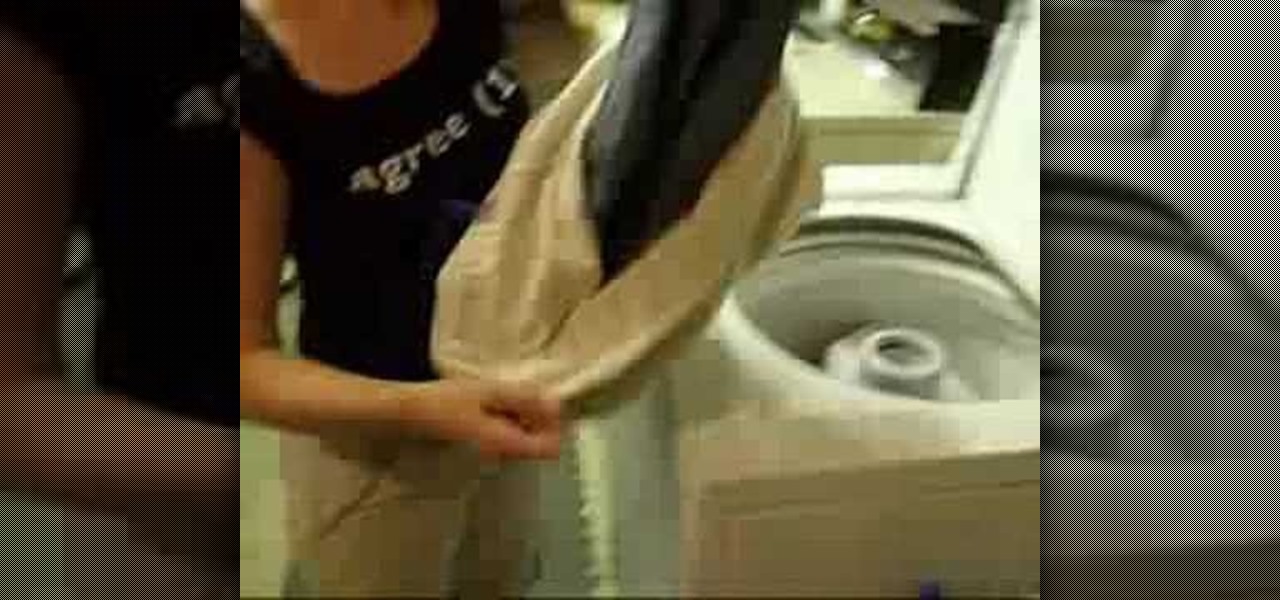
In this tutorial, we learn how to do laundry at home. To start, you will need to set your washer to the right settings. Go with the one that works the best for you and the size/color of laundry you're going to do. Turn off the extra rinse you're doing and turn on the cold rinse because it will save you hot water. From here, pour in your soap and place your clothes in. Then, turn it on by pulling the button. Once your clothes are finished washing, put them in the dryer. Then, clean the lint tr...

In this video, we learn how to resize an image in MS Paint without losing resolution. First, you will go to the file menu and then open. From here, open up the photo you want to resize. After this, go the 'image' section on the toolbar and then click 'stretch and skew'. From here, change the vertical and horizontal stretches until you have the size of picture that you want! Continue to play with it until it's right and then save this over again. This should only take a few minutes and will ke...

In this tutorial, we learn how to fit a dry lining back box. This is very easy to install, and the sides will grip the wires on your light. First, determine where you want your switch, then mark a quick line using a sturdy level. Next, you will cut out a hole in the wall the size of the box. After this, push the box into the wall. Then, you can add in the light switch to the box and secure it with the wires that are inside. This will finish up this project, just make sure the wires are place ...

In this video, we learn how to gauge your ears by yourself. First, you will have to buy the next size up for your jewelry. Also make sure it has a spike on the end of it. This will help the jewelry go through easier. All you need to do now is get some antiseptic solution and pour it on the new jewelry. From here, lube up your ear hole with it as well and then push the gauge through the ear. After it's through, you will need to secure it into place. When finished, your ear will stretch out and...

In this video, we learn how to build a nest box and ladder for a chicken coop. Start off by creating the box with several pieces of 2x4's. Measure each piece individually, then screw them into place. Make sure it's the size that you want it and that it's secure and lays flat on the ground. Once finished, you will bend some metal and place it on the sides of the coup and then fasten the hinges so they are free swinging. Then, pull in a few more piece and you will have created the nest box insi...

In this video, we learn how to make a cake American beauty rose. First, place your icing into a plastic bag and then place the tip inside of it. From here, you will twist the surface where you are putting your rose and let the icing roll into a round shape. After this, make additional rows of petals until you have the size of flower that you want to create. When finished, you will have a gorgeous rose on your cake or cupcakes! Add in green icing to make leaves on the side of the flower and yo...

In this tutorial, we learn how to cheat on a test wearing a long sleeved shirt. First, you will need to take a white piece of printer paper and see how large you can cut it so it fits comfortably in your hand without being seen. After this, cut the paper to the size you want it. Then, write out the information that you need onto the piece of paper. From here, you can place the paper inside of your long sleeve, with the answers facing up. Then when you need it, simply pull it out from your sle...

In this tutorial, we learn how to use foam to make diorama terrain. Foam will make a realistic diorama because it comes in so many different shapes and sizes. You can buy this from hobby shops and even online. To put these together, you will simply use some wood glue. You can easily cut this with a sharp knife, scissors, and anything else that is sharp! You can use a hot wire cutting tool to mold and sculpt the foam as well. You can also use a hot glue gun to connect the pieces of foam togeth...

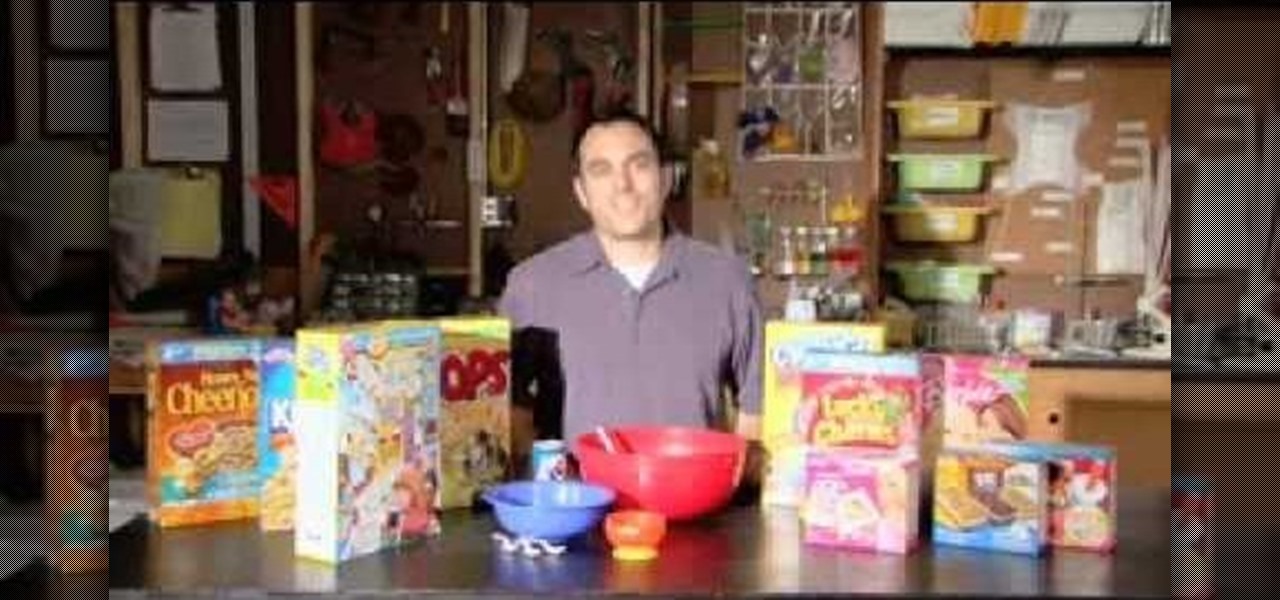
In this video, we learn how to make breakfast cereal for kids. First, you will need to buy an array of different cereals for your child to choose from. Pick out some that are healthy, but also tasty so the child will like them. Once your kid has picked out the one they want, get a large bowl. Pour the cereal into the bowl until it's filled up with a serving size. From here, you will grab your choice of milk and pour it onto the cereal in the bowl. When you have enough milk in the bowl, stick ...

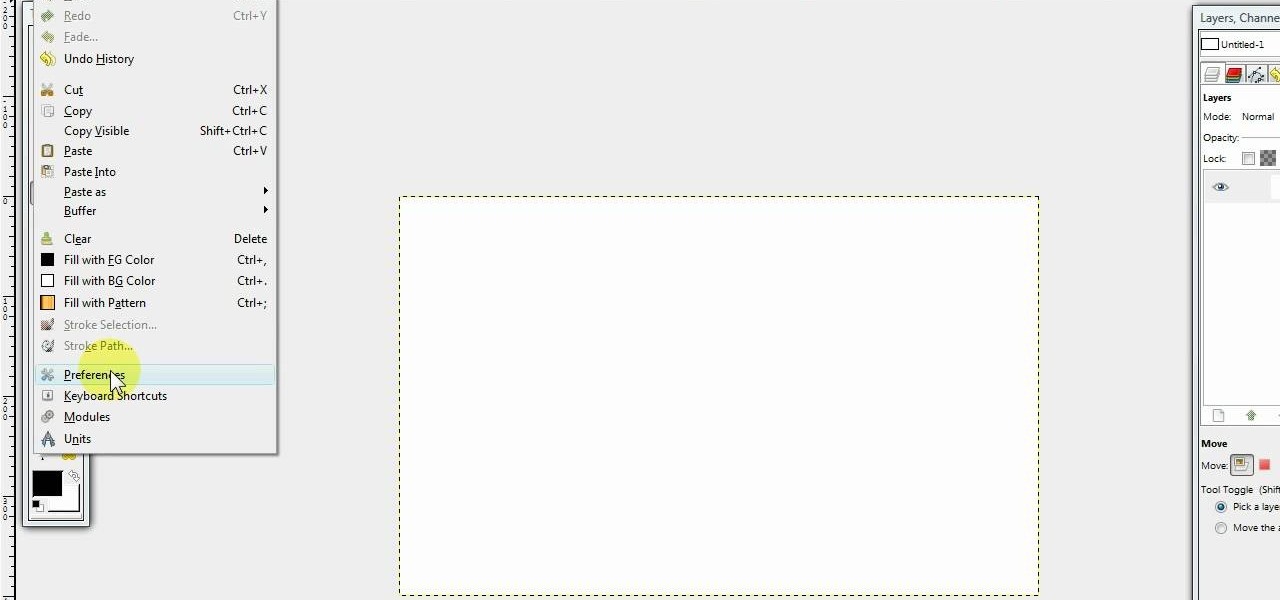
In this video we learn how to create a Photoshop layout in GIMP. First, open up GIMP and then add a new tab. From here, you will open up the brushes tab and choose the brush that you want. After this, create the template size that you want for your page. Then, open up the preferences section and choose what you would like. Then, show the layer boundary on the page and fill it in with the color of your choice. Create toolboxes and add in the text that you would like. Use preferences whenever y...

In this tutorial, we learn how to create amazing 3D text in GIMP. First, start a new image with the width and height that you want. From here, select the text editor and then type in your text. After this, change the font to what you want and then change the size and color as well. From here, you will duplicate the layer and then go to layer, and then filter. Select the map button and then map the object. Select the text and then show the preview to make sure it's what you want. Change the or...

In this tutorial, we learn how to create text in GIMP. To start, create a new image with the width and height at 600 each. Then, click the text box button and choose a font, font size, and other options open on the window. After this, create the box and for the text and type what you would like into the boxes. Set in the distance you would like on the inner shadow and then choose if you want the edges to blend. Make these fade out and then choose to repeat the inner shadow. When finished, sav...

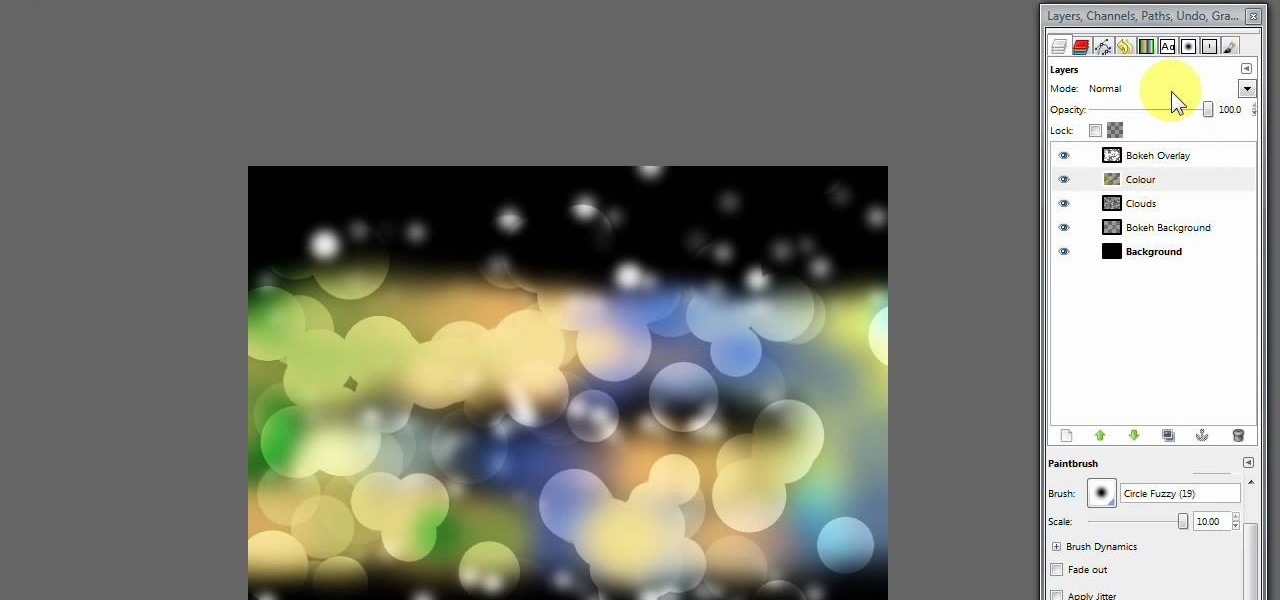
In this video, we learn how to create a modern bokeh effect in GIMP. First, start a new image and then change it to the size that you want. From here, click on the paint can and then fill your box up with a color. Then, create a new layer and name it "bokeh background". Click on this layer and then use the paintbrush tool to paint a small brush with color onto it. Start to paint on small dots and you will see that there are small tiny star like dots that start to appear. Then, fade these out ...

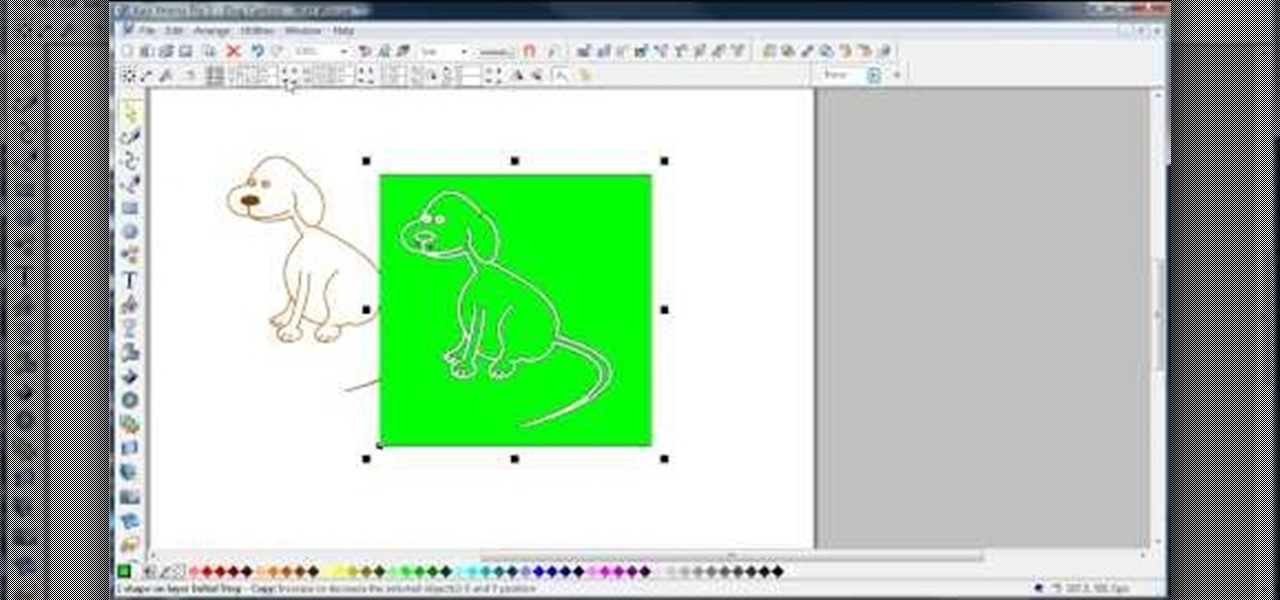
In this video, we learn how to join lines in Xara Xtreme. All the lines in this are independent, but they can be joined together to make an object. First, open up the object gallery and then duplicate the layer. After this, copy the image and increase the line size by four pixels. Then, go to "arrange" and "combine shapes". From here, the shapes will all combine together to make one total image. Make a rectangle around this and then select "subtract shapes". Combine the layers to finish, then...

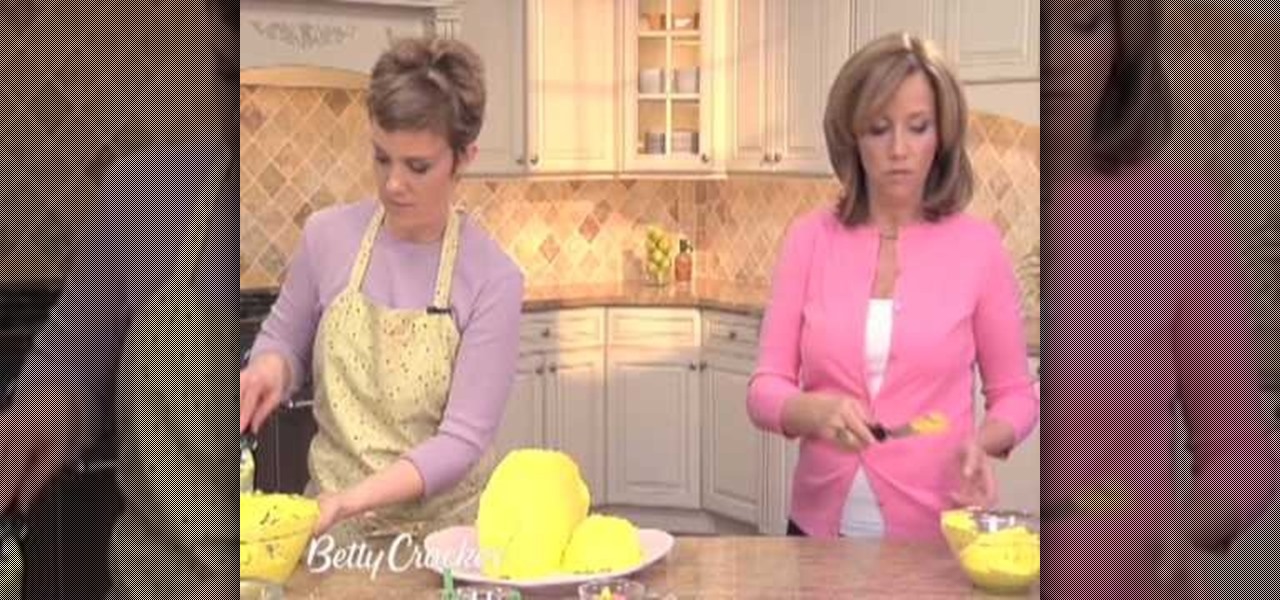
In this tutorial, we learn how to make a birthday cake in the shape of a purse. First, bake two round cakes and place them in the fridge. After this, cut off the edge of both the cakes that are the same size. Then, take some frosting and spread it onto the cake to adhere both together. Now, push the cakes together and have them stand up straight. Use the other pieces to make a mini cake and frost both cakes all over. Then, smooth out the frosting all over the surface. Now you can start to dec...

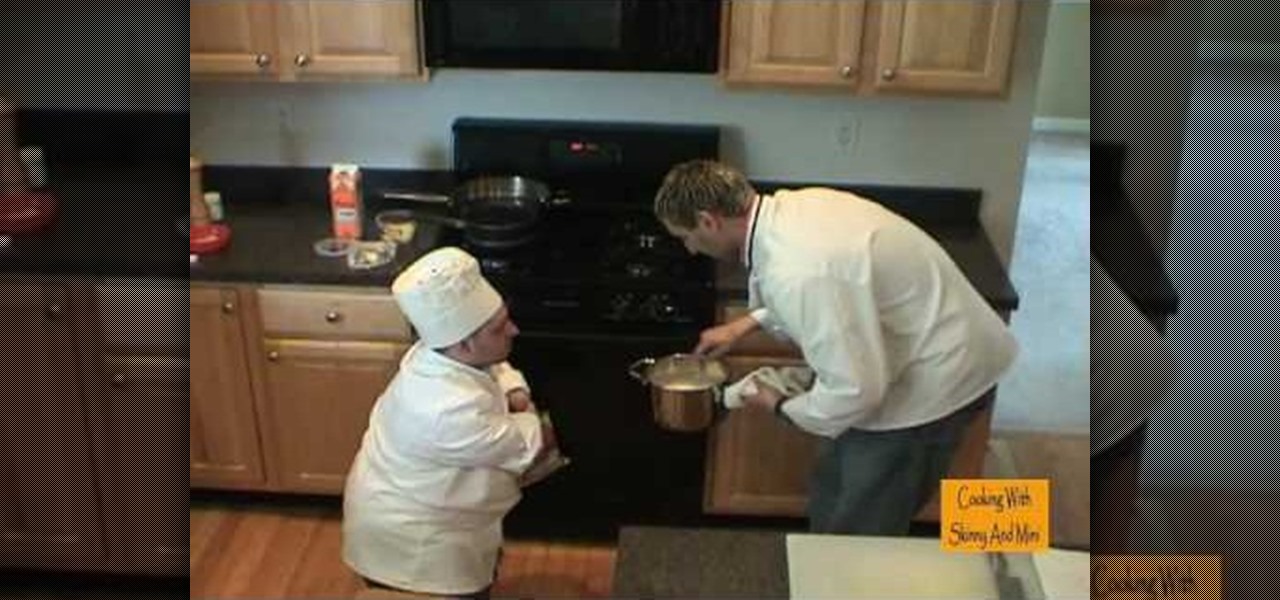
In this tutorial, Skinny and Mini teach us how to make a chicken alfredo bread bowl. First, melt a couple tablespoons of butter in a large pan and then add in some crushed garlic. Once you have let this saute, you will add in some heavy cream, as much as you would like depending on how much alfredo you are making. Once this is hot, you will add in fresh and grated mozzarella cheese and whisk together quickly. Then, add in parmesan cheese along with parsley, salt, and pepper to taste. Add as m...

In this tutorial, we learn how to make your own high waisted skirt. First, you will need to sew the skirt on the sides. After this, you will need to cut some additional fabric that is the same color. Then, you will need to sew the waist of the skirt onto the skirt on the top. Once you have sewed this so there are no frays on the side or on the top, you can wear it! Make sure the fabric is all the same size all the way around. When finished, enjoy wearing this with a simple tank top or dress s...

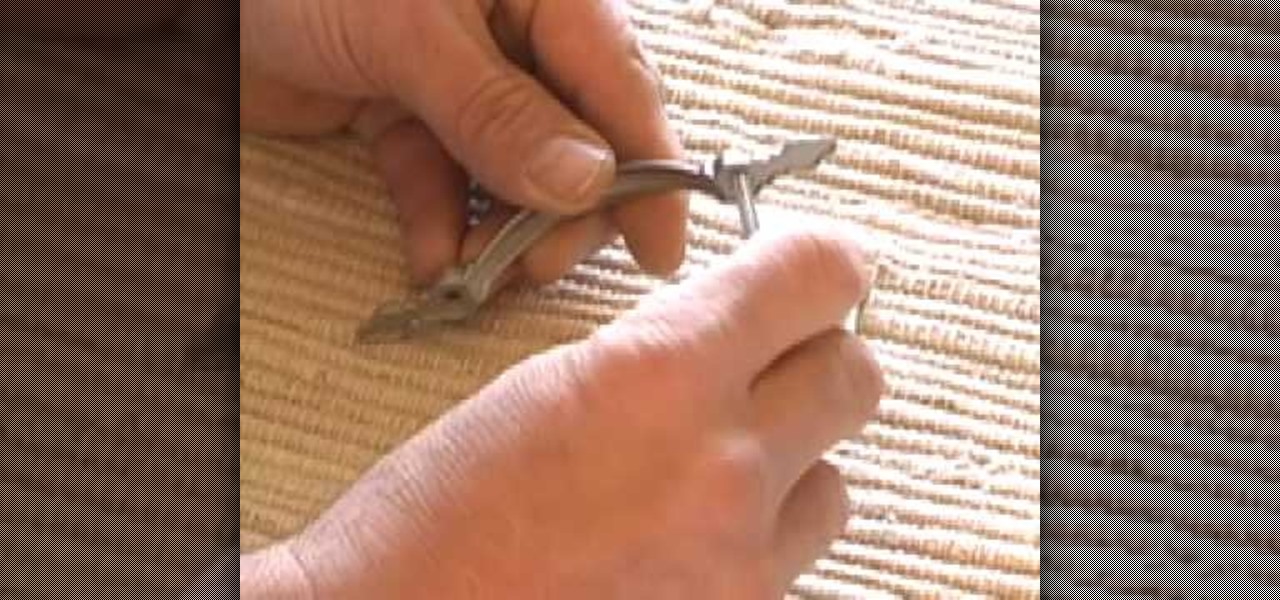
Bob Schmidt teaches us how to install cabinet knobs, handles & pulls in this video. You can easily spruce up a new cabinet or door my just changing out the handles or knobs. First, always take off your hardware and take it with you to the hardware store so you can grab a similar one to fit the right size. Once you find the right handles and screws you will be ready to install the new handles. Place the screw into the appropriate holes on the handles. After this, twist the screws into the hole...

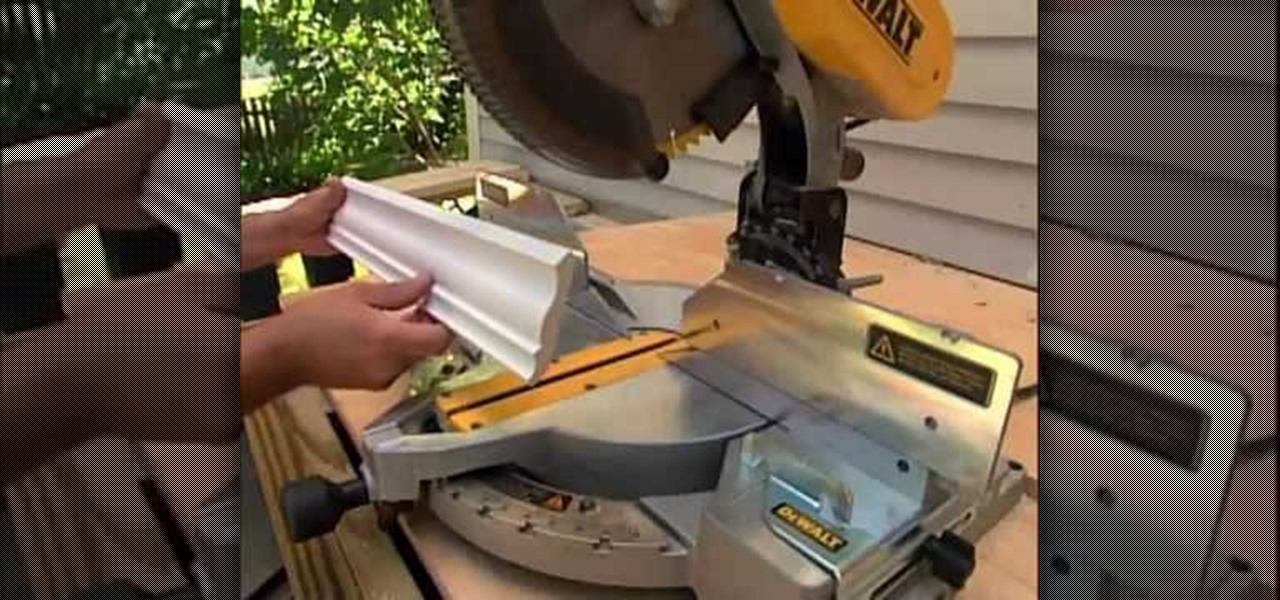
In this tutorial, we learn how to install crown molding to your room. First, choose the right size and style of molding for the room, then measure your room to find out how much you need. After this, you will need to buy a saw to cut the molding when you're ready to install. After you have the pieces cut, you will need to place these against the wall and then nail them in with a nail gun. Secure the molding to the joints in the ceiling and to the studs in the wall. To finish, putty the holes ...

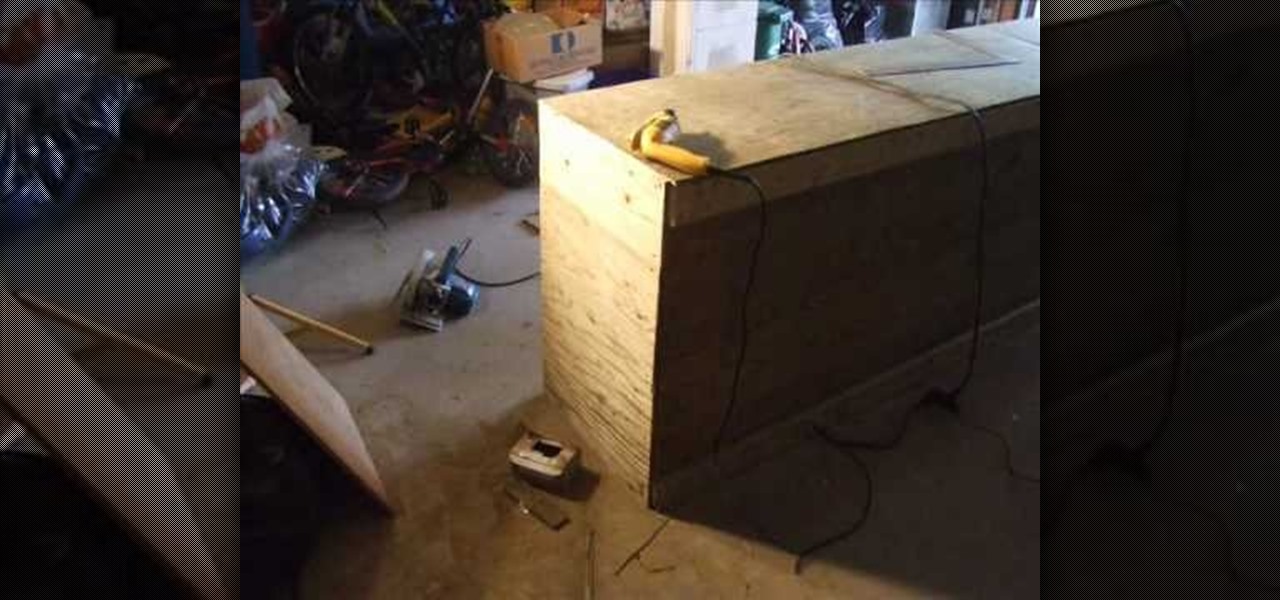
In this video we learn how to build a snowboard box. First, decide on a size for your box and write out the dimensions. Then, buy your frame for the box and follow the structure of the box with it having four sides. After you have built the frame, put on the wood to complete the sides and make the box enclosed. Use screws placed into the frame to make sure it's completely secure. You may also want to install handles so this is easier to handle. Once you're finished with your box you can paint...

In this video, we learn how to create a bucket drum or protest art. To start, you will grab a large plastic bucket and you will apply take all around the sides of it so it's wrapped up. The tape should be intersecting at the opening of the top of it. Then, use a tie to connect this in with the tape and then size it so it fits around your waist. From here, you will tie the bucket to your waist and then use sticks to beat your new drum. You can stick the sticks to the side where the tape is to ...

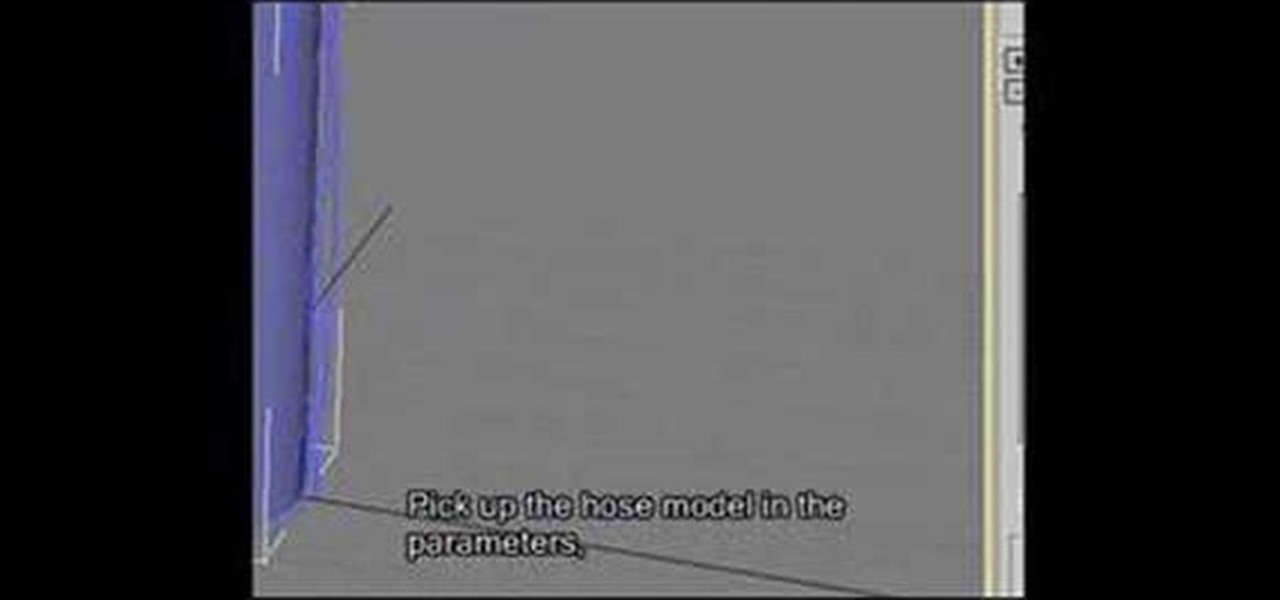
In this video, we learn how to apply normal maps in 3D Studio Max. First, go to the cylinder button and name it. Then, change the radius and height how you would like them. After this, select "extended primitives" from the drop down menu on the top. From here, enter in the diameter and sides for the round hose and then select the diameter of the cylinder. This will create a cylinder but with the look of a hose instead. Use the bottom toolbar to edit the sizes of the map and then save this whe...

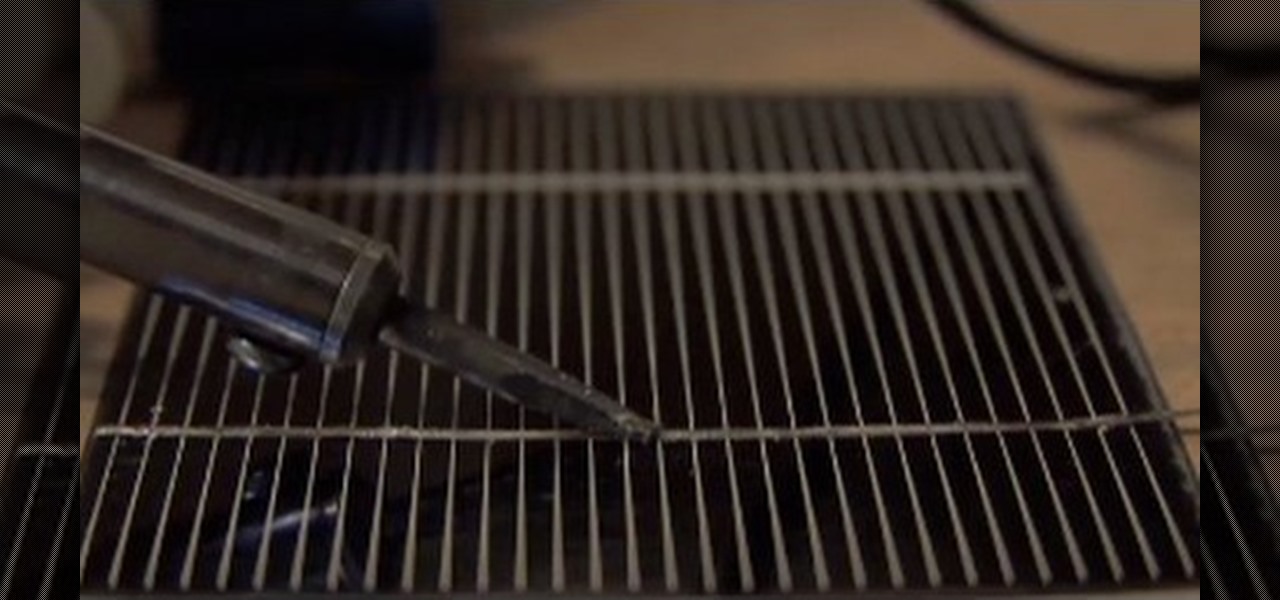
In this video, we learn how to make your own solar panel.The amorphous solar glass is the cheapest but it's also the least efficient. You can do anything you want with these and they are durable. The hexagon cells are the most efficient and most expensive as well. The poly crystalline is almost 2 watts a piece and can be purchase in lots of any size. You have to tab these cells together and they are extremely fragile. Be careful when you work with these. To make these, you will solder tabbing...

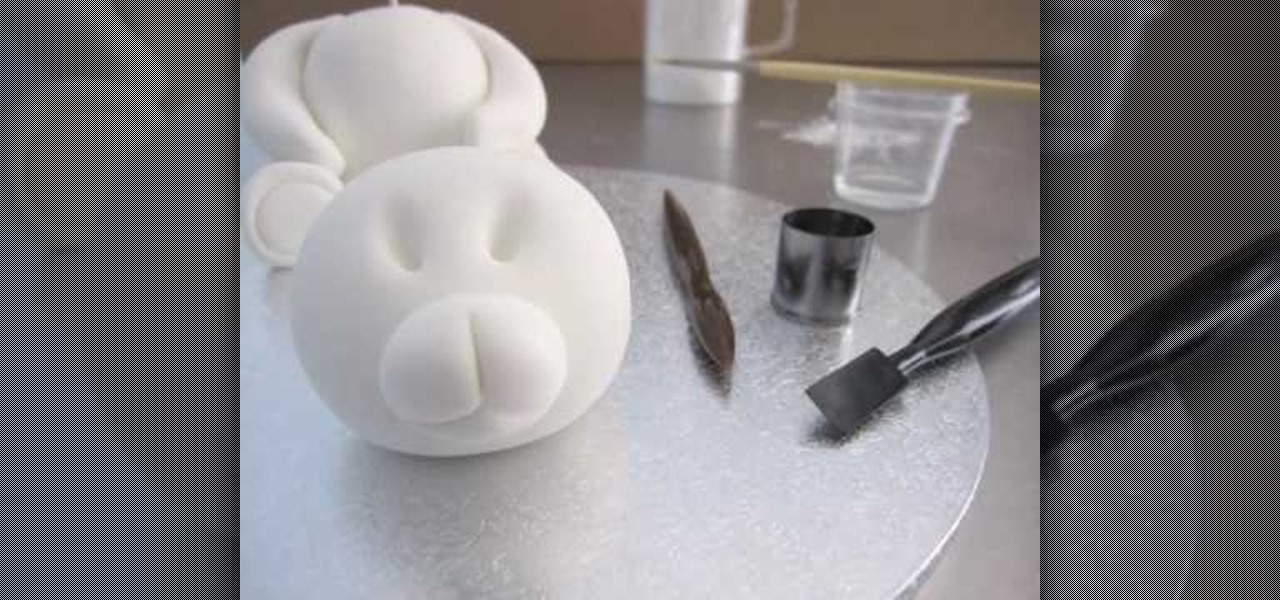
This little bear will look irresistably adorable wherever you happen to place him. Whether he's on a children's birthday cake or he's miniaturized for cupcakes, the fuzzy white bear will charm all.

In this video, we learn how to ink and color in Photoshop. First, you will want your background and sketch in two layers. Make a new layer which will be the layer you ink your art on. Move the opacity down on this, then zoom in and start inking your art. Use a normal brush in whatever size will fit your art the best. Take your time, then start a new layer when finished. Color the areas of the picture, then when you join these layers together, you will have an entire drawing finished. Make sur...

In this tutorial, we learn how to start a drawing with an outline. For your outline, you can use a grid system which will make your drawing easier and more precise. It will also make positioning a lot easier so everything is proportioned. From here, you can start to draw in the outline of what you are drawing. You can make your own grid by using a ruler if you would like to. Once you have finished the outline for your drawing, you can start to add in details using the grids as well. This will...

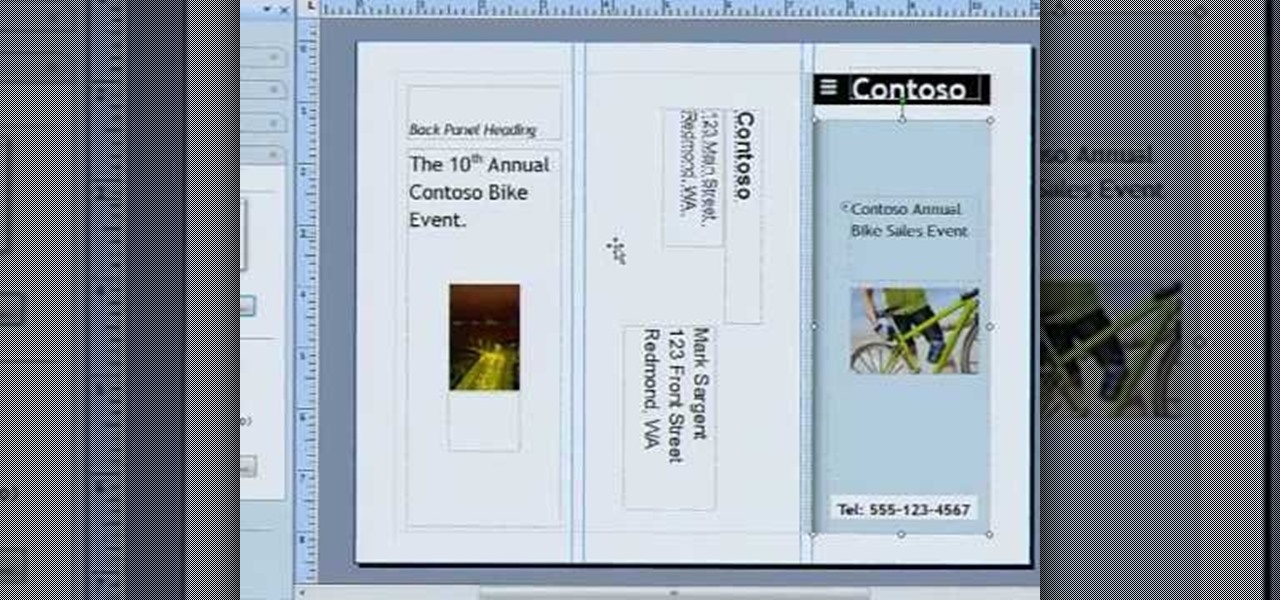
In this video, we learn how to create a brochure with Microsoft Publisher 2007. A brochure says a lot about your business, and you can make them yourself easily! Find the brochure templates first in the program. Choose a design and a color scheme along with the page size, font, and information you want to include. Once you do this, add in pictures and images to your template after clicking "create". Then, you can create a range of publications that adapt to different form functions. Click the...

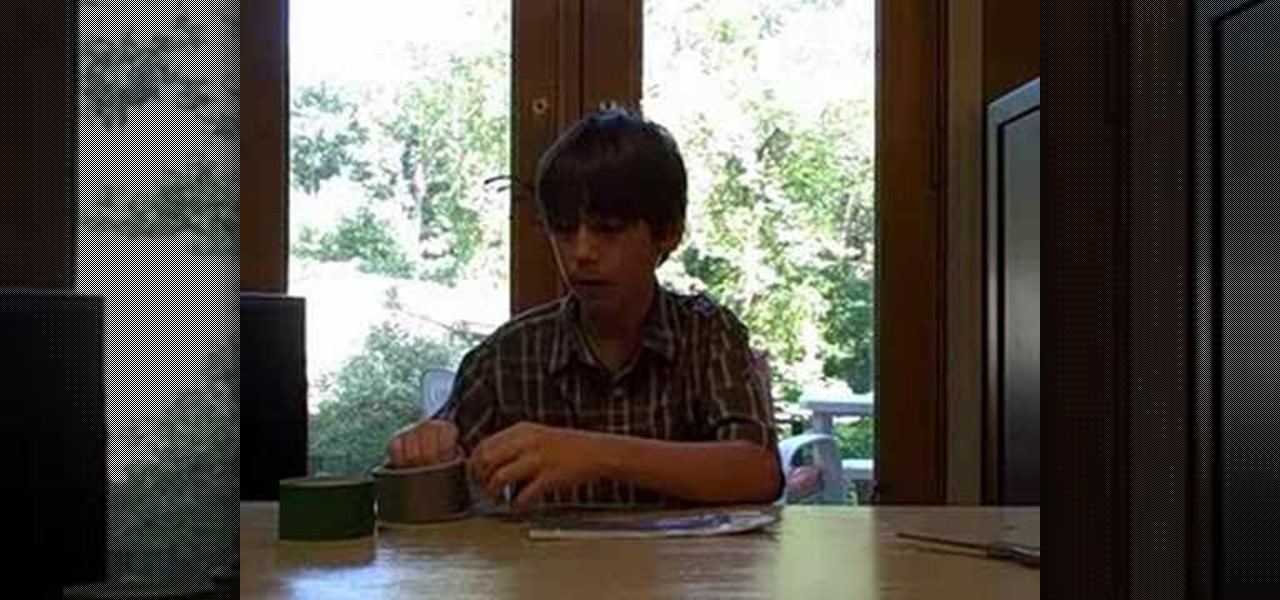
In this video, we learn how to make a duct tape wallet with a change pocket. First, grab your favorite color of duct tape and then place some down on a flat surface with the sticky side up. Overlap these until you have the desire size you want, then fold the edges over. After this, apply the sticky side down to this and you will have a nice little wallet that is made between them connecting to each other. Make the change pocket by doing the same process, just use a smaller piece and connect w...

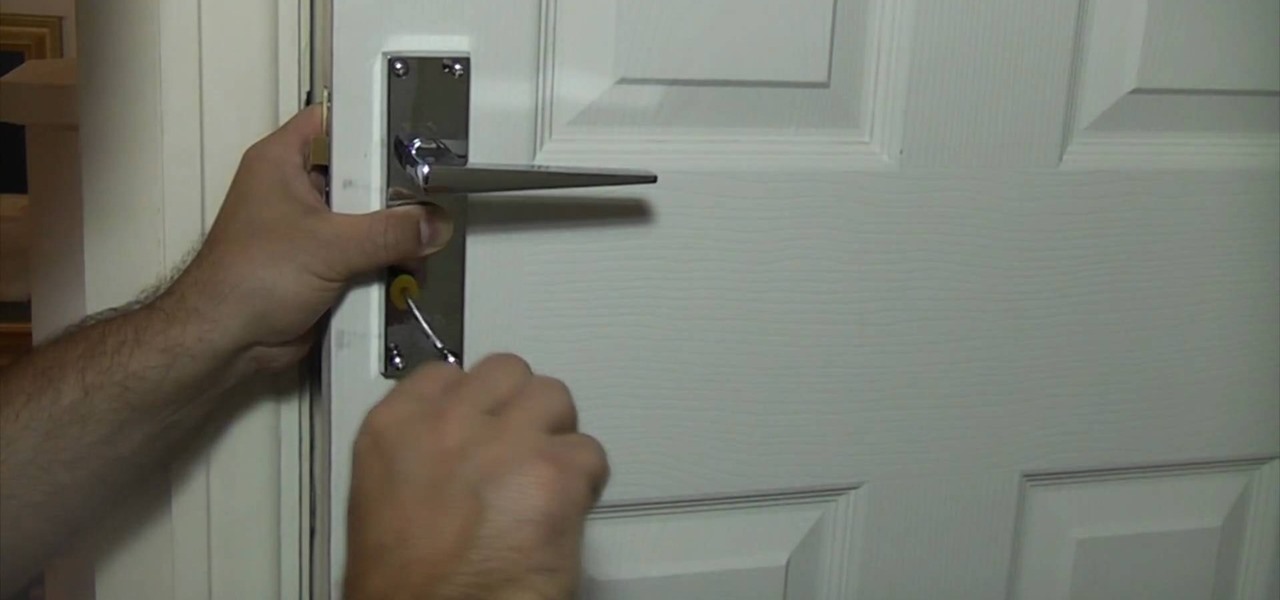
This is a video tutorial in the Home & Garden category where you are going to learn how to fit door handles to a door properly. The first thing to do is to insert the spindle in the door and check if it is of correct length. Quite often it might be longer. So, cut it to the correct size with a hacksaw. Next fit the handle over the spindle and make sure it is straight. Take measurements to ensure this. Holding the handle in place with one hand, drill holes with an electric drill and insert the...

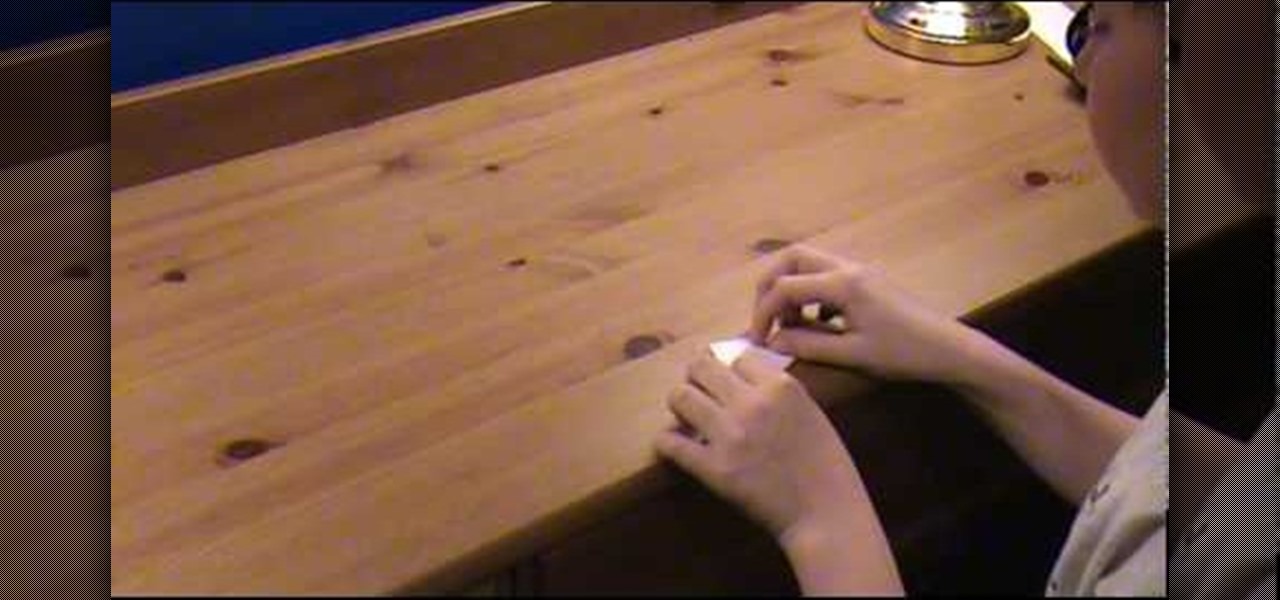
In this tutorial we learn how to make a simple origami paper football. First, grab a strip of paper of your choice of size. Then, fold the bottom over into a triangle shape. Then, fold this up where the last fold ended. Continue to fold up until you reach the top of the strip of paper. When you reach the top, you will have extra paper at the very top. Fold this into the pocket that you created when you folded the triangle shapes up. Now you can hold this with one finger on a hand while you fl...

In this video, we learn how to create the perfect flat iron curls. Start with the back of the head, taking a section for the size of curl you want. Then, stick your hot flat iron in at the root and turn the iron 90 degrees. Slowly pull it through all the way to the end, going slowly. Give an extra twist at the end, then wrap the hair around your fingers at the root and set the hair down. Hair spray this, then continue to curl the hair on the entire head. Then, loosen the hair up with your fin...


