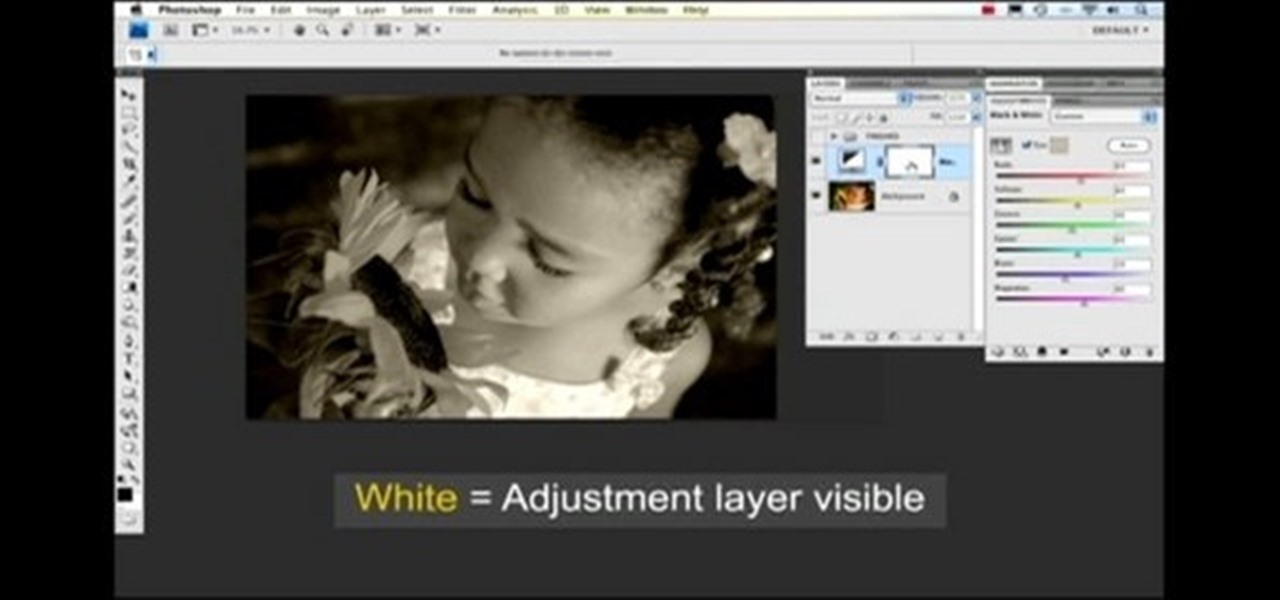
Nichole Young demonstrates how to hand color using layer masks in Photoshop CS4, which also works in Photoshop CS3. The procedure can be summarized in two stages: turning the picture you would like to edit black and white and then bringing color back into it to give it a hand-colored look. The black-and-white effect is achieved by creating a new layer over the background layer. The next step is to give the picture a warm look by adjusting the layer’s respective color balance. Then bring the c...
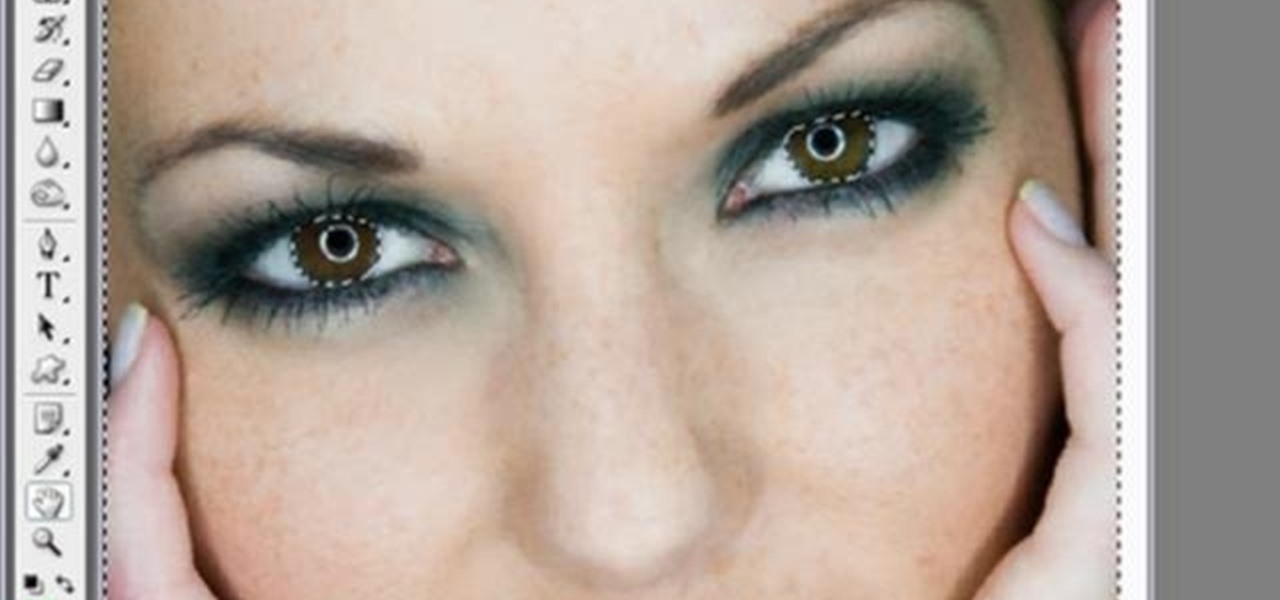
Yanik Chauvin continues his online photo school with this video on how to change eye color in Photoshop. Yanik makes this complicated program seem simple as he shows exactly what steps to take to make realistic color change in the eyes of a person. He creates a layer that will be used to edit the eyes, then zooms in on and selects them. He picks a nice green color to use, shows what settings to use to make it look realistic, then applies final touches by changing the opacity of the new color....
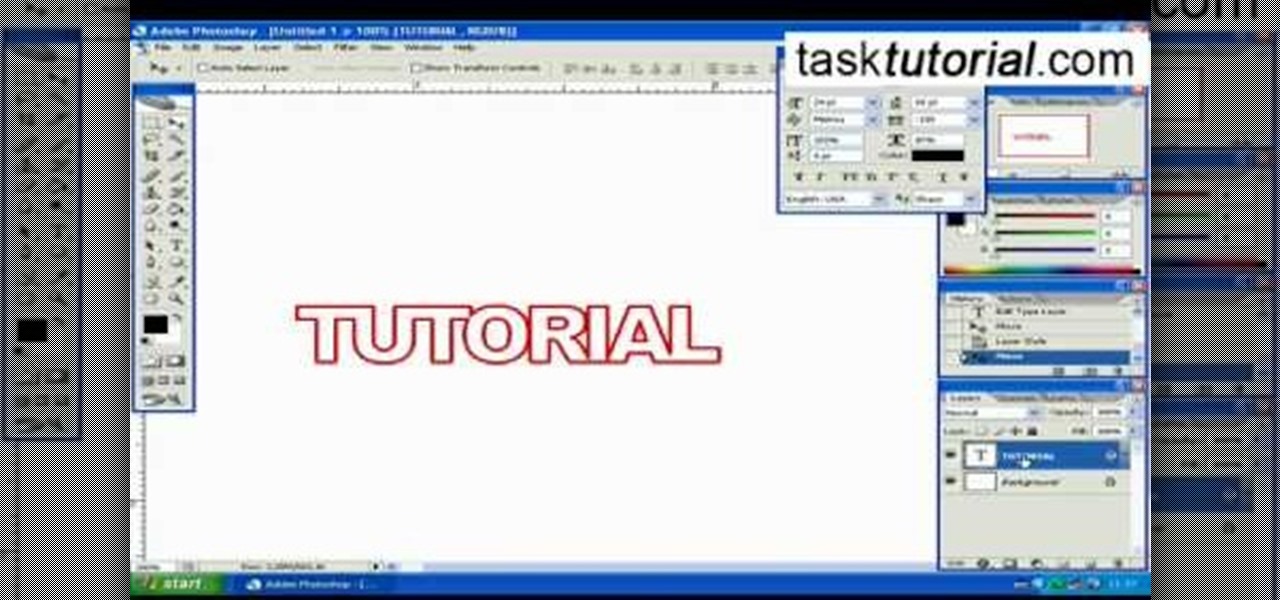
This how-to video is about how to create a simple text effect in Photoshop.
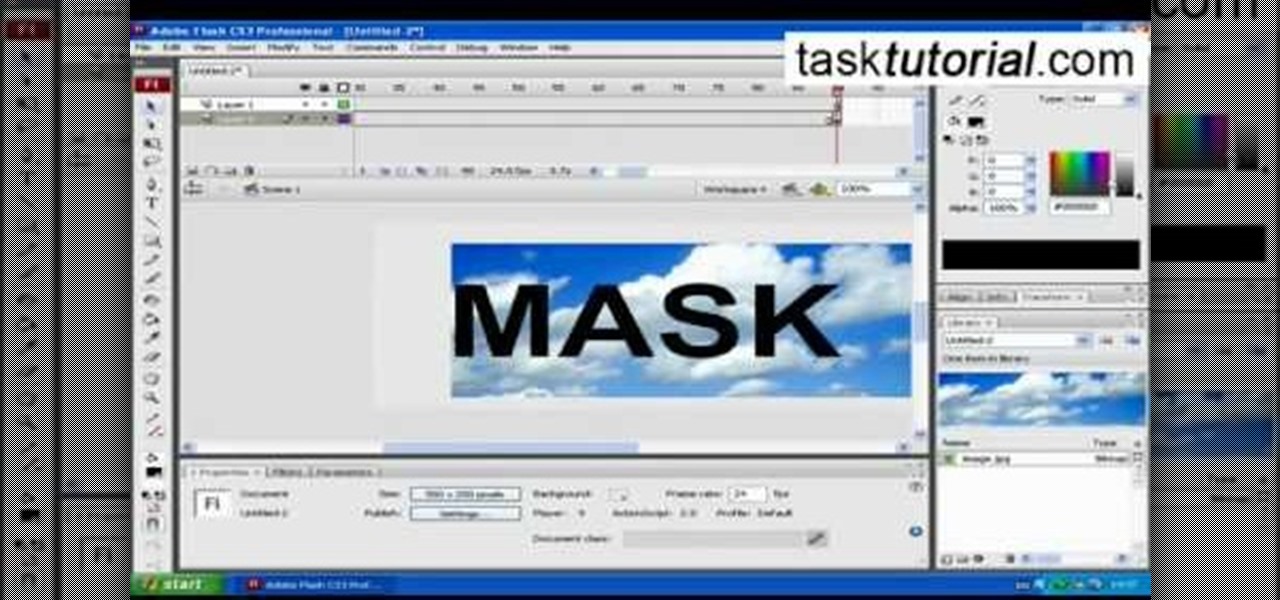
clipping mask Sponsored by SimpleRetouch.com Start by creating a task with the name Mask, then Choose a color and a font size.

This video is all about the keyboard shortcuts that are used in Microsoft Excel of the latest version. If you really need speed and efficiency then watch this video for its shortcut keyboard buttons. After typing all the data, if you need to see the page setup with the help of the mouse than it will take a pretty long time. By opting for keyboard shortcuts you can save much of your time and can invest it in another work. If you press 'alt' button then it will show keyboard shortcuts on the sc...
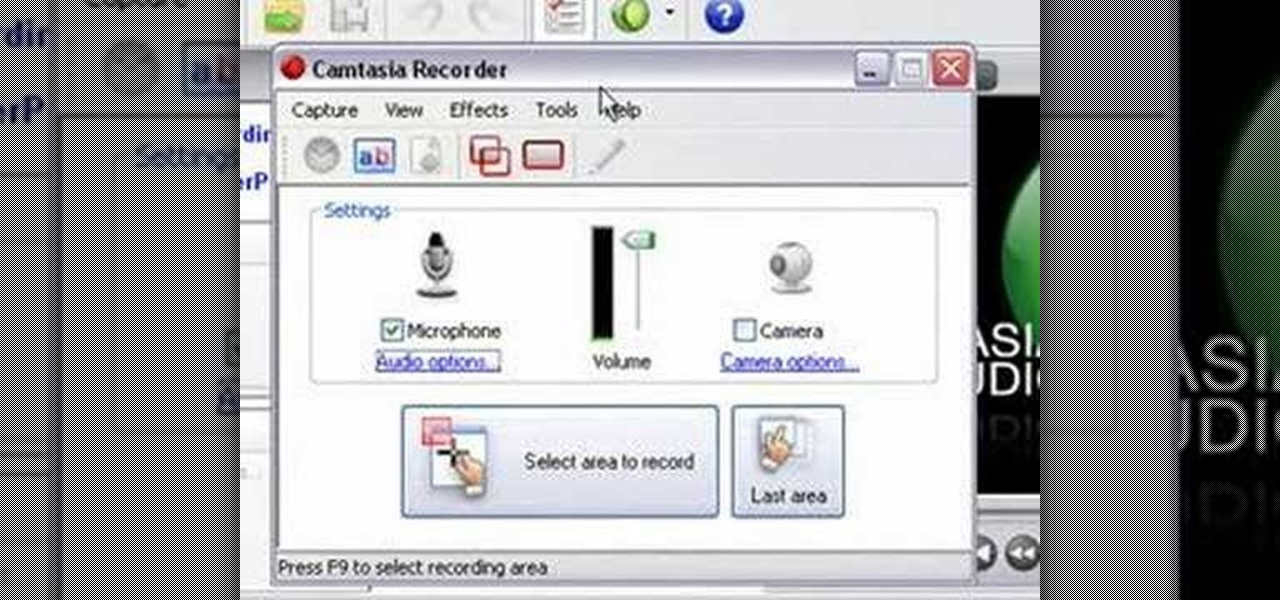
In this tutorial, Mike Lively of Northern Kentucky University shows you how to annotate a video using a Bamboo pad and Edit it using Camtasia studio.

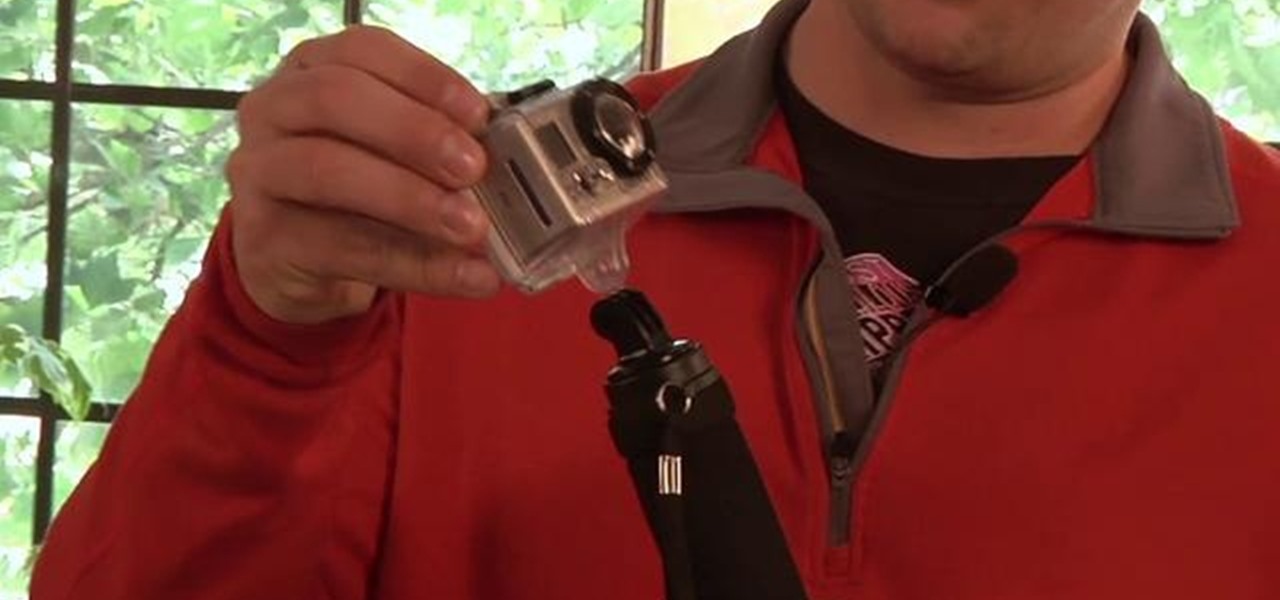
A tripod keeps your camera steady, which is useful for anyone taking either time lapse shots or using a long exposure. This quick tutorial shows you how to use the small GoPro camera tripod mount to put your digital camera on a tripod.

Watch this video tutorial to learn how to improve your photography by using selective focus. This how-to video will show you how to use a technique in your digital camera that tells it what you want to be in focus.

There are millions of YouTube videos out there about video games. Playthroughs, reviews, commentaries, tutorials. If you want people to see and appreciate your gameplay and takes on it, watch this series of videos. It features a veteran video-game-YouTuber explaining in great detail how he sets up, shoots, and edits his YouTube videos. It covers cameras, lighting, and many other aspects of filming yourself playing a game.

In this video tutorial series, DJ James Zabiela shows how to use effects to enhance your DJ set, utilize a feedback loop, and discover new music. In the second half of the series he shows how to alter live vocals, incorporate a few of his signature moves, and edit digital scratches into your DJ set.

Digital projectors can be prohibitively expensive, particularly for those who stand to benefit the most from their use—that is, young people who prefer watch television and movies on their home computers. No longer. This hacker's how-to demonstrates how to make a simple digital video projector out of an old LCD flatscreen monitor and a slide, or overhead, projector. For detailed, step-by-step instructions on fabricating your own LCD/overhead digital projector on the cheap, take a look!

The response to the COVID-19 pandemic means that social distancing has become the new normal. It also means that more Americans are using video conferencing to connect with colleagues working from home or friends and family in quarantine because of the new coronavirus.

With Apple releasing the iPhone XR, it appears Samsung is looking to challenge this "budget flagship" option head-on. They brought their usual two phone releases this year, but also threw in another three for a total of five phones, including the Samsung Galaxy S10e. And for many, this might be the option to look at.

There is not a single museum that houses all of the 36 paintings of Johannes Vermeer, so Google decided to come up with a solution to give art aficionados a venue to see the artist's work all in one place — your home.

Snapchat users are used to raising their eyebrows or opening their mouths to activate augmented reality face effects. Now, they get to use their voices as well.

Earlier this year, Nokia released the Nokia 8 Sirrocco overseas. The new device served as an upgrade to the 2017 model with a minor specs bump and a more modern design. However, HMD isn't done with the 8 series. A rumored Pro version is coming later this year that brings innovations the iconic brand is known for.

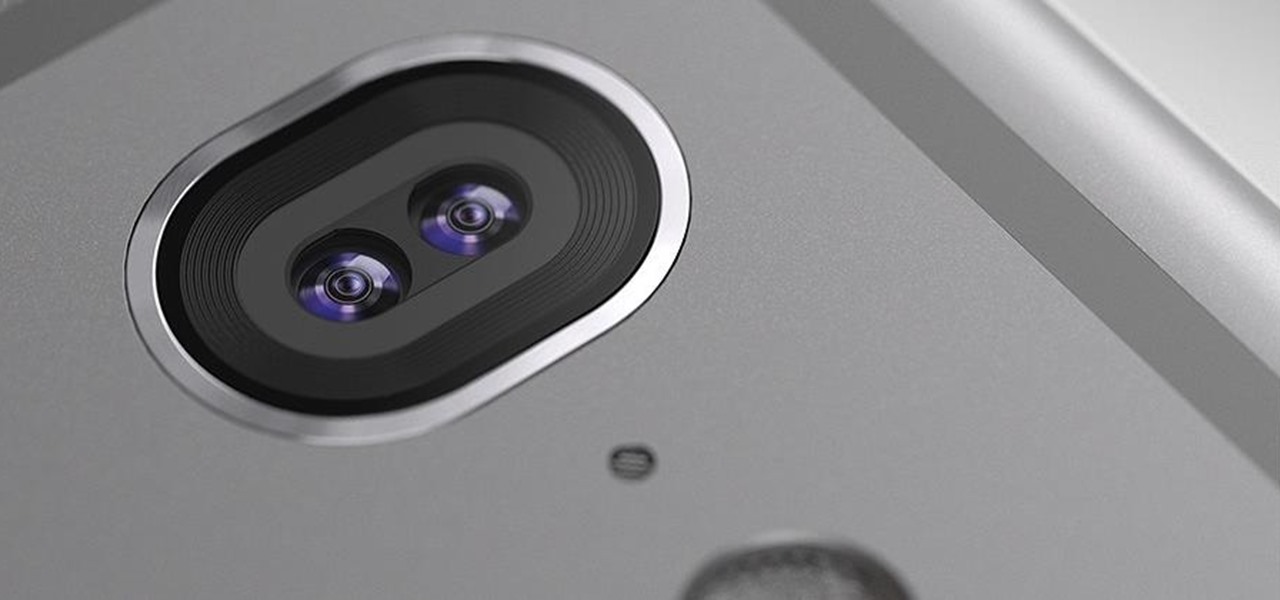
As we get closer to the release of the iPhone 7 this September, more and more details are emerging about the features the new smartphone could have. The well-regarded analyst Ming Chi-Kuo of KGI Securities, who has an uncanny ability to predict new Apple features, has reported another detail involving a dual-lens camera on the upcoming iPhone 7 Plus model.

Before heading out on a hike, or any excursion for that matter, it would be wise to take a map with you just in case you get lost while on your quest.

The first thing most of us noticed after Apple announced plans for its wearable—the Apple Watch—was the importance and focus they placed on its interface. Starkly different from their Android Wear counterparts, the Apple Watch's interface has applications scattered around the screen and relies on the device's dial to zoom in and out.

On a recent trip to Palm Springs, I found myself navigating with Google Maps and virtually exploring my destiniation using its built-in Street View feature. The thing is, using Street View can make keeping track of your exact location difficult as you zoom in, out, and about. It's a little discombobulating.

After many beta builds, Apple has finally released iOS 7.1 to the public. It includes bug fixes for the old iOS 7.0.6, along with UI enhancements and even some new features.

With all of the advancements in the smartphone world, we can virtually use them for anything. You can use your smartphone as a mobile hotspot, an Xbox controller, a car locator, and a security camera. Heck, you can even turn it into a Swiss Army knife. And now you can even use it as a wireless mouse for your computer!

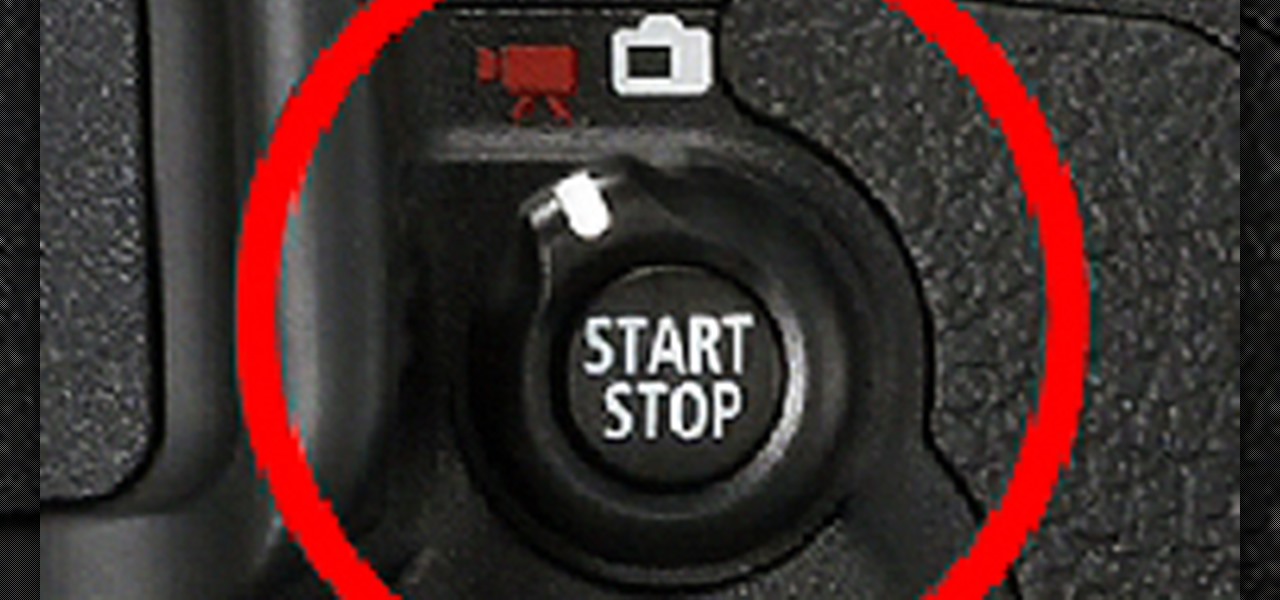
You can use the Canon EOS 7D to shoot digital video at a variety of frame rates and resolutions up to full HD. In this video, see the basics of movie mode and how to use it. This is the best digital SLR camera to film video with.

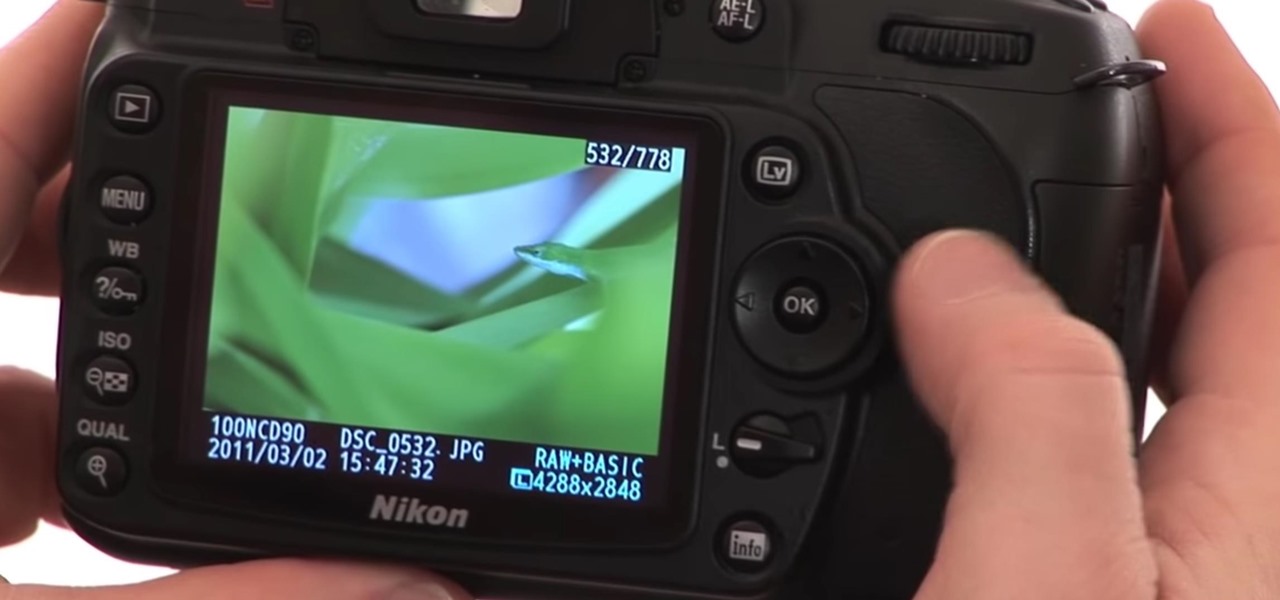
Watch this instructional video brought to you by Richard Berry to learn how to operate the Nikon D90. This Nikon D90 video tutorial demonstrates how to use the control dial (auto mode, scene modes, program [P], shutter priority [S], aperture priority [A], and manual [M]); read the display and viewfinder; adjust the aperture, shutter speed, focus, spot meter, matrix, exposure compensation, etc.; use the back command dial; and more. Use this Nikon D90 tutorial to familiarize yourself with your ...

This tutorial will let you hack into a wide selection of web cams and online security cameras. The hack is actually quite easy, and is best done with a browser like Mozilla Firefox. Navigate to Google in your browser, and then type in "inurl:viewerframe?mode+refresh". This piece of code will open up a list of active webcams. Then just surf through your choices and watch whatever you want. You can even change the camera angle and zoom in and out of the picture!

In this video, we learn how to change hair color in Photoshop CS3 and CS4. First, open up your image and zoom in on the hair. From here, you will click on the selection tool with a circle to select your image. Now, make sure this is the perfect size for the entire image. Right click and make sure it's sized out right. Now, select the hair and a red marker will appear. Select the whole surface of the hair, and as you get to the short hair use a smaller circle tool, don't worry about the smalle...

In this video, we learn how to draw wolf eyes. Start out by drawing the outline for the wolf head. Then you will draw the eyes in an almond shape dragging downward on the nose. After this, zoom in on the eyes with the computer and then fill in darker lines around the eyes. Draw in the pupils on the eyes and add in the details for the corners of the eyes as well. If you want to draw wolf eyes from a side view, draw the outline of the head to give you reference, then draw the shape of one of th...

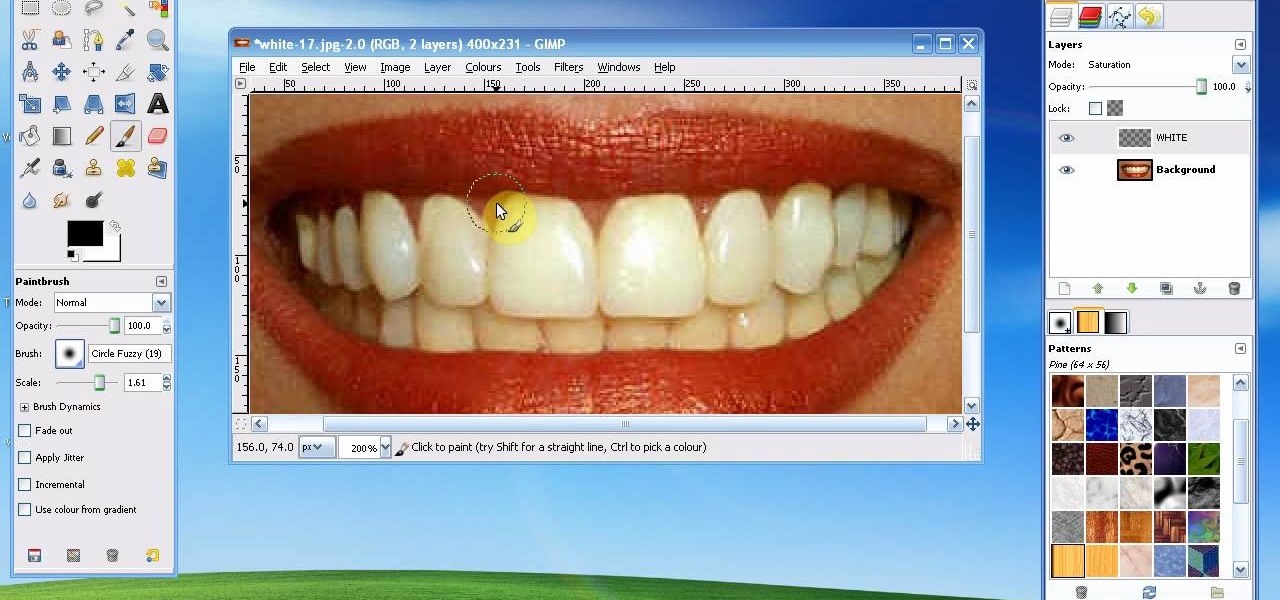
In this tutorial, we learn how to whiten teeth in the Gimp image editor. First, open up GIMP and zoom in on the teeth of your image. From here, create a new layer named "white", making sure it's transparent. Now, make sure the white tab is on the top and go to "mode" then "saturation". Select the brush named "circle fuzzy 19". Put the scale around 1.5 or 1.6 and then draw on the teeth, which will make them white! Do this for all of the teeth, then when you save you can use this as your image ...

In this video, we learn how to ink and color in Photoshop. First, you will want your background and sketch in two layers. Make a new layer which will be the layer you ink your art on. Move the opacity down on this, then zoom in and start inking your art. Use a normal brush in whatever size will fit your art the best. Take your time, then start a new layer when finished. Color the areas of the picture, then when you join these layers together, you will have an entire drawing finished. Make sur...

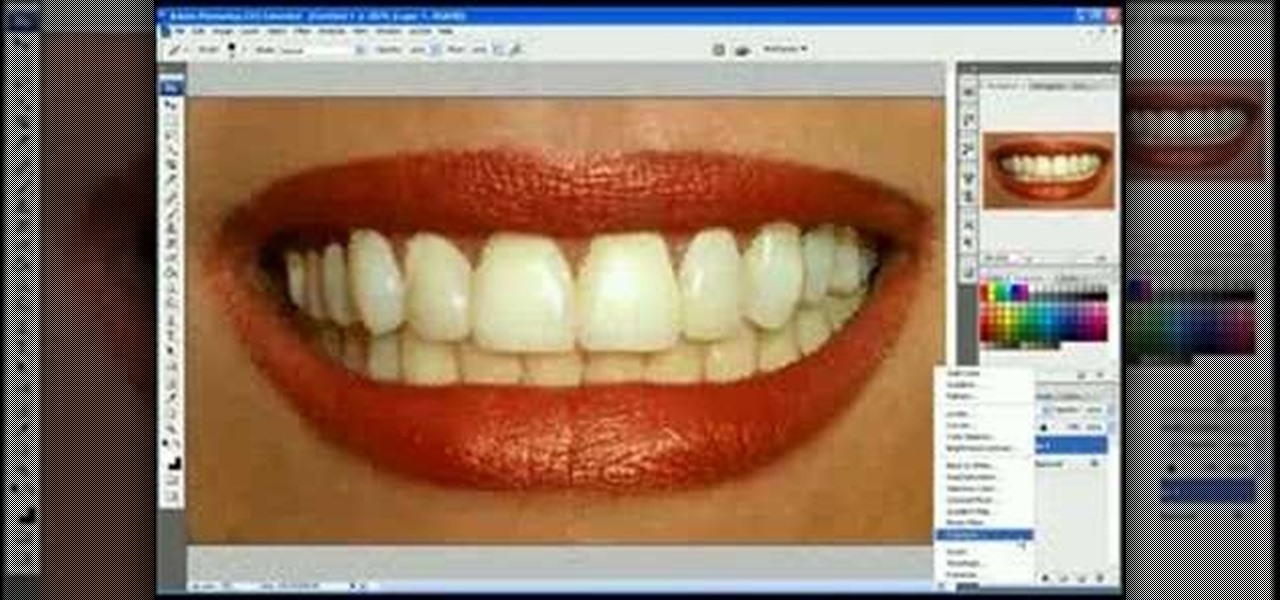
In this video we learn how to whiten teeth in Photoshop like a professional. Start off by opening up Photoshop and zooming in on the teeth in your photo. Start out by selecting a hollow brush and then paint the selection onto the teeth. Paint around them carefully and make sure you don't touch the gums in the middle and on the top of the teeth. Once you have selected the entire area of the teeth you will see them all covered in red. Then, go to "select" and "inverse", then press the button fo...

In this tutorial, we learn how to isolate your subject to get better photos. If you are taking a picture in an area with a lot of people or surroundings in the background, have your subject stand up on something. After you do this, you can take the shot and have nothing in the picture with your subject but the background. You can also have a child go on a playground and zoom in on them if you are taking a picture of a child. On the playground, you can find tons of spots where the child can be...

In this video, we learn how to use FastStone Image Viewer: the basics. After you have downloaded and installed this software, open it up. Now, go to the settings section of the software and move between the tabs to change and explore the different settings. When you select an image, it will automatically zoom in, you can move between different images, then you can set it as wallpaper, edit it, save it, and much more. You can upload picture and images by going through the file menu, then editi...

In this video, we learn how to remove acne spots with Photoshop. First, open up the picture and zoom in on the acne you want to remove. Now, unlock the layer by right clicking and unlocking it. Next, use the clone stamp tool while pressing alt to clear the skin where the blemishes are at. Click constantly on the acne until all of it is done. You want to click as many times as possible to get the best effect in removing this. When you are finished with this, duplicate the layer, then change th...

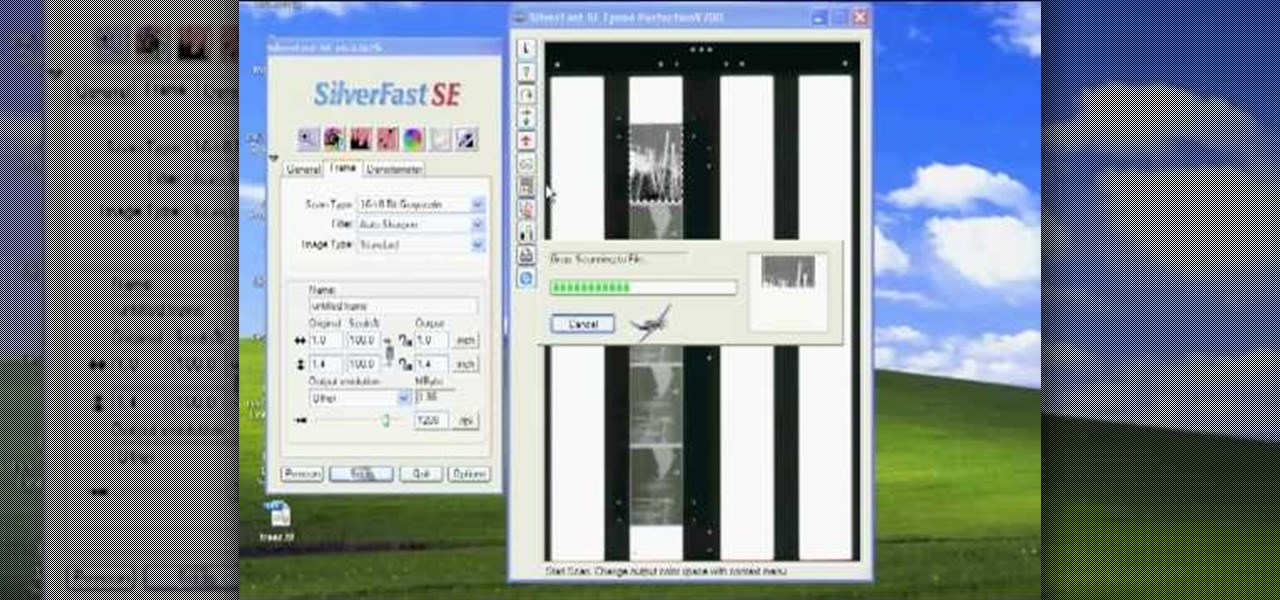
In this tutorial, we learn how to scan and edit negatives with SilverFast and Photoshop. First, open up the software and lay your negative in the scanner. Make sure you have selected the correct settings when you go to scan it, and click that it's transparent. Also, you will need to increase the size of it and make sure the lighting is correct. Now, scan the image and load it onto the software. Once it's loaded, you will be able edit it by zooming in and then rotating the image so it's the co...

In this tutorial, we learn how to remove a scar in Photoshop. First, select the magnifying glass to zoom in on the area you are working on. Next, select the paperclip icon, the select the second brush. Now, come to the edge of the scar and drag across the around the entire scar. Come back around, then the scar will be highlighted. Now click down and hold the image highlighted, and you can smooth out the skin and it will disappear. Next, do this on the other side of the face to remove the rest...

This tutorial teaches us how to touch up eyes while using Photoshop. First, open up Photoshop and zoom into the eyes on a picture you want to touch up the eyes on. First, select the adjustment layer icon and brighten the image. Next, invert the mass and select the "v" key, then pain the eyes on both sides. Next, click "filter" and then click "blur" so you will soften the edges so the picture doesn't look fake. Now, you can click on "before and after" to see what the picture results look like....

In this Electronics video tutorial you will learn how to take a picture with your LG GW620. First you got to press and hold the camera key on the side of your phone. This will open up the camera options. If you tap the screen you will see the options icons on the side. The various icons are zoom, exposure, flash, macro and settings. On the right hand side you have the back, camera mode and the gallery icons. To take a photo, tap on the camera mode icon. The photo will be clicked and then a li...

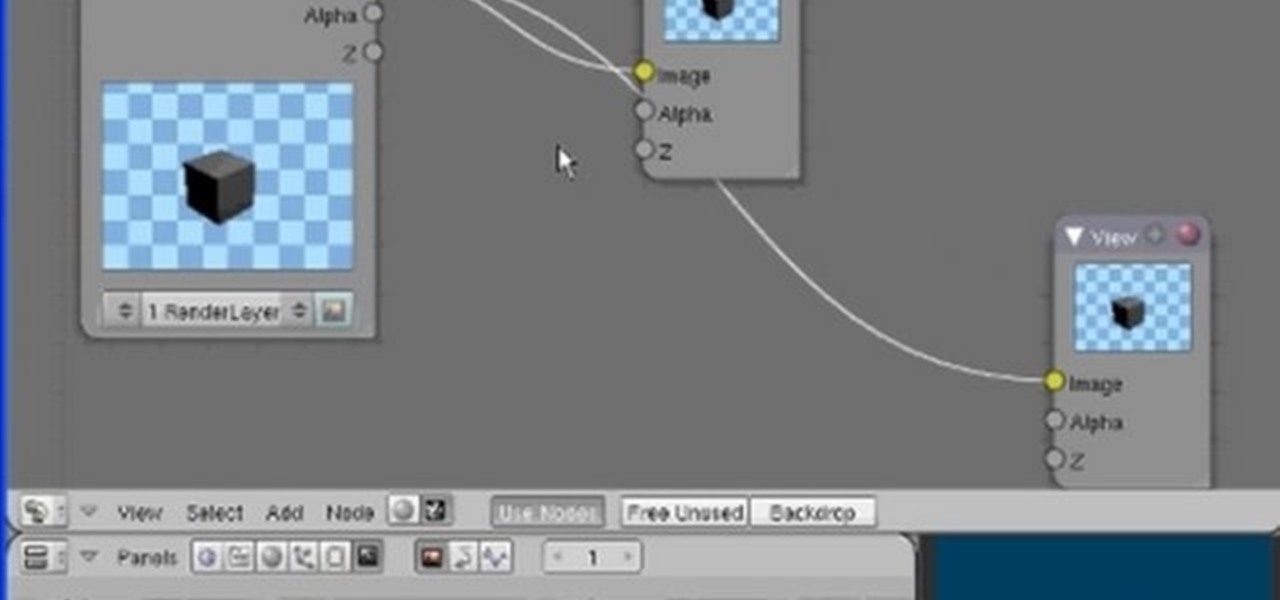
The Node Window is a workspace or desktop for compositing. This clip covers all the mouse and hot keys you use for navigating around and in that workspace and discusses how to add/delete/move nodes, pan/zoom/autozoom the window.

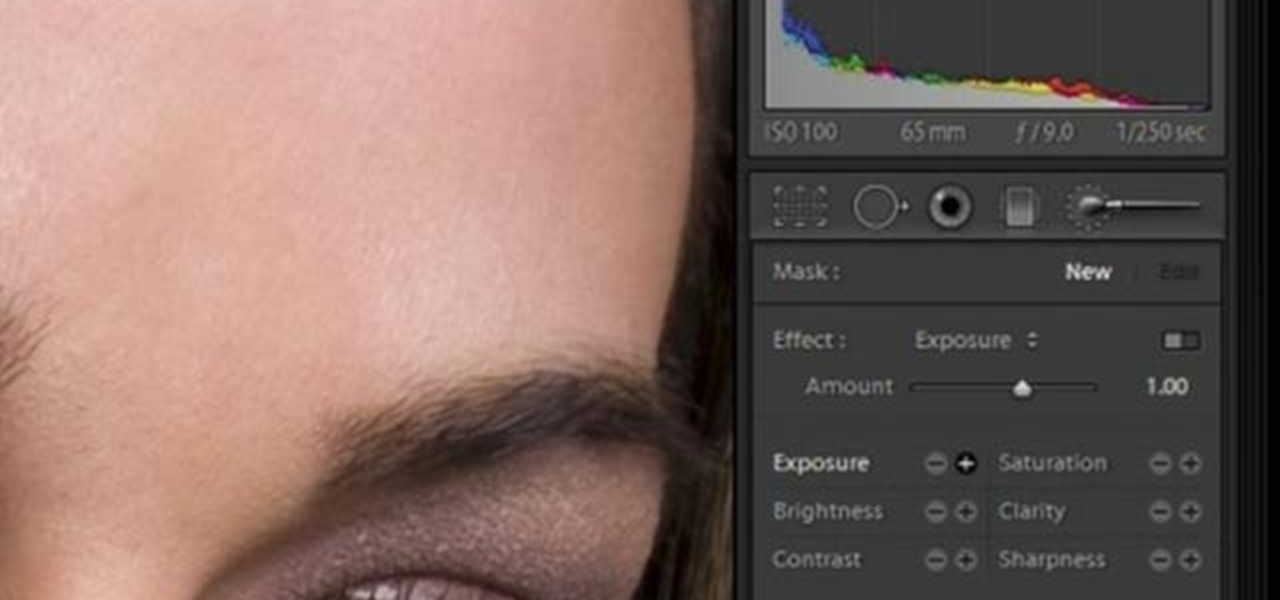
In this software video tutorial you will learn how to soften skin feature in Lightroom 2 in Yanik's Photo School. Select a photo and zoom in to the skin area. Click on the adjustment brush, or ctrl K. Here you can adjust 7 features; exposure, brightness, contrast, saturation, clarity, sharpness and color. But, if you click on the other 'exposure' dropdown menu, you will get these 7 options and additionally a 'soften skin' option. Click on 'soften skin' and it gives you the options to add nega...

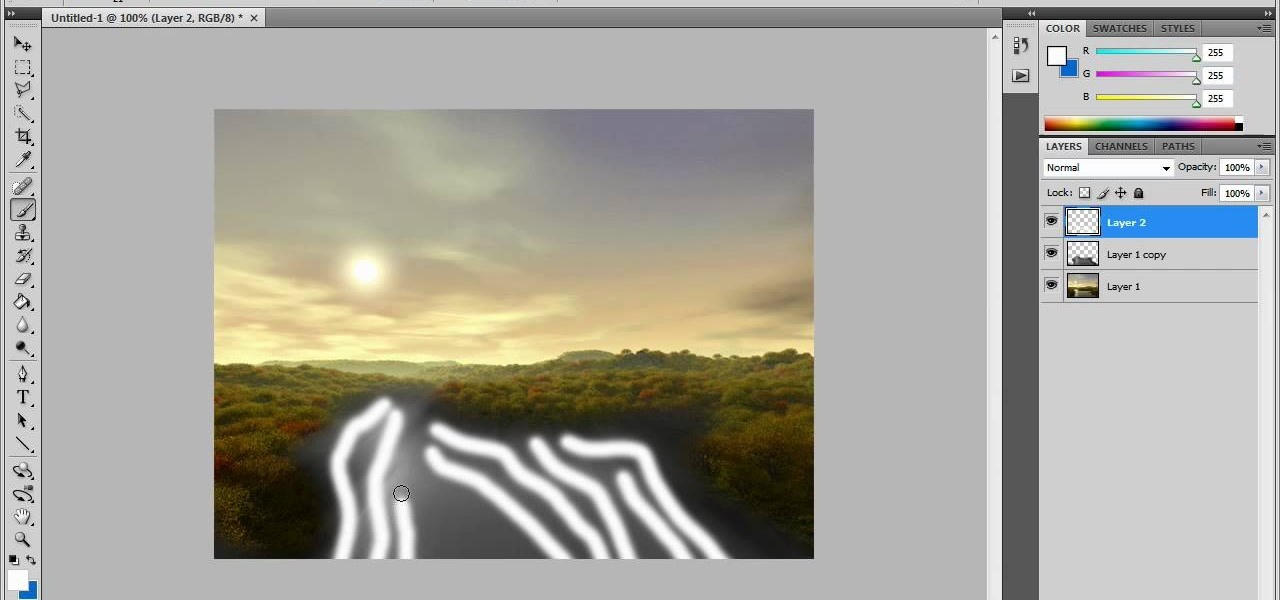
In this video tutorial, viewers learn how to create fog using Adobe Photoshop. Begin by importing the image into the program and duplicate the image. Now go to Filter, select Blur and select Radial Blur. Set the amount to 100, Blur Method to Zoom and Quality to Best. Now select the rectangular marking tool and select the sky. Then open the Hue/Saturation menu and set the Saturation to -100. Use the eraser tool to remove the gray from the edges. Now use the paint tool and paint white streaks o...


