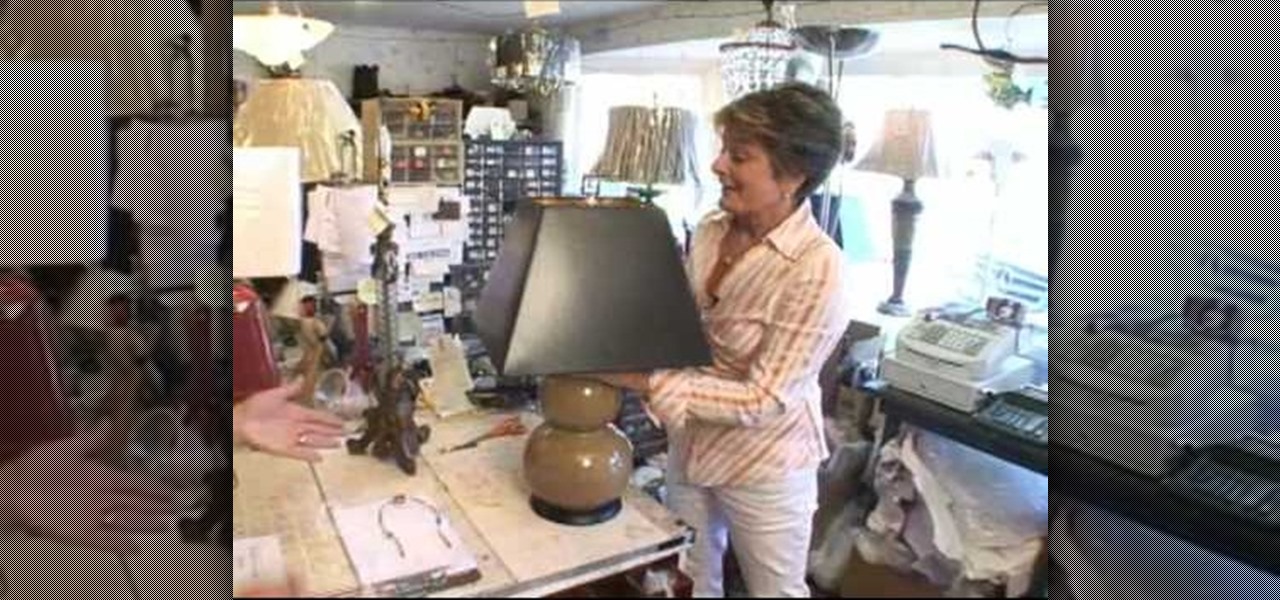
In this video from FusionGuy09 we learn how to use different lampshades to create different looks in your home. This video is from the store Naomi's Lampshades and Lamps. When buying a shade you want to bring your lamp to the store. Bea Searles shows us a bunch of different lampshades on different lamps and how they look and the different type of looks they will give to a room. Also in many cases you can just change the shape of the harp in the lamp to fit other kinds of lampshades. She shows...

In this video by Stupidly Simple Snacks you will learn how to make a simple caramel sauce. Follow these simple steps to make the caramel sauce which goes on top of the Coffee Caramel Bourbon Cupcake. You will need the following: Heave whipping cream, unsalted butter, one cup of sugar, a good quality whiskey and a measuring cup. Put the sugar into the saucepan and boil for 5-7 minutes, until it becomes the shade of maple syrup. Add 3 tablespoons of butter and a 3/4 cup of heavy cream. Now add ...
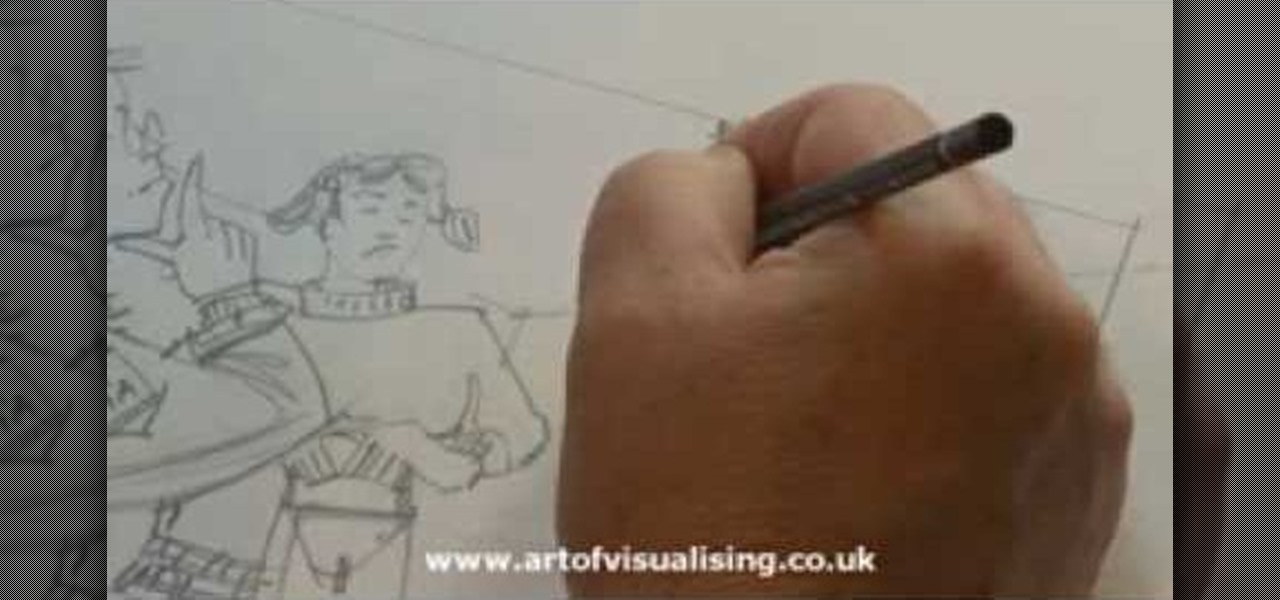
Gus Russel explains how storyboarding can be used to illustrate what a movie might be like. He has been given the task of drawing a frame for each page of a 130 page movie script. Story boarding gives the author a general idea of how the movie will come together, how the characters will look, etc. Russel shows the audience how to quickly draw a quality sketch, and how to shade it properly. The sketches do not function to show exactly what will happen in each scene, but rather what "might" hap...
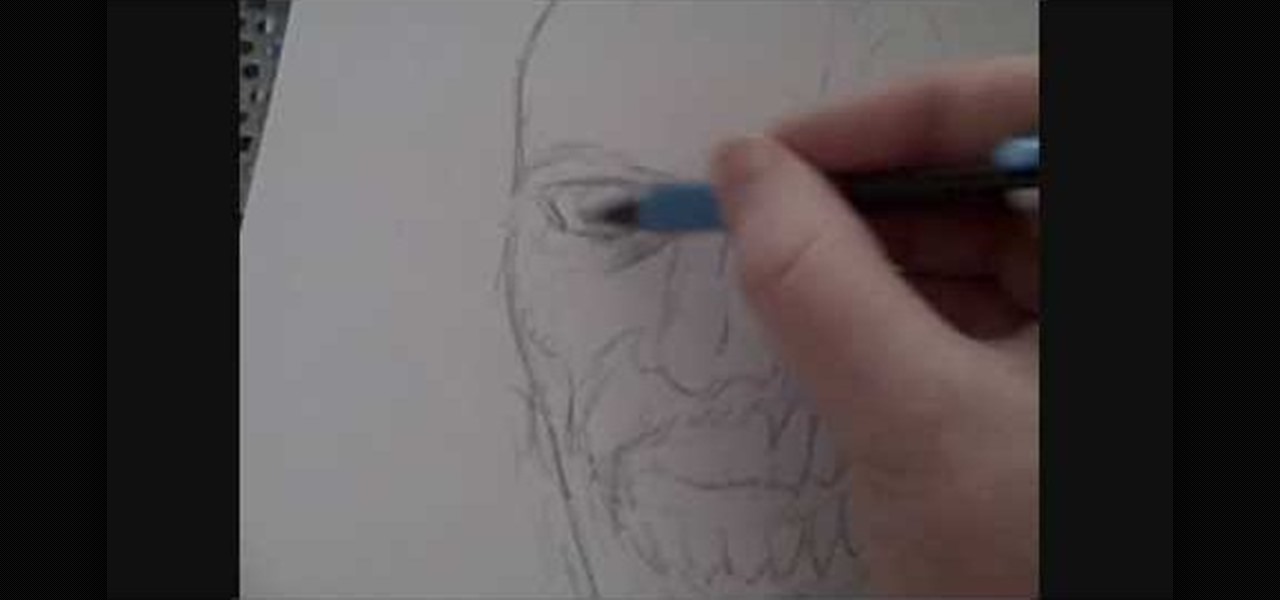
Big fan of all things gory? In this three-part drawing tutorial, learn how to draw a gruesome zombie head step by step. In the first video of this series, the artist begins by sketching and shaping the head, while the second video goes over shading & defining the zombie head. Lastly, in the third video, the artist goes through the inking stages, filling out the face & giving the zombie head character.
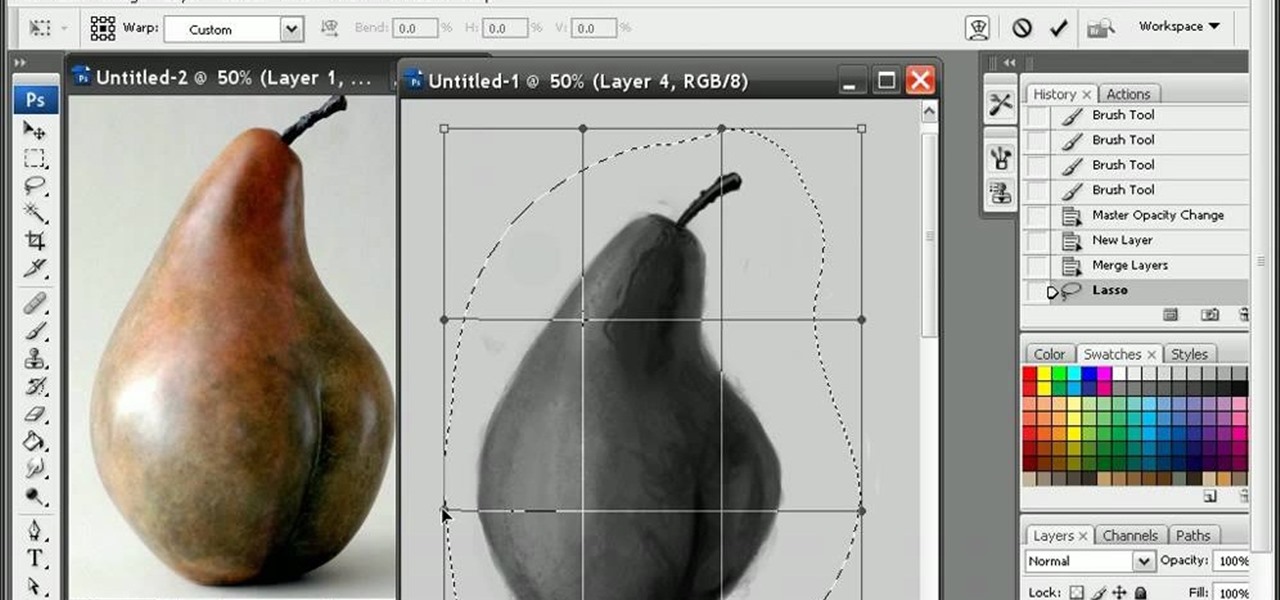
If you are looking to improve your Photoshop skills by learning how to digital paint in it, this video shows you how to do it. To do this, open a new Photoshop canvas and select your brush to paint with. In this example the author shows how to paint a pear for demonstration purposes. You start by drawing a rough sketch, just using your paint brush and reference an image of a pear that you find in this tutorial. Now do the dark textured work on the non lighting side as shown in the video. Now ...
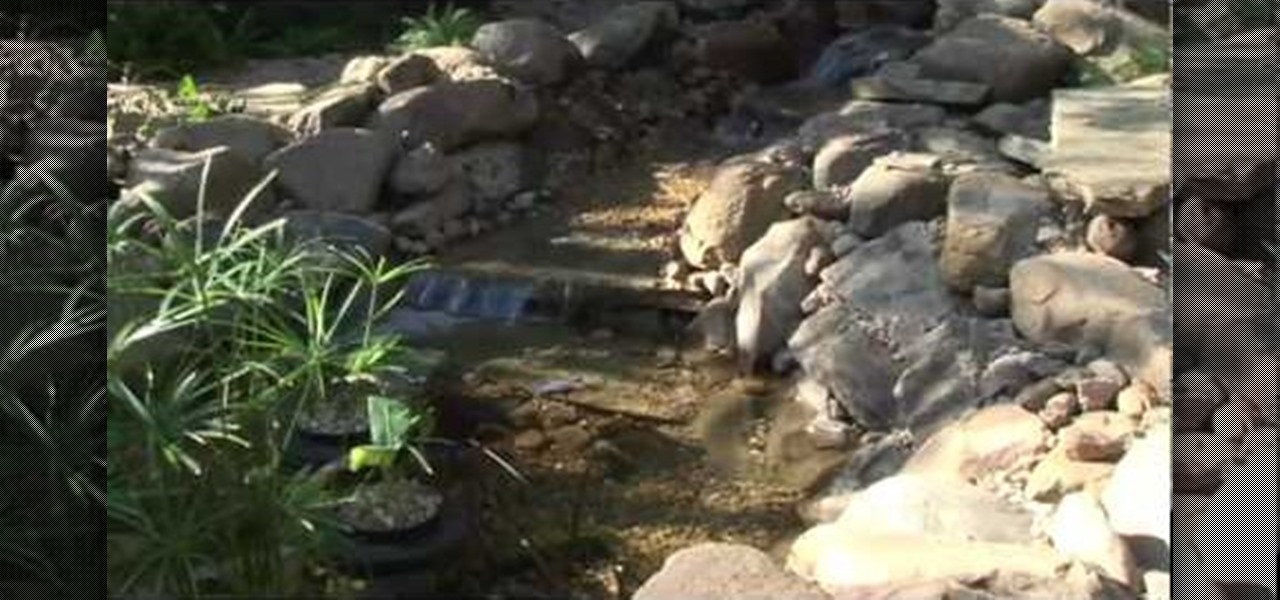
The Smart Pond system can be used to create a water feature in a backyard. Ponds can be made above the ground or in the ground using a preformed pond. Various types of ponds are shown, which would be appropriate for various locations. The location of a pond is discussed; it shouldn't be under trees to avoid debris and too much shade. Draw out the plan for your pond and dig one or two feet deeper than the depth of the pond. Determine the size of the liner, place it in the hole and anchor it wi...

Drawing of a horse is broken down into a helpful series of tips and tricks in this nice, succinct tutorial video. Step 1, the video describes the use of ovals and other simple shapes, to begin to plan the overall structure, for later. Step 2, around those ovals and simple shapes; begin a rudimentary outline of the horse you're trying to draw. Using the example given, see what's possible, and begin to erase your ovals and other structure-assisting shapes, in the middle, giving you now your act...

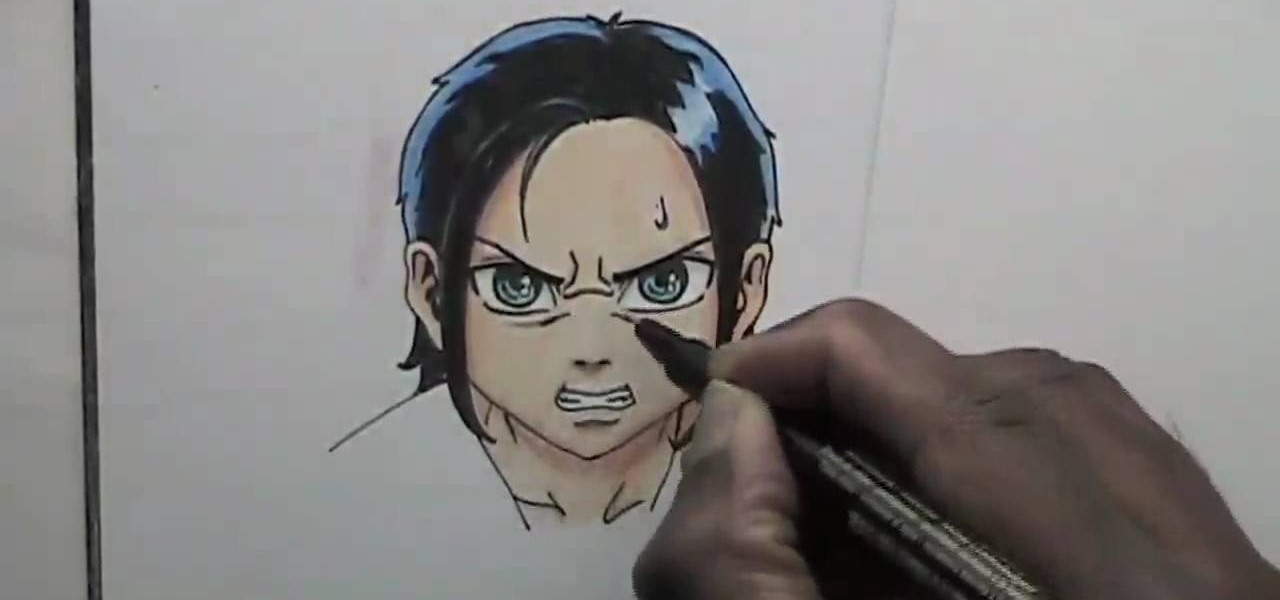
Learning to sketch can be a frustrating process for even the most experienced artist. In this easy to follow guide, you will learn to draw your favorite anime or manga character to express that annoyed feeling you get from having to erase! The artist makes sketching and shading angered features on the characters seem like a breeze, and in no time flat you'll be sketching your own characters without the previous hassle! He demonstrates all kinds of faces, from simple scrunched up annoyance to ...

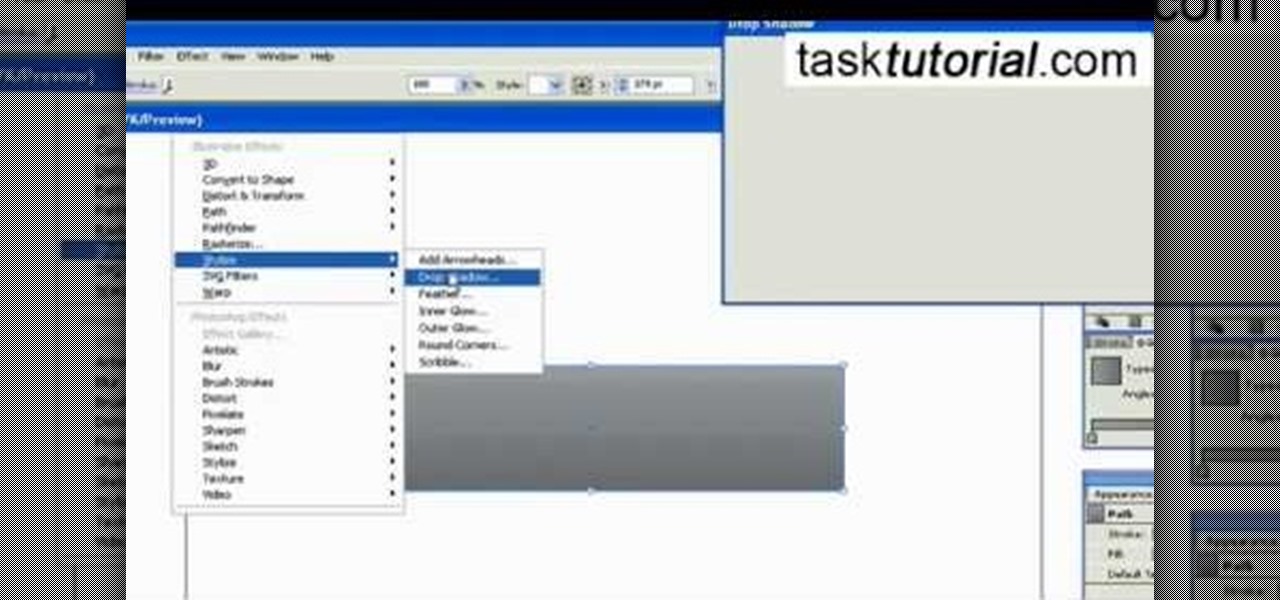
This video tutorial by Tasktutorial shows you how to create an Apple style bar in Illustrator. First, select the rectangle tool in Illustrator and draw a bar as shown. Now select the path, go to gradient and choose the black and white gradient from the swatches. Select two shades of gray and change the angle to -90 degrees as shown. Tweak the colors and go to effects-stylize and select drop shadow, change the opacity value and select black color, normal blend mode as shown. Select the type to...

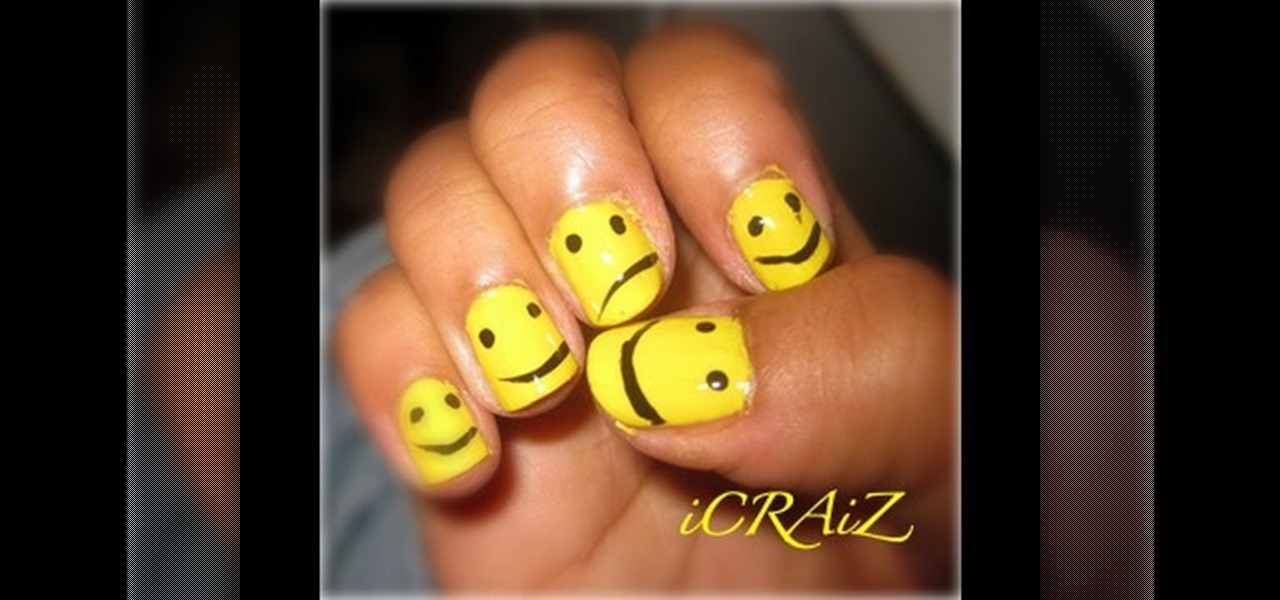
For those who would like to have fun, interestingly designed nails, this video shows how to paint smiley face nails. After applying a base coat, mix a plain matte bright yellow and a plain matte white nail polish together on a piece of paper. This will create a lighter shade of yellow. Apply the lighter yellow mixture to the nails. After applying two coats and allowing them to dry, use a black nail polish to draw the eyes and mouth of the smiley face. This will give you a cute and stylish des...

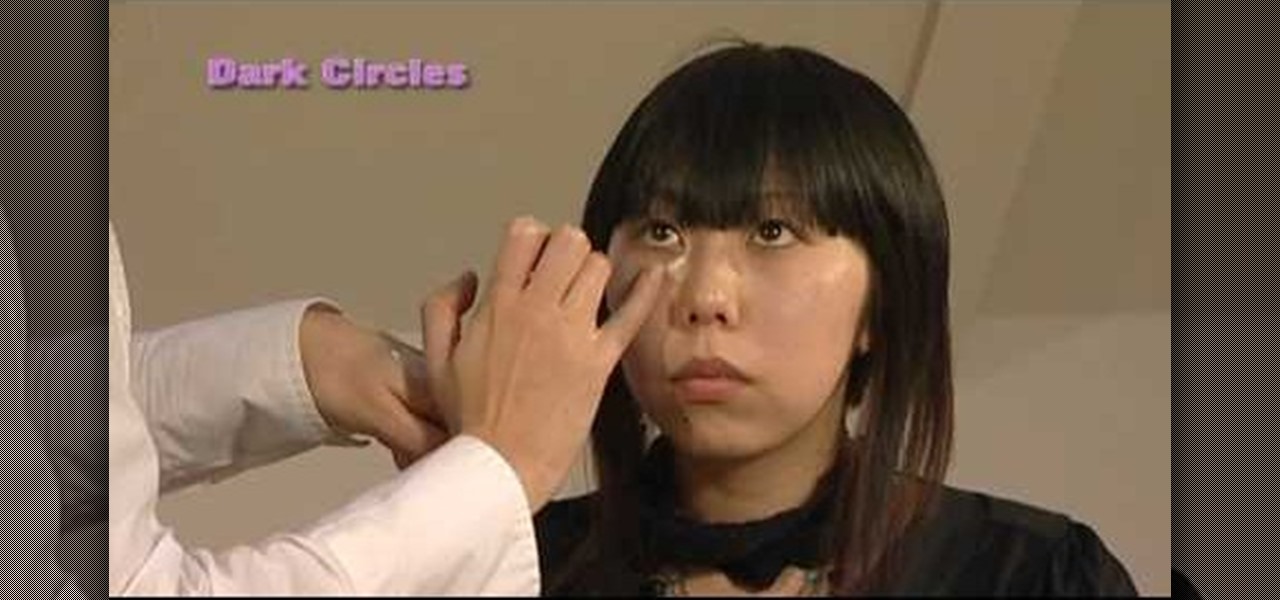
To cover up those dark eye circles invest in a good concealer that is lightweight and of premium texture. You will want to look for a shade that is peachy or pink in tone. Take some of the concealer and dot it onto the dark line only and then blend it in with your finger. Most people also have a red patch at the outer corner of the eye. Covering this with concealer will give the eyes an immediate lift. Applying some concealer is much better than applying a lot of makeup.

Learn how to draw Gastly, the Pokemon. 1. Start by drawing a circle. 2. Add a smiling mouth. 3. Draw half circles for the eyes with little lines for the pupils. 4. Add two little "V"s for teeth/fangs. 5. Add a flame behind him. 6. Add shading.

Tell a friends you care by making him/her a friendship bracelet. Not everybody wants to show off their friendship to everyone, but if you do, this video tutorial will show you how to make a friendship bracelet, specifically the arrows and twist friendship bracelet. This is a beautiful pattern and looks rally nice when you use two shades of two similar colors.

Value shapes can be a struggle for an artist to learn, but it's worth the effort. With the right shading and definition, your drawings can really come alive. In this multi-part series, the artist walks you through value shapes for your portraits.

Go beyond the traditional 3D workflow to an immersive creative experience with the software Modo, created by Luxology. Modo is the next evolution of 3D modeling, painting and rendering for Mac and PC. Modo includes 3D sculpting tools, animation and network rendering, and advanced features such as n-gons and edge weighting.

Go beyond the traditional 3D workflow to an immersive creative experience with the software Modo, created by Luxology. Modo is the next evolution of 3D modeling, painting and rendering for Mac and PC. Modo includes 3D sculpting tools, animation and network rendering, and advanced features such as n-gons and edge weighting.

Go beyond the traditional 3D workflow to an immersive creative experience with the software Modo, created by Luxology. Modo is the next evolution of 3D modeling, painting and rendering for Mac and PC. Modo includes 3D sculpting tools, animation and network rendering, and advanced features such as n-gons and edge weighting.

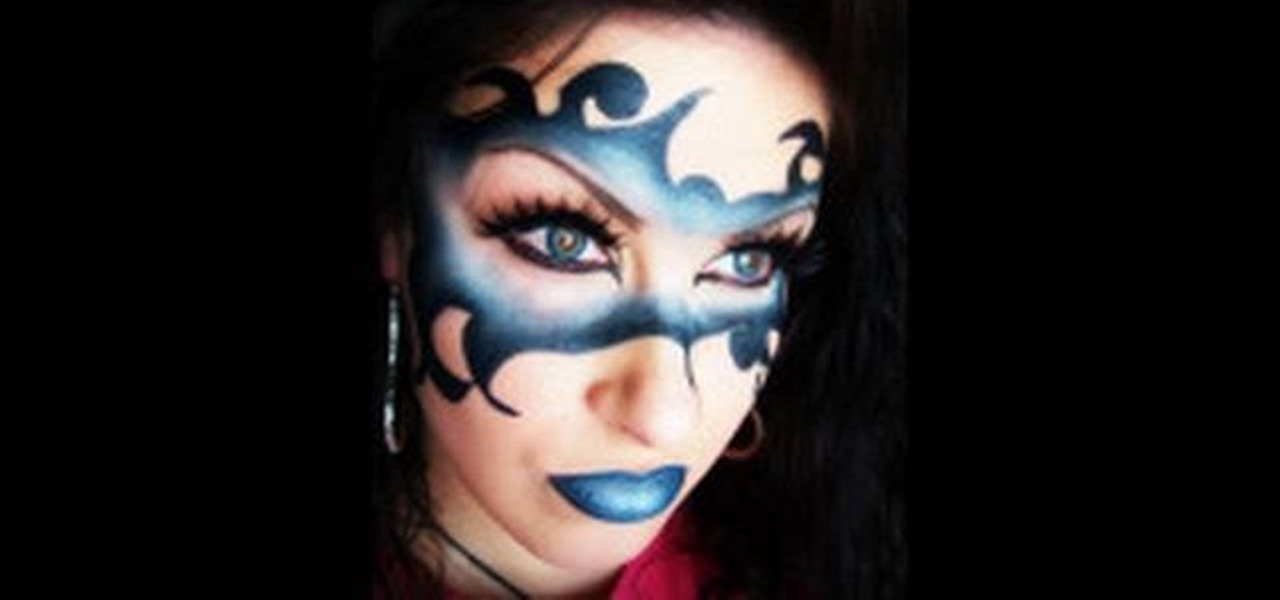
In this video, we learn how to apply a Mardi Gras devious mask with makeup. First, use a sharp black eyeliner pen to draw the mask around your eyes. It should be above your eyebrows and on your cheeks around your nose. After this, color it in with different shades of blue, leaving the center clear. After this, you will apply black eyeliner to the top and bottom of the eyes. Draw out the line on the outer edge to create a cat eye effect. From here, apply false eyelashes on the top of the eye a...

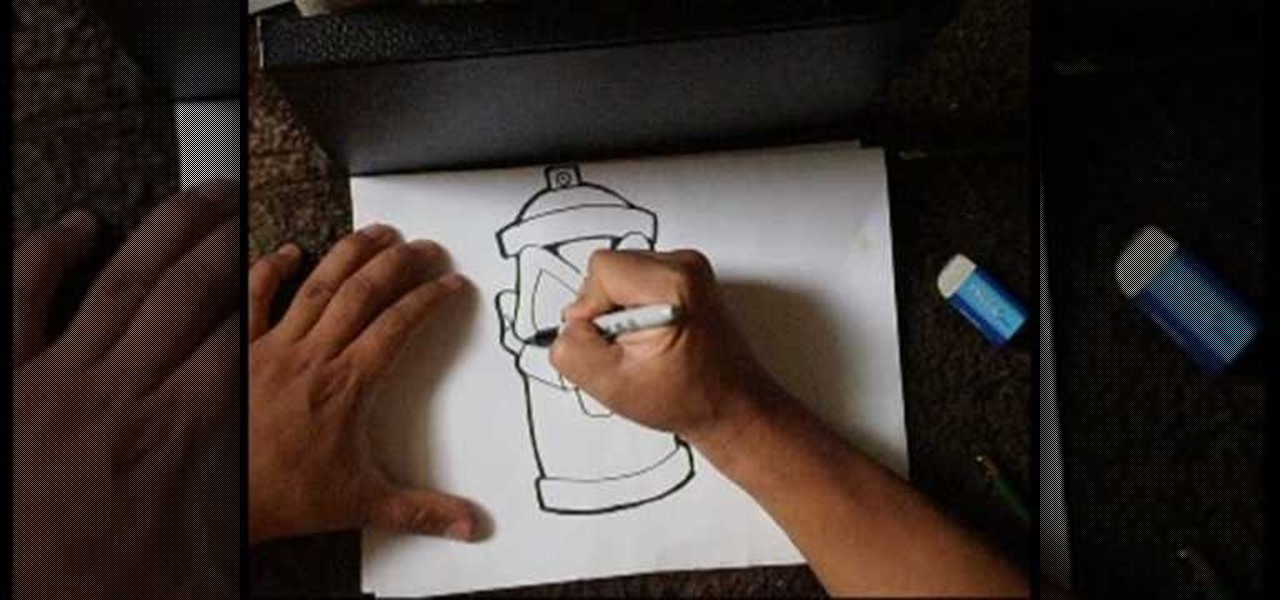
In this tutorial, we learn how to draw a spray can sketch. First, draw the face of the can on the piece of paper, drawing the eyes, nose, and mouth. After this, draw the surrounding parts of the can around the face. Draw the bottom and the top of the can as well as the top with the middle open area where the spray will come out. After this, draw in as much detail as you would like on your spray can. Use a black marker to shade in on the sides and make lines darker. When finished, save and enj...

In this tutorial, we learn how to draw Sonic the Werehog. Start by drawing the outline of the character, making sure to draw in the spiked hair on the back of the head. Then, draw in the circle for the head and use crossing lines to reference where you want the features of the face to go. Draw in the features and then add in more detail to them as well. Erase the background lines and then draw in the details of the body. From here, color in the body and then shade in corners to make it look m...

In this tutorial, we learn how to do a simple Mario drawing. First, take your pencil and start to draw the outline of the head. After this, you will draw in the mustache, nose, and mouth on his face. From here, draw in the hat on the top of the head and then draw in the eyes as well. Add in shading and lines to create additional details and depth in the drawing as well. Continue to draw in the body and the overalls that are on the body as well. Finish off with the legs and the shoes and then ...

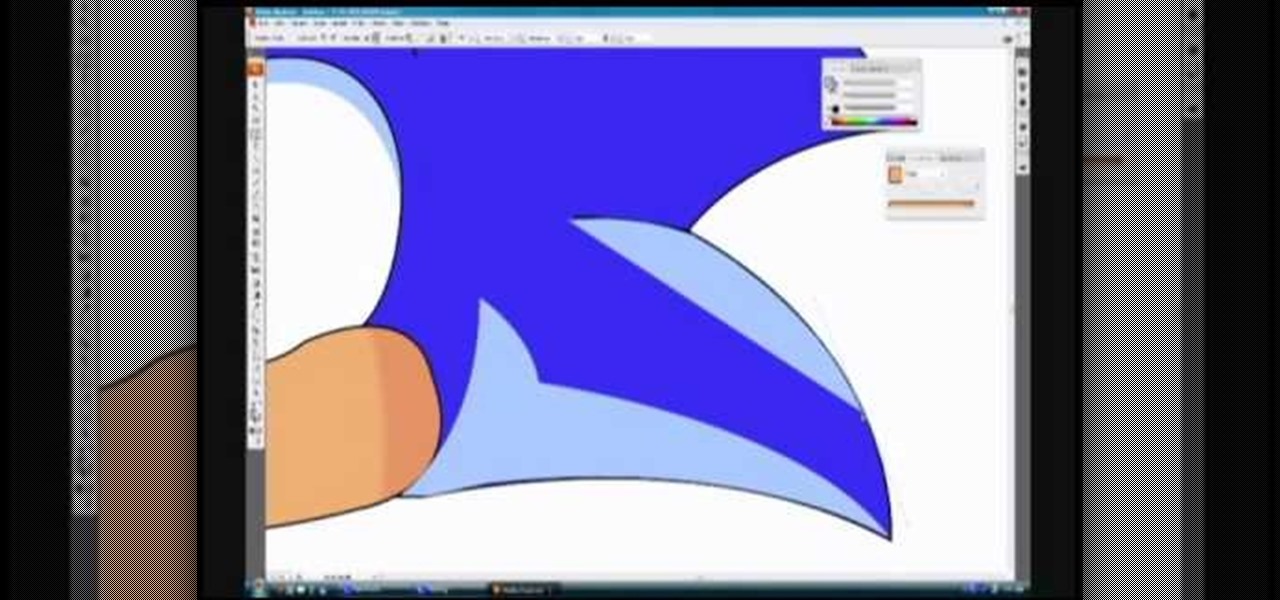
In this video, we learn how to draw Sonic in Adobe Illustrator. First, draw out the muzzle and the nose with a pen. From here, you will draw out the eyes and then make the outline for the ears and the hair. Next, draw in the details around the face. Once you do this, add color to the hair and to the face as you see fit. Then, add in additional lines to show creases and make him look more realistic. After this, add in shading with darker colors on the sides of the face and the hair. When finis...

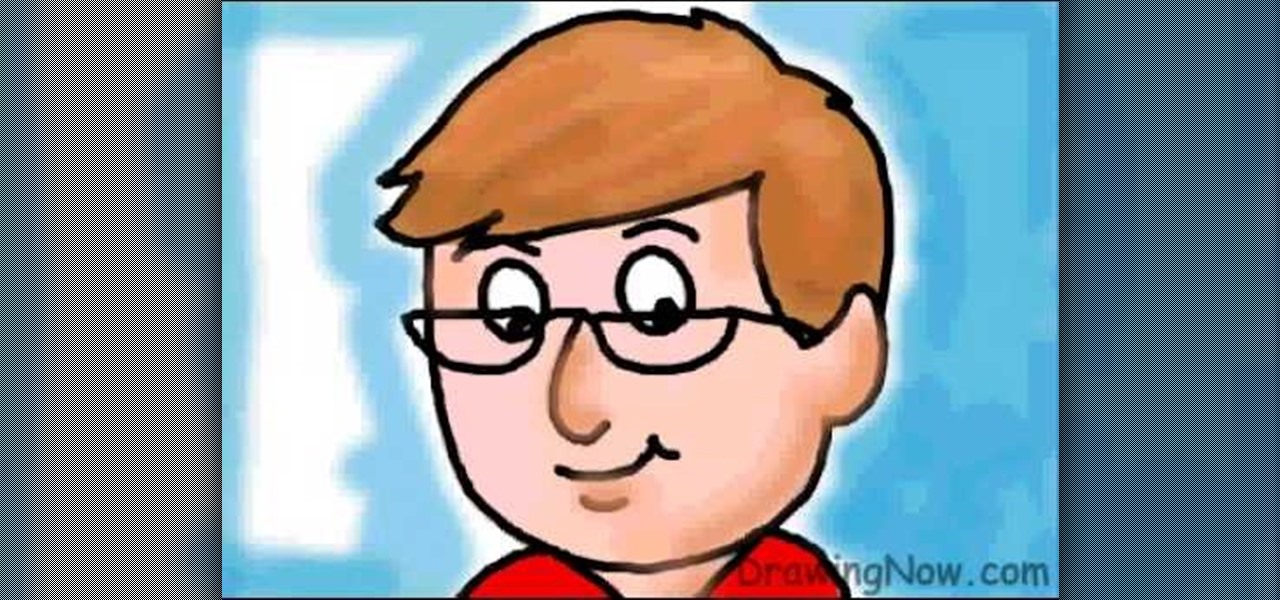
In this tutorial, we learn how to draw a cartoon dad. First, draw the oval for the head and then draw the hair and the facial features on with an outline. After this, color in the skin, hair, and collar of the shirt. Next, add in details for the hair and the face to make it look more realistic. Then, color in the shirt and outline the head and rest of the body with a black thick paintbrush. Draw on glasses to the face underneath the eyes to give the dad an older look. Then add shading and whi...

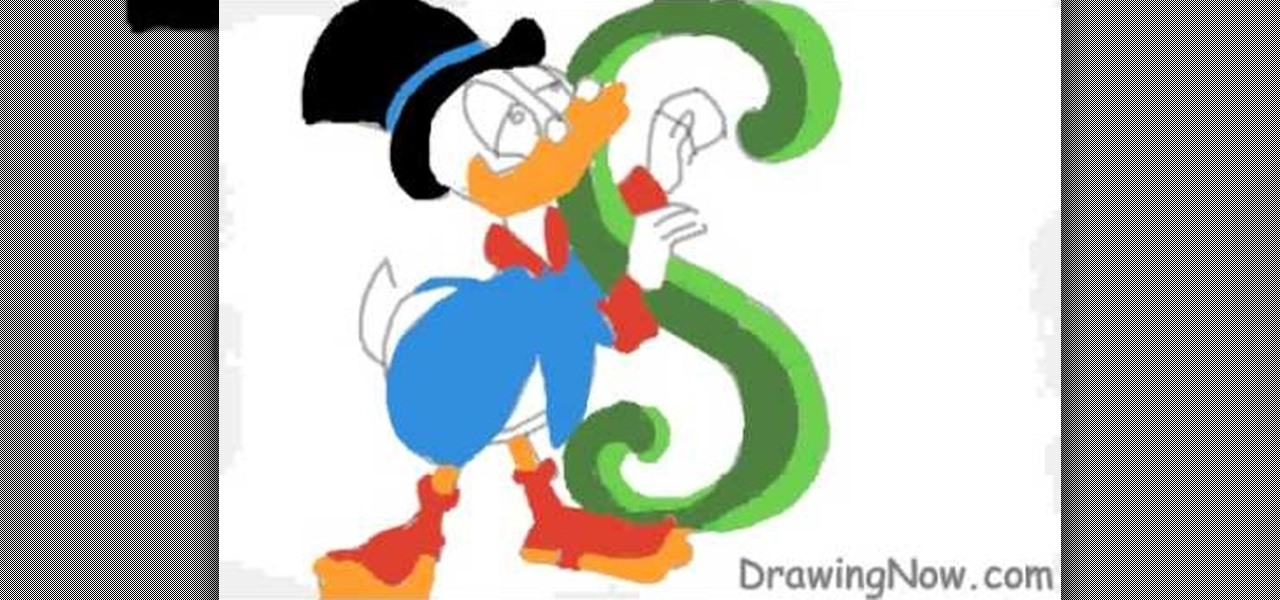
In this tutorial, we learn how to draw Uncle Scrooge McDuck. Start off by drawing the outline of the hat, heat, neck, upper body, instrument, and lower body. After this, draw on the eyes, glasses, and the beak. From here, you will start to add in additional details and erase the outline lines from where they aren't needed. Start to add in lines to create folds on the character and then color him in with the appropriate colors. After this, add in shading to different parts of him and his instr...

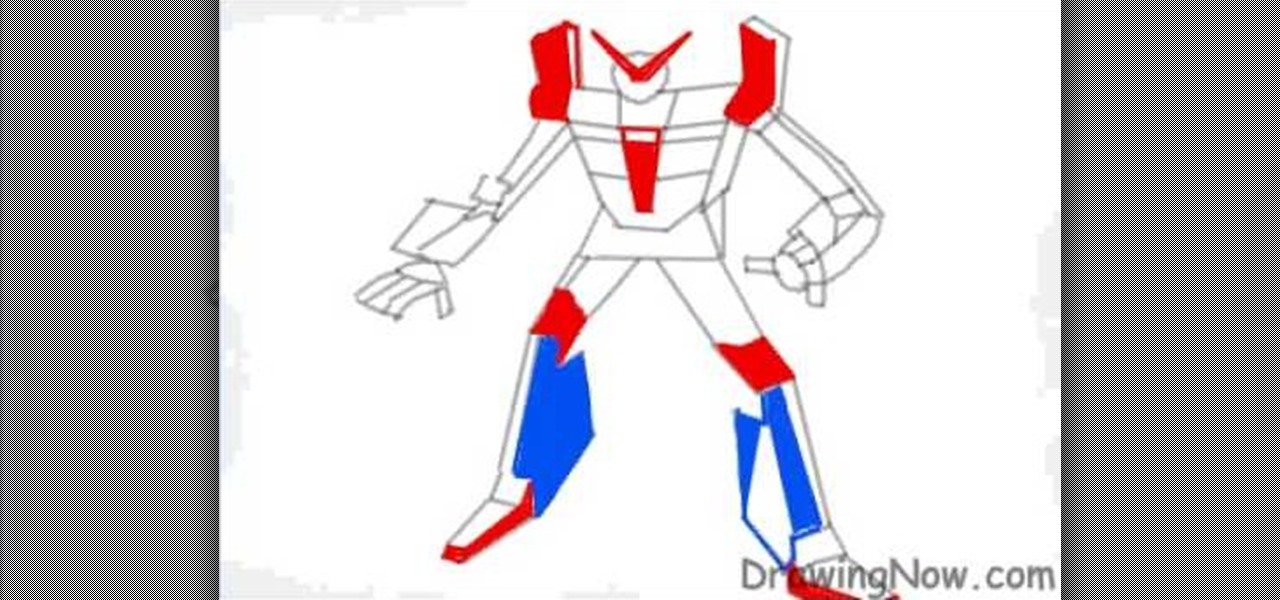
In this video, we learn how to draw a robot. Start off by drawing the outline of the robot, then draw in the details of the robot's exterior. Make sure to use squares to make it appear like the robot is a bunch of metal pieces put together. After this, you will fill in the robot with different colors of your choice. Make sure to add in small details around the figure to make it look more realistic. You can also add in shading to make it appear 3D. Once you are finished with the robot, make su...

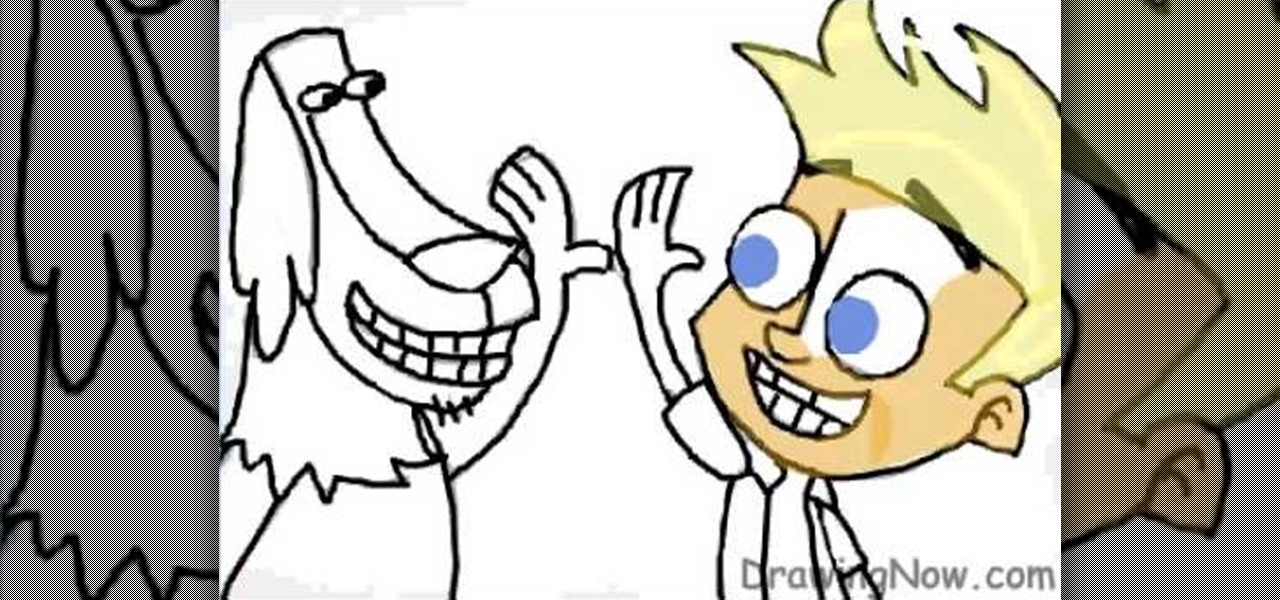
In this tutorial, we learn how to draw Johnny Test & Dukey. Start out by drawing the outlines for both of the characters. Next, you will draw in the features of the faces and then draw the details to both of the characters. Next, you will use a bolder line to draw on all the features to make it look like it's 3D. Next, add in the shading to the characters to make them look more realistic and draw the clothing on as well. To finish, color in the characters and their clothing. Finish off with f...

In this tutorial, we learn how to draw curvy steps using pens. To start, you will first draw a horizontal line with a point in it. From here, you will need to draw lines coming out of the point. These lines will act as your reference point for the different items in the drawing. Next, draw the steps using the reference points. The one at the bottom should be larger, getting smaller as you work your way up. Draw these using the triangle shape in sort of a wedge. Shade in the bottom area to cre...

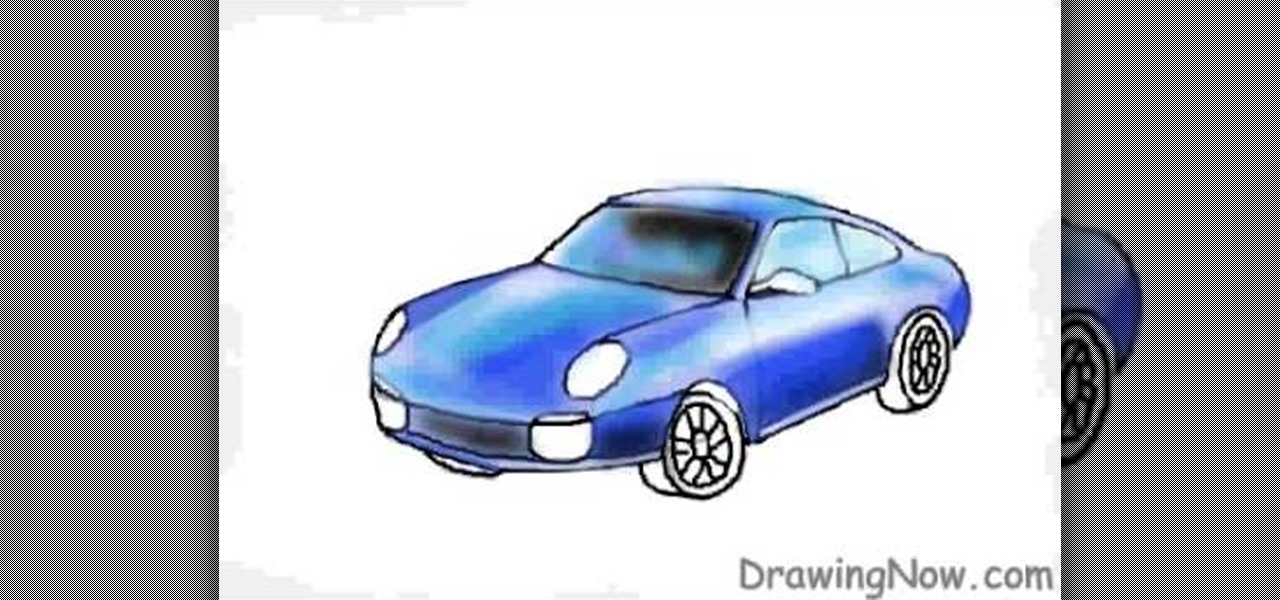
In this video, we learn how to draw a Porsche sports car. Start off by drawing an oval type of shape with lines to make the top of the car. Then, draw in the rest of the outline of the car and add on the wheels and the front of the vehicle as well. From here, you will start to add on the details to the front and sides of the car, as well as on the bottom. Use crosshatching and shading to make it appear realistic. Once the details are on this, use color to add a more in depth look to the car. ...

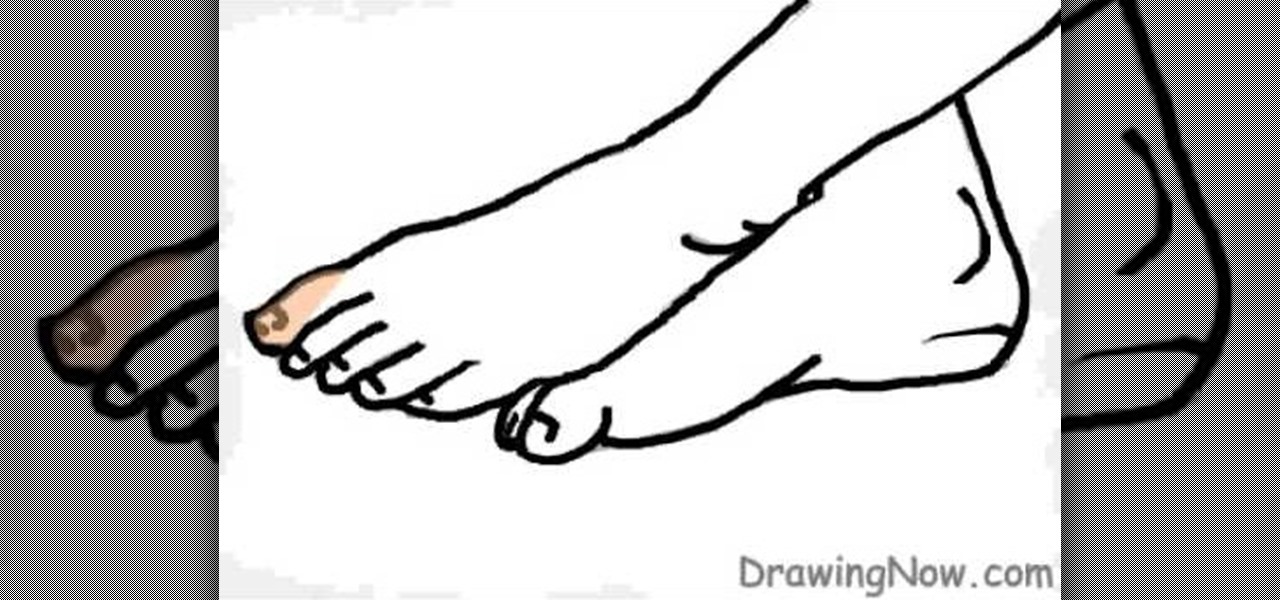
In this tutorial, we learn how to draw two feet. First, draw the feet crossed with just the ankles showing. After this, draw in the toes and then start to draw in lines where the muscles of the feet are. From here, you will start to add in the smaller details using a small brush. Then, create the toenails on the toes and color the feet and ankles a skin color. After this, add in gray to shade the lines onto the feet and ankles. Use darker lines to create contours of the limbs and then you wil...

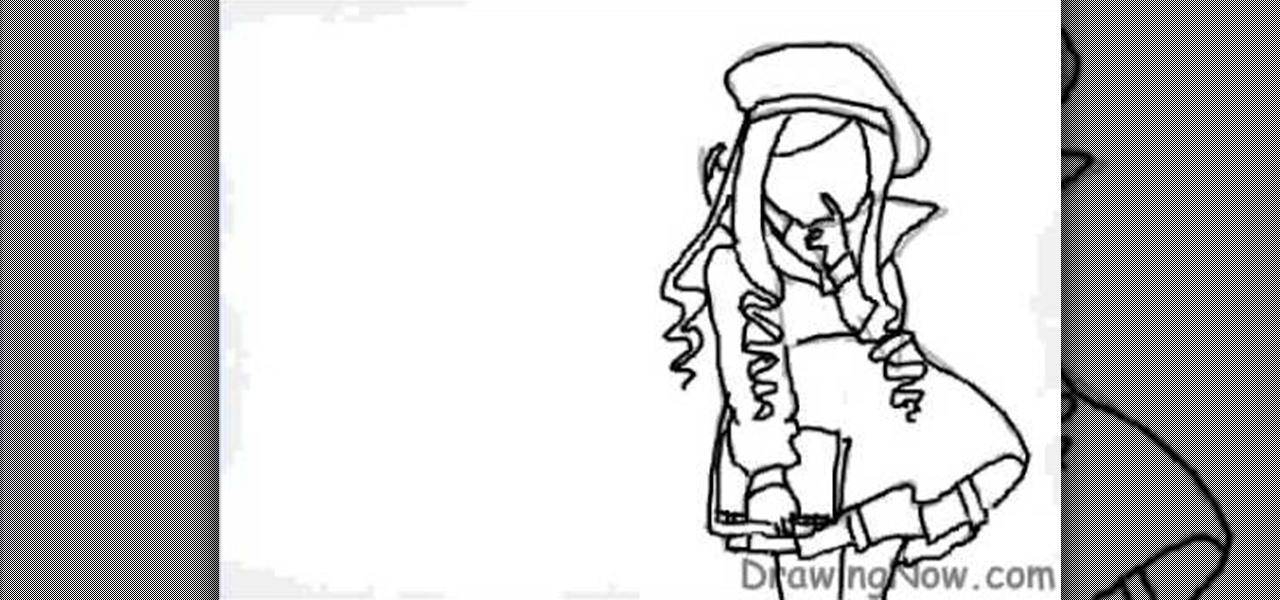
In this video, we learn how to draw mange clothes on a computer. There are many different types of manga clothes that you can draw, so study what you want to draw before you do it. When you start to draw, make sure you use great detail with the clothing, no matter what kind you are doing. After you draw the basic clothing, then add lines to show folds and creases inside of the clothing as well. Draw in shading around the inside of the clothes and then you will have your clothing complete. Enj...

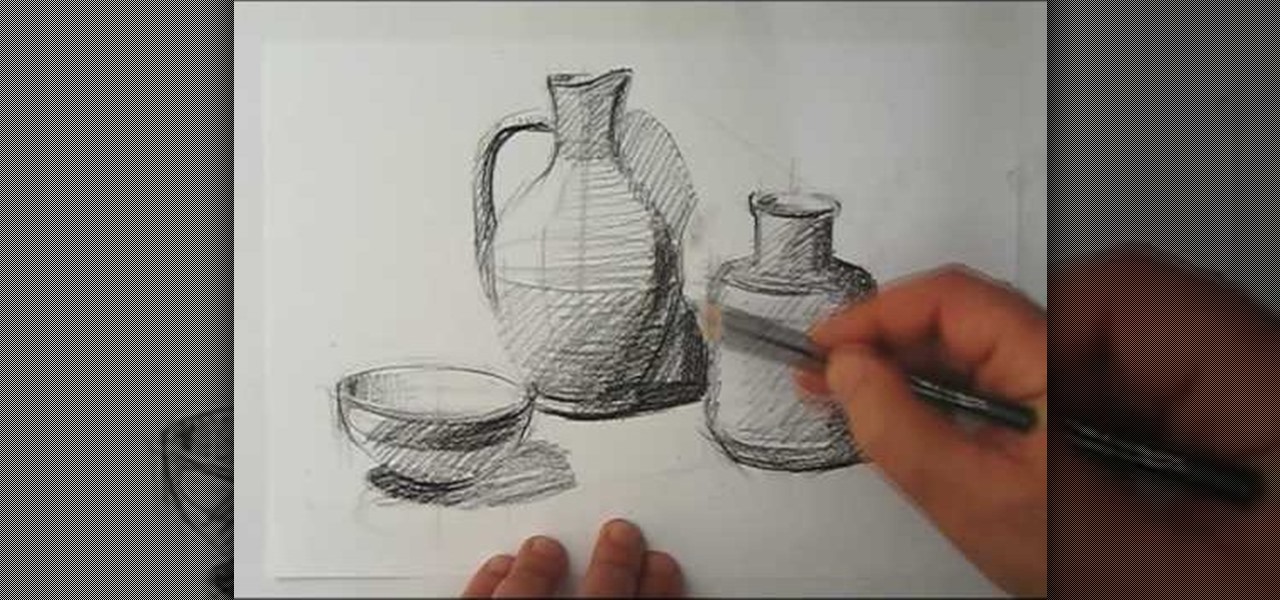
In this tutorial, we learn how to draw a still life. First, you will use the side of the pencil to draw the outline for the still life drawing. After this, continue to draw the outlines for all the objects that are in the model. Start to slowly add in the details, using the light touch of the pencil. As you continue, use the side of your pencil to shade and then use your eraser to blend. Continue to add in additional details as you go, then erase any background lines when needed. Enjoy drawin...

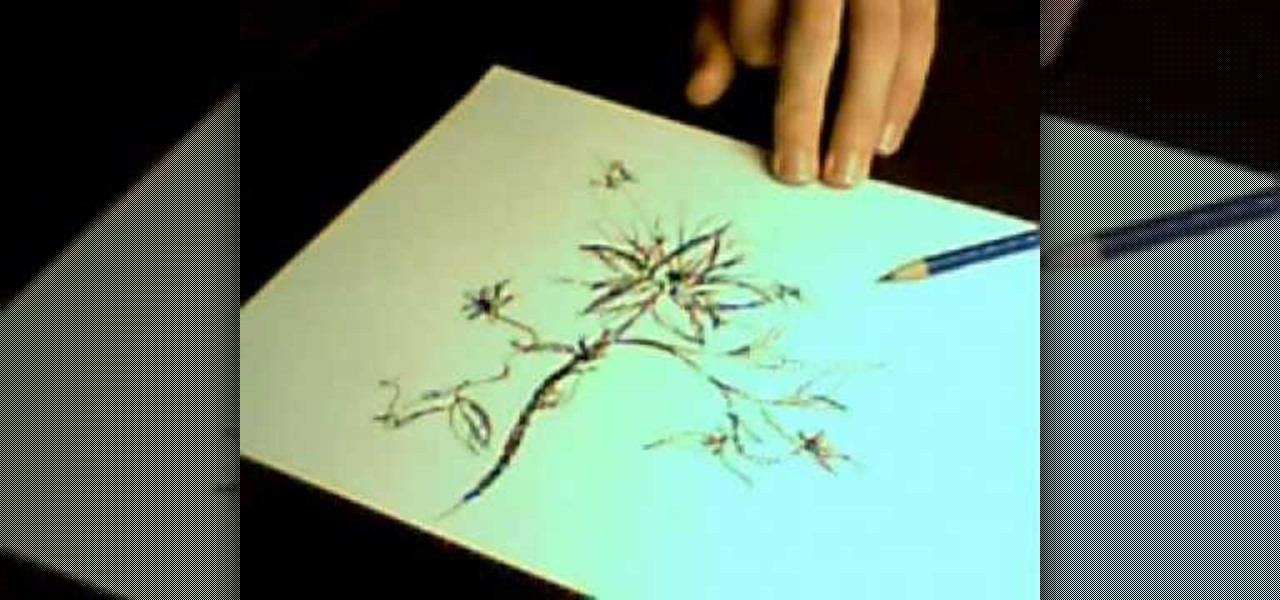
In this tutorial, we learn how to draw a wild magical flower. Start out by using a pencil with a light touch to create the outline for the flower. Make wispy lines to create the leaves and the flowers. Also, draw in the middle of the flower to create additional details. Then, draw in the leaves with the middle vine going down off the page. Continue on the draw in additional flowers off of the vine. Use the wispy edge of the pencil to create a more majestic and magical type of flower. Color in...

In this video, we learn how to draw the classic Sonic the Hedgehog character. First, draw a round circle for the head. Then, draw in the eyes and the hair around the head in big huge lines. After this, sketch in the rest of the body. Then, start add details to the head, drawing in the eyes, mouth, and hair lines. From here, draw in the details of the body and then create the leg and feet clothing as well. Draw a bold black line over all of it, then you will add in shading to finish up this dr...

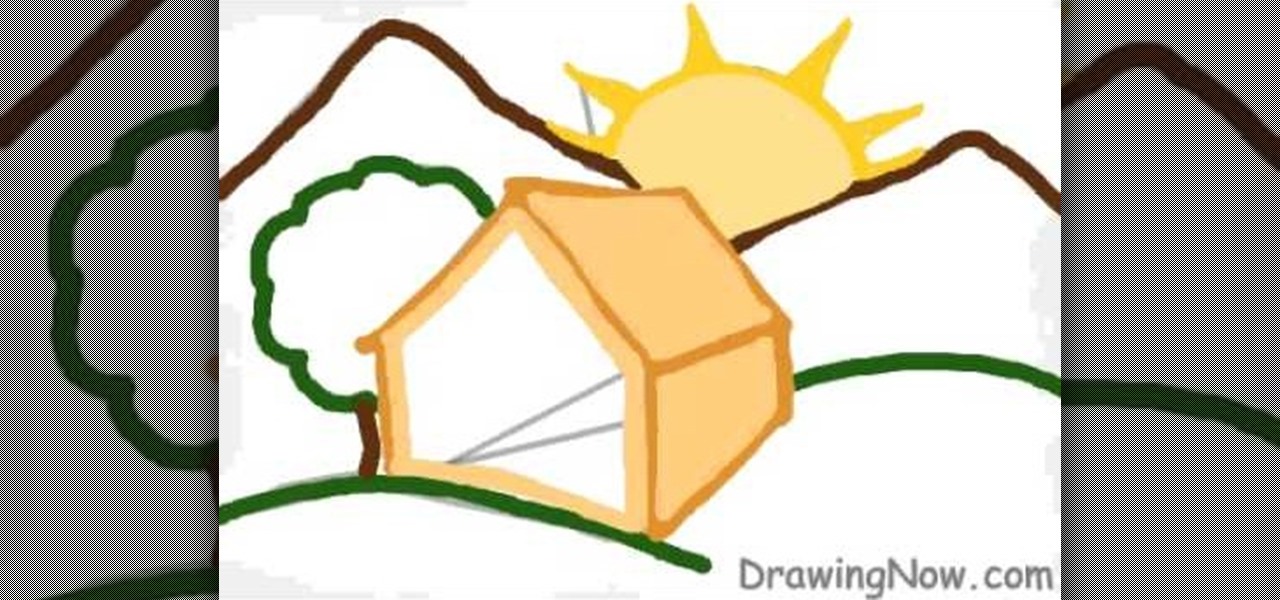
In this video, we learn how to draw a cartoon cottage scene. Start out by drawing the outline for the house, a tree, the sun, and mountains. After this, add color to the mountains and everything else in the scene. From here, color in the sun and then start to create the cottage. Make sure to add details to it, like a roof and a door and windows. Then, color the ground green to make it look like it's set out in the wilderness. Once finished, add in shading to make it look more realistic and th...

In this tutorial, we learn how to draw a foot. To start, you will first need to draw the outline of the foot. You can easily do this by first drawing out the ankle and then drawing the rest of the foot. Look at your foot if you need help to figure out where the different contours are. Then, draw in the toes and add in the toenails. Once you do this, you will be able to add in the shading around the foot as well as the lines to the skin to make it look more realistic. When finished, sign with ...

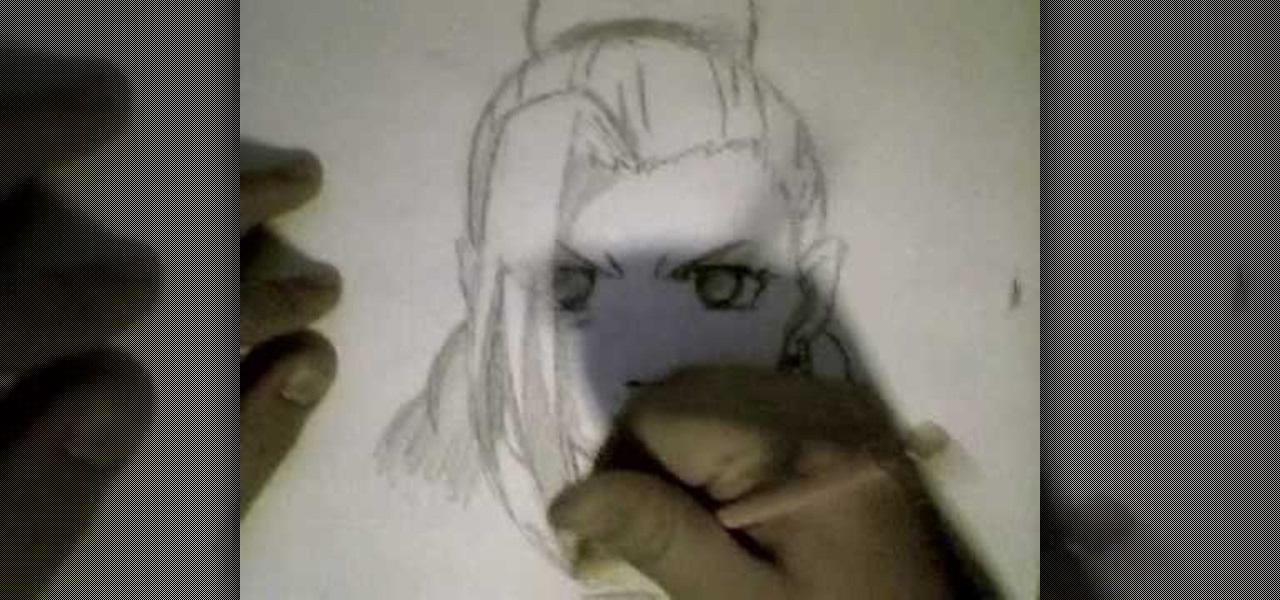
In this video, we learn how to draw Ino from Naruto. Start off by drawing a circle for the head, then drawing lines in the middle to create reference for where the facial features will go. After this, draw in the hair on the top of the head along with the eyes, eyebrows, and creases of the eye. Then, draw the jaw line around the face and erase the lines you used for reference. After this, add in additional lines and hair to make it look more realistic. Use shading around the face to show ligh...

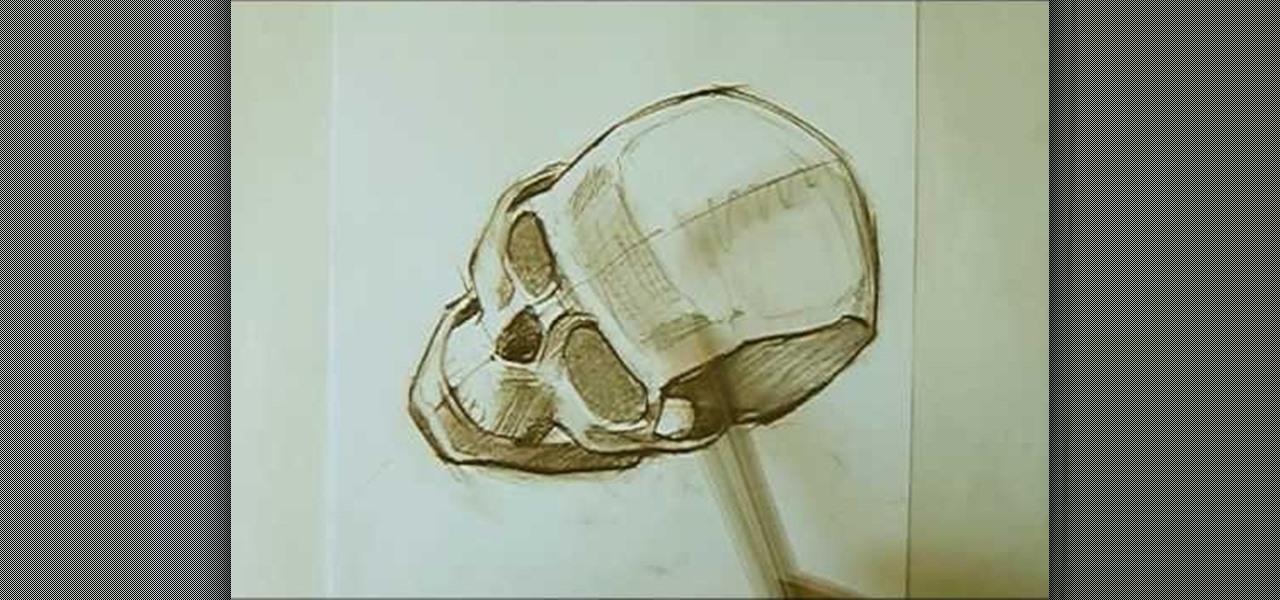
In this tutorial, we learn how to draw a skull with proper proportions. First, draw the outline of the skull with the light touch of a pencil. After this, use the pencil to draw two crossing lines that are the same length. Next, draw in the features of the face and head using the lines on the drawing. From here, you will start to add in the details to the features of the face and erase any background lines. Use the side of your pencil and the top of it to shade in the sockets and lines. To fi...

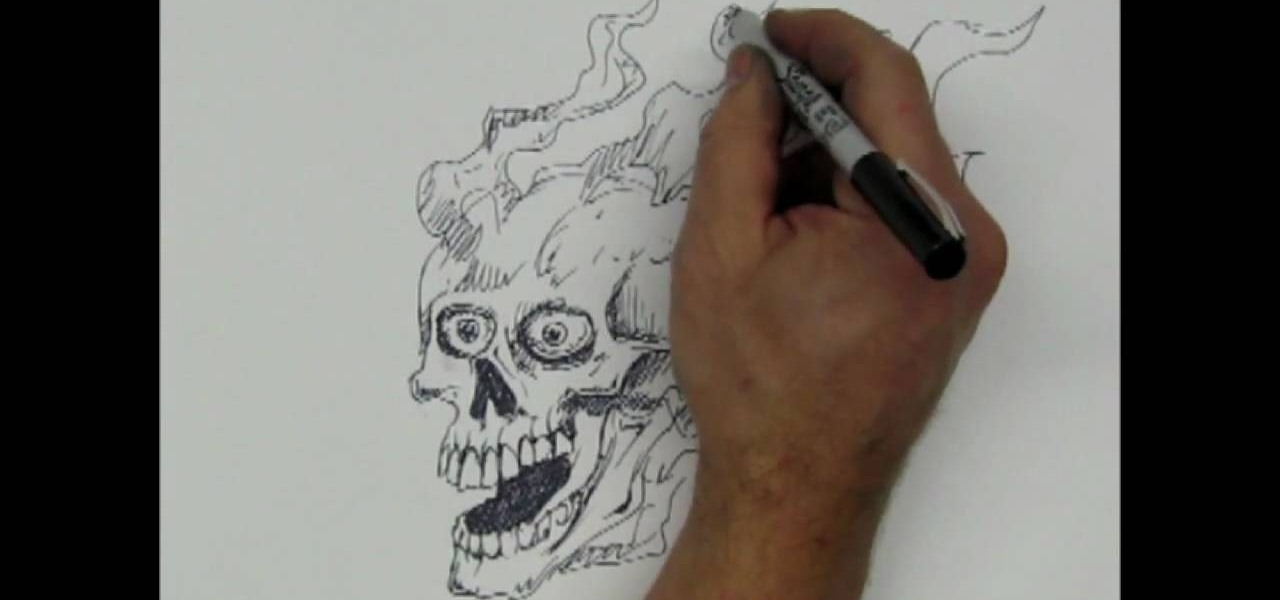
In this tutorial, we learn how to draw a skull with a Sharpie. First you will draw the eyes, make sure to draw lots of little lines around them then cross them to create depth. From here, draw the outline to the head and then the nose and the teeth. Make sure to add lines in around the head to show cracking and marks around the head. Use shading to create darker lines along the head and then add in additional details. Make this unique to you, it doesn't have to look one certain way. When fini...

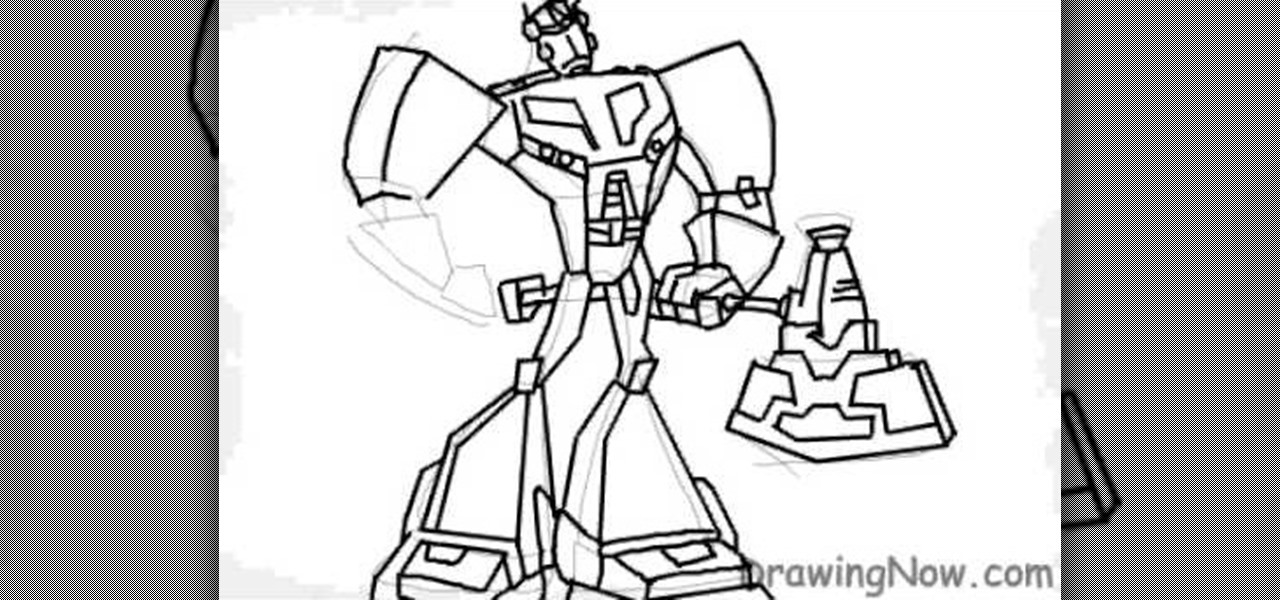
In this tutorial, we learn how to draw Optimus Prime of Transformers. Start off by drawing the outline of the entire body of the character. Make sure to add in the large arms and feet as well. Next, draw over this to make a more elaborate outline including the details for Optimus Prime. Once you have all the details draw, erase the background lines. Ten, color in the character and add in lines and shading to make it look more realistic. Once you have done this, then you will finish off with a...

In this tutorial, we learn how to create a nice drawing composition. First, use your pencil to sketch a light outline of the still life objects that you're drawing. After this, you will add in lines on the side of them for their shadows, then shade the area in between the lines in. Next, you will darken up the sides of the shapes to make them appear more in-depth and make them look more real. Use your pencil to blur the pencil markings and make everything look more realistic. When finished, y...


