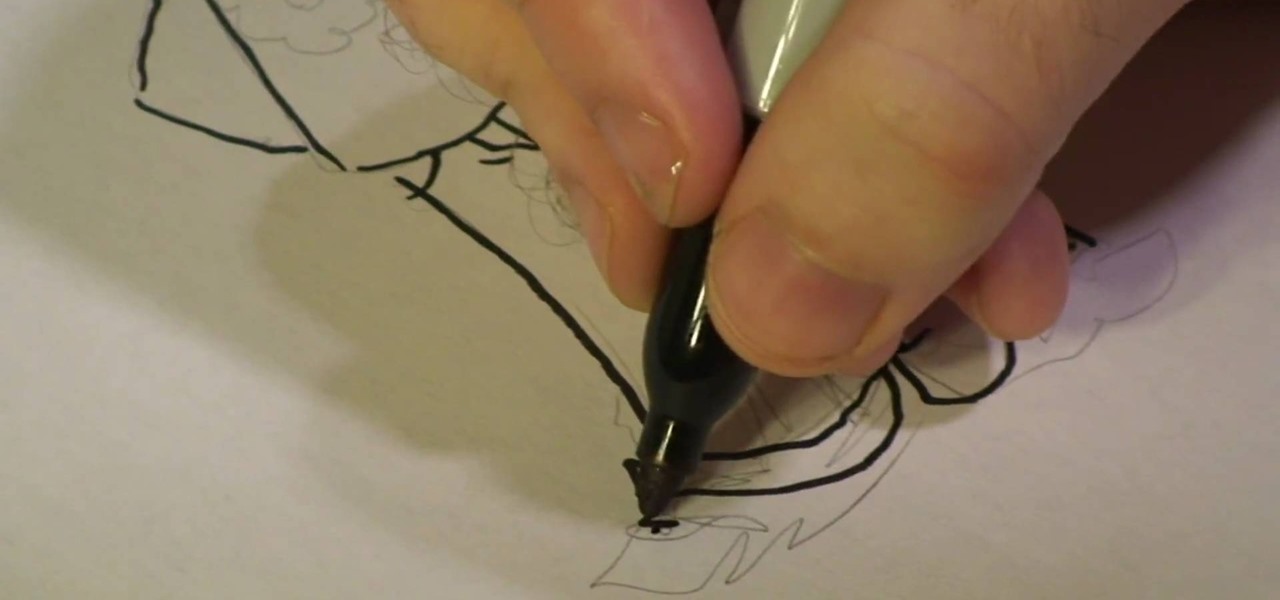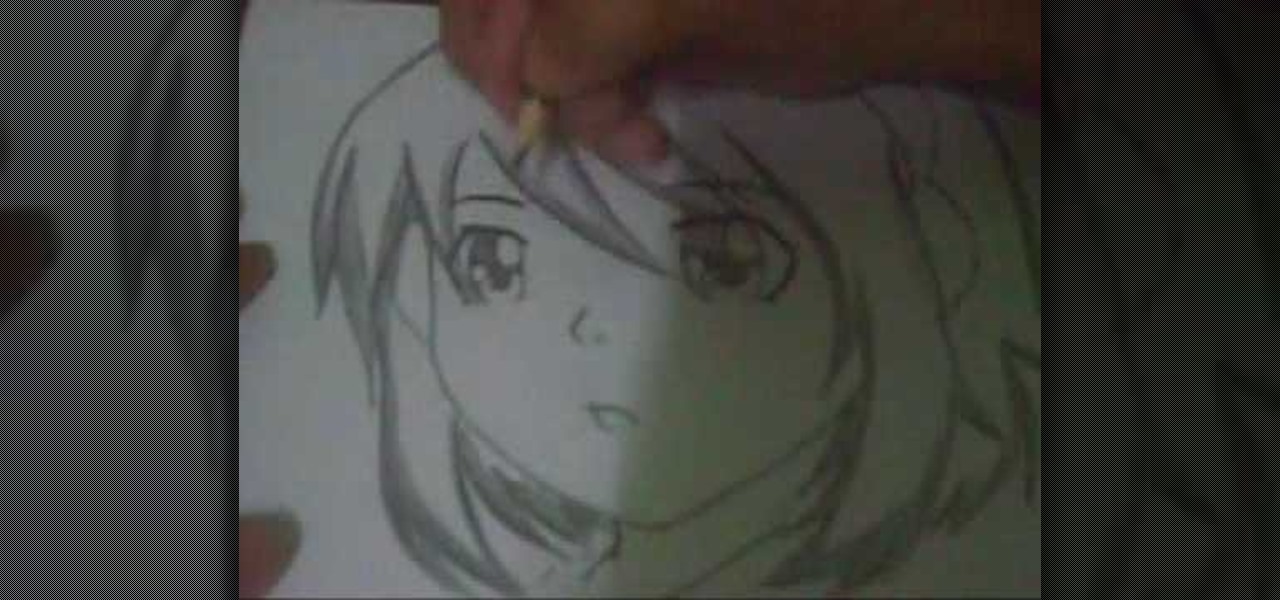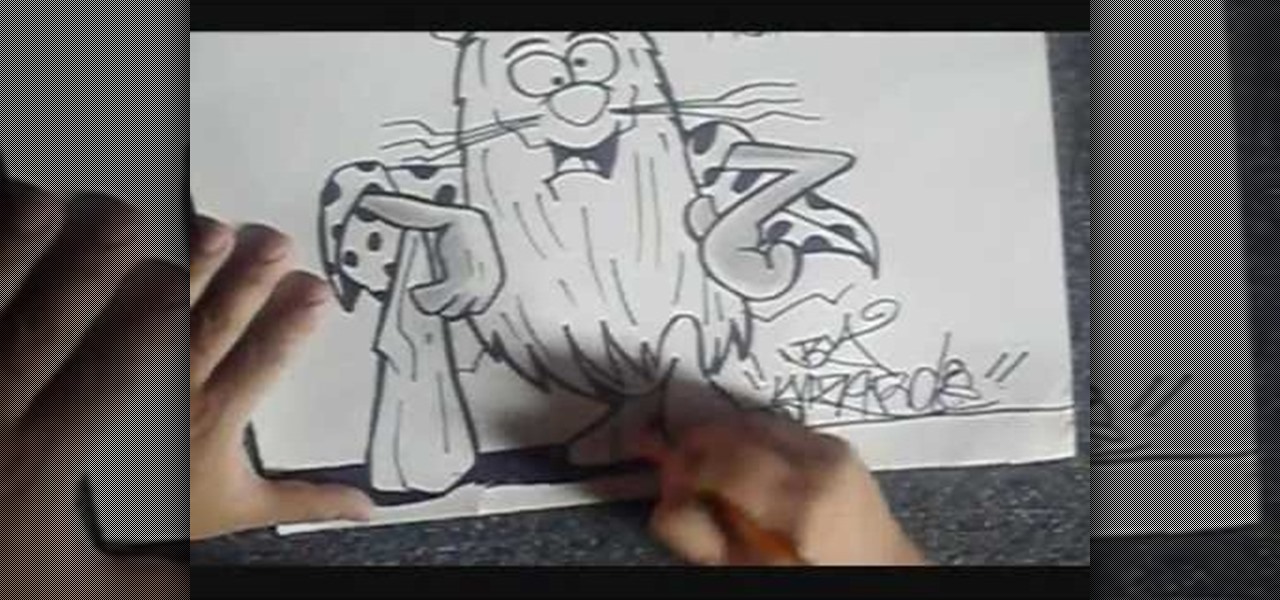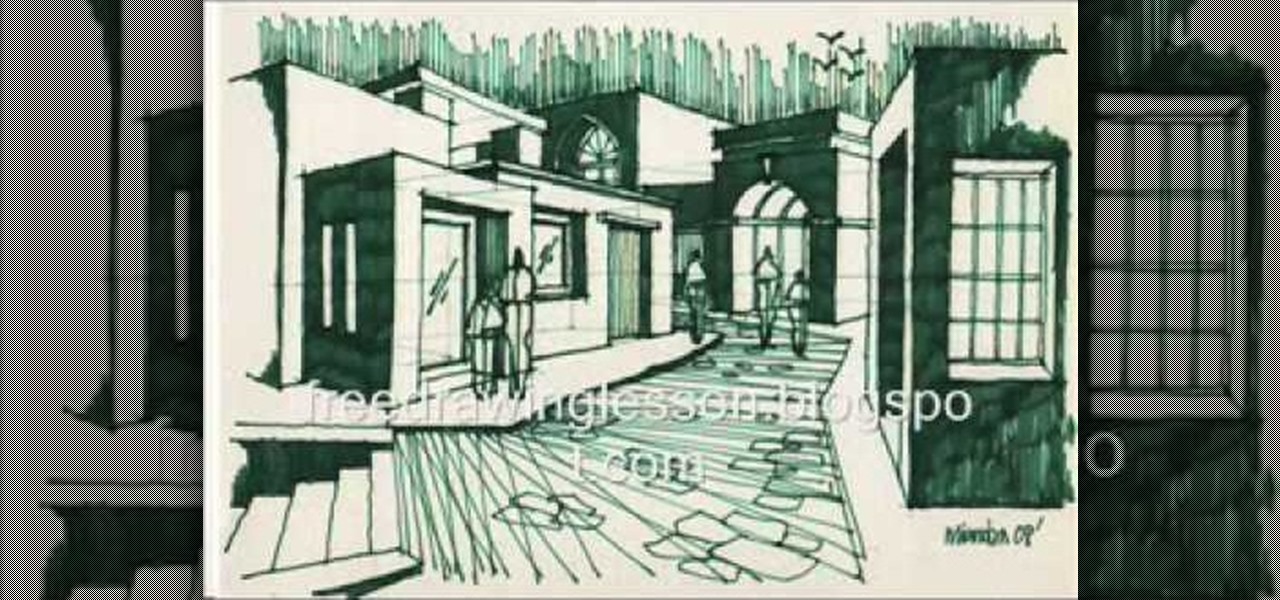
In this video, we learn how to draw a simple scenery. Start by drawing a horizontal line across the page. From here, draw reference boxes along the middle of the line. Now you can start filling in more details, making buildings out of the boxes. After this, make people outside of the buildings, then make a street and trees in the background. Fill in shading and lines to make the picture more realistic. The key to this is to learn how to start with your reference point to make everything flow ...
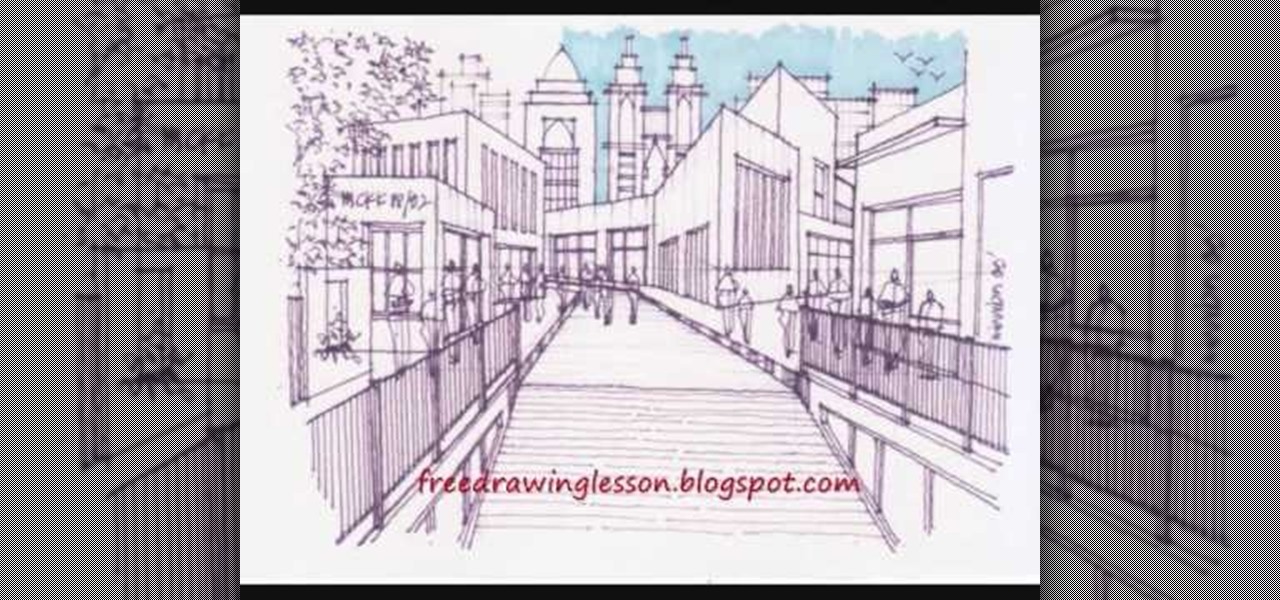
In this video, we learn how to draw and color a city with art markers. First, draw a horizontal line as your reference point to where the city buildings are going to go. Make a point in the middle as the background line. Now, start to draw in the buildings around the middle line, making diagonal straight lines, then drawing in the details of the buildings. Draw in taller buildings in the back, then start to draw the larger details in the front of the drawing. Add in shading and details as nee...

In this tutorial, we learn how to draw steps in perspective. Start off by drawing a dot in the middle of the paper. From here, draw lines using a ruler coming from the middle diagonally on the top middle and sides. Now, you will be able to draw your pictures using these as a reference point. The lines at the top will show the steps that are at the top and farthest away the closer they get to the dot in the middle. After this, fill in the details of the picture making different items around th...

In this video tutorial, viewers learn how to draw a cartoon bird. Using the gray pencil tool, draw an oval shape for the body of the bird. Then create the lines for the wing and tail. Now add the details with black outlines. Then use transparent colors to fill the body, tail and wing with different shades of color. Add details to the wing by drawing some lines. The beak should be short and sharp, and the eyes should be highlighted in white. Color the branch with the brown paint tool and the l...
In this tutorial, we learn how to whiten teeth in one minute using household items. You will need: a lemon, baking powder, and a cup to do this. First, pour baking powder into a cup and then squeeze the juice of a lemon into the cup. After this, mix the two together until you have a paste and all water. Now, rinse your mouth out with this mixture. Do this several times a week and you can get your teeth to become eight shades whiter! This is a great way to whiten your teeth without having to s...
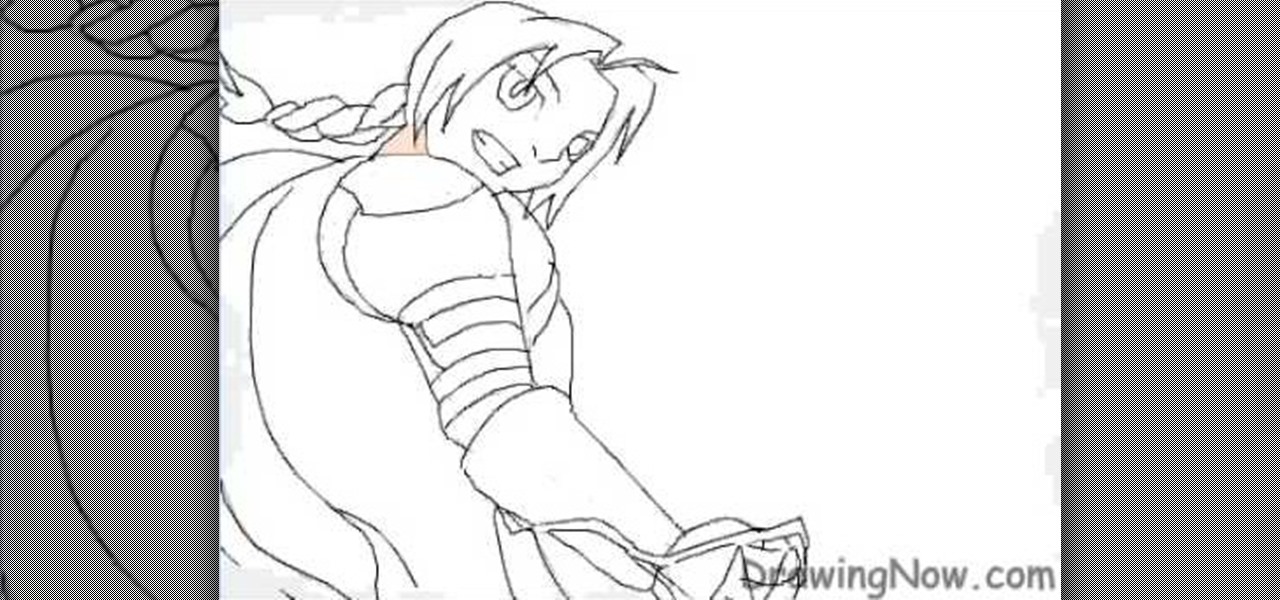
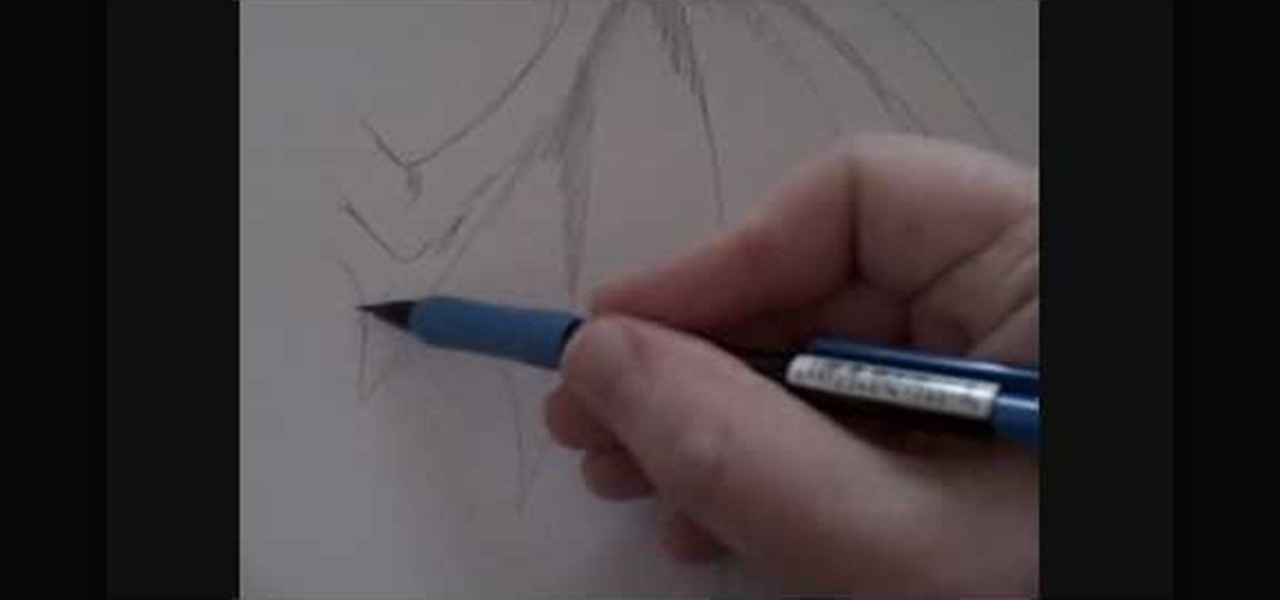
In this video tutorial, viewers learn how to draw the animated character, Edward Elric. Begin by drawing the guidelines of the character in 30% black pencil lines. The head is drawn as an oval shape. The shoulder is guided by a large circle and the elbow by a smaller circle. Connect the shoulder and elbow together with a stick line. Add details with the opaque pencil and erase the guidelines. To color, start with a mid-tone and add shading. Use some transparent tones on the mechanical arm. Hi...

Drawingnow.com not only shows you how to draw the moon, but also shows what could be described as, drawing everything but the moon. Since your paper is white and so is the moon you will start off by drawing your circle and adding light shading in the bottom half of your moon. Now you can start with your black marker, pastel or drawing instrument of your choice, blacking out the rest of the paper around the moon. With the rest of your page blacked out, it really accentuates your moon and almos...

In this Home & Garden video tutorial you will learn how to grow and juice wheatgrass. Take wheat seed in a bucket, add little bit of compost and wet it with water. Take a tray, make few holes in the bottom, put newspaper, fill the tray with compost up to halfway, spread the wheat seeds and cover the tray with newspaper. After a day or two, remove the paper and put the sprouts in shade. Wait for 8 – 10 days and the wheat grass is ready. Then cut it with love with scissors, wash it thoroughly...

In this how-to video, you will learn how to dry a simple version of Shy Guy from Mario Brothers. You can use a pen or pencil on paper, or even software such as Illustrator or Photoshop. First, start off by making a circle. This will be the face of the character. Draw in the two elongated ovals for the eyes and shade in with black. Next, draw a small black circle for the mouth. Now, draw the hood and robe of the character. The arms and feet are next. Draw the belt and buckle of the character a...

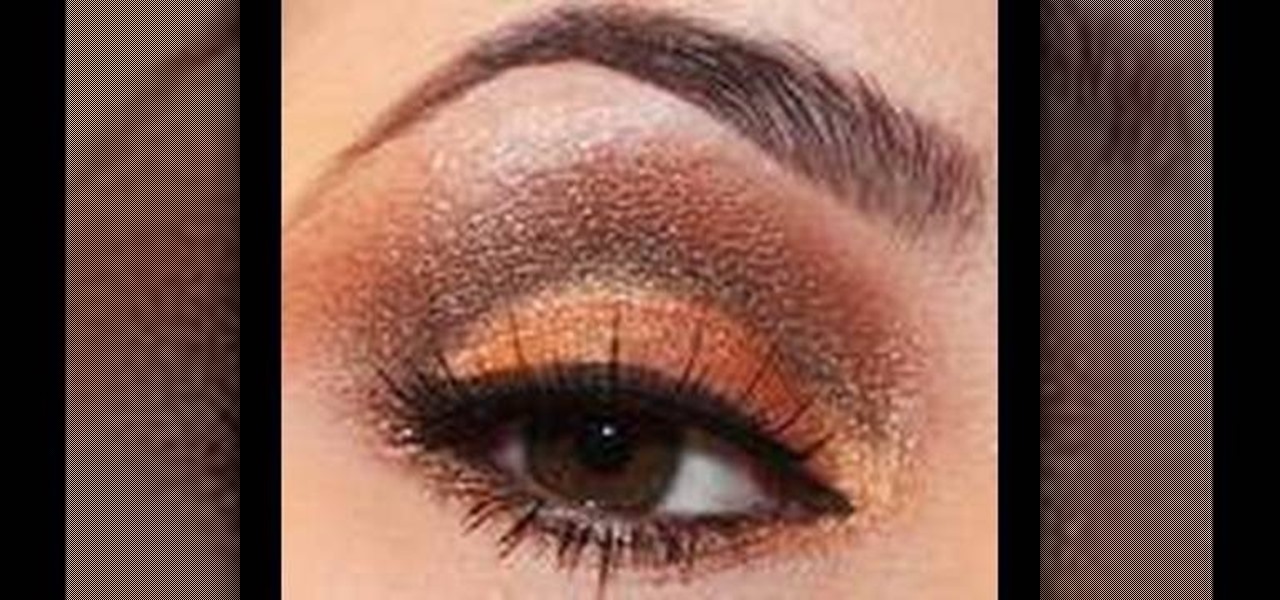
This video illustrate us how to create a cut crease golden brown eye look. Here are the following steps.Step 1: Apply a primer on the upper eyelid and the lower eyelid.Step 2: Take a mat brown eyeliner and draw and outer round smooth line which folds inward to the inner eye.Step 3: Now take a brown eyeshadow and apply it on the upper lid above the line. Smudge it well.Step 4: Now take a golden eyeshadow and apply it on the upper lid below the line and smudge well .Apply the eyeshadow on one t...

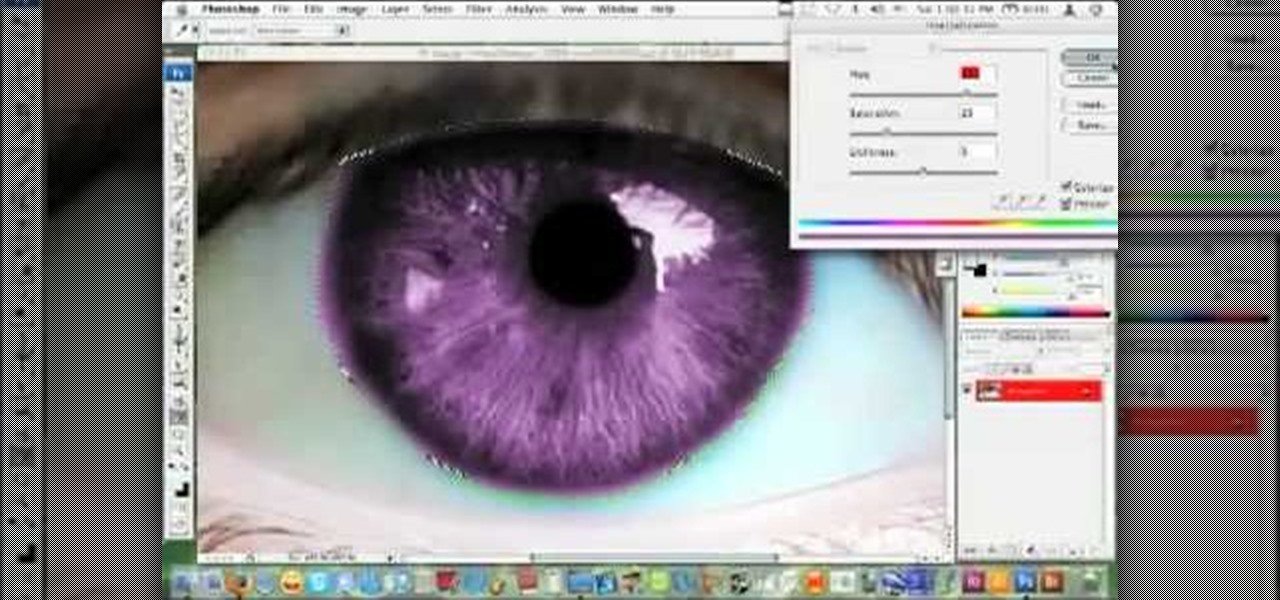
hotarrows223 demonstrates how to manipulate the eye color in a photograph using the masking tool. First, you must open the image with the eyes you intend to work on with Photoshop CS3. Next.], you must zoom in on an eye. You should be at the point where the iris fills up more than half of your screen. After that, you must select the iris, outlining it with the selection tool. Then, select image>adjustments>Hue/Saturation. Make sure all the boxes are checked, then adjust the hue or color bar t...

This video helps to draw Bowser Jr. First draw a half circle and join the ends by drawing two curves as shown in the video. Continue the left line, to draw a mouth and end it with a small arc to look like a smile. Then close the line by joining it with the right end. On the top of the half circle draw an arc and above it draw a feather shaped hair as shown. Next you have to draw eyes with eyelashes and make them look dark. Now, draw two short lines which looks like nostrils as shown in the vi...

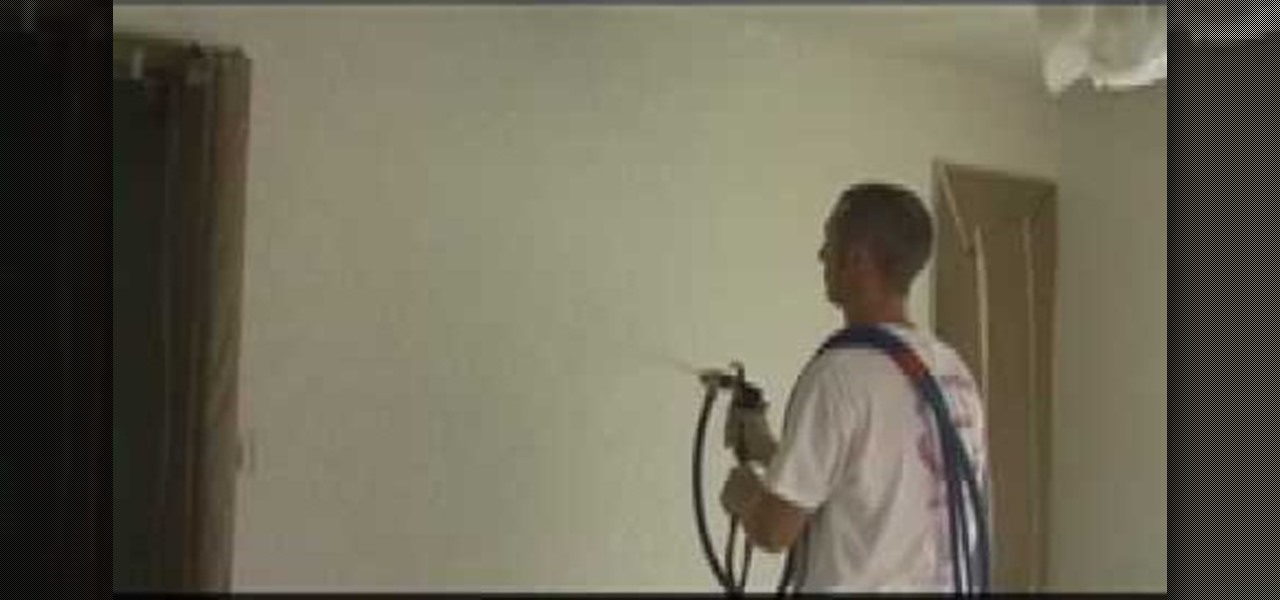
In this Home & Garden video tutorial you will learn how to remove popcorn and re-spray knockdown texture. First of all you will need to cover the floor and any hangings from the ceiling like chandeliers with plastic covering. Then you need to scrape off the areas on the ceiling and the walls and remove the popcorn completely. After it is fully removed, paint with spray paint. You will need to paint the whole room as the shade of the new paint will not match with that of the old paint. After t...

It is easy to find out that right triangle is only half of the square. And again there is a rectangle with a triangle shaded in red color. The red triangle is half the area of the rectangle. But to calculate just the area of triangle, we can calculate the area of the rectangle whose area is length times width. When we have a rectangle with its length and width as 4u and 2u respectively then the area of that rectangle will be equal to 8u(squared). But we already know that the triangle is half ...

1985rey teaches you how to draw SpongeBob Squarepants on your computer, using Paint. To start with an existing picture of the character to get the look and feel, use the brush tool, using black and make a large spongy head. Add circles on the side to make it look like 3D. Draw the eyes, eyebrows, nose, cheek and mouth with teeth and tongue. Once you're done with the head, continue drawing the body, with legs and pants and also the hands. Now you can start coloring in with a yellow for the who...

Learn how to draw Eeyore from the Winnie the Pooh book series. 1. Draw a circle for Eeyore's face and add in his ears. 2. Draw his body as almost an egg shape and add in his front legs as cylinders. 3. Add in his back legs and tail and add details to Eeyore's face. 4. Add eyes and mane and start to add color to his body. 5. Continue to color Eeyore and finally add shade.

Learn how you can draw an "imaginary box" and then replace the box with 3-D everyday objects. You can learn to do just that by watching this video. There are hundreds and hundreds of objects that you will be able to draw after learning how to draw this imaginary box and build off of it. You can draw a floor lamp, a refrigerator, a house and so much more just by using this neat artist' tip. The lines of the box help you to center your picture and make it look more realistic and the shading is ...

This is a video in which drawing artist Wayne Tully demonstrates an easy and simple method of drawing a dragon's wing. Wayne points out that the dragon's wing is identical in shape to a bat's wing and advises the viewer to study some pictures of bat's wings. This helps one get a good idea about what a dragon's wing should look like. Shading the inside parts of bone structure of the wing improves the quality of the drawing and gives it a realistic feel.

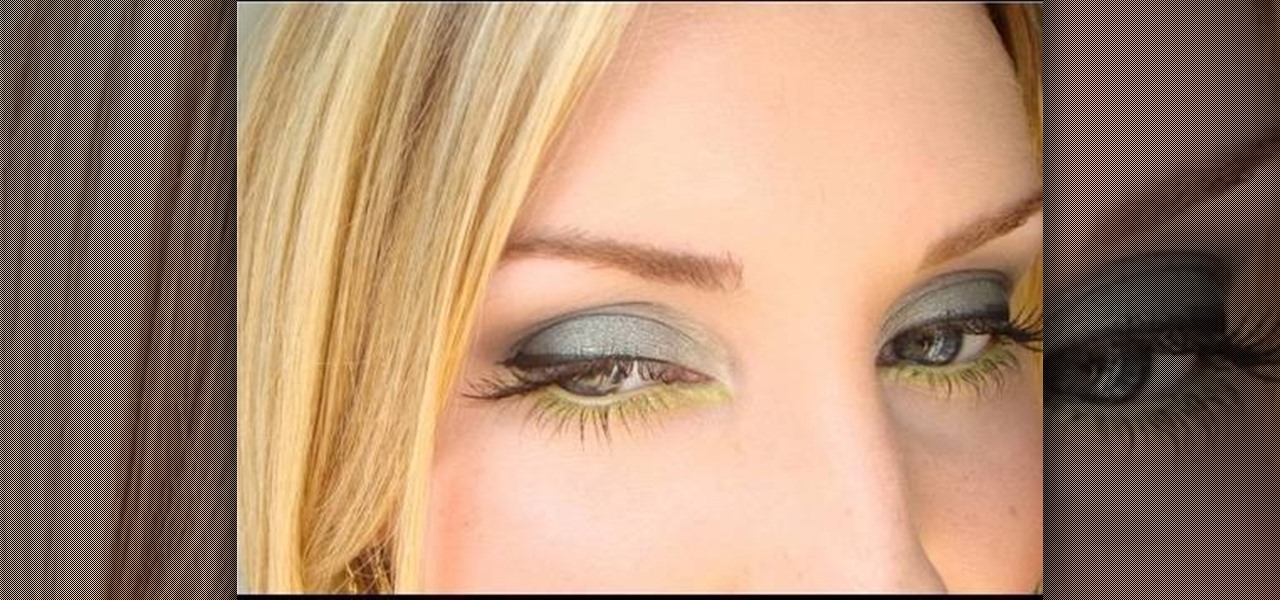
Tiffany D from Makeup by Tiffany D as seen on YouTube teaches how to apply a smoky fall green eyeshadow look to eyes. Apply a creasing product to the eyelid, and a black eyeshadow base then blend with a blending brush. Apply the first shade of green eyeshadow to lower middle and center of eyelid. (Can apply second green eyeshadow color if desired to outer corner eyelid). Apply the third lighter green eyeshadow color in the tear duct area, sweeping upward. Apply the fourth eyeshadow color in t...

Drawing a human being doesn't have to be difficult. With a little practice, it can be as easy as pie. You'll need a sketch pen, pencil and a paper. Draw the outline of a boy and a girl. Then you can draw the eyes, nose, lips and the body structure respectively. Then give the shades on the outline to make it look more graceful.

Applying eyeshadow can be a slightly troublesome task, especially if you're trying to go for a more natural look. Find out how to do it by watching this video tutorial by celebrity make up artist Cyvia Lewis. In this video, you will be using a shade of eyeshadow that closely resembles the color of your skin. This is great for moms who are constantly on the go. Cyvia's video tutorial is an easier method of applying eyeshadow that will give you a more natural and professional look.

Michael, a graphic designer, teaches us how to draw a cartoon girl's clothing. He draws this image in some light shaded pencil. He draws her hair, ear and the basic outline of her face. He then draws her basic build which is her chest, her arms and her legs. He uses a marker to highlight his strokes. He uses clean, precise, straight strokes and when drawing cartoon figures, this type of drawing technique is highly recommended. After drawing the girl, you can go ahead and decorate her clothing!

This how-to video demonstrates a method for drawing a female character in a Japanese manga style. Starting with her eyes, the artist works step-by-step to create a sketch of the girl's facial features. Then the drawing is given more depth and detail as long hair is added. The girl's shoulders and short-sleeved shirt are drawn in, then the shirt is given details such as patterned trim. The drawing is given more depth and perspective through the use of pencil shading.

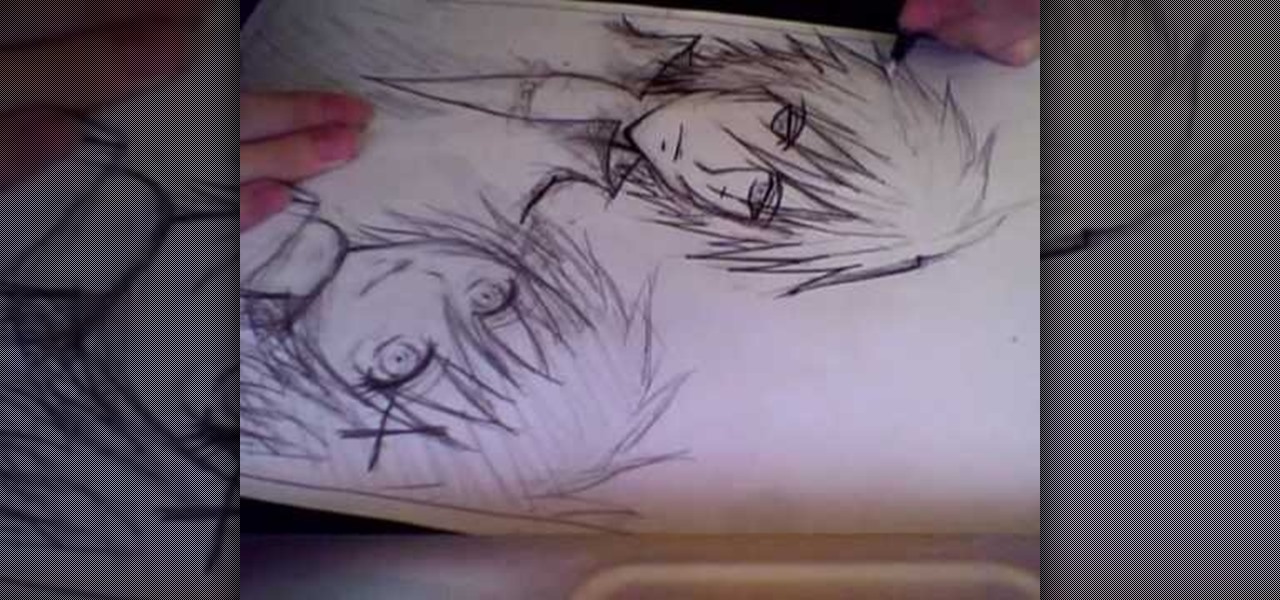
This is a sped up video on how to draw a female anime face. The artist begins by drawing the cheeks and jaw line. Then the neck is made. Next the artist makes long side-bangs that cover a portion of her face. A lot of his time and detail is spent on making the hair at this point. It is very choppy with defined pieces at the ends. During the hair process, an ear and a headband are drawn. When the hair is finished, the artist begins working on the eyebrows, nose, and eyes. The eyes seem to requ...

This video is a guide on how to apply the Marie Antoinette style of makeup. First you apply a Clinique moisturizer. Then apply a base coat of foundation using a brush. Repeat for a second coat. Using a white eye pencil apply to the eye lids and smooth out with an eye brush over entire lid and up to the brow. Make sure you get the inner and outer corners of the eye and under it as well. Using the lightest shade of eye shadow apply to the eyelid. Each step of different colors is blended onto th...

This video explains about how to easily draw cartoon characters. Wizard demonstrates the process. The step-by-step procedure is as follows:

Start with a totally bare eyelid to create the base for the winged eye. It's important to go for a gel eyeliner. This allows you more precision than liquid eyeliners. Pull the skin taut at the outer eye, look down & using a flat brush, apply liner into lash line itself on top eyelid, in between root of lashes. Taking the line from the inner corner of the eye, put color in lash line all the way to outer corner of eye. Close eye; pull lid towards ear so skin is taut. Repeat base step; this time...

This makeup palette is the Forest Fairy Sprite Wood Nymph created by MissChievious. Begin with regular foundation. Get a little dark gold and golden cream eyeshadow with a knife & mix it into foundation. Take a large makeup blush type brush & put green shadow around top & sides of forehead blending it up into hairline & around the sides of face, continuing slightly onto the cheek hollows as you might do a light contouring. Take golden cream & dark gold & mix them before applying to center of ...

Watch this video tutorial to learn how to color your hair at home. You'll save a bundle using a coloring kit instead of heading to the salon every six weeks. Plus, dyeing your tresses at home has never been simpler.

Watch this instructional cosmetics video to create a casual chic makeup look for darker skin. This look is flattering in almost any setting. Use an orangy pink mango eye shadow and work back into with dark shades. This way you can where less makeup for summer days in the city. You need false eyelashes. Top it off with a brown lip gloss combination.

Tim Carter demonstrates how to wire a light fixture or ceiling light. This is a great video to learn how to wire up a light quickly and safely. As a precaution, don’t touch any bare copper wire except for the ground wire. Most new light fixtures come with insulation to keep the heat from the bulb from cooking the wires. Be sure to install this insulation. Mount the fixture to the mounting bracket. Add the decorative shade and you are ready to go. Turn the power back on and your light fixture ...

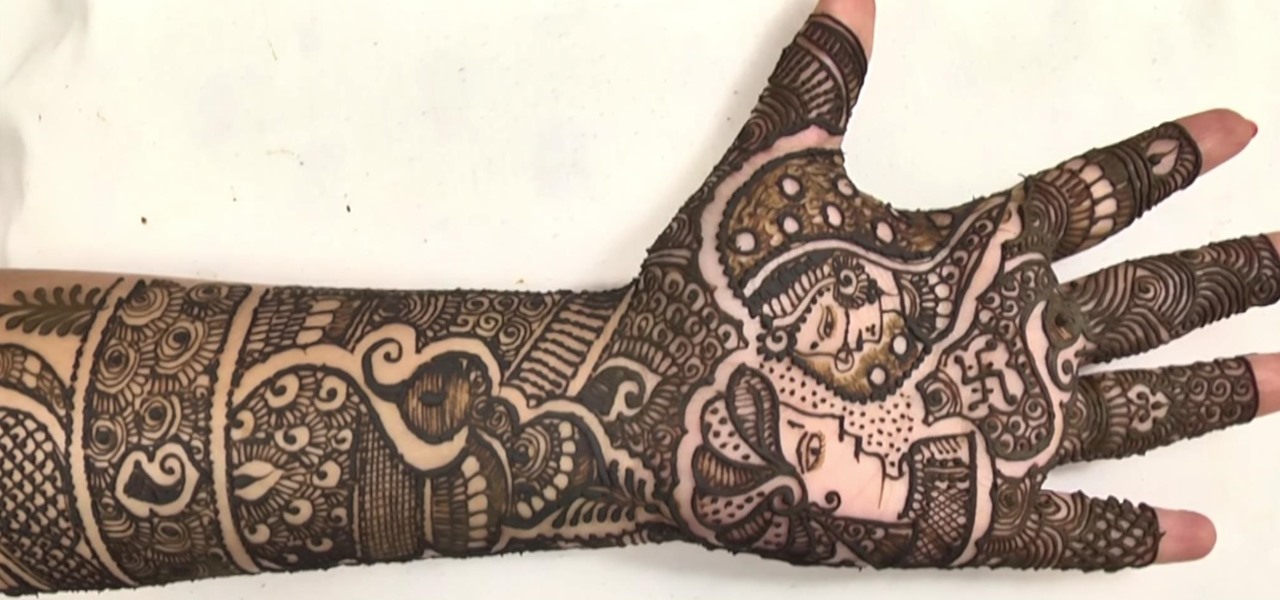
Intricate designs are very common in mehendi for the dulhan, because it's her special day and she would most definitely want to amaze everyone around her.

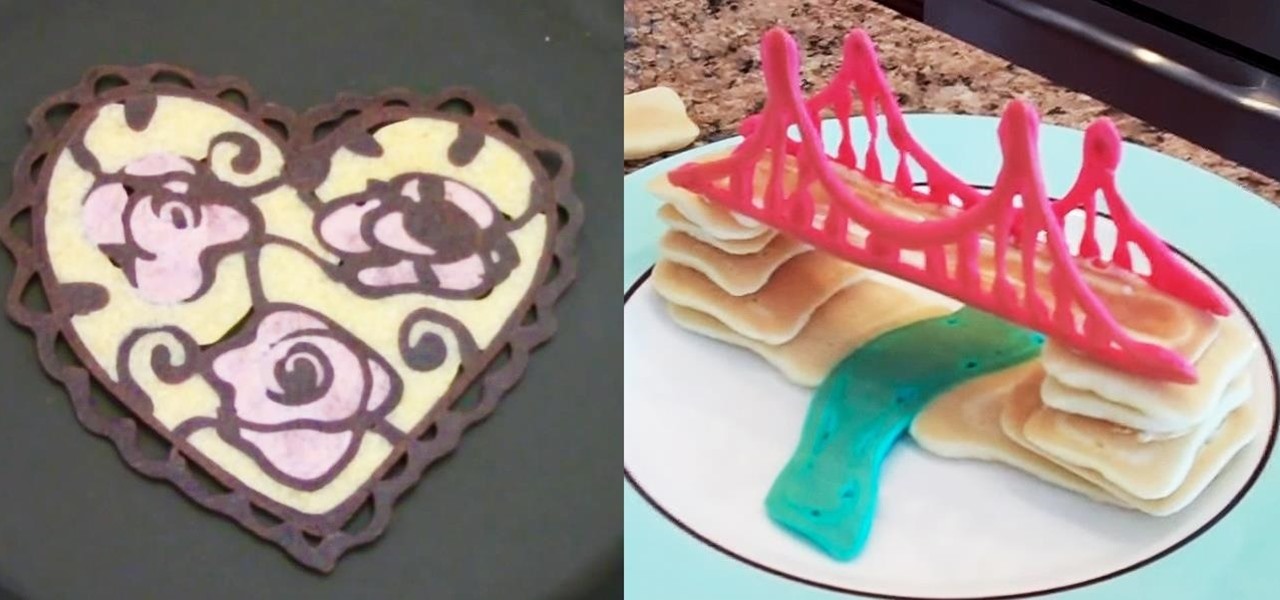
When it comes to making pancakes in the morning, most of us probably follow the instructions on the box. Mix all the ingredients together, pour onto a hot greased pan, and form perfect circular flapjacks one by one.

Say hello to the Sony Xperia T3, a light and slim Android smartphone—in fact, it's the thinnest 5.3" smartphone on the market.

Normally, when you open applications on your Samsung Galaxy device, you do so from one of three places—your home screen, the app drawer, or from the list of recently used apps—but it never seems fast enough when it comes to opening your favorite and/or most-used apps.

Timely costumes for Halloween are awesome—especially really obscure ones—because they're indicative of social awareness. In 2010, I remember seeing several Chilean Miner costumes, which I thought were great. 2012 brings new stories, new characters and more importantly...new Halloween costumes.

Hello! I want to share a few hints about staying literally cool when the temperature of the air outside rises incredibly. So, if you're in a very hot area, please continue reading!

This tutorial explains how to use major and minor 3rds to build major, minor, dominate, and diminished chords on the piano or keyboard. These chords are the basis for most songs. Watch this how to video and you will be playing piano chords in no time.

This how to video covers playing arpeggios, dominate 7ths and diminished 7th's on the piano. These concepts are essential for every pianist to learn. Watch this video and you will be playing arpeggiated 7th chords in no time.

In this video series, learn how to make a custom lamp shade from expert Denise Robinson. Denise will tell you what materials you will need to make a custom lamp shade.


