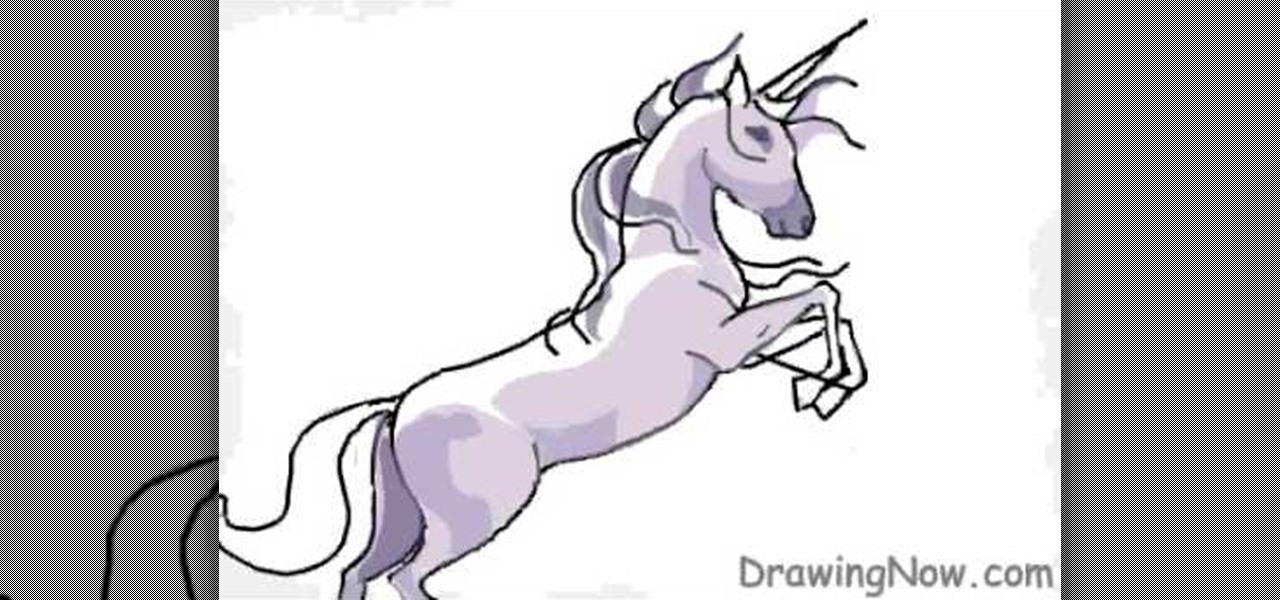
In this tutorial, we learn how to draw a beautiful unicorn. Start by outlining the unicorn, using circles to show where the head and joints are. Draw long lines for the legs and the tail. Then, draw on the point for the head and start to add in the details of the body. As you continue, add the hair on the back of the unicorn and then shade all around the body. Add colors to the unicorn and then start to make the background. Show it in front of a purple and blue background with a large moon, g...

In this tutorial, we learn how to draw cartoon faces with Eric Merced. First, start off by drawing a round circle, but keep the pencil light and make a bunch of marks. Then, draw a line over the face to mark where the eyes will be, then draw in the hair and ear. Darken your pencil when you draw the things that will stay, such as the eyes, nose, hair, and eyes. Draw a couple lines for the neck, then shade in. For a different face, draw a line as the center of the face, followed by three other ...
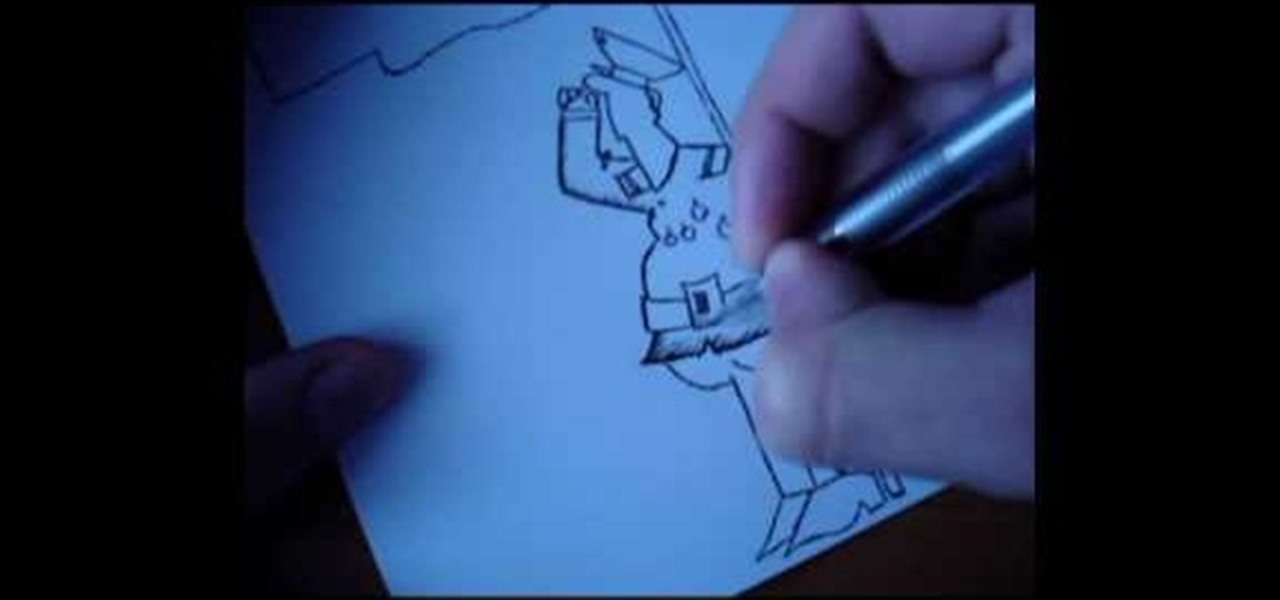
This video tutorial demonstrates how to draw a cartoon soldier or police officer. Begin with outline of an elongated face. Right above his nose, draw a small brim of his hat. Continue with the brim, adding the hat band and the top of the hat shaped somewhat like a bowl. In front of his face, draw his arm bent upward so his hand is appearing to salute. Add in shoulder patches. Next, draw his other arm bent in at his side. Add his belt buckle at the center of his waist. Now draw medals and acce...

In this "how to" video, we learn how to draw a "chibi" form of an angel. Chibi is a Japanese term meaning "short person" or "small child". It has become a style of art in which Japanese Anime and Manga artists attempt to make all of their characters into "cute", childlike characters (with small bodies, large heads, and large eyes). The artist in this video shows his/her step by step process of drawing a small "chibi" angel holding tightly onto a heart. The artist starts with the eyes, then wo...
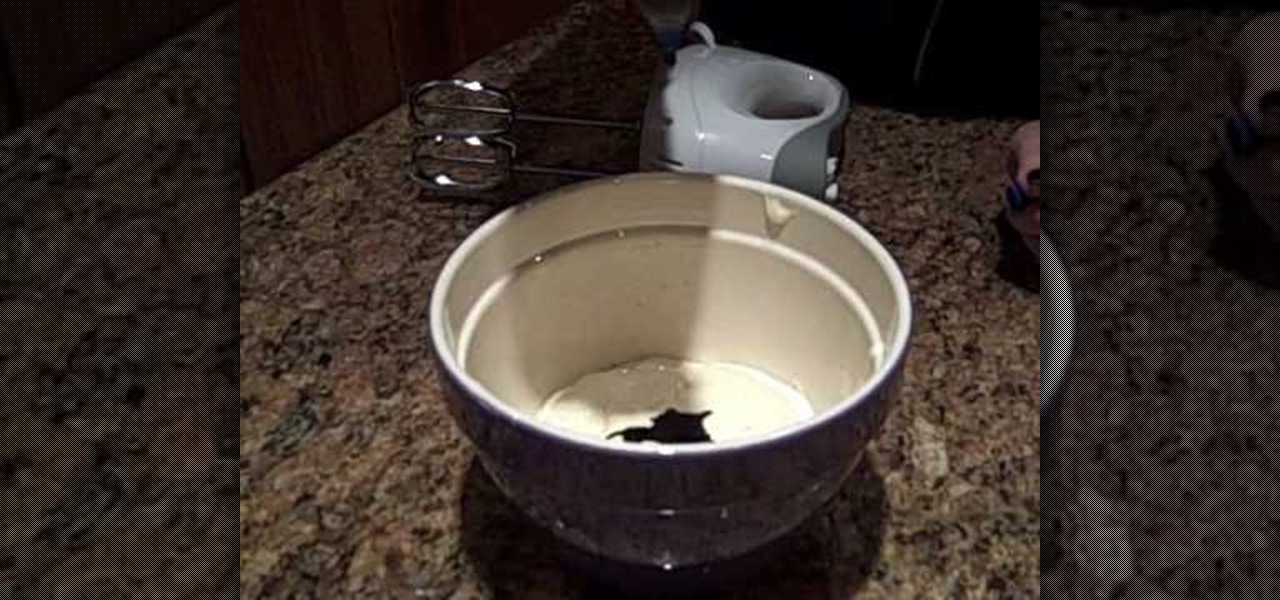
Lactose Overdose demonstrates how to make a rainbow cake. Use either a store bought mix or use your own recipe. A white cake mix works the best. You will also need two canisters of white frosting and food coloring. Make the cake according to the directions or recipe instructions. Divide the batter equally into four mixing bowls. Add 10 drops of food coloring in your desired shades to each bowl and mix by hand. Place a large spoon into each bowl. Using half a spoonful, layer the colors on top ...
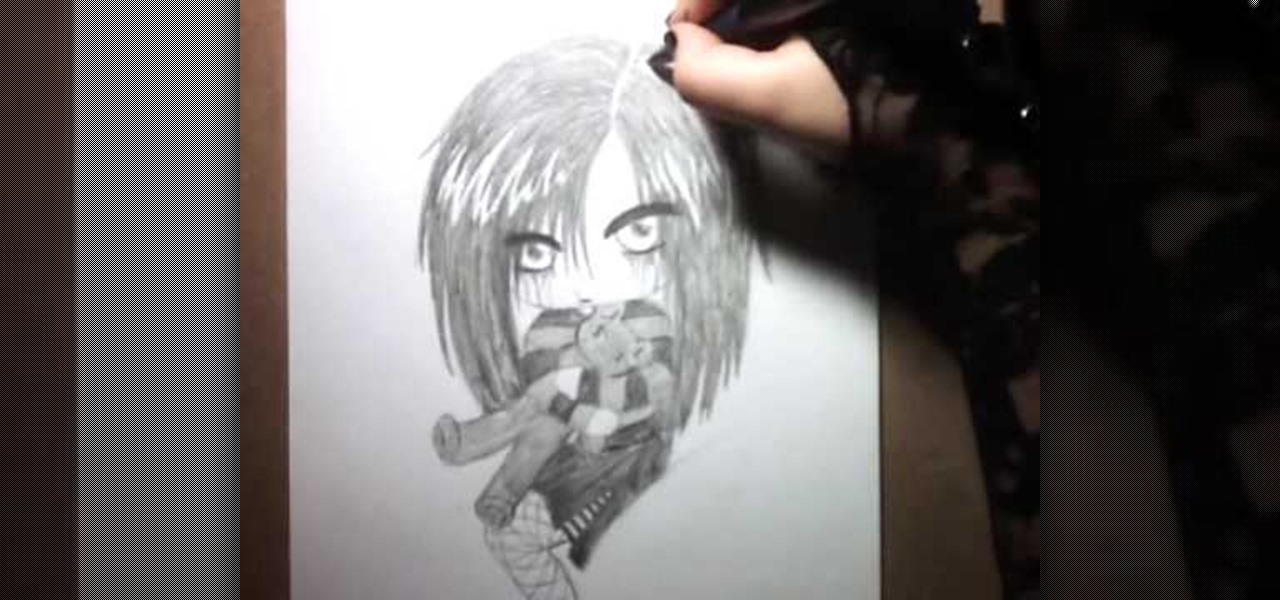
This video describes how to draw an emo-angel chibi. First draw eyebrows, make sure they are dark and thick, then draw half circles going down from them- these are the eyes. Then draw in the eyeballs centered in the middle of the eye. Next draw dark around the bottom of the eyes. Draw lines drooping coming from the darkness around the bottom of the eye, on both eyes. Next draw other dark lines coming down the forhead. Next draw a line coming down from both eyes, and curve them to make small c...

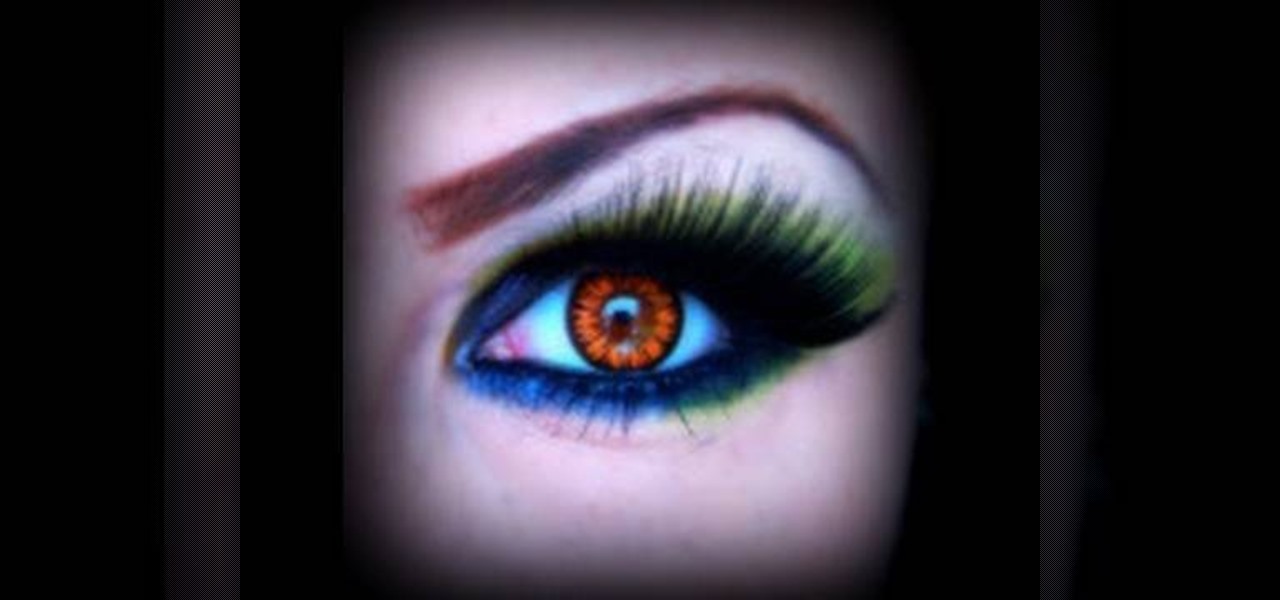
Before applying any make-up start by thoroughly cleansing the face and moisturizing after cleansing. Start with a good concealer to cover up and blemishes or dark spots. Apply liquid foundation with a stipple brush to ensure all over coverage of the entire face. Now using another brush apply your face powder, you can try MAC skin finish in your own personal skin shade. For the eyes, start with a white shadow and apply all over both lids. Now, take a medium-brown color shadow and apply to the ...

Mark Kistler teaches you how to draw 3-D cylinders. Mark's how-to draw video teaches you how to draw in only 8 minutes a day. Even if you don't know anything about drawing, you'll learn with Mark's easy step-by-step instructions and guidance. All you need to get started is a pencil and paper, and you can follow along with this video. Mark shows you how a cylinder is drawn starting with just two dots and a "squished circle." He then takes you through the entire "sketching phase" of drawing cyl...

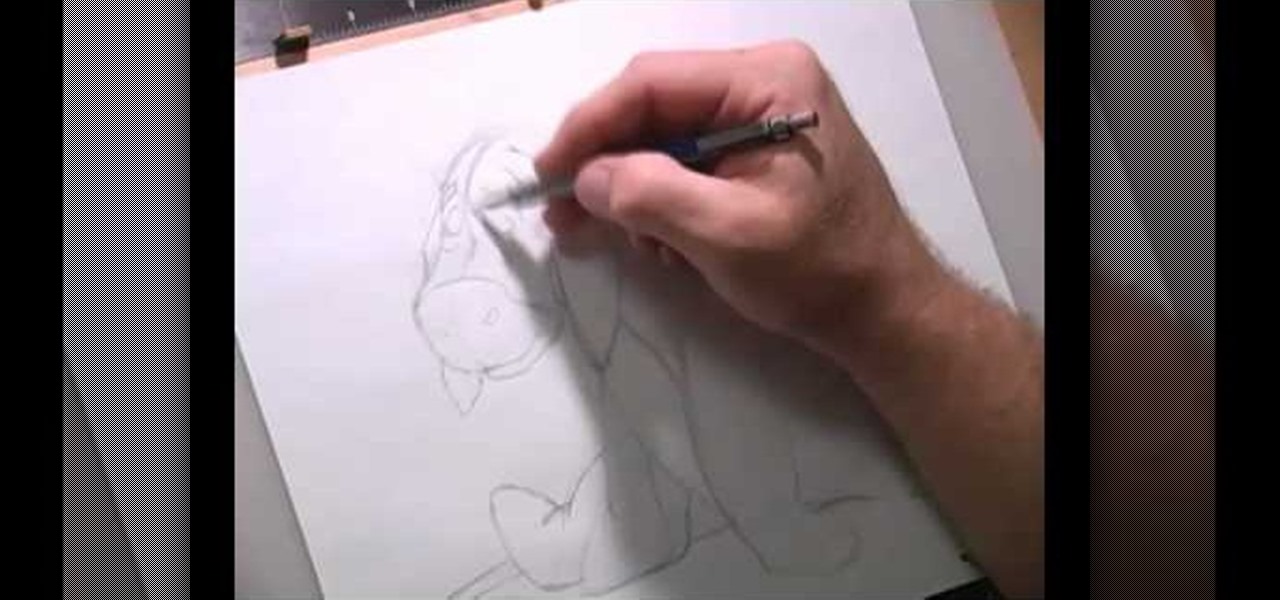
The user demonstrates how to draw Disney's Eeyore in this video. The first step is to draw a circle about the size of a 50 cent piece for his head and add construction lines to it, including one across the lower part of the circle to use as a reference. The user also suggests creating a mark below the "head" to mark where the end of Eeyore's jaw will be. Then, starting at the bottom cross line, he begins drawing the rounded area of his snout. Next, he draws a straight line from the other side...

During Easter, everybody stocks up on the eggs because dying eggs is a great Easter activity. But there's something else you can try… dying and marbling. Watch this video recipe to learn how to dye and marble Easter eggs. A new twist to Easter eggs.

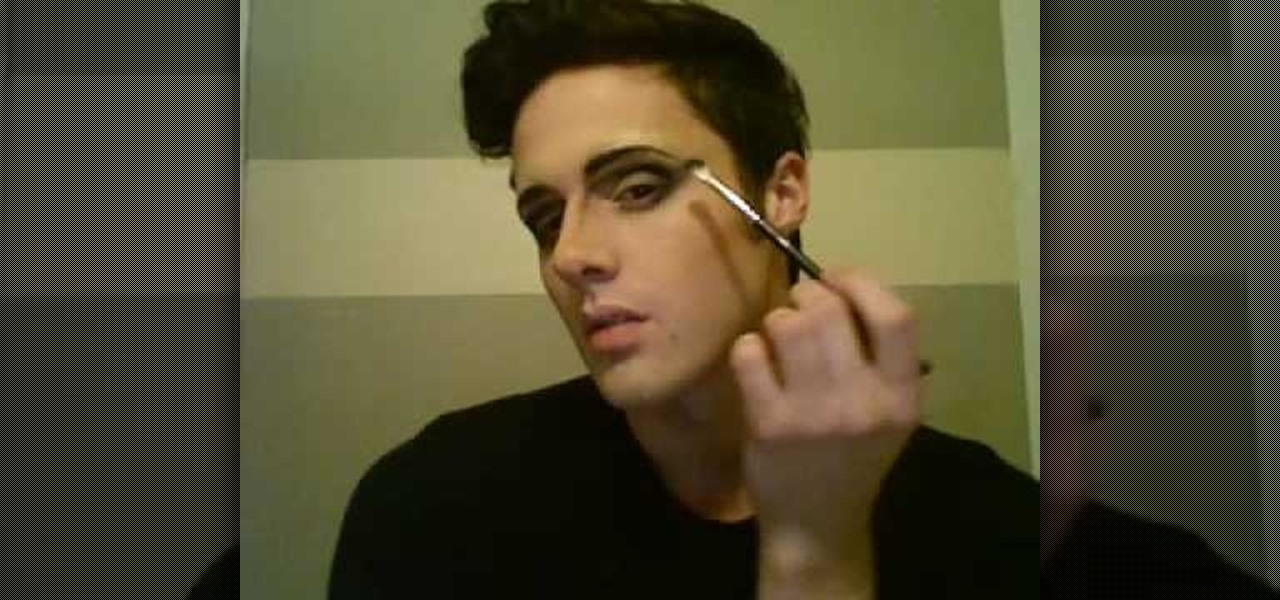
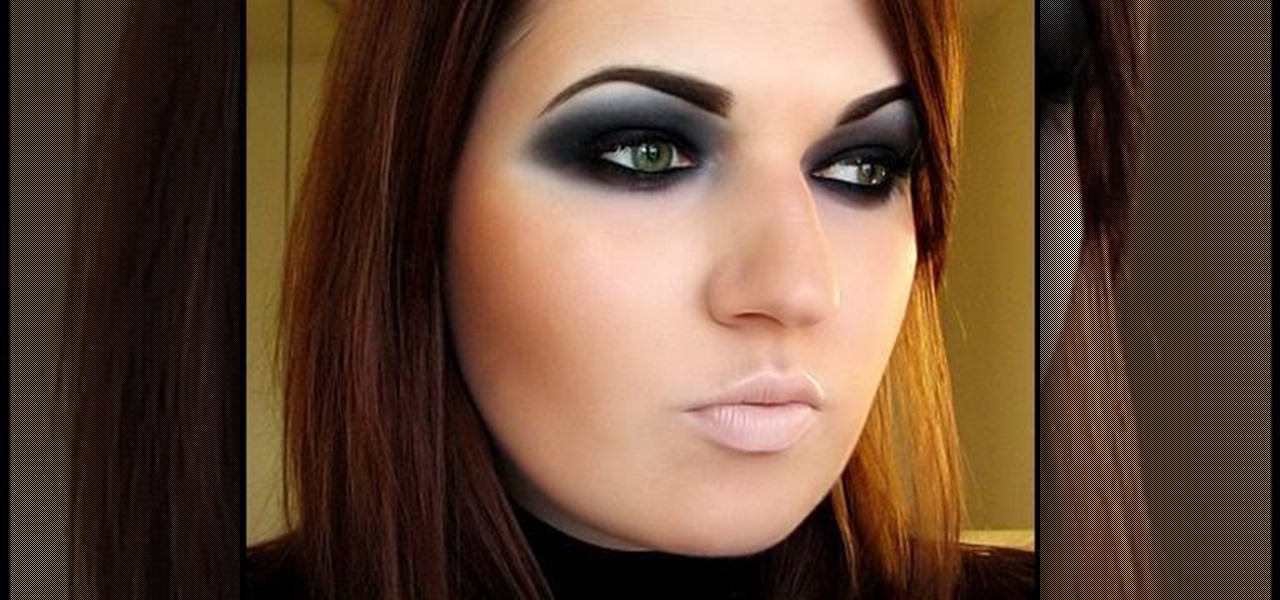
1. First moisturize the face. 2. Trim and cover the brows, to conceal the eyebrows. 3. Apply foundation, use Studio fix powder set foundation. 4. Use Contour with TANTON blush and the 242 on the sides of nose and the eye brows. Blend using the 217 5. Use random Lise Watier Brush for the cheeks. And blended base contour with the 217. 6. Use CARBON+ANGLE BRUSH to mark the eyebrows. 7. Use CARBON+217 to get dark contoured lids and use 282+CARBON harshly lining and winging out to enhance the eyes...

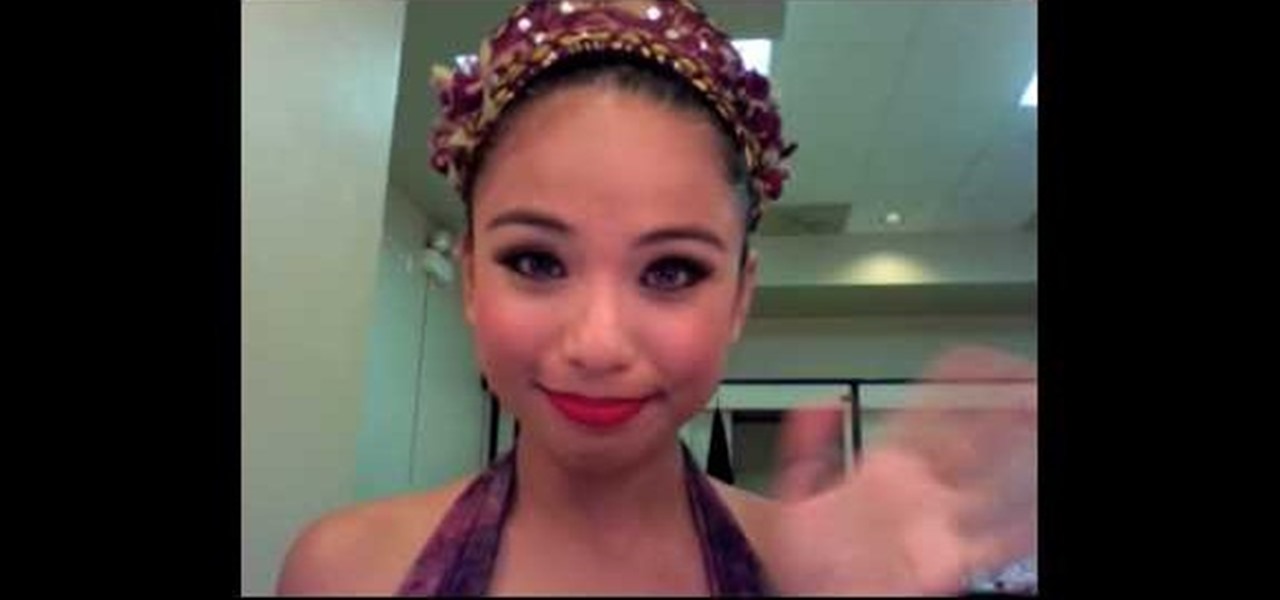
This video will show you how to have an androgynous high fashion look. Use dark blue eyeshadow as base extending to your lower lids. Use dark plumage (Mac) or any dark shade (purple or blue) over the base color. Use an eyeliner for the lids and lower lash line and put some matte black eyeshadow on top of it. Apply an eyeshadow, same color as your face, for the highlights. Use an eye brow pencil for the brows and black carbon eyeshadow on the base of your brows. Use brush to blend and apply cl...

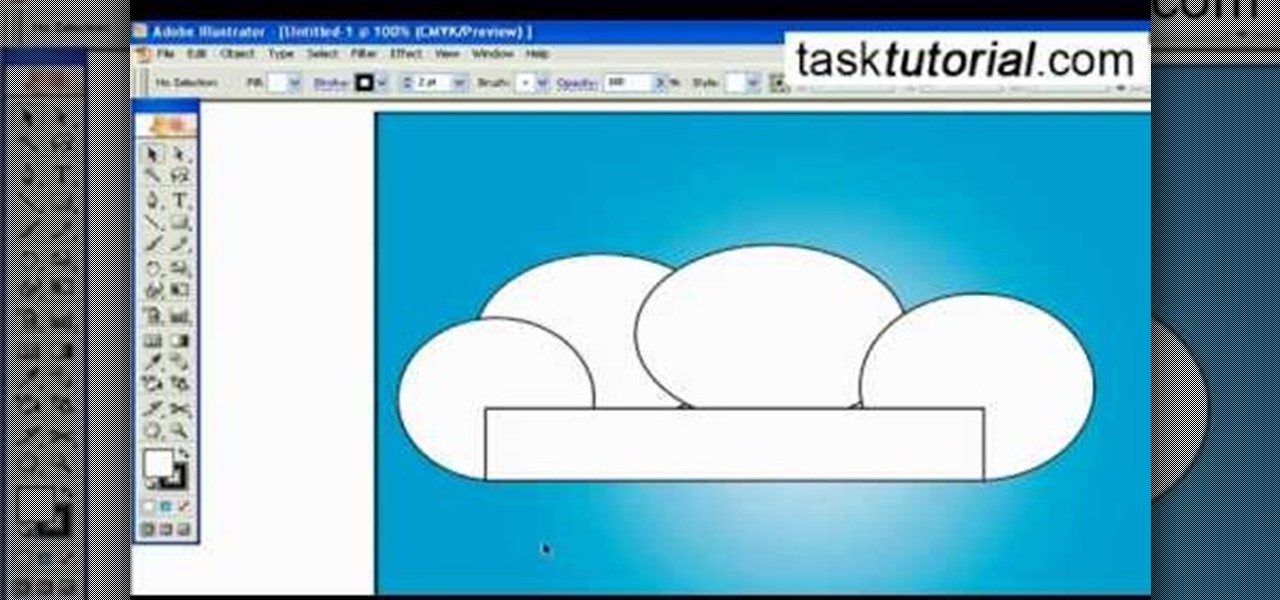
A great free video training from tasktutorial on how to create a cartoon cloud in Adobe Illustrator. All the project files are available to download for free at the Adobe website. First create a background: select the rectangle tool then create a new layer and draw a rectangle across the canvas. Now select the path, go to gradient and edit the it a bit until it's a shade of blue. Lock the gradient and create a new layer. Select white fill color and 2 point black stroke and draw a few oval sha...

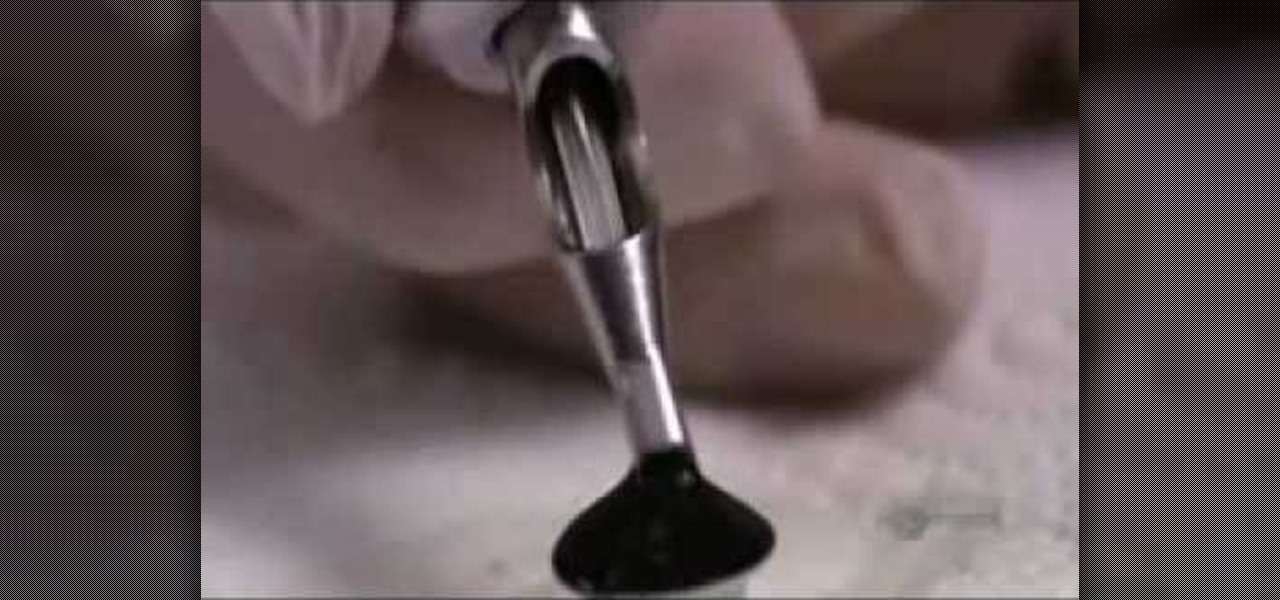
This video is about how to tattoo. Once you make your choice of design, the tattoo artist traces the image. Next, he places the image on carbon paper and traces the image again to create a reverse image. He cleans the persons skin then firmly presses on the blueprint. Now its time to construct the needles. One is for outlining and the other is for coloring. The finished needles go in a machine to be cleaned. He places the needle in a Coil. When an electric current runs through the coil, it ma...

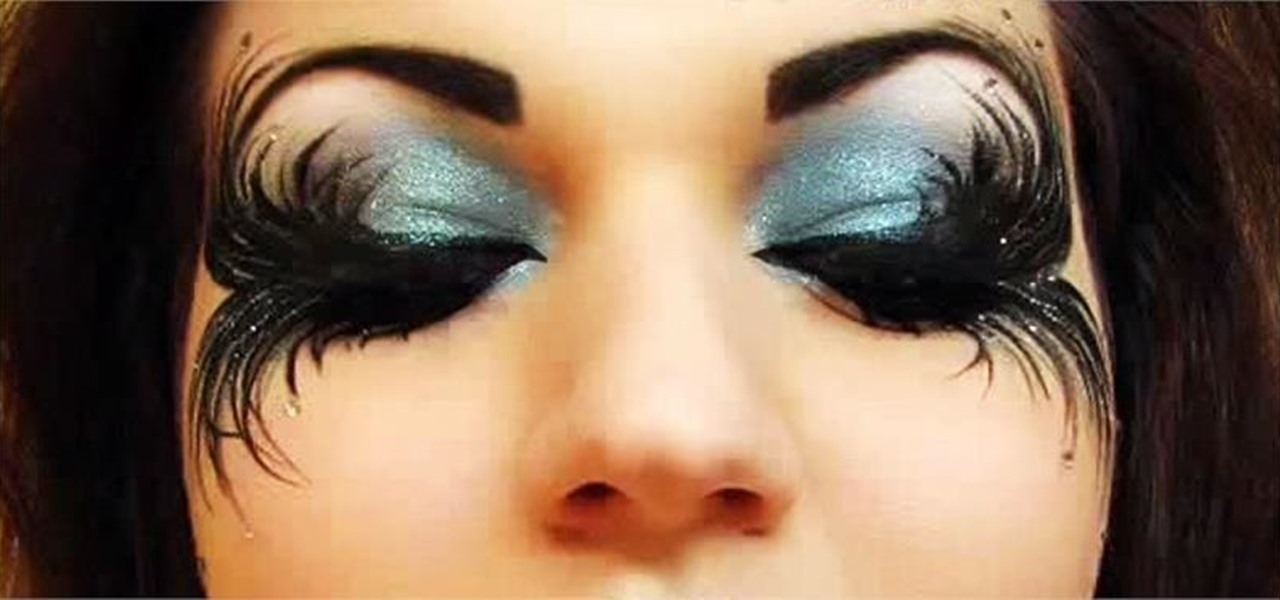
Learn how to create a dark fairy/fallen angel look for Halloween with these tips from makeup artist Julia Graf. This look is perfect for any spooky occasion, while also making any normal day out of the year more interesting.

Why have a plain old barbecue when you can host an Oktoberfest? Make it authentic with these tips. You Will Need

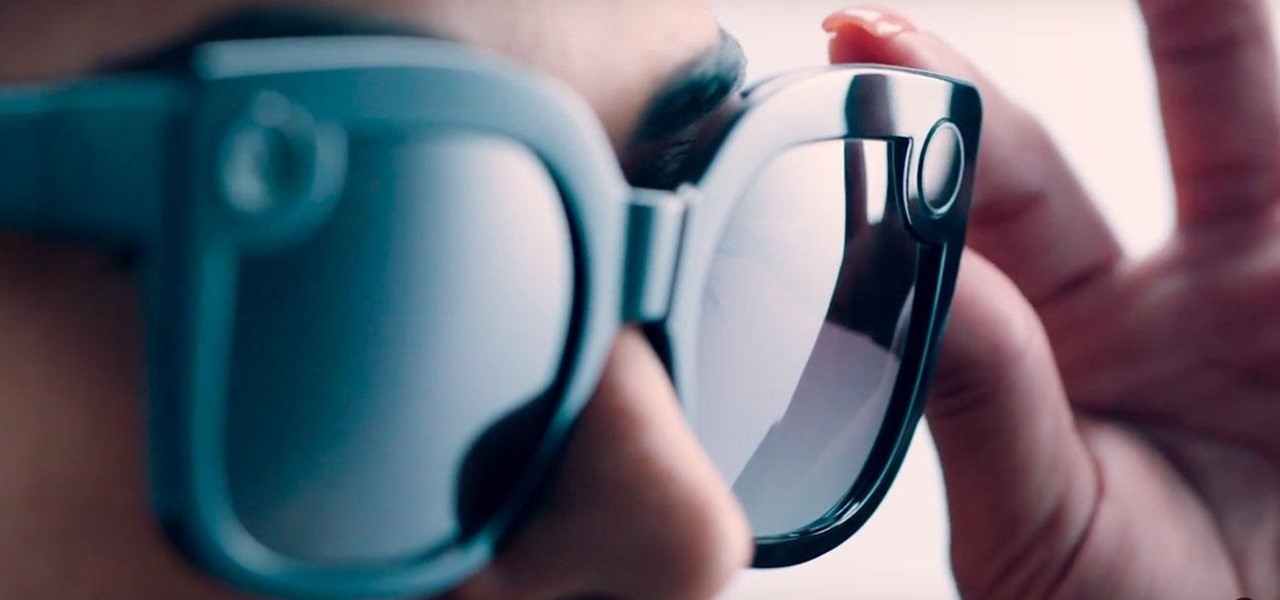
The year 2018 was a rough one for Snap, the company behind the Snapchat app and the Spectacles wearable camera device. From executive departures to reports of slowed user growth, the company that once spurned Facebook's multibillion-dollar advances is now facing a moment of truth as it stares down its uncertain future.

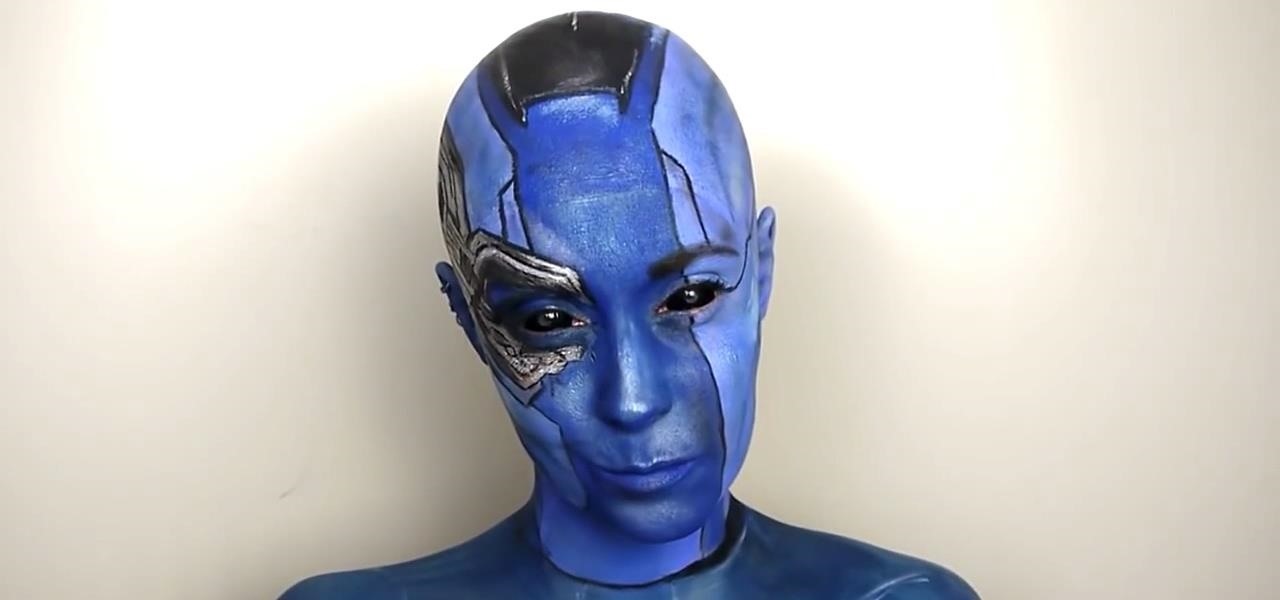
Karen Gillan must have had an absolute blast chewing the scenery as Nebula in Guardians of the Galaxy Vol. 2, seeing as how Nebula is a ball of pure, seething fury pretty much 24/7. Combine that larger-than-life personality with her iconic blue and silver cyborg look, and you have a guaranteed hit for cosplay or Halloween.

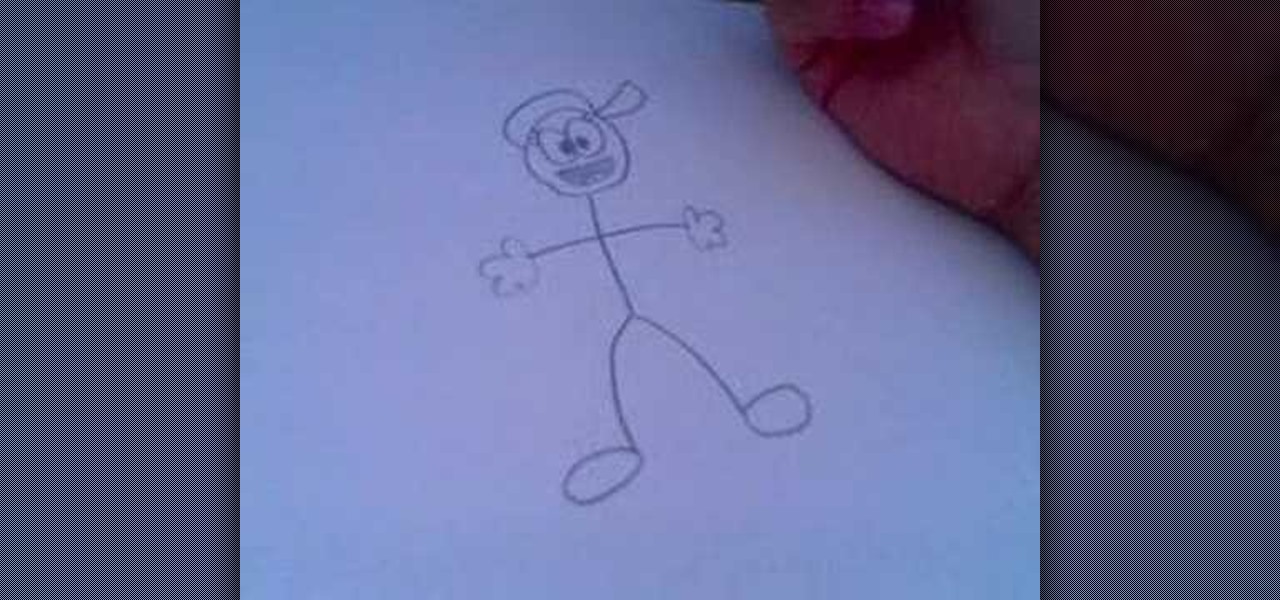
Learn the basics of drawing stick figure cartoons with this video tutorial. You need just some drawing paper, a pencil and some imagination for this!

In order to make ghosted images with white ink and distressed ink, you will need the following: a heat gun, Adirondack ink pads, distress ink pads, blending tools, stickles, stamps, card stock, stamp press, a stamp press, scissors, glue dots, adhesives, brads, paper trimmer, and nonstick craft sheet.

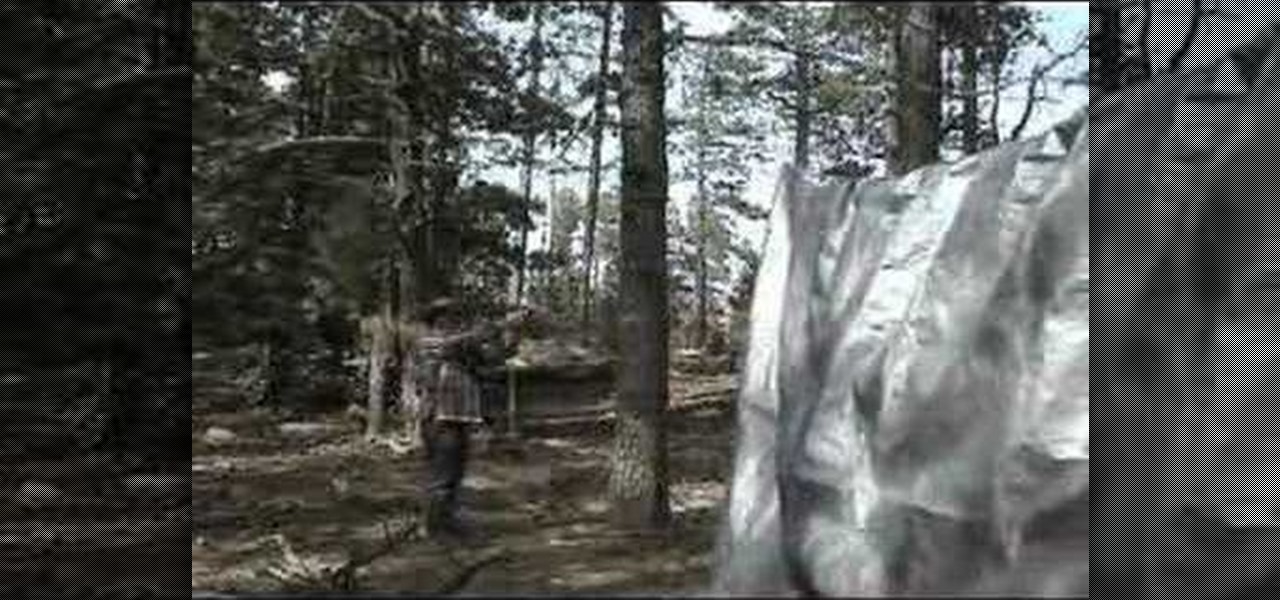
Learn how to put up a tarp for shade and protection from the rain in this video. First, find two trees with a nice flat spot in between them. Throw a rope up over a limb at least fifteen feet or so high. Now, tie the rope off to itself or to a smaller limb. Next, secure the rope on the other tree and leave the slack on the ground. Next, put the tarp over the rope evenly and anchor one end with a wire tie, small rope or bungee. Now you hoist the tarp up using one end of the rope and pull it to...

In order to apply perfect foundation, powder, and concealer for a flawless look, you will need the following: foundation, powder, concealer, and brushes.

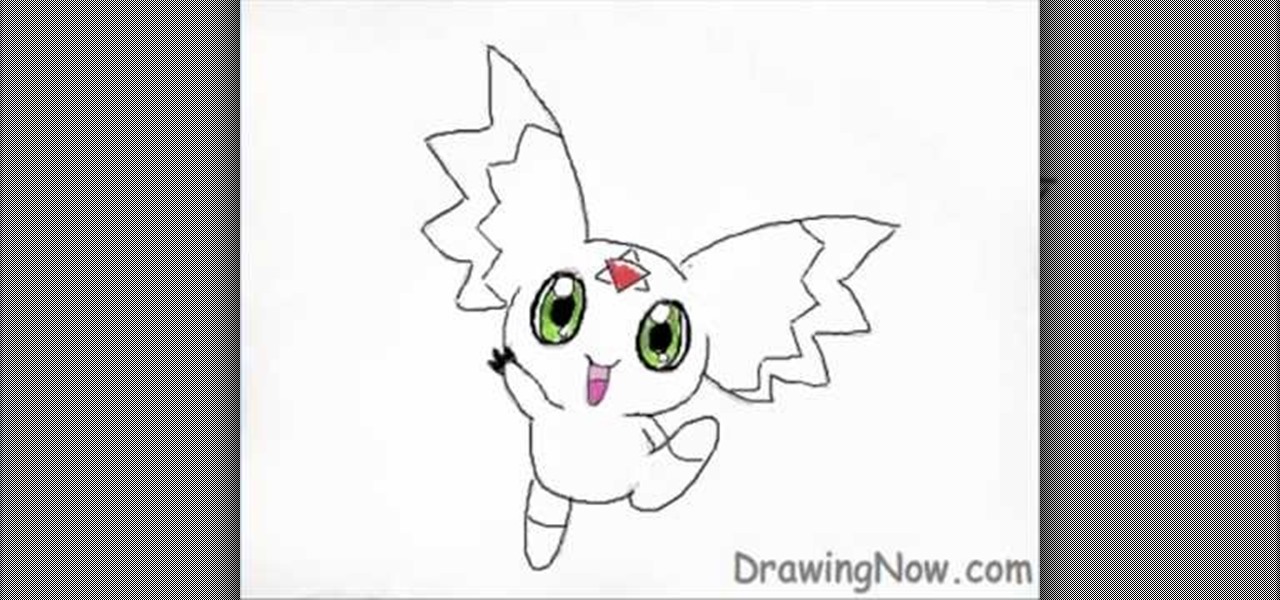
In this how to video, you will learn how to draw Calumon from Digimon. First, start off with two circles for the head and body. Next, add the ears and oval shapes for the feet. From here, you can trace these shapes to create a more accurate depiction of Calumon. Go into the face and two ovals for the eyes. Draw two ovals inside the ovals for the pupils. Fill it in with black. You can also add a circle at the top of each eye to create a highlight. Next, draw a border in the interior of the ear...

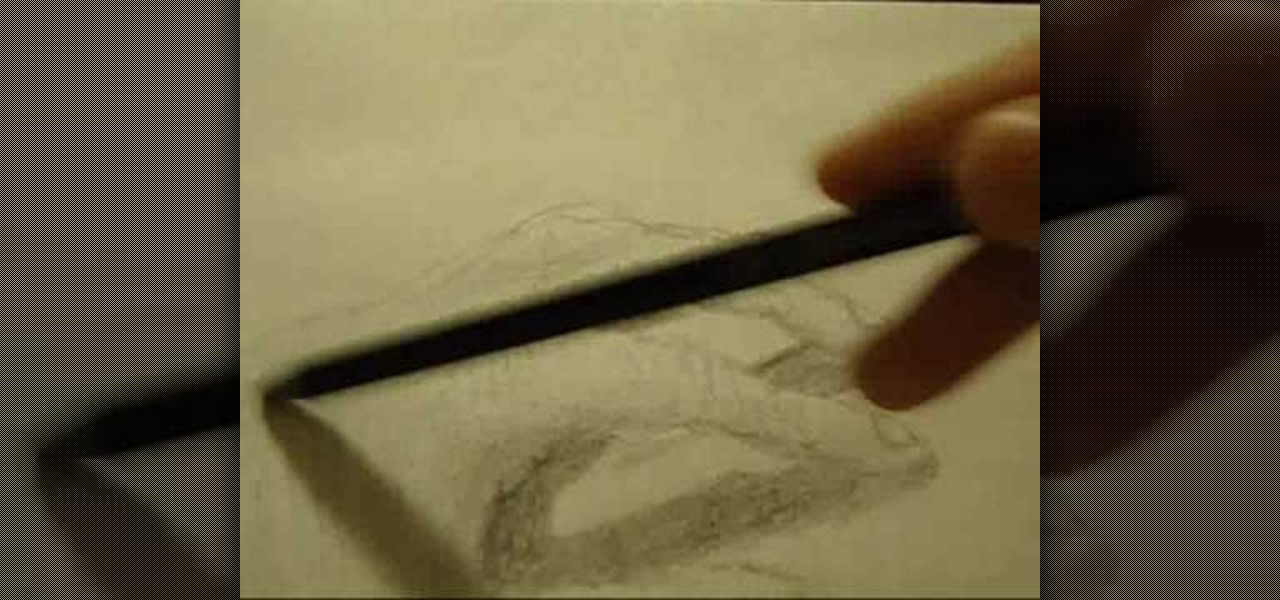
In this how-to video, you will learn how to easily draw hands step by step. First, you will need a pencil and a piece of paper. Next, draw the top outlines of the fingers. Follow this with the folds of the skin at the joint of the fingers. Next, move on down to the thumb of the hand. Once you make the basic outline, move on to the rest of the hand. This includes the knuckles and the finger nail details. Go into the fingers to create more wrinkles and shading. Do this for the thumb as well. Ne...

This tutorial is an on-screen demonstration on how to create a circle that looks like a glass orb using PhotoShop. First make the background black. Then using the elipse took, draw a circle, filled with light grey. Right click on the shape layer and click "Rasterize layer". Select the eliptical marquee tool and make a circle in the grey shape, a little ways in from the edge. Select the area and choose "Layer via cut", click on Layer 2 and delete. Click on Shape 1 and create a contour by choos...

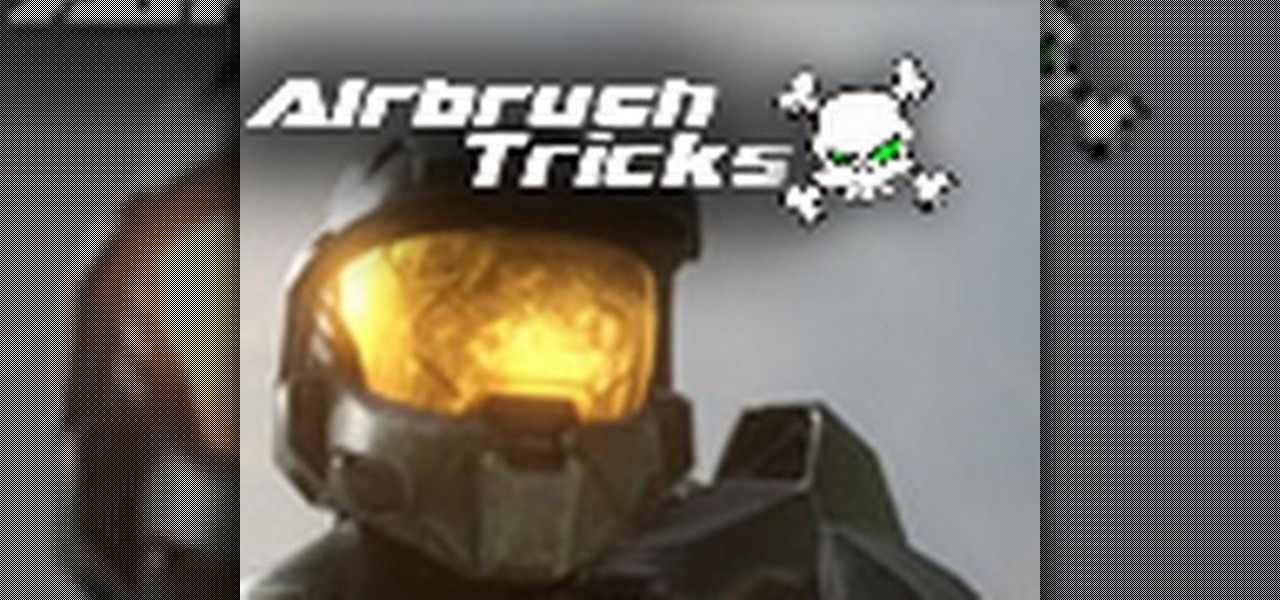
In this how to video, you will learn how to airbrush your Xbox with a Halo 3 design. First, take apart your console. Next, wrap the bottom half with paper to mask it. Next, spray the exposed are with white. Mask the bottom half area again, leaving more unpainted areas exposed. Spray paint and repeat one more time. Next, go over the console with yellow paint. Next, print out an image of Master Chief. Cut it out and then take the outside area to use as a mask on the console. Spray paint accordi...

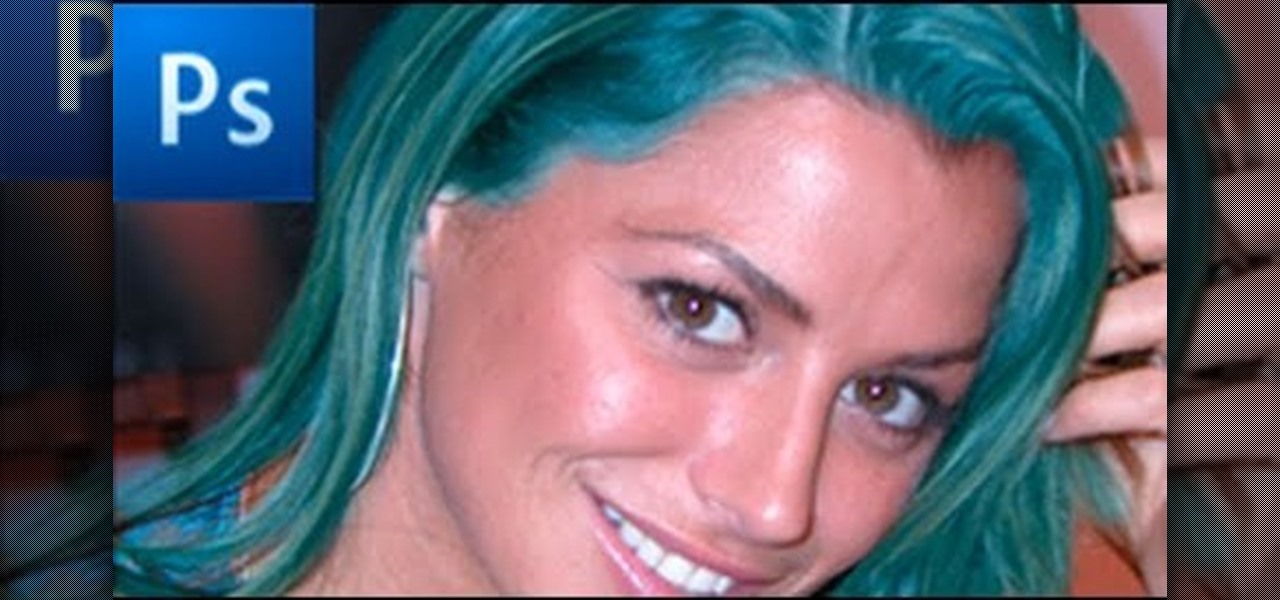
This video demonstrates how to change the color of hair, dress, car or any thing of your choice using photoshop. This is really simple. Select the photo in which you need to change the color. Create a new transparent layer. Click on the brush tool and select a brush type with the right size required. For hair, you could use a brush with a fuzzy edge while sharp edges for clothes and car. Select the white color in the task bar. Click and drag carefully along the edges and fill in the area wher...

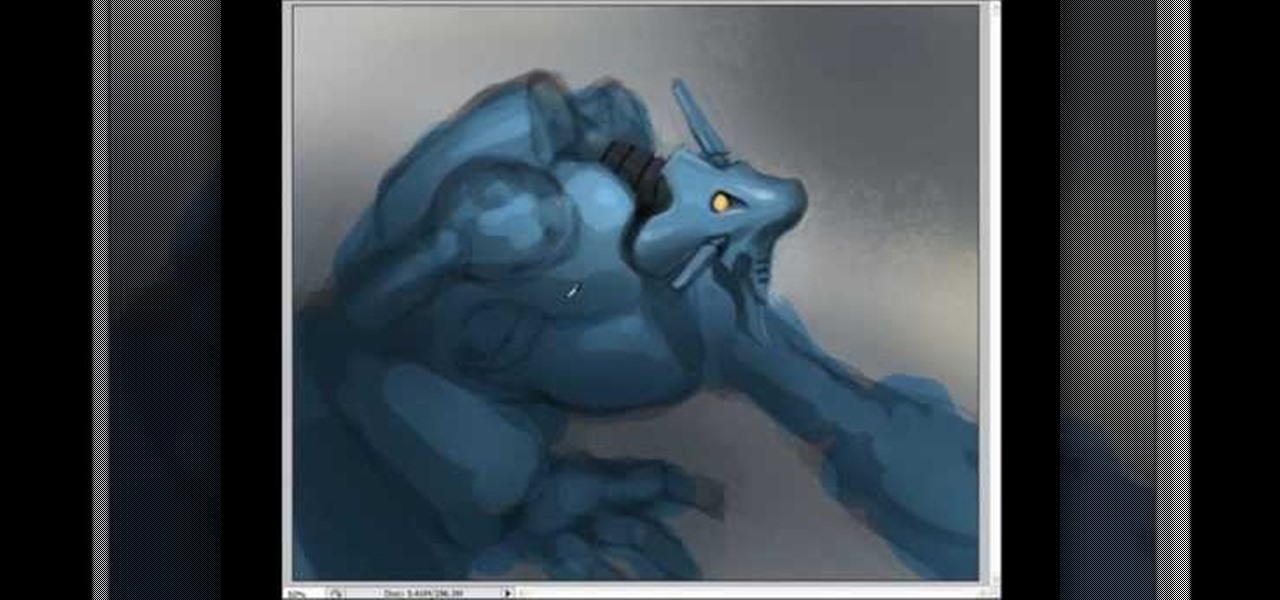
If you want to draw and paint a robot Mecha style you should first make a square and color this in a dark gray. Draw a silhouette in a darker gray color. You should draw basic body parts such as the head, arms and limbs and shoulder. You should draw this with simple dark layers. In the face, you can draw a different or cool complex design. You can also make the background darker and make shadows. To distinguish the figure from the background color the figure a dark dull blue. Now you need to ...

In this how to video, you will learn how to draw a guitar. First draw the body of the guitar. This should have an hour glass shape with a rounded top and bottom. Next, draw the neck of the guitar from the top of the body. Next, add in the details of the body such as the sound hole in the center and the bridge near the bottom. Next, draw the headstock at the end of the neck. Draw six tuning pegs, with three on each side of the headstock. Now you can shade in the guitar body with a light brown ...

In this video we are shown an easy way to draw a fox using Photoshop. First, start with a rough sketch on a separate layer. Rough in the head, ears, snout, and eyes. Make a new layer and outline your previous drawing. In this layer put in more detail such as the jagged outline of the fur and the details of the face. To colorize your fox, put in a new layer under the outline layer. The fox should be colored a dull orange, with dark brown shadows for the ears and white under the muzzle and on t...

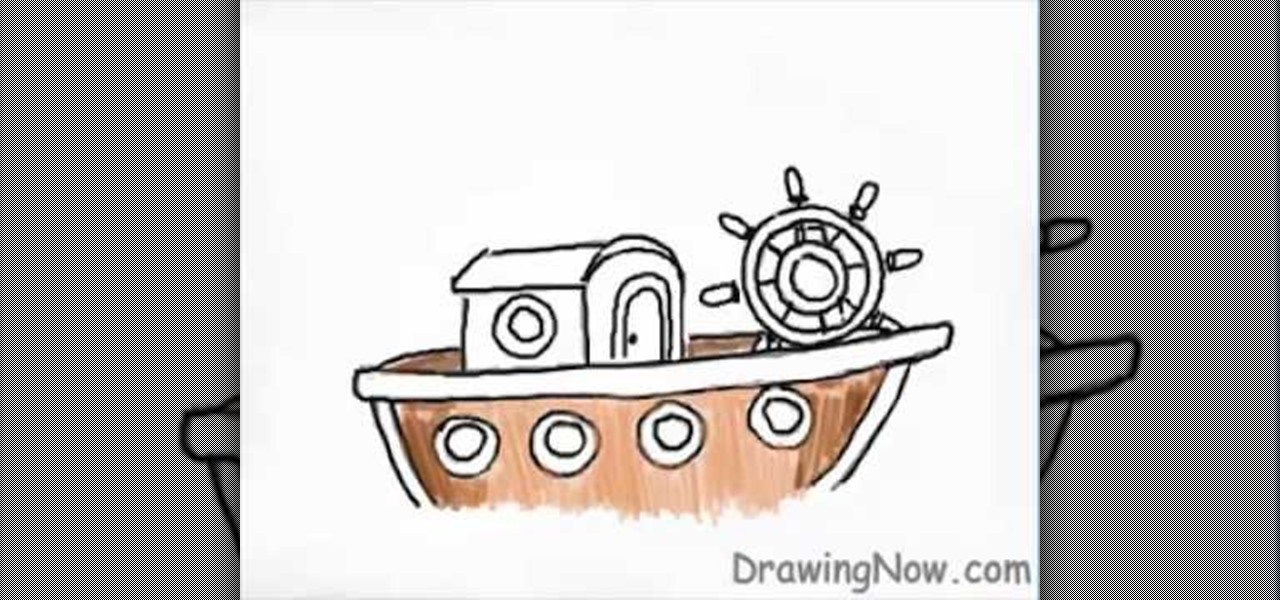
This video helps you to draw a boat. First draw the base with double lines. Then draw a cabin and a wheel. Next draw small circles on the base. Now paint the entire lines with black. Next draw spokes on the wheel. Shade the base of the boat with a lighter brown color and over-coat it with a dark brown. Paint the cabin with orange and brown color as shown in the video. Give a dark brown to the outer area of the circles in the base and fill the inner areas with black color. Give a white line to...

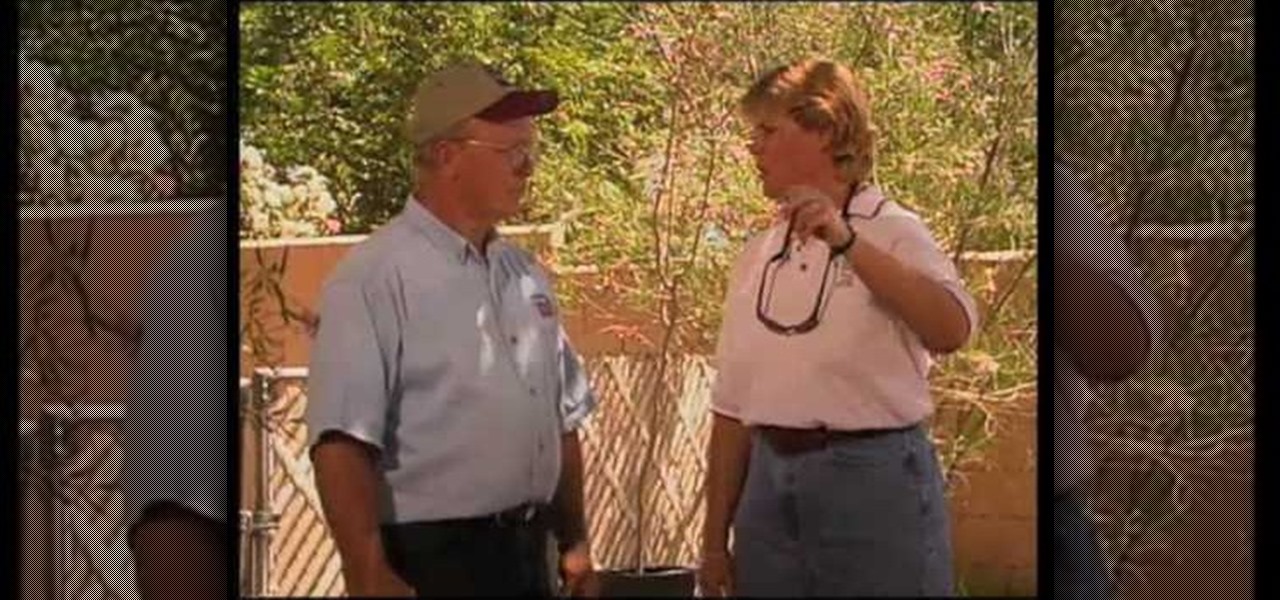
John White (Doña Ana County Extension Agent) talks to Natalie Goldberg (Extension Plant Pathologist) about Powdery Mildew that affects many plants. They look at a Japonica that is heavily infested. Powdery Mildew is enhanced by shaded condition despite the dry climate. It starts with a spot spore infection that will easily spread by the wind or by rubbing. Control methods are difficult and involves a lot of routine applications of chemicals (ornamental fungicide) to keep it in check once the ...

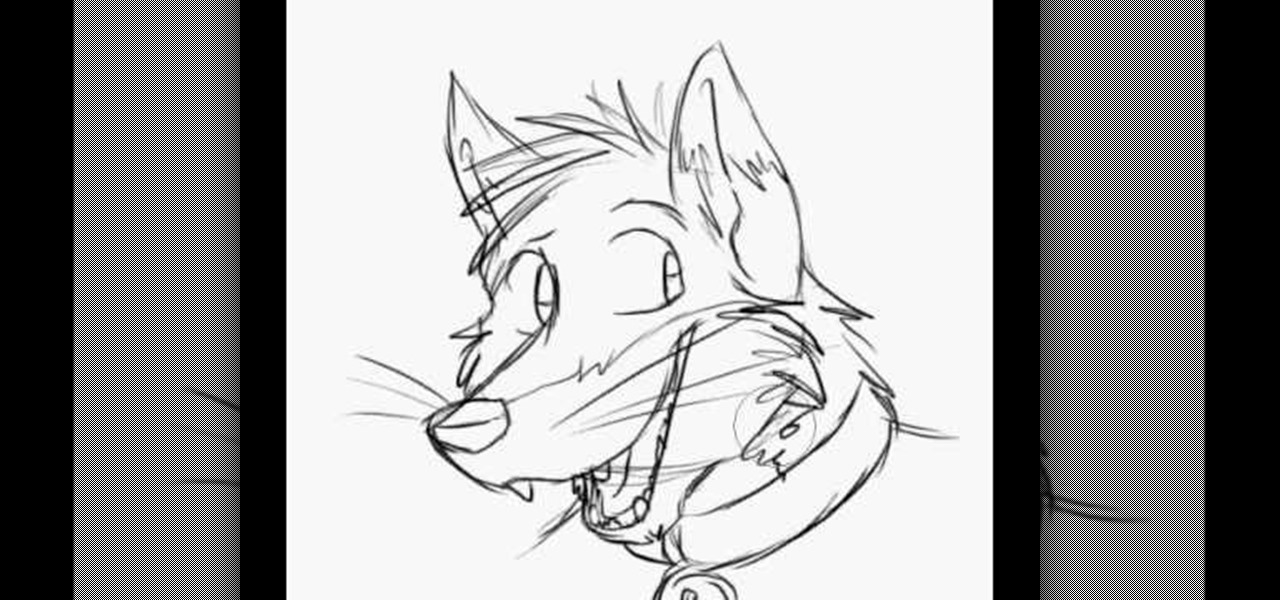
Here is an easy way to draw a cartoon fox. First draw a imperfect circle which is similar to face. Then draw ears which is curve shaped, sharp at its edges. Then draw its mouth part. The upper jaw must be bigger than the lower one. Now move to the eye part joining from the mouth part. Draw teeth and to make more attractable draw whiskers on each side. Draw an attractive belt in the neck side and in order to look real, draw hair portion on the head part and also on the side edges. Now erase th...

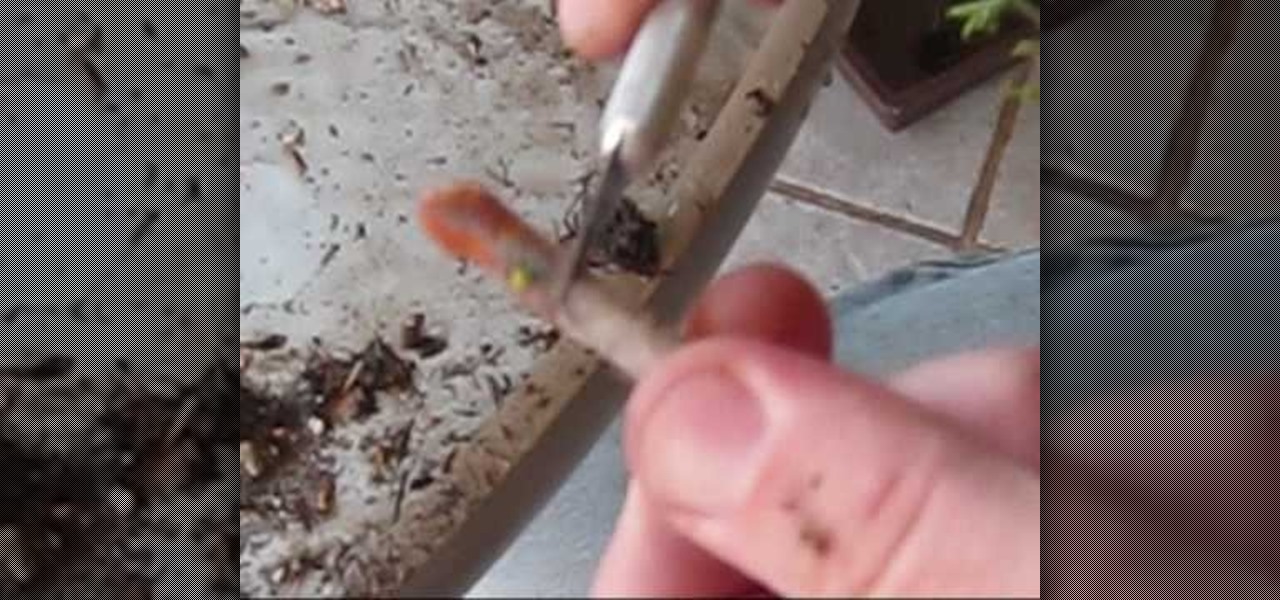
First of all you have to take the branch of the juniper tree. You can do this activity in the early spring which is the months of February and March. Take a very sharp knife and then peel the bark until you see green color. You have to tear the bark down until you see the greenery below the bark and that greenery is called cambium which is extremely thin. You have to use your knife to remove any kind of knots from the bark. Now you have to dip it in the “RooTone” which is a rooting hormone an...

Jennisse shows us how you can enhance your natural beauty simply by using your eyebrows. Start by taking some Brow Duo, and a eyebrow makeup brush. The brush should be angled, and stiff. Start by taking just a dab of the makeup, and begin shaping the eyebrow with the darker color, leaving the inner part of the brow alone. Now we take a small bit of the lighter color, and start to shade in the brow, moving towards the arch. Now Follow by taking another dab of the darker color and begin to shap...

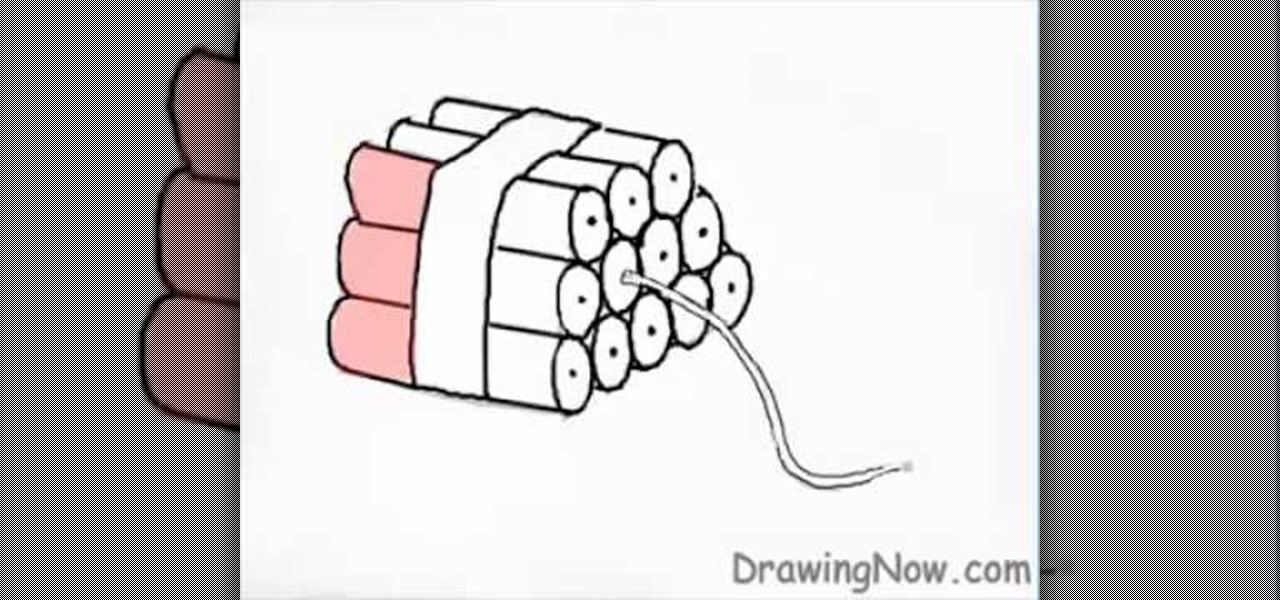
First of all use a grey color shade to draw the outline sketch of the figure. First draw the trapezium in the front. Now draw a rectangle at the side of the trapezium. Make a flat top to the figure. From the middle of the trapezium draw a string protruding downwards. Now divide the figure into three equal sections. Now you have to darken sections on the rectangular side. Draw the vertical lines of the rectangular side curved outwards at the far end. At the front end of the rectangular side ma...

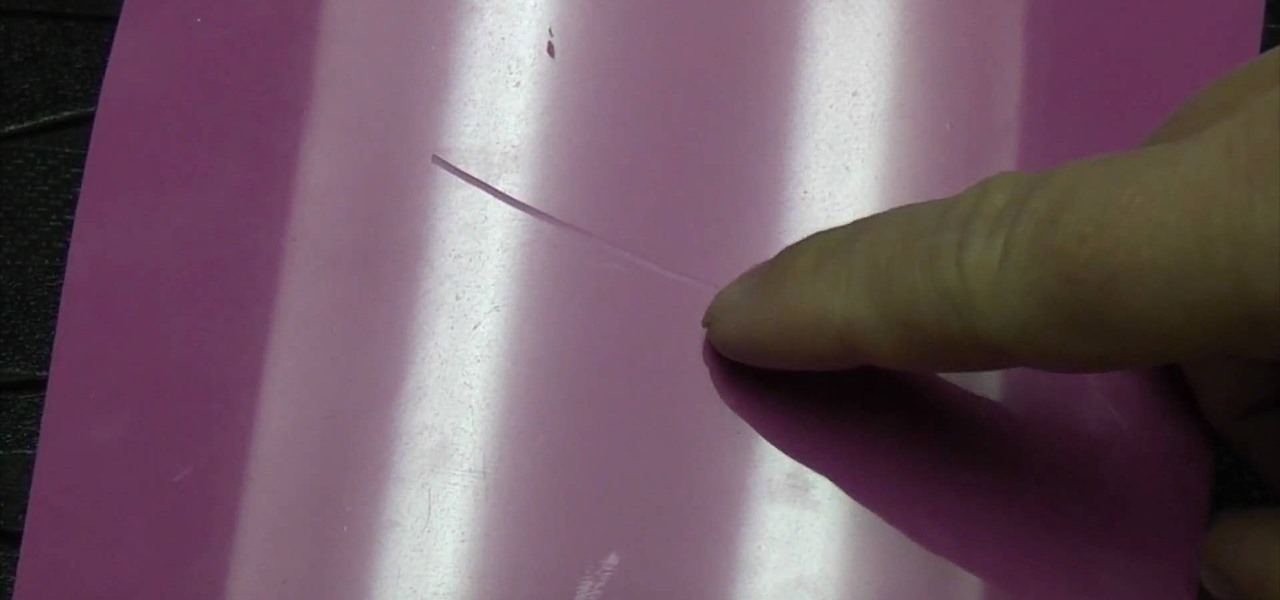
To remove the scratch in acrylic you need to first use Silicon Carbide water proof paper of 600CW grade. Turn over the paper and rub the scratched area of acrylic in a circular motion. You will see the scratch disappears after few minutes. Thereafter use the Silicon Carbide water proof paper of 1200CW grade which is more fine. Again rub over the scratched area in circular motion. Then wipe off the area and you can see after some time of rubbing the scratch is completely disappeared. But it le...

When it comes to making miniature things for doll houses or whatever else, it can be considered an art form. This tutorial is a simple project that anybody can perform and is perfect for beginners.

Decorating using tissue paper is an inexpensive and it is much prettier than streamers. To make tissue paper flower, all that you need is tissue paper of your color. Have two shades of color for contrast to make it more attractive. Cut the tissue paper into half. Take eight sheets and cut them half which gives you sixteen sheets. Take six to eight of those and lay them on top of each other and make corners match up. Now take the tissue paper and fold it over half inch to one inch and then fol...

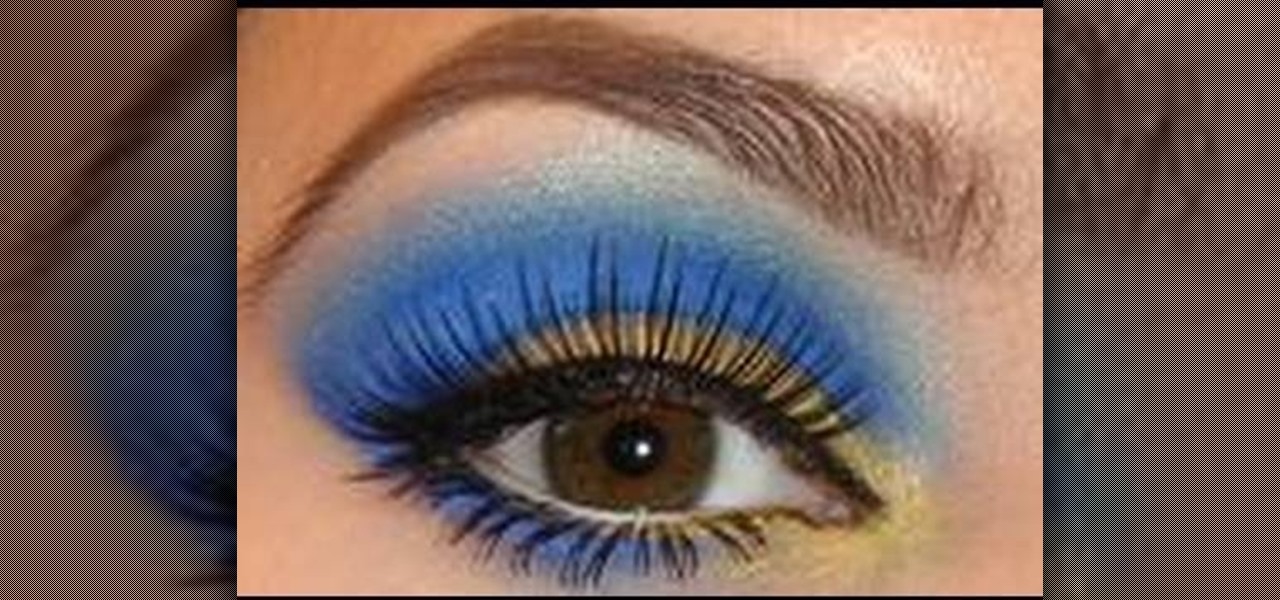
In this beauty tutorial, learn how to get the dramatic eye synonymous with Ed Hardy-Inspired makeup. The first thing you will need to do is apply a foundation over your entire eye area. Because so much makeup is being used, you really want to make sure there is a foundation in place to keep all of the color in place. Then, with a no. 217 brush, sweep a dark navy blue color over your entire lid as well as the crease. Line your lower lash line with a dark blue cream eye shadow and also fill in ...


