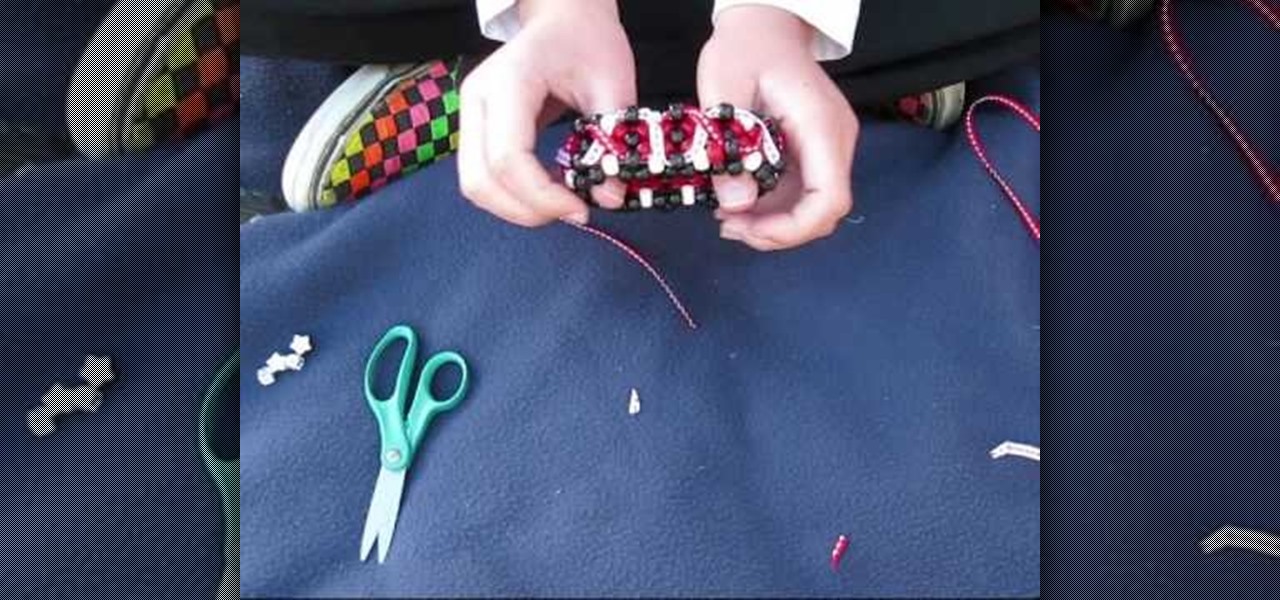
In this tutorial, we learn how to make a 3D ribbon cuff out of beads. First, you will need a cuff that is already made, then use the string that is hanging off the end. Put on one bead, then thread it through the bead next to it. Continue this all the way around the cuff. Now, tie the string off by threading it through the original loop. Now, string a ribbon around the cuff to make an "x" shape, then add in another ribbon around it. You can tie these into a bow at the end so you have a more g...
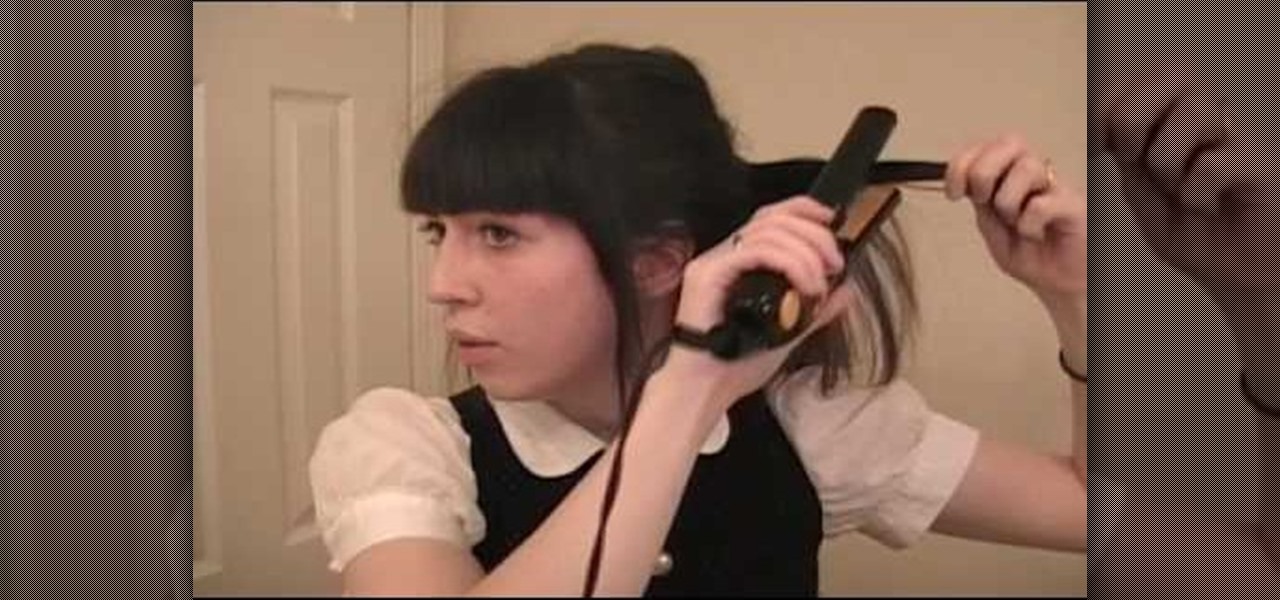
In this tutorial, we learn how to do a messy hair bump pony tail. To begin, you will need to straighten your hair all the way through with a straightener. Next, you will push your hair back and tie into a pony tail in the back. As you are gathering your hair for the pony tail, comb the top and sides so it's smooth and bring your bangs out on the sides. Now, take your straightening iron and curl the back of your pony tail in different one inch strands. Don't worry about making this look perfec...
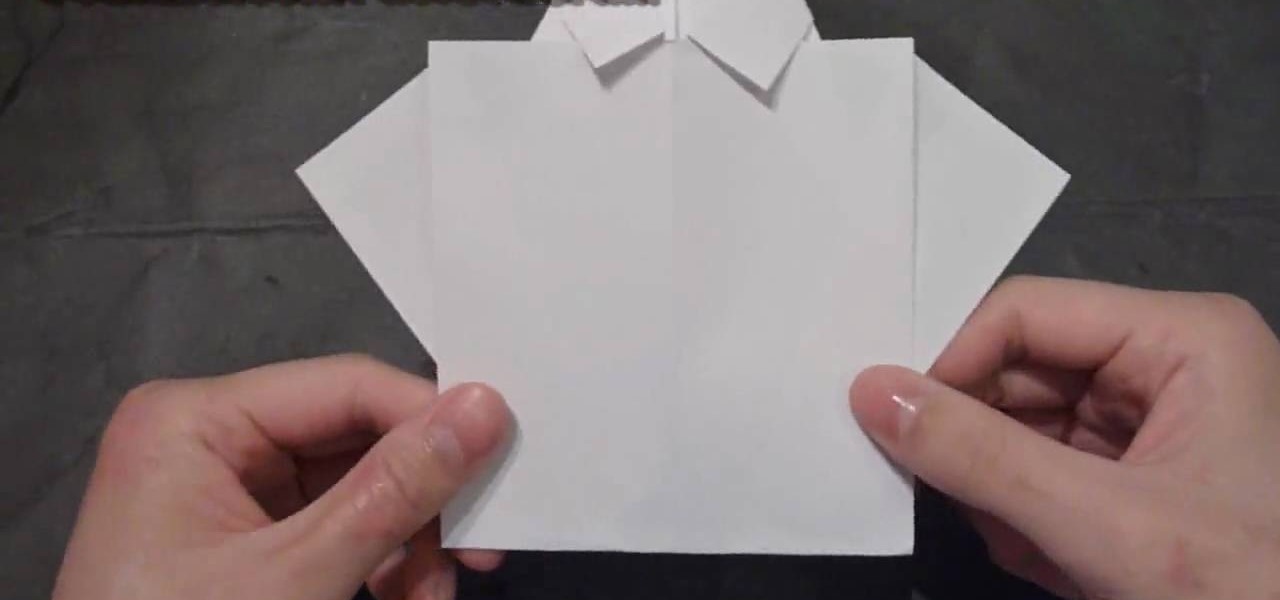
The best cards are always homemade with a lot of love (the same can't be said for presents; sometimes Dad just needs that power saw). And since Father's Day is coming up quickly, why not make your daddy a card rather than purchase a personality-less mass-produced one?
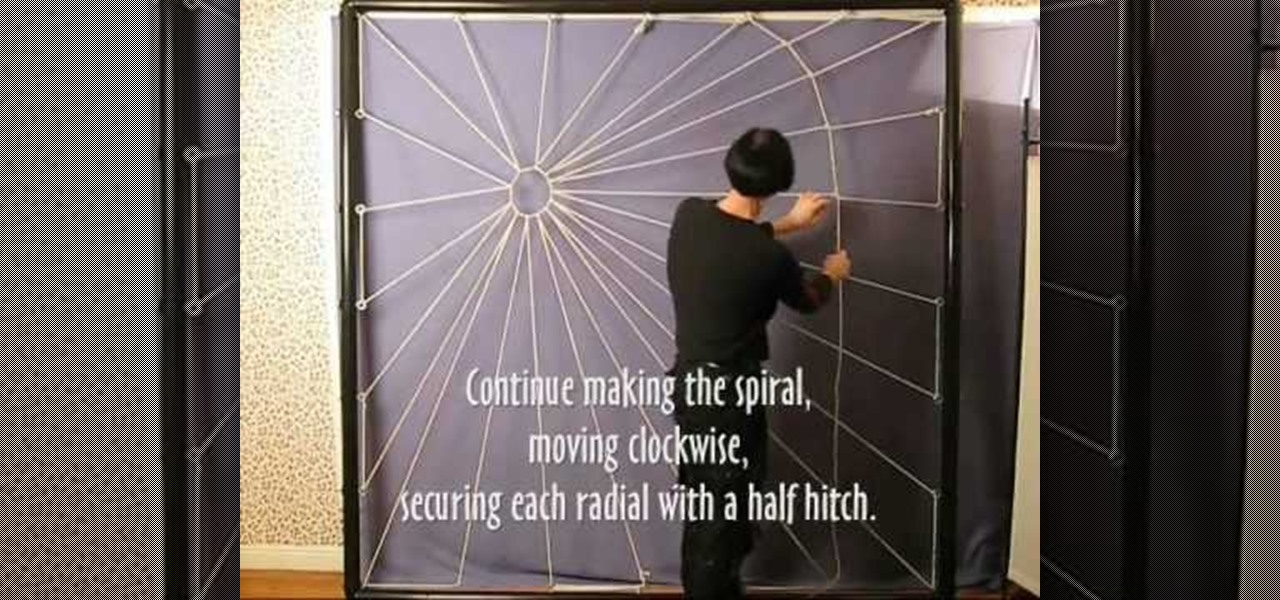
Spooky Halloween parties necessitate a certain amount of creeptastic spider webs, but the cheap cottony stuff that comes in plastic bags at most retailers feel fake and have been overused over the last few years.
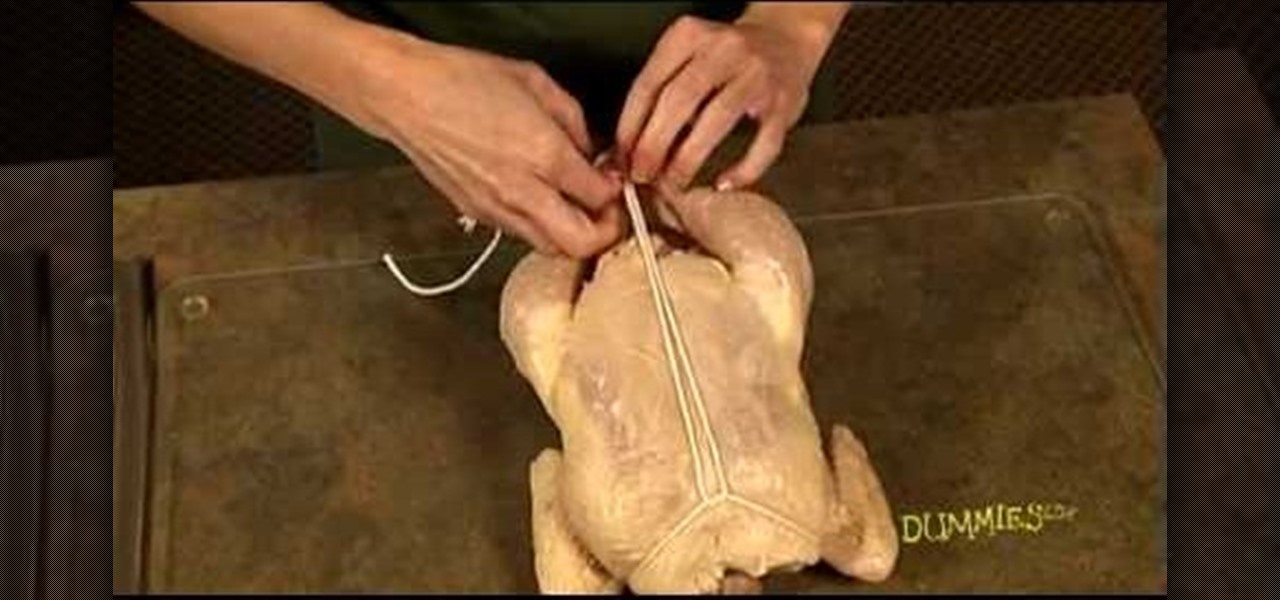
In this video tutorial, viewers learn how to truss poultry. Trussing is a technique that helps keep poultry in shape when cooking. To truss a chicken, begin by tucking the wing under the chicken and then flip it over. Wrap the string around the drumsticks, pull the string out toward the back of the bird and catching the tucked wings underneath the string. Flip the chicken over and tie the string over the breasts. Bring the ends of the string down and tie it under the strings the hold the drum...
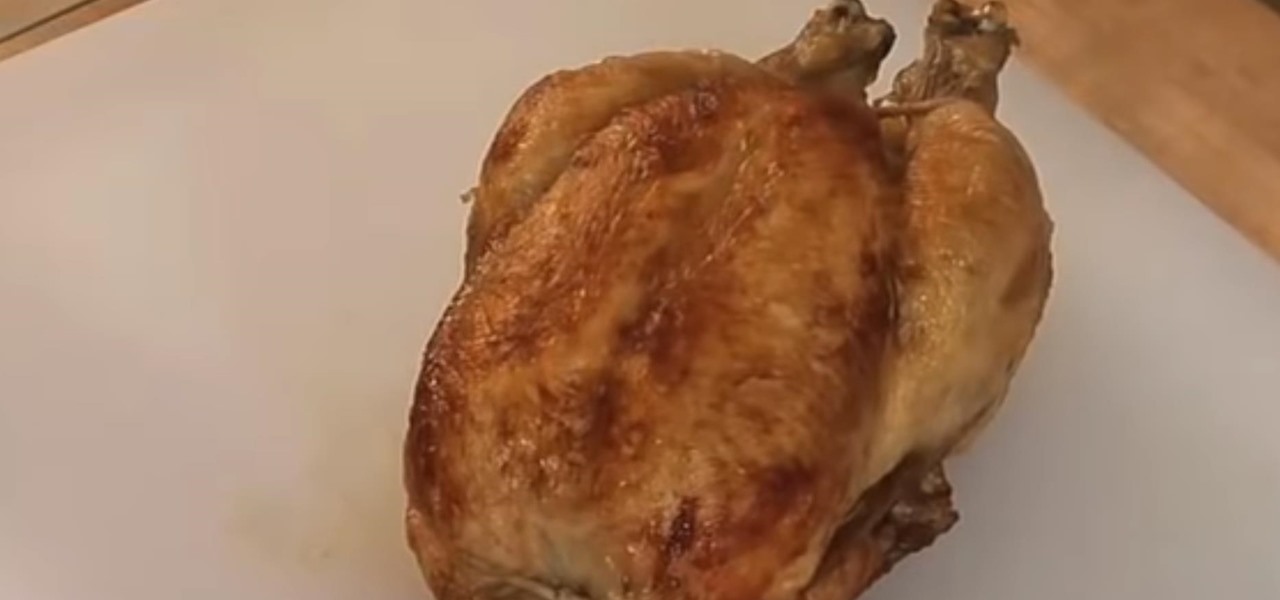
In order to make Oven Roasted Chicken, you will need the following ingredients: a whole chicken, butter or oil, salt, pepper, thyme, rosemary, and garlic.

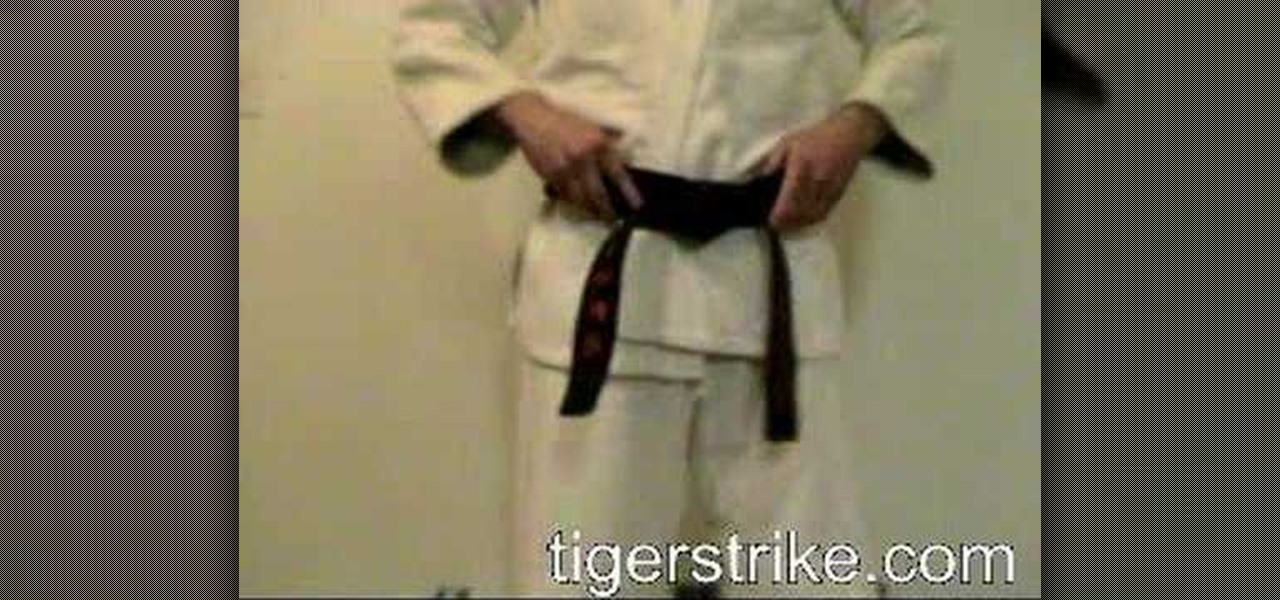
In this Sports video tutorial you will learn how to properly tie a karate belt. This video is from Tiger Strike. There are two ways of doing this. 1st method. Take 3 hand lengths of the belt from one end, place it on the right hip wrap the belt around the waist with the left hand twice. Then take the other end and pass it underneath both the layers of the belt from bottom to up, pull both the ends and make them even. Now take the left end, put it over the right side end then pass it through t...

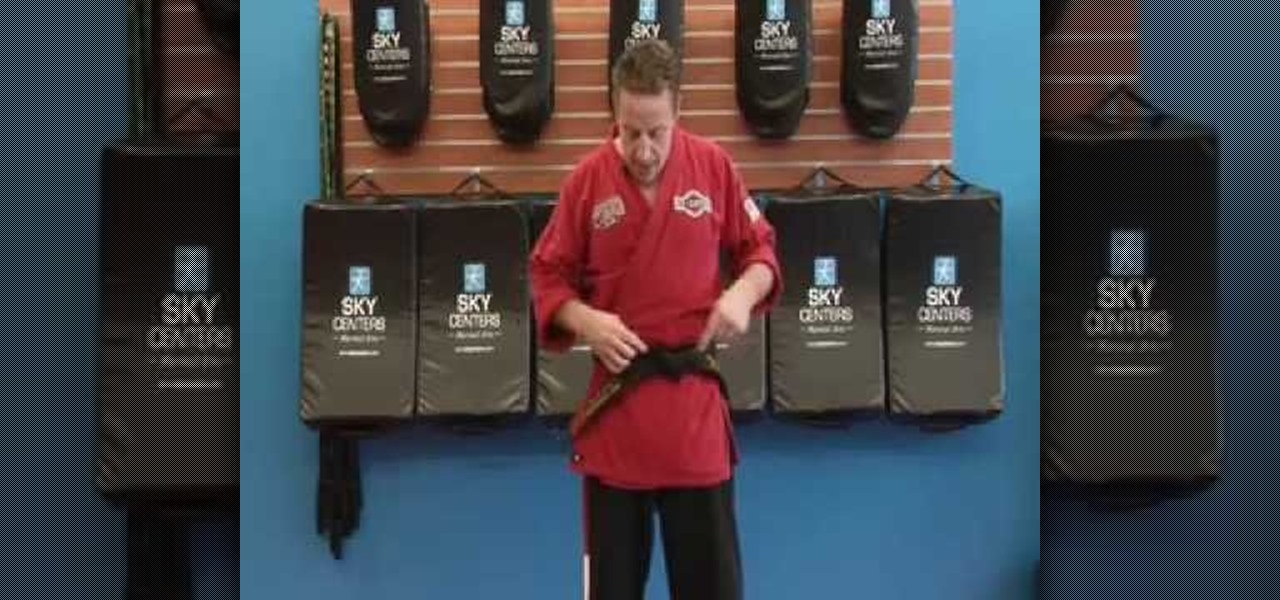
To tie your karate belt tightly and efficiently you only need to follow a few simple steps. First, find the center of the belt; do this by putting the two ends together. Put the center on your belly button, and wrap completely around yourself, now finding the two ends in front of you. Bring the left end over the right, and grab both pieces with your left hand. Now tuck the left end under. From there, place the right side over the left. Now take the bottom flap and wrap it around the right pie...

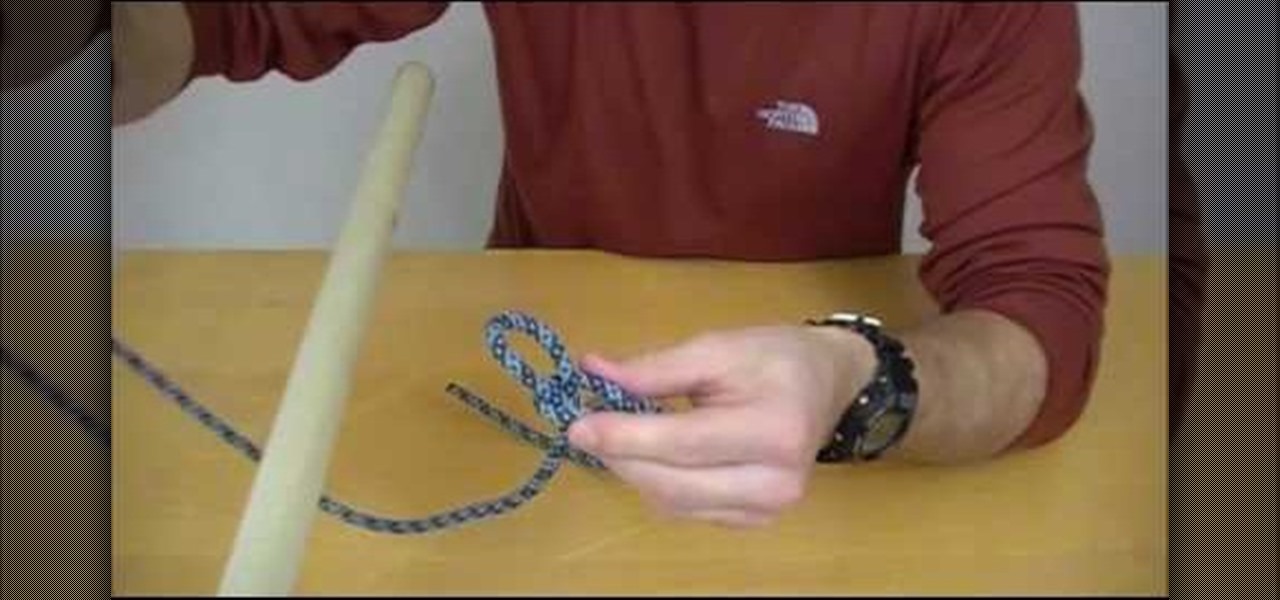
This is a video demonstrating how to tie a perfection loop. This is a loop that is necessary for fishing. It can be using for sinkers and fly fishing. It is good for any purpose where a loop is needed. A loop is made first. The loop is held between the left thumb and index finger. The end of the line is taken and put over the loop. Then switch hands and take the end of the line below the main line, making two loops. Then the end of the line is placed between the two loops. Take the top loop n...

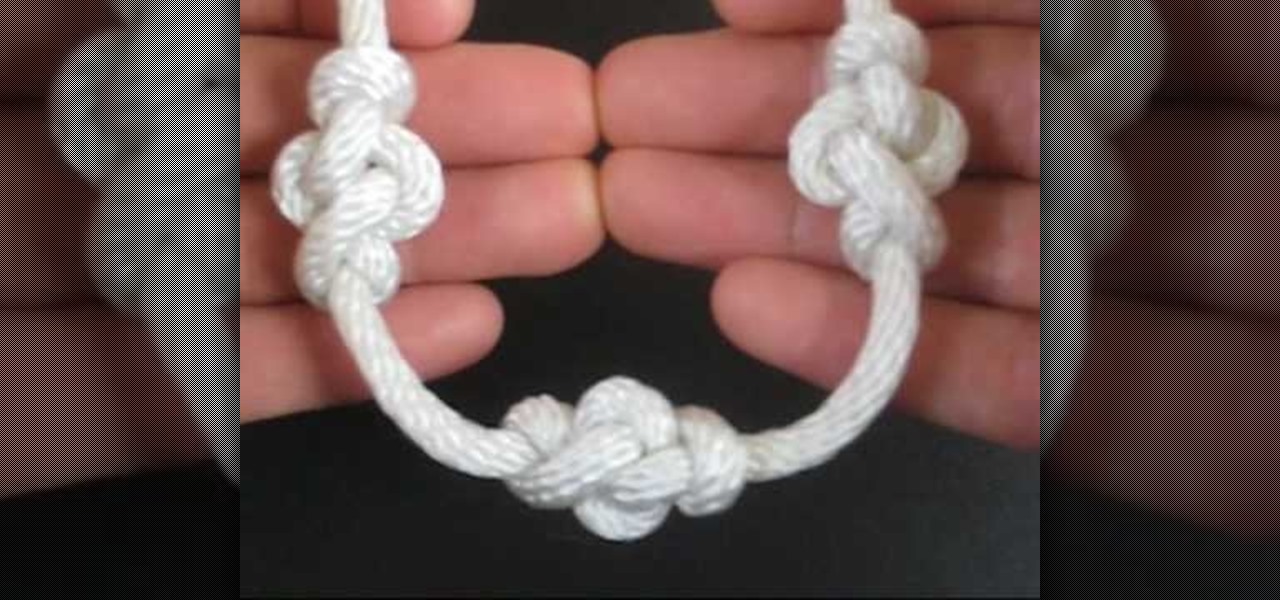
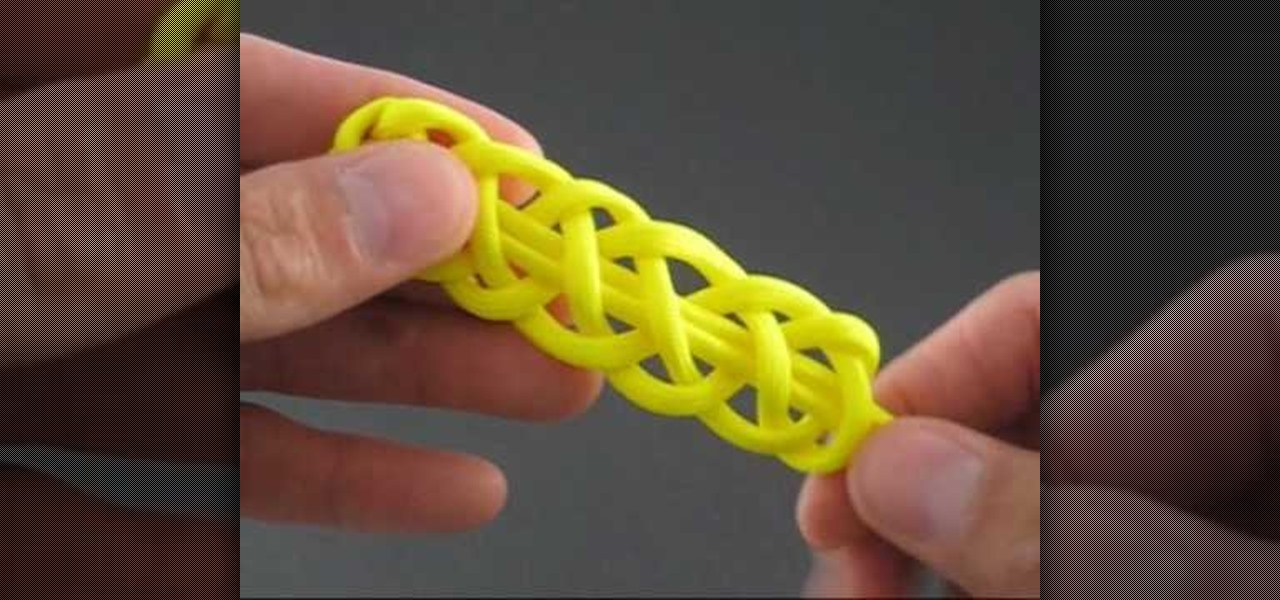
In this video the host of "Tying It All Together" demonstrates how to create a "Eternity Knot". This type of knot is an attractive way to decorate a rope or string. Strung along one after another on a rope or string, it creates elongated bead-like knots at intervals of your choosing. The Eternity Knot is named for it's resemblance to the symbol of Buddha's all-knowing wisdom and the uncommon quality of his realizations. In this video the host will lead you through the entire process of creati...

The trucker's hitch is a good, strong knot with many uses. It's ideal for securing a load in a vehicle, and was used that way dating back to the days of wagons hauled by horses. In this video the folks at ITS Tactical teach you how to tie a trucker's hitch, quick and easy.

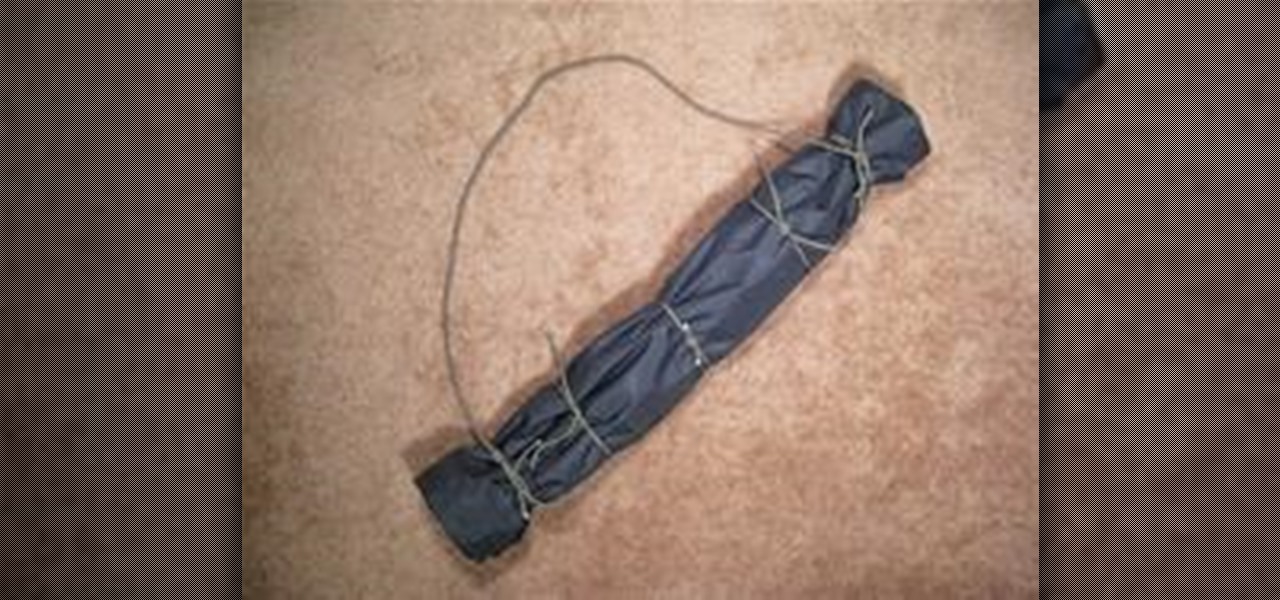
There’s a good chance that you’ll be alone in life one day, and no... I’m not talking about a couch-bound, dateless loser with a pocket pussy and a bag of potato chips. I’m talking about alone. In the wilderness. Hungry. Cold. Lost. You can’t stay in one place too long, so it would be nice to have something to carry your belongings in. Maybe it’s post-apocalyptic land where you’re the sole survivor, and all the backpacks and rucksacks in the world are but mere ash. Either way, knowing this si...

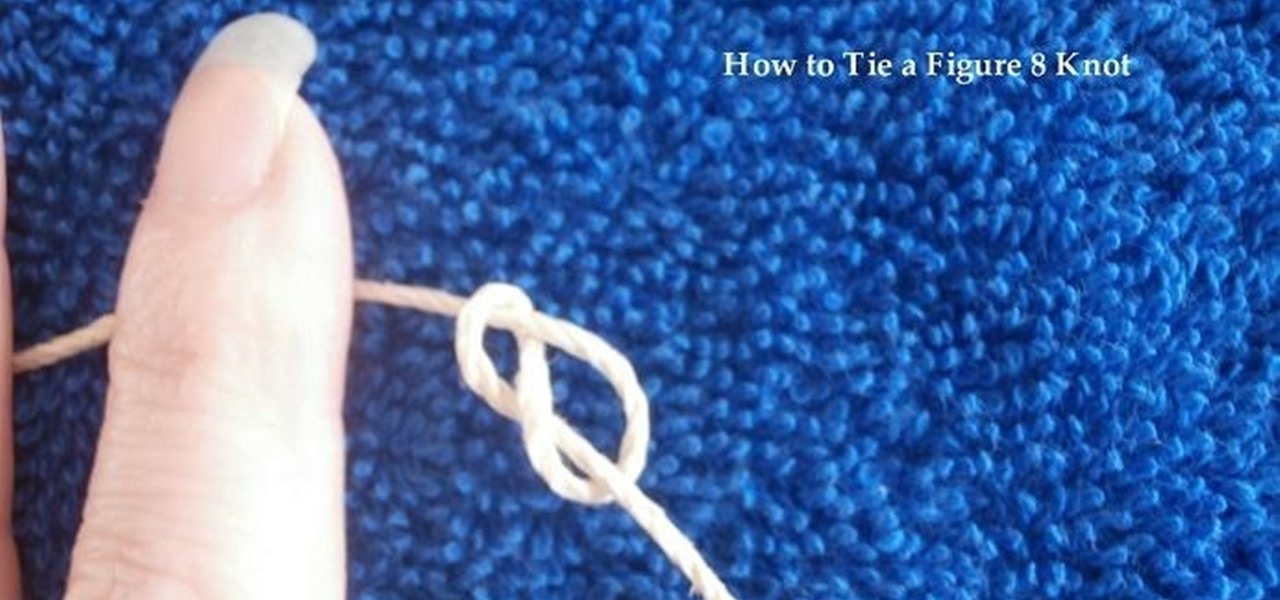
This video tutorial demonstrates how to tie a figure eight knot. You can use this knot as an alternative to the overhand knot for starting and ending your hemp jewelry pieces such as necklaces, bracelets, chokers, and anklets.

A step by step video tutorial on how to tie a vertical larks head knot.

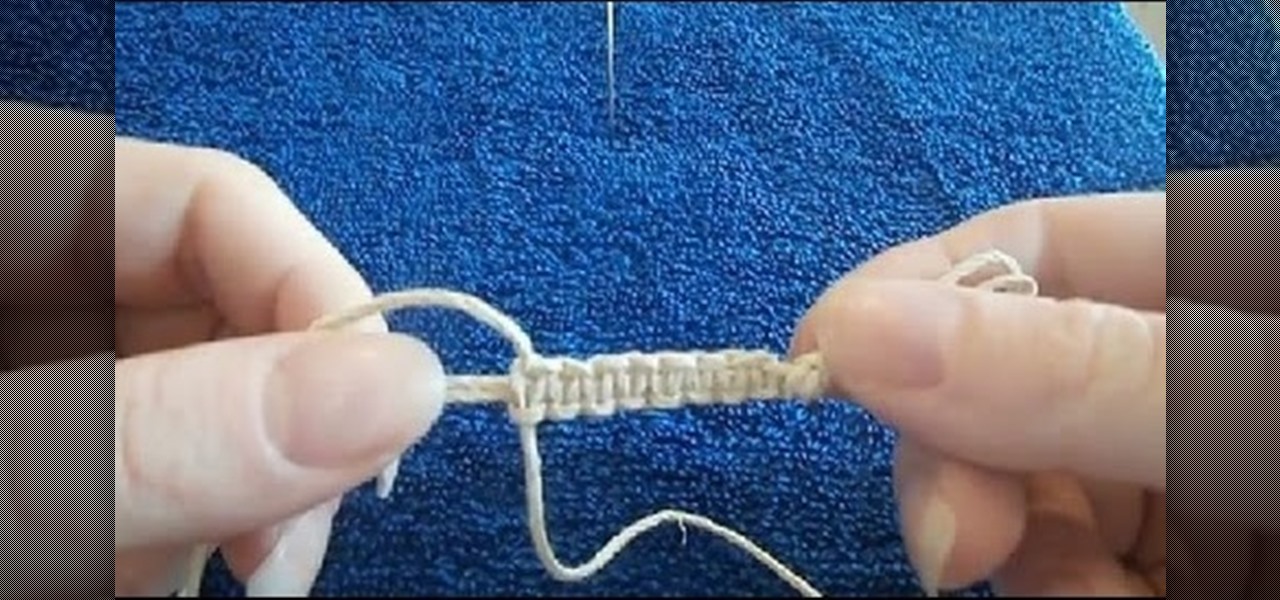
A video tutorial on how to tie a square knot to make hemp macrame jewelry.

A video tutorial on how to tie a switch knot and make hemp jewelry. This knot can be used to make various pieces such as necklaces, chokers, bracelets, and anklets.

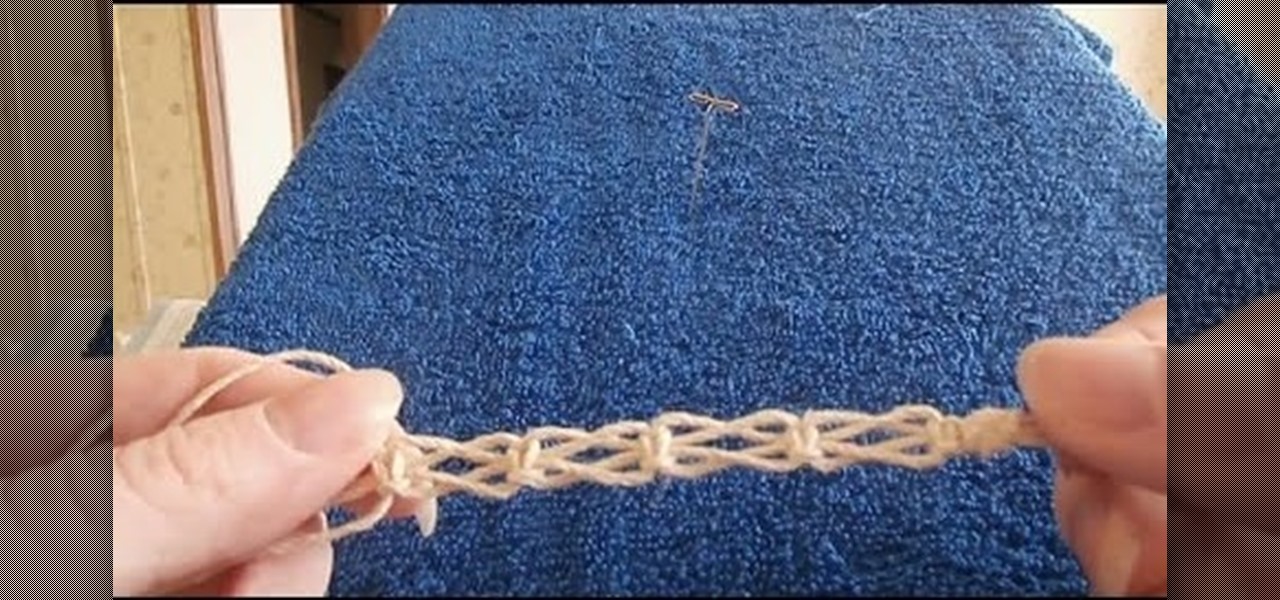
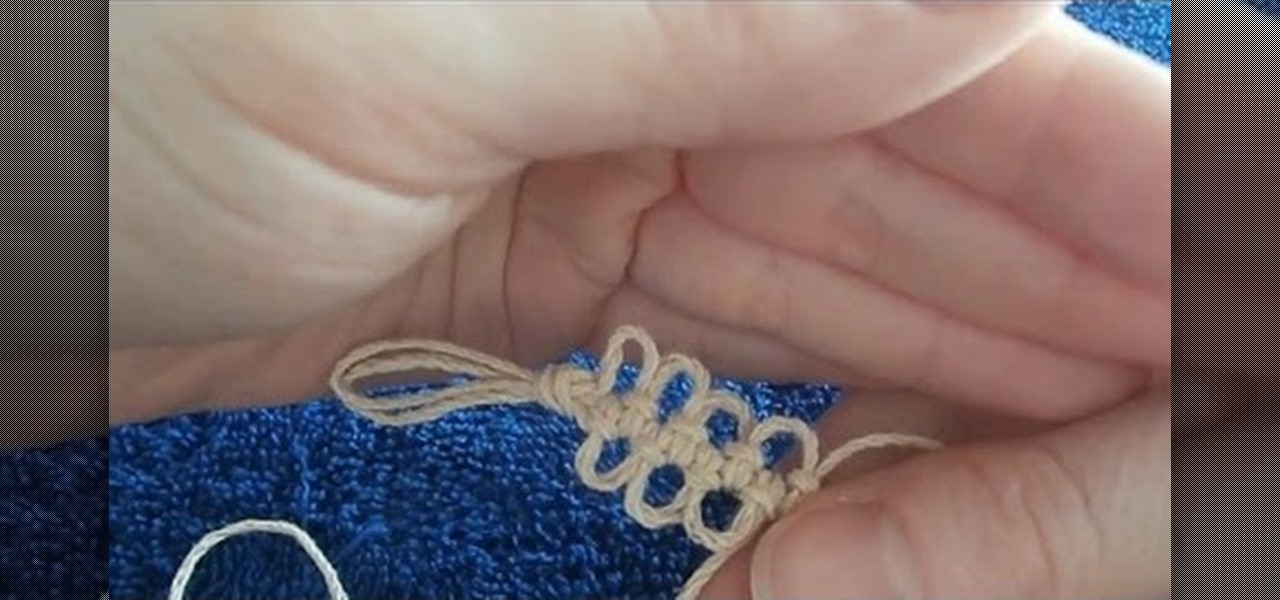
A step by step video tutorial that teaches how to tie an alternating Larks Head knot with loops.

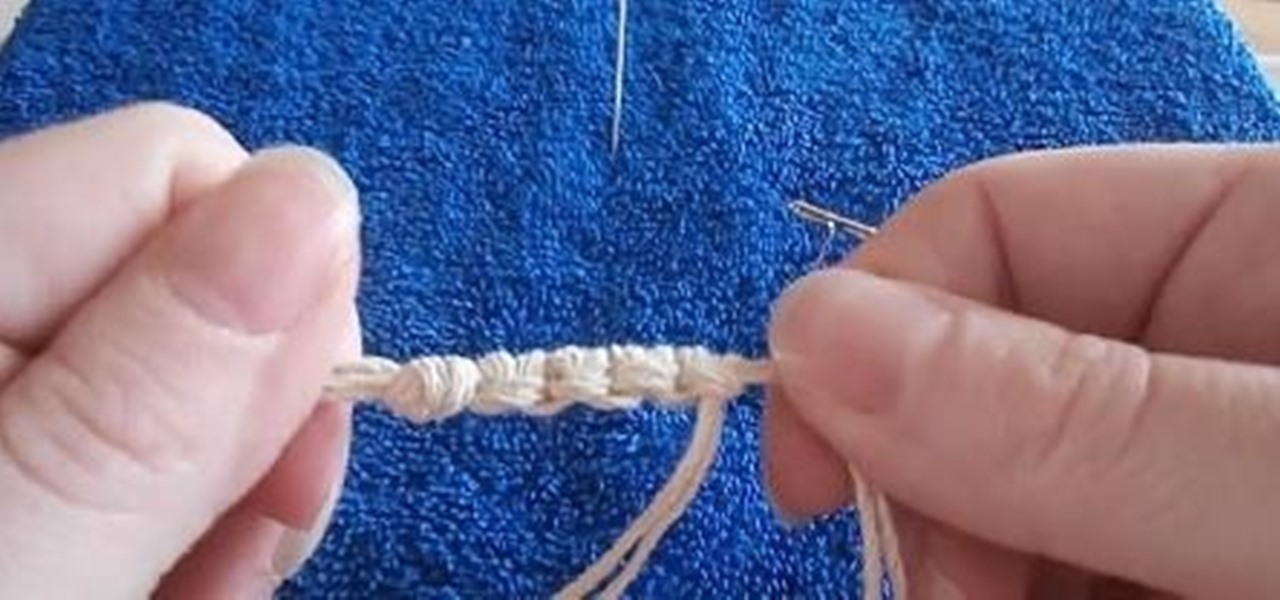
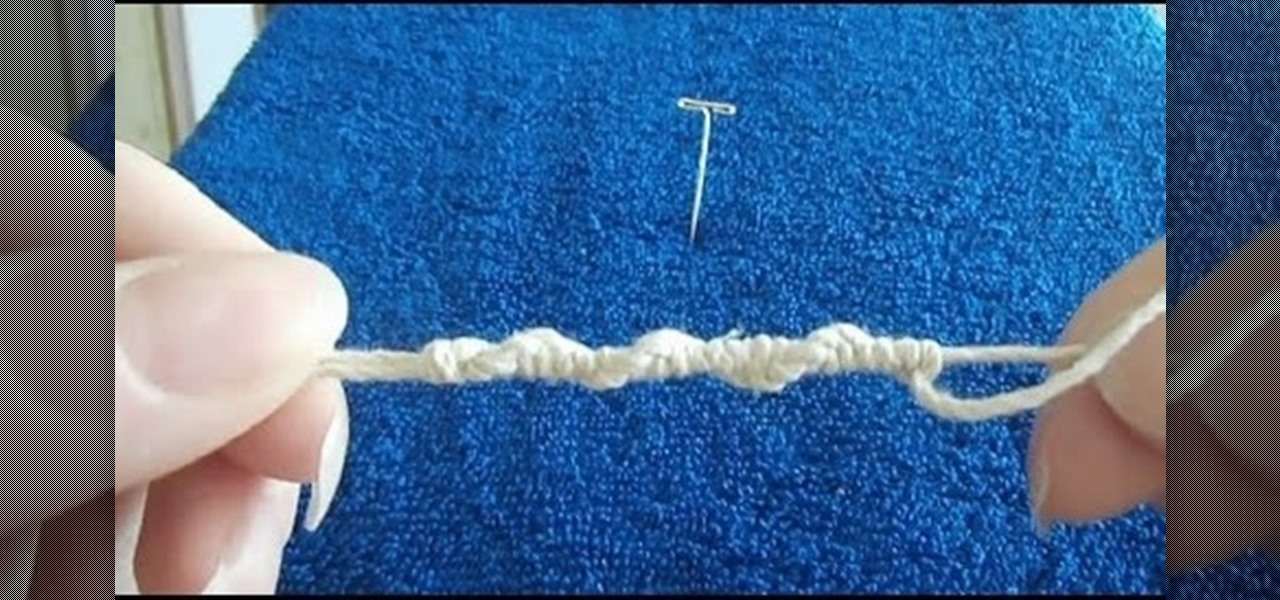
A step by step video tutorial on how to tie a continuous half hitch spiral knot. You can use this knot to make various types of hemp macramé jewelry such as necklaces, bracelets, chokers, and anklets.

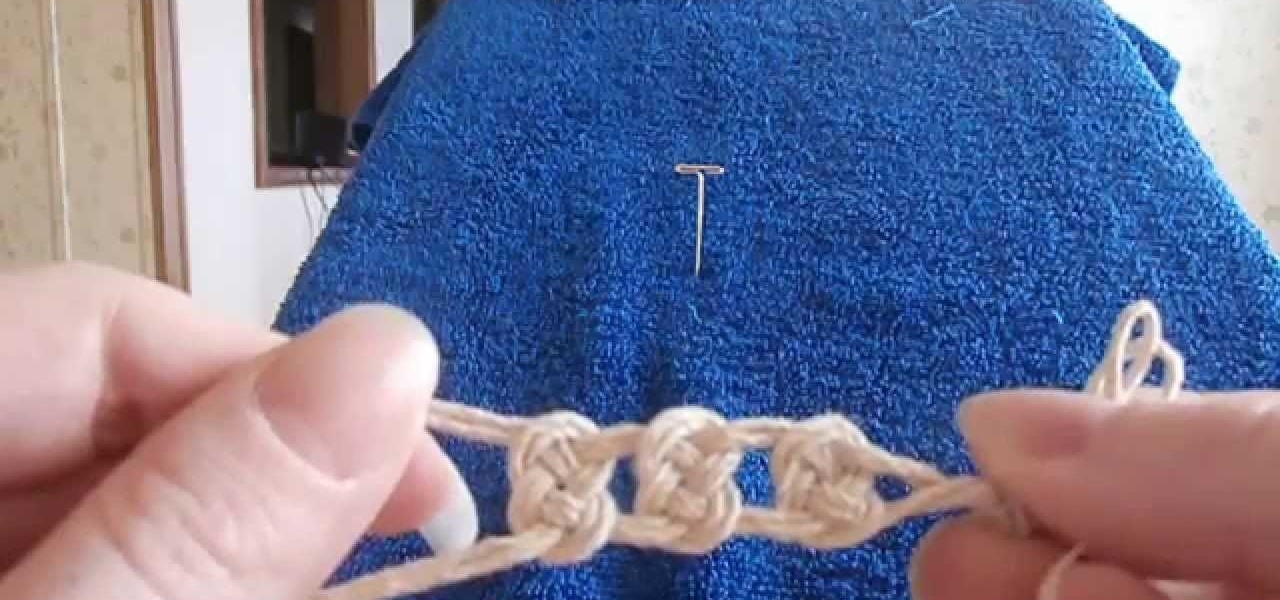
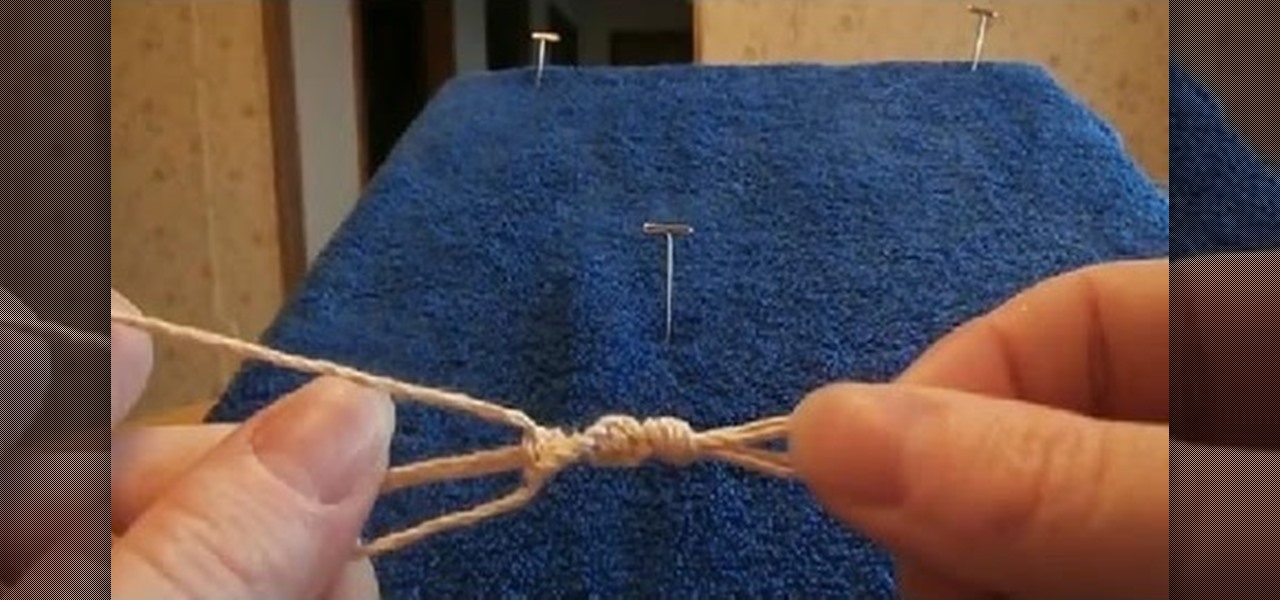
A video tutorial on how to tie a pretzel knot AKA Josephine knot for hemp jewelry. Easy step by step instructions.

A video tutorial that shows how to tie a half square knot AKA spiral knot. You can use this knot to make various types of hemp jewelry.

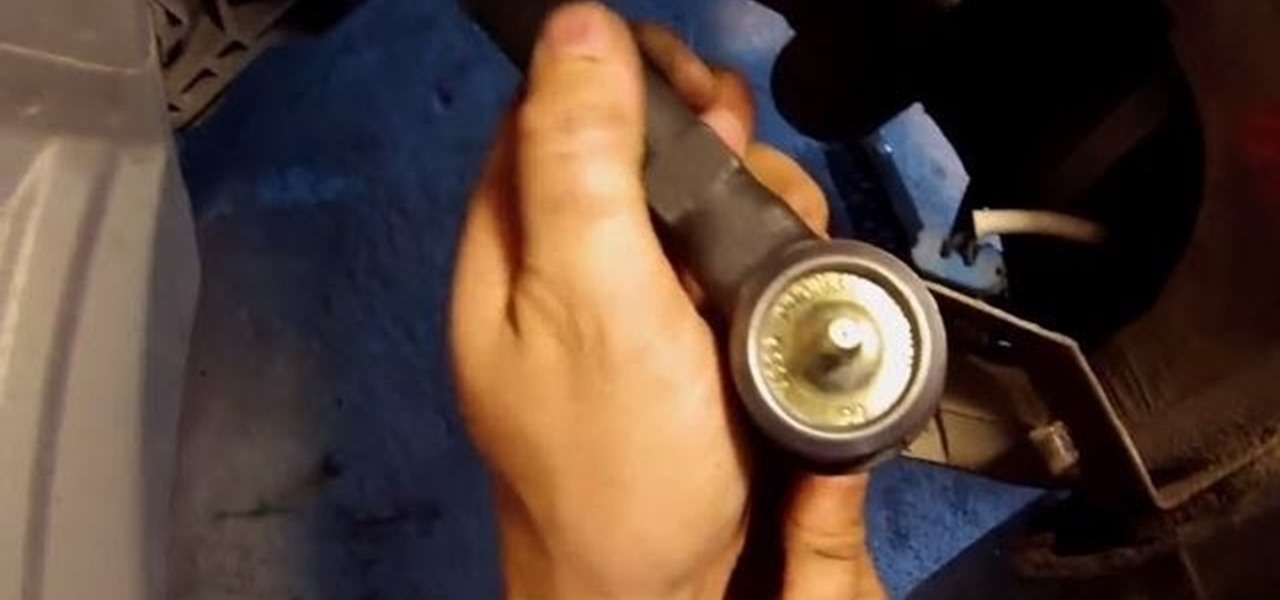
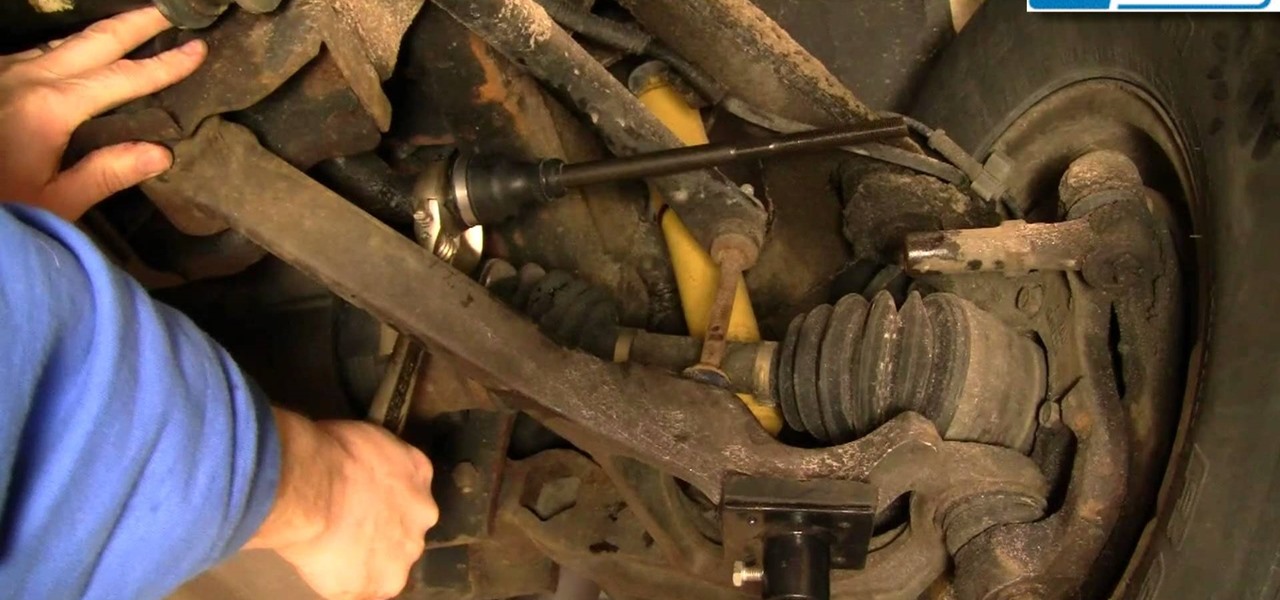
Video: . This is how is replaced the outer tie rods on a 2008 Pontiac Grand Prix. Most late model GM vehicles will be similar to this Grand Prix. 97-03 Grand Prix, 04-08 Grand Prix, 00-05 Monte Carlo and Impala, 97-03 Regal

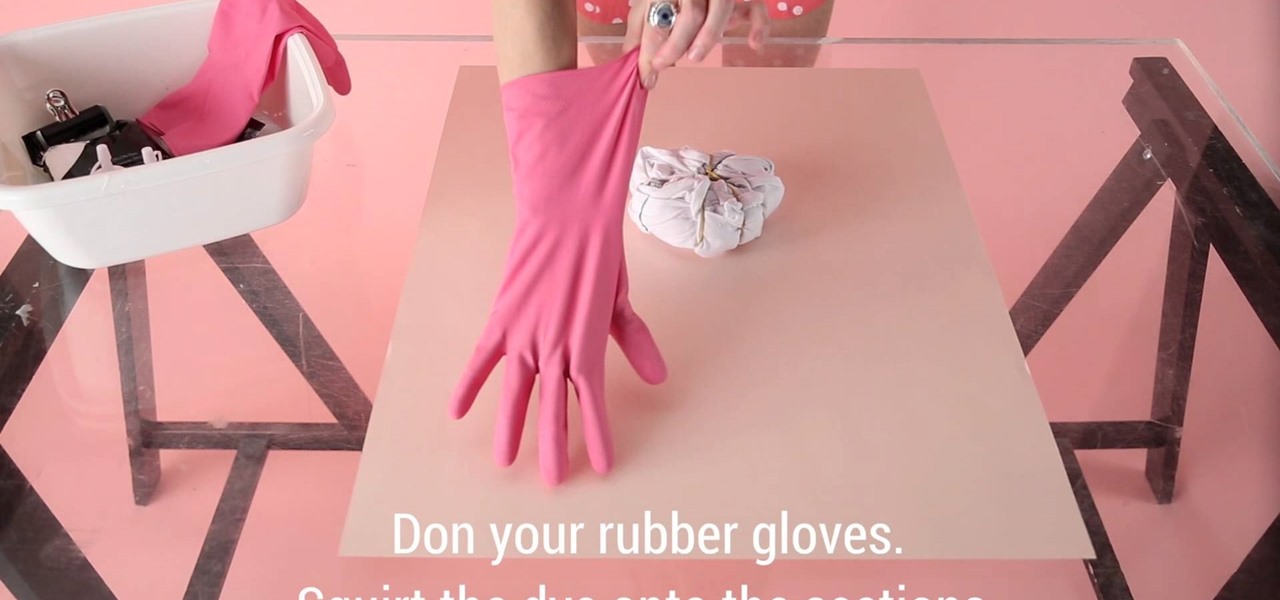
The '90s bigger than ever, a day-to-party outfit is, once again, a tie-dye tee with a choker. If you want to make it modern, then just pair it with a Rainbow Loom band. But before you do, sit back, relax, because here's the first installment of Debrief DIY: how to make a tie-dye T-shirt.

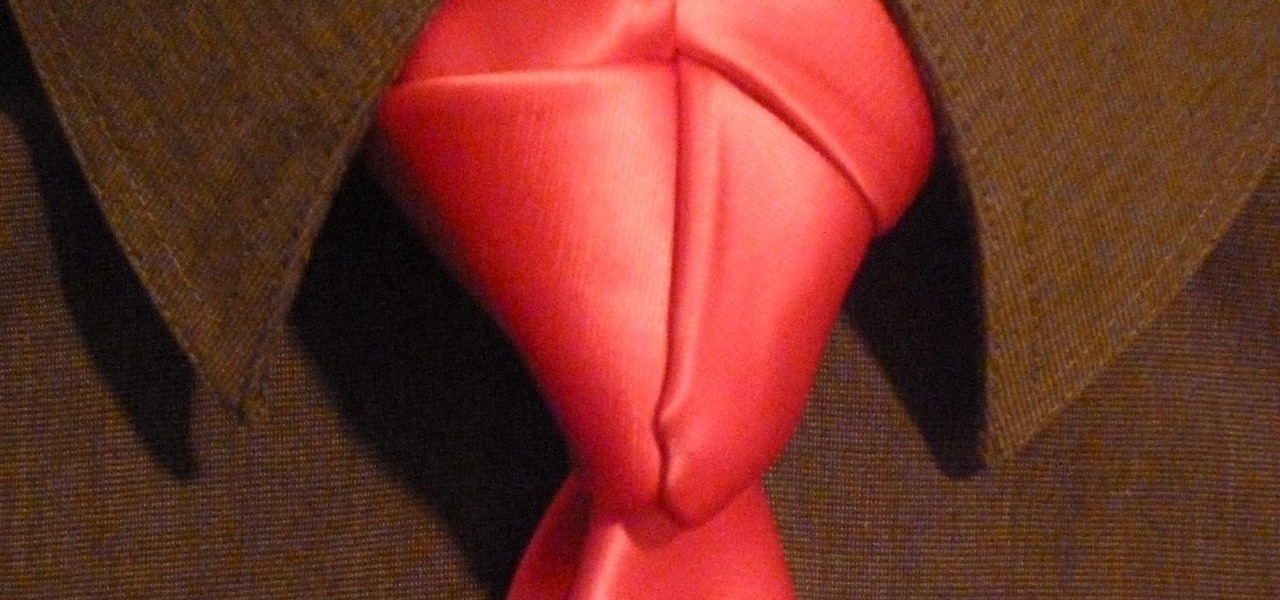
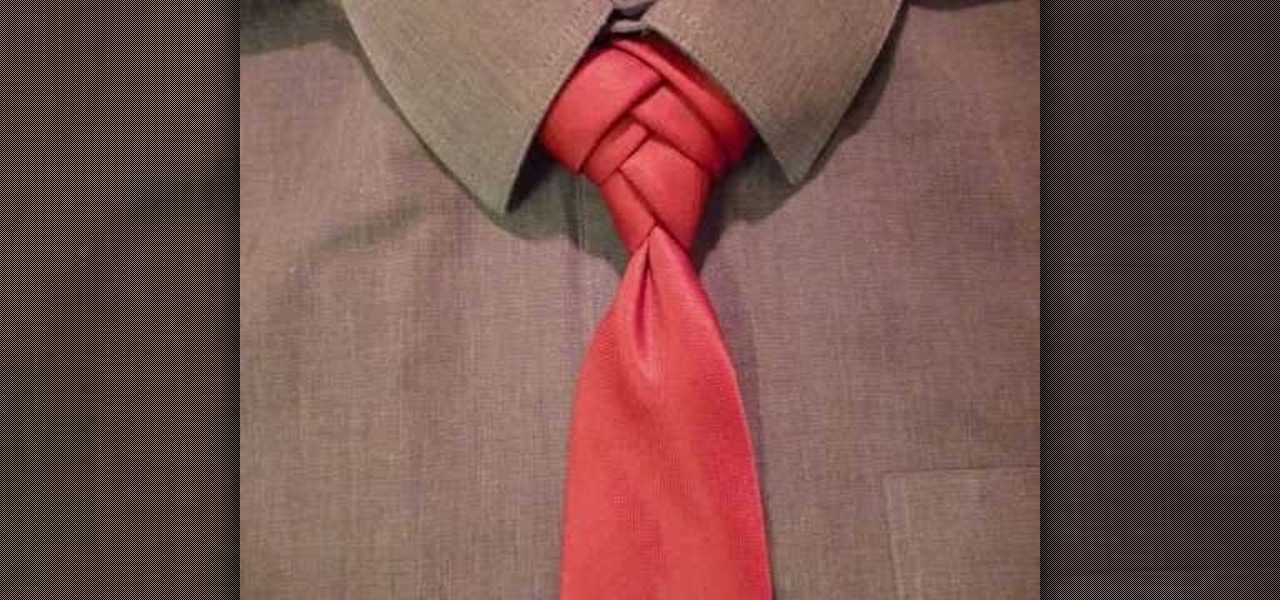
A sophisticated knot invented by the one and only Elliot Truelove. Difficulty level 5/5. This knot isn't for little boys, it's for lady killers.

How to tie the intricate and multi-layered Fishbone knot for your necktie. Easy to follow animated video shows you how.

Here's and animated video showing you how to tie the amazing and stunning Trinity knot for your necktie.

In this video we will show you how to replace the inner steering tie rod linkage on a 00-07 Chevy Silverado; this process is also the same on a 00-07 GMC Sierra.

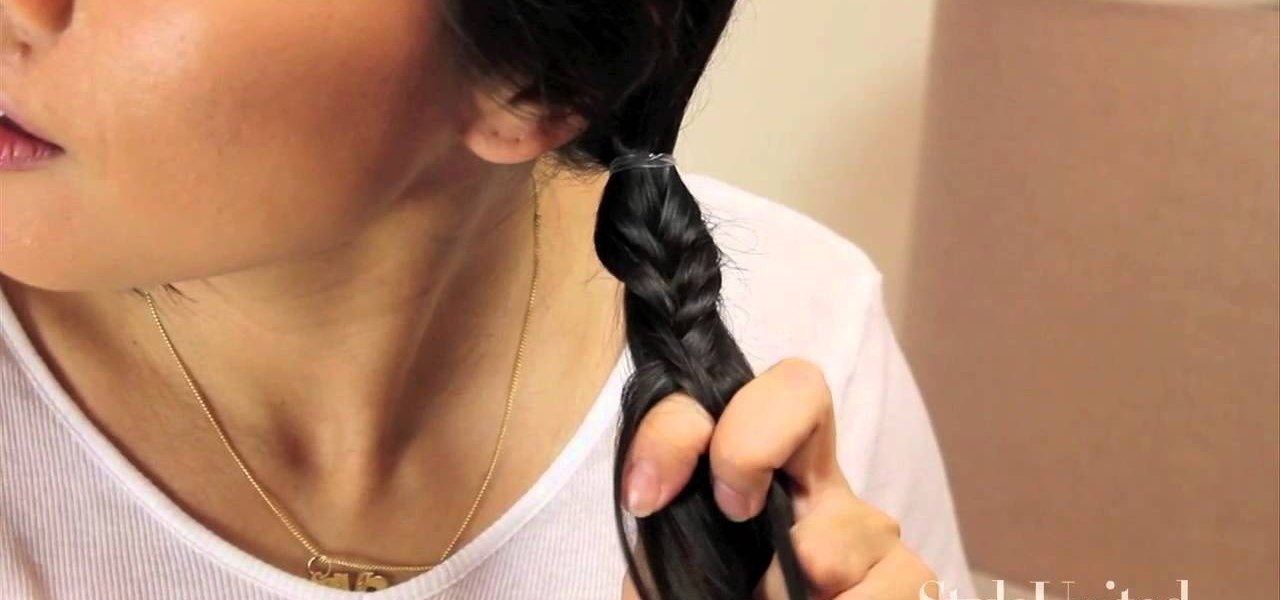
Step 1: Tie a Ponytail Use clear elastic to tie a ponytail and divide the ponytail into 2 segments.

Learn how to immobilize an ankle. The ankle is a complex joint, so when an injury occurs, and you can't get help right away, the first thing to do is keep it from moving – you'll prevent any more damage to the surrounding nerves and tissue.

If you're looking for survival knots or nautical knots then you've gone to the wrong place. But if you're looking to bolster your oeuvre of fancy, beautiful knots, then you've stumbled upon the right video.

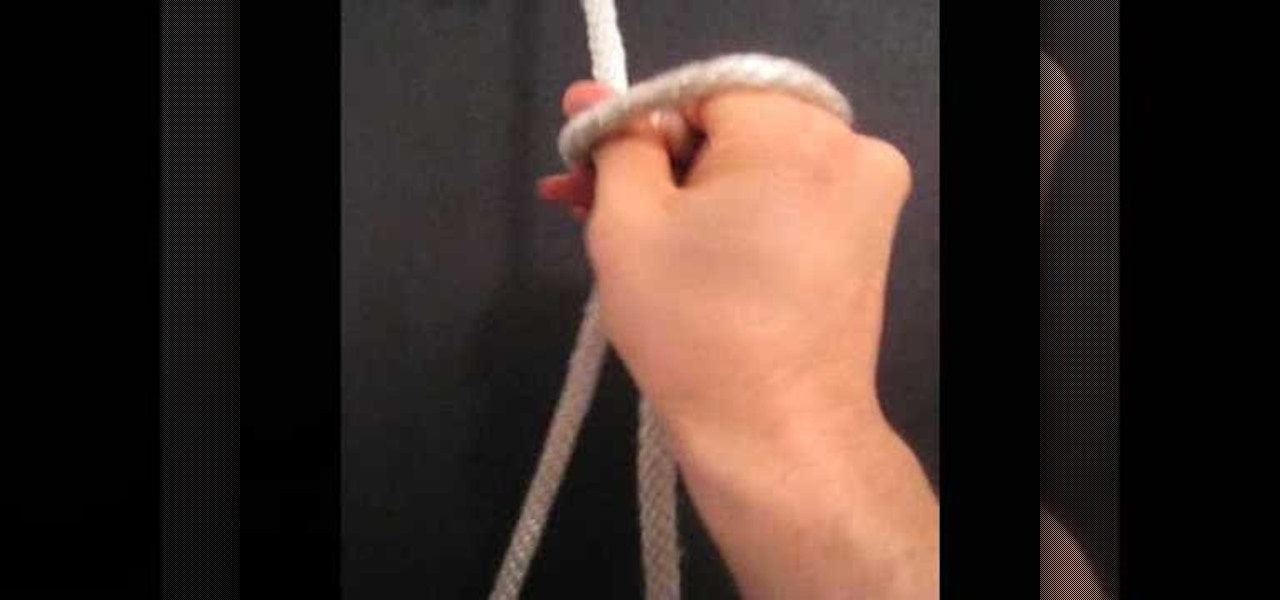
This is a video tutorial in the Arts & Crafts category where you are going to learn how to tie a Bowline knot with one hand. Doing this is really simple and easy and doesn't take any time at all. Hang a line from any support. Take the lower end, that is the running end in one hand and pass it around the standing end. Then take it out through the loop and pass the running end around the standing end and pull it out through the loop. Tighten the knot and it's done. It's really that simple and e...

In this video we learn how to tie a pretzel knot for hemp jewelry. First, making a loop with the chords in your right hand and place them over the left chords. Hold the loose ends on the right side and take the chords from the left hand. Go over the right chords and then up through the top. Then go over the loop under the left side of the loop pulling the chords up. What you get here will look kind of like a mouse, so you will need to get the first color on the outside. Then, slide this up an...

In this video we learn how to tie an easy fishing knot system. First, put the line through the hook and pull. Then, take the end of the line and make it come through the loop. Bring this over and then you will have a hole at the bottom of the string. Take the end of the line and put it through the hole around six to eight times to get a strong knot. Then, pull on the main line and you will see the knot glide up to the hook, To go lower, just pull it down. This creates a strong and efficient k...

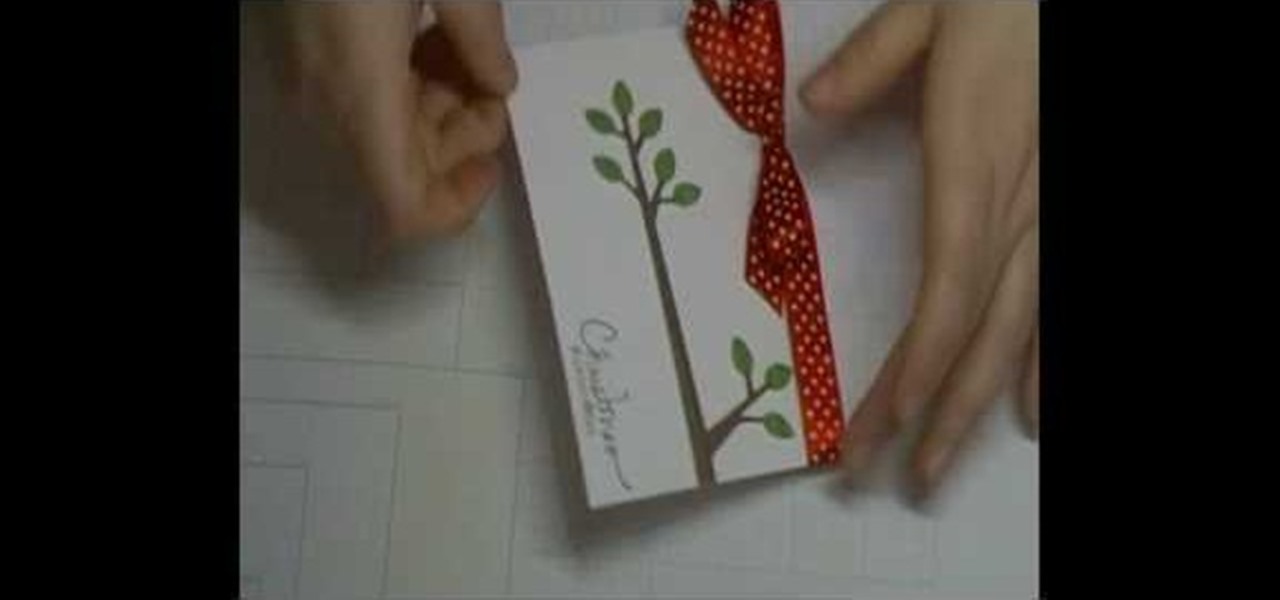
In this tutorial, we learn how to use Cricut Serenade & Joys for a simple Christmas card. First you will need to take a piece of white card stock and tie a red and white polka dot ribbon to the top. After this, you will need to take a tree branch stamp and stamp it on the side of the card like it's growing out of it. After this, make sure the color on the leaves is green and the branches are brown. Now, you will cut out another piece of card stock in a punch out to create the ornament that wi...

If you need to take up a hobby, you could try taking up making cool, decorative knots. This hobby isn't too hard to take up and can result in beautiful looking pieces of art that you can sell or just giveaway.

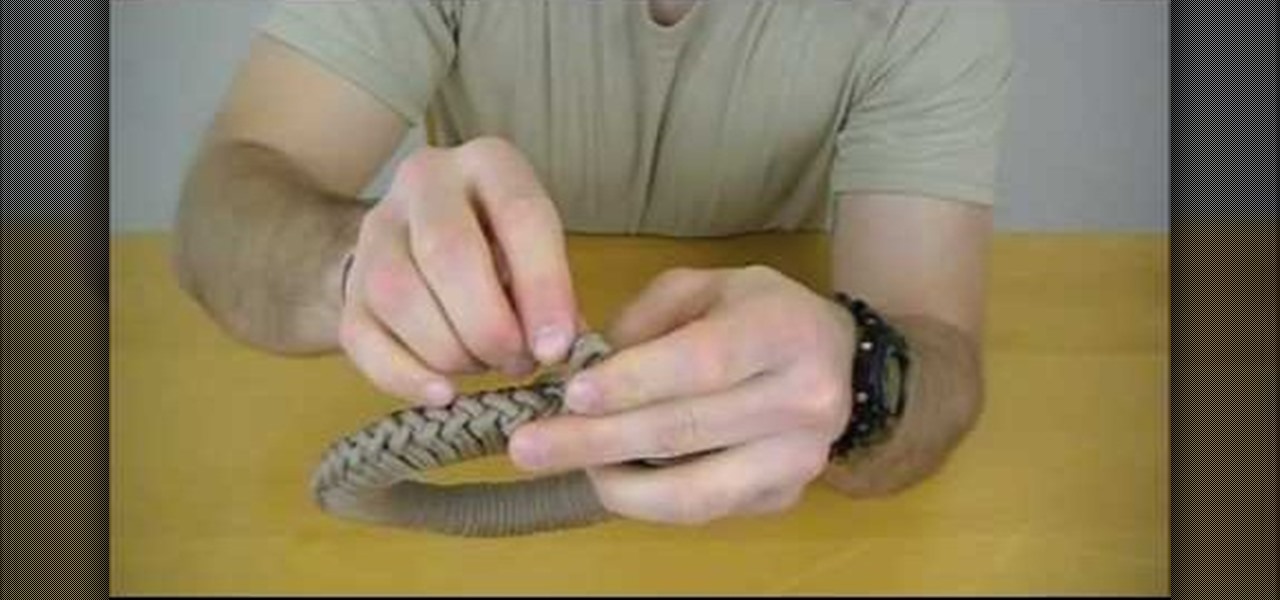
In this video, we learn how to tie a paracord storage sinnet. First, coil up the paracord and then form a bight with the working part at the top of the coils. Next, create a loop from the bight and pull the loose part underneath this and pull it underneath the loop you created. Now, tighten the new loop up and then take the loose part and place it underneath to create a new loop. Push this through the other loop, then tighten with the loose end. This is a very difficult knot to do and is not ...

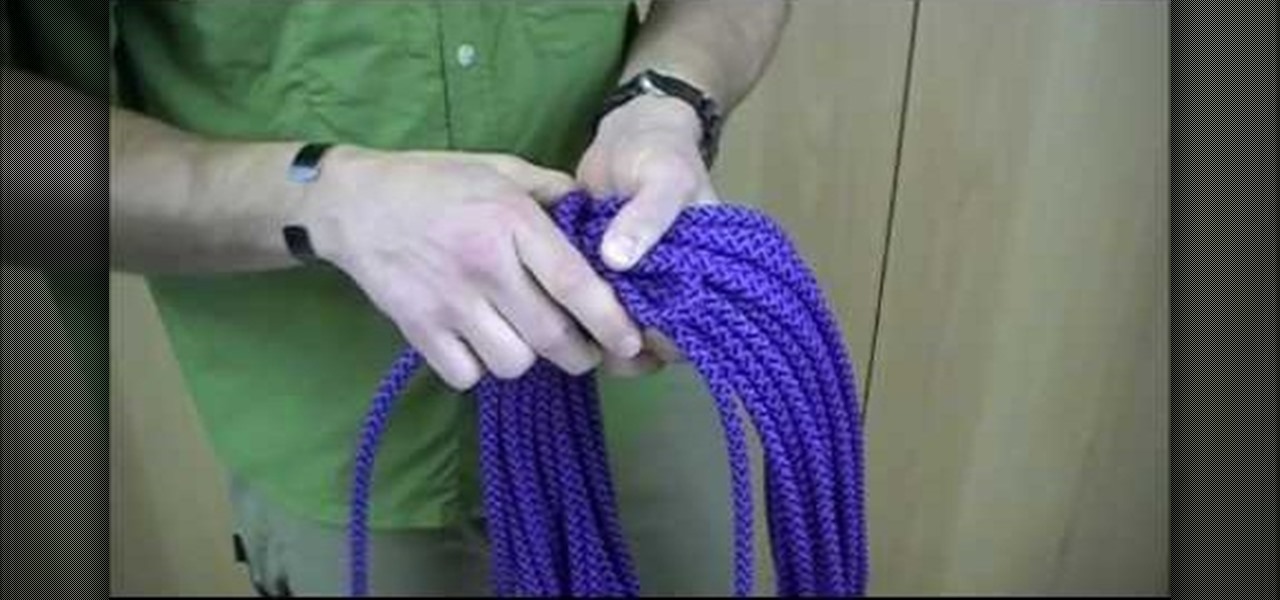
In this tutorial, we learn how to tie an Alpine Coil knot. When you start your coil you want the starting end to be inside your hand. First, take the working end of your rope on your last coil and make a loop in your rope. Then, wrap a couple of turns around the rope and lock it into place. Once you've made a couple of turns, the working end will go into the loop. To secure, go over to the end from the loop and give it a tug, which will lock the working end into the rope and make a nice way t...

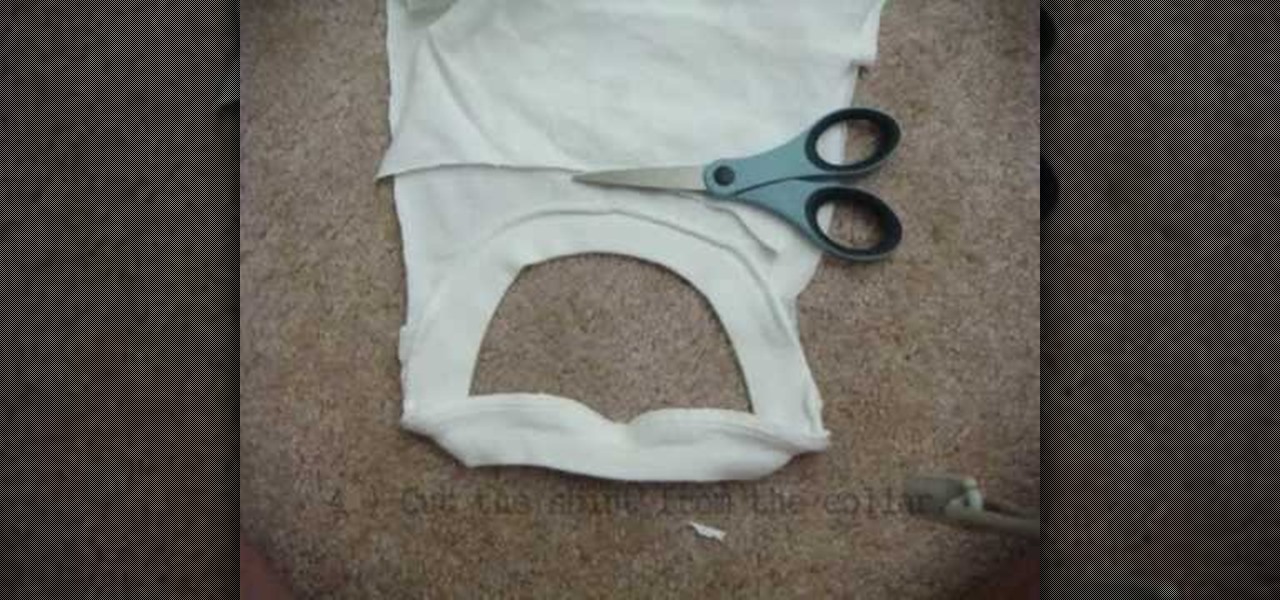
In this video, we learn how to create a knotted tank top. First, you will need to take a shirt that is too large, the cut off the sides of the two sleeves down to the bottom. Next, cut the shirt from the collar and make strips out of the excess fabric. Tie the strips on the back of the shirt going to the front of the shirt and tie it. You can also make a chain shape to make this look more unique. When you are finished with this, you will wear a tank top underneath it, then you can wear this c...

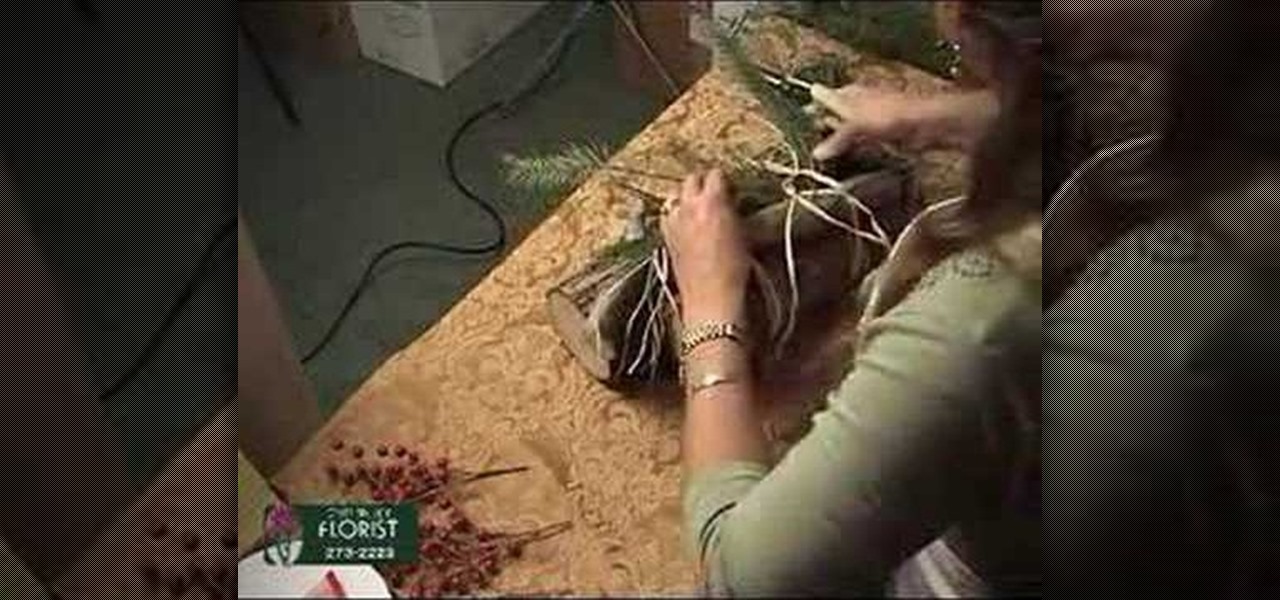
In this tutorial, Ingrid teaches us how to make a yule log for a gift. First, wrap two pieces of wood together with wire thread. Next, take some raffia and tie it onto the top and bottom of the yule log to give it a rustic look. To warm it up, add in some pine needles to the middle, as well as fur, cedar, and whatever else you find. To make it look more festive, take some red shiny ribbon and tie it onto the top of the pieces of wood like a package. This is inexpensive and useful for anyone t...

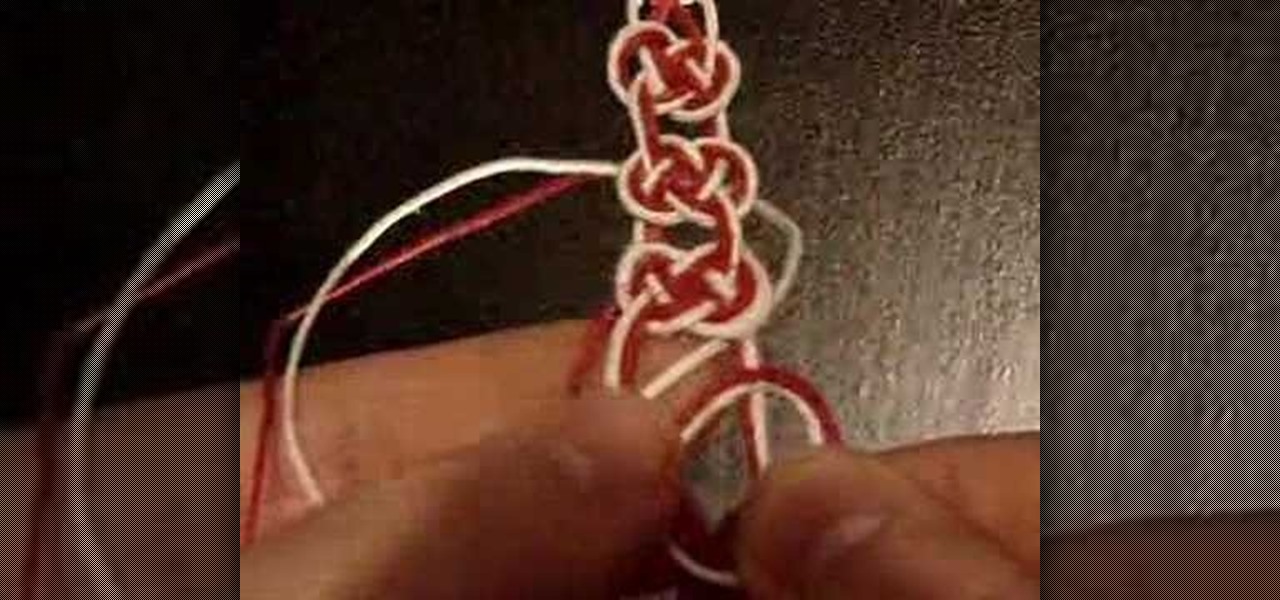
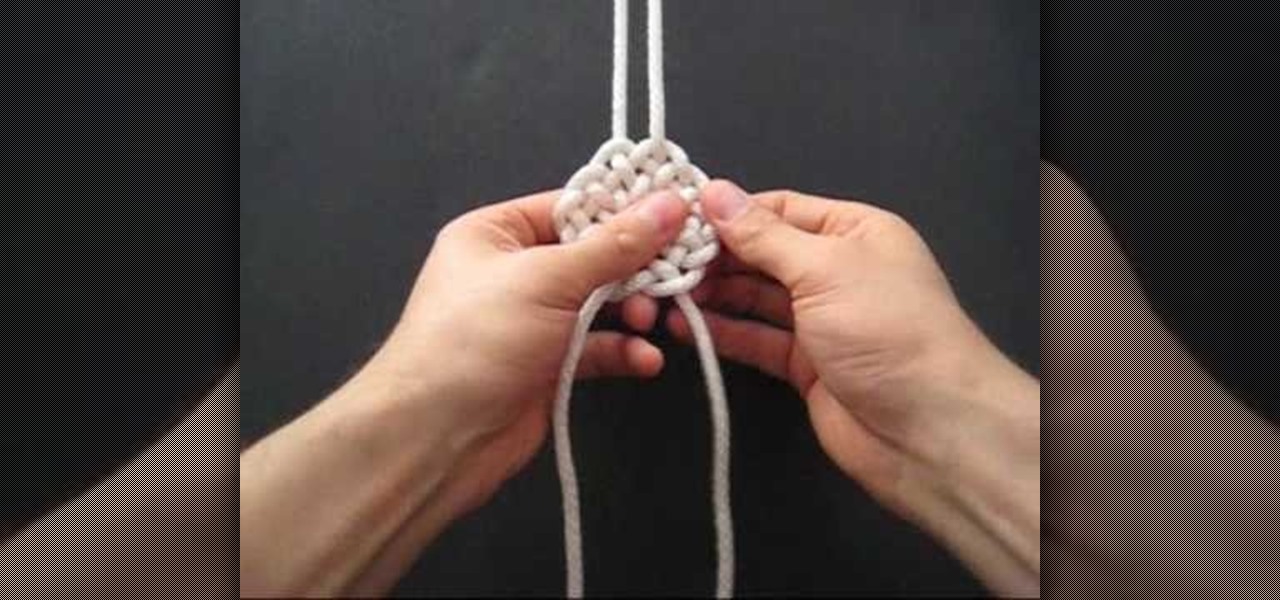
In this tutorial, we learn how to tie a compound double coin knot. First, take two strings and make a loop with the left one, then loop right right one into that. Tighten these together, then bring the end of the right working string over the loop and through the bottom of the shape, then continue to thread it through. Now, repeat this on the left side with the left string. Next, loop the right side of the string and push through the loop with the end of it. After this, tighten up the ends of...

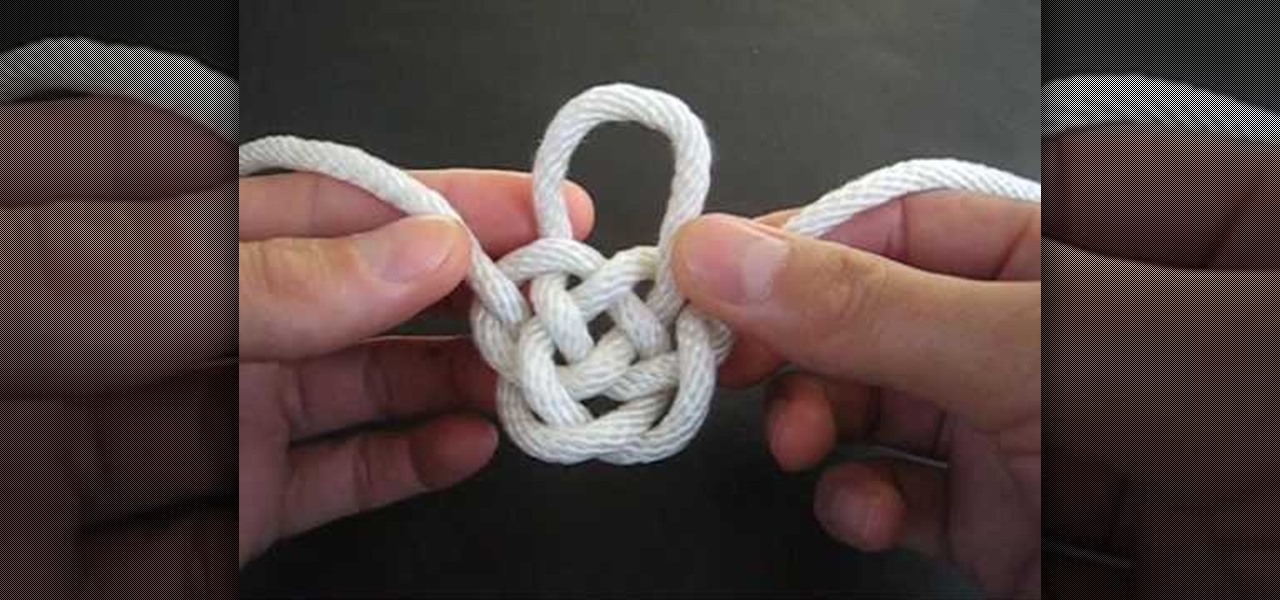
In this tutorial, we learn how to tie the Djinn bottle decorative knot. First, make a loop on the left side of the string, then bring the other side around it and pull the top up. After this, twist the two strings underneath the bottom of the knot and push the right string through the side of it. Then, push the left string into the left side of the knot through the back. Pull on the top, then twist it into a loop and push the left string through the back, making a loop, then pushing the right...


