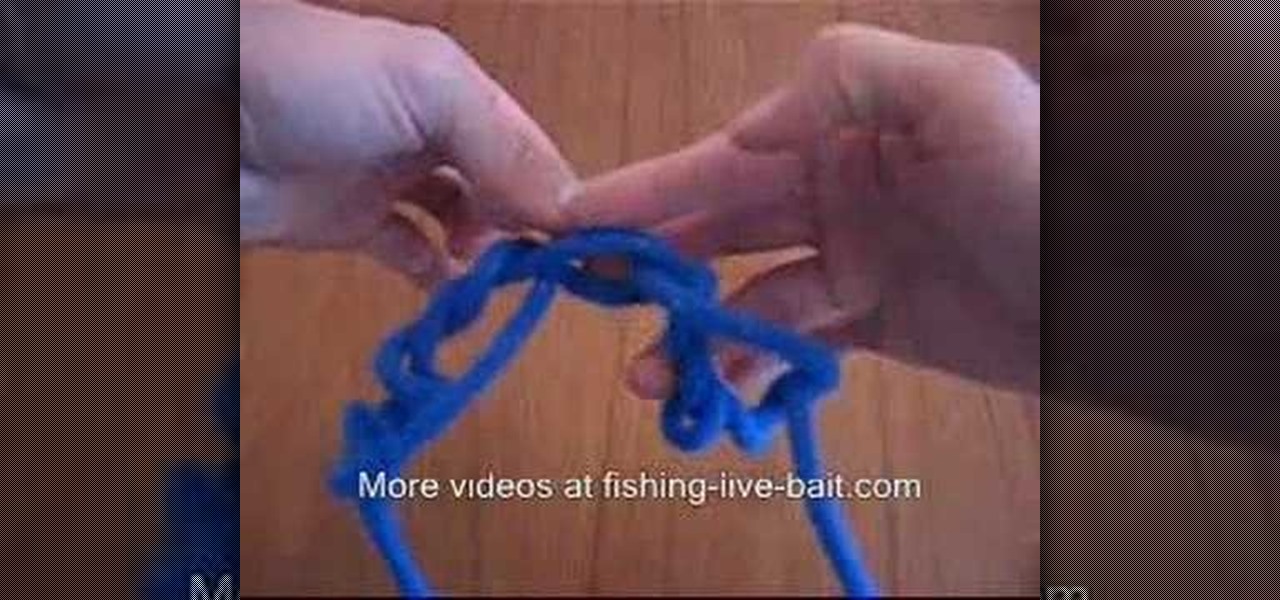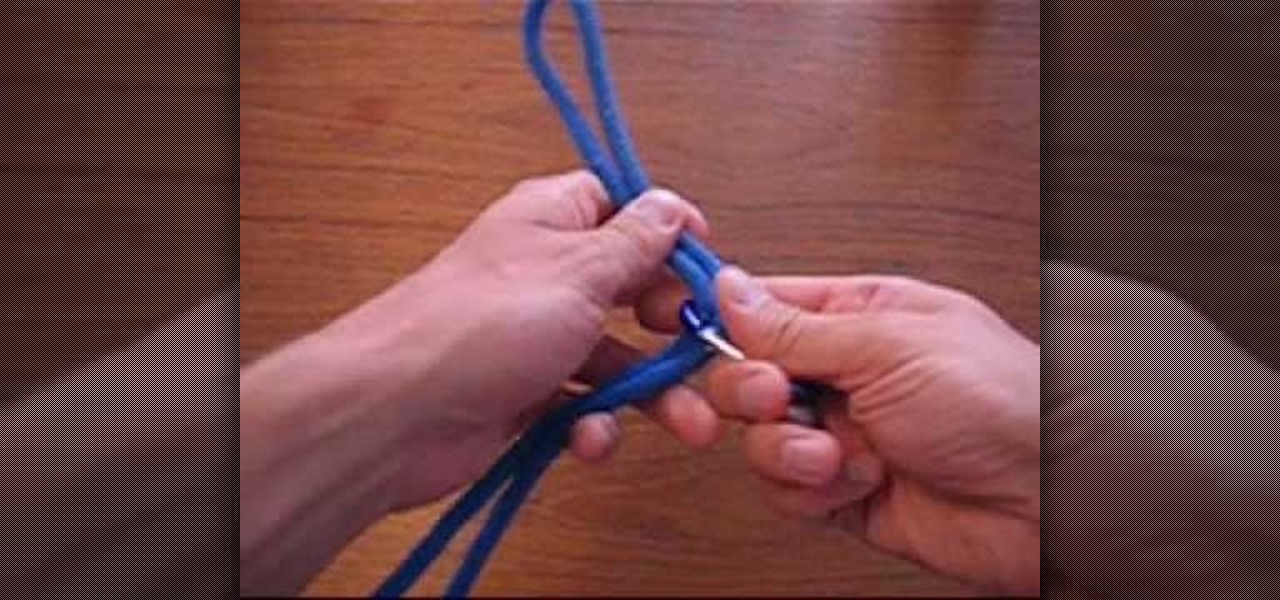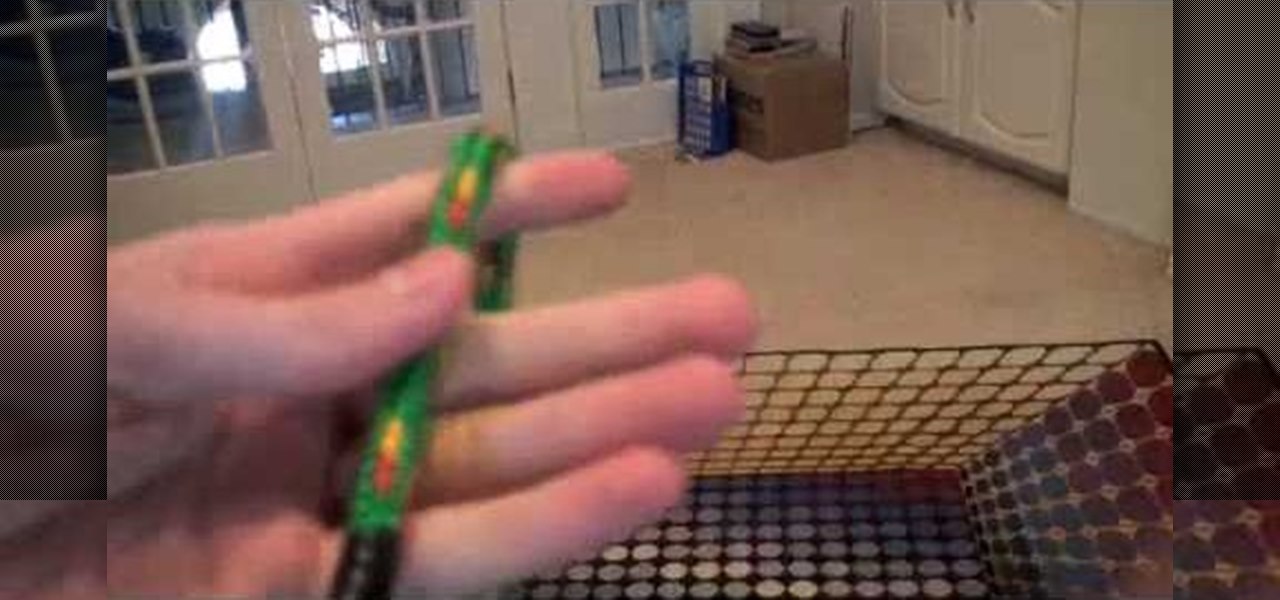
The hangman's noose is infamous for its use in hanging prisoners during executions. It was supposedly invented in Britain but eventually spread throughout the world, going beyond the prisons and even into our own homes. But the hangman's knot isn't all doom and gloom. There are plenty of practical (and non-lethal) applications for the hangman's knot, like a fishing or boating knot. Everyone should know this roped knot; this tutorial will show you the knot-tying process. Just remember, to be a...
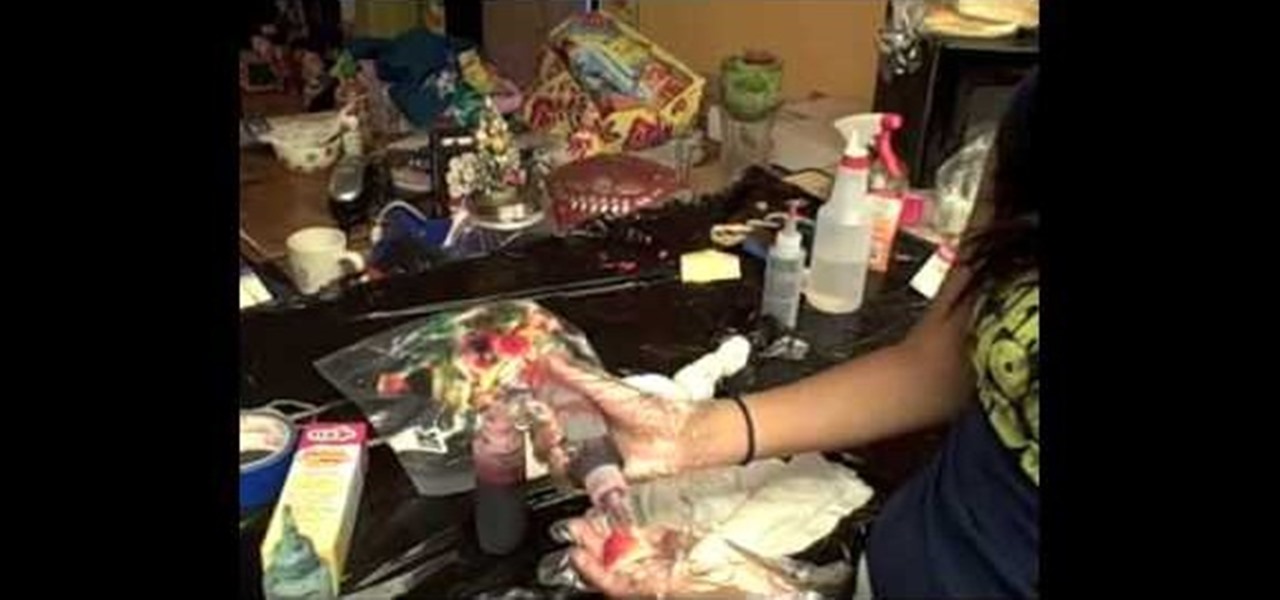
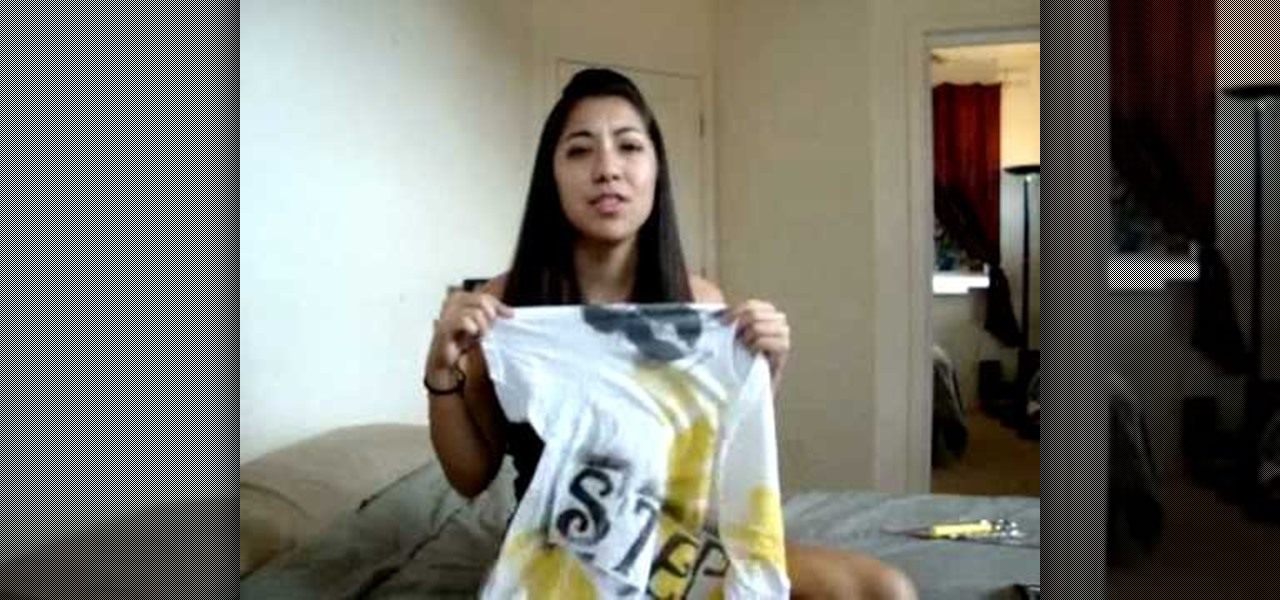
In order to make a homemade tie dyed T-shirt, you will need the following: a 100% cotton T-shirt, large freezer bags, trash bags, and Tulip fashion dye.
In this video Miss Betty Rocker shows you how to make ricotta cheese at home. You will need cheesecloth, ¬O gallon of 2% milk, 2 ¬O cups of buttermilk, and a pinch of sea salt. Start by getting a colander, preferable a metal one, and a large enough container for it to fit in. Cut and unfold several sheets of cheesecloth to drape over the colander. Pour the 2 ¬O cups of buttermilk and ¬O gallon of 2% milk into a large pot on the stove. Heat the mixture on medium high to bring it to a boil. You...

This video tutorial demonstrates how to make an Origami necktie and a shirt card. Begin with a square two sided paper. Fold the paper in half, forming a triangle. Open it back up and use the center fold as a guide. Take one corner and fold it in toward the center fold. Repeat this on the other side. You end up with a kite shape. Turn your paper over. To make the front knot of the tie, fold down the smaller corner toward the center about a third of the way. Fold the point back up toward the to...

BeautyTipsNTricks shows viewers how they can do a Eva Mendes Inspired Updo! All you need for this is a comb and bobby pins. You will also need clear elastic pony tail holders! First, you want to section off your hair. Take your hair up to the top of your ear and go all around - this is your first section. Tie this section off. Now, the bottom of your hair, you should split into two bottom sections in half. Tie each of these off with pony tail holders also. Now, with your bobby pins, starting ...

This is a video on how to weave in ends on kniting. First take two ends at a time, tie the new color and a half not around the current working color, and tie them. The thread the end onto the yarn needle, and go througha few of the yarn stitches. Next give it a little pull to make sure nothings coming loose. Go up to the next yarn ends, and do the same thing. What you have to make sure you do is weave the yarn through light colors. Also make sure the knots are secure, and are not going to com...

The girl in the video desribes how to cut up a shirt to make it look like an Ed Hardy shirt. This idea was inspired by Adam Saaks, who she saw do this in Vegas. First, she cuts out the neck of the shirt, and then matches up the side seams of the shirt and cuts slits halfway up the shirt about an inch apart. Now there are slit down the back of the shirt. After, each slit should be pulled taut separately. Start at the top of the shirt and pull the second string under the first string and contin...

First of all you have to take a plane wooden board which is about one foot and square shape, and place it on the floor. There should be a holder in the middle for inserting the rod. Now take a rod which is about four feet in length, and then insert it in the holder. Now use a tape and stick the rod firmly to the holder. Take two red color balloons and two blue color balloons which are joined at their ends. Now pass over these balloons two or three times at the ends so that the red and blue ba...

By watching this video, you will learn how to create your own art journal. Begin by cutting pieces of heavy weight cardstock 5" by 8". After you have cut all your sheets, fold them in half. If you want a defined crease, you can use a bone folder. Next, poke small holes in the crease of each sheet. Start at the center and then poke one every inch above and below the center hole. Then using a regular running stitch, sew through each hole of a single sheet. Once you reach the bottom hole, bring ...

The tutor suggests that you do 87% to 93% of your maximum on this drill. Take deep breaths while doing these exercises. You have to do five sets followed by rest for one and half minutes for each exercises.1. First of all you have to start with the first overload drill which is the heavy DB chest press. You have to lie down on your back on the bench and hold the drills in your hands and then bring these two drills up. You have to do the repeats of four to seven only for this exercise.2. Now d...

Krazyboytx shows viewers hot to make a witch's lucky mojo bag! First, you should light a green candle before you even start the ritual and anoint this with lotus stone oil! You will need a lodestone, a toka bean, a green mojo bag, dropped tears, spring water and seeds of paradise. Take the lodestone and boil it. Drop the lodestone in the spring water. You either bathe with this water or drink the water - without the lodestone. Next, get the toka bean and put it in your hand and make a wish. P...

This learning how to make a raffia angel. Once completed they can be used for gifts or a decoration on a Christmas tree. Supplies needed are: pipe cleaner, glue sticks/glue gun, scissors, wire cutters, pliers and embellishments. Wrap raffia around twice. Tie off, and leave some string to hang the angel. Cut a small part of the bottom until the ends are even. Gather a few strands on either side and braid them to make the arms. Tie these off with a piece of raffia. Put a dot of hot glue in the ...

First of all you have the draw the outline sketch of the body. Draw the head, neck, shoulders and then the upper portion of the body. Now draw the long hair. You have to darken the eyes and the eyebrows. Now darken the outline of the face, hair, ears and the lips. Now draw the collar in the neck. Draw the tie below the collar. Then you have to draw the front portion of the shirt with buttons. Draw the collar of the coat and the top pocket. Now darken the outline of the cat and then draw the c...

Julie Figuera shows how to make a no-sew ballerina or princess tutu for little girls. 1. Get a 1/2-inch wide satin ribbon. Cut the ribbon about 20 inches long. 2. Measure 20 inches from each end of the ribbon. Tie a knot on the 20-inch mark. 3. Unfold a yard of tulle and roll, making sure there is no wrinkle. Cut the ends of the tulle to make it even. 4. Measure every 3 inches and cut. 5. Take each cut piece of tulle. Fold it in two and cut. 6. Take the smaller piece of the tulle, fold it in ...

Cocorais shows you how to style your hair into a Selena Gomez style up-do with short hair. Start by curling your hair, which is optional but it gives the hair shape and volume. Take your curled hair and sweep it to one side (opposite side of side-part if you have one), leaving a little hair on the other side to frame your face. Ignore any hanging hairs. Comb your hair into a ponytail, and tie it to one side. Gather your hair and tie it into a bun, using bobby-pins to secure it. For the rest o...

Learn the right way of tying 3 handy fishing knots by watching this video. The first knot shown is the 'Clinch Knot'. One end of the fishing line is passed through the eye of the fishing hook. This end is pulled and wound around the main line about 6 to 8 times. Thereafter, the free end of the line is passed through the small loop formed at the beginning of the winding process. The winds are gently pushed to tighten the knot. The free end is then tucked in to complete the clinch knot. The nex...

If you are going to a toga party or just want to be prepared in case you need to improvise some clothing you will want to know how to tie a toga around yourself. This video will instruct on two ways you can tie a toga for men or for women.

Mark Trick, a retail meat-cutting instructor, shows how to properly debone a turkey. Carefully peel the skin off the turkey. Make sure you do not tear the skin off. Flip the turkey upside down and cut the wings off by cutting towards the bone. To remove the body cavity, cut along the breast bone with the tip of the knife. Cut around the bone and neck of the turkey to leave as little meat on the bone as possible. Remove the bone. To debone the legs, cut along the bones of the leg using the tip...

If your decking boards need to be replaced it is really not that difficult. Start by removing the facia or edge boards that hold the decking boards in place using a crowbar. Remove the decking boards from the joists. Check the joists for dry rot while you have the decking boards off by poking them with a screwdriver. If the wood is soft and the screwdriver sinks right into the joist then you may need to replace that joint because it is dry rotted. When replacing the decking boards it is best ...

Reconstruct your T-shirts into more stylish attire with this video! The materials you'll need are a T-shirt, scissors, a ruler, and a pen or pencil. First cut off part of the sleeves (this part is optional.) The next thing is to cut the neck all the away around the front and back, cutting off the border. Now it's time to cut the bottom of the shirt right under the hem, underneath the stitching. Keep what you've cut to use for the ties for the shirt. (You can also use string or ribbon.) Measur...

Learn tot tie the caterpillar sinnet with this video tutorial. 1. To start the sinnet, place rope in hands with one piece in your left hand and the other in your right. 2. With the rope piece in your right hand, create a loop with the top of the loop being the piece from your left hand. 3. Take the piece of rope in your right hand and slip a small piece of rope through the loop. 4. Gently pull the rope in your left hand tight. This will have created a new loop and link below it. 5. To create ...

Learn to tie the triple goddess knot with this video tutorial. First you will need a nice size piece of string. Make a small loop with one side of the string close to the middle. Second, make a second loop with the other side of the string close to the middle. Third,cross the right hanging part of the string over the left string to form a small circle under and between the two bigger loops. Insert the end of the left string into the underside of the left loop to form a split loop. Do the same...

When you need an eye-catching boutonniere for a special occasion, you don't have to spend a fortune at the florist. Make your own!

Do you have too many rubber bands cluttering your desk? Gather them together into a rubber band ball!

Latin for "horn of plenty," a cornucopia makes a colorful centerpiece for holiday meals. You Will Need

Highlight your individuality by customizing a tee-shirt—without much time, effort, or money. Here are some ideas to get you started. Check out this Howcast video tutorial on how to make a custom T-shirt.

Moving is one of the top ten most stressful life experiences. Here’s how to pack it up without wanting to pack it in.

Learn how to play "Spiralling" by Keane, an acoustic guitar tutorial. Follow along with this demonstration, tabs and lyrics here:

The video tutorial describes how to tie your belt (obi or sash) around your gi suit for aikido. This method is particularly good for aikido as the finished knot is fairly flat and the layers of the belt do not cross at the back.

Our fashion expert will demonstrate how to tie and wear a sarong or pareo. She will demonstrate several ways to incorporate sarongs into women's clothing, including using a sarong as a long skirt, a halter top and a jacket. Using step-by-step instructions, you will learn how to tie a sarong in a cascade method, a pleated skirt, a criss cross method, and even make a handbag with your sarong.

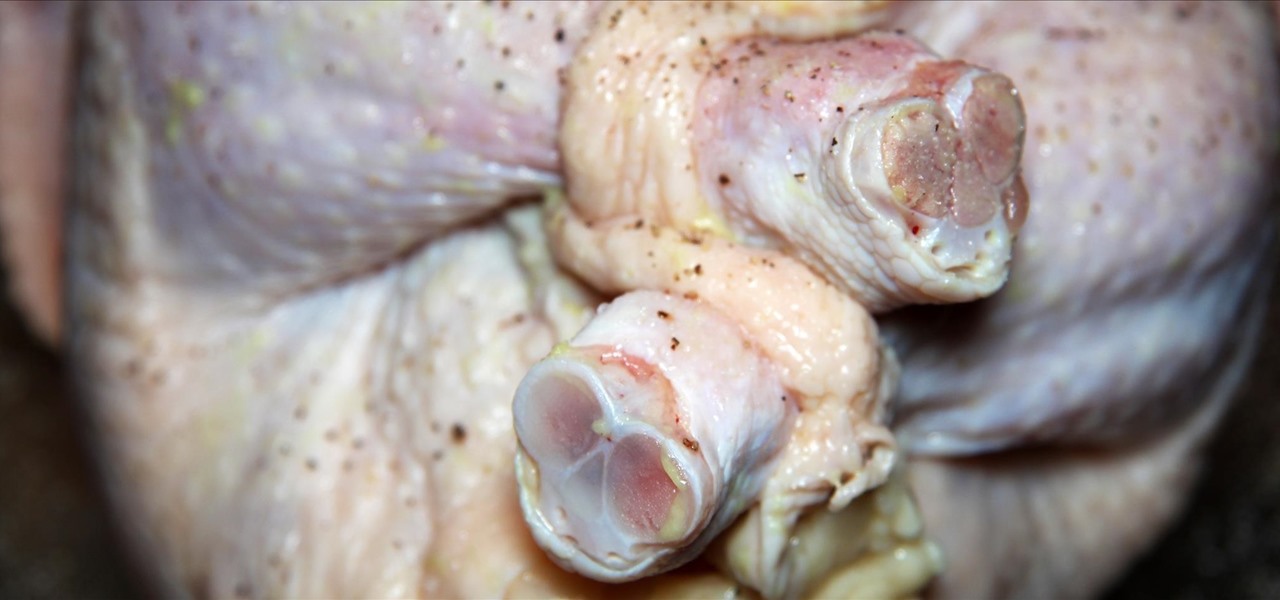
You've probably seen someone in your family truss the turkey on Thanksgiving before roasting it, even if you don't recognize the word. To truss a bird or roast just means to wrap it up as compactly as possible before placing it in the oven, and it's usually done by tying it with string. Trussing a bird is a tradition that's been around for a long time, and a lot of home cooks do it religiously even if they don't know why. It's a highly debated topic with fierce supporters on both sides, but f...

When it comes to quirky homemade DIY, cords - made from rope, twine, or other materials - aren't usually used in many projects. Other than tying nautical knots, it seems they're quite defunct.

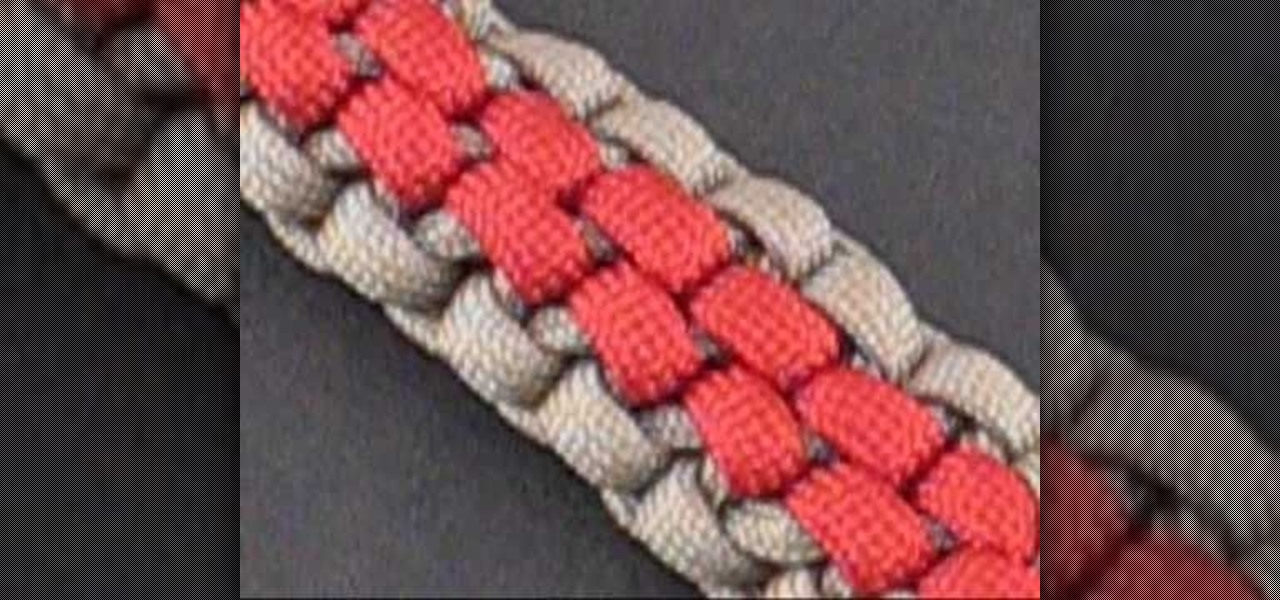
The world of decorative knots is full of twists and turns and this instructional video is no exception. In this clear and concise, step-by-step guide, we see how to create the beautiful, Striped Crown Sinnet. Makes a great key fob!

In this tutorial, we learn how to make a hair bow with and without a tail. First, take a long and thick ribbon in your choice of color and a thin ribbon in your choice of color. After this, grab a needle and thread and set it aside once it's threaded. Then, take your thick ribbon and fold it into a bow shape. From here, take the needle and sew the ribbon down the middle of the bow. After this, take the smaller ribbon and tie this in the center of the bow. When finished, you will glue this to ...

In this tutorial, we learn how to fireproof a balloon. Usually, if you bring fire to a balloon it will pop, but there's a way to avoid this! First, get your balloon and place it around the nozzle of your sink. Then, fill it up with water until you have a decent amount of water. Now, blow some air into the balloon and tie at the end. From here, put your balloon to the test! Place a lighter underneath the balloon to see how it reacts. It should not pop like it did before. The water will absorb ...

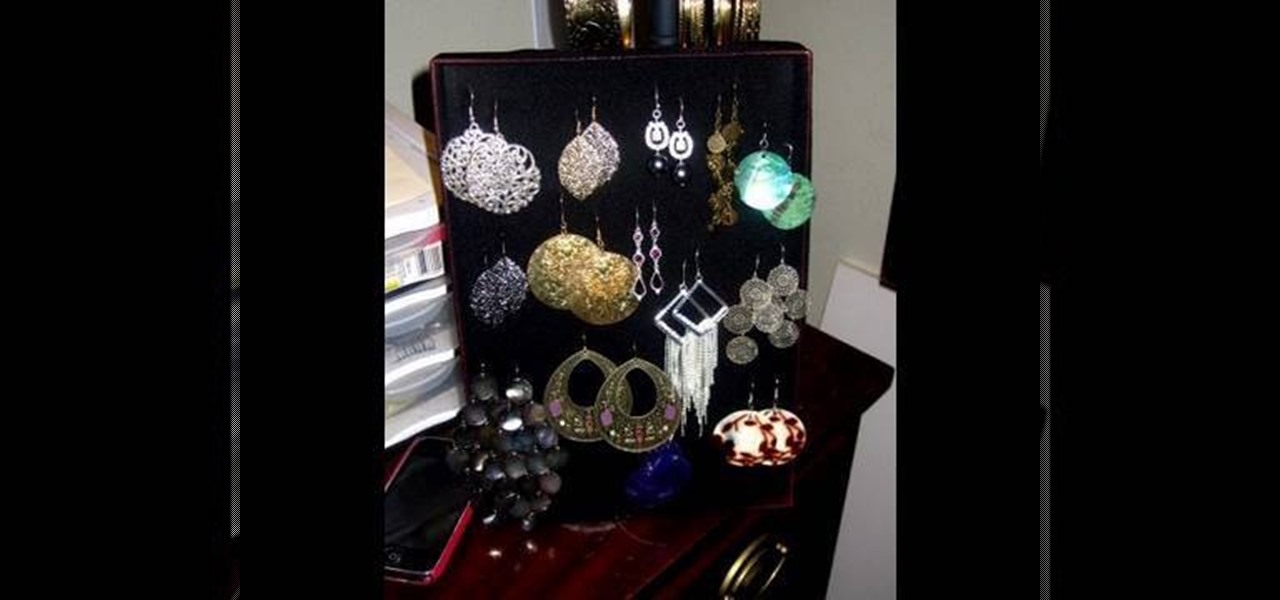
In this tutorial, we learn how to make an earring holder with everyday materials. first, you will need a box lid from a shoe box or a scrapbooking box. After you have this, slide a black piece of nylon over the top of the box and then tie the feet and top together on the back of the board. Cut off any excess nylon that is left over. After this, you can stick your earrings into the nylon and they will hang there securely! This will only work for hook on earrings because there's no back to it, ...

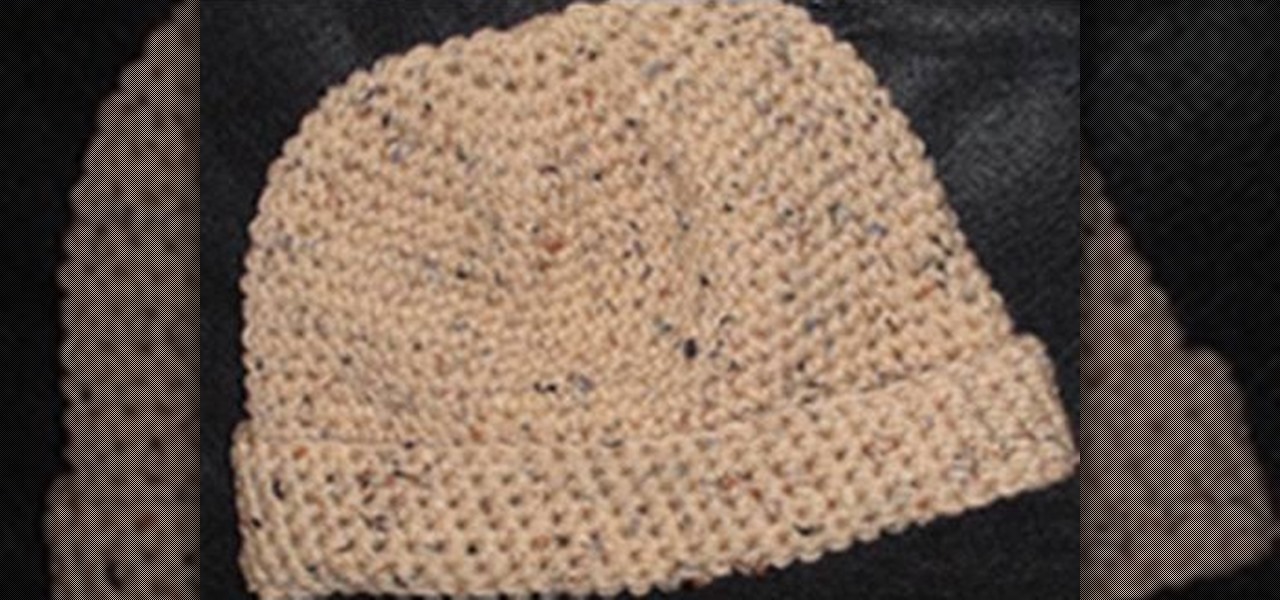
In this tutorial, we learn how to crochet a left handed large size beanie cap for a man. For the first round, you will work 10 single crochets through the loop, not joining. Then the cap will be worked into a spiral or round shape. Next, you will work in two single crochets in each single crochet. Then, you will do 20 single crochets total. For round three, you will work one single crochet for 20 more total. For round four, you will do the same for fourty more single crochets. For round five ...

In this tutorial, we learn how to make embellished tights. First, you will need to grab some beads and jewels and then grab your choice of tights. Make sure you have some tights that have texture on them, so when you sew them you don't break the surface and ruin them. Now, take your needle and thread and place it into the bead, then start to sew it into the tights. You can make different designs or just put the beads all over. You can also use small jewels to make it sparkly. Tie off each sec...

Use 12 inches of fishing line and a fishing hook. Make a large loop, folding the fishing line in half and put the fishing hook through it about a quarter of the way down the fishing line. Take the loop under the hook, draw it through the hole that was created. Pull to tighten. Next, take the small, loose end of the loop and place it around the fish hook. Pull the fishing hook through. Pull the end of the fishing line tightly so that the knot is firm and secure. Watch the video for more inform...

In this tutorial, we learn how to make a double point needle holder. First, you will need to grab four of your needles, two small objects that have holes in the bottoms, stretchy bead cord, crimp beads, and pliers. Then, you will drill the holes in the bottom of your objects if they aren't already taken out. After this, poke a hole through them and thread the stretchy bead cord through the ends of one and around the other. This should make a circle. Then, you will tie a knot and use a crimp b...


