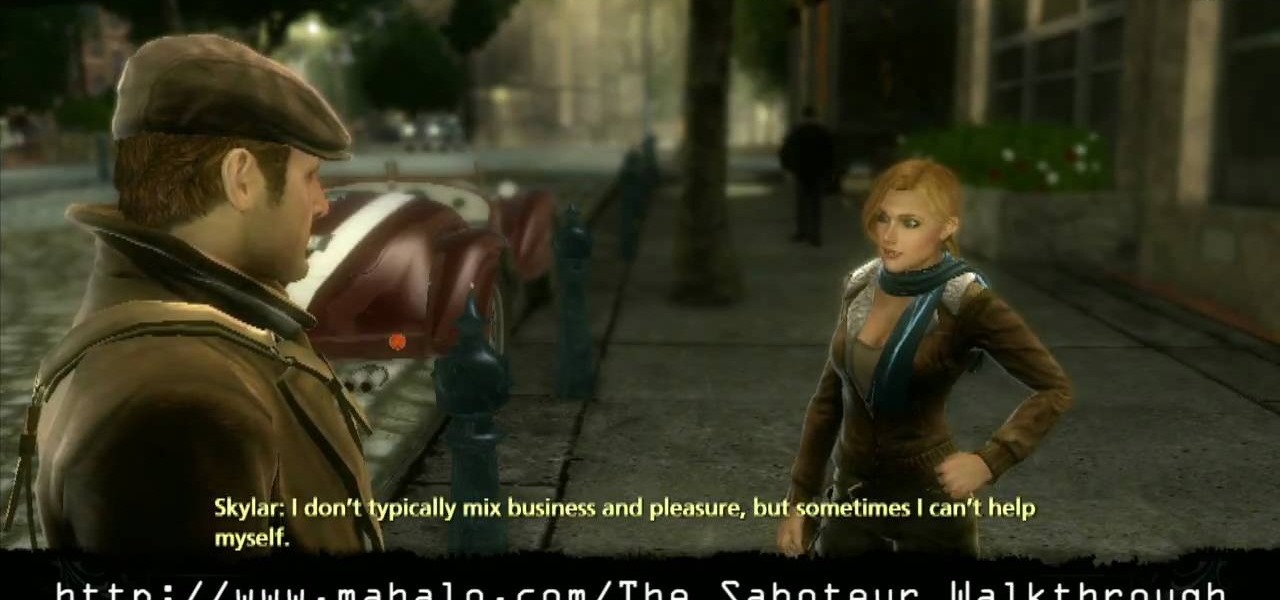
You'll need to head back to the prison car at the end of this mission in The Saboteur for the Xbox 360. The ninth mission in Act 2: Rolling Thunder is where you need to talk to Bishop, and then find Skylar near the Arc de Triomphe. This is a big mission. First, Skylar goes with you to sabotage a bridge. You need to find the four points (highlighted with red lights) to plant sabotage. You're not using dynamite this time. You'll see little ghosts of the sabotage at the exact points to plant the...

Victory is yours with a little dynamite in this mission in The Saboteur for the Xbox 360. The eighth mission in Act 2: The Big Gun is where you need to talk to Luc, and he'll send you to Bryman, who gives you this mission. Head down the alley. You can easily stealth the first guy and disguise yourself, which works well for the first leg of the mission. Things might get a little tricky, so if you're comfortable switching over to shooting at any time, that's fine, since we're going there anyway...

Enjoy your time with Margot on this mission in The Saboteur for the Xbox 360. The fifth mission in Act 2: Fahrenheit Four Fifty is easy. Now that Margot is on your side, you can do some side missions for her. This is a nice easy one. Travel to the Arc de Triomphe and get a disguise from one of the guards patrolling on the outside. Now slip in behind the tank and place some dynamite on the back Run off to the right and out of the way and you'll completely avoid detection. For more info, watch ...
Check out this mission on The Saboteur for the Xbox 360. The third mission in Act 2: A Whisper or a Roar is where Santos is looking for help again. When you get to the convoy, Sean points out that there are two very different ways to complete this mission. You can get a disguise, sneak up close to the convoy, and plant some dynamite, which would be the conventional route.

You may have to eventually abandon your stealthy approach in this mission on The Saboteur for the Xbox 360. The second mission in Act 2: Better Dying Through Chemistry is when you reach the entrance, there's a gunner behind sandbags by himself. If you take him out quickly and disguise yourself you can actually play this level pretty quietly. There are two basic kinds of targets, the smaller, thinner tanks, and the bigger, darker tanks. The big tanks you can blow with dynamite and as long as y...

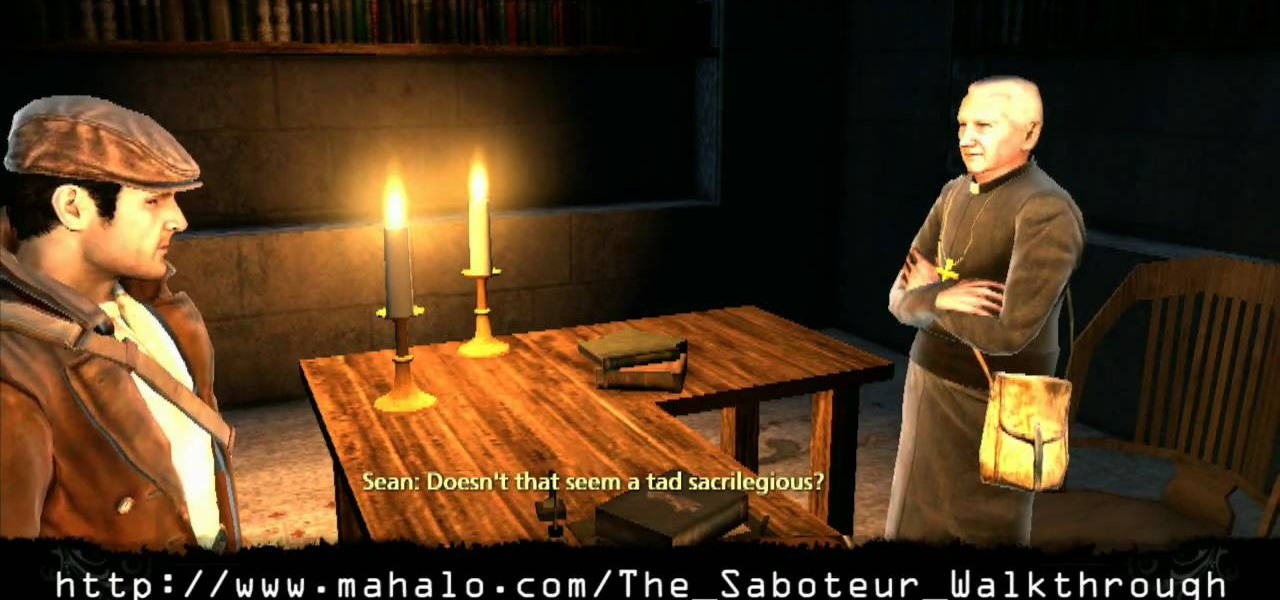
Think Indian Jones when you play this mission on The Saboteur for the Xbox 360. The sixteenth mission in Act 1: Viva Le Vengeance is when you need to head into the church to drop off the chest, which seems to contain the suitcase from Pulp Fiction. Time for the dramatic climax of Act 1.

At the end of this mission on The Saboteur for the Xbox 360, you need to make your escape. The fourteenth mission in Act 1: Buried Secrets is when Skylar is waiting way in the southeast, so you have a long drive from the last one. The mausoleum is right nearby. The easiest way in is the blunt approach. Grab some wheels, smash through the front gate and ride back to the mausoleum. For more info, watch the whole gameplay.
There will be blood at this wedding on The Saboteur for the Xbox 360. On the twelfth mission in Act 1: Red Wedding, pick off all the Nazis at the ceremony. Time to finish Father Denis' story. The wedding is way in the east. You'll have to park the car on the far side of the bridge and hoof it from there. Get into position at any of the hiding places. For more info, watch the whole gameplay.
This is a great playthrough of The Saboteur for the Xbox 360. In the fourth mission in Act 2: Jailbreak, you will need to do the obvious… jailbreak. Once you acquire the papers to enter Area 2, you'll be able to start this mission by visiting the resistance in the Western District. They will charge you with freeing a man named Bryman from a Nazi prison. Grab a car and follow the GPS to the destination. Here you'll find a heavily occupied Nazi area. Bryman's cell is within the courtyard surrou...
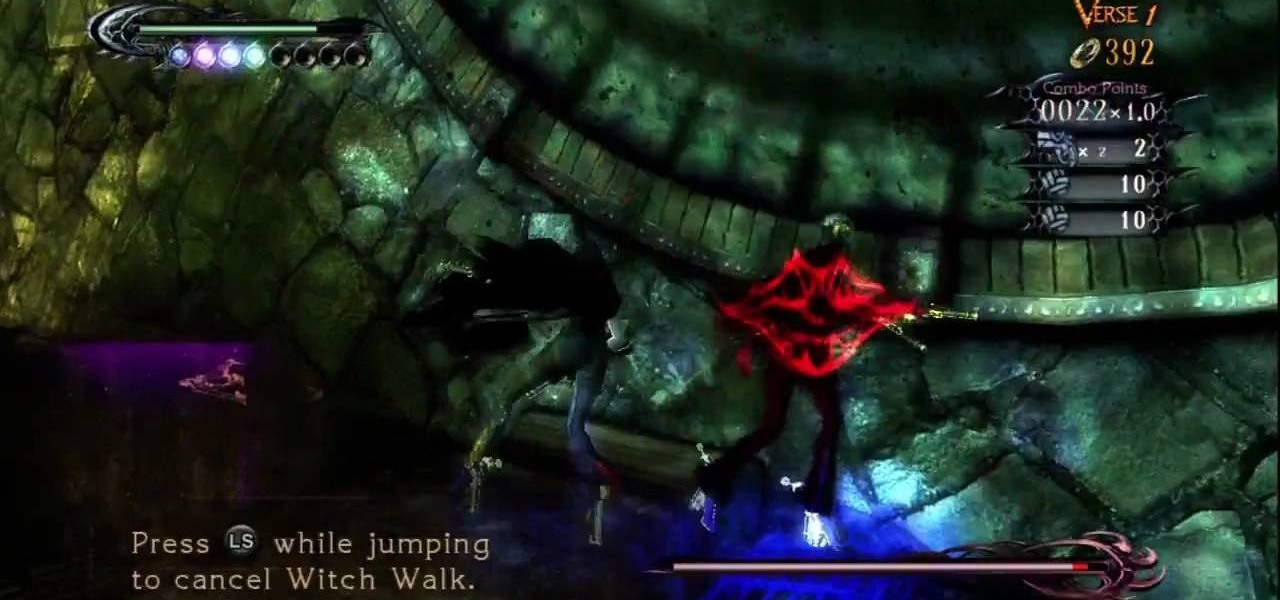
Fight Enchant Angels, Trash Mobs, and Fortitudo in the Xbox 360 game Bayonetta. In Chapter 2 - Vigrid, City of Deja Vu, it's time to shine as one mean mama-san. In the first battle you can walk on walls. To get back to the floor quickly press down on the left stick while jumping. Because this fight takes place on six different surfaces it can sometimes be hard to locate Jeanne (your opponent). If you don't know where she is, just shoot her. Your guns don't do any damage, but you will see wher...
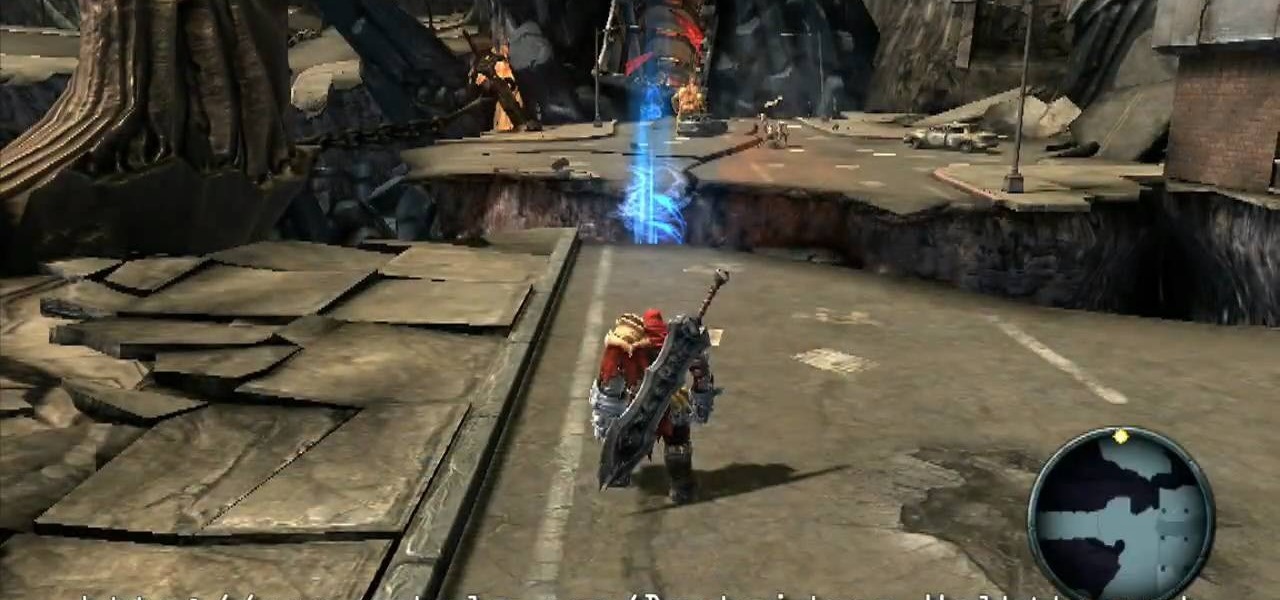
See the steps that lead up to the Phantom General in the Xbox 360 game Darksiders. See each and every step involved for the Scalding Gallow level. Once you enter this new area, make your way up the steps to the left to find a Soul Chest on the half demolished second floor. Now step out of this building and into the middle section of this map. In front of you is a long sharp tooth lined walkway. Before venturing to the circular portion in the middle, make your way around to the left. Back here...
This lengthy walkthrough covers a lot of ground in the Xbox 360 game Darksiders. Learn all you need to know about the Crossroads, including the Seraphim Hotel, the Crossroads, and the Library. War and the Watcher land in the parking garage of a hotel. Smashing cars and other objects can earn you a few extra souls. When you are ready, climb the Demonic Growth to the second floor and explore the far corner to discover a Soul Chest. These blue souls are worth collecting as you will be able to ex...
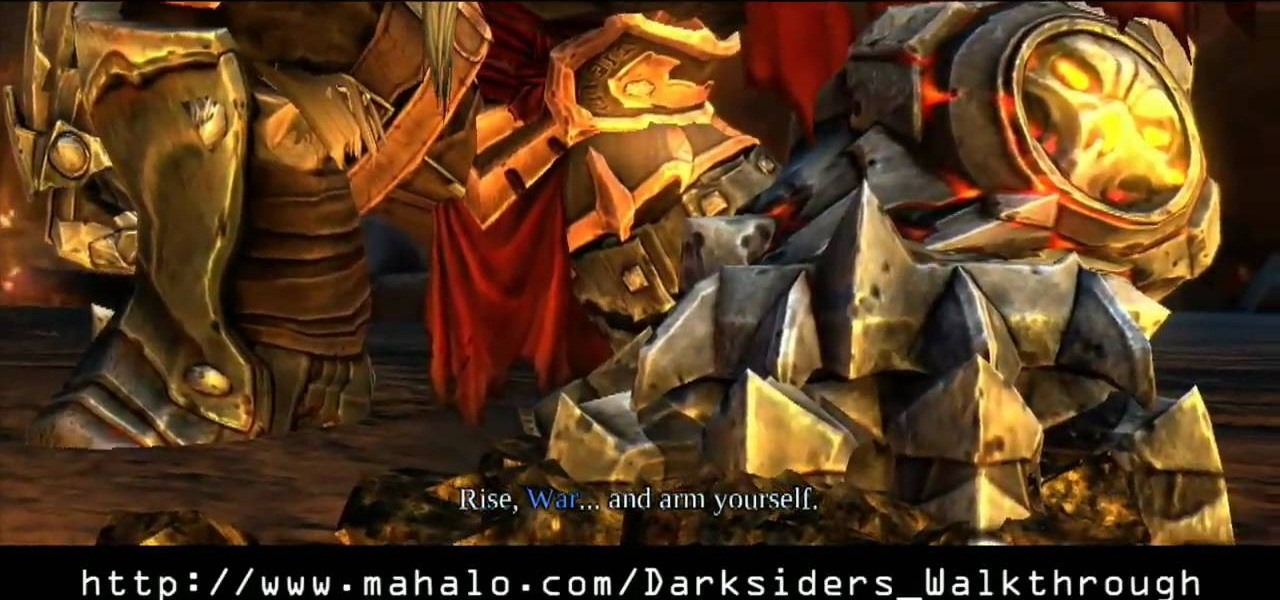
Souls have their value in the Xbox 360 game Darksiders. Learn all you need to know about the Crossroads level Charred Council. War finds himself before the Charred Council who accuse him or disobeying the laws of the Seven Seals. War feels that he was in the right to intervene and pleads to be sent back to earth to discover how the Destroyer invaded earth without breaking the Seven Seals. Being that War has been stripped of all his powers, the council sees it as a death sentence which is a wo...
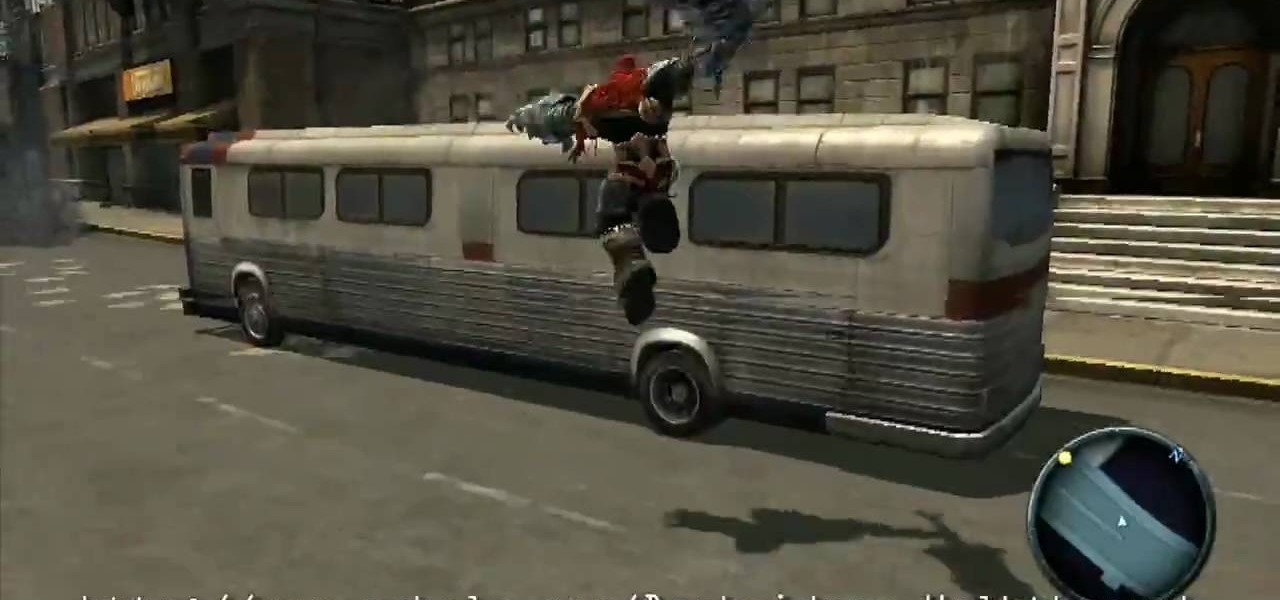
Right off the bat you have a horrendously hard battle against Straga in the Xbox 360 game Darksiders. The Prologue battle with Straga is difficult, unless you have your car throwing skills down. Straga is a massive demon that looms over the streets and War. During the battle, hold the Focus Button to keep the camera locked on this massive creature which also gives you a nice wide perspective so you can really see your surroundings. You'll want to get used to using the Dash Button to dart left...
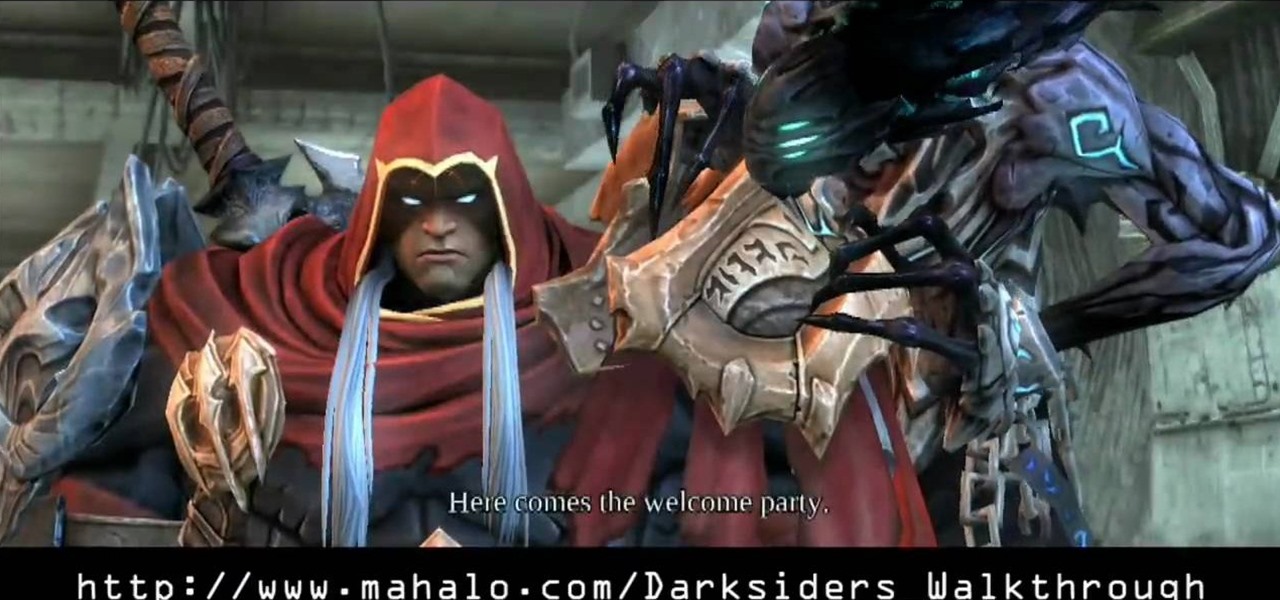
Begin hacking your way through the hordes of minions in the Xbox 360 game Darksiders. The Prologue is where you really start to develop your creature killing skills. The apocalypse has begun on earth. Angels and Demons reign chaos upon the planet in a battle for the souls of humans. This is when War steps in. One of the four horsemen, War is here to restore balance. You begin the game with a powered up War. Note that he has 7 Lifestones (the little green skulls above the health meter). Each o...
Make your way through The Saboteur for the Xbox 360. In the eighth mission in Act 1: Doppelganger, the ambassador will rendezvous with a German official near the Place des Vosges. Security will be tight around the ground level, but you should be able to find a vantage point among the rooftops. For more info, watch the whole gameplay.
Here, you'll meet Luc and Crochet in The Saboteur for the Xbox 360. In the seventh mission in Act 1: Belly of the Beast, after speaking with Crochet, you'll need to go to the red light district. For more info, watch the whole gameplay.
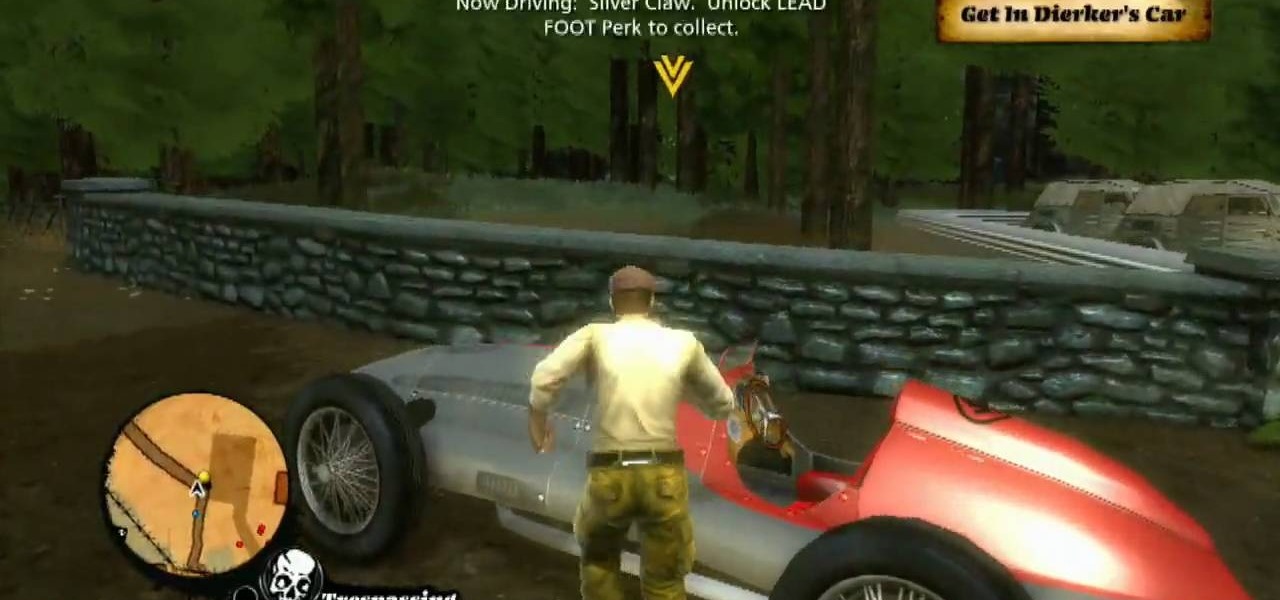
Drive your way to success on The Saboteur for the Xbox 360. You need to floor the pedal in order to follow Dierker in the sixth mission in the Prologue: A Sunday Drive. It's payback time. Hop into the car with Jules and follow Dierker. Don't get too close to him or his paranoia meter will rise. If it fills up you will be caught and fail the mission. Likewise, if you loose sight of Dierker for too long you will fail the mission. Follow Dierker, just don't follow him too closely. He will lead y...
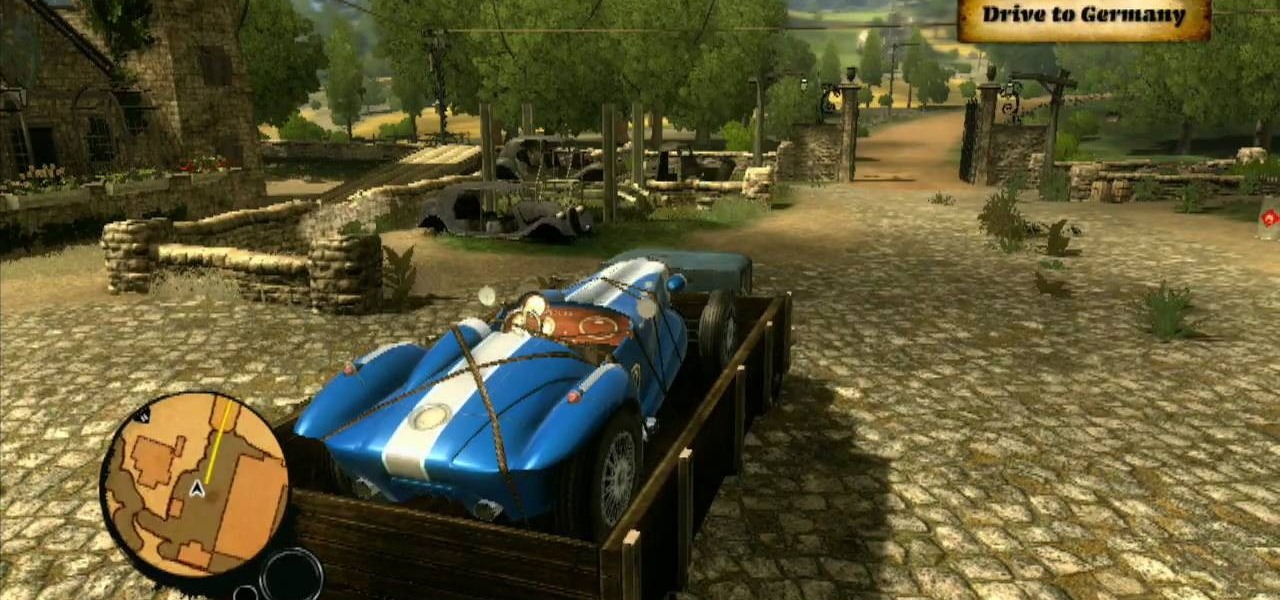
Prepare yourself for more info than you need for winning The Saboteur for the Xbox 360. See everything involving the second mission in the Prologue: Better Days. Sean will flashback to 3 months prior to the opening mission. After the cutscene introduces some new characters, hop into the truck with Jules. Follow the GPS through the country side while avoiding running into other cars on the road. You'll eventually reach the German border. Pull up to the gate and a Nazi will inspect your papers ...
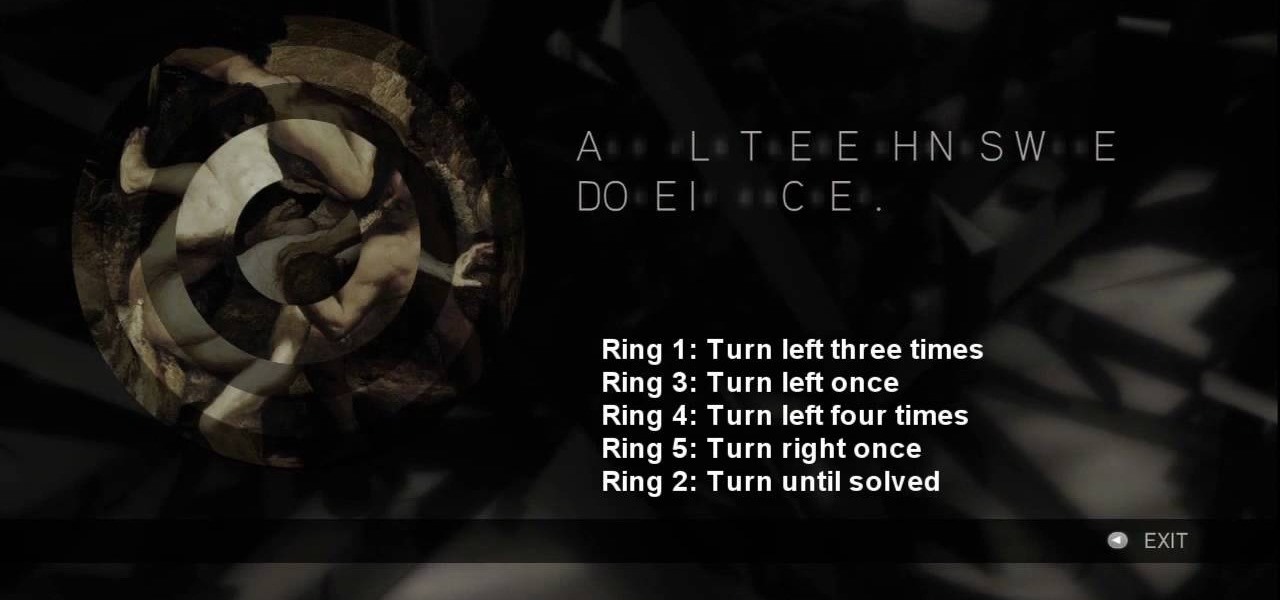
No need to figure out the 20th puzzle, entitled "The Origin of the Species", in Assassin's Creed 2. Here's the answers! Puzzle wheel: Start by turning the fifth ring right ten times, then turn the fourth ring left twice. Then rotate the third (and first) rings right twice, the second ring right five times and the first ring left three times. Image 1: Highlight the eye at the top of the painting. Code wheel puzzle: Ignore the numbers and focus on the Assassin motto: “Nothing is true, everythin...
Here's the answers to the 19th puzzle, titled "The Fourth Day", in Assassin's Creed 2. Image set: What used to be worshipped by every primitive culture under the…? That’s right, the sun. Pick the five images that focus on it. Image: Find the tiny image of Earth in the lower-left quadrant of the sun. For more info, watch the whole gameplay.
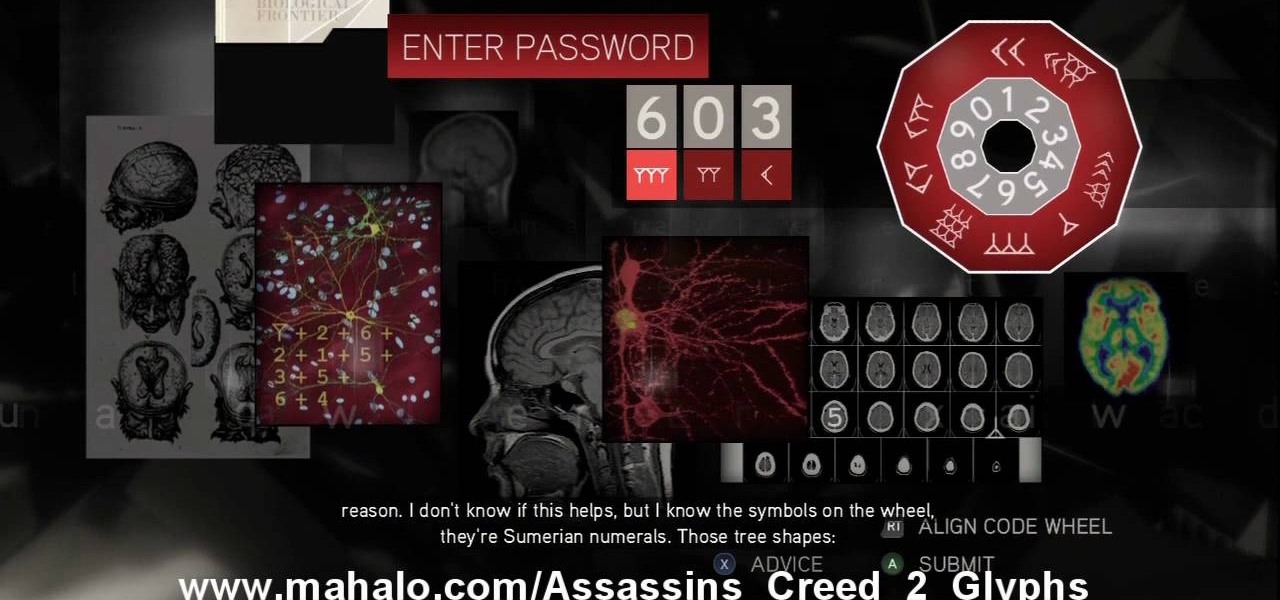
The 18th puzzle is called "Synapses". See how to solve it in Assassin's Creed 2. Code wheel puzzle: Your first clue is to line up 5 with a single tree-looking symbol. The key here is the weird-looking equation on the left, which offers a hint as to the progression of the symbols.
Figure out the 17th puzzle, entitled "The Bunker", in Assassin's Creed 2. Code wheel puzzle: Here’s a tricky one; your clues are “<” and “2,” and the only advice you’ll get from your handlers is that maybe there’s “something we can count” on the strange symbols. In this case that “something” is the number of times each symbol bends sharply. Don’t expect consistency across the wheel on this one; just take a look at what symbols flank the blank spaces and pick a shape with the number of bends t...
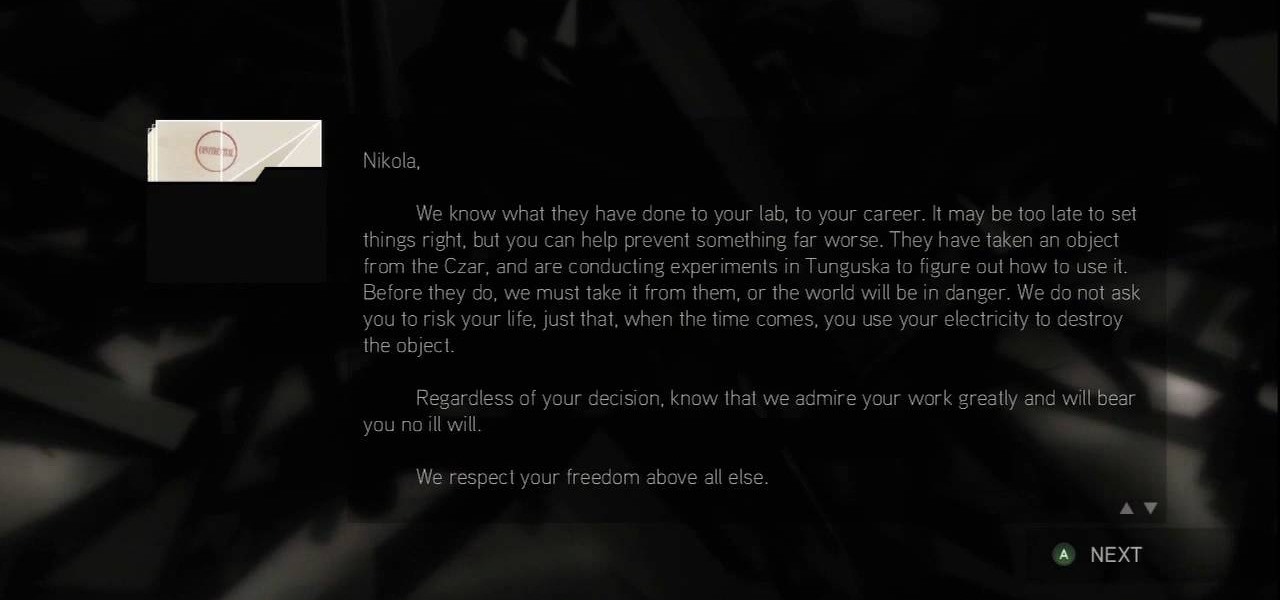
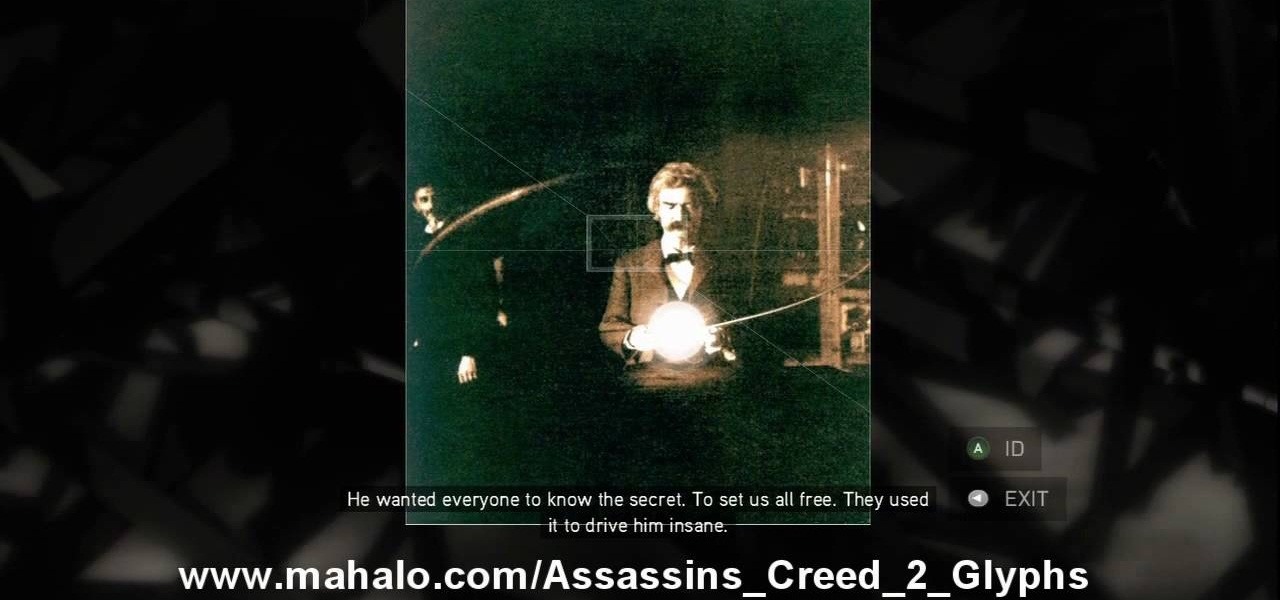
This one's pretty easy. Here's the solution to the 16th puzzle, entitled "The Cavalry", in Assassin's Creed 2. Image 1: Just move the cursor to the word “Tunguska.” Image 2: Move the cursor onto the staff and drag it onto Tesla’s photo. For more info, watch the whole gameplay.
Get all of the info on the 15th puzzle, entitled "Guardians", in Assassin's Creed 2. Puzzle wheel: Seemingly every other ring is linked here, so we’ll cut straight to the chase: Turn the third (and fourth) rings right twice, the fifth (and first) right four times, the fourth (and first) right five times, the fifth (and first) left five times and the second left five times. Finally, move the fifth (and second) rings right five times. Image: Another gimme – just move the Assassin logo over the ...
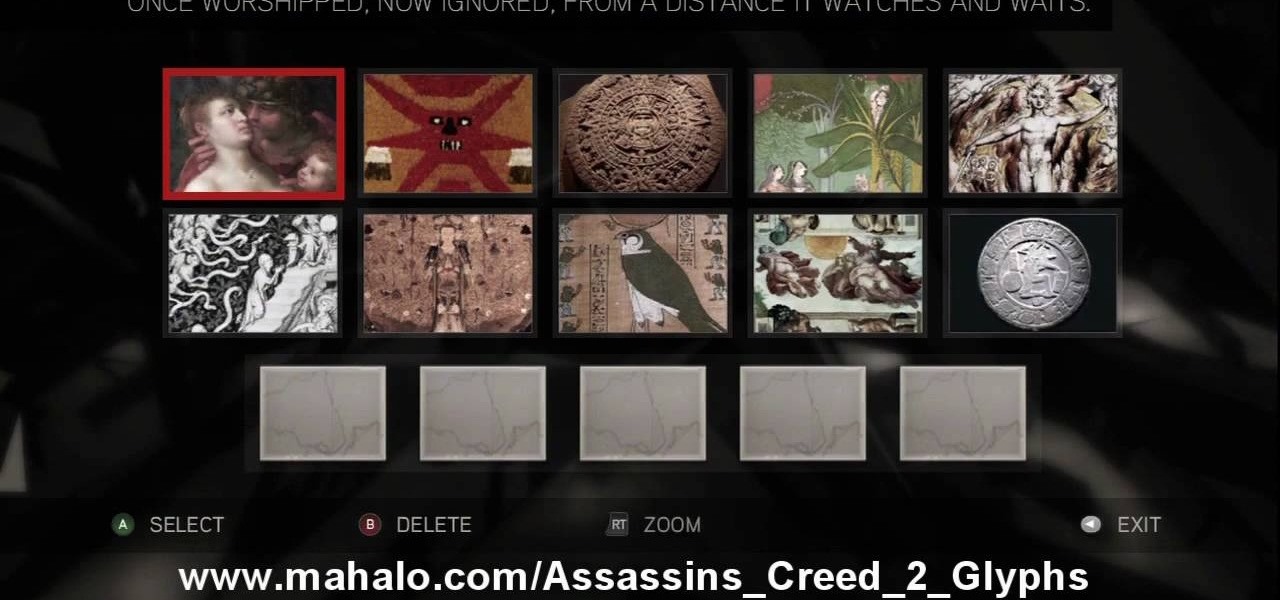
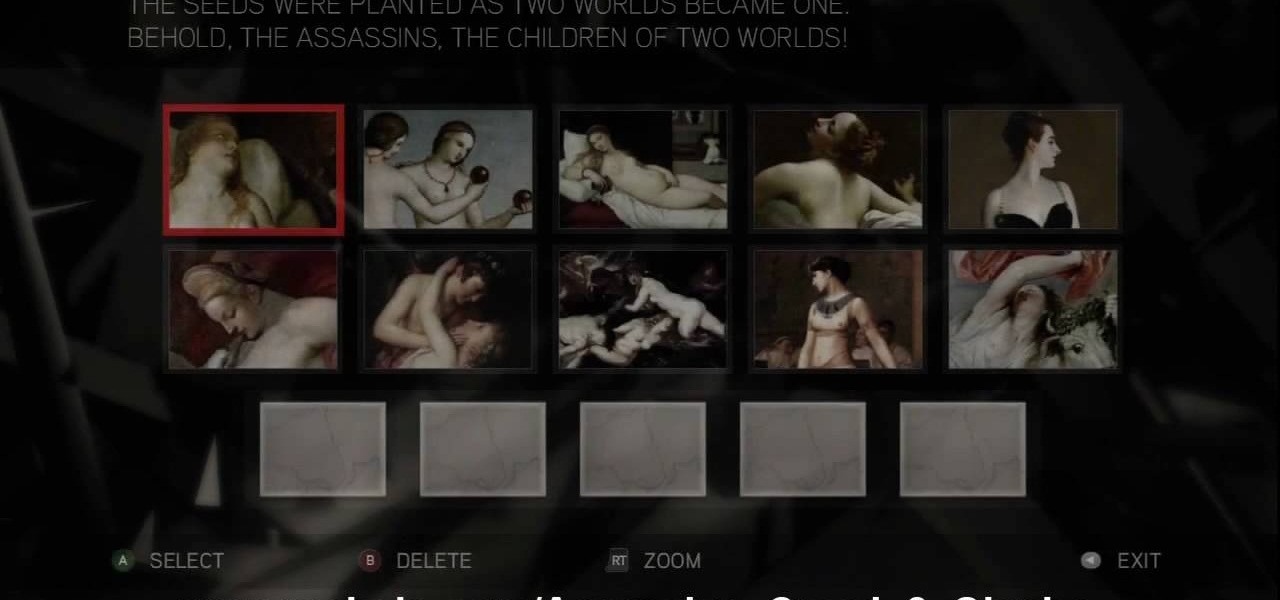
The 14th puzzle, entitled "Bloodlines", isn't really that hard in Assassin's Creed 2. Set 1: Highlight the images that depict women and gods in amorous entanglements (especially if those gods are disguised as animals). For more info, watch the whole gameplay.
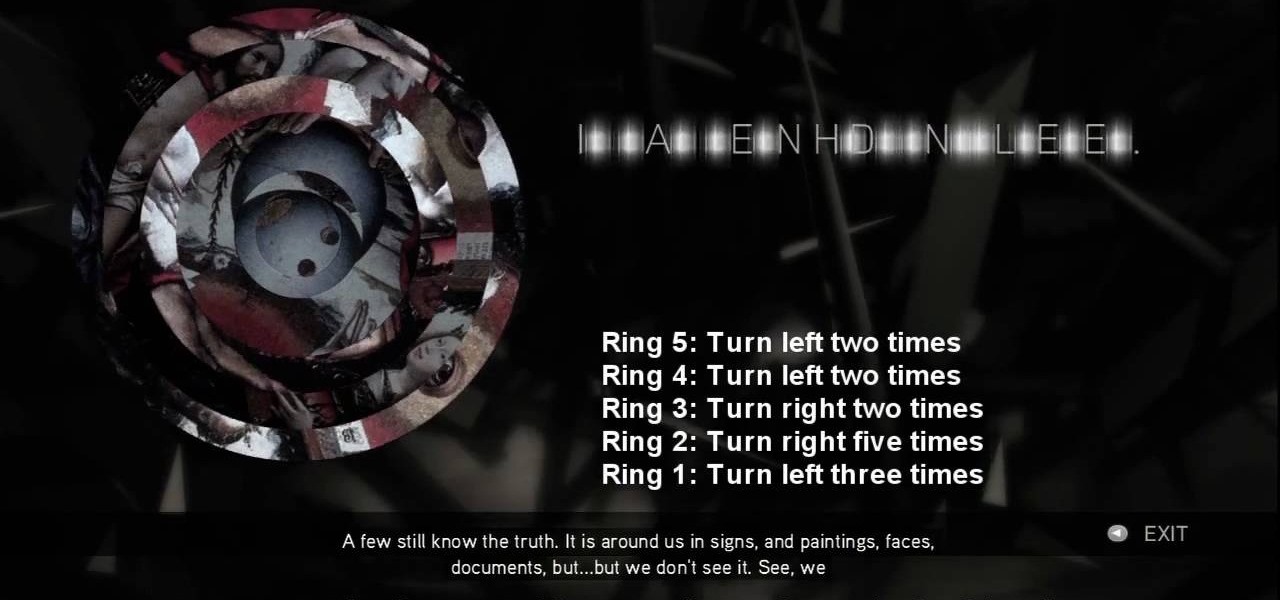
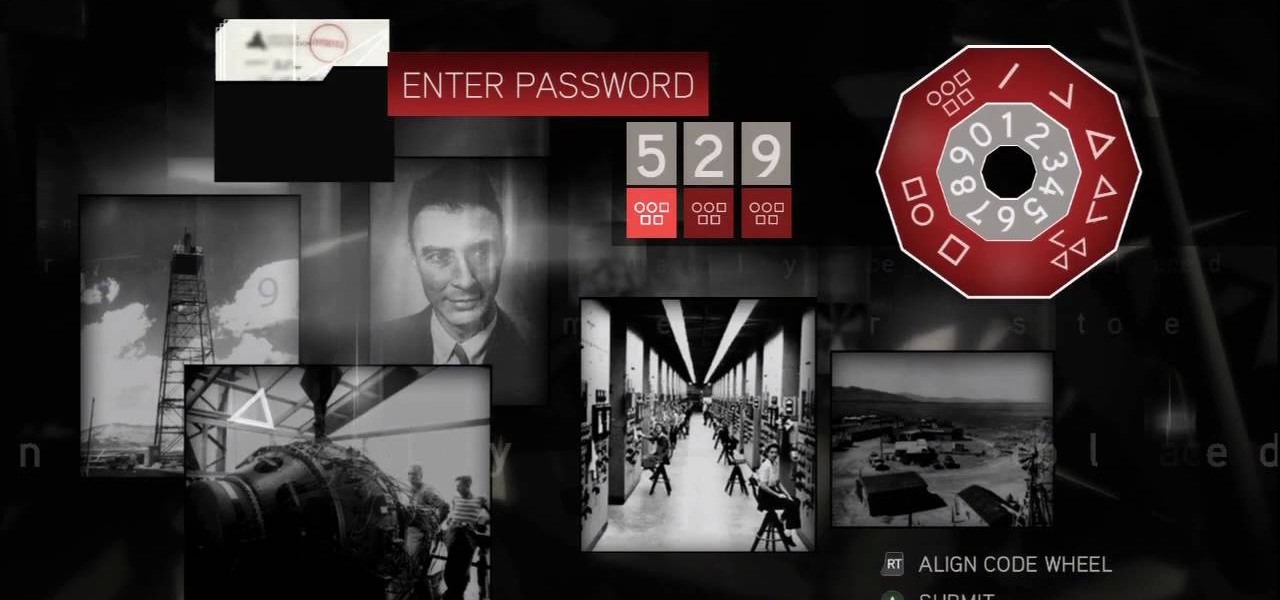
Solve the challenging 13th puzzle, entitled "I Am Become Death, the Destroyer of Worlds", in Assassin's Creed 2. Code wheel puzzle: This one’s even trickier than the last one; starting with the hint that 9 (next to the tower) equals “triangle” (up and to the left from the bomb), you need to figure out which symbols would fill in the blank spots on the wheel, going by the symbols next to them. Image 1: Just hit the button. It’s not hard. Image 2: Use the Geiger-counter clicks to guide you. For...
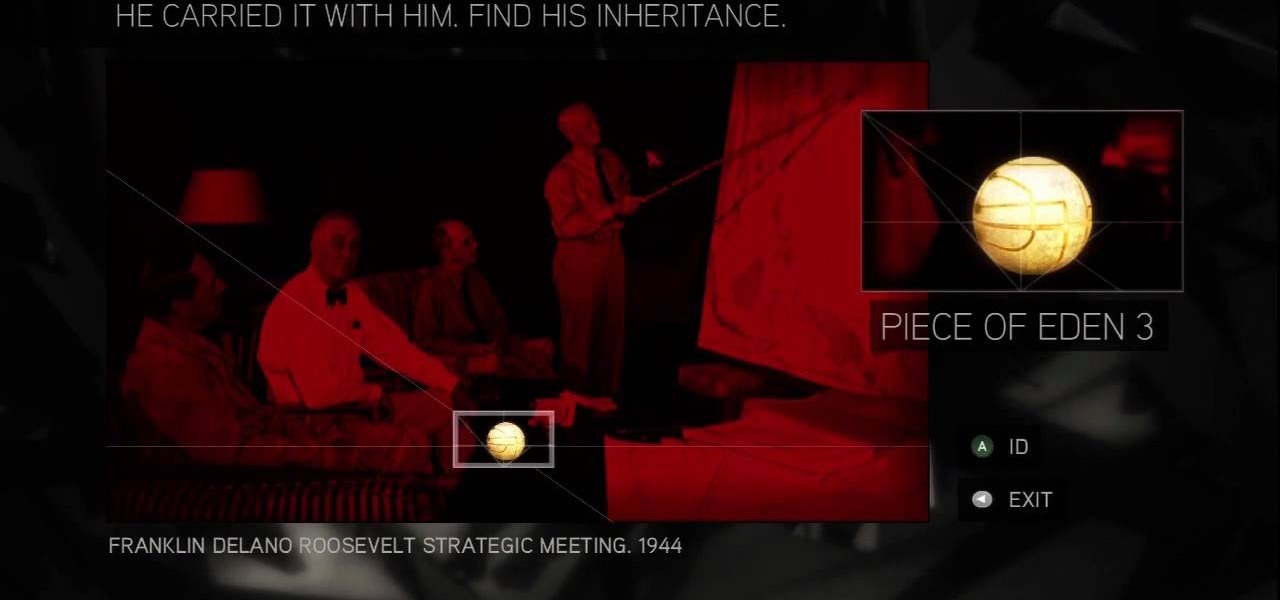
This is the 12th puzzle, entitled "Titans of Industry", in Assassin's Creed 2. Code wheel puzzle 1: The key here is in the “4=1” on the blueprint at the left of the screen. Line up the red 4 over the gray 1 and input the following code: 917240. Image 1: This one’s the opposite of the light-bulb “puzzle” from before – just move the dollar sign over the bulbs to extinguish them. Image 2: Highlight the glowing ball at the center of the image. Code wheel puzzle 2: Your hints here are the “2” on t...
Find out how to solve the 11th puzzle, entitled "The Inventor", in Assassin's Creed 2. Image 1: Just move the lightning bolt over the bulbs to bring them to life. Image 2: Highlight the area just at the base of the tower, between the two windows, to find this hidden image. Image 3: Move the pointer onto Tesla’s lap. For more info, watch the whole gameplay.
Figure out the 10th puzzle, Apollo, in Assassin's Creed 2. Image 1: Highlight the lunar lander just down and to the left of the moon. Puzzle wheel: Another linked-ring rotation puzzle. Your job here is to align all the channels; do this by moving the fifth ring to the left six times, the second ring to the left four times, the fourth ring to the right three times and the third ring to the left five times. Then snap the first ring into place. Image 2: Move the cursor down between the flag and ...
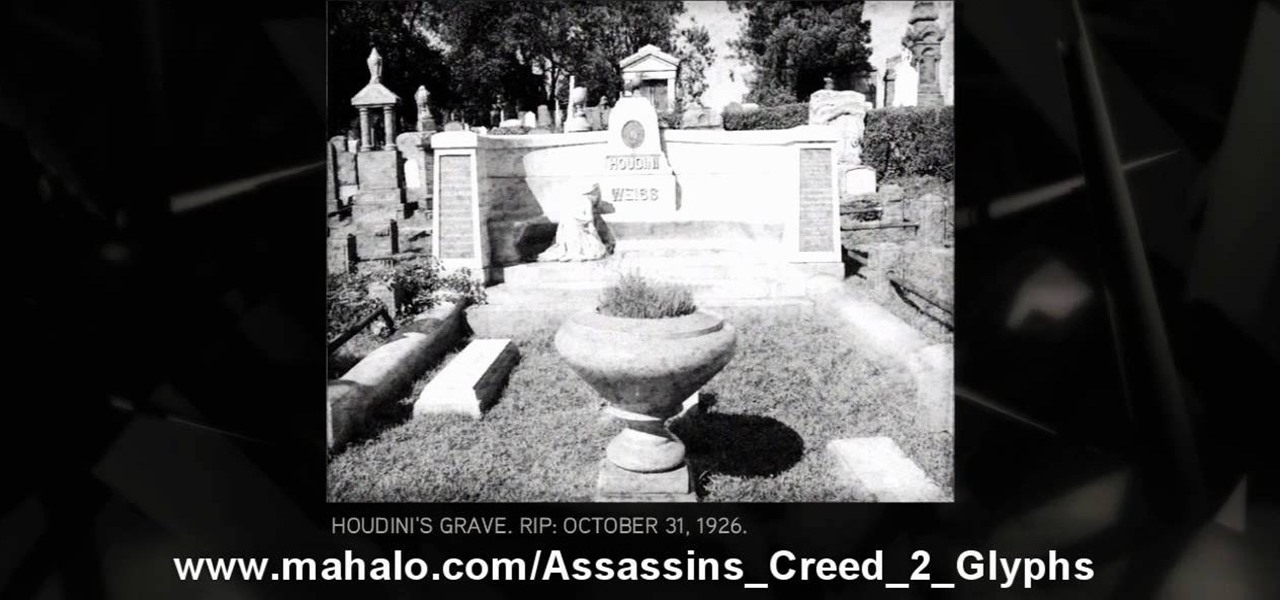
Execute the 9th puzzle, called Hat Trick, in Assassin's Creed 2. Image 1: Move the cursor onto Houdini’s torso. Image 2: Move the cursor over Gandhi’s heart. Code wheel puzzle: Your hint here is pretty obvious; there’s a big, glaring “6=1” next to Oswald’s picture. So move the red wheel so that the 6 is over the gray 1, and plug in the corresponding numbers. For more info, watch the whole gameplay.
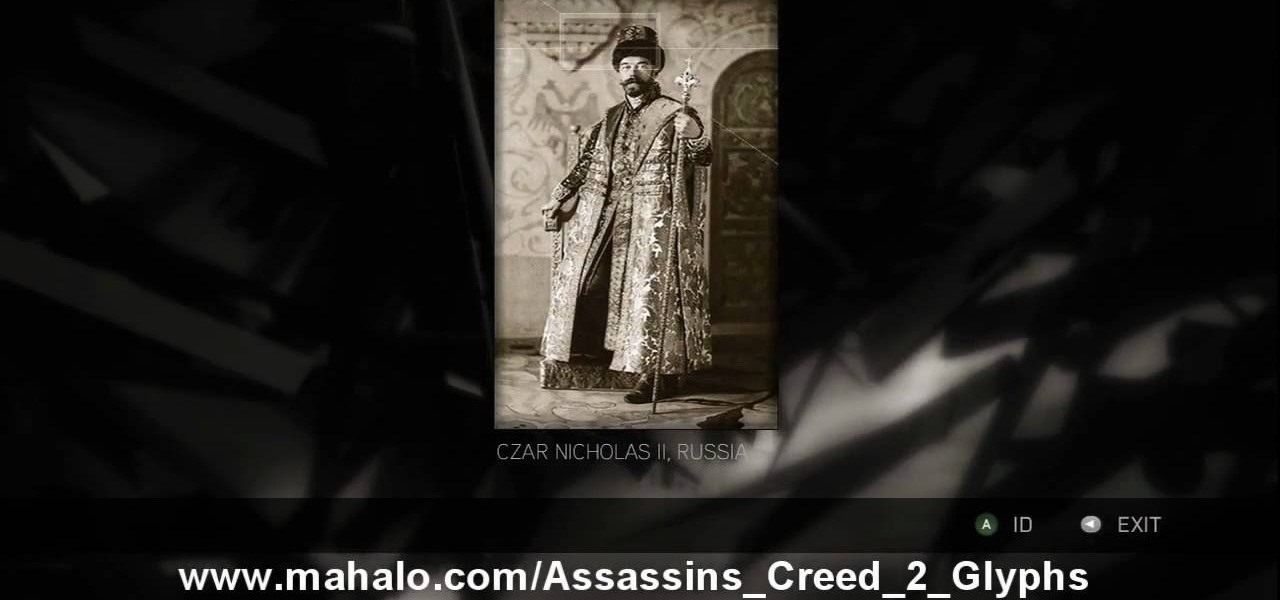
Learn about the 8th puzzle, titled Martyrs, in Assassin's Creed 2. Image 1: Highlight Czar Nicholas’ staff. Image 2: Highlight Joan of Arc’s sword. Image 3: Move the fireball to Joan of Arc’s portrait. Image 4: Move the photo of Rasputin onto Czar Nicholas’ portrait. For more info, watch the whole gameplay.
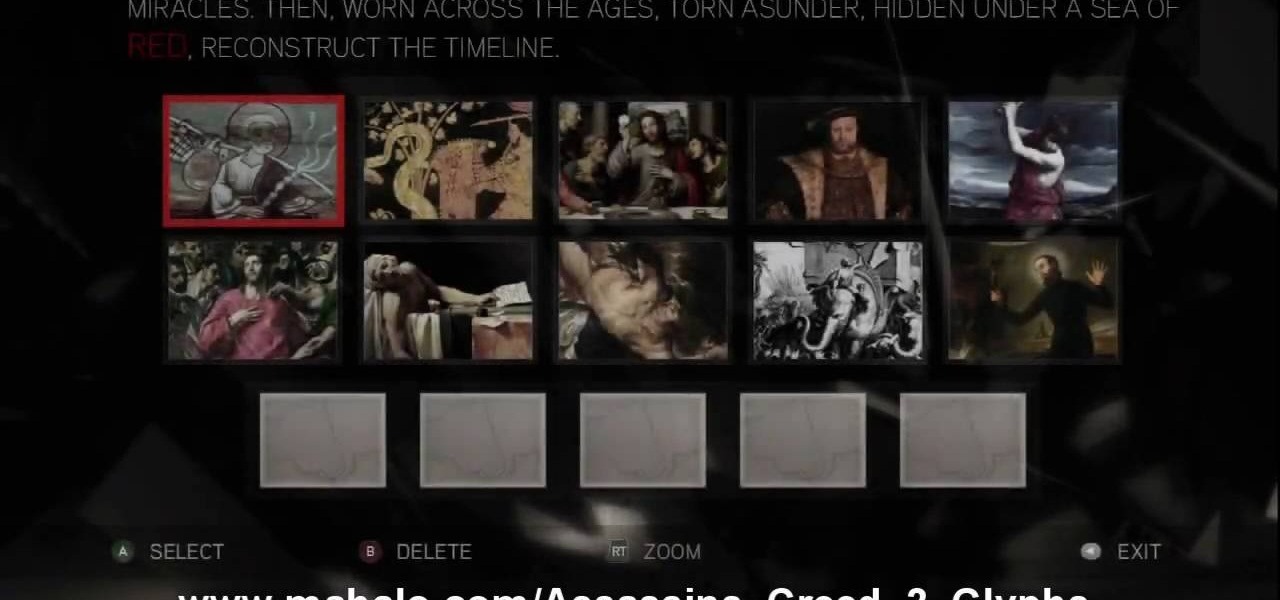
This is about the 7th puzzle in Assassin's Creed 2. Keep on seeking, and you should find… in the first image set, the key word here is "red", so pick the images in which that color shines the brightest. In the second image, highlight the area to the right of Jesus’ hips to reveal a Piece of Eden. For more info, watch the whole gameplay.
See the key to the sixth puzzle "Brothers" in Assassin's Creed 2. This is where things start to get tricky; while the first batch of ring puzzles were simple, these link some of their rings together, so that you can’t move one without moving another. For more info, watch the whole gameplay.
Find out the solution to the 5th puzzle in Assassin's Creed 2. For set one, the hint here is “cut,” so pick the five paintings that feature swords. For set two, what do the people in these paintings lean on? That’s right – pick out the images that feature staffs. For more info, watch the whole gameplay.
Get the answers to the 4th puzzle in Assassin's Creed 2. This is just another hidden-image puzzle. Find them in the barrel of the bazooka, on the helmet of the soldier crouching in the background, on a rifle held up just to the left of the officers, and in the hand of one of the monsters. For more info, watch the whole gameplay.
Find out about the third puzzle in Assassin's Creed 2. Another simple one – just highlight the spot in each image where the Apple is hiding. You can click around at random and maybe find a couple of hidden messages. For more info, watch the whole gameplay.
Try your hands at one of the first puzzles in Assassin's Creed 2. “Core?” “Pick?” That’s a dead giveaway right there. Just pick out all the paintings that contain apples. For more info, watch the whole gameplay.
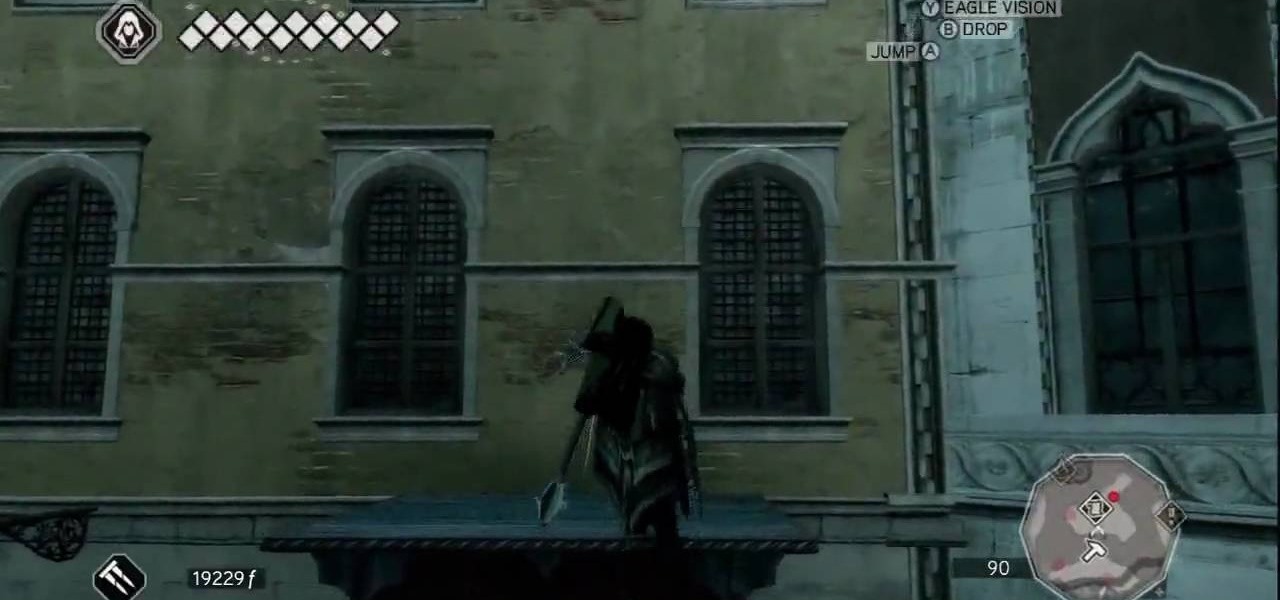
Visitazione's Secret: This is Tomb number 6. The grave of all graves. The entrance to the tomb is on top of the first level of the building's roof. You can pretty easily climb the building on the eastern face and then shimmy around to the north face and continue up. There's a small nook where the building's tower meets the first level of roof, and in there you'll find the entrance.
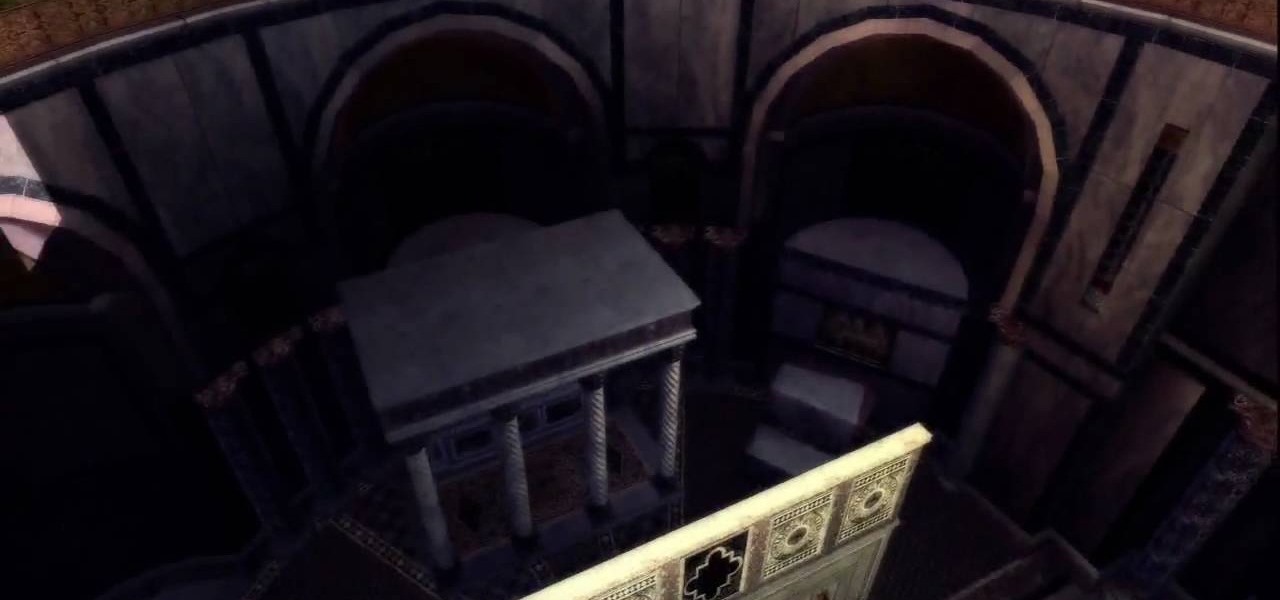
San Marco's Secret: Tomb 5 is not easy, so be careful. Getting into the Basilica without the use of Leonardo's flying machine is tricky. However, chances are that you've already penetrated the massive building's defenses in the mission If at First You Don't Succeed.... But if you haven't yet completed that mission, here's how to get to the tomb's entrance.