To freeze motion in photography, you need three things. First, you need a good camera, triPod, and a subject to photograph. One thing to keep in mind is your shutter speed. For example, if the subject is moving towards you, you want the shutter speed between 1/100th to 1/250th. If you are capturing the subject going from side to side, you want it set at 1/250th or more. Keep in mind that the more you increase the shutter speed the less light you will have in your picture. Next, move the camer...

In this video, we learn how to use direct objects & direct object pronouns in Spanish. A direct object is the object of the subject inside of a sentence. An example of this is "yo contesto el telefono". The direct object in this sentence is "el telefono" and the subject is "yo". The direct object is the "what" of the sentence, not the who. Another example of this is "nosotros miramos las peliculas". In this sentence, the subject is "nosotros" and the direct object is "las peliculas". Pay clos...
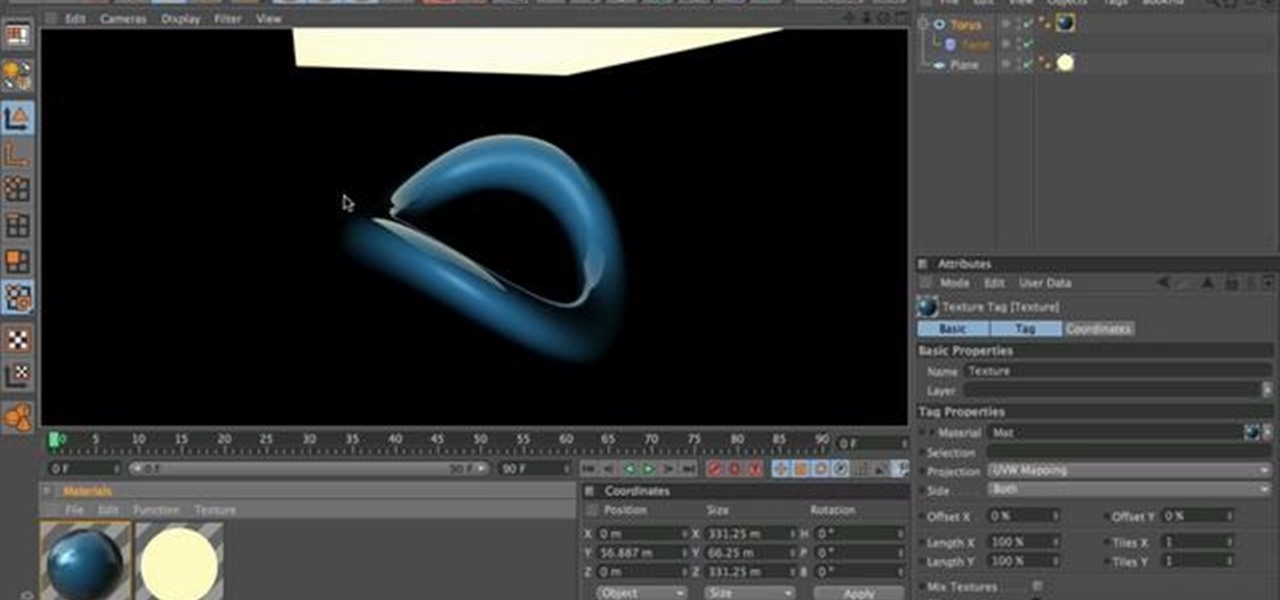
In this C4D user's guide, see how to light a subject using luminance channels. Whether you're new to MAXON's popular 3D modeling application or are just looking to get better acquainted with Cinema 4D and its various features and functions, you're sure to enjoy this free video software tutorial. For more information, and to get started using this trick in your own Cinema 4D projects, watch this 3D modeler's guide.
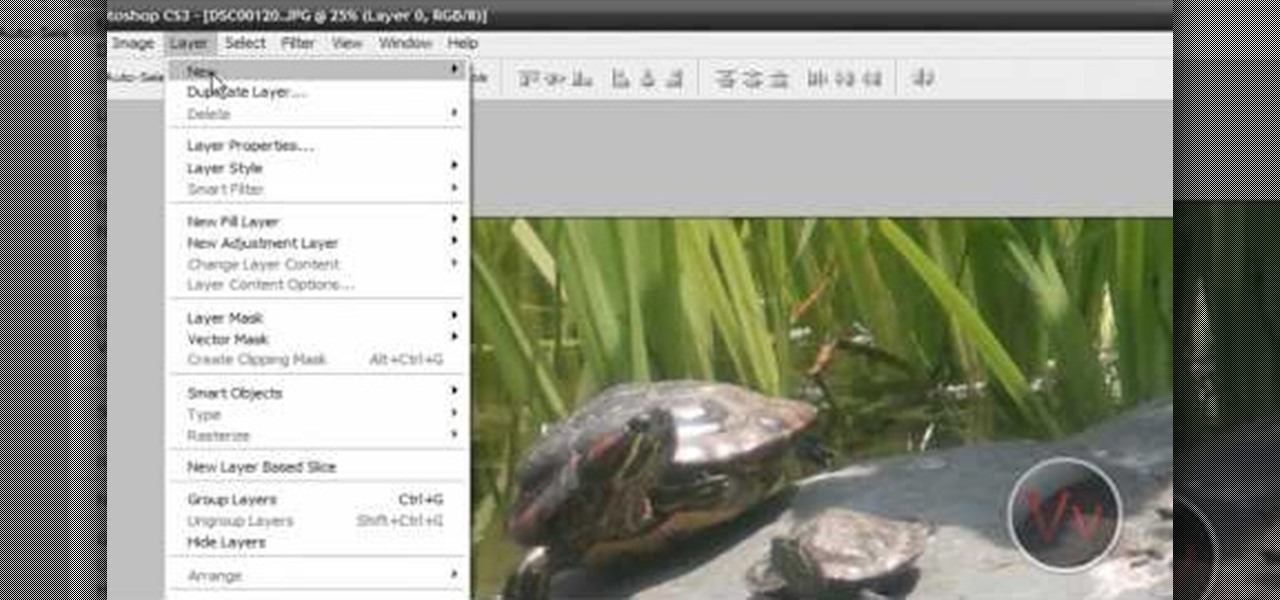
This video tutorial by VvCompHelpvV gives you two methods to achieve the Sin City effect in your photos using Photoshop. The Sin City effect is making the main subject of the photo appear colored while the rest of the photo looks black and white. In the first method the subject should be selected using a pen-tool using the settings mentioned. After that right click on the selected areas and make the feather radius 3, inverse the selection and go to image > adjustments and de-saturate and your...

No matter what kind of business you have, small or big, online-based or not, when you're dealing with email marketing, the number one things your targets will see is the subject line, and if your subject line looks spammy or uninteresting, it's not going to help you one bit.
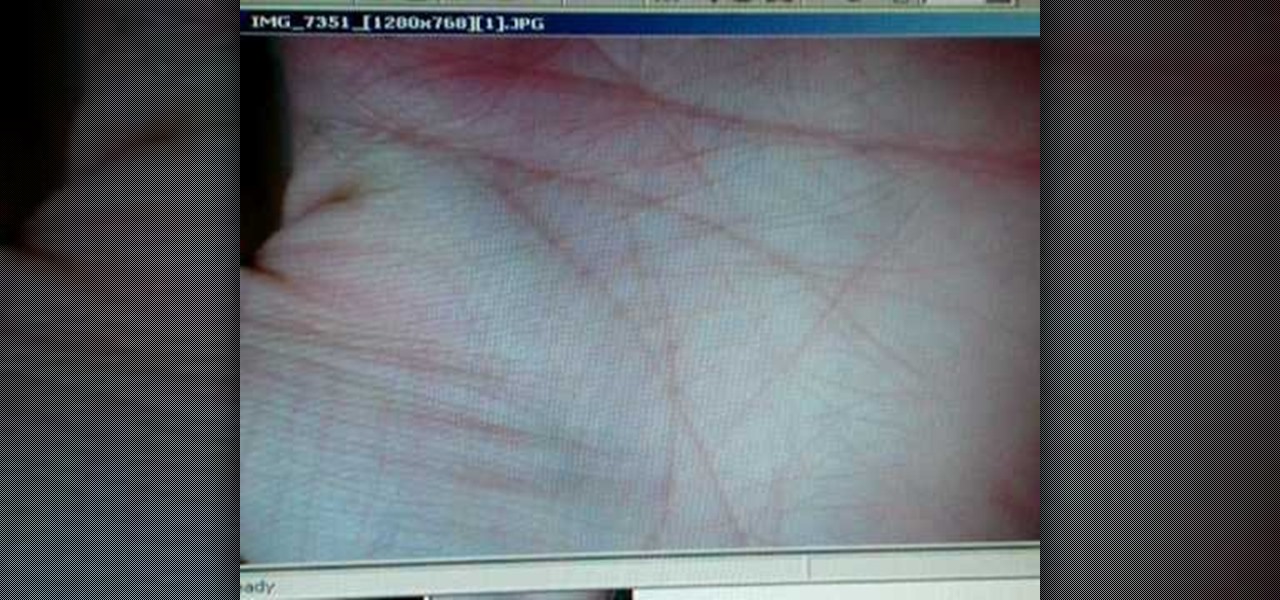
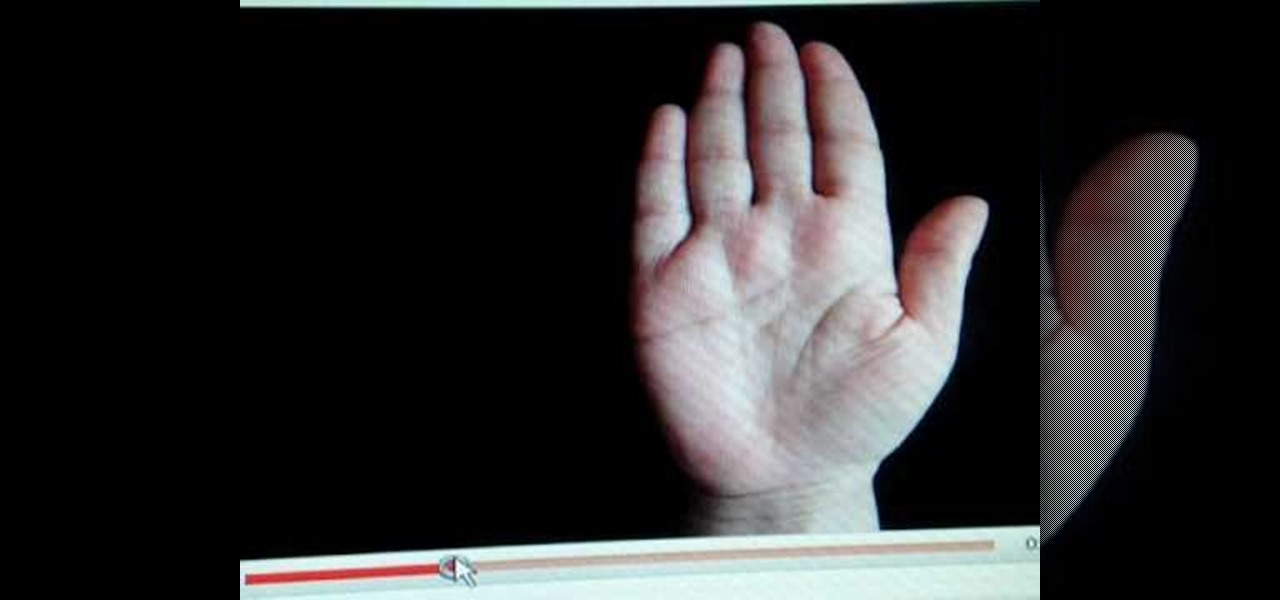
The left hand indicates what your subject has inherited from their family. Giving a reading on the left hand is different than the right, even for the same person. Peter John lays out a few palmistry principles if you want to give someone a palm reading on their left hand.

After several weeks of testing out the public beta, Apple has finally released iOS 8.3 to the general public. The latest iteration of iOS for iPad, iPhone, and iPod touch serves mostly as an update to fix many of the bugs that plagued earlier versions, but there are still a couple of awesome new features included in the new build.

The Subject 16 puzzles are part of the subplot to Assassin's Creed: Brotherhood. The first cluster is fairly easy, but just in case you are stuck, this video shows you how to solve them. Choose the right photos, move the pawn and then pick the right dots.

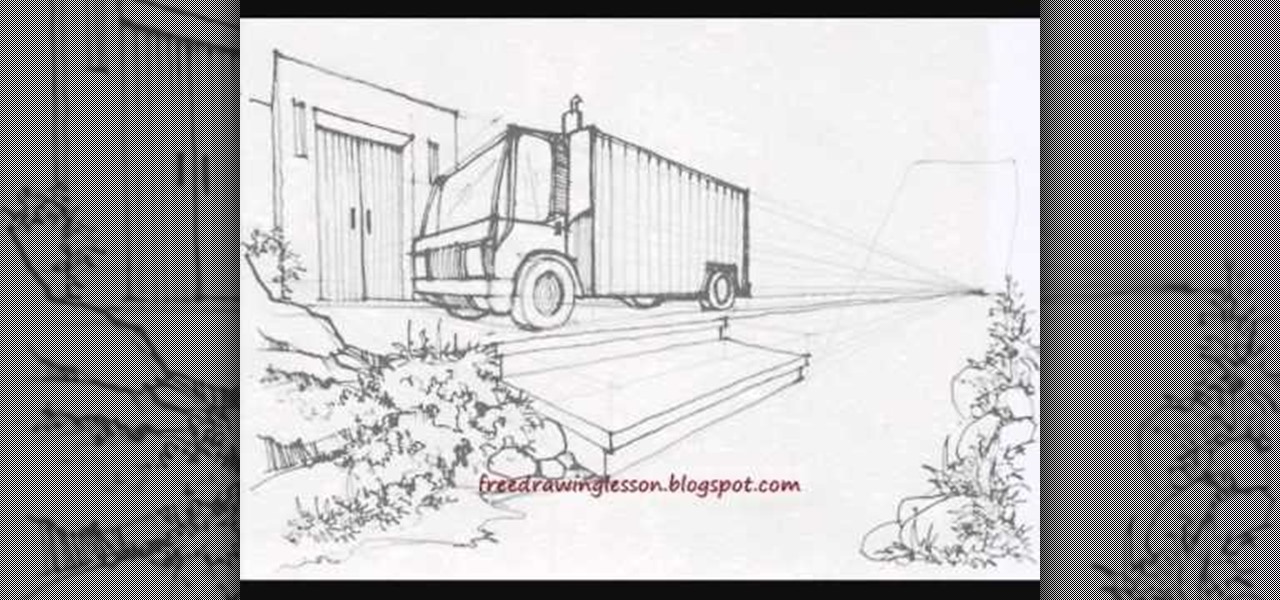
Sometimes the most common, everyday subjects are also the best for practicing basic drawing methods like drafting and shading and contouring. Just take the truck, people, bridge, and garden in this drawing tutorial, for instance.

Chris Rutter teaches us how to use off camera wireless flash in this tutorial. First, attach the flash to the camera and aim it towards your subject. For a more flattering result, place the flash gun on a tripod that is placed on the right hand side of the subject. Now, go to your camera and set the control so that the flash with go at the same time you take the picture. Now, turn the camera on and take a picture of your subject again. Your flash should go off at the other location, and your ...

If you need help with creating a sentence diagram and need help with it for homework or just because, this tutorial is sure to help. In the video, you'll be finding out how to create a diagram for the nominal clause as the subject.

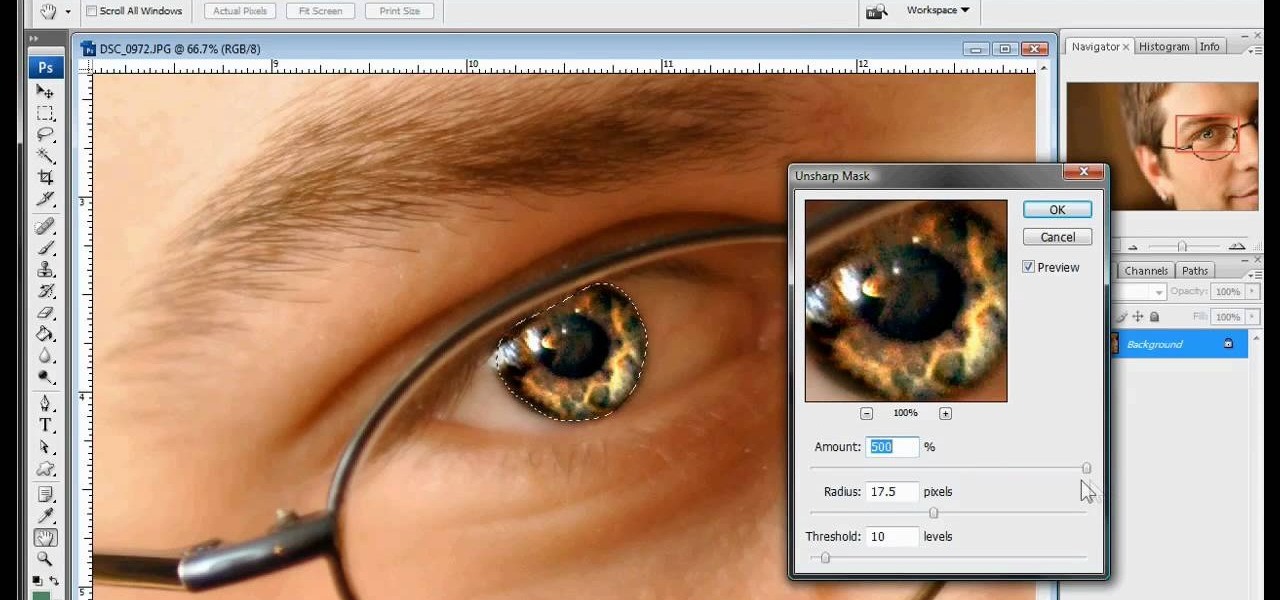
The white bits on a person's face are often what make them appear healthiest and happiest. In this tutorial, learn how to enhance someone's face by improving the white areas of their faces. In it, you will learn how to focus on the eyes and teeth of your subject to whiten and enhance them. With this trick, your subject will appear cleaner, healthier and more alert.

In this tutorial, learn just how easy it is to enhance your subject by changing their backdrop. By changing the background of a photo you can place your subject in new and exciting places, and enhance the color of their skin and eyes with the right color pallette.

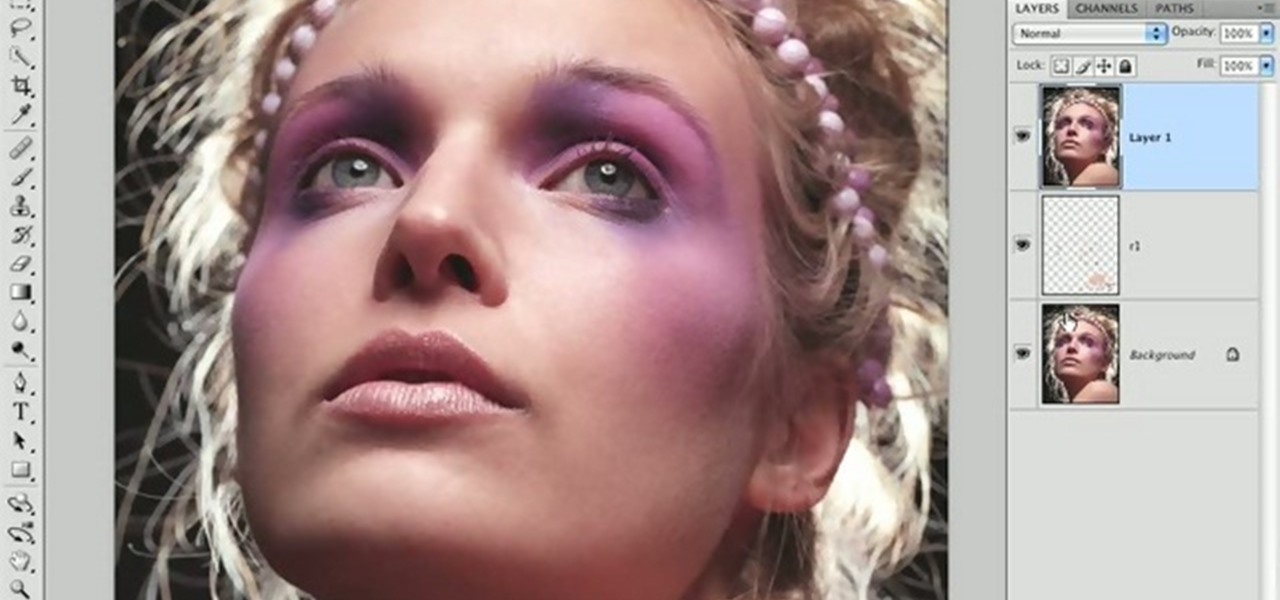
Perfect skin is a big part of beauty. In this tutorial, learn how to enhance the natural texture and tone of your subject's skin in Photoshop CS. By enhancing your model's skin, you will give them a more luminescent appearance and make an overall better picture.

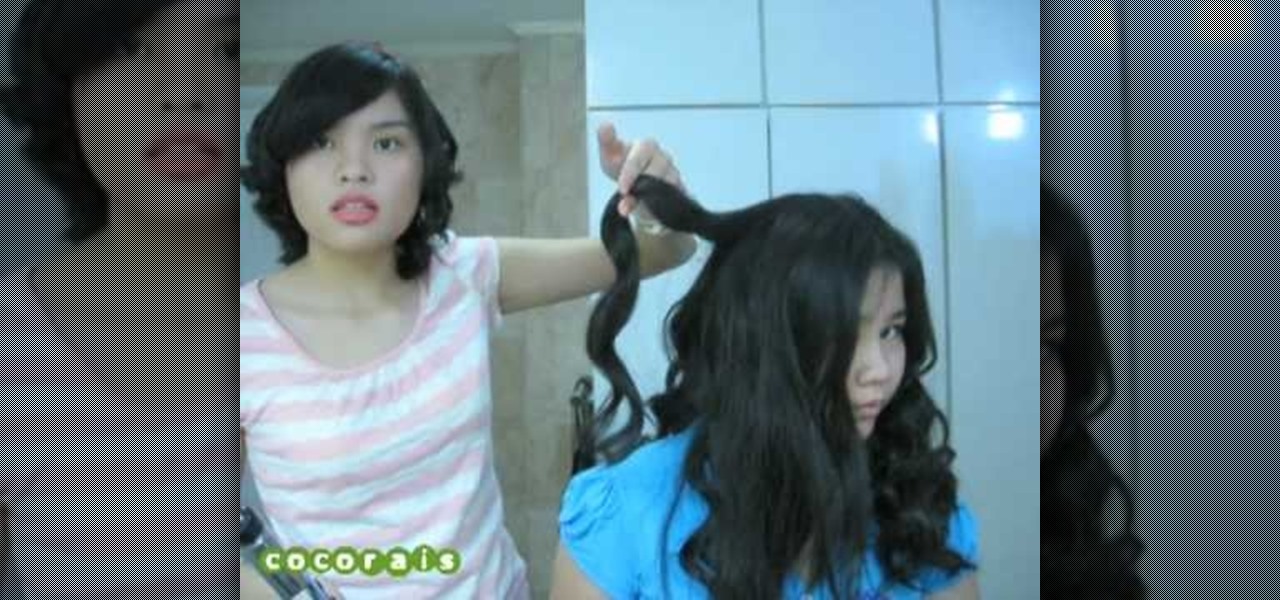
The video begins with a photo of Miley Cyrus with her curly wavy hair. The hair stylist then begins to demonstrate the process to create that same hair style on a subject. She begins by brushing the subject’s hair and then sprays some heat protecting spray onto the hair. The next step is to spray curl boosting spray onto the hair. The hair is sectioned off into small sections. Next is to use a curling iron and wrap the hair around the iron in a spiral pattern and hold for about 30 seconds. Th...

A great photographer is more than a technician, but all great portraits begin with a photographer’s mastery of equipment and technical requirements. Set yourself on the road to greatness by learning the basic components of photographic portraiture. You will need a camera, a telephoto lens, and a subject. Props are optional. Compose your subject by using the rule of thirds, where your subject is either in the left or right third, not the direct middle, for the most intresting pictures.

Depth of field is the term for how much of an area your camera keeps in focus. Moving your camera allows you to keep your subject clear, and make the background blurry. Use this video to get better control of your film making.

In this video an American English teacher shows the difference between subject and object pronouns.

Learn how to mask a subject out of an image and transfer them to a new background using Photoshop.

Learn the subject pronouns and present tense AR verbs in Brazilian Portuguese. Watch, listen, and repeat.

Jerry Hyman has been interested in photography since he was 13 years old, and is a former professional photographer. n the premiere episode of Woven Shadows, Jerry describes the importance of positioning the subject of a photo relative to the light source.

Let your Canon EOS 7D do all the hard work. With the AF Point Selection option, the digital SLR camera will do all the focusing for you. It's easy to compose and shoot in just one step.

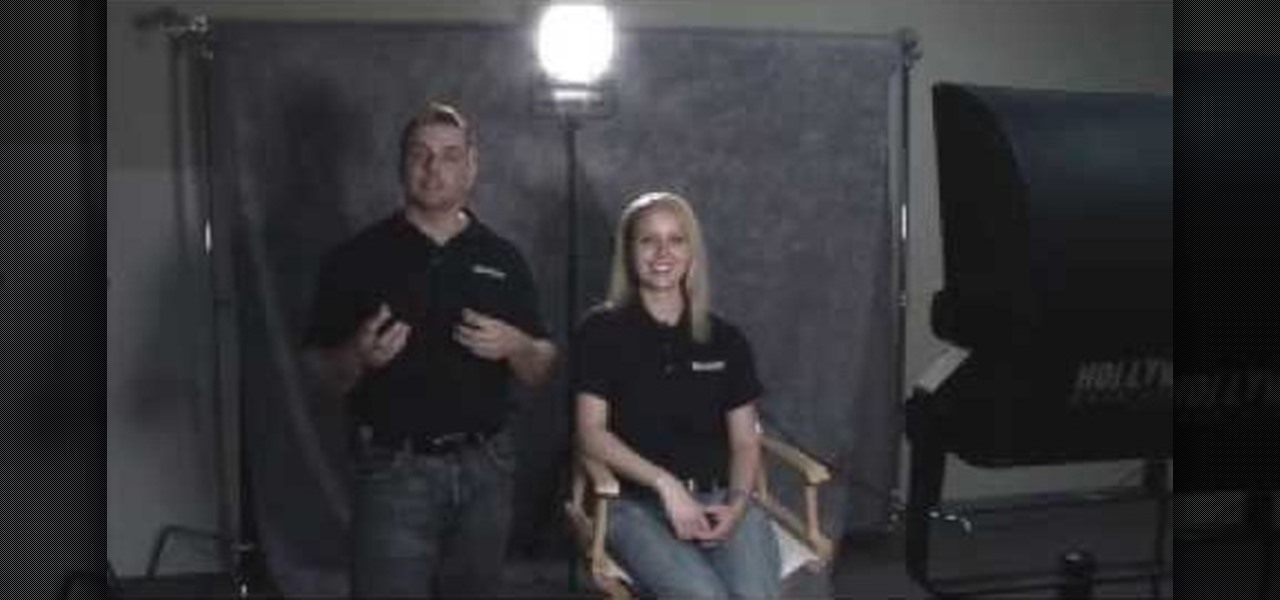
In a smaller interview setting, the lighting will be much different than a bigger scene. You will need to have a good focus on your subject's face and body as well as a clear background so your viewers don't get tired. In this tutorial, learn exactly how to set up your lighting for a smaller setting such as an interview while using a Canon EOS 7D camcorder. This clip will take you through a total step by step lesson so you can get started making great films at home.

This video shows how to properly set up a green screen, to set up the screen we are taking into account this four factors:

Whether you're looking to add a substantial coding foundation to your hacking skill set or want to get a job in programming and development, knowing one or two programming languages just isn't going to cut it.

Snapchat and Snap Camera aren't the only augmented reality apps available for couples to use on Valentine's Day.

In this Fine Art video tutorial you will learn how to focus stack for great macro photos. This video is from EPhotoZine. The idea is to take several pictures of the same subject at different distances. For this you will need focus stacking. If you focus with a wide aperture, everything in front and behind the subject will be out of focus. The idea of focus stacking is to shoot several shots and put them together in a program that automatically brings them all into one. And that is focus stack...

This video tutorial will show you how to apply four styles of lighting. This video teaches you how to apply four styles of lighting, namely Rembrandt, Beauty, Cameo and filling in from the Key Side. You will learn about high contrast lighting schemes, dealing with the amount of contrast used to highlight a person's face, as well as spotlight effects, and how these tend to draw the viewer into the scene. You will be shown how the Rembrandt Lighting setup contains three steps, namely taking a K...

As researchers learn more and more about our intestinal bacteria—also called the gut microbiome—we're finding out that these microbes aren't just influencing our health and wellness, they're a useful tool for improving it, too.

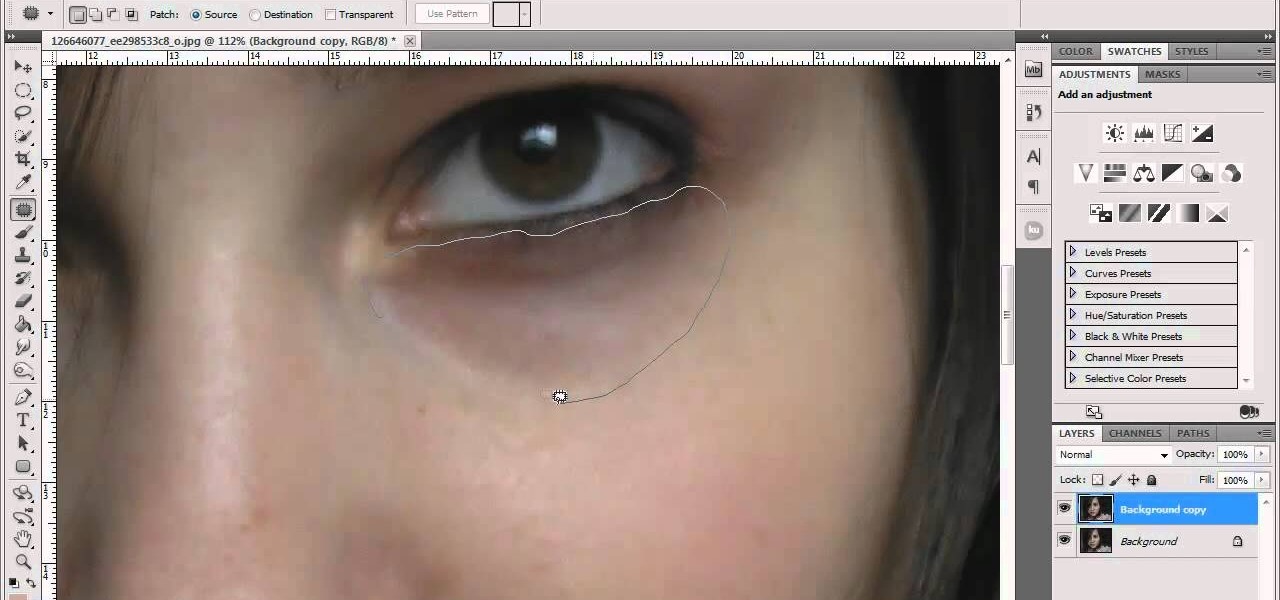
This technique is very similar to the one used for removing dark circles beneath the eyes of of people in your pictures. This shows you a simple technique where you can reduce the amount of gray in a particular area of your photo to get rid of the dark circle look.

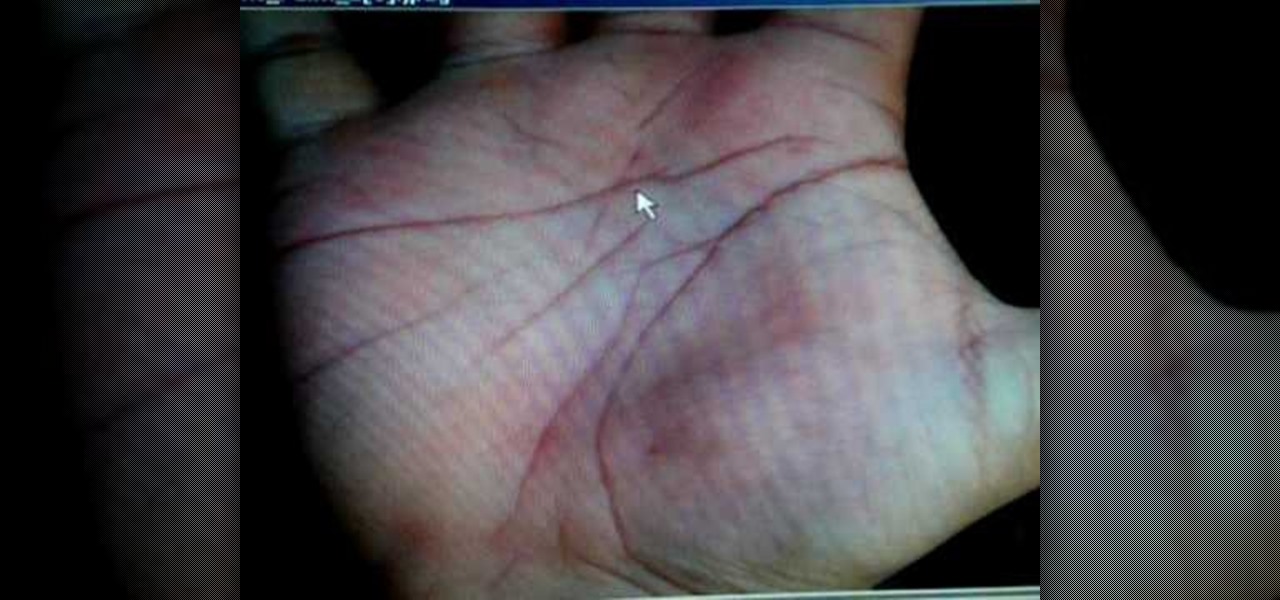
Peter John shows palmistry students how to give the subject of your palm reading career advice. Know what to look for on the head, heart, fate and life lines to be able to tell what career your subject is ideally suited for, or if they should make a career change.

New students of palmistry might get thrown in a reading when they encounter a broken line, or one that changes. Peter John demonstrates how to give a good palm reading even when the head, heart or life lines change or break on the hand. He also shows how to detect a change in your subject's future

Peter John, an accomplished expert in palmistry, demonstrates how to properly understand what it means when your palm reading subject has a long hand and long lines on the palm. He indicates what to look for to indicate intelligence and good communication skills in your subject.

Is the querent for your tarot card reading destined to become someone famous? Are they looking for a way to gain recognition? Peter John explains which Tarot cards to look out for if your subject is seeking fame and fortune.

This tutorial shows you how to use the Match Color tool in Photoshop to take a dog, or any subject extracted from a background and make it look like it's on Mars and belongs there. Even if you don't care about life on Mars, watch the tutorial anyway and learn how to use Match Color to match any subject with any background that you like or need!

Israel Hyman shows yow how to use the sun as a key light for film, video, and photography, including how its angle affects your subject’s look.

Interviewing lighting basic training tutorial provides easy to follow instruction in this step by step video. Set up the interview area to allow the best camera angles. Place your lights in key, fill, and backlight positions. Use back lighting spillover to fill subject area without camera spillover. Check your setup with the subjects and make any necessary adjustments to your camera or lighting angles. Place your crew and your ready for your interview. This scenario using key, fill, and back-...

Tom Skowronski teaches us how to shoot a good video. Look before shooting so you have a more controlled movement. Hold camera steady at all times. Move the subject in front of the camera and turn the camera mans back to the sun to illuminate the subject. . Give nose room for a more professional look. Have a full frame and no dead space to have a natural looking video. Cut off at head to have a full frame. Following Tom Showronski's video-making advice can lead to a professional-looking video....

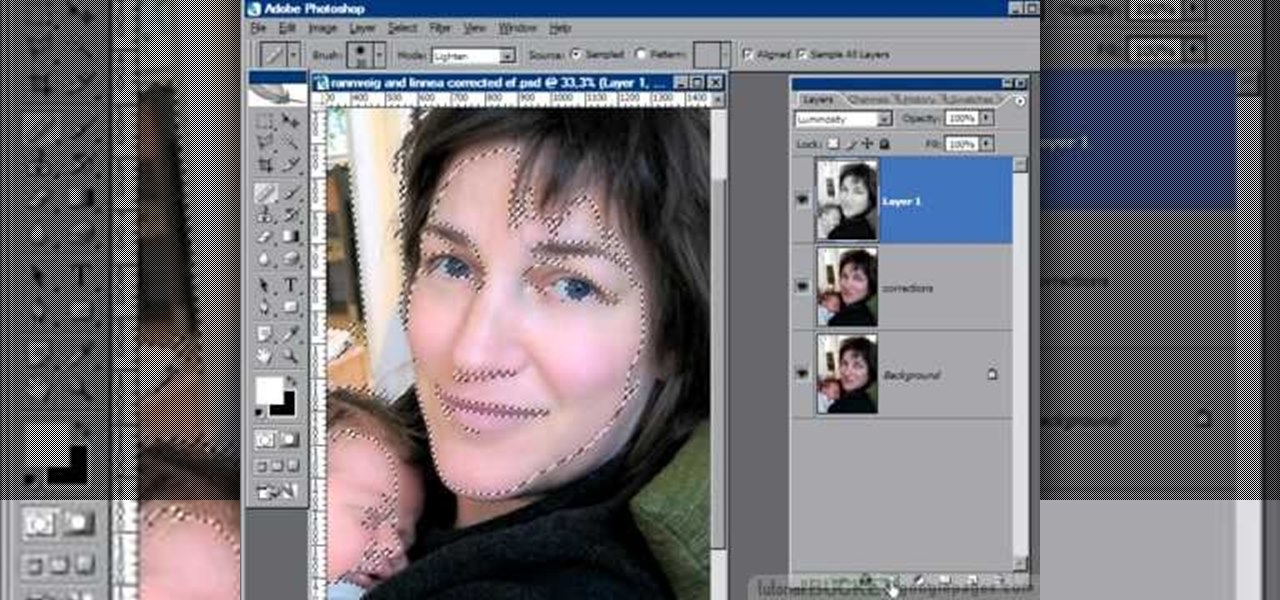
Oftentimes a subject in a photo will want to remove certain blemishes or correct his or her skin tone, and it is simple thing to do in Photoshop. This video takes us through the process of what is known as "facial scrubbing" using Photoshop software that can automatically give a person a flawless appearance like that in magazines. Retouching can be done by editing certain layers of a photo's subject. By following the steps in this video you can touch up the complexion of anyone in Photoshop.

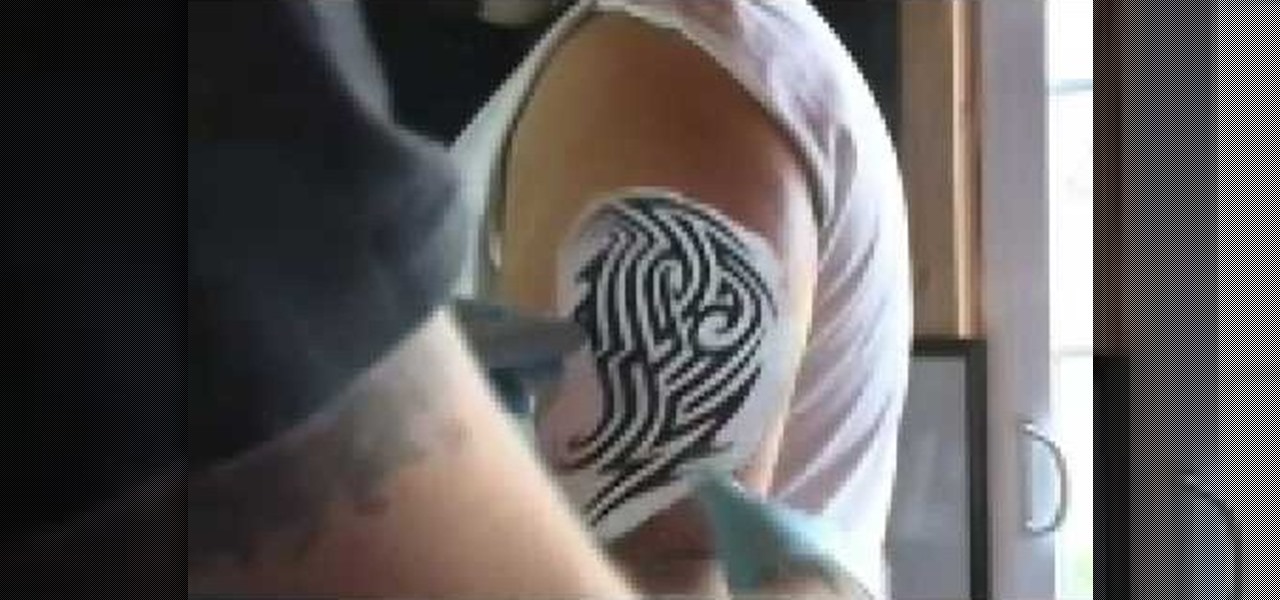
For people who would like to learn how to make a professional tattoo, this is the tutorial to watch. For making a basic arm tattoo, the subject should be seated upright in a military position. You should apply some alcohol and then some antiseptic to the area to disinfect the area and place the stencil over the area. It is suggested that the subject shave his or her arm in order to get the best effects. The tattoo stencil should be placed over the center line of the arm and align it properly,...


