
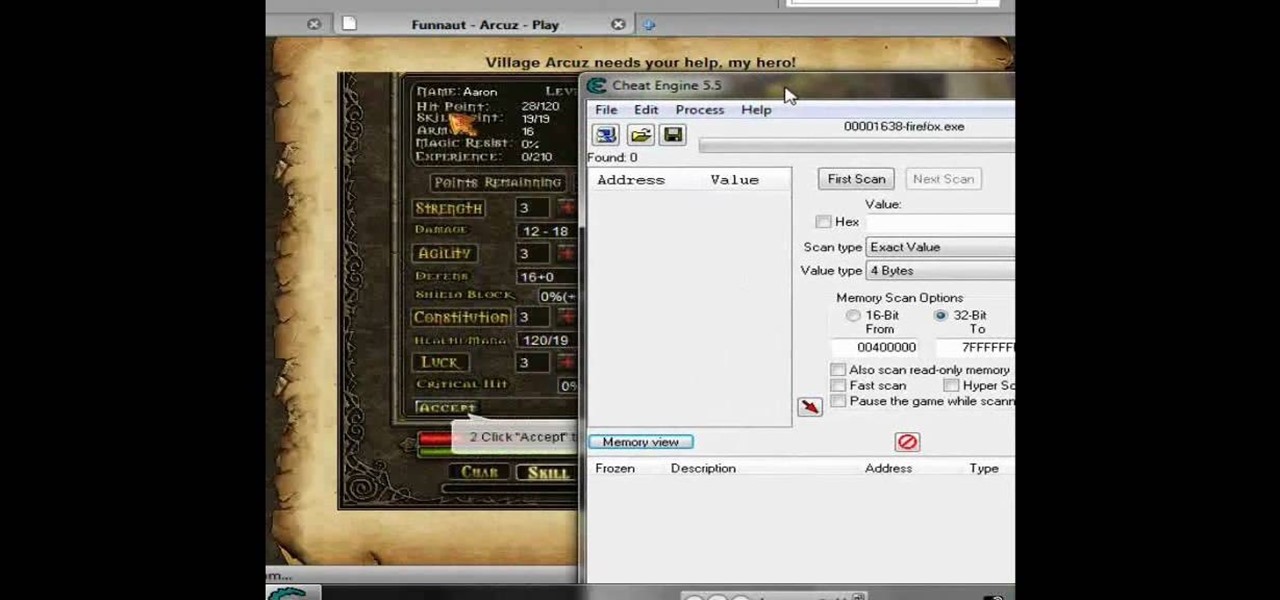
How To: Hack stats, levels & money on Arcuz online (12/19/09)
Play Acruz online and hack it, too! With this handy hack, you can cheat your stat points, levels, and money. You just need Cheat Engine.

Play Acruz online and hack it, too! With this handy hack, you can cheat your stat points, levels, and money. You just need Cheat Engine.

Systm is the Do It Yourself show designed for the common geek who wants to quickly and easily learn how to dive into the latest and hottest tech projects. We will help you avoid pitfalls and get your project up and running fast. Search Systm on WonderHowTo for more DIY episodes from this Revision3 show.

This is a Tutorial for those who want to hack their level in Pet Society. Hex Code: 840FFF85C12A0FF2

In this video, we learn how to tort, level, and fill cake. When your cake bakes, you get a mound or crown at the top. You will want to cut this off, or else your cake will crack. The next step is to just stick a cake board underneath and remove it. You can also torte the cake, which means to use a cake leveler to make it completely even on the surface. After you do this, you can make a dam around the cake about 1/4" of the way in. use a coupler on your bed and fill it in so it can hold what y...

In this video, we learn how to install dry acoustic flooring with Fermacell. To start, you will level the floor and apply compound if you need. Next, you will lay the Fermacell around the room on top of the leveling compound. Push the flooring tightly together so there are no spaces in between them. You may need to cut the flooring to make sure it's the correct shape for the wall. After this, apply flooring adhesive to the seams to make sure they are secure as they are laid down. After this, ...

If you've ever heard of the Yes Men, then you know about some of their most famous and awesome pranks. These guys have done so much and have tricked so many people in the past decade. From tricking people to signing petitions about allowing Global Warming to occur to passing out over 80,000 fake New York Times papers, these guys are good.

Starcraft 2, like it's predecessor before it, has a very robust level editor that allows you, the DIY modder, to create nearly any scenario within the bounds of the Starcraft 2 engine that you could imagine. We have compiled videos on how to do all sorts of fun things with it, from making RPG's and Tower Defense games to just making you dream Starcraft 2 level. This video will teach you how to make a WoW-style RPG in the Starcraft 2 editor. It's a complex process so the video doesn't walk you...

If you've ever had a check engine light or check oil light stick around, even after you've completed any maintenance, then you might have a problem with a sensor. It can become damaged and will need to be replaced, especially if you want to get rid of any annoying lights.

This clip shows off the Levels command and Spot Healing brush in Photoshop (and, as an added bonus, demonstrates basic animation properties in After Effects and shows two nifty features in Soundbooth). Whether you're new to Adobe's popular raster graphics editor or a seasoned video professional just looking to better acquaint yourself with the program and its various features and filters, you're sure to be well served by this video tutorial. For more information, including detailed, step-by-s...

Stray away from serving up a scoop of ice cream at your next dinner party and take your dessert dish to the next level! In this video, learn how to make a delicious chocolate and Irish cream roulade. To make this recipe you will need about 50 minutes and the following ingredients:

Underbar 360 Explained.

In this Education video tutorial you will learn how to conduct a viscous remanent magnetization (VRM) experiment. The purpose of this experiment is to measure the VRM decay vs time. You have to take two Orbo rotor magnets and mount them on a base. Mount two samples of the ferromagnetic tore used in the Orbo motor for the stator coils on a rotating disk. The disk can be rotated by a simple brushless motor. When the ferromagnetic core moves in front of the static magnet, an optical sensor detec...
Nicole Young demonstrates how to use non-destructive dodging and burning using layers in Photoshop. Your first move is to create a new layer and then hit shift + delete to select the level of opacity. You want the layer to be fifty percent grey. Now select overlay from the menu which will make anything that is fifty percent grey will be transparent. You will be dodging and burning with white and black brushstrokes. To switch from black and white background colors just hit x. Other keyboard sh...

In this video Tanky shows you how to make a LEGO bookcase. He details each step of how to create a small LEGO bookcase, starting from the base and building one level at a time. He Suggests connecting all parts in the final step in order to ensure the bookcase does not fall apart. He then inserts books into each shelf to create a filled bookcase that displays twenty books on two levels of shelf. The LEGO books fit in well. If you follow the steps in this video you will have a realistic LEGO bo...
To create a retaining wall all you need to do is follow these simple steps. To begin you will need to get many interlocking wall blocks and either sand or concrete. The first step is to plot and measure the retaining wall's size and shape. Use your measurements to figure out the amount of retaining wall blocks that you will need. The second step is to mark off the spots in your yard that you would like the retaining wall to be. Then dig your trenches in these spots to level out the land and t...
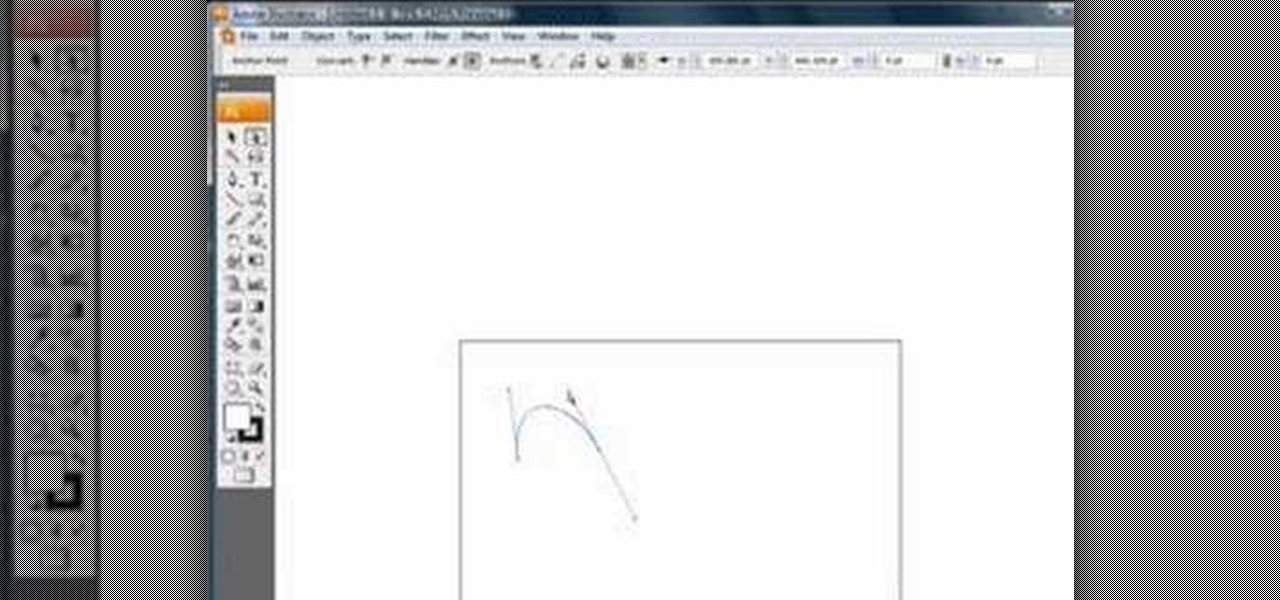
Chad Perkins shows how to use the Bezier pen tool in Photoshop, Flash, and After Effects. Perkins attempts to shed light on how the tool can be used and dispels certain misconceptions about the pen tool. The pen tool allows users to create various types of paths, either open or closed, at the most basic level of use. At the more complex level, the pen tool can be used to create professional looking curves. For better understanding of what the pen tool can do for graphics and other designs, fo...
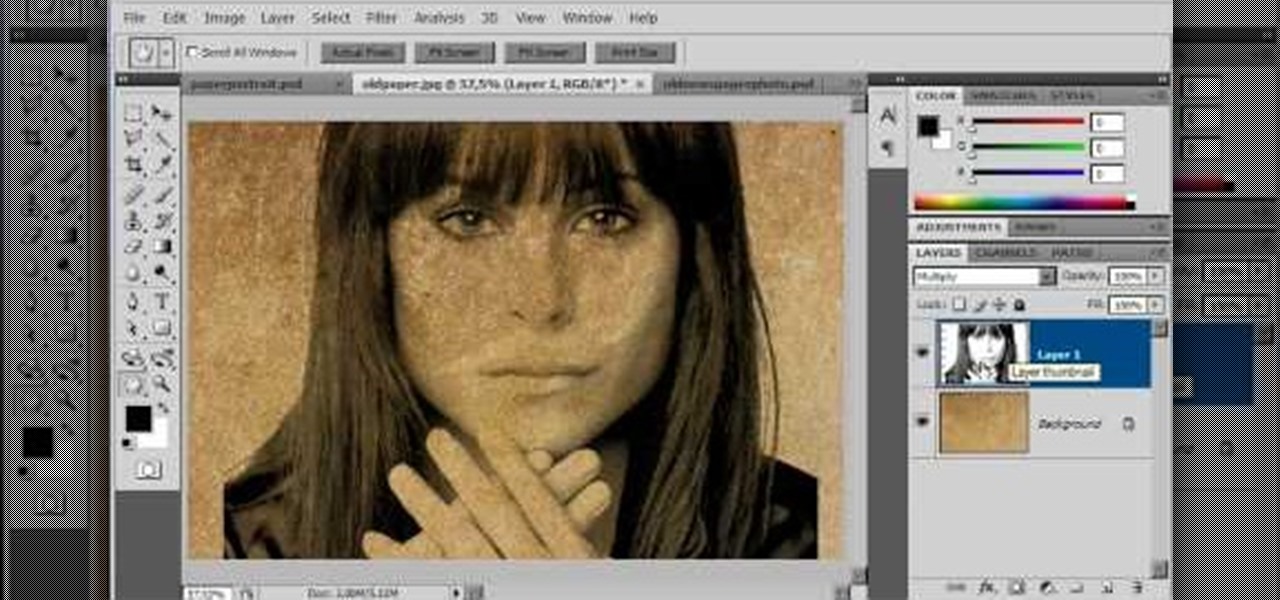
The video is about how an old stalled photographic image with faded backgrounds to a normal image. A nice clean digital image is taken and is mixed with a texture of a paper and produces a final composite image of all effects combined. The procedure is not that difficult but it needs to be followed in a proper order. First the paper texture is taken as a base and then the clean digital image is dragged onto this texture. The blending mode is adjusted from normal to multiplied blending mode, w...
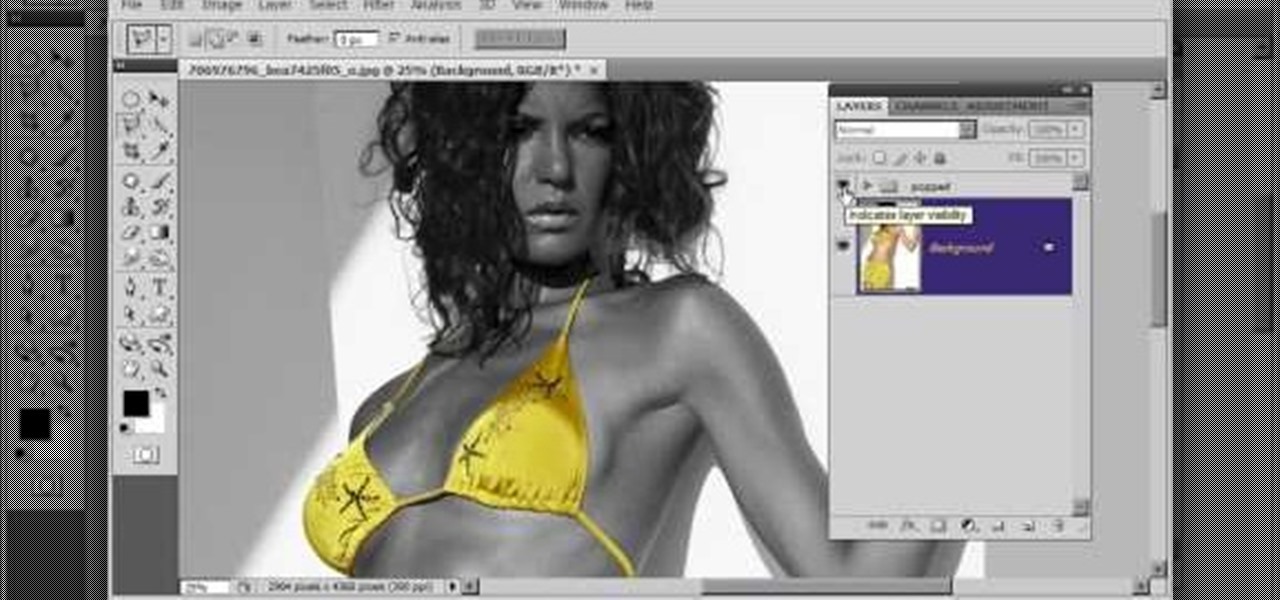
Learn to create a fashion editorial style color in Photoshop! 1. From CHANNELS button select color of the Model. It will show different colors select as per your choice. 2. Click on Levels it will show the image selected. 3. Right click and select Black&White it will open ADJUSTMENTS button adjust the color. 4. Go back to CHANNELS button they all images will look same. Copy channel Blue and Select Blue copy3 and color model's body and hair with black. 3. Click on ADJUSTMENT button and adjust ...

To identify characteristics of a sample in your survey, there are many factors to consider of your samples. The first four characteristics you need to focus on are gender, age, income level, and education level. All four of these characteristics must be proportional to that of the population. You also need to consider the geographic location. Only take samples from the immediate geographical area. Finally, an important characteristic of the survey is the sample size. You do not want to ask to...

Simon Plant of ProPhotoInsights.com shows how to use Photoshop to blend colors in images. He uses a photo of his son standing in front of Stonehenge to take us through each layer of the photo to alter the levels of hues, saturation, and opacity. The key to blending colors is a matter of playing with different hues and saturation levels in Photoshop to get the subject in the foreground to match the background. Follow Plant's thorough tutorial to find out how to get professional looking photos ...
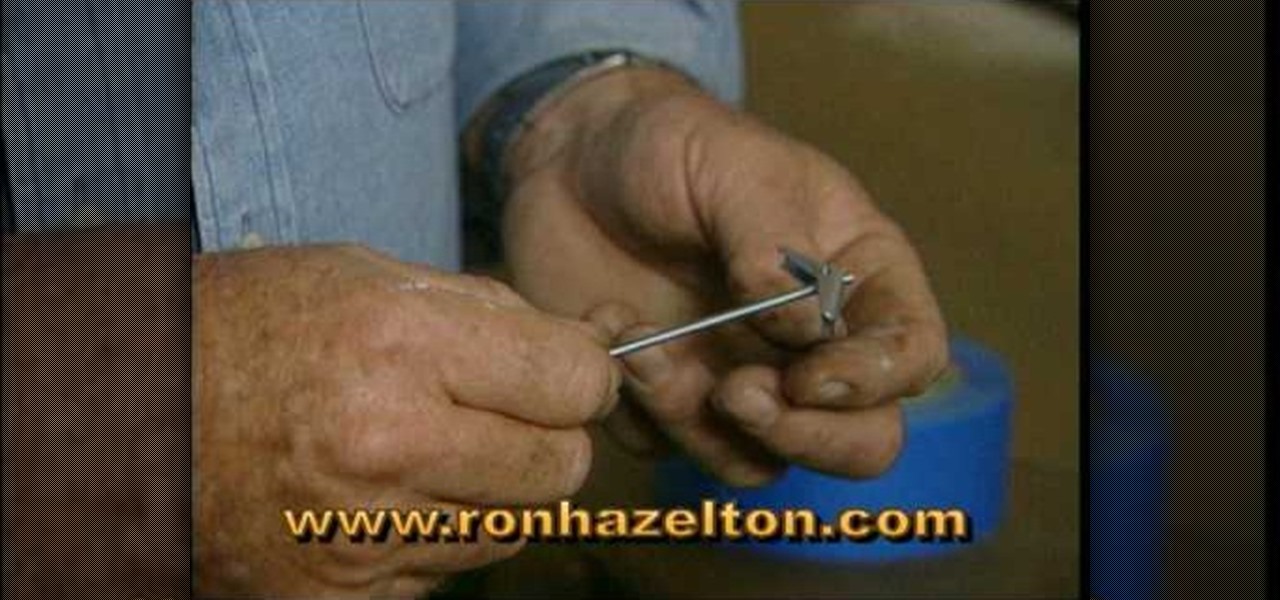
Ron Hazelton shows the most secure way to hang heavy mirrors or art on plaster walls using toggle bolts. Attach a sturdy hanging wire to the piece if necessary. Draw a level line on the wall where the top of the piece will go. Stretch the hanging wire taut and measure the distance between the wire and the top of the frame. A two-bolt system will keep the piece level. Drill two holes this distance below the wall line. Using masking tape prevents the plaster from chipping. Fold the toggle wings...
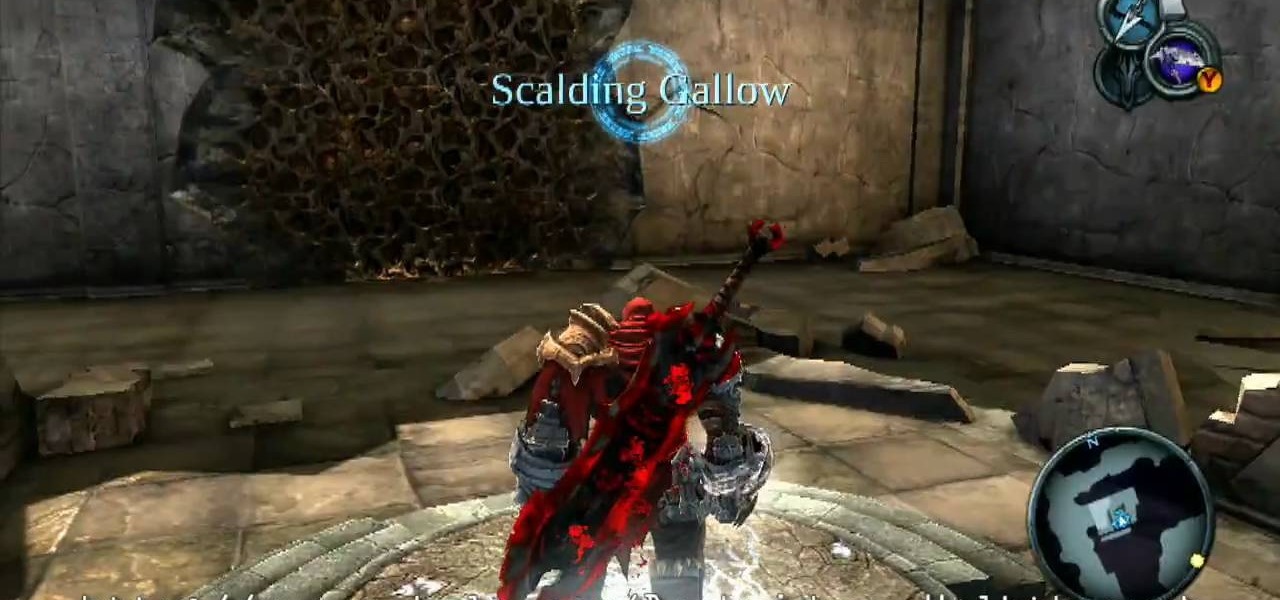
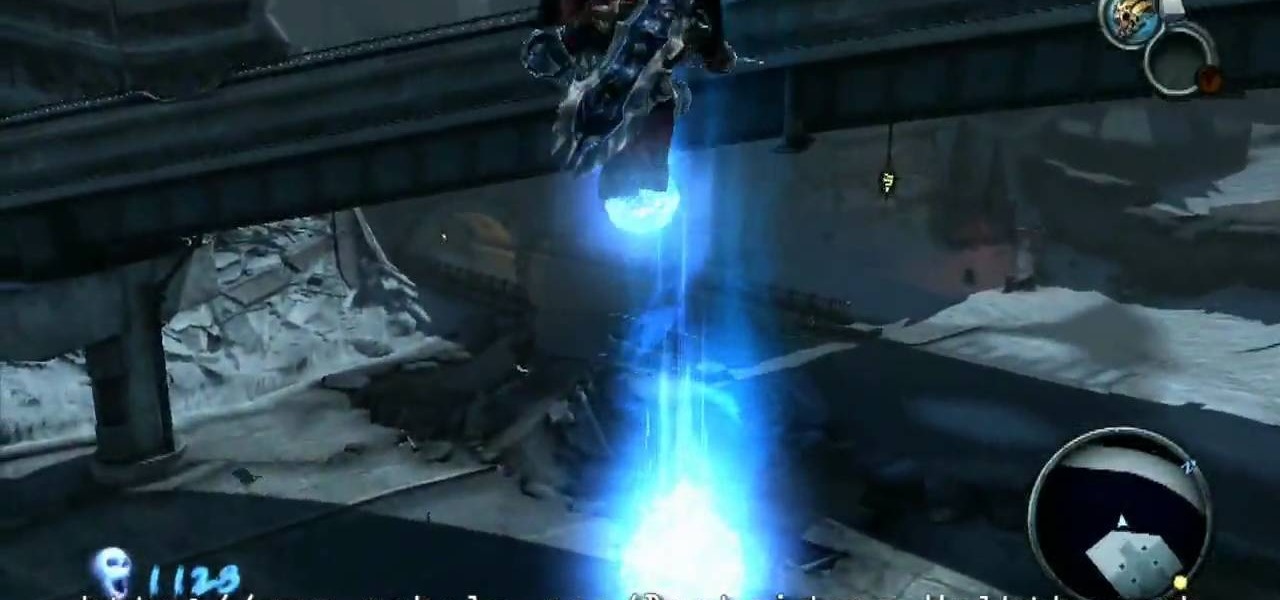
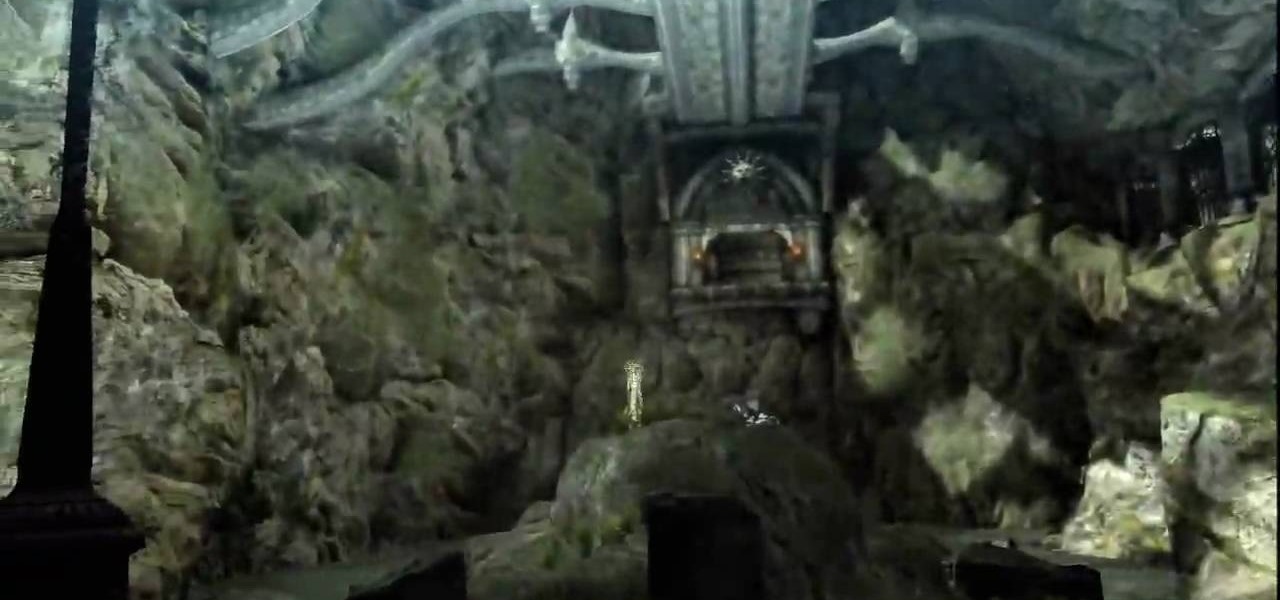
After beating Silitha, you'll have to return its heart. Watch this walkthrough of Darksiders on the Xbox 360. After Silitha's death, you'll find yourself in a cave two levels below where you originally fought her. Use the Crossblade to hit the crystal blade on the rock platform to make it rise and fall through the hole Silitha made. It will go up and down twice. Use the Abyssal Chain to ride it up to the middle level (one below the original) and here you'll find a Soul Chest and an Artifact. ...
Face off against Hellion in this level of the Xbox 360 game Darksiders. In the Broken Stair, you need to find the soul chest and the beholder's key. Upon exiting the Choking Grounds tunnel you'll find yourself back out in the streets of the Broken Stair area. Head up the street and look for the pit along the right side. Drop into it and you'll find an Artifact at the edge of a cliff within this chasm. Head back up to street level and make your way towards the building to the southeast corner ...
In this level on the Xbox 360 game Bayonetta, make sure the bullet enters Balder's head. In Chapter 16 - The Lumen Sage, keep that bullet in line. Father Balder doesn't do much damage, but he tends to stay out of range. When you do have him in range do as much damage as you can. Keep fighting until you get his health meter down to zero and can do a climax attack. For more info, watch the whole gameplay.
Luka will need to fend for himself in this level on the Xbox 360 game Bayonetta. In Chapter 15 - A Tower to Truth, stay close. In verse one, when you start you'll see two statues of Fearlesses (dog-like creatures). Attack these statues and they'll come alive and attack you. For more info, watch the whole gameplay.
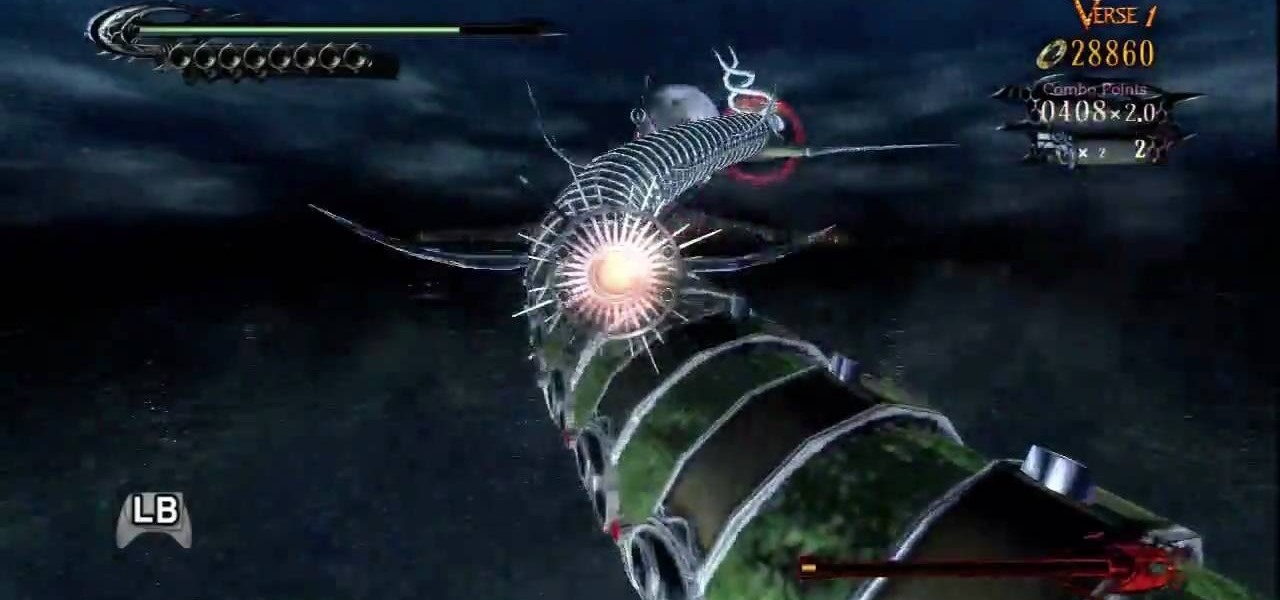
There's only three verses to beat in this level on the Xbox 360 game Bayonetta. In Chapter 14 - Isla Del Sol, be careful, you may not be able to see Jeanne all the time. In verse one, you'll be piloting a missile. Left stick maneuvers, X and Y fire guns, A and B fire guided rockets, triggers evade. You can invert the controls on the options menu. Hold down the fire button, keep shooting your guns at all times. Save your rockets for harder enemies. For more info, watch the whole gameplay.

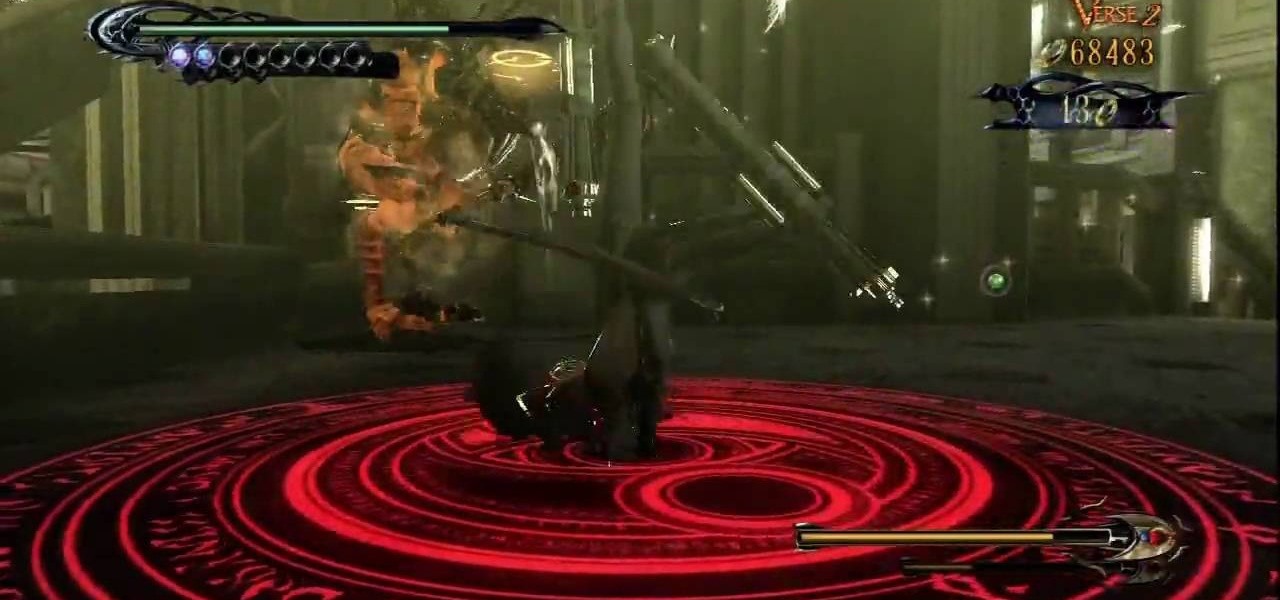
Complete 10 verses in this level for the Xbox 360 game Bayonetta. In Chapter 12 - The Broken Sky, attack the tongue. In the verse 1 fight, there are a few minor enemies to kill. There is also a creature that looks like a wind-dragon, but you can't attack him. To end the fight, just head for the exit. Before you go through, look at the cage at the bottom of the stairs. Inside you'll find an Umbran Tear of Blood. For more info, watch the whole gameplay.

This level is jammed with eleven verses for the Xbox 360 game Bayonetta. In Chapter 10 - Paradiso - A Sea of Stars, get ready for the Gates of Hell. In verse one, defeat the minor enemies here and you'll find three walls you can combo. Each wall will give you one gear for the machine in the center of the area. When you get the third gear you will have to fight Grace and Glory. Kill them to end the verse. For more info, watch the whole gameplay.

Complete five verses in this level of the Xbox 360 game Bayonetta. In Chapter 8 - Route 666, prepare for some hard battles. The first verse fight takes place on the back of a moving truck. There are two enemies with health bars on the same truck where you start. On other nearby vehicles you'll find minor enemies with ranged weapons who will shoot at you. If you fall off the truck you'll be killed. For more info, watch the whole gameplay.
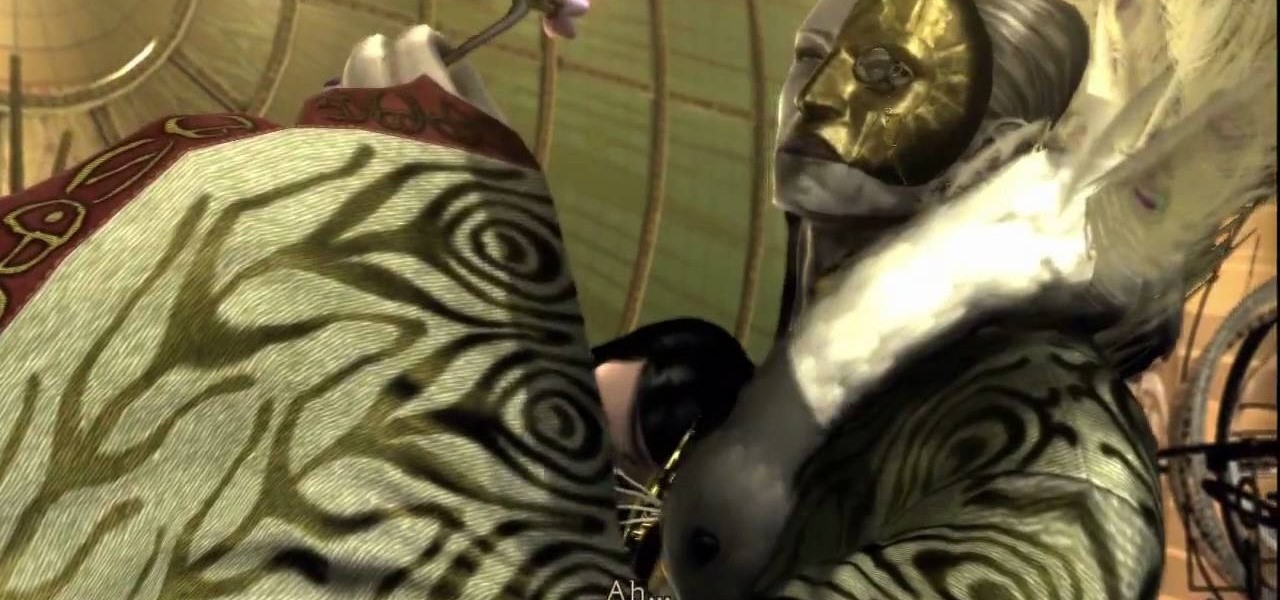
You'll need to complete 9 verses in this section of the Xbox 360 game Bayonetta. In Chapter 6 - The Gates of Paradise, there are plenty of battles to be had. As soon as you start this level, look behind you and you'll find a headstone with one-third of a Golden LP (Odette) inside. Also is this starting area is a book, "Entering Vigrid." Break down the gate here to start your first fight. After the fight you'll get the final thrird of a Golden LP (Odette) and a book, "The Angel's Banquet Hall ...

Team Member Trevor at Bunnings.com shows the average Joe how to render an effective paving job. On this particular day, Trevor guides viewers through simple instructions for laying a nice brick walk. He recommends starting with a foundation of coarse-grade sand, as the coarser grades pack better.

This is a working cheat where you will receive a bear 100% guaranteed, as of 04/17/09. Cheatengine: http://www.cheatengine.org/downloads.php
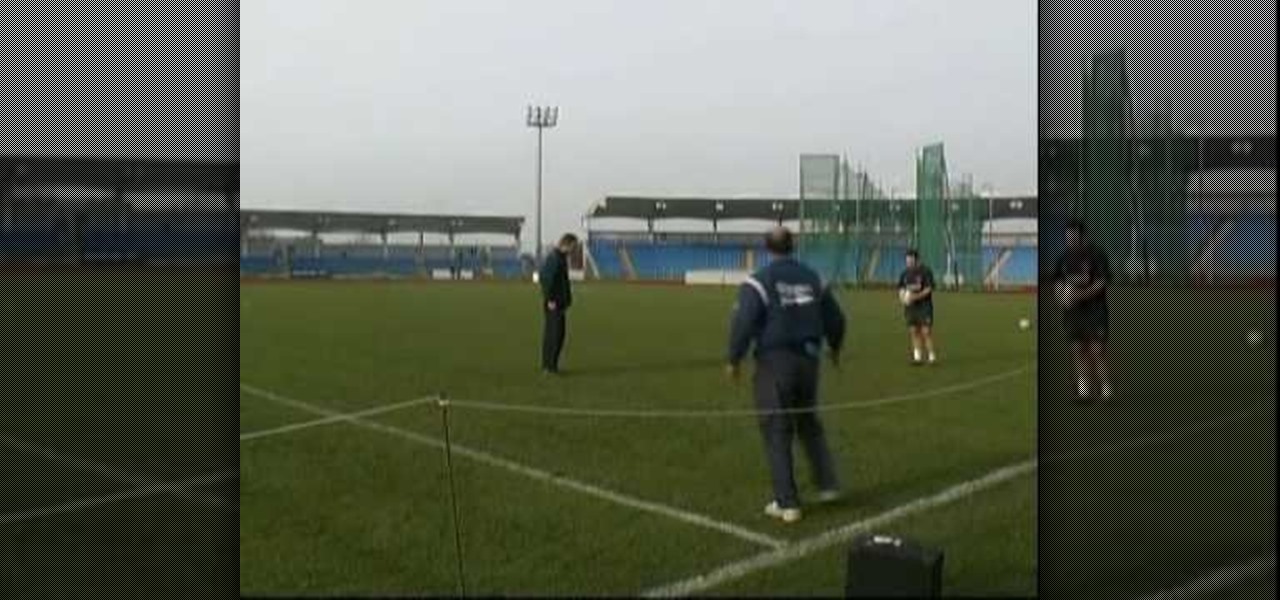
Develop your tackle to increase chance of a turnover on the rugby pitch. If the attacker stretches to the outside and is faster than the defender this is a strategy. Stay as close to the ball as you can. The referee will define you are on your feet and can draw a penalty.

Learn how to do single leg power hops with a stepback lunge twist while holding a weight. Presented by Real Jock Gay Fitness Health & Life.

Nvidia has emerged as the indisputable leader in chips for Level 3 and even more advanced driverless applications, catching some of the world's largest semiconductor makers and automotive suppliers by surprise.

There was big news today from Google, Apple, Volvo, and Nvidia regarding their self-driving efforts.

When we talk about driverless technology, the go-to companies are usually Waymo, Uber, or Tesla. However, traditional automakers like Ford and GM are also staking claims to the driverless and advanced driver assistance spaces.

This tutorial was written with Windows 7 in mind, but the principle applies to all versions starting from 7.

Hi guys. I'm here to go for level 7 now lets get it start but i apologize u all that i posted this very late but now lets rock:

There's a known issue affecting some Nexus 5 users where the speaker volume is fairly low. This could be attributed to a manufacturing defect, which you could possibly fix with a hot needle, but if your built-in speakers and headphones seem muted, don't take your Nexus apart just yet.