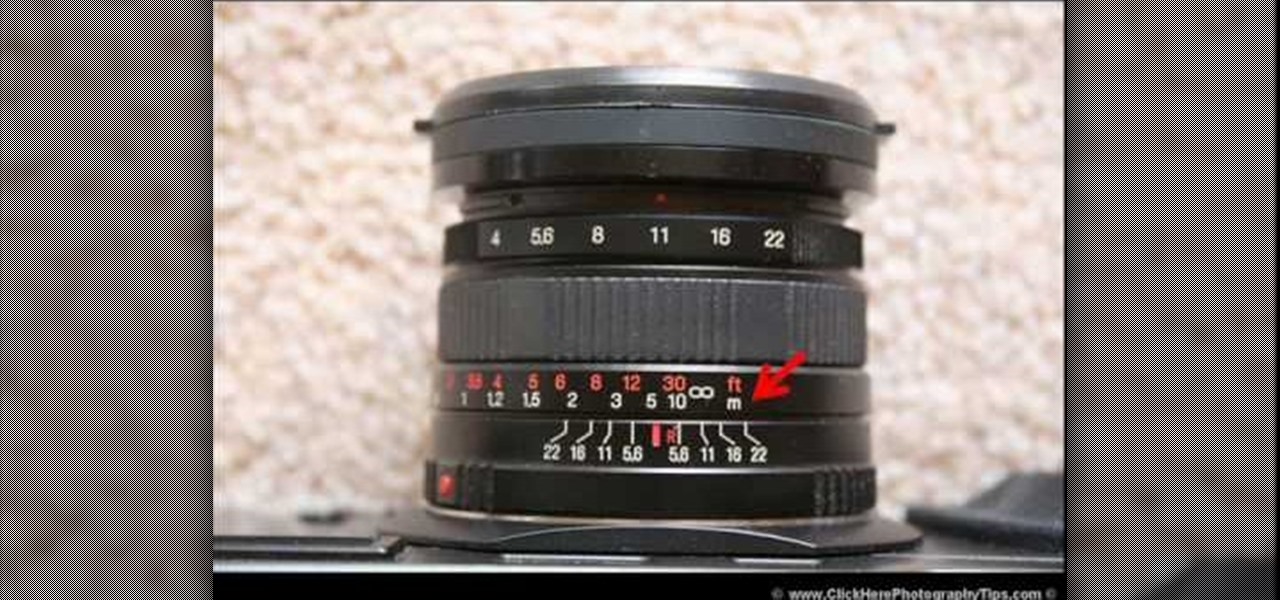
This is a video tutorial showing its audience how to relate the information that is displayed on your camera lens to your actual camera. The first step is to grab your camera and begin studying your lens. Next look at the mm reading on your lens and the aperture reading. These settings will assist you with setting your depth of field. Next look for your focus ring. Your focus ring will allow you to focus your photos in manual mode. Next look for the focus reading, this will tell you how far a...
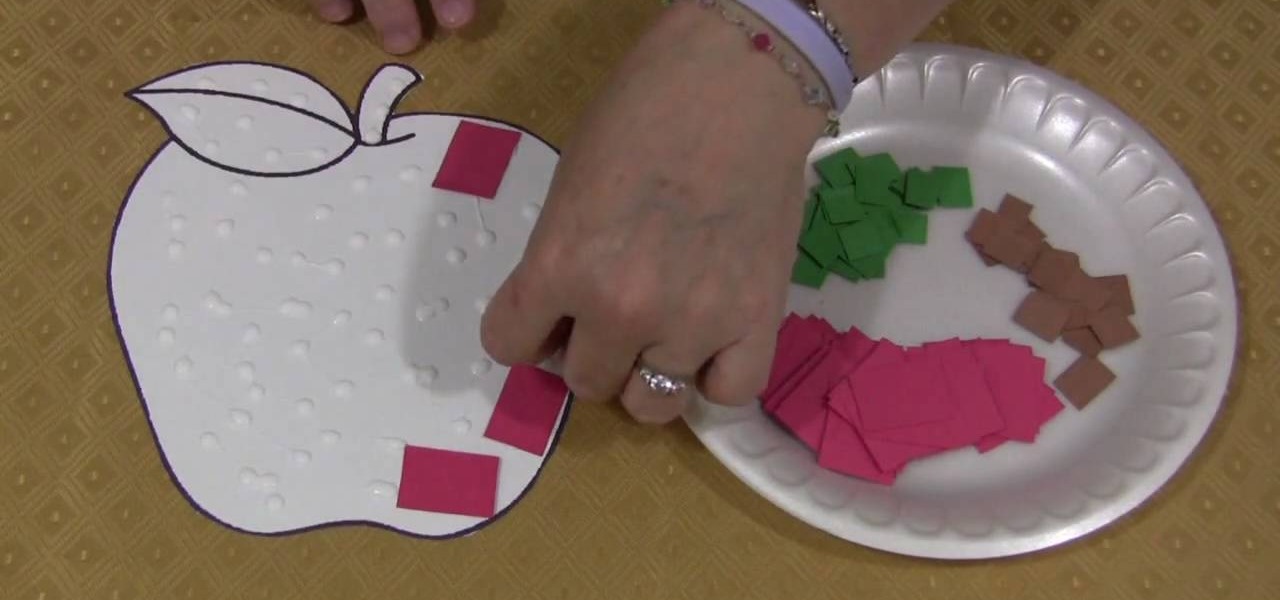
Shelley Lovett of Childcareland shows us how to make a mosaic apple using colored construction paper. This is a fun to do project, which enhances a child's motor skills. The basic outline of the apple is available on the website. It can be printed out and then cut out. Shelley has used red, green and brown colored construction paper, the traditional colors for apple. But she also stresses that we should let children use whatever colors they prefer. It will make the project so much more fun. S...
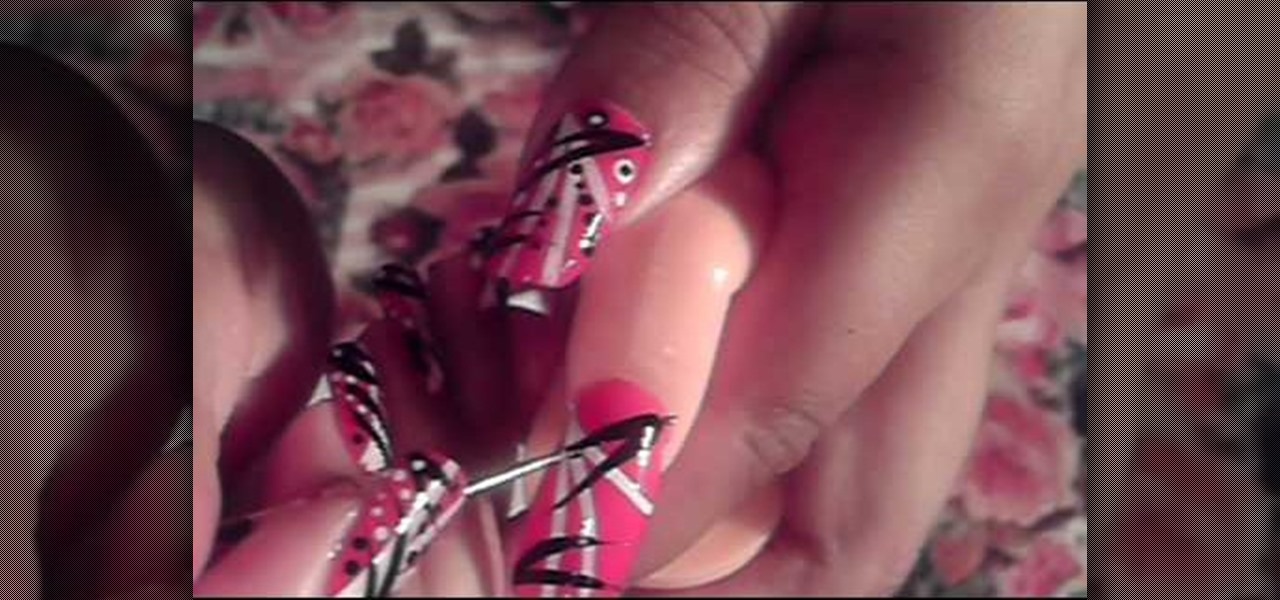
This video illustrate us how to create a sassy red, black and white nail design. Here are the following steps :step 1: First of all remove any previous nail paint.Step 2: Now apply some primer on the nails for long lasting effects of the nail paint.Step 3: Now take red nail paint and apply it all over the nails, let it dry.Step 4:Now take black nail paint and draw fine horizontal lines all over the nail.Step 5 : Now take white nail paint and apply polka dots on these lines as well as on the e...
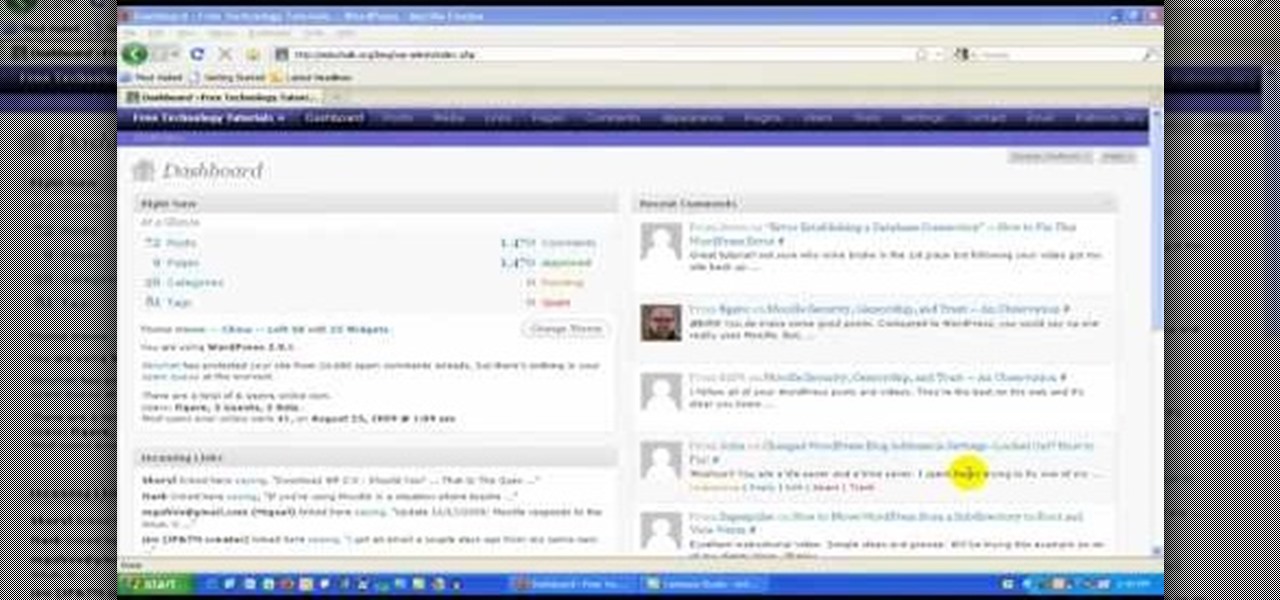
In this video tutorial, viewers learn how to locate and remove spam accounts from a WordPress blog. Begin by logging on your blog and select the User tab. Search through the user list and look for suspicious email accounts. Some keys that reveal spam accounts are: emails that have .ru, poker, Viagra, pharmacy and accounts with more then one dot. Use your common sense to find spam accounts. Select the account you want to delete. Select Delete and click on Apply. This video tutorial will benefi...
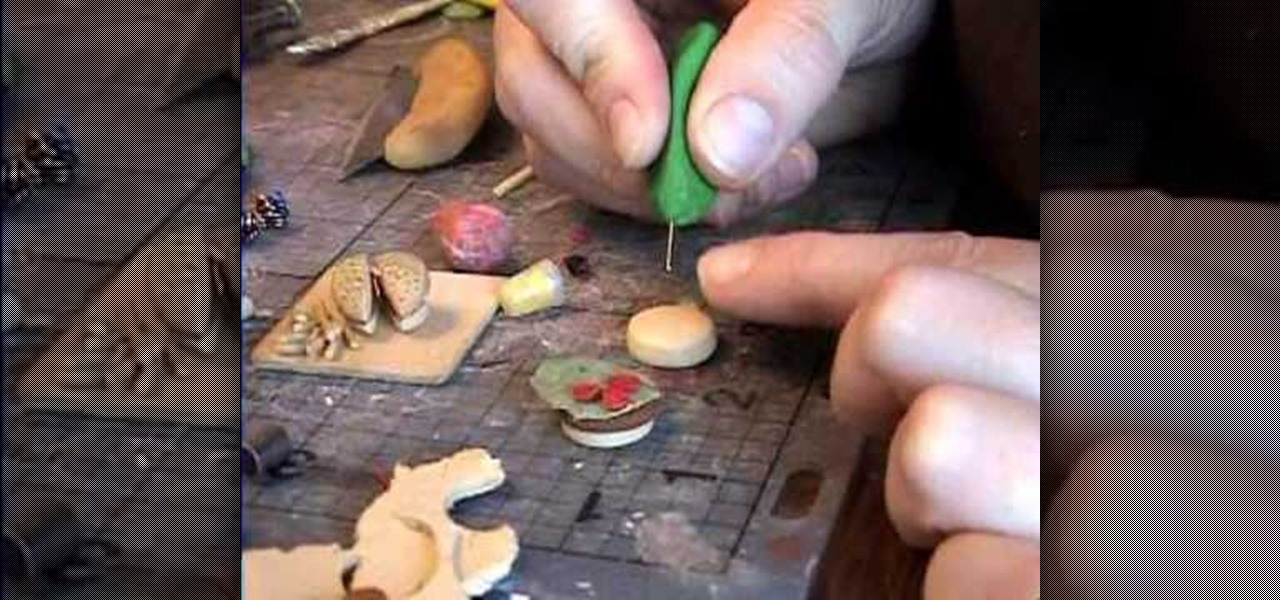
Using multiple layers of clay, garden of imagination shows how to make a hamburger and fries out of polymer clay. This decorative item would then be placed into a miniature dollhouse being displayed as a food item. She rolls a peppercorn on brown clay to give it the texture of meat. She mixes together green and whit clay for lettuce, and uses another piece of clay to ruffle the edges of the lettuce. She uses small round cuts of clay for tomatoes. Using an embroidery needle with a clay handle ...
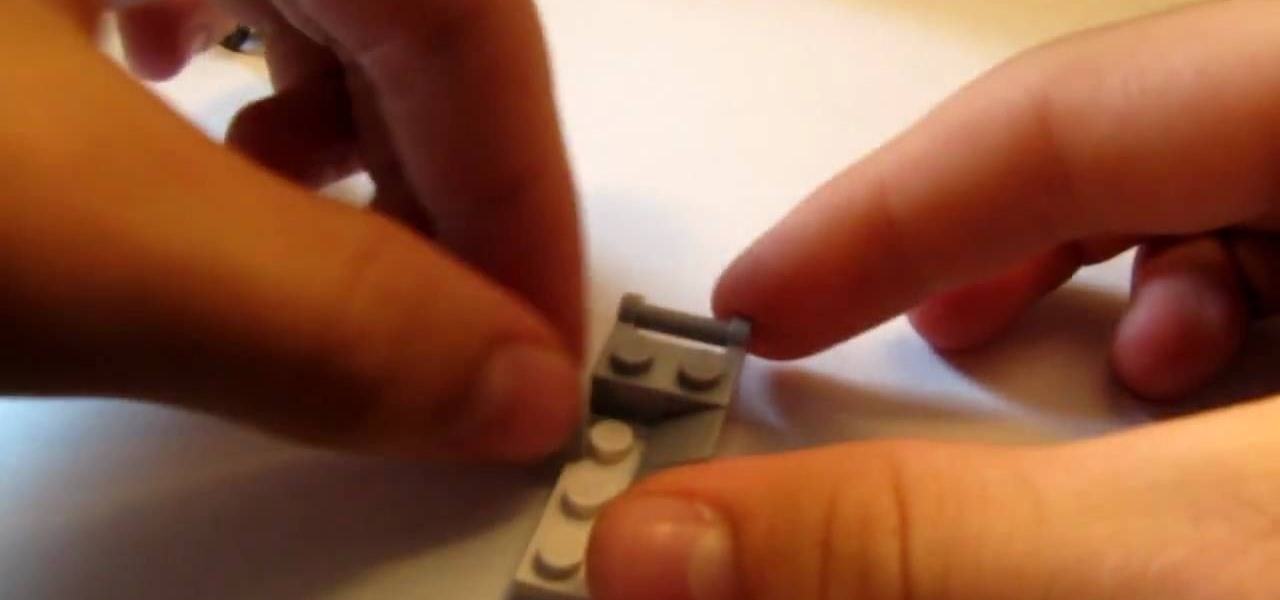
In this video you will learn how to build a LEGO stroller. The materials you will need are 4 of the small slanted bricks, one two by four thin brick, 3 two by 1 thick bricks, 2 one by one thin bricks, 2 one by one by four studded bricks, a small smooth brick, two odd angled smoothed bricks, 4 wheels, one one by two with dot in center bricks, and one one by two handle bricks. Then after carefully assembling the bricks as shown he will show you a example of what it will look like when you're fi...

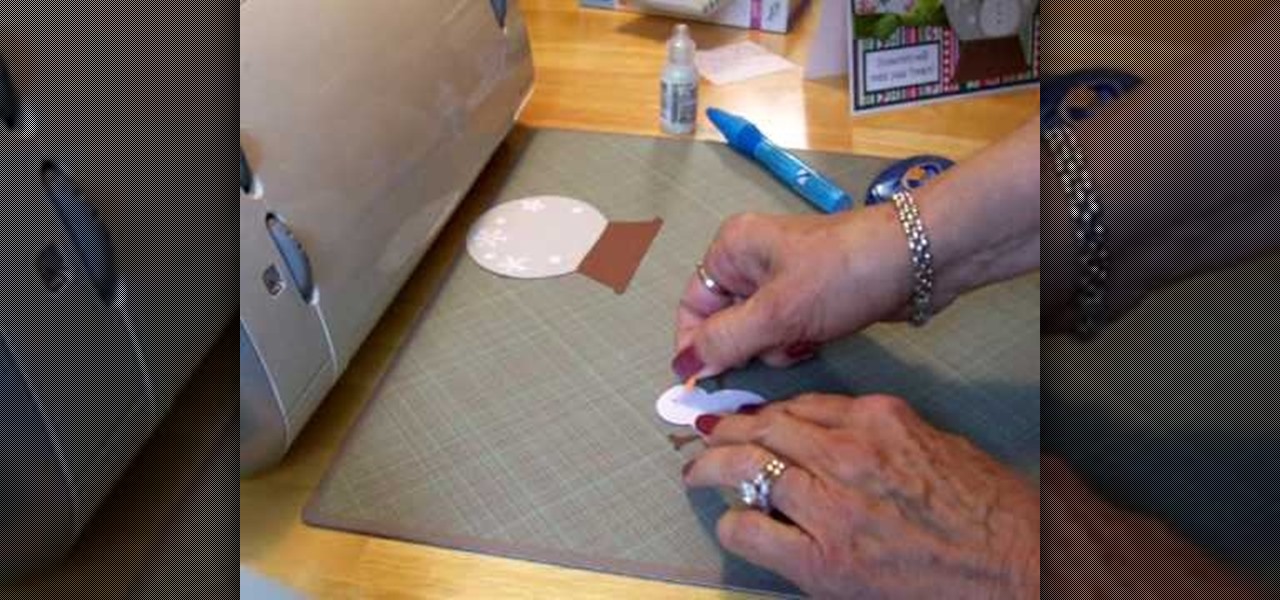
Cardcrazy09 teaches us how to make a Cricut snow globe card. You cut the base of the snow globe in brown cardboard. You then add a layer of white with dots and snow flakes on top. The snowman is done using the same technique - black cardboard and then a white layer on top of it. You add the carrot nose by sticking it on. When all is dry, add the snowman on top of the snow globe, in the middle of it. You add the acetate layer on top of them. The end result looks like the class on a real snow g...

In this video from VvCompHelpvV we learn how to get a free redirecting domain name which would be any one of these: .co, .cc, .co, .nr, and .tk. This is basically a redirection URL that brings you to the same site but with better words o more professional looking. The first way he shows is and then the next one is [http://www.freedomain.co.nr] and the final one he shows is [http://www.dot.tk]. He recommends using the co.cc domain because those get indexed apparently.

This tutorial will give you useful tips that will allow your makeup last all day. Your skin's natural oils are what break down color and make it fade, so your first step is to put a mattifying lotion like salicylic acid and witch hazel get rid of the oil from your skin. Then, add foundation on top of this layer, dotting lightly in order for it to stay on all day. Using these various tips and more tricks shown in the video, any viewer will be able to apply makeup easily which will last all day...

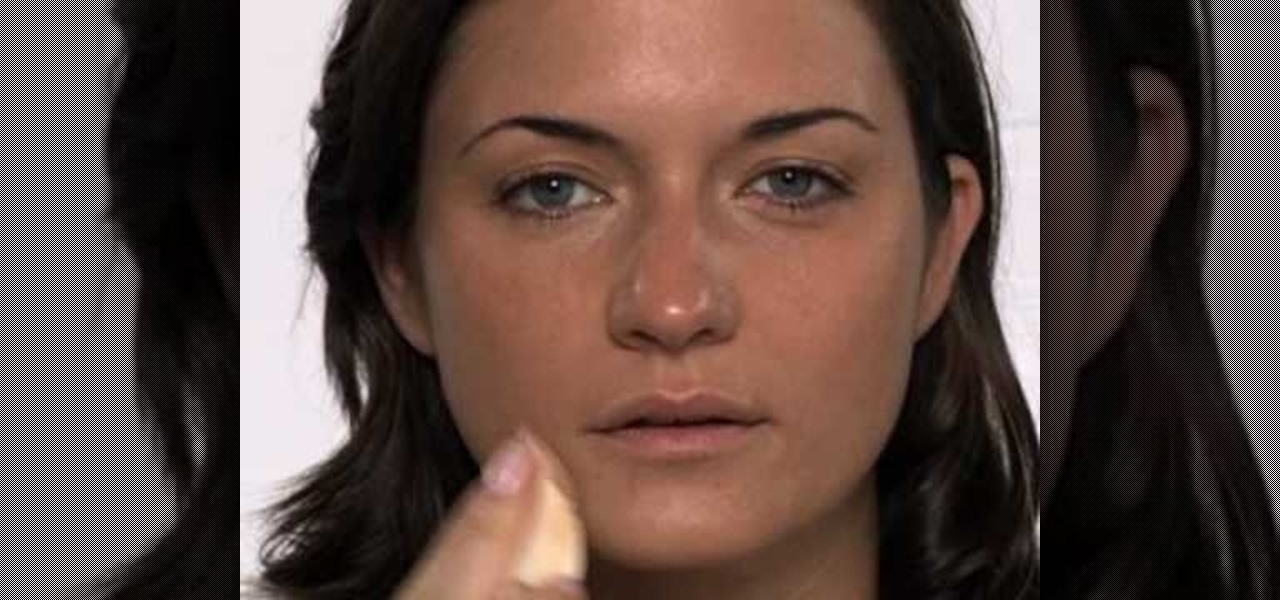
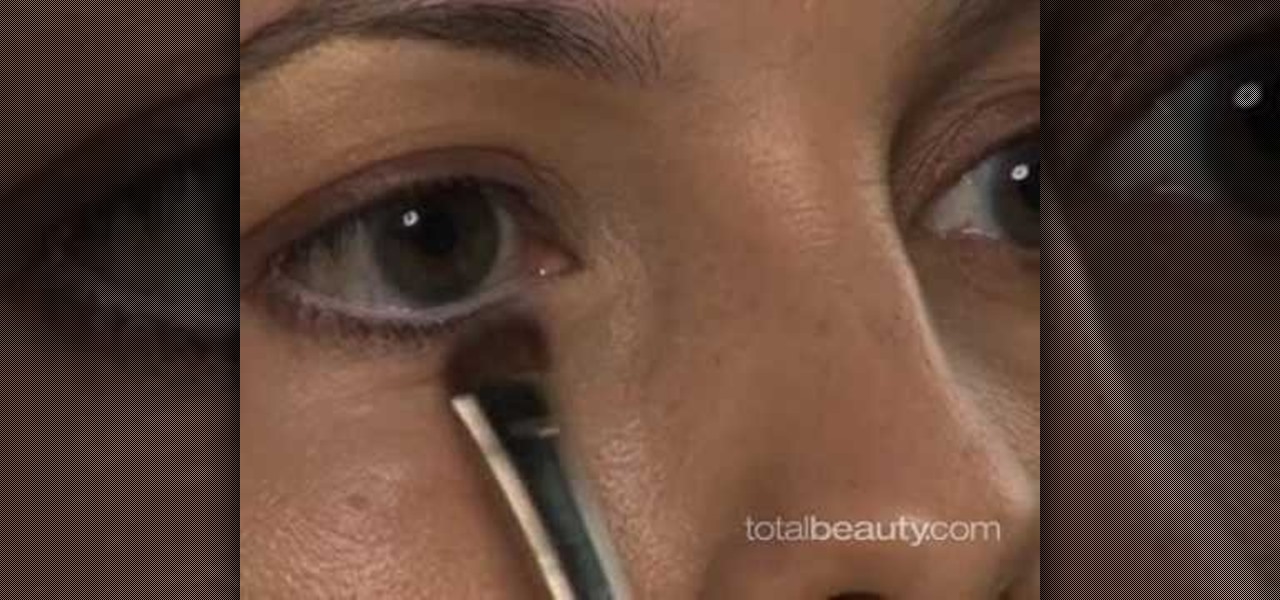
For those of us who aren't morning people and need some help looking fresh and awake, this video provides some tips to help us achieve a better look throughout the day. You can dot concealer along your eyes to get rid of dark shadows and use white eyeliner along the insides of your eyes in order to get rid of the tired, red appearance of your eyes. Applying yellow or gold eyeshadow to your eyelids will give you a brighter look. Using these as well as more tips and tricks, viewers will be able...

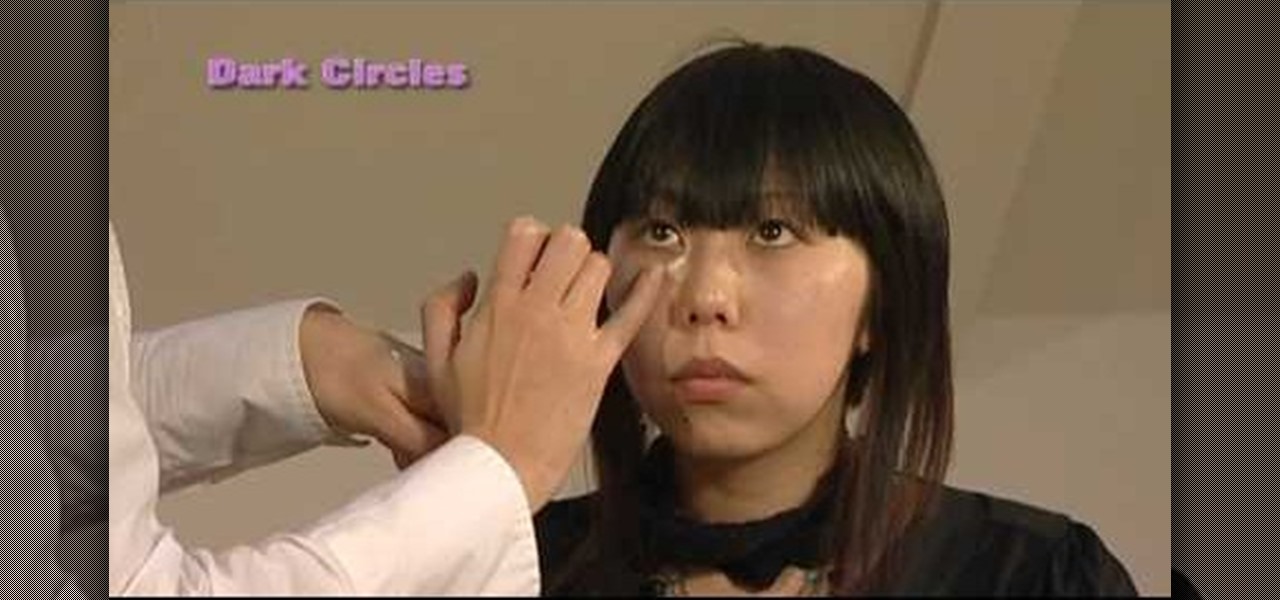
To cover up those dark eye circles invest in a good concealer that is lightweight and of premium texture. You will want to look for a shade that is peachy or pink in tone. Take some of the concealer and dot it onto the dark line only and then blend it in with your finger. Most people also have a red patch at the outer corner of the eye. Covering this with concealer will give the eyes an immediate lift. Applying some concealer is much better than applying a lot of makeup.

With the proper techniques you can have fuller-looking lips. Start by using a flesh-tone pencil to outline your lip line. This adds volume to thin lips. Then fill in your lips with the same flesh colored pencil. This helps your lipstick stay put all day long. Apply two coats of your favorite moisturizing lip stick. Dot your lower lip with clear lip gloss and press your lips together to blot the gloss. Gloss lips look plumper than lips with just lipstick applied.

Need some high quality images to work on? High resolution images are those that are at least 300 dpi (dots per inch)... In layman's terms, high quality. When an image is less than 300 dpi, you will notice a loss in quality and an add-in of pixelation when printed.

While printers are not normally considered to be at the leading edge of computer technology, these devices have evolved at a lightning pace over the years. Before today's low cost, high-quality inkjet and color laser printers, we used low-quality dot matrix printers and slow laser printers where quality and performance of printing was often questionable. Additionally, documents that looked correct on screen often came out looking differently on paper, due to differences between what the scree...

Using just the airbrush in MS Paint you can make a cartoon dog on your computer. Start off by making a circular shape using the airbrush, keep at it until it is dark and prominent and then color in the lower half of the circle, this is the nose. Now start making a line from the bottom of this circle downwards, slowly start curving the line at a ninety degrees angle. At the end of this line attach a semicircle to it so that it is perpendicular to the line. Above this line also make three small...

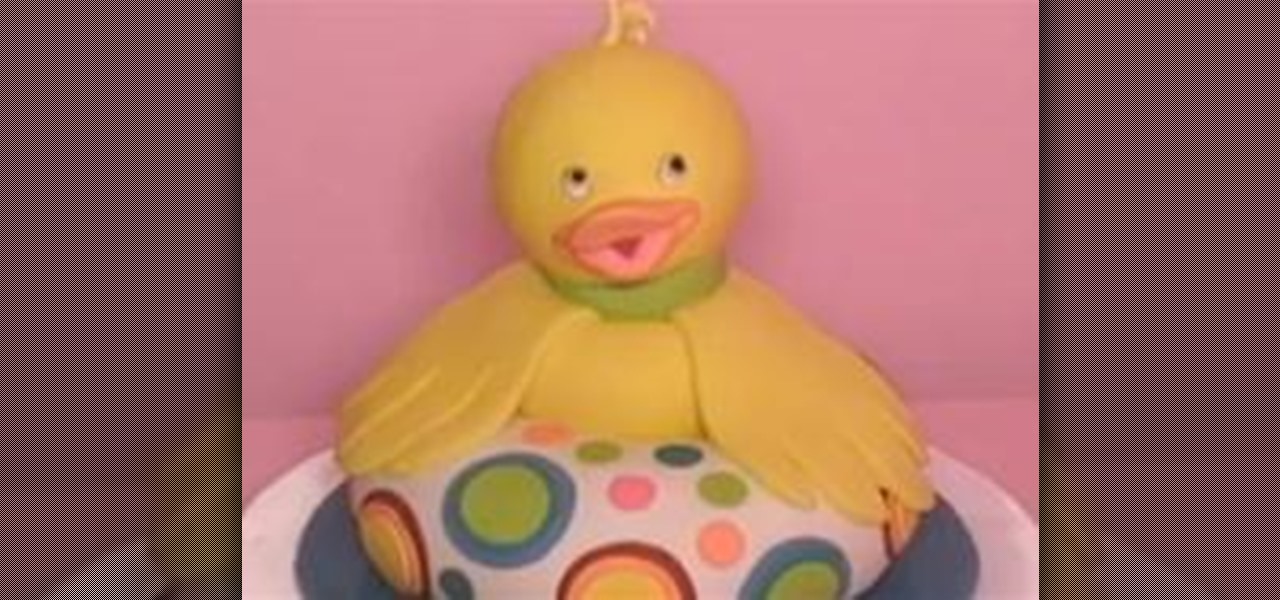
This adorable 3D duck cake cake is a great way to celebrate your baby's birthday, while amazing the whole family! In this video, you'll learn about carving a cake, covering it with rolled fondant, and decorating with polka dots. You'll also learn about modeling a 3D duck with fondant and gum paste. All the details are included—head, eyes, and beak. Download the wings template here.

In this video we learn how to putt in World Golf Tour. When putting, you need to determine where and how hard to hit your putt by reading the green. Click reverse to see the putt from behind the hole. The severity of the break is shown by the dots on the grid and how fast they are moving. Next, read the slope of the grid by looking at the colors on the green. The pointer will also tell you how much uphill or downhill there is on the putt. Then, adjust your pointer to where you want to hit it ...

Update your cheats on your R4/M3 card

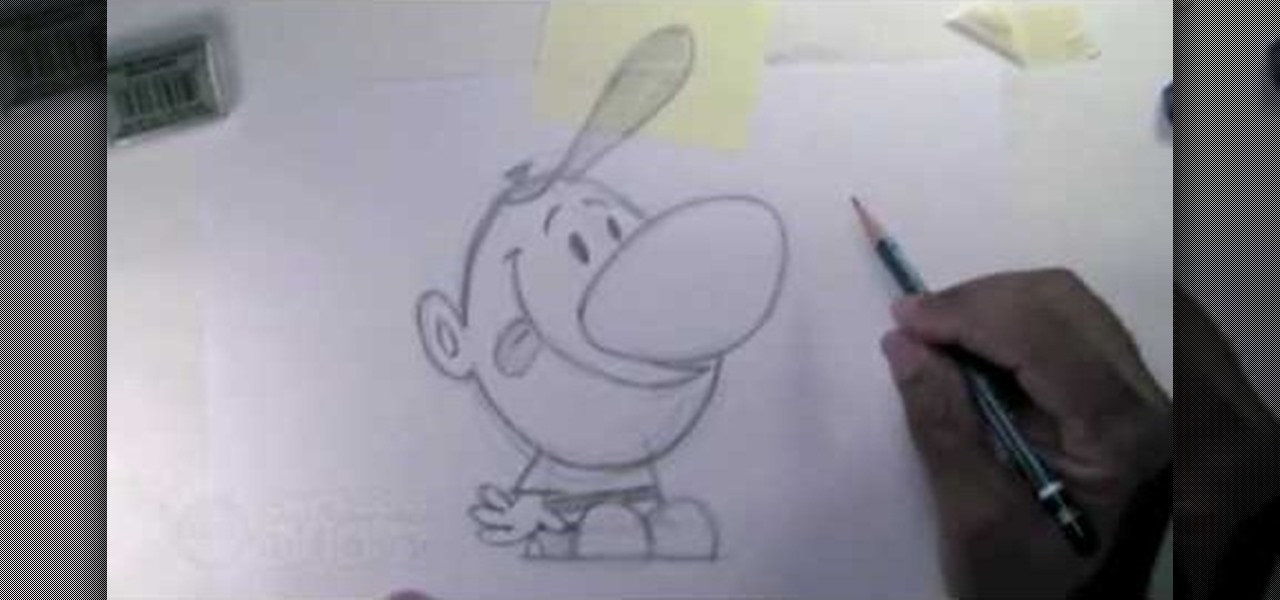
In this video, we learn how to draw Billy from The Grim Adventures of Billy & Mandy. Start out by drawing the egg shaped head with a pencil. From here, sketch on the body by using a block shape then draw the shoes as simple half circles. The arms and hands will be hanging to the sides. Now, draw on the huge nose in the middle of the circle. Attach the mouth to this and draw it all the way up near the eyes, which are simple dots. The brows are simple slashes. After this, add in the minor detai...

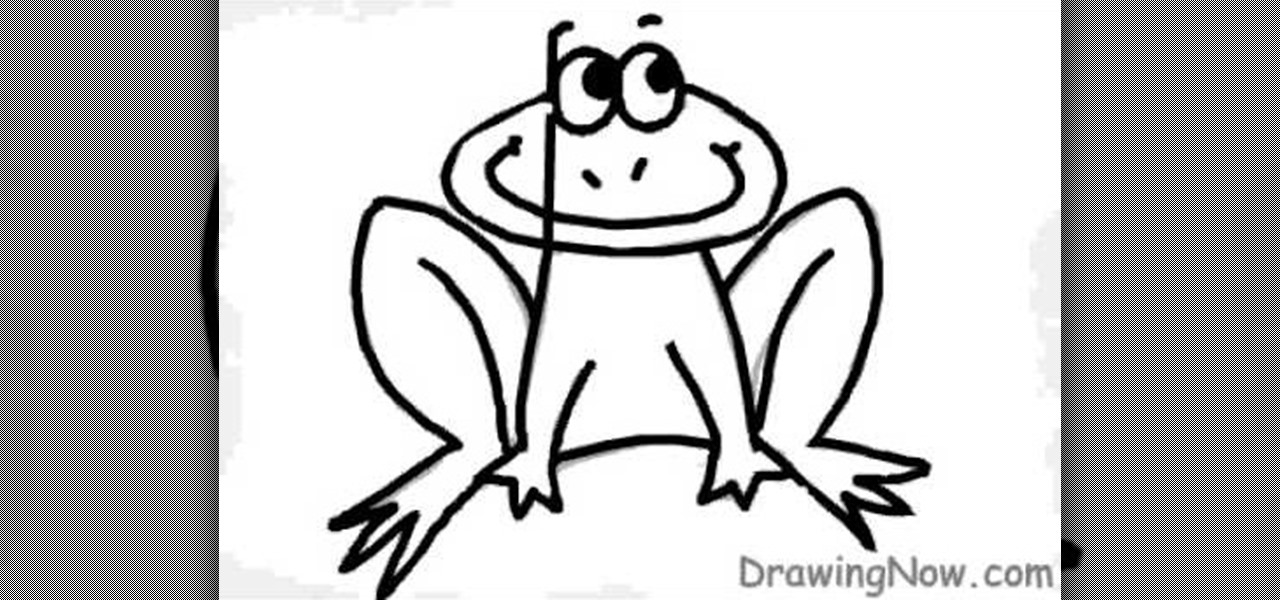
In this tutorial, we learn how to draw a cartoon frog. First, draw an oval fro the face with two small circles sticking up. After this, draw the outline for the legs, arms, and body. Then, draw on the eyes, nose, and a big smile. Make sure to make the toes on the bottom of the feet. After this, erase any background lines and start to add in some color. Use green and dark greens to shade the sides and middle areas on the frog. Then, add dots to the legs to give it some character. After this, c...

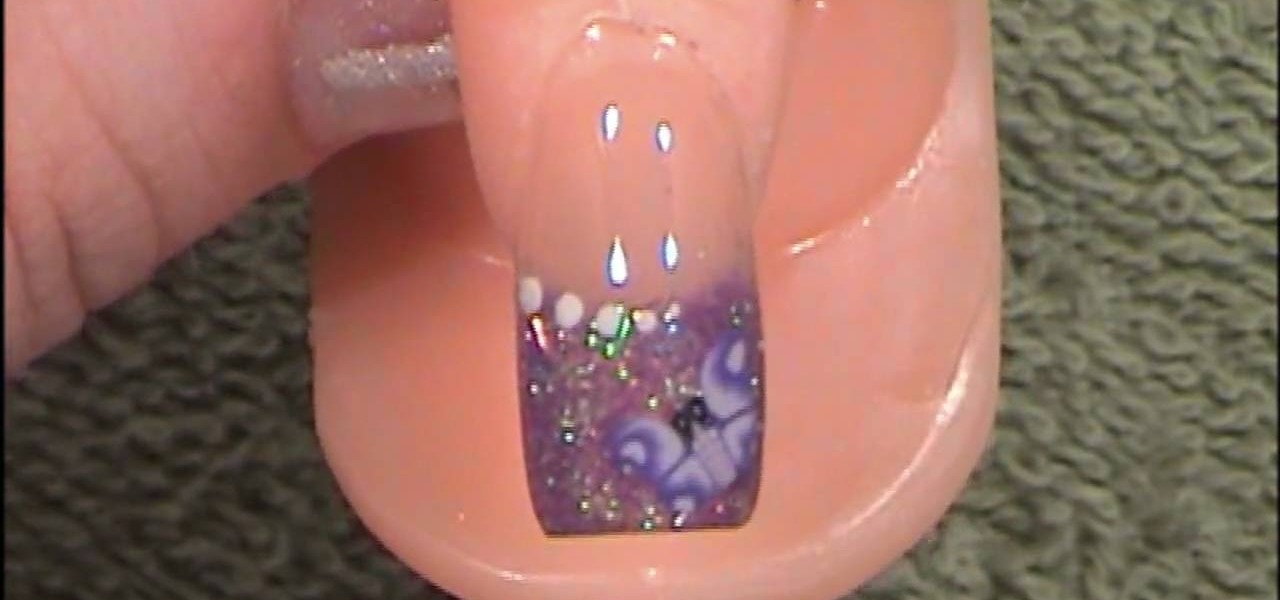
In this tutorial, we learn how to create purple glitter with butterflies acrylic nails. To start, you will apply purple glitter acrylic to the top of the nail. After this, you will let the nail polish dry and then paint on four dots on the middle of the nail where it crosses into the clear part of the nail on the bottom. After this, paint on a butterfly to the corner of the nail or apply a butterfly applique. When this is finished adhering, you will be able to paint on the clear gloss to the ...

Most gals (older than 10) avoid dressing up like Minnie Mouse because, to be honest, you can easily end up looking quite ridiculous. Between the foam cartoon hands and the mouse ears with a polka dot bow in the center you really just end up feeling and looking like a sad clown.

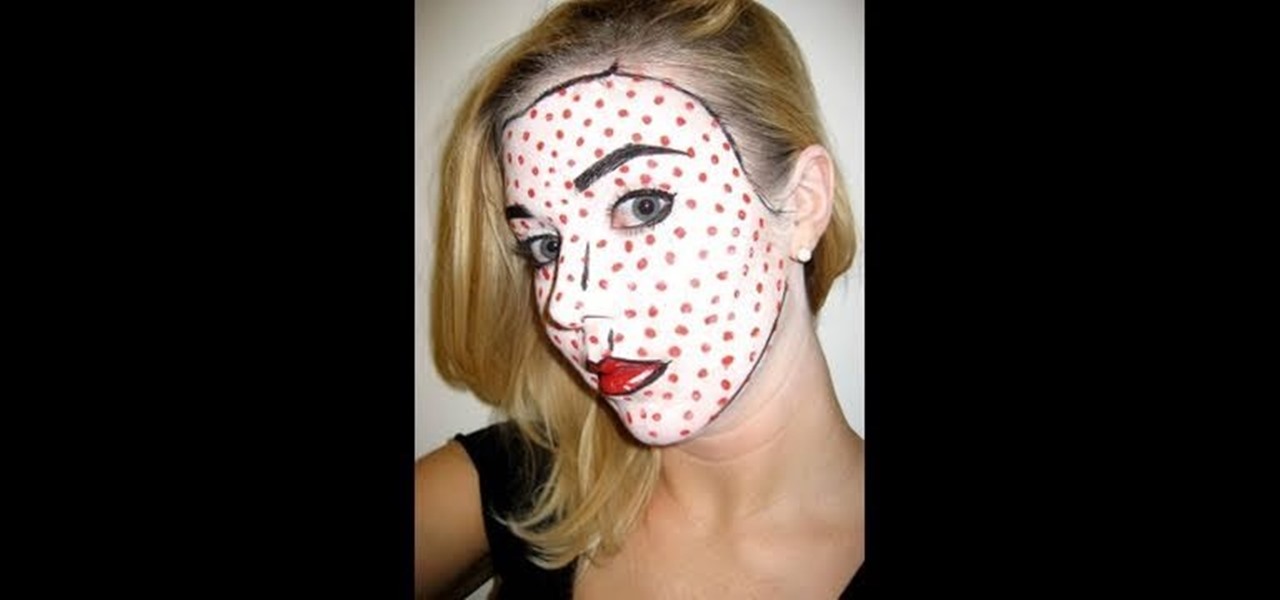
Want to go as a comic book character this Halloween? Then forget about the cheesy spandex pants and ridiculous headpieces. Dress up as a comic book character literally ripped off the pages by creating this comic book look inspired by artist Roy Lichtenstein's "Crying Girl."

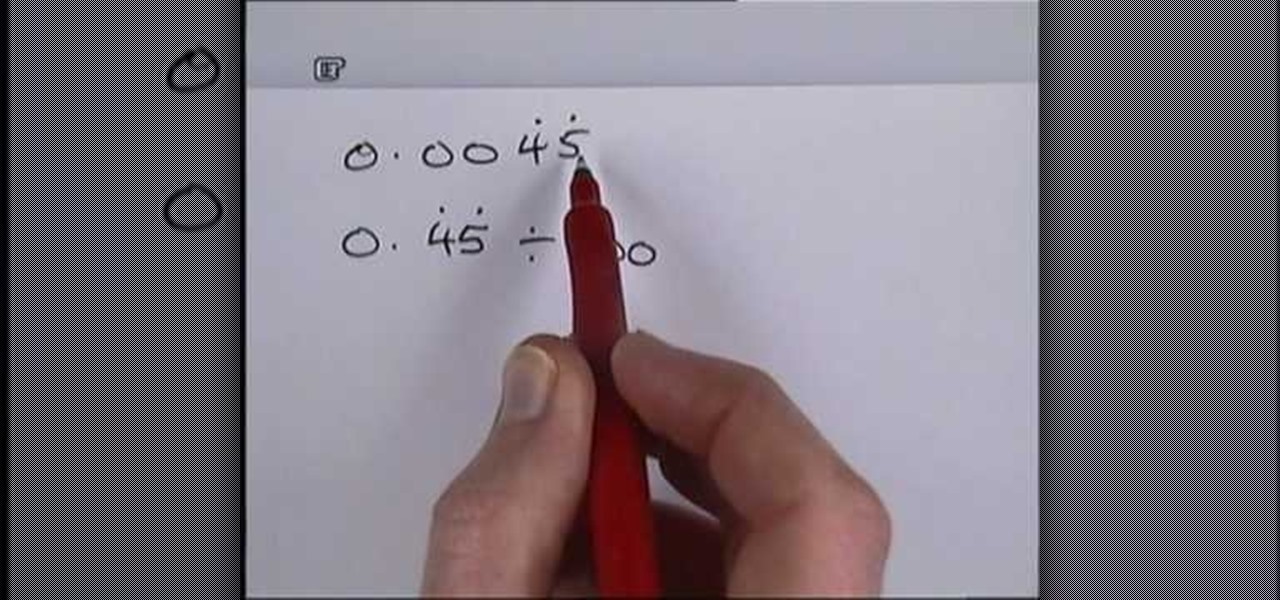
In this video we learn how to convert recurring decimals to fractions. Start off by writing out the decimal with the dot next to it to show that it's recurring. This means that the number goes on forever and doesn't stop. To convert this to a fraction, write down the number as the numerator. On the bottom you will put the number 9 always. Now, you can divide these two numbers with each other using a calculator. Once you do this, you will get the correct answer. Once you divide it out, you wil...

In this tutorial, we learn how to draw Rock Lee. First draw a circle for the head, making a chin underneath and using lines to reference where the facial features will go. After this, draw eyes that are slightly aligned to the left hand side of the face. The right eye should be larger than the left, both off center. Then, draw two dots for the nose and a "u" shape for the mouth. After this, draw a larger circle around the head and then draw in angry eyebrows above the eyes. Start to erase the...

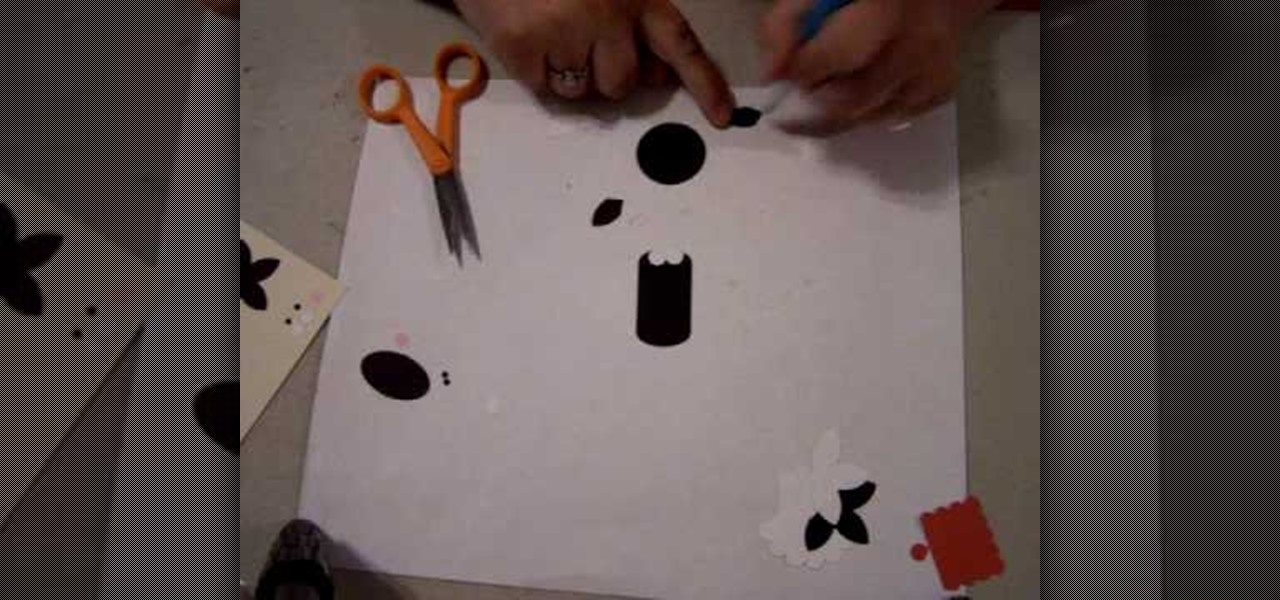
In this tutorial, we learn how to make a cat punch using Stampin' Up! products. First, you will need to use the: circle scalp punch, circle punch, oval punch (black and white), and five petal punch (black and white). You will also need two small circles each of black and pink for the eye and cheek area. Once you have all of these punched out, you will be able to assemble the head. Use the circle as the head and apply the white and black circles in the middle for the eyes. Use the flower punch...

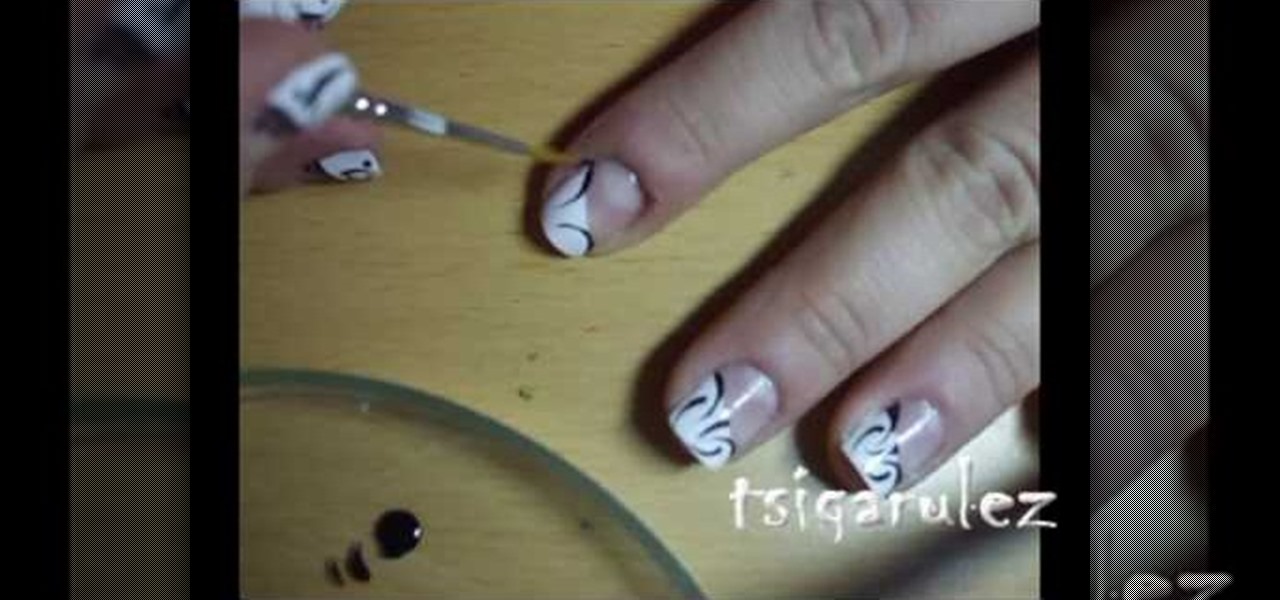
In this video, we learn how to paint a black and white French design for short nails. First, paint a diagonal stripe down the nails with white nail polish. You may need to apply two coats of white polish to get a strong color on the nail. Let this dry, then grab a very fine brush and use black nail polish to paint a design onto the white part of the nail. Apply dots and different lines to make the pattern turn out how you want it to be. When finished, you will have a beautiful nail design tha...

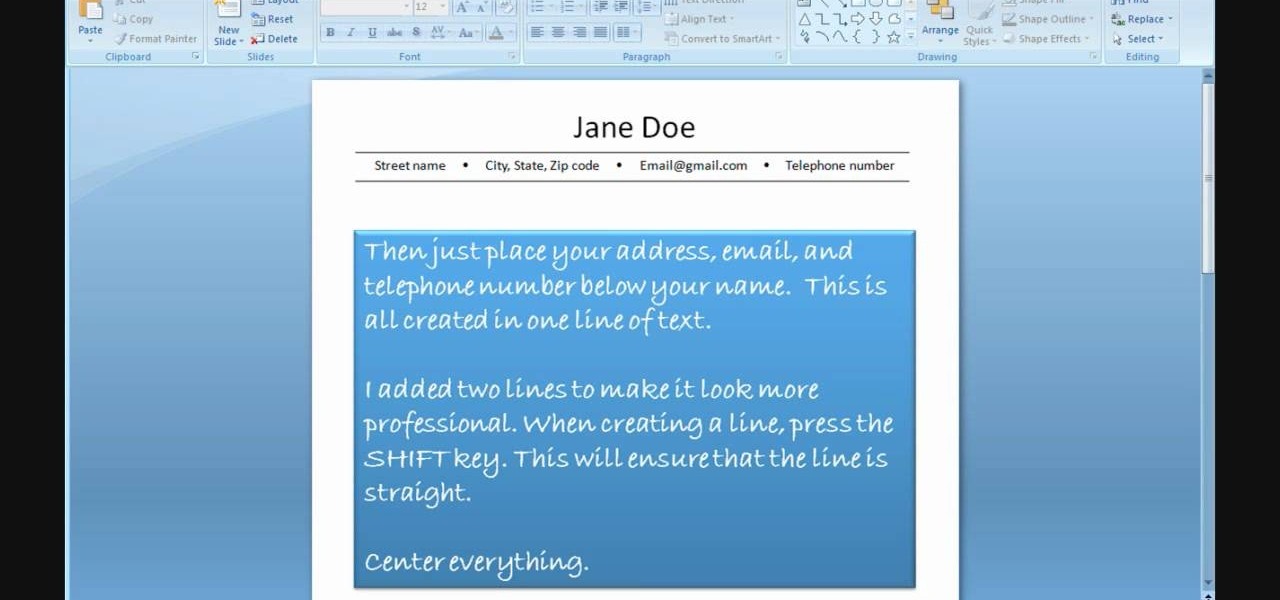
In order to use PowerPoint to create your resume, you will need to select "page setup", in order to change from landscape to portrait. Insert a text box in the center of the page and type your name in it. Next, click on the "format" tab. Next, select your alignment from the alignment center.

In this video, we learn how to get a Twilight New Moon Cullen inspired makeup look. First, take some red lipstick and make two red dots on the neck where you would have gotten bitten. Then, drag the lipstick down to make it look like blood going down the neck. After this, apply fake fangs to the teeth to give the ultimate vampire look. You can also apply a light foundation to the face to give yourself a pale glow, just like the Cullens have. You can take this further by applying dark eyeshado...

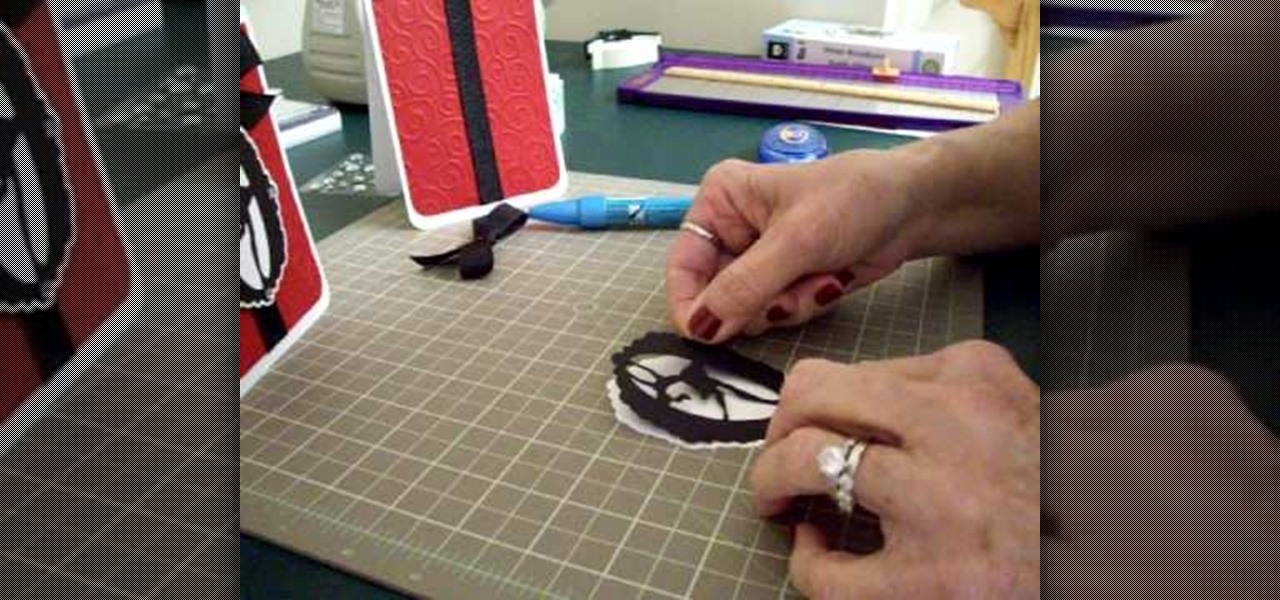
Make a simple, elegant card using Winter Woodland. Go to page 50 of manual. Cut tag and skater at 3 inches. Use 8 1/2 x 11 cardstock and cut vertically to 4 1/4 inch. Fold from top to bottom. Round corners of cardstock and red matte. Make red matte 4x5. Run red matte through cutter bug using swirls folder. Insert between two plates and run through. Place black grosgrain ribbon down the center. Stick to front of card. Glue skater to background. Place square crystals around skater. Create and p...

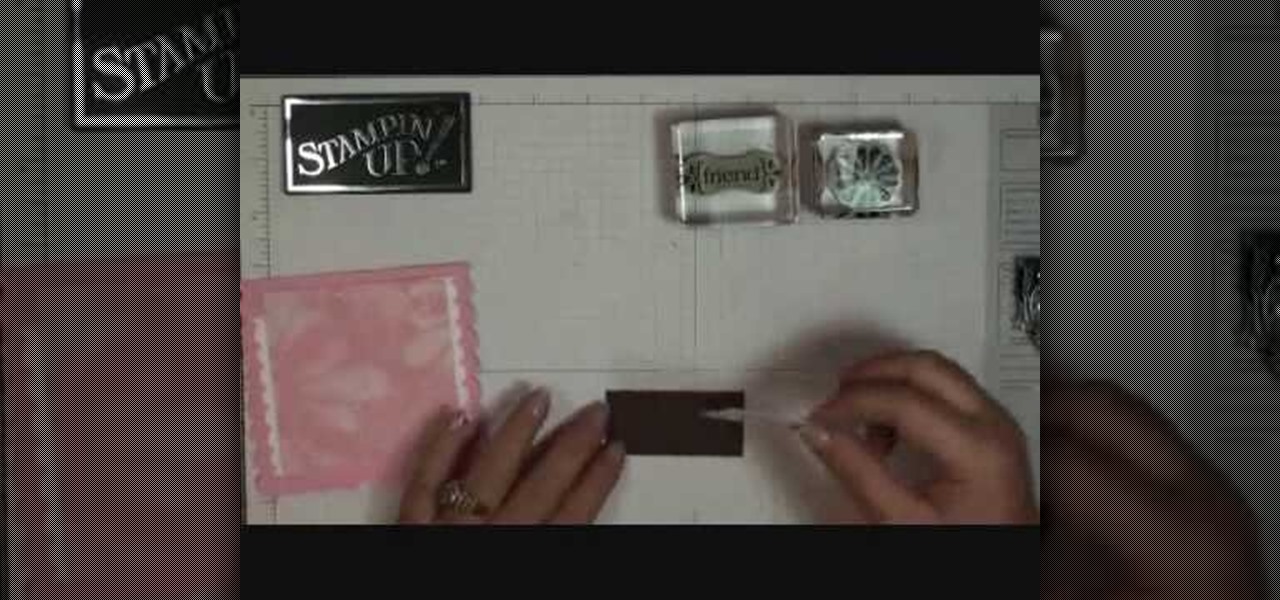
In order to make a scallop square card with Stampin' Up, you will need the following: a big shot, a large scallop square # 115950 Bigz Clear die, stamps, adhesive, design paper, mini glue dots, decorative ornaments, and card stock.

In this tutorial, we learn how to paint your nails with blue glitter and black nail polish. You will need: blue nail polish, clear nail polish, blue and black acrylic paint, chopped thin brush, glitter, dotting tool, and a small flat brush to do this. First, paint the tips with blue polish, then use the small brush to stick the glitter onto the nails, patting it on thick. Next, add a clear coat and let the nails dry completely. Now, put the chopped brush into black acrylic and make a swirl de...

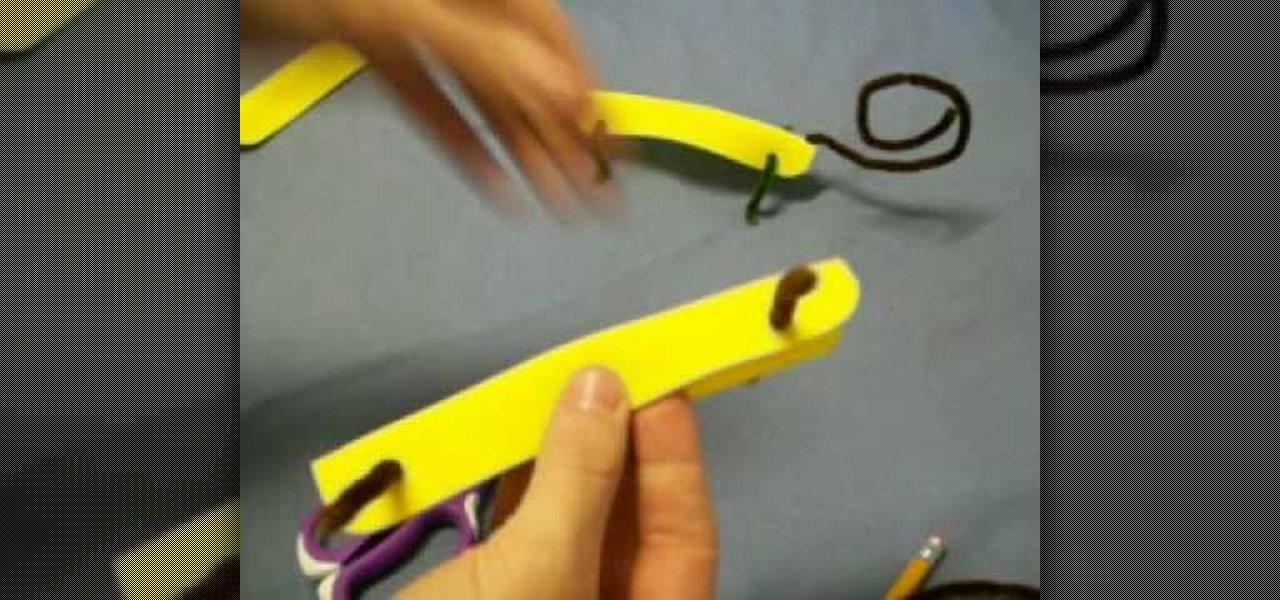
In this video, we learn how to craft a lizard out of foam and pipe cleaner. First grab your piece of foam and poke a hole into the front of it going through it, then through the back going all the way through. Next, poke the pipe cleaner through the holes so it looks like four legs. After this, poke a hole in the back to string the tail through. Poke a hole through the front and place a red pipe cleaner inside of it with a curl at the end to make it look like the tongue. To finish, draw on tw...

In this video, we learn how to write the letter "b" in calligraphy copperplate. Start off with a piece of lined paper and your calligraphy pen. Create a smooth curved line going down, with a dot that is at the end of the line. After this, create a swirl on the left hand side of the line, then curve it out to make the top of the letter of the humps on the "b". Make sure you grab ink often, especially when you want to make a bolder line. Continue down to make the humps of the letter, then when ...

As you'll quickly learn in cake decorating, the outcome and success of your designs stems entirely from the type of tip on your icing bag. Tips range from star shaped to round to square and everything else imaginable, all to give you a limitless variety of ways to decorate your cake or cupcake.

This video tutorial belongs to the Arts & Crafts how category which is going to show you how to do back stitch when embroidering. This is really simple and easy to do and takes no time to learn. For starting, mark five dots on the cloth. Then you stitch from point 1 towards 5. First you pass the needle from under the cloth through point #1, pull up the thread and pass it down through point #2. Now pull the thread up through point #3 and pass it back down through point #2. Then you pull the th...

In this tutorial, we learn how to make eyes for clay animation puppets. First, drill a hole inside of a block of wood, then insert a bull so it fits snug inside of the hole. After you have done this, use a drill to make a hole that goes half way down through the pupil. Now, use paint to fill in the hole where the pupil would be at. Push the balls into clay to hold them in place while painting. Make sure the dots you have on both eyes are even. When finished, paint a black circle around them, ...

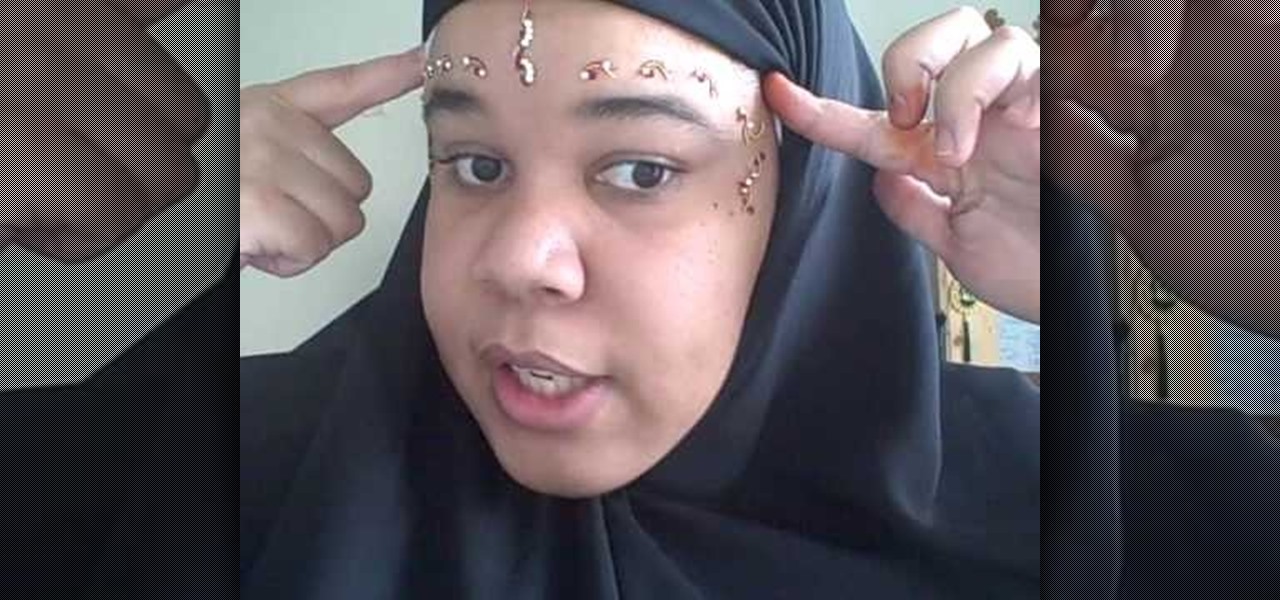
In this tutorial, we learn how to wear a peer bridal bindi. First, line a pencil with your nose, and mark the points where the points are parallel to the eye on all sides. After this, remove the bindi from the package and place the middle section onto the middle dot. After this, remove the other pieces and place them in the spots that correspond to the other marks. Continue placing these on until you have applied the entire bindi. You may need to use bindi glue to help apply these if you are ...

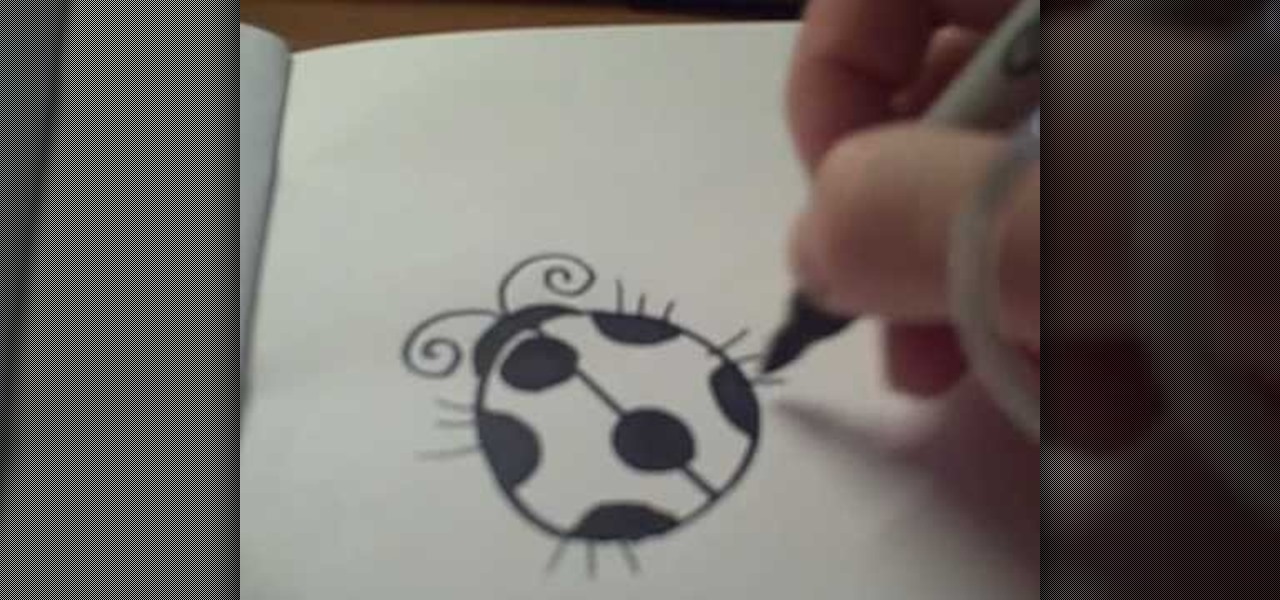
In this tutorial, we learn how to draw a cartoon ladybug. Start out by drawing a circle, then draw a line down the middle. Next, draw and color in some dots all over the circle. After this, make a head by making a half of a circle over the straight line. Now, add antennas to the head and color in the head. You can also add in legs to the ladybug if you prefer, or keep them off. When you are done with this, you will have a cute ladybug in just a few minutes. This is a very easy picture for kid...

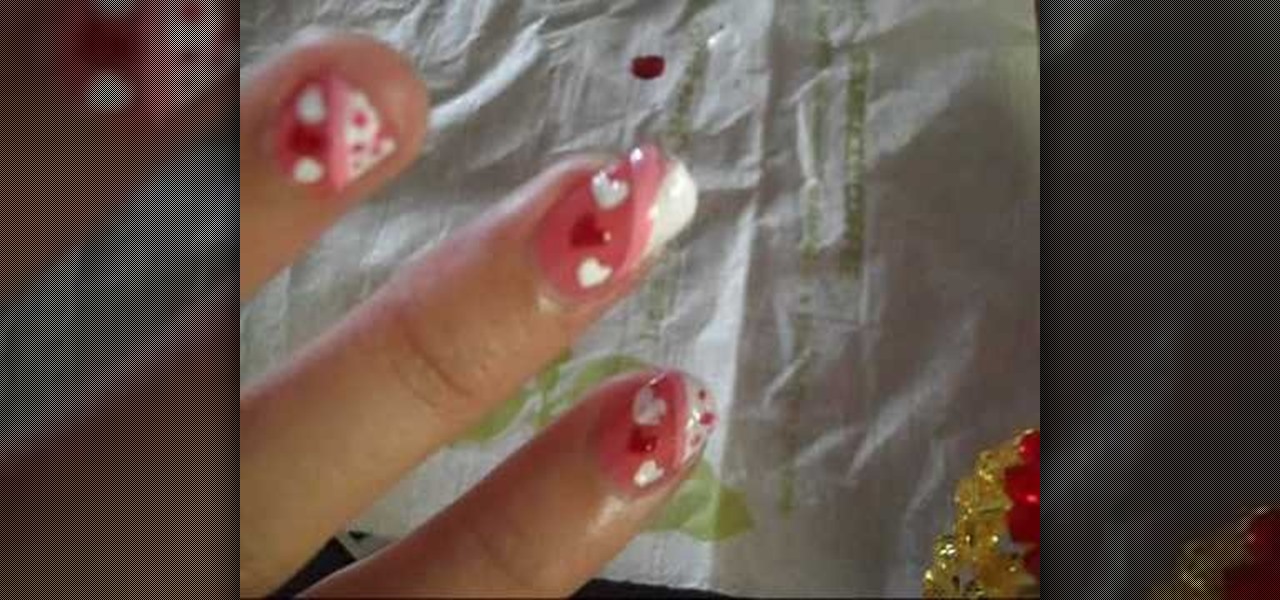
So you're not a wee little kid in elementary school anymore and you miss handing out those heart sticker-closed envelopes featuring cute messages of Valentine's greetings (and hoping that your crush will notice you drew in an extra heart on his card). How do you celebrate Valentine's Day then?


