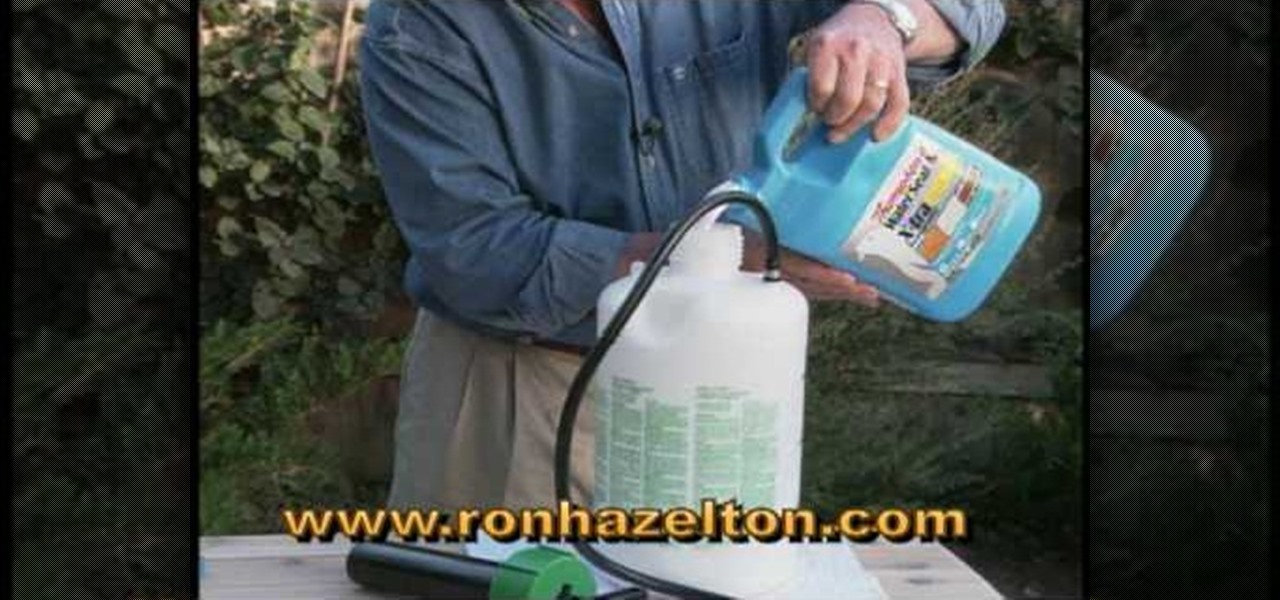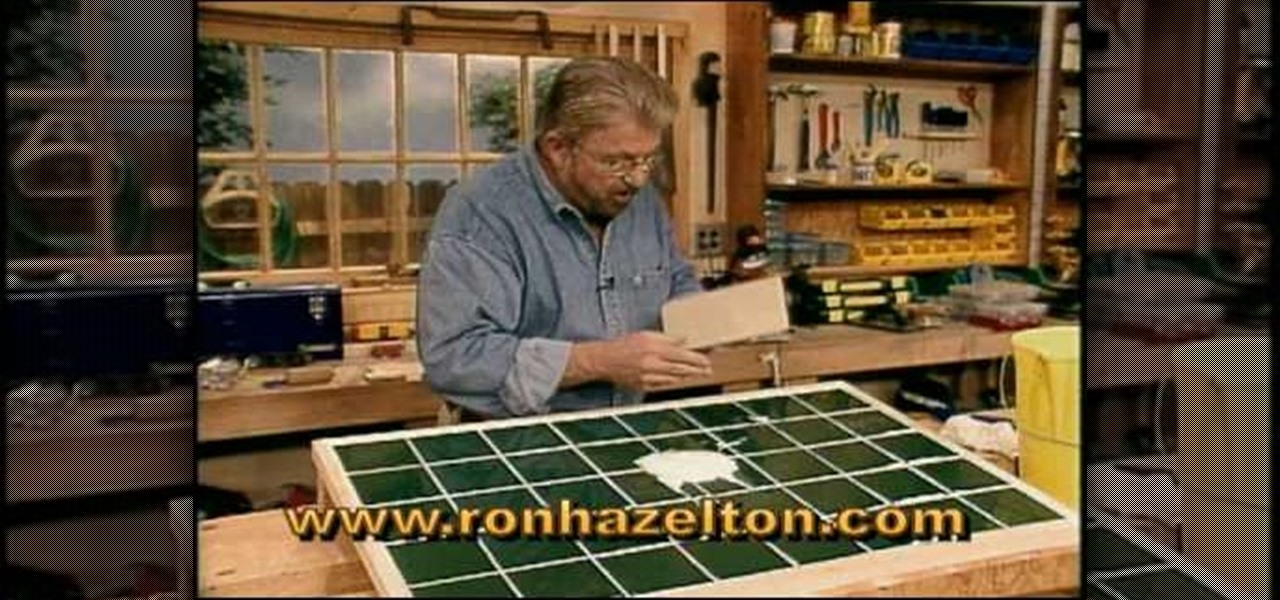
Do you have grayed tile grout? Do you spend tons of money on clearners to only leave you displeased? In this video hosted by DIY home guru, Ron Hazleton, learn how to remove discolored, flaky or powdery grout & how to apply new grout and clean the faces of your tiles.
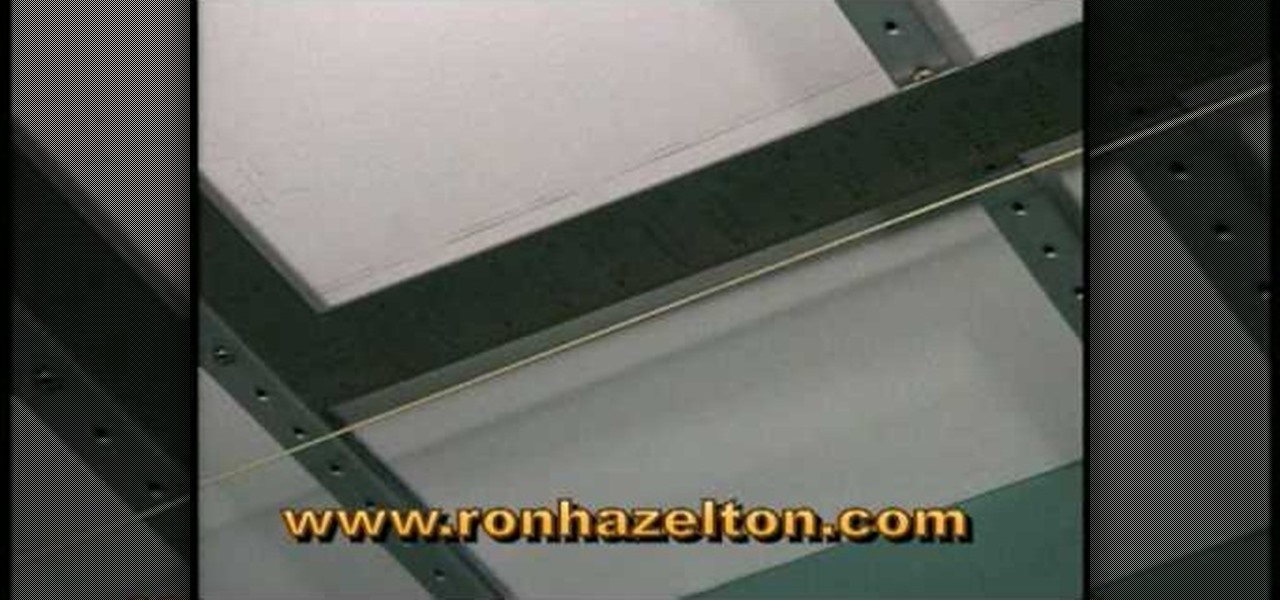
Create some texture for your ceiling, by installing embossed acoustic ceiling tiles. Learn from DIY home guru how to install embossed acoustic ceiling panels over an existing ceiling using a track and clip system.
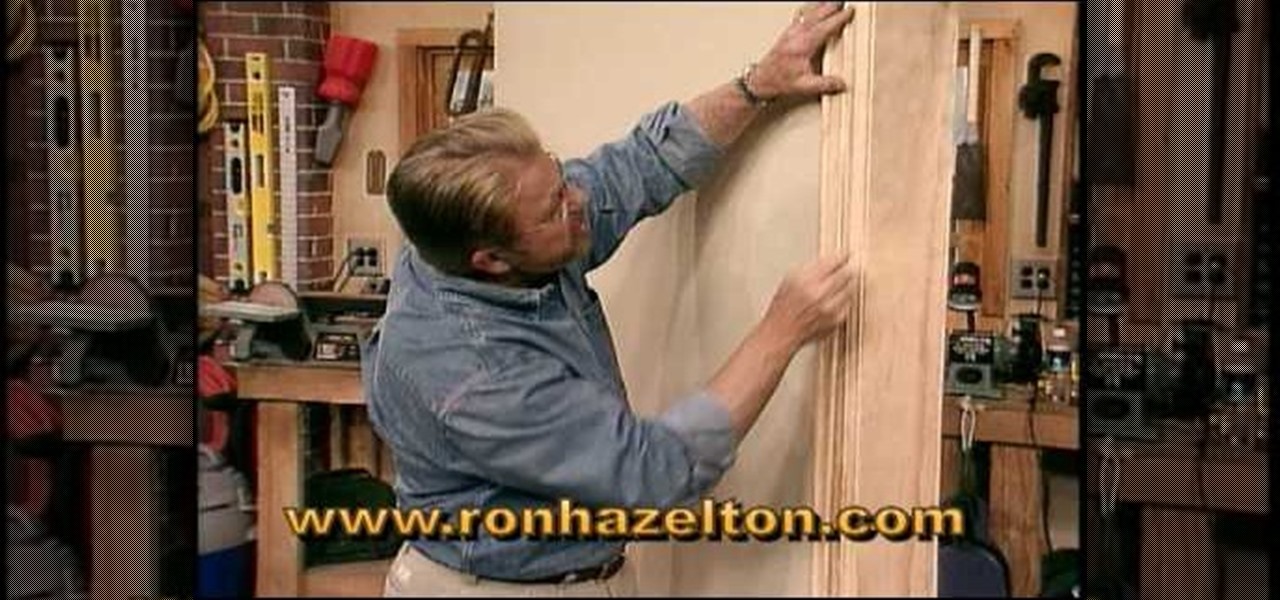
Would you like to apply stack molding on top molding but don't know how? Learn from this DIY home improvement guru how. Create interesting detail and character by making simple modling more elaborate.
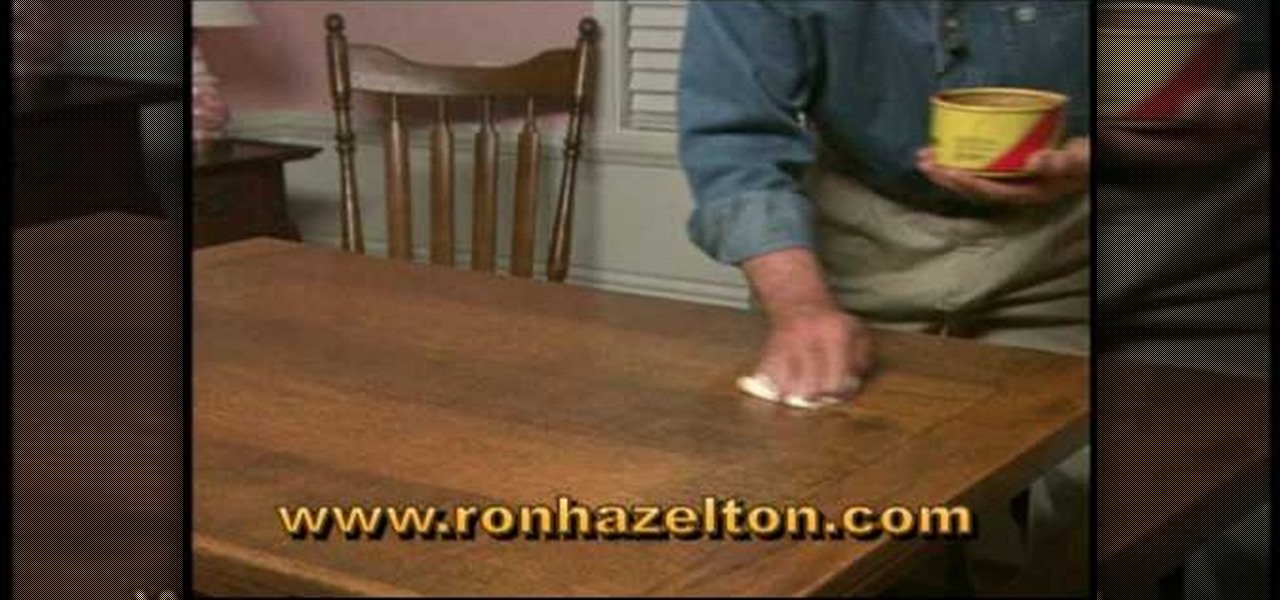
Not sure how to safely clean your wood table without ruining it? In this video tutorial, learn how to properly wipe off your table and how to protect it with a sealant called, Pastewax. This substance dries and does not attract dust making your table look shiny & new, like a piece out of a museum!
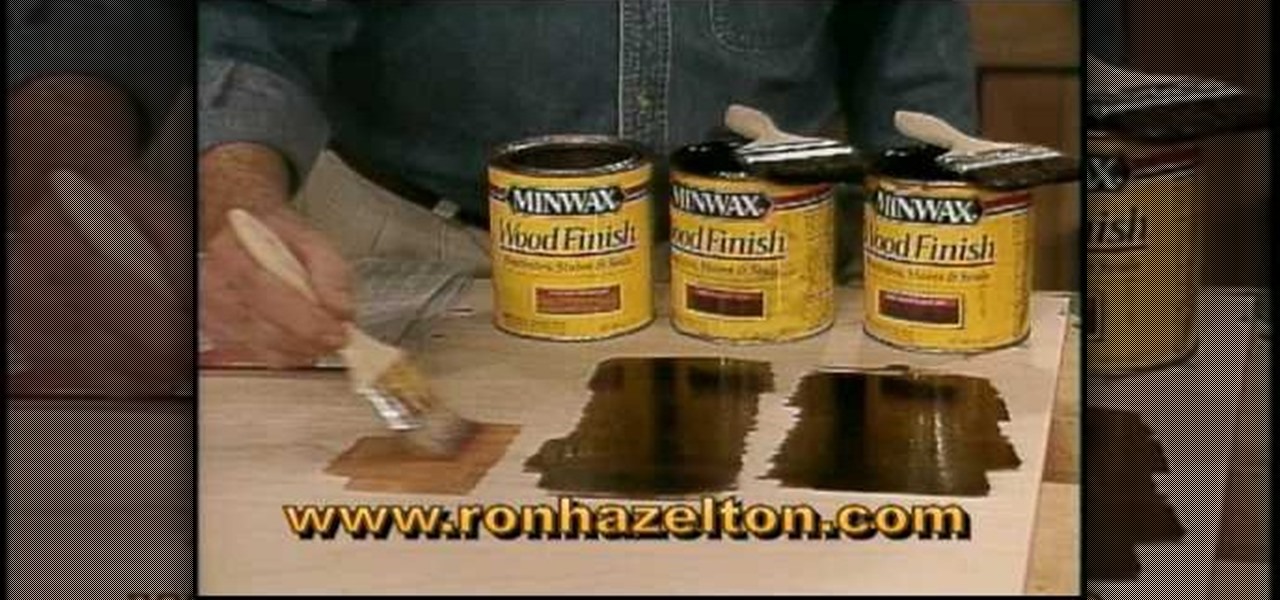
Want to create a realistic or customized wood stain for your home? Learn how to get the exact color stain you need to match existing wood finishes or to create unique effects.
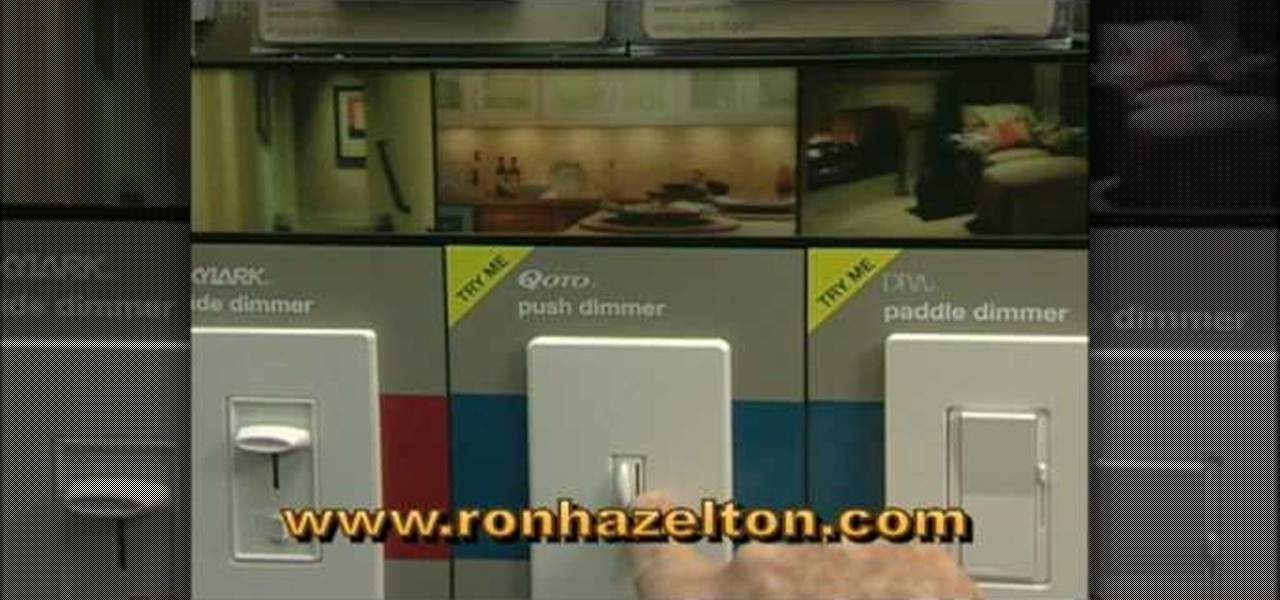
Think your stuck with your one set lighting? Think again. Get more lighting options by installing a dimmer light. In this Ron Hazleton hosted home improvement video, learn how to remove a wall switch and replace it with a dimmer in just a few minutes time!

Many spend a good amount on outdoor furniture... only to see it get ruined by the effects of weather or residue. In this video hosted by Ron Hazleton, learn how to restore and preserve outdoor furniture by cleaning, sanding and applying a stain and wood sealer to protect the wood.

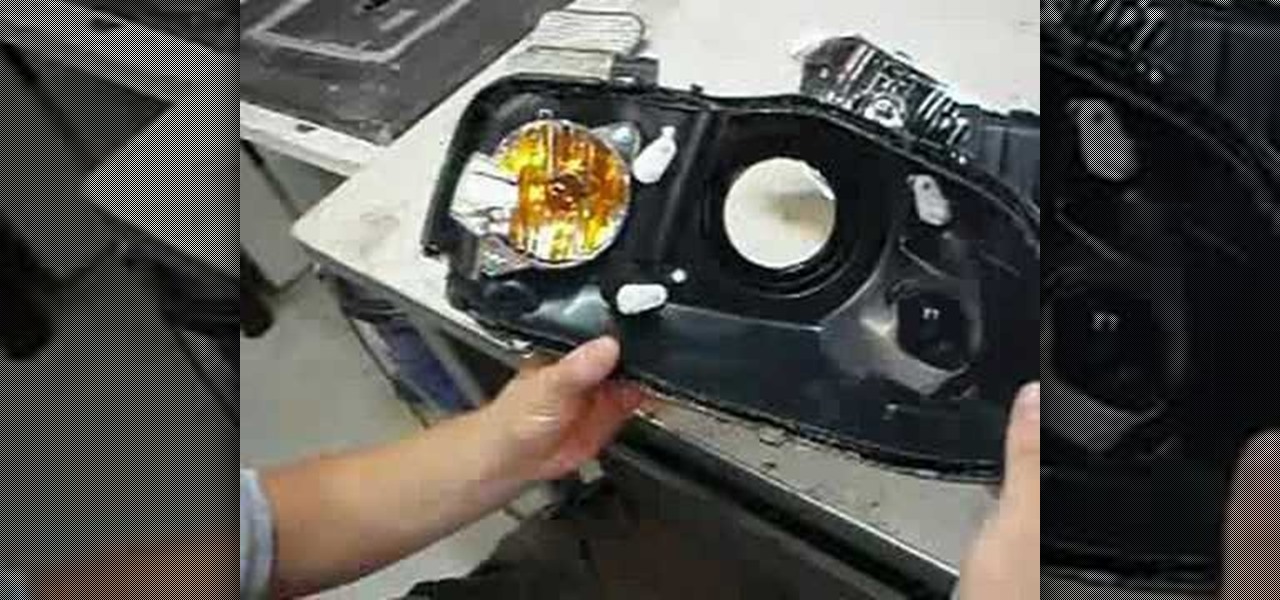
In this four part video demonstration, learn how to build your own HID projector headlights. The four parts cover the following:

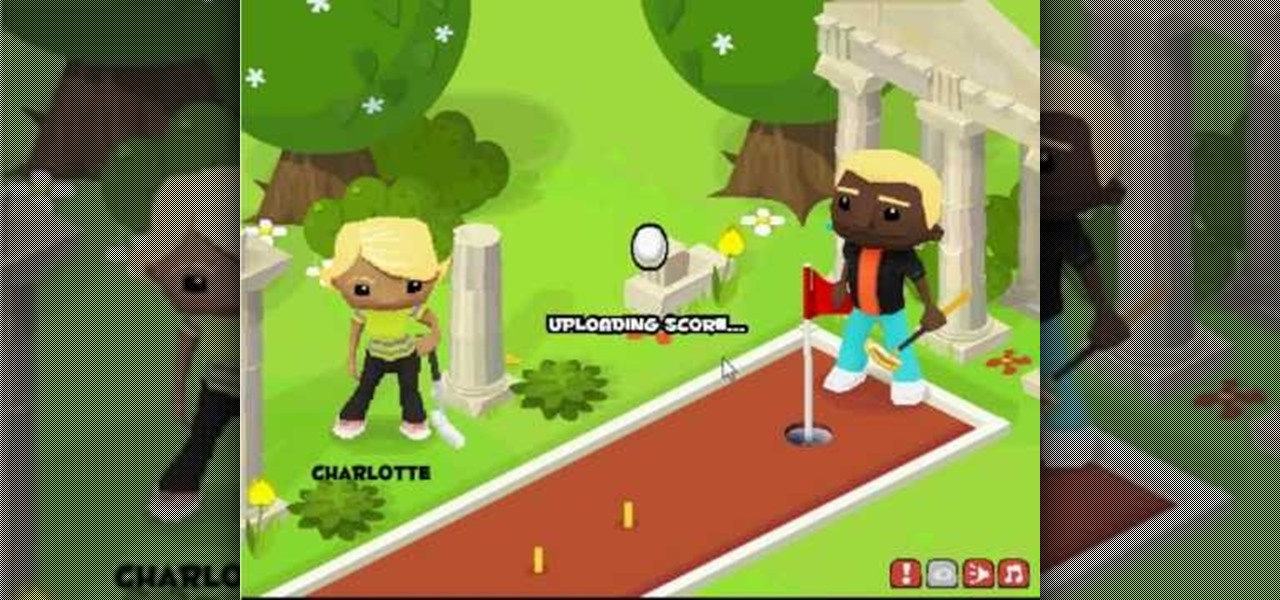
Minigolf Party is a Facebook game that allows you to... you guessed it... golf! Watch this video tutorial to learn how to do a coin hack in Minigolf Party (03/26/09).

Shoot streams of toilet paper in midair with this ultimate TP machine, the Streamerator. Take a look at this instructional video and learn how to make a toilet paper launcher with a generic, electric yard blower. This gadget is extremely easy to make. First, you need a steel rod about the same length as the blower, the rod has to be bent at 90 degrees. Two ground clamps are used to mount the steel rod which will serve as a roll holder. A flat punched piece of metal is measured and screwed int...

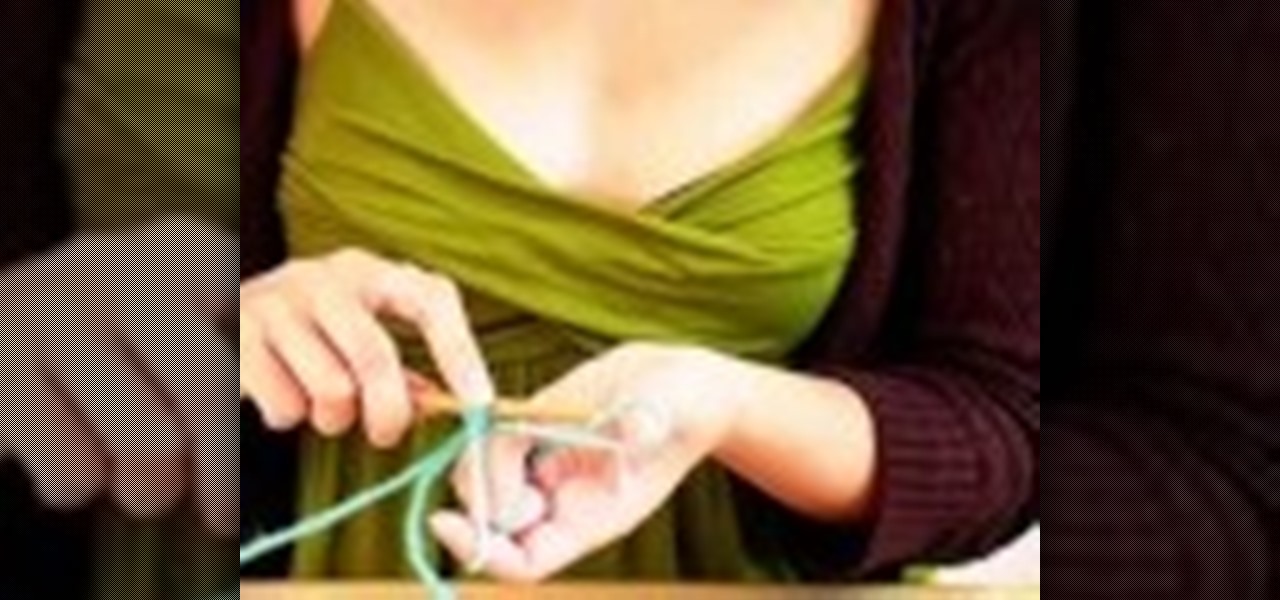
Nguyen Le, aka Knitknit teaches how to make knitted post cards. If you are teaching yourself how to knit, you will love this video. This is also a great way to use your knitted test swatches to make a special something to send to someone! You will need two colors of yarn, a hole punch, a post card, knitting needles, and a needle. Learn how to make a knitted post card by watching this video crafting tutorial.

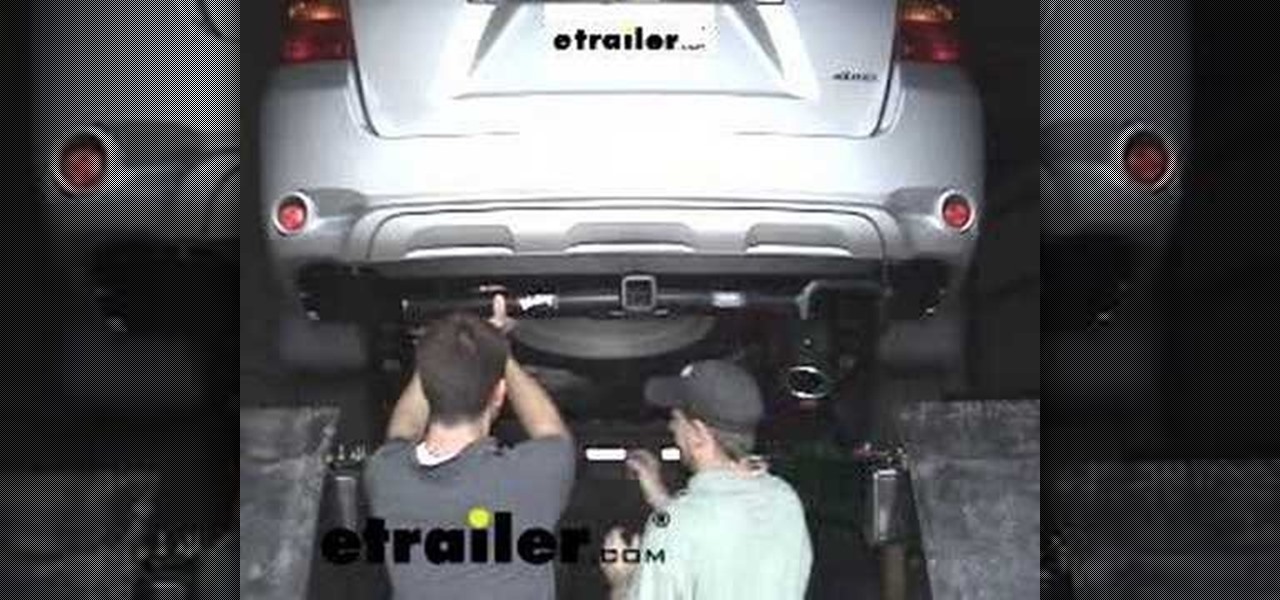
An installer gives step by step instructions on how to remove decorative panels, remove tow hooks, lower the exhaust pipe, and install a Valley trailer hitch on a Highlander. Video also shows what to do if one of your holes does not align perfectly. If you need help removing the exhaust pipe from the rubber hanger, part two shows that.

First of all you need a standard paper of size 8 by 11.5 inches and a scissors. Step1. Take one corner of the paper and then fold it to meet the other side. Now press the diagonal and then crease it.

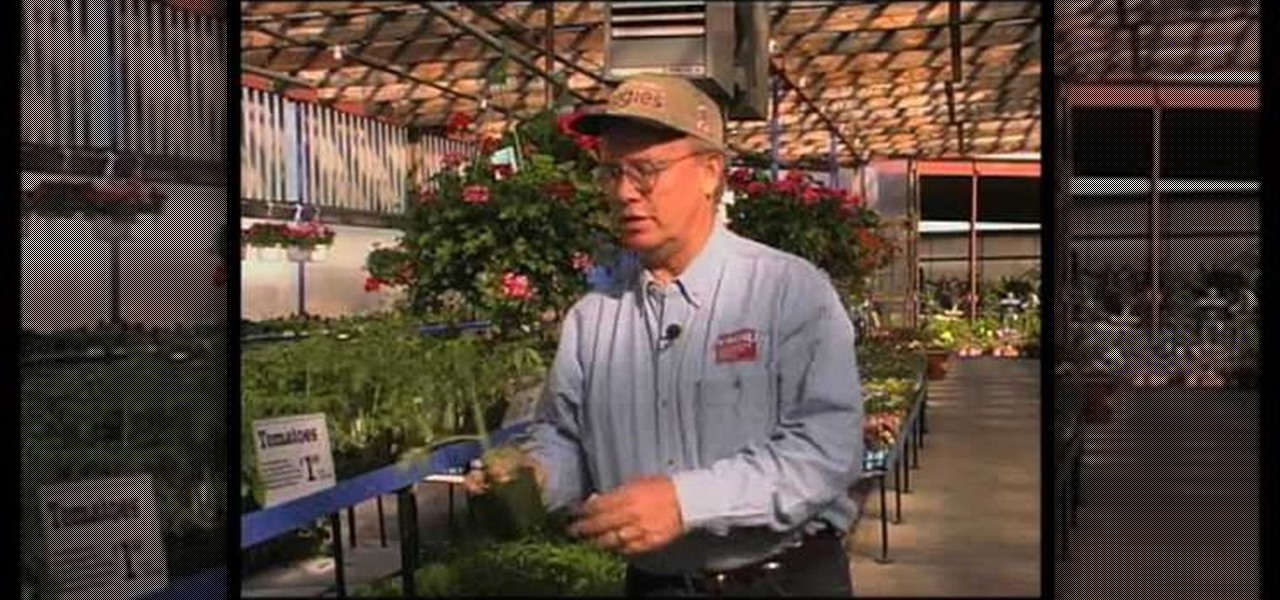
How to pick plants and trees at a nursery

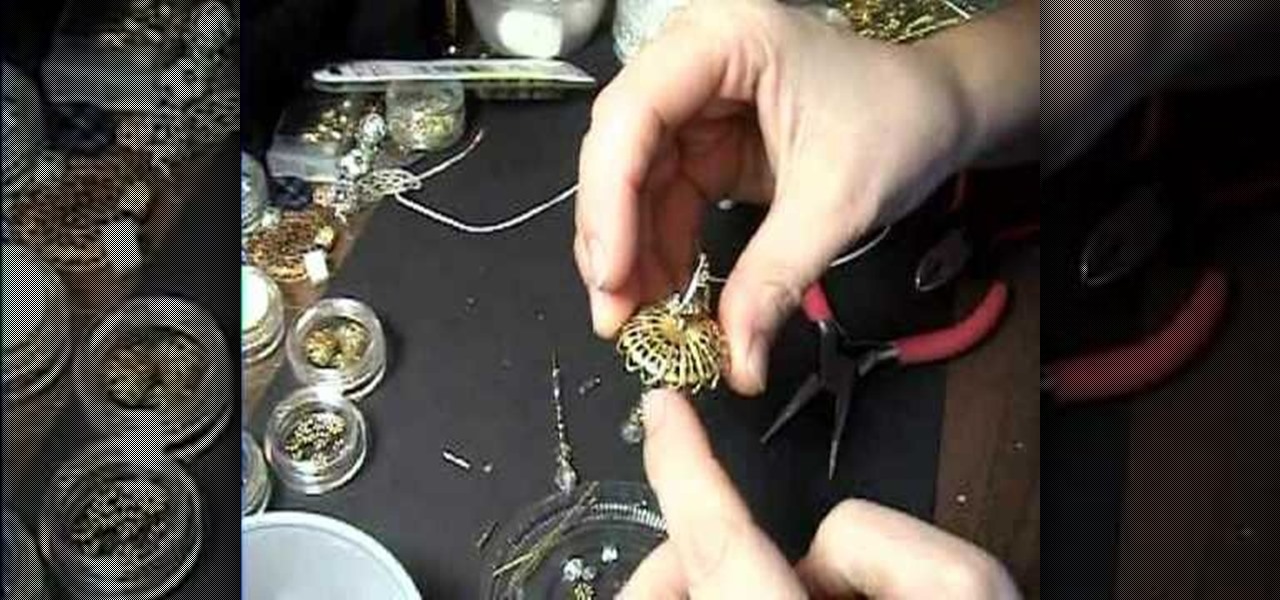
Garden of Imagination demonstrates how to make a real working miniature chandelier light for a doll house. We need some cord wires, beads, an electric bulb of 12 volt and plugs.

In most collectible trading card games players fail to realize the value of low-level creatures. They aren't sexy, but they can win you games when used correctly. This video will teach you how to build a Yu-Gi-Oh! based on three stars or less creatures that is still pretty damn effective.

Want to unlock the "No Leaks" trophy in the fifth zombie stage of the Dead Ops single-player campaign? This clip provides a walkthrough of how to beat the Nova 6 map without any tears or holes to your hazmat suit.

In this video we learn how to make a candy DNA model. First, purchase some black licorice and another color. Grab two each from the pack and then purchase some gummy bears. After this, pick out four different colors from the gummy bears bag. Take your scissors and put the licorice together. Cut one inch pieces so you end up with six of them. These will represent the sugars in the molecules. Once you do this, you will take the string and push it through the holes that are in the licorice. Laye...

In this video from pazzmanmusic we learn how to play the harmonica in the key of G. Draw on the 1, blow on the 2 and blow on the 3. Then draw on the 3. A bit of a bend draw. Then walk it down by drawing on the 2 and then drawing on the 1. Then he goes on to play a riff where he blows on the 1 and 4 holes and covers the 2 and 3 with his tongue.

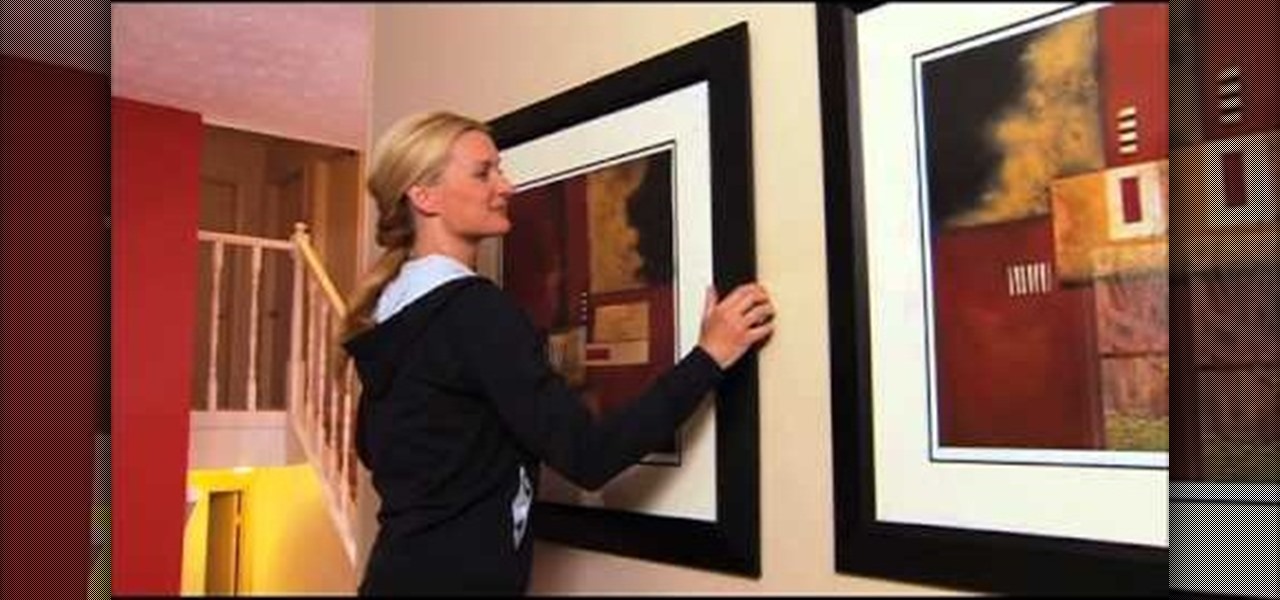
Until you decorate, your house won't feel like a home, but when you start hanging picture and frame on your living room walls, you should watch this video from Lowe's for some pre-hanging tips!

In this video we learn how to putt in World Golf Tour. When putting, you need to determine where and how hard to hit your putt by reading the green. Click reverse to see the putt from behind the hole. The severity of the break is shown by the dots on the grid and how fast they are moving. Next, read the slope of the grid by looking at the colors on the green. The pointer will also tell you how much uphill or downhill there is on the putt. Then, adjust your pointer to where you want to hit it ...

In this tutorial, we learn how to make a Deadpool sword. To do this, you will need: a marker, scissors, hard plastic, cardboard, silver spray paint, duct tape, saw, electrical tape, sandpaper, and hot glue gun. First, cut the plastic into three thin knife shapes. Then, use sandpaper to smooth edges. Then, use the cardboard to create three layers of a rectangle. Make the corners round and then tape around them with duct tape. Put a hole in the middle and then put it into the plastic. Now, glue...

In this tutorial, we learn how to make an array of paper roses. Use any colors of paper you want with this to add a special touch to them! Now, you will take the pattern or color of your choice and fold it up into a square. after this, fold it into a triangle and then cut the edges of this off. After this, cut the bottom off and open it up, it should be a flower shape with a hole in the center. After this, repeat with several other papers and then cut the flowers up into halves. From here, yo...

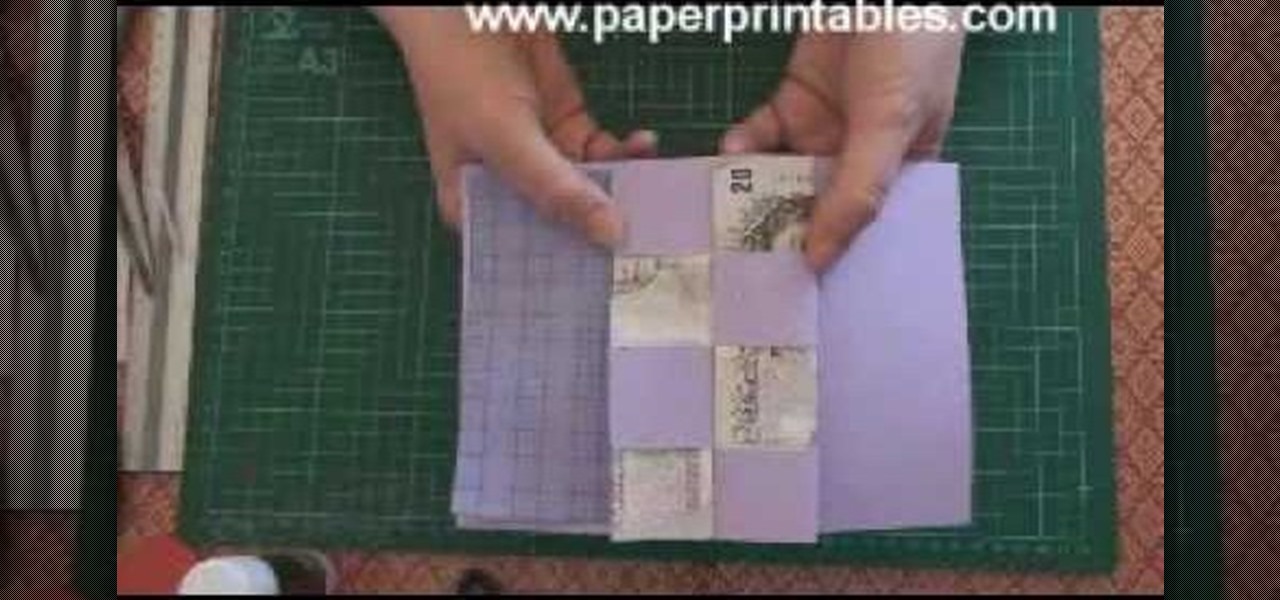
In this video, we learn how to make a pop-up concertina money card. To start, you will first need to take a piece of paper and measure your money on the inside of the paper. Then, cut this out in a strip and cold your money in half lengthwise. After this, measure the depth out from the center using a ruler. Then, fold the paper in half and on the sides where you marked. Then, you will cut three holes in the middle of the paper and these will hold the money in. Stick the bill in the middle of ...

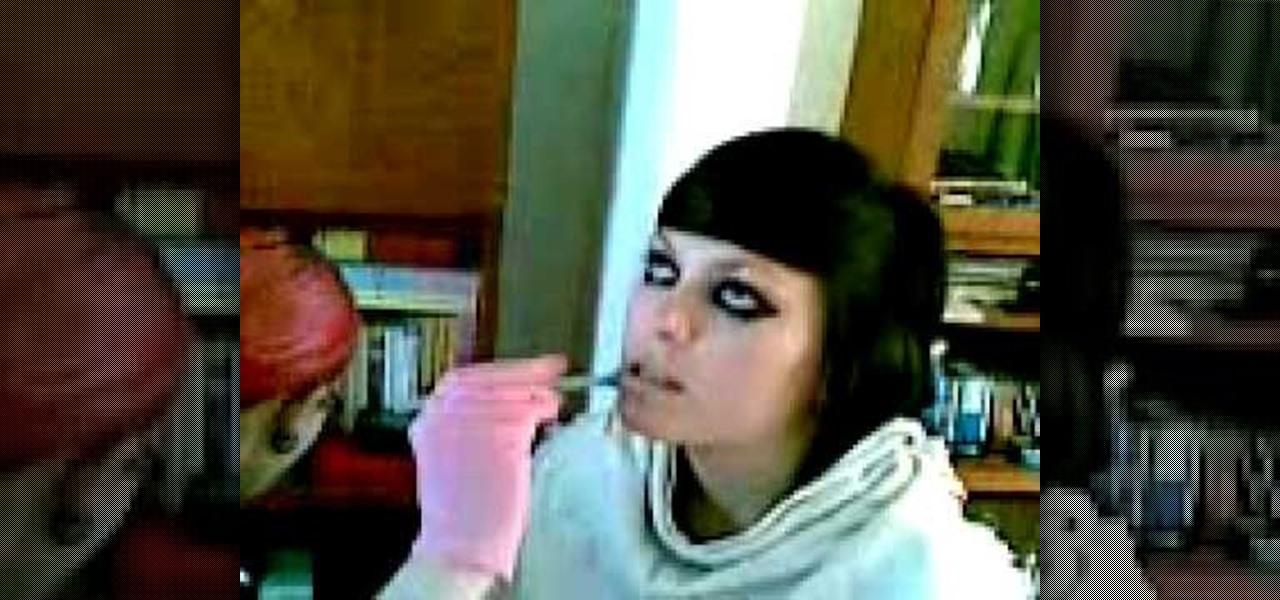
In this video, we learn how to pierce your lip at home the professional way. First, sit the subject down and put a cloth around their upper body. Then, grab a clamp and place it where you are going to pierce the hole. After this, push the needle through the spaces in the clamp and follow this by sticking in the jewelry. Apply cleaning products into the mouth that are for cleaning the wound specifically. When finished, make sure to take proper care of the piercing and the jewelry as well so it...

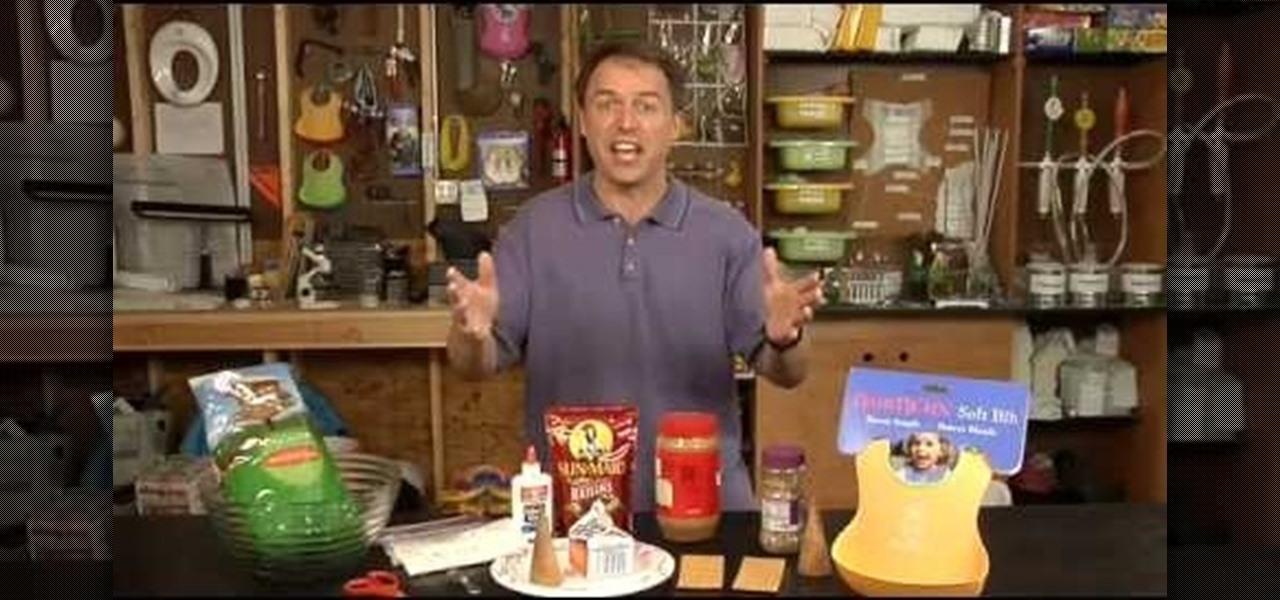
In this tutorial, we learn how to make an edible bird house with your kids. You will need: bird seed, 1/2 c flour, 2 tbsp corn meal, scissors, twine, paper plate, ice cream cones, 1 pint milk, raisins, peanut butter, nuts, and graham crackers. Now, poke three holes into your paper plate. Then, glue the milk carton onto it with the glue. From here, mix the flour with the peanut butter and then rub it on the crackers. After this, stick the crackers on the milk carton. From here, the kids can us...

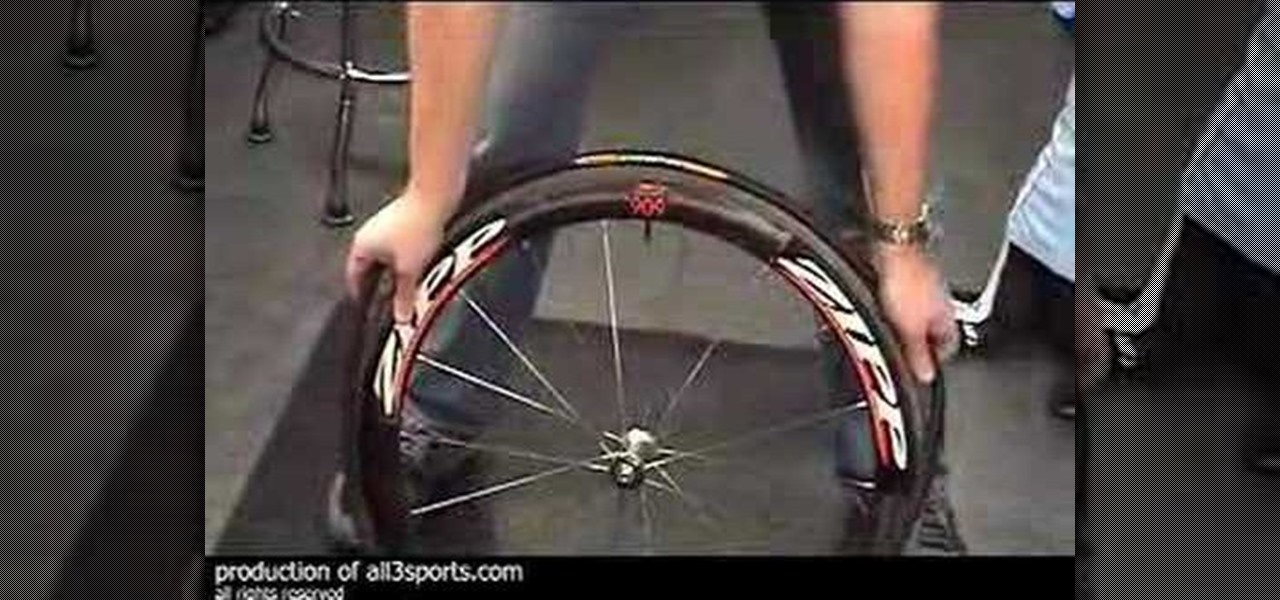
In this tutorial we learn how to change a flat tubular tire. First, grab your tools and remove the tire from the wheel. Do this by locating the stem and finding the spot across the other side from it. Once you have take this off entirely, you can move onto the next step. Once finished, replace the new tire back onto the wheel. Start with the same area and make sure to push the stem through the hole. Use your body weight to stretch the tire around. To finish this process, you will simply need ...

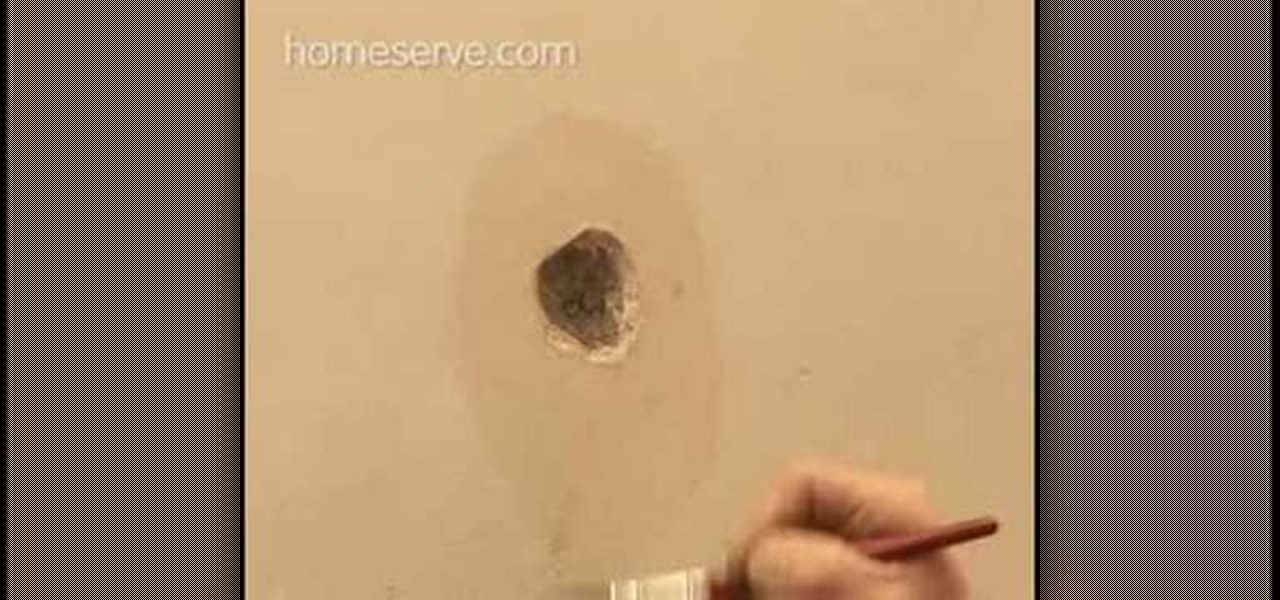
In this tutorial, we are shown how to prep your walls for wallpaper, which is very easy! Preparing your walls only takes a few minutes and makes applying the wallpaper easier and look a lot better. You will need: rags, soapy water, wallpaper stripping knife, and sandpaper to do this. First, you need to apply the soapy water to the current wallpaper and then take it off with the stripping knife. Once it's all removed, you need to repair any holes in the wall. Next, sand down the surface of the...

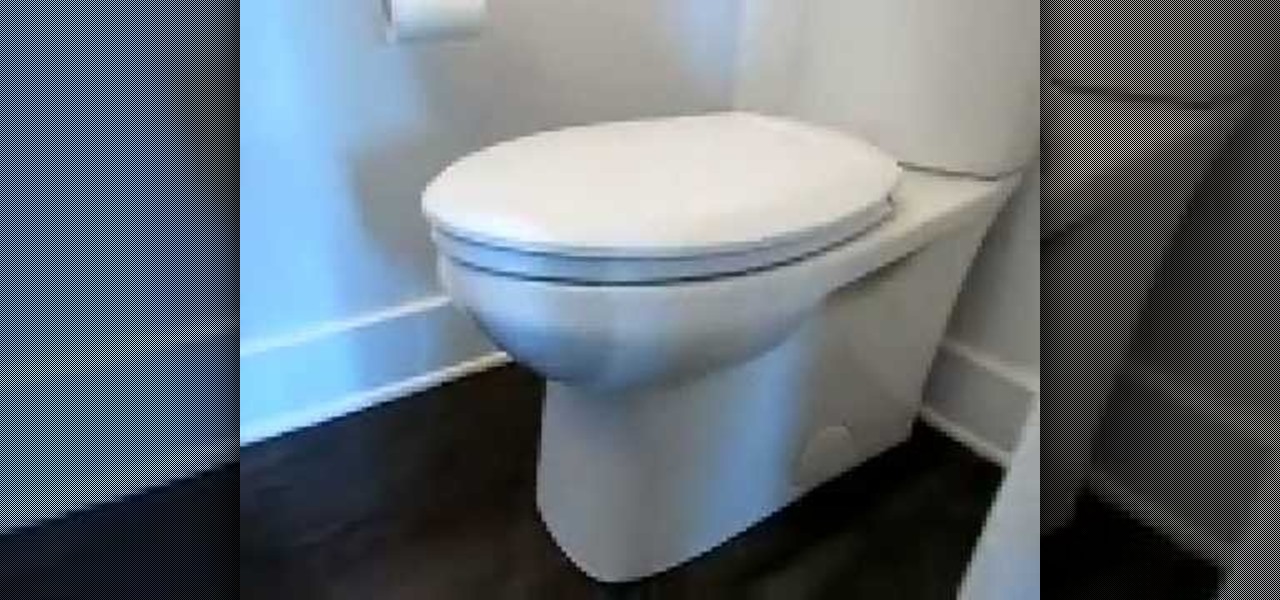
In this tutorial, we learn how to easily install a toilet seat. First, unscrew and remove your previous toilet seat. Next, take the two plastic bolts and remove the nuts and washers. Then, install these into the proper spots in the seat. Then, flip the seat back over and slide the nuts into the appropriate hole on the toilet. Then, take the rubber fittings and slip them on the underside of the bolt. The tip of the rubber cone should point up. When finished, you will take the plastic nuts and ...

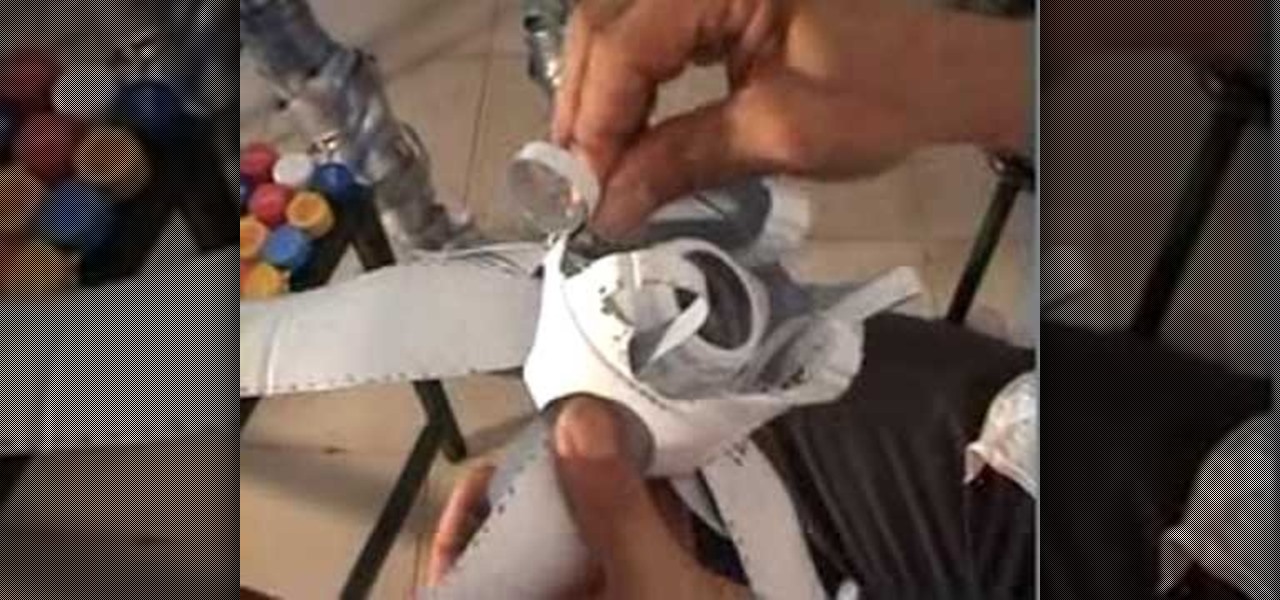
In this tutorial, we learn how to recycle a plastic bottle to make a toy bottle rocket. First, take a large plastic bottle and a sharp knife, then cut it in half. After this, take the side with the cap on it and then paint on the inside of the bottle. You can paint whatever you want on the inside, feel free to use different colors and get as creative as you want! From here, take some bottle caps and poke holes in the center of them. Then, string these together by pushing a string in the middl...

In this video, we learn how to pierce your lip with a flat or round back. First, purchase some flat backs from the store, don't use normal earrings because this will damage your skin. Flat backs don't hurt when you pierce them. To start, you will need to find the spot where you want to pierce, don't hit a vein. After this, use ice to numb the spot until you think that you are ready. Then, poke the needle through the hole after cleaning it off with alcohol. Make sure to clean the lip area when...

In this tutorial, we learn how to fit a dry lining back box. This is very easy to install, and the sides will grip the wires on your light. First, determine where you want your switch, then mark a quick line using a sturdy level. Next, you will cut out a hole in the wall the size of the box. After this, push the box into the wall. Then, you can add in the light switch to the box and secure it with the wires that are inside. This will finish up this project, just make sure the wires are place ...

In this video, we learn how to gauge your ears by yourself. First, you will have to buy the next size up for your jewelry. Also make sure it has a spike on the end of it. This will help the jewelry go through easier. All you need to do now is get some antiseptic solution and pour it on the new jewelry. From here, lube up your ear hole with it as well and then push the gauge through the ear. After it's through, you will need to secure it into place. When finished, your ear will stretch out and...

In this video we learn how to recycle plastic bottles and make a decorative mobile. Start off by cutting the strips off of the water bottle then pinning them down to a table. After this, you will start to cross each of these with another piece to make a checkered effect. Nail them down on the sides as well to make it stick to where you want it. When finished, you will remove the nails and then place in a needle with beads and shells attached to it on each of the holes. Once you are finished w...

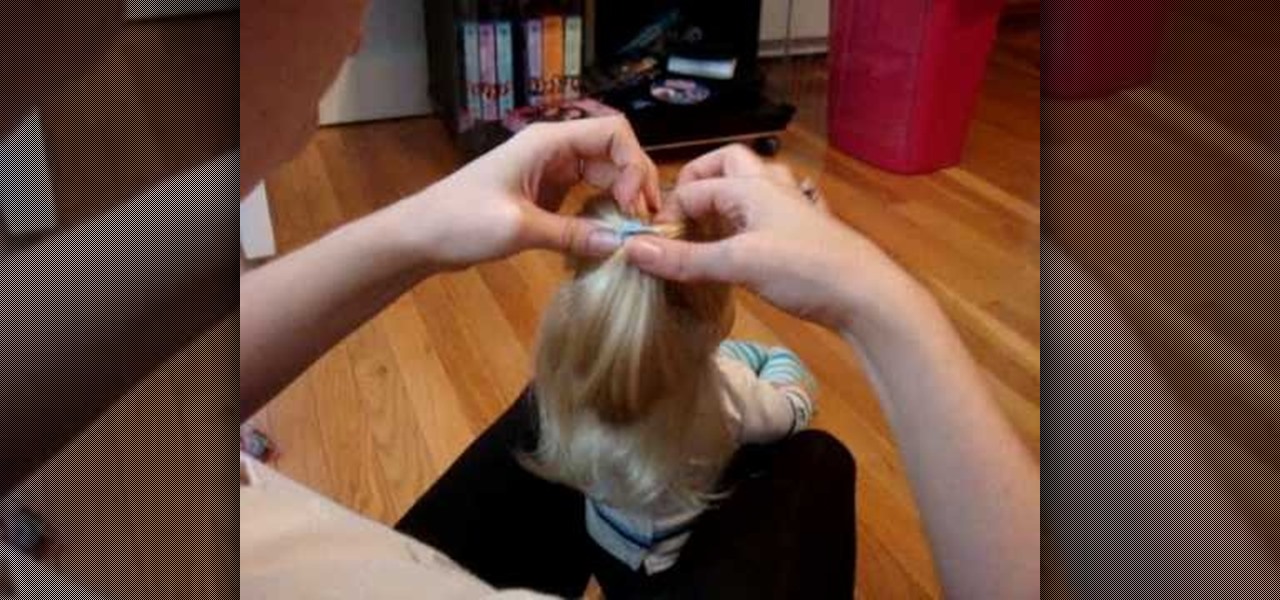
In this tutorial, we learn how to do a cute hairstyle on American Girl with medium hair. This is great for a doll that has hair that flips out at the bottom or hair that is curly. First, you will take most of the hair, except for a thin layer of hair on the underneath area. Put a rubber band around this part of the hair, then put a hole with your finger above the band. Flip the hair through this, so the hair is sticking up. Then, curl the hair under and clip it into place on the back to finis...

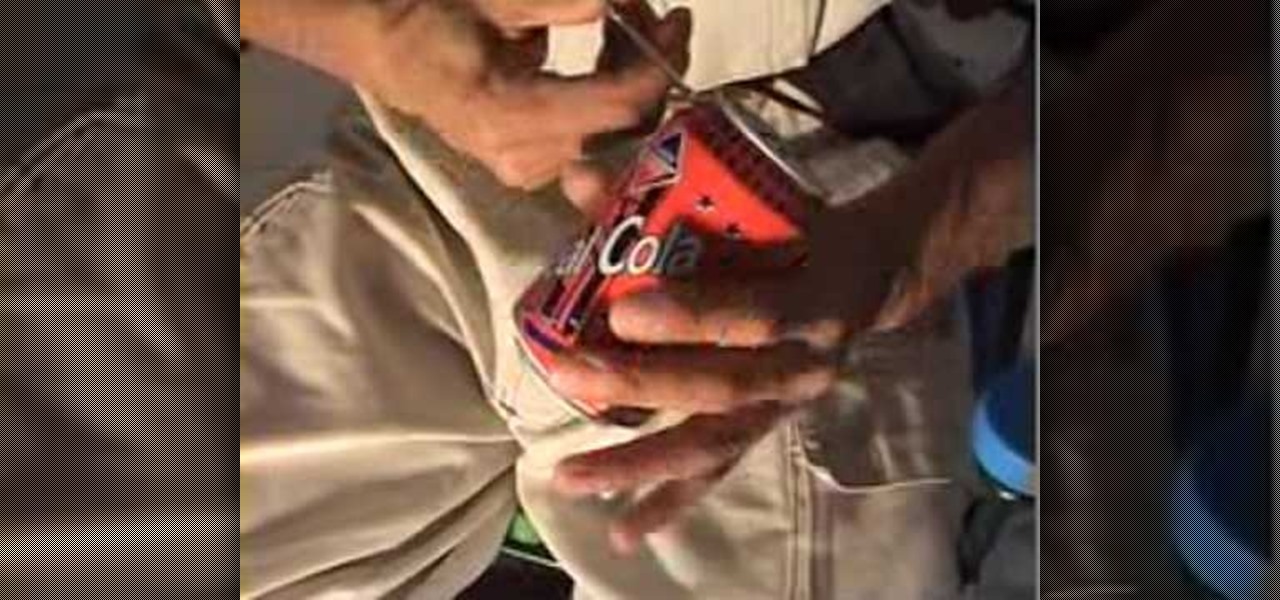
In this tutorial, we learn how to recycle cans to make garden decor. First, use small scissors to poke a hole in the top of the can, then cur around the top of it until you have removed the mouth. After this, cut a rigid design in the top of the can and then cut five slits going down on all the sides. Push these down, then cut the sides of them so they are slightly rounded. From here, you will attach these to another can that has been spread out with tons of different slits. Place this on a r...

With this video, we learn how to recycle milk bottles to make decorative flowers. First, mark eight coupled marks on four sides of the bottom of the bottom. Then, poke holes into them and cut into them with sharp scissors. From here, you will continue to do this all the way around the bottom of the bottle until you have created petals. Then, cut above these to make long oval types of shapes and then spread the petals out on the bottom and on the top. Pull the longer petals into the open areas...

In this tutorial, we learn how to skin a deer hide. First, cut into the joint on the back legs. Cut across this, then down through the back side of the leg. Open the leg up with the knife and continue to cut until you see the last joint. After this, you can snap the leg and then repeat this same process for all of the legs. Now, apply pressure to the neck where you want to cut and then skin the stomach area from the inside area. Keep the tip of the knife away from the hide so you don't poke a...

In this video, we learn how to stretch your ear cartilage. The cartilage on the ear can be stretched just like the lobe, but it's a lot harder. When you do this, you will first need to think about how to do it. The first way is to slide a taper through and then plug it. This is a good option but it will take a really long time to stretch it out. If you go fast, you will get a lot of scar tissue. You can also use a punch that will punch a larger hole, just make sure to take care of it!

This is a video tutorial in the Home & Garden category where you are going to learn how to deal with a hollow door when installing bath fixtures. Bob Schmidt shows you how to do this while installing bath accessories such as robe hooks, towel bars or towel rings. The product that you need to do this is called easy anchor. It is a metal anchor specifically designed for the right depth for a hollow core door. Take the anchor and drill it down the door until it is fairly close to going in fully....


