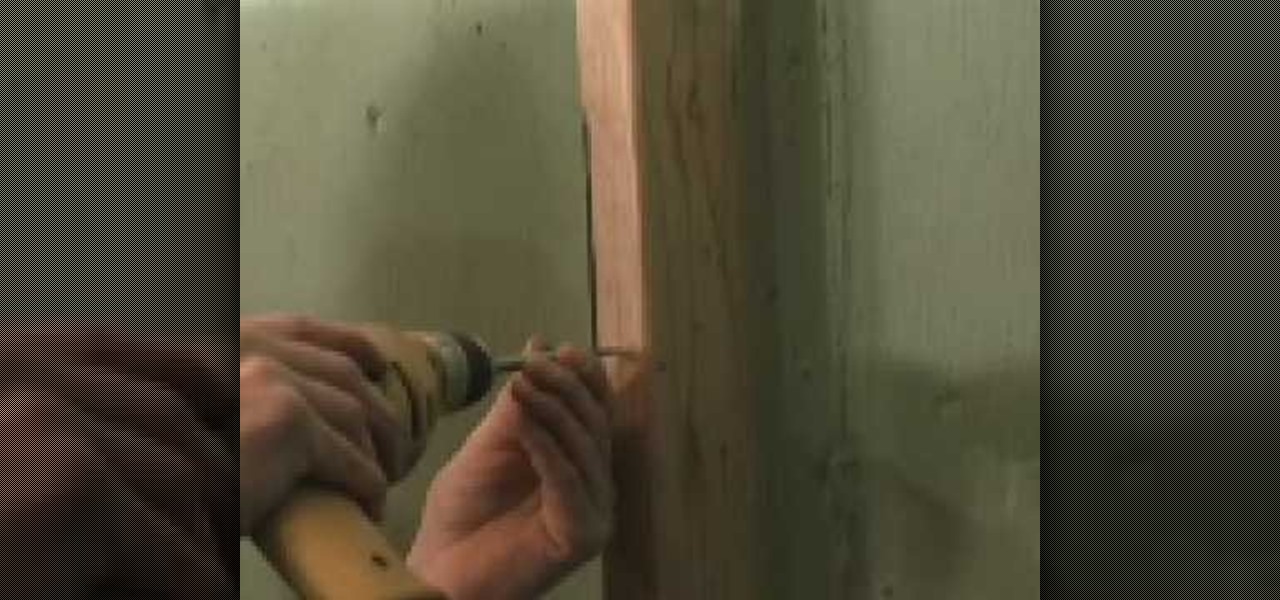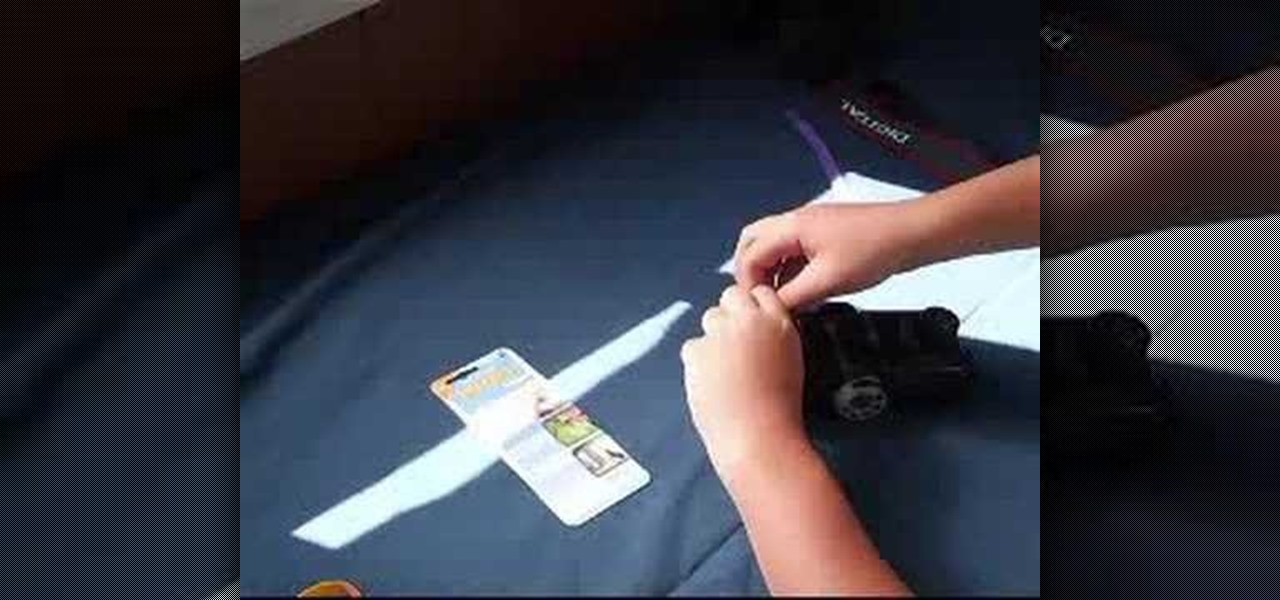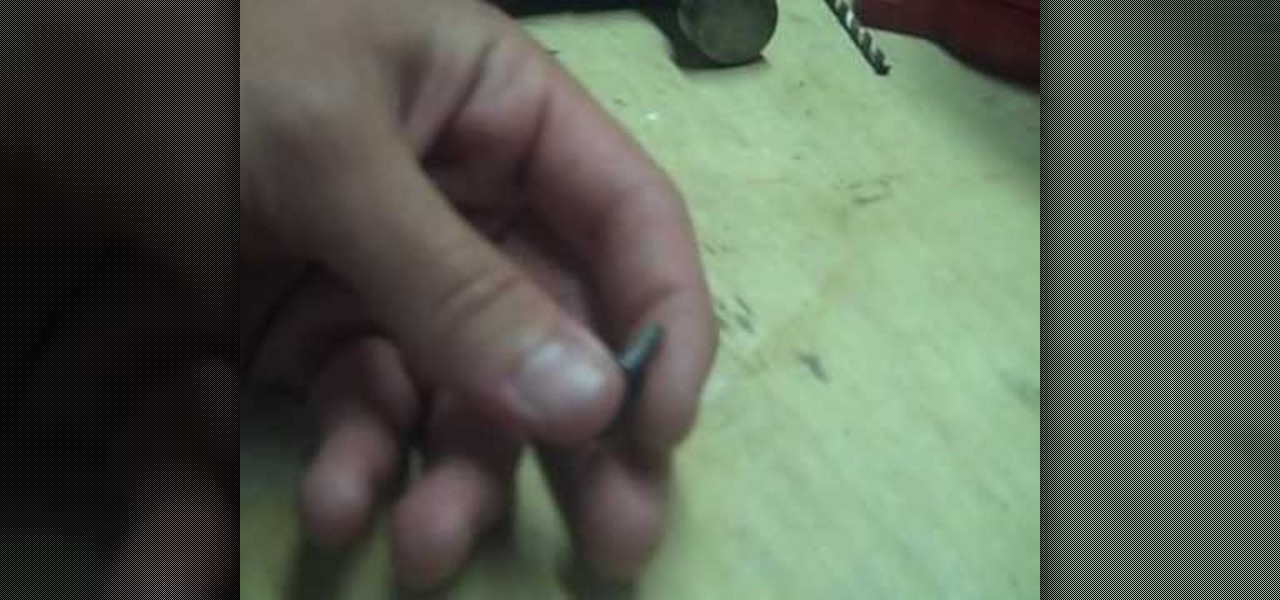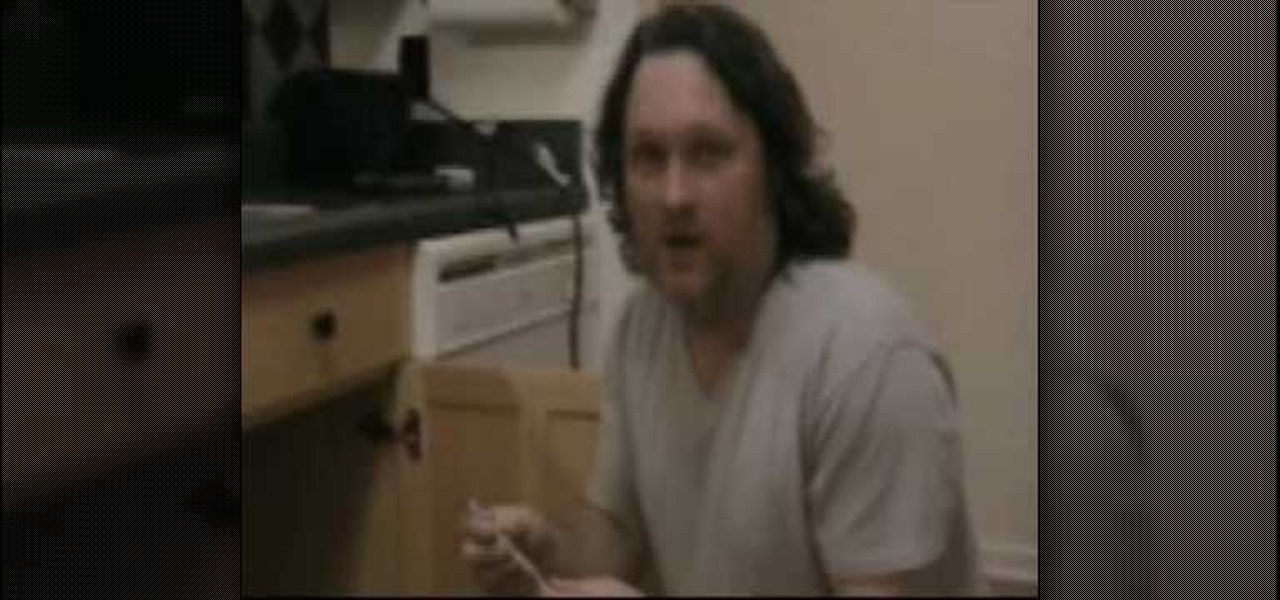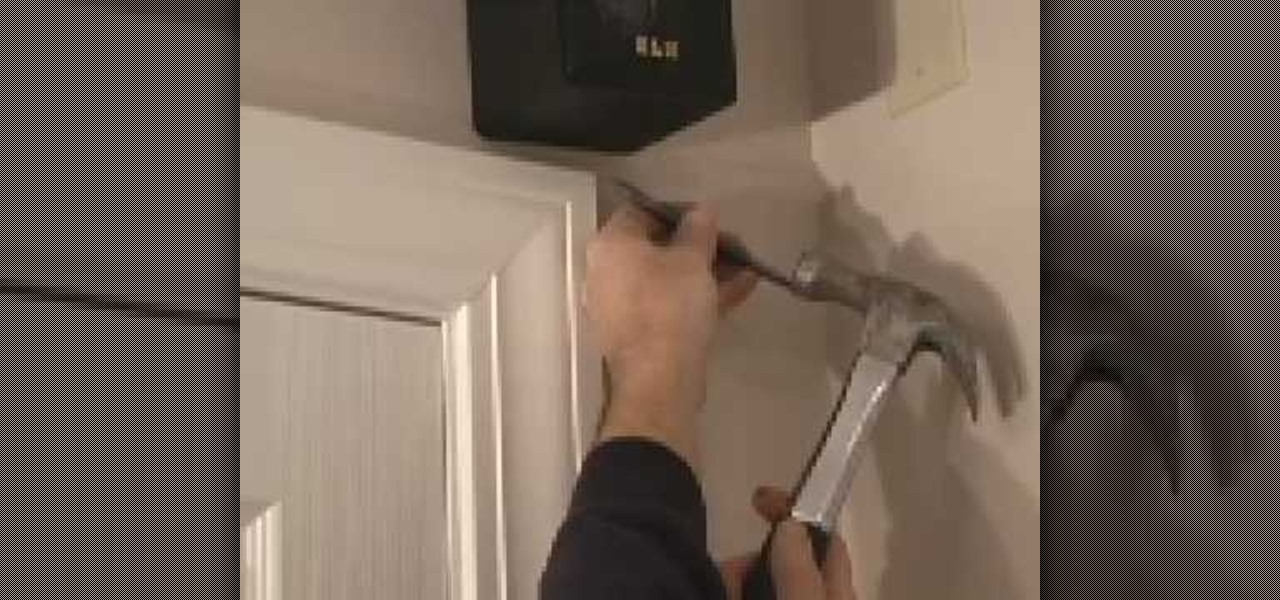
Bob Schmidt teaches us how to use a nail set & punch for woodworking. A nail set is a traditional kit that you can find anywhere. The nail set punch does not require a hammer to use and is very easy to figure out. Place this on a nail and then pull the spring back. Keep the pressure towards the nail head and it will drive the nail right into the hole that you need it to go in. This is great if you have a nail that needs to go into the wall but the hammer will not fit where you need it to. Any...

In this tutorial, we learn how to whistle with your fingers in your mouth. First, you will grab your two pinkie fingers and place them inside your mouth on either side. Seal them with your tongue and blow across the remaining hole that is in your mouth. From the side, you should be able to see just one area where the air is coming out of from your mouth. The air should blow across the top and will control the pitch of the note that you are playing. From here, you can learn how to play songs a...
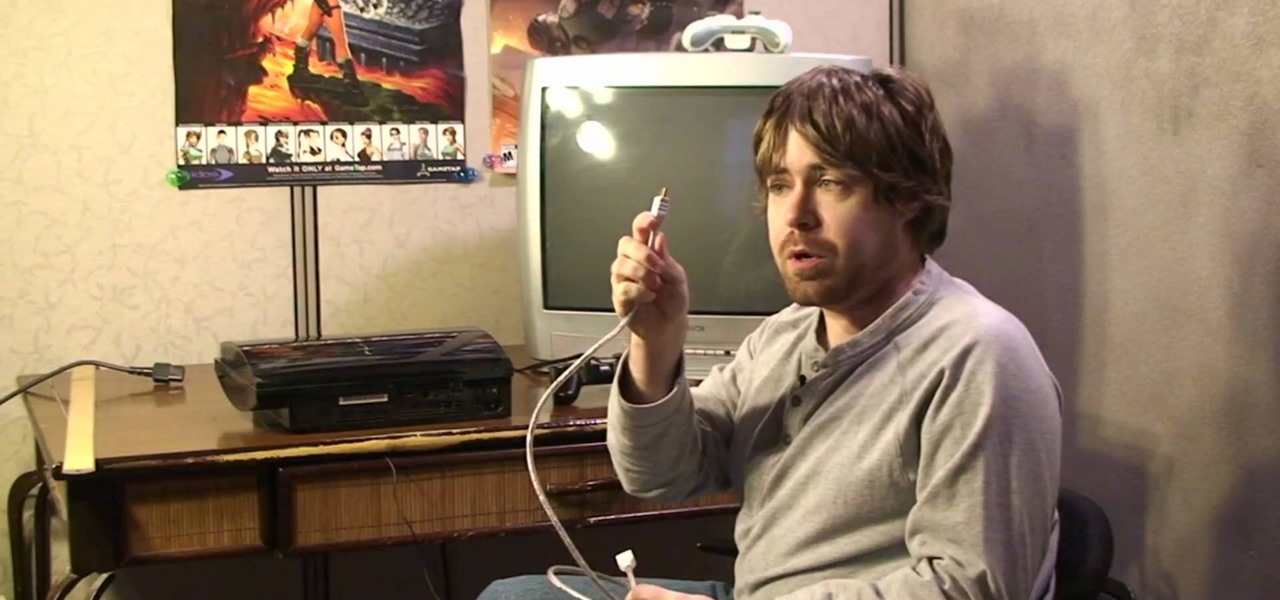
In this video, we learn how to hook up an HDMI cable to a PS3. First, you will need an HDMI cable and a PS3 console. Take the HDMI cable and plug it into the HDMI hole in the back of the PS3 console. Once this is connected, take the other end and plug it into the HD TV that you want to use it on. Now you will be ready to start gaming while using your television. This should only take a couple of minutes to set up and is easy to take out as well. Enjoy and have fun playing!
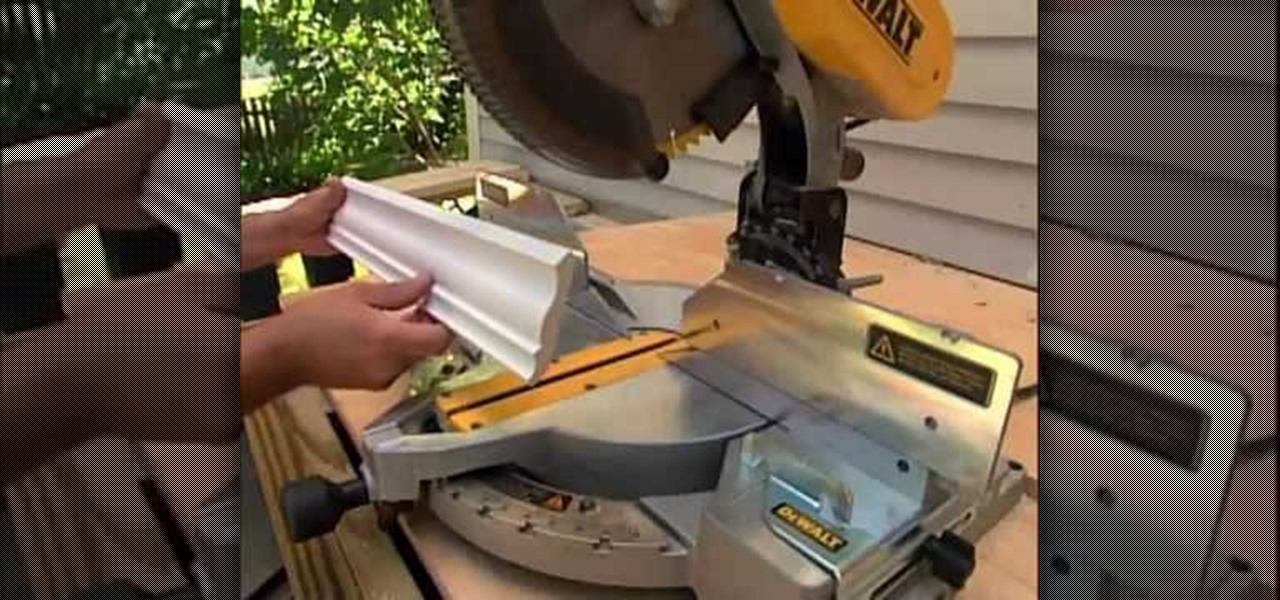
In this tutorial, we learn how to install crown molding to your room. First, choose the right size and style of molding for the room, then measure your room to find out how much you need. After this, you will need to buy a saw to cut the molding when you're ready to install. After you have the pieces cut, you will need to place these against the wall and then nail them in with a nail gun. Secure the molding to the joints in the ceiling and to the studs in the wall. To finish, putty the holes ...

In this video, we learn how to play a multiplayer game in World Golf Tour. First, go to main menu and then choose "play with a group". From here, choose the stroke play or match play game. Also choose the player rank, mode, and number of holes you want to play. Once you do this, click "continue" and invite people to play in your game. You can type in the username you want to play or choose people from your friend list. You can also click on the "anyone" button and then start the game when all...

In this video we learn how to tie a skinny necktie in a Half Windsor. First, take the wide end over the thin end and then go over and under the loop. From here, take your wide end over the knot and then under and through the hole. Now, adjust your knot up to your neck where it's comfortable. Place your collar down and then you will be finished with the half Windsor knot. This is a very easy way to tie a tie that a guy can do on himself or have someone else do to him. Practice this to get good...

In this tutorial, we learn how to tie a necktie on someone else. First, pop the collar and drape the tie around the neck with the wide end on your right. Then, tug the wide end down, so it hangs 12 inches below the narrow end. After this, cross the wide end over the narrow end, and bring it up through the neck loop and down the front. Swing the wide end to the right, pass it under the narrow end, then cross it back over the right. After this, push it up through the neck hole. Now, tuck it thr...

In this video we learn how to get your heart torn out with film effects. First, go to the butcher's section of your market and find a gross piece of meat. Then, cut a hole in your shirt and grab some fake plastic blood. Soak the meat in the blood and then place it into the shirt. Have one of your actors push their hand into the shirt and act like they are tearing a heart out. After you do this, have the other actor act like they are in severe pain. This will finish our your heart torn out fil...

In this video, we learn how to drill through ceramic tile like a professional. To do this you can use a normal bit that will drill through most tiles easily. Or, you can purchase a dedicated tile drill that will work the same way. First, find the area that you want to get started on and lay down some masking tape. Then, place the drill down on the area you want to drill through. Press on the drill power button doing small intervals at a time. Once you get into the hole, go full power and then...

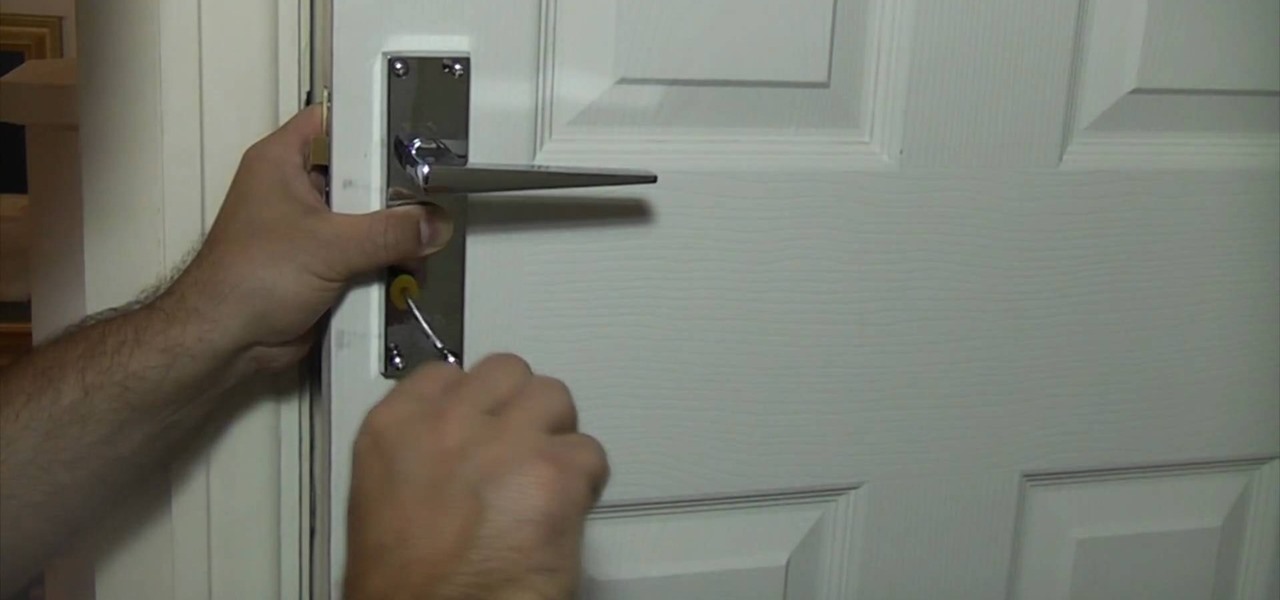
This is a video tutorial in the Home & Garden category where you are going to learn how to fit door handles to a door properly. The first thing to do is to insert the spindle in the door and check if it is of correct length. Quite often it might be longer. So, cut it to the correct size with a hacksaw. Next fit the handle over the spindle and make sure it is straight. Take measurements to ensure this. Holding the handle in place with one hand, drill holes with an electric drill and insert the...

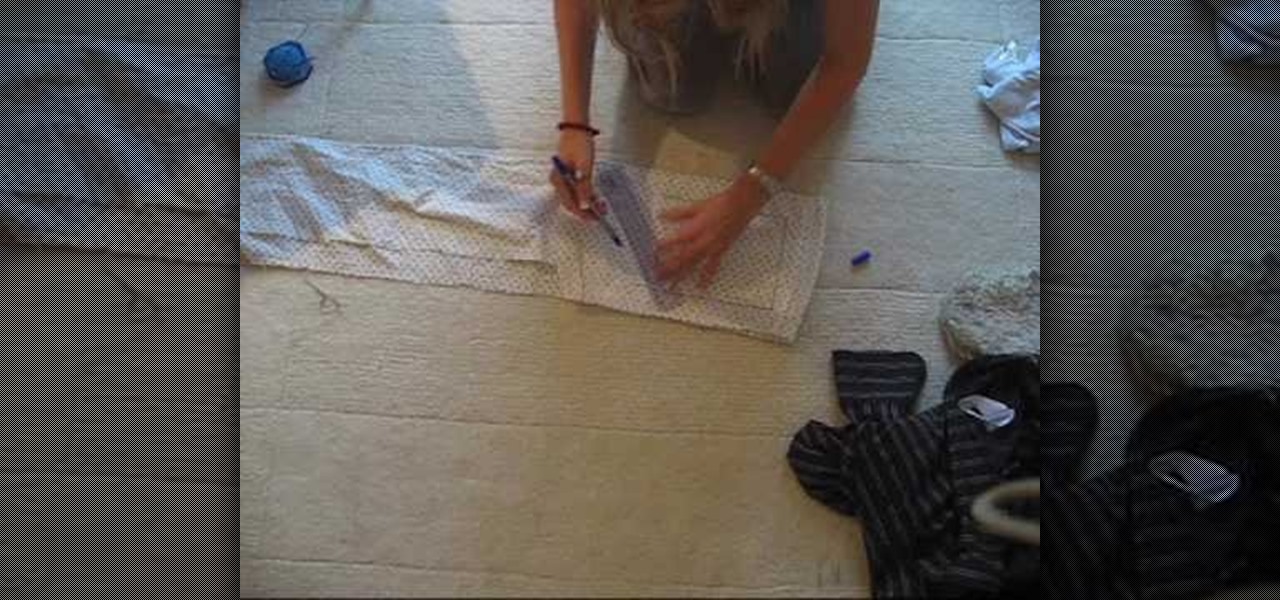
In this tutorial, we learn how to make an over-sized fashion bow fashion accessory. First, take your fabric and cut it to the desired size you want the bow to be. Cut this in a square shape at first, then sew the sides of the square. Then, fold this in half and pull in the middle of the square. Cut this in the middle to make a hole. Then, turn this inside out and push out the edges. Put an additional square of fabric around the square in the middle, then shape it out to be a cute bow to wear ...

In this video we learn how to remove door material to install a mortise lock. If you live in an older home where you have to take out a chunk of the door to change the lock, there are ways to prevent doing this. First take a spade bit and slide it over the lock. After this, take the mortise lock and hold it so it's flush with the door. Go below the hole and above the closest obstruction and put a mark. On the back measure slightly beyond what it would take for this to bottom out. Once you hav...

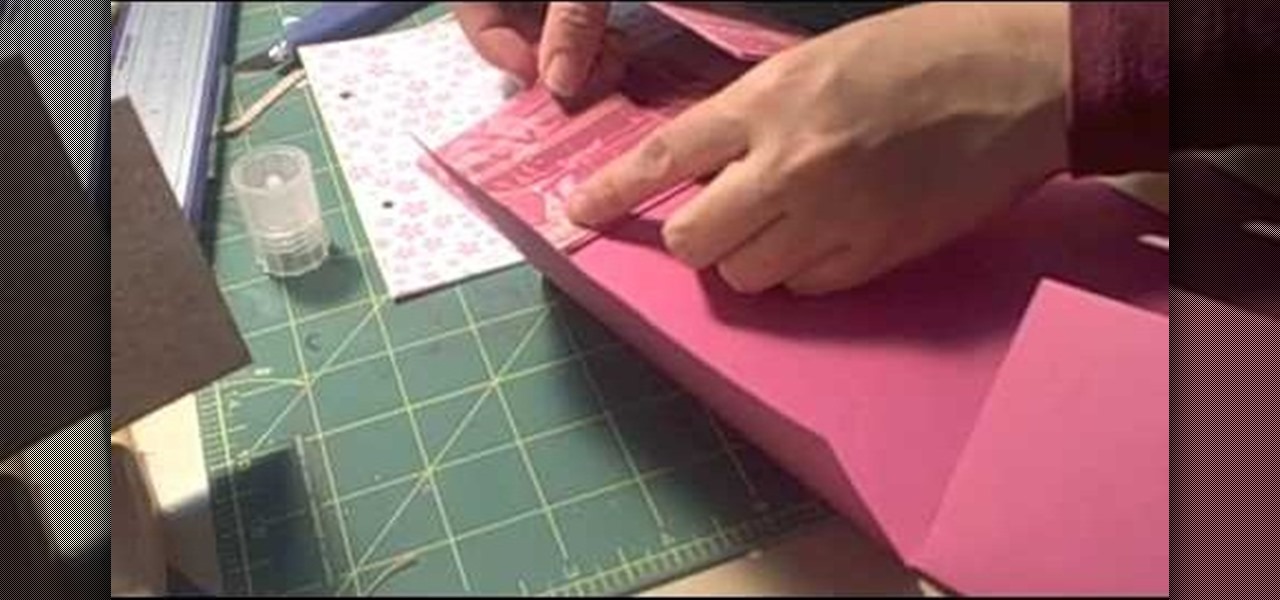
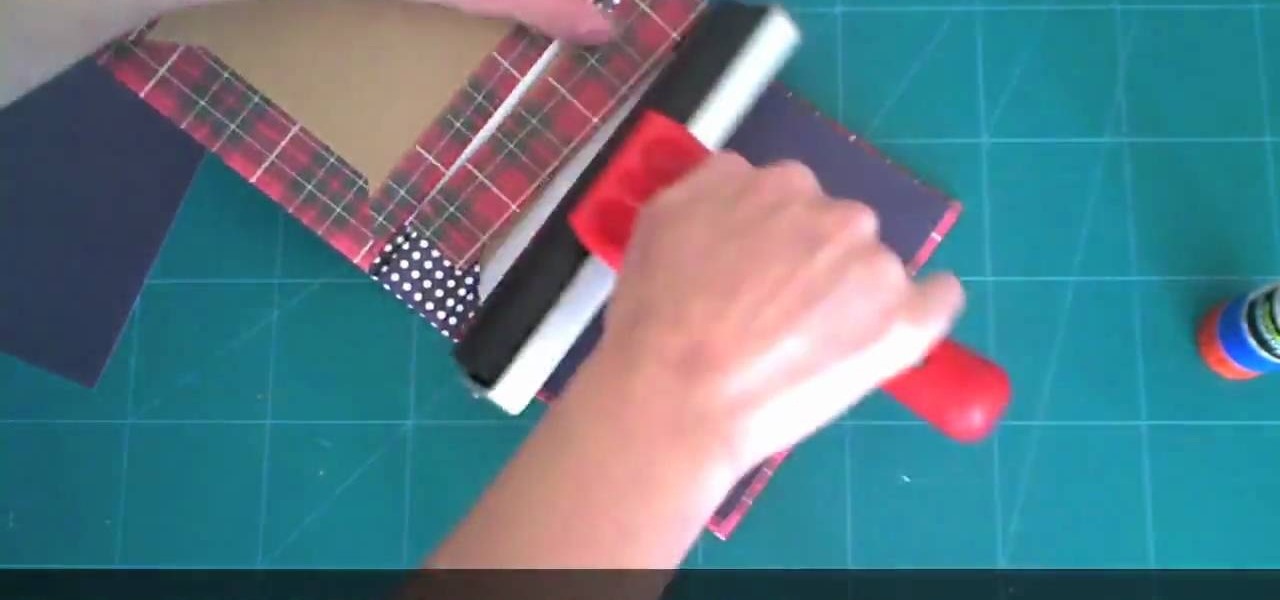
This video tutorial is in the Arts & Crafts category which will show you how to make a flip square album. Take a 12 x 12 inches square cardstock and make a score line at 3 inches on all 4 sides of the paper. Now cut along the score line at the top and bottom of the paper up to the 3 inch line. Next you fold along all the score lines inwards and you have all the flaps ready. Then mark along the edge of the center part of the sheet and punch two holes for tying the album as shown in the video. ...

In this tutorial, we learn how to make your own DIY camera speed strap. It can save you a lot of money to make your own camera strap, all you need are some thick rubber bands. First, wrap some thick rubber bands around the lens of the camera. Then, take a strap with holes in it, and wrap it over the top of the rubber bands. Tighten this up, then you will be able to use it for all of the different lenses that you want to use! If you have a certain cover, this will keep it in place and help spe...

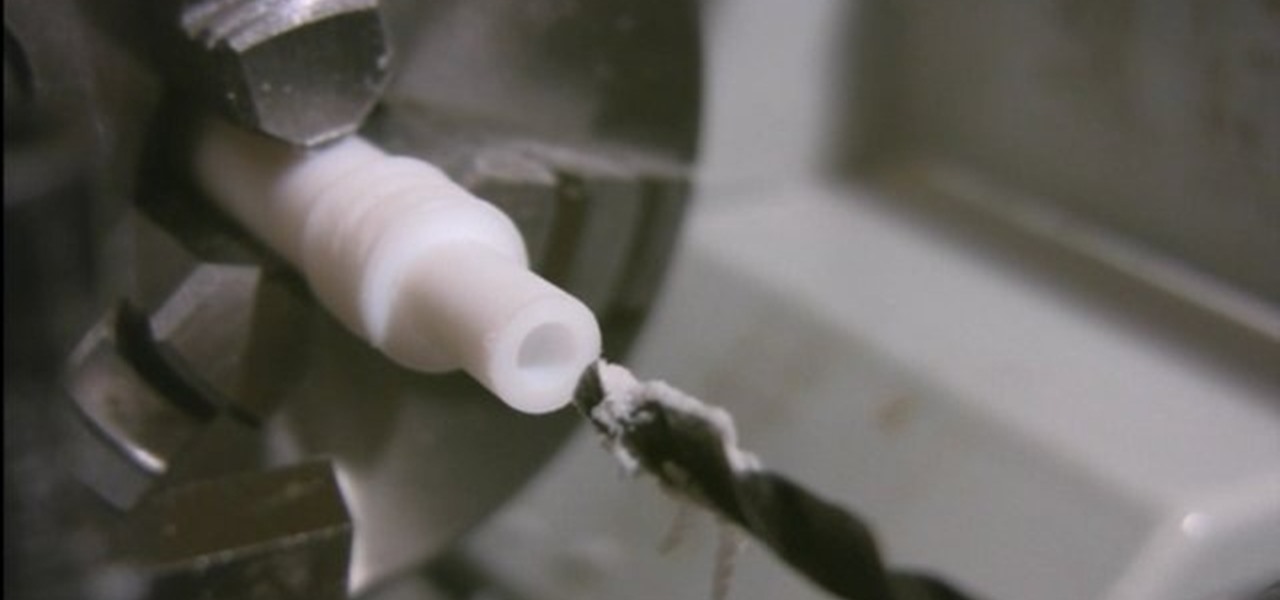
This video will show you how to create wheels for a fingerboard using a lathe. First, you should take a plastic tube and insert it into your lathe, using various drill pieces to cut down the plastic tube to the correct size. After this has been done, a drill which is attached to the lathe and adjusted to go straight through the tube can be made to create a hole through the center of the tube. You can then insert a small piece of metal into the tube in order to create the holder which will att...

In this tutorial, we learn how to play the Native American kiowa flute. This is a very easy flute to play and has a very melodic sound to it. It is a double chambered flute and has soft and sensitive tones. There are knots that separate the chambers of the flute from each other. You will place your fingers on top of the different holes as you are blowing into the flute to make different sounds come out. When the air splits, you will hear different sounds coming out and can learn the notes tha...

In this video, we learn how to remove blackheads with Lisa Rhodes. Blackheads are a common problem that occur when dirt and bacteria get trapped underneath the skin. The best way to remove these blackheads from your skin comedone extractors, which is a metal stick with a hole at the end. It applies even skin around the blackhead when you are extracting. This is safer than using your fingers, because your fingers tend to damage the hair follicle, which leads to acne bumps or a larger pore. thi...

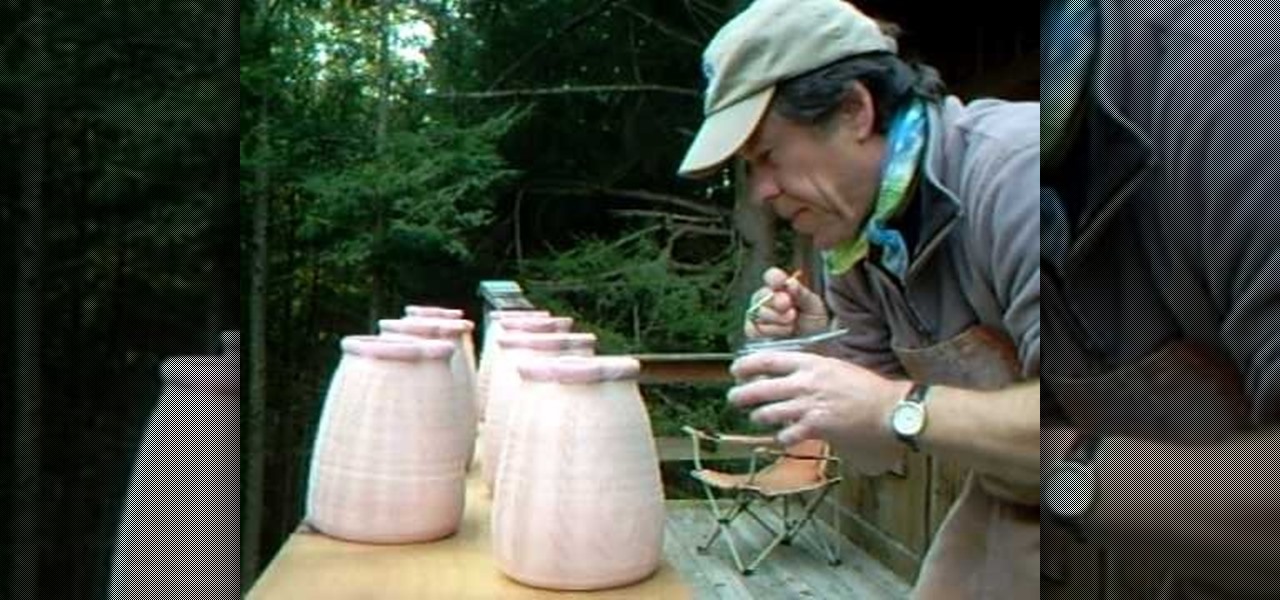
In this video, we learn how to use wood ash to prep pots for the kiln. First, grab wood ash and place it into a container that sprays. After this, blow in the appropriate hole and hold the container so the ash gets all over your pots. Continue to do this all the way around the pots. You will get out of breath while doing this, so take your take and take breaks to breathe. Make sure you do this in a quick amount of time so the ash inside the container stays ready to be blown. After this, the p...

In this video, we learn how to build a bionicle switchblade. Start with the piece of the blade that has holes inside of it. Then, start to connect the edges and the other pieces that go inside of it. Grab the piece for the blade, then lock it into place by attaching the elbow pieces that connect around it. Once you have connected these together, you will have one entire piece with the blade on the very edge of it. The end of it should be bendy, so grab a rubber band that is thick and wrap it ...

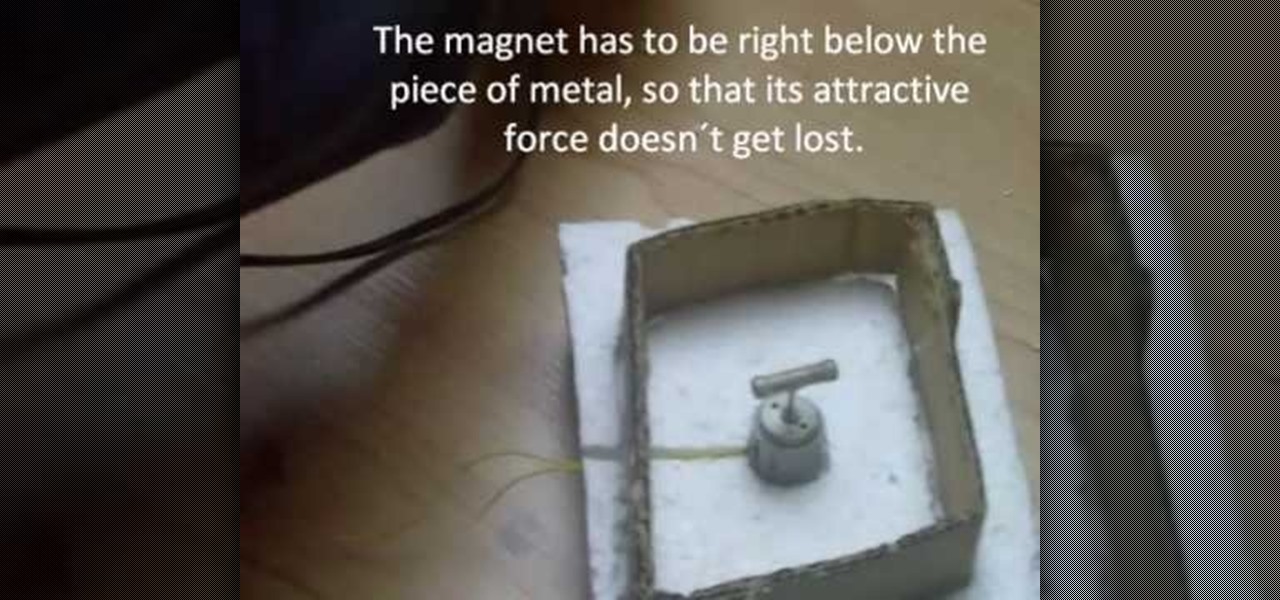
In this video, we learn how to build a magnetic stirring device. First you will need: a block of 1 inch thick Styrofoam, a piece of cardboard, 2 magnets, a small electric motor, a piece of non-magnetic metal, a hot glue gun, and a soldering iron. First, draw the shape of your cardboard square on the foam and cut it out. After this, take your soldering iron and melt away the Styrofoam from the outside. Then, make a hole in the middle for where the motor will be placed and push it inside. After...

In this tutorial, we learn how to apply half dead zombie makeup for Halloween. First, clean off your skin completely and then dry it. Next, apply glue to the skin while using a sponge, then apply toilet paper on the forehead skin and layer it with glue. Next, apply more glue to the skin and then make a hole in the toilet paper. Following this, apply foundation on top of it, then set with powder. Next, apply red, blue, black, and purple eyeshadow to make a bruised look on the face. After this,...

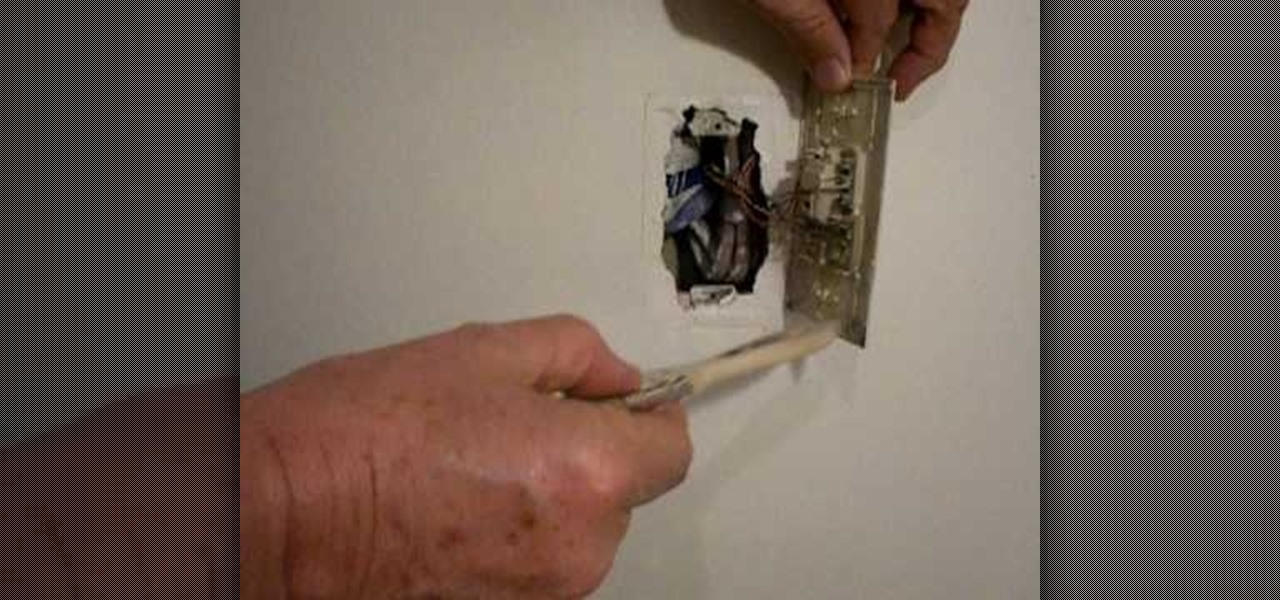
Diatomaceous Earth may be useful for killing bugs in walls. Light sockets and phone jacks provide a highway for bugs to travel from one infested room to another or one infested apartment or another. They also function as a hide-out for them during daytime hours, when they might be more visible.

For this next prank tutoril, you'll be finding out how to give someone a prank tire, without having to poke a hole in the tire. It involves putting an object inside the cap of the bike's tire. This is used to help release the air from the tire, resulting in the flat tire. It's an easy to perform prank and will take a little bit of time to prepare. So good luck and enjoy!

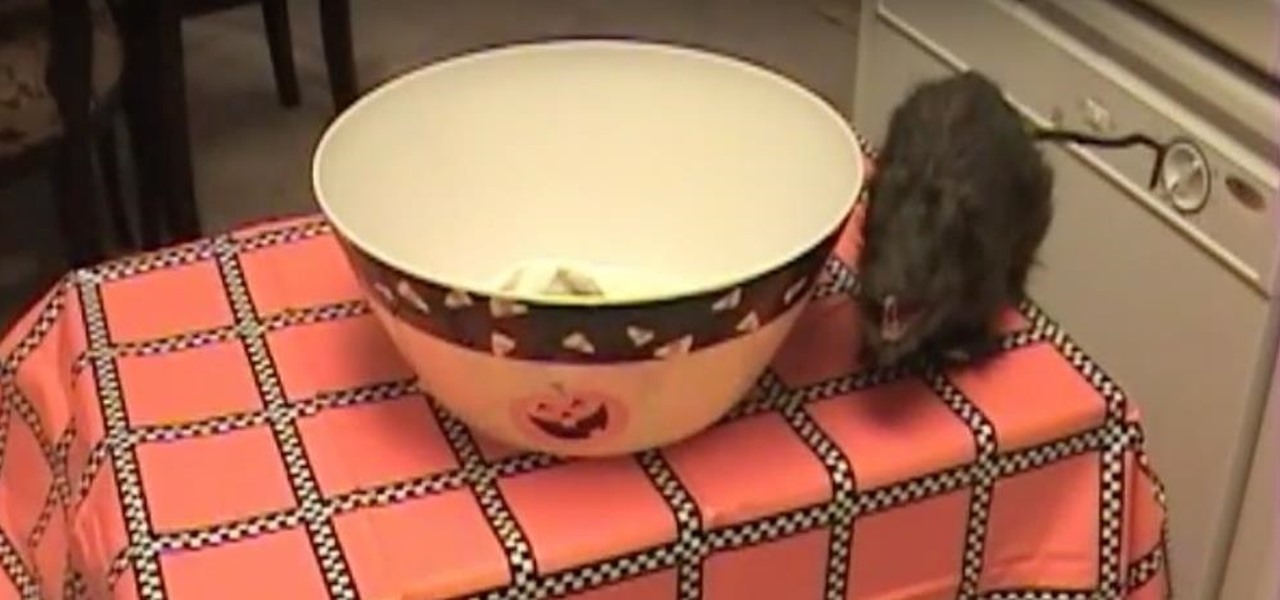
If you're looking to pull off a great prank for Halloween, this next tutorial will show you a classic prank. It involves using a candy dish and your hand.

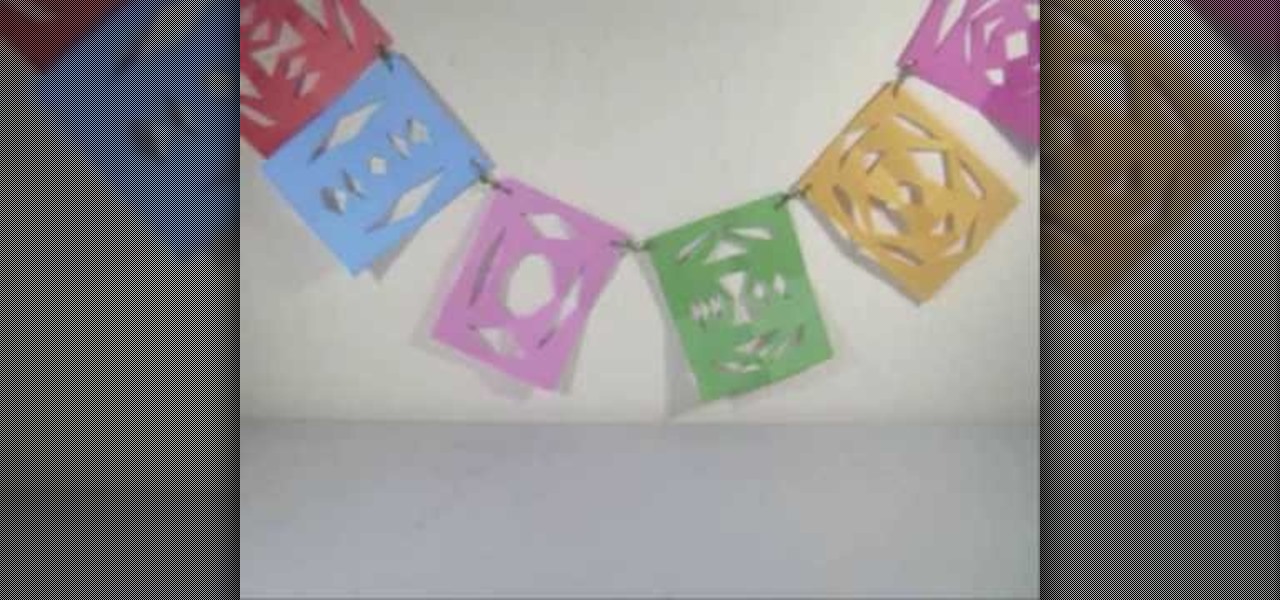
In this video tutorial, viewers learn how to make a colorful paper banner. This task is very easy, fast and simple to do. The materials required for this project are: construction paper, yarn, scissors and a hole puncher. Begin by folding the construction in half. Then fold it in half on again. Now cut pattern on the side edge of the paper and repeat this process for additional paper. Open the paper to reveal the symmetrical cut out pattern. This video will benefit those viewers who are inter...

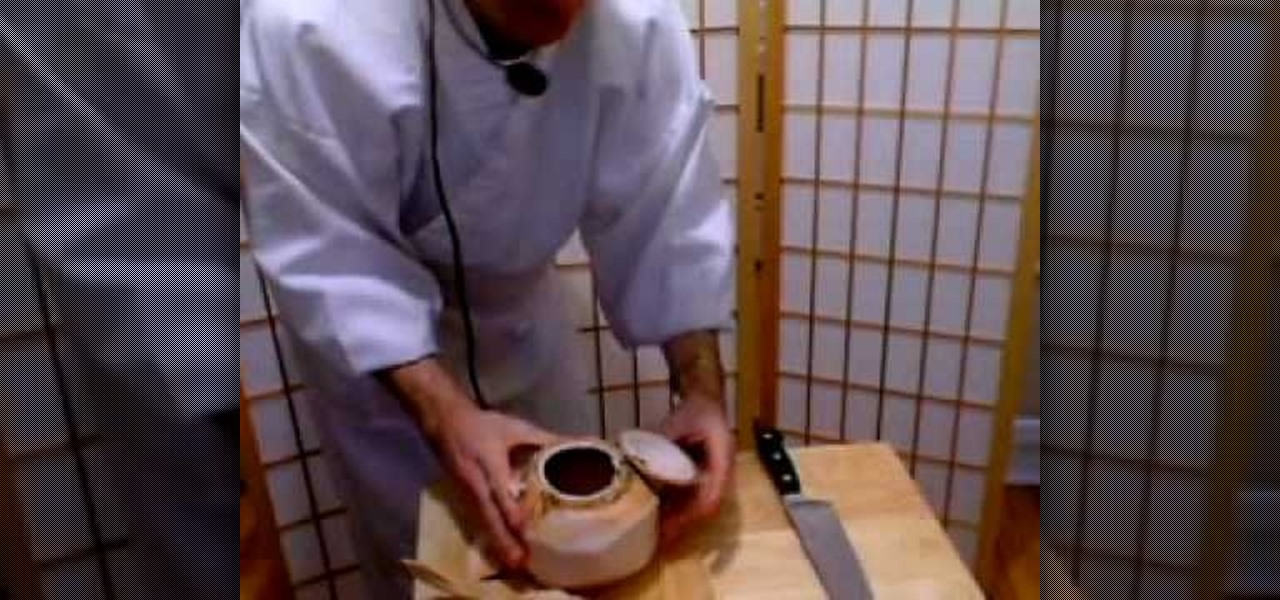
In this tutorial, we learn how to open a fresh young coconut. First, you want to grab a sharp and large knife, then go around the coconut cutting the husk off. After you have done this, you should be down to the nut of the coconut. Some areas of the husk will be thicker than the others. Next, use the corner of the knife to knock the top corner of the coconut. After this, take the knife and stick it into the hole that you made. Wedge it in there slowly, then turn the knife towards you and cut ...

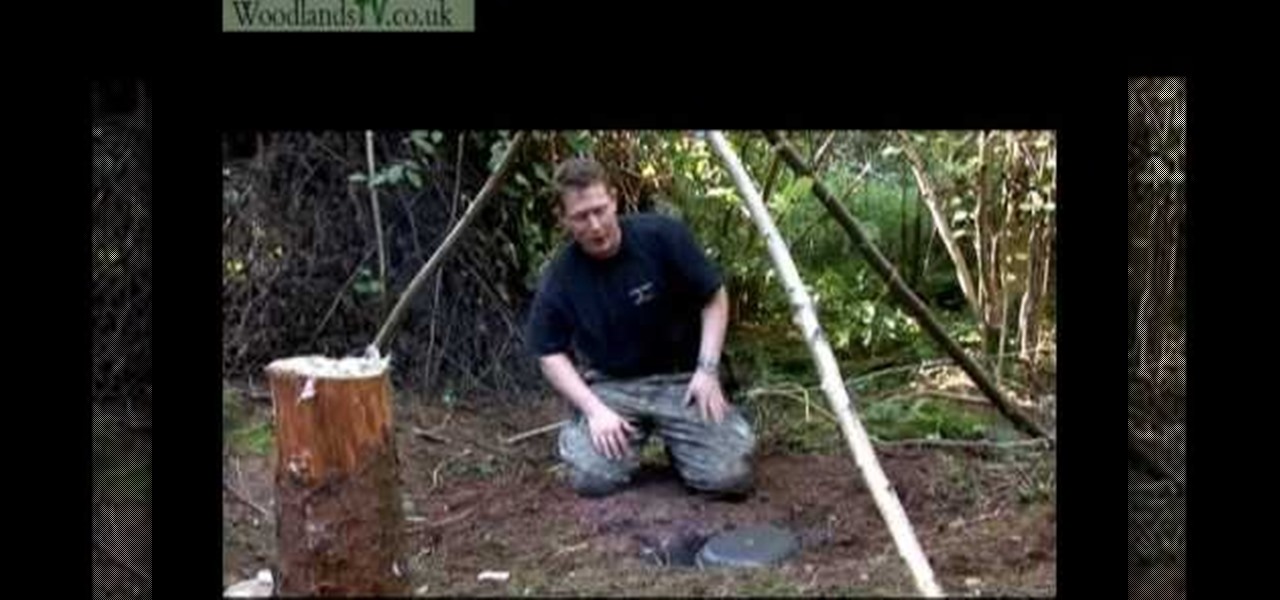
This video demonstrates the tripod method of setting up a campfire for cooking in the wilderness. In order to set up the tripod, you will need three large branches of hazel, some copper wire, and a hooked branch to be used to hang a pot from the tripod. The copper wire will be used to attach the hooked branch to the tripod setup and cord or rope may be substituted. Another method of cooking which is demonstrated is to cook food in a pot over some embers. A hole is dug in the ground and a fire...

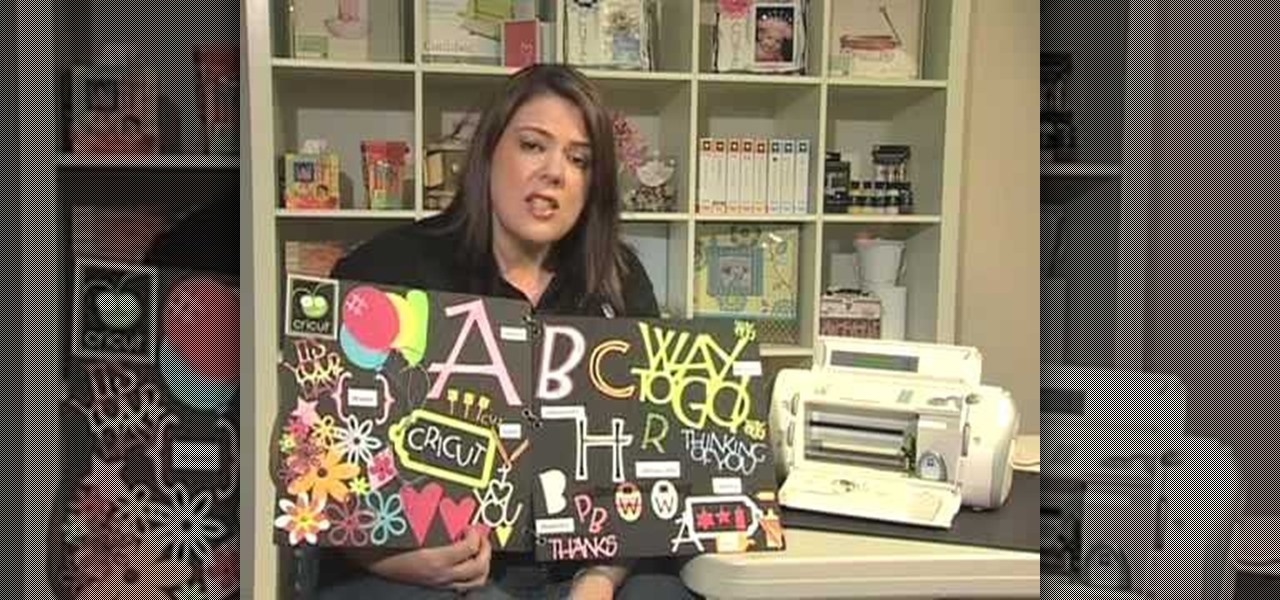
In this tutorial, we learn how to use the feature keys for your Cricut machine. There are six feature keys on every cartridge. The first is the shadow feature key that create a matte to highlight your letter. The shadow blackout key creates a solid matte that doesn't cut out the holes in between the letters. The charm feature key puts a charm top on the top of letters. The sign feature key puts letters inside of a small sign post, making it one inch from top to bottom. The slotted feature key...

In this tutorial, we learn how to solder with a soldering iron. You will need: tinning pads, desoldering braid, and an adding component. Start off by heating the copper, before you add the wire. You need for the acid to flow from the core onto the copper to create a surface that will accept the solder. A cold solder will break or cause burn. If you use too much solder, use the braid to remove it. Next, place the wires onto the holes and heat them onto the circuits where you want them to be pl...

In this video, we learn how to use a big eye needle when making jewelry. This is a great tool when using stripping material. The needle is made of the eye and will work with ribbon or thread. First, open the eye of the needle, then thread the material through the opening of the hole. Next, string your beads over the point of the needle and then onto the material. Continue to do this for all the different beads you want to add, then your bracelet will be complete in a few short minutes. This m...

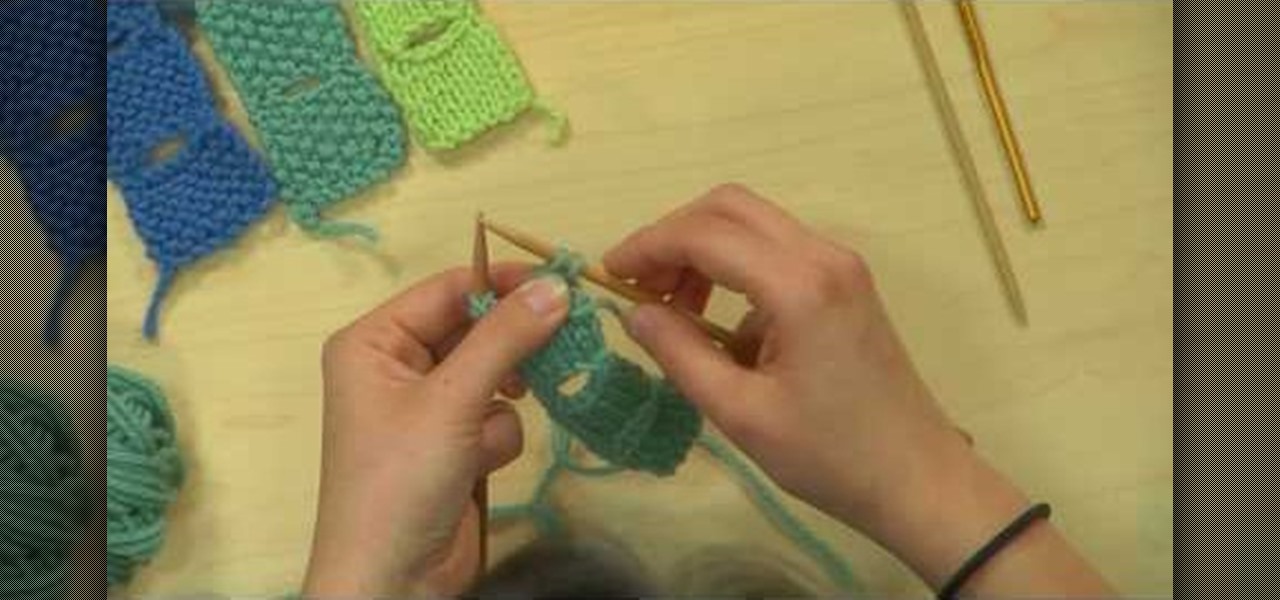
These tulip buttonholes are both pretty and all-purpose, usable for just about any knitting project that requires buttonholes. Composed of a petal-shaped hole rimmed at the edges with a briaded knit, this tulip buttonhold project is simple and great for knitting beginners.

In this tutorial, we learn how to make a journal from packaging materials. First, cut a cardboard at 5.5" x 4.5" on each side. When you are finished, create another cut that is 5.5" x 1" for the side. Now, cover the two large sides with a piece of fabric that you choose. After this, cover the middle piece with fabric, and then tape it on with double sided tape. Next, place all pieces next to each other, tape it, then place a solid piece of paper on the inside, and use a glue stick to adhere i...

In this tutorial, we learn how to perform a butt weld. First, read the settings for your welding machine and make sure you have everything set up in order. Now, place protective gear onto your body and start to perform your weld. Use caution and make several holes into the metal. You can do this on a small piece or try a larger one once you are comfortable enough. Make sure you are using the push and pull method while welding, pushing into the metal and then pulling back out. When you are fin...

In this tutorial, we learn how to throw an upside down double walled pottery vase. Start off by using water every few seconds to craft your vase. Use your fingers to press down in the middle, to make the round shape and have the vase rise up into the air. Make this into a bowl shape, which will be into the air. Next, shape the middle using your hands into a triangle shape. Raise the side bowl around it, and keep using water to increase the size of the bowl. Collar the bowl in, then start to m...

In this tutorial, we learn how to draw Bowser Jr. from Mario Brothers. Start off by drawing the nose, which has two large humps going to the chin. Next, draw his mouth, dimples, teeth, and nose holes. Next, draw in the eyes and eyebrows, filling in the pupils with small white circles in the middle. Make sure the eyebrows are pointed upwards, so it looks like he's glaring. Now connect the top of the head, followed by drawing the hair onto the top of the head. Next, draw on the arms and front o...

In this tutorial, we learn how to build a subwoofer for a Mini Cooper. Start off by cutting the wood so it's to the exact sizes that you need. Next, attach the walls of the subwoofer together with a screwdriver and screws. After this, apply wood glue to the inside of the wood to make sure it's stuck together. Next, make a circular piece of wood for the speaker, then cut a hole in the back of the box. Insert your speaker to the subwoofer and string the wires through the back. When you are fini...

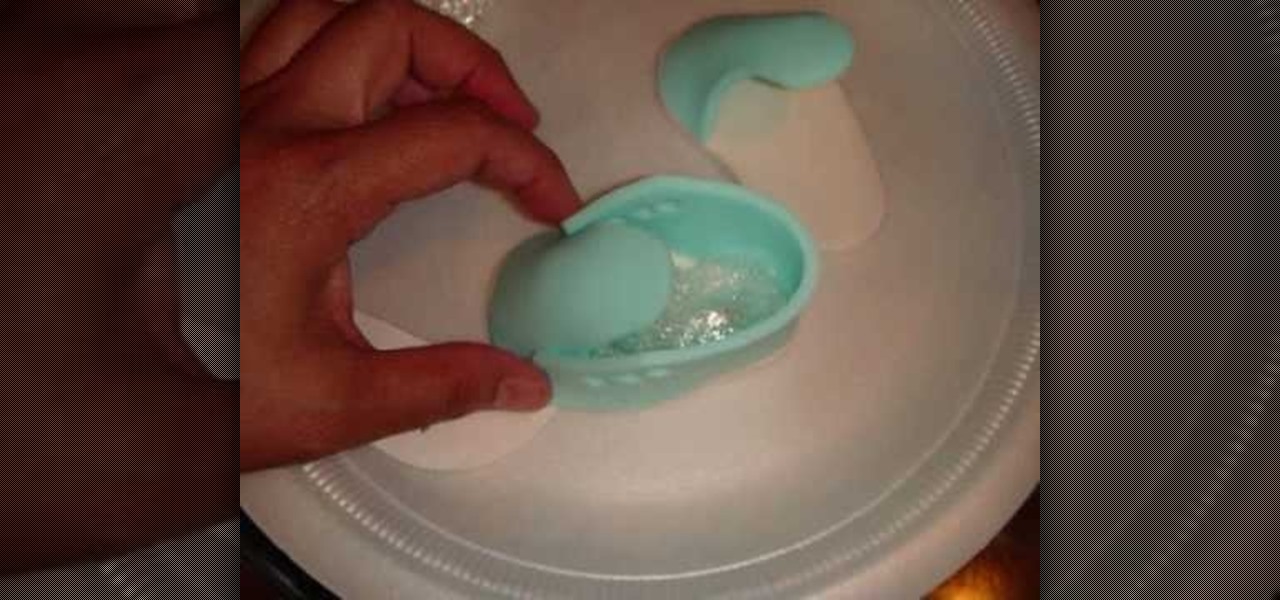
In order to make baby converse sneakers out of gumpaste, you will need the following: fondant cutter or a pizza cutter, a paint brush, an X-acto knife, edible glue, a small circle cutter, and templates.

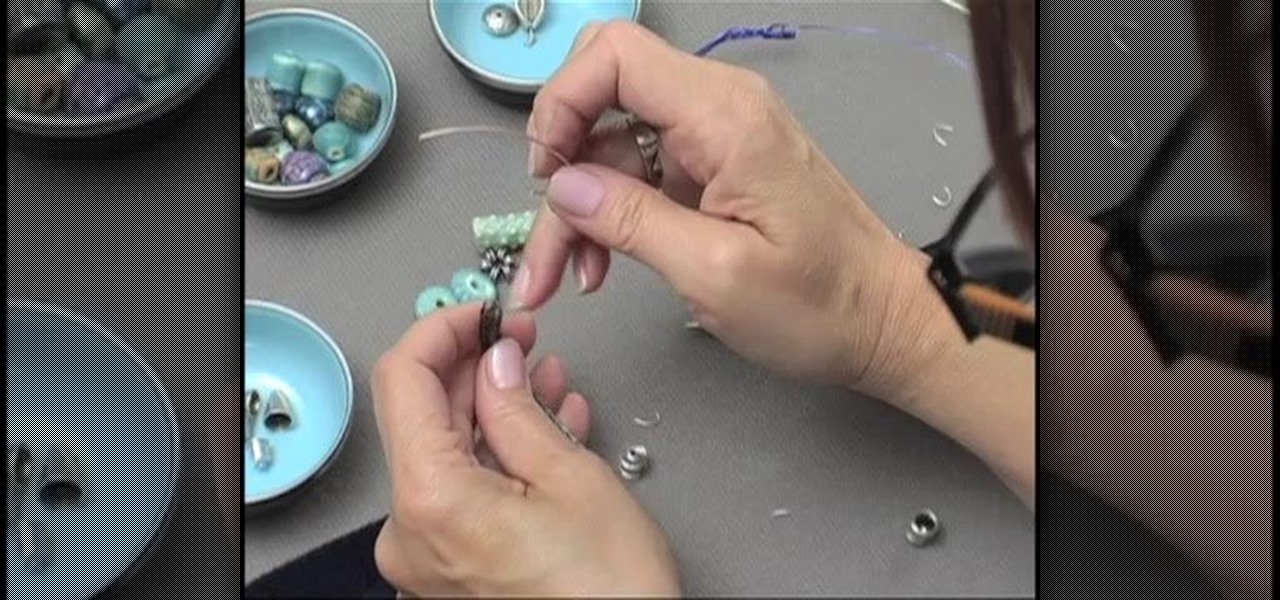
In this tutorial, we learn how to make a beaded Viking knit bracelet. First, pull a craft wire through a draw plate in the largest hole. After this, you will have a knitted weave bracelet. Now, place a hook in the loops at the end of the bracelet, and twist it down, then cut the end of the wire off and place an end cap on. After this, attach different beads and jewels to your bracelet, using wire to keep them in place. These will be one of a kind jewelry pieces that you can't buy in any store...

In this video, we learn how to wear a beret securely. This is used to keep the beret on your head so it doesn't fly away. To do this, you will need the beret and bobby pins. First, place the beret onto your head and style your hair around it so it looks how you prefer. Next, grab your pins and place then inside the beret holes onto your hair. Use a couple of the pins to make sure the hat and hair are connected and secured tightly. When finished, move the hat slightly to make sure it is secure...

In this video tutorial, viewers learn how to reset a garbage disposal. Begin by making sure that the garbage disposal is turned off. Then look for a red button underneath the garbage disposal. This red button is the reset button. If the button is pushed out, push it back in to reset the unit. If it still will not start, look down the sink hole for any obvious obstructions. Another solution is to insert the included wrench into the center of the unit. Then turn it 1/4 - 1/2 turn. This video wi...


