This is a video tutorial showing its audience how to make a New York City Skyline punctured paper lamp shade with ThreadBanger. The first step is to gather your supplies. You will need paper, puncturing tools, two wire rings, ribbon, tape, bull nose clips, tape, foam, and scissors. Then you will take your graphic paper and lay it on top of your plain sheet of paper and on top of your foam. Next with your puncturing tools punch holes all around each graphic so that you get your design. Then ma...

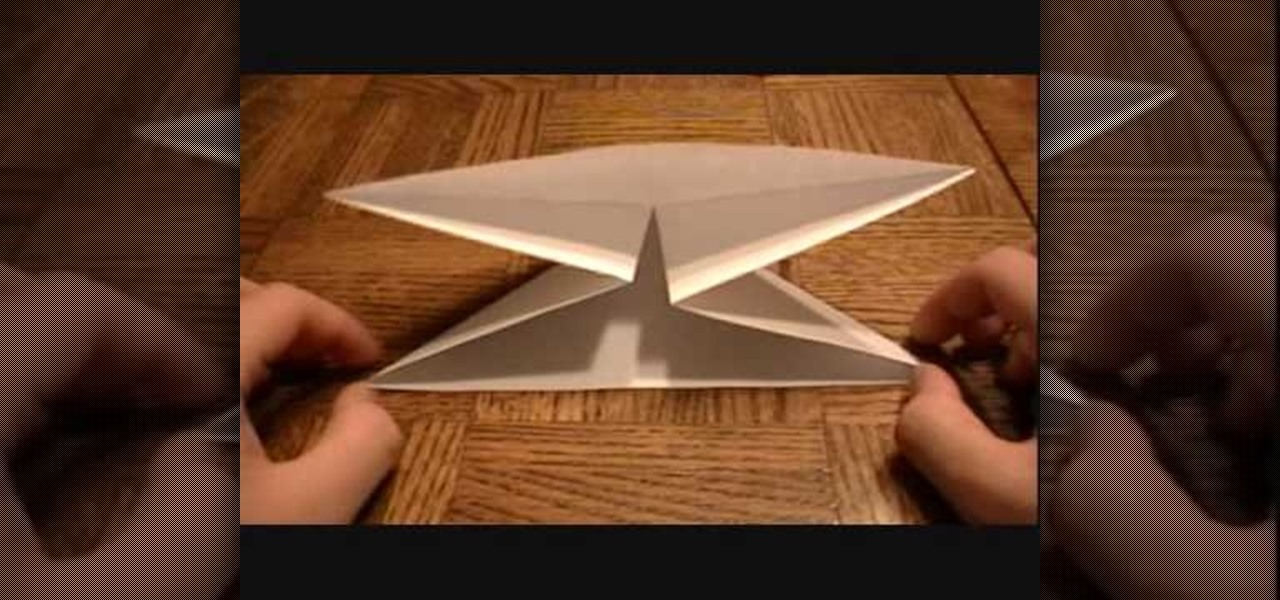
To create an origami buckyball, you must start with a piece of paper cut into a triangle with each side about two inches long. Fold the corner of each side into the middle of the opposite side and then unfold to create creases that will be your guide. Next, fold a side up to the midpoint of the creases and repeat on all sides. This will create a star-like shape. Now, fold two sides in and pinch out the extreme, outer corner and repeat on all sides. This will create a small star inside your pa...
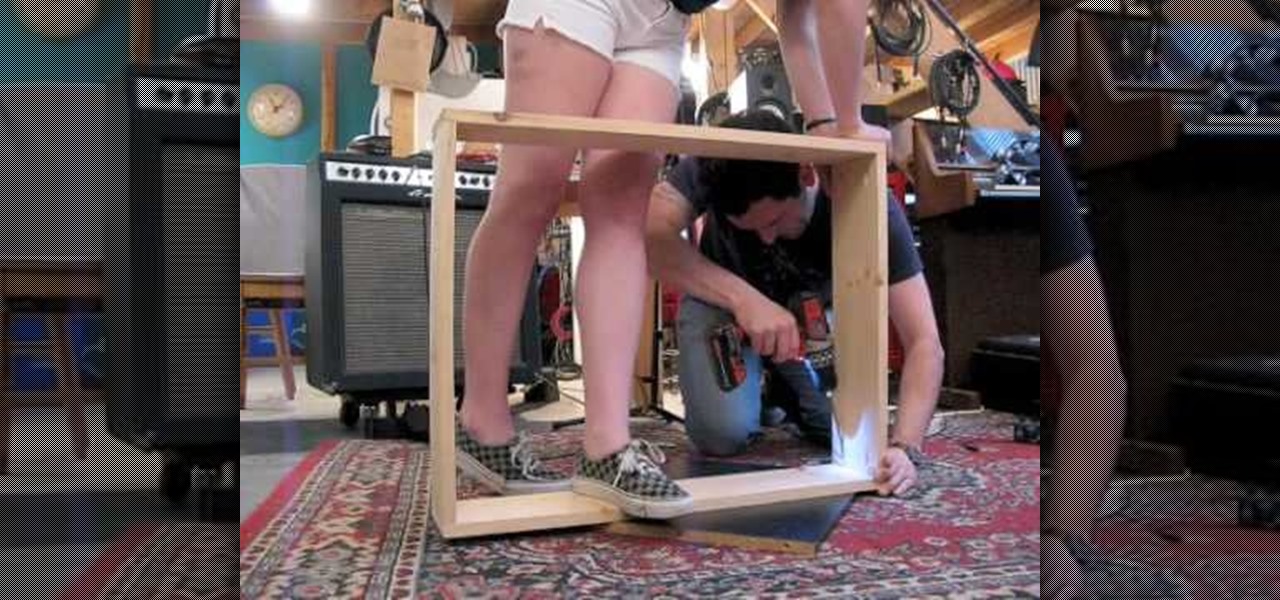
Josh Copp and Madeline Donahue show us how to build a light table from pine wood and plywood utilizing two fluorescent light fixtures as the light source inside the box. The frame of the box is fashioned out of two 1X8 planks cut into four pieces so that two sides are 30 inches and two sides are 22 3/8 inches. The base of the box is made of plywood or OSB and is 30X22 3/8. Once the pieces are cut and assembled using a pocket hole jig and wood screws, the inside of the box is painted with whit...
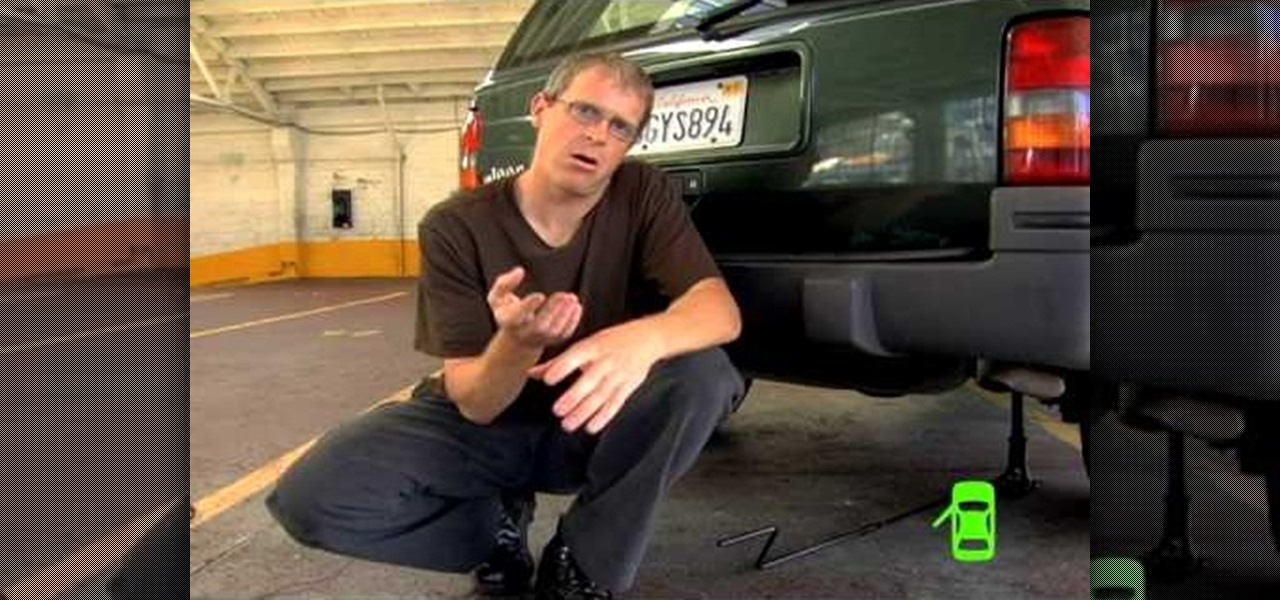
Everyone who drives should know how to use a car jack in case of a flat tire or blowout. Check your owner's manual to find out where your car jack and spare tire are located. In most cases, they are somewhere in the rear of the car. The video shows us how to use a telescoping jack, though the more common type of jack requires a scissor motion to raise the car and lifts from the side rail. The telescoping jack lifts from the axel and to raise the jack you need to insert the rod into the hole n...
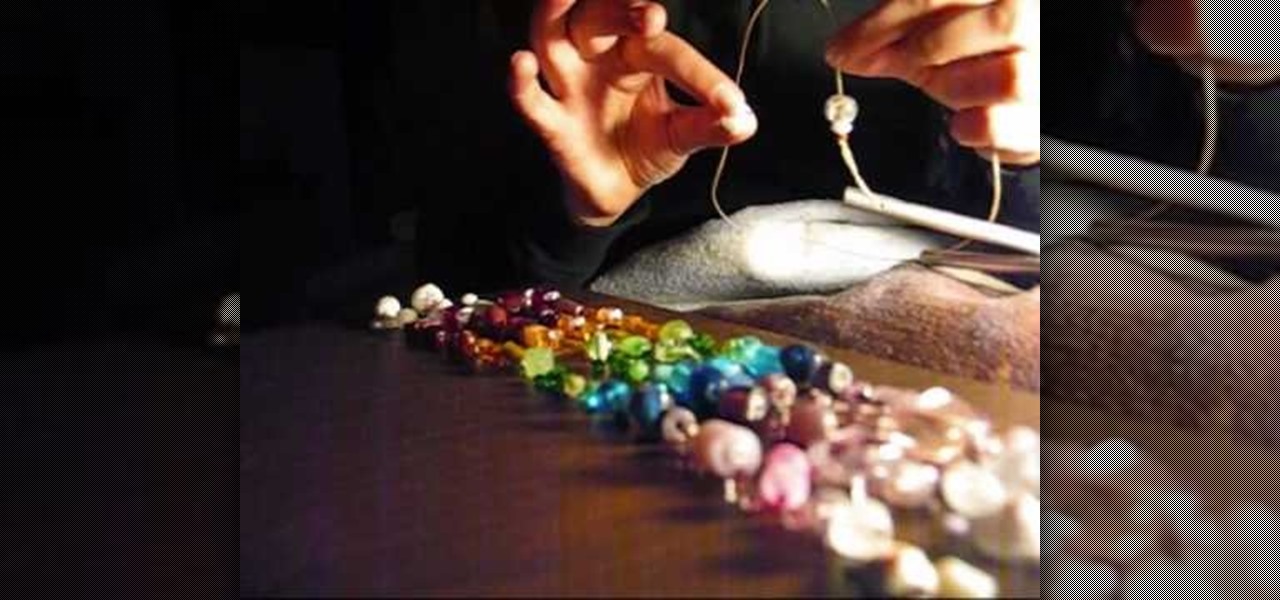
Do you have a bunch of flawed beads left over after you make your crafts? You know the ones, the chipped, cracked, sharp ones that don't make the cut and usually get tossed in the garbage? Why not make those into something lovely, where the cracks don't matter? In this two part tutorial, learn how to turn your discarded beads into a beautifully shiny wind chime for your backyard. This chime is unique and makes a lovely noise in the wind. Let's get crafting!

Garden of Imagination demonstrates very simple method of how to make miniature doughnuts from polymer clay. There are three varieties of doughnuts made sprinkled, glace and chocolate covered. These are very simple round doughnut. For this we need a plastic clay measure which has balls of different size. We have to start off with a little piece of clay, put in size E of the clay measure. Always put some extra and slice it off. Take it out. Make it into the size of a ball with your hands. Now m...

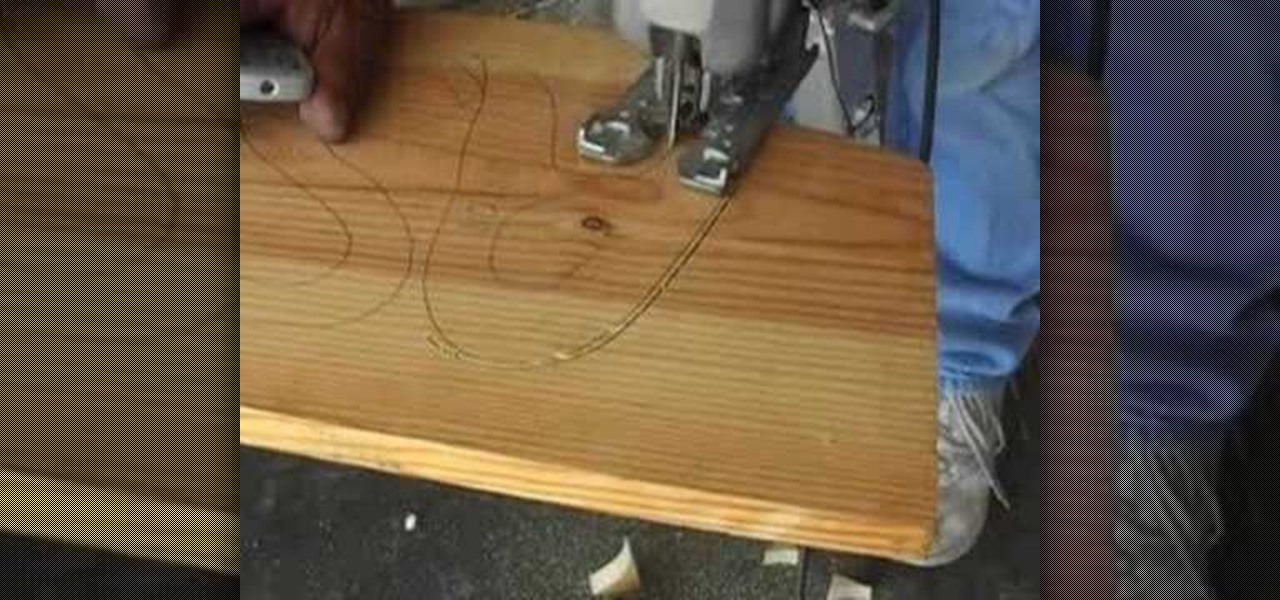
In this video presenter Dominic shows you how to use a Jig Saw correctly. Dominic suggests that if you are going to make a tight turn then you should use a skinnier blade in order to avoid banging up the wood or breaking the jig saw blade. He adds that you should be patient and try not to go too fast. With the jig saw you first have to drill a hole in the wood and then put the jig saw through as the blade is flexible and cannot be pushed through by itself. He suggests trimming off the first p...

This tutorial describes how to make a Hershey Kiss holder. This is a quick and easy project that you can make to use as little gifts in your kids' lunches, for co-workers, party favors, place-holders at holiday meals and more.

He says that he is soling to make some foliage, flowers and leaves draping out of the vase so that it gives you a feeling that you are in Greece when seen from the balconies of houses in the hillside or something. He first puts some lemon leaves to cover sides of the vase making them drape out, them he puts some comatose leaves on the sides along with the lemon leaves and asks you to make them hang outside from the sides of the vase so that it gives a real delicate look. He says that all thes...

After beating Silitha, you'll have to return its heart. Watch this walkthrough of Darksiders on the Xbox 360. After Silitha's death, you'll find yourself in a cave two levels below where you originally fought her. Use the Crossblade to hit the crystal blade on the rock platform to make it rise and fall through the hole Silitha made. It will go up and down twice. Use the Abyssal Chain to ride it up to the middle level (one below the original) and here you'll find a Soul Chest and an Artifact. ...

Make sure to detonate the bomb growth in this level for the Xbox 360 game Darksiders, section Twilight Cathedral - Revisit Scalding Gallow. Upon defeating Tiamat, War will find himself back out front of the cathedral. Go speak to Vulgrim to learn about Serpent Holes. These allow you to "fast travel" back to previously visited places, as long as you've found Vulgrim in these places. Make you way back to the Scalding Gallow and go talk to Samael who sits on a throne in the middle area where you...

Get ready to battle Uriel in the Xbox 360 game Darksiders. Uriel is an incredibly quick and powerful Angel. Follow the tunnel to the sewer then take a left. At the end of this straight away, swim down into the hole and through the tunnels below. You'll emerge in another sewer section. Climb the Demonic Growth along the right wall but avoid the glowing orange bits (they explode). Climb to the ledge up above then leap to the cable in the middle then shimmy across it to the far side of the gap. ...

Team Member Trevor at Bunnings.com shows the average Joe how to render an effective paving job. On this particular day, Trevor guides viewers through simple instructions for laying a nice brick walk. He recommends starting with a foundation of coarse-grade sand, as the coarser grades pack better.

This origami video tutorial shows you how to fold an origami 3D box. 1. Prepare a square paper. 2. Fold from 1 corner to opposite corner. Make a "x" on the folded line of the paper.

This tutorial shows you how to make Magas (Indian Besan ki Burfi). Here are the ingredients you need:

Add a party favor to your next hosted New Year's Eve bash. Ring in the New Year wearing personalized party glasses! It's a fun project for kids and adults.

No ice cream? No problem! You probably have the ingredients at home to whip some up. Watch this video to learn how to make homemade ice cream in a plastic bag.

Kick 'Em When They're Down Achievement 1. Rude Awakening

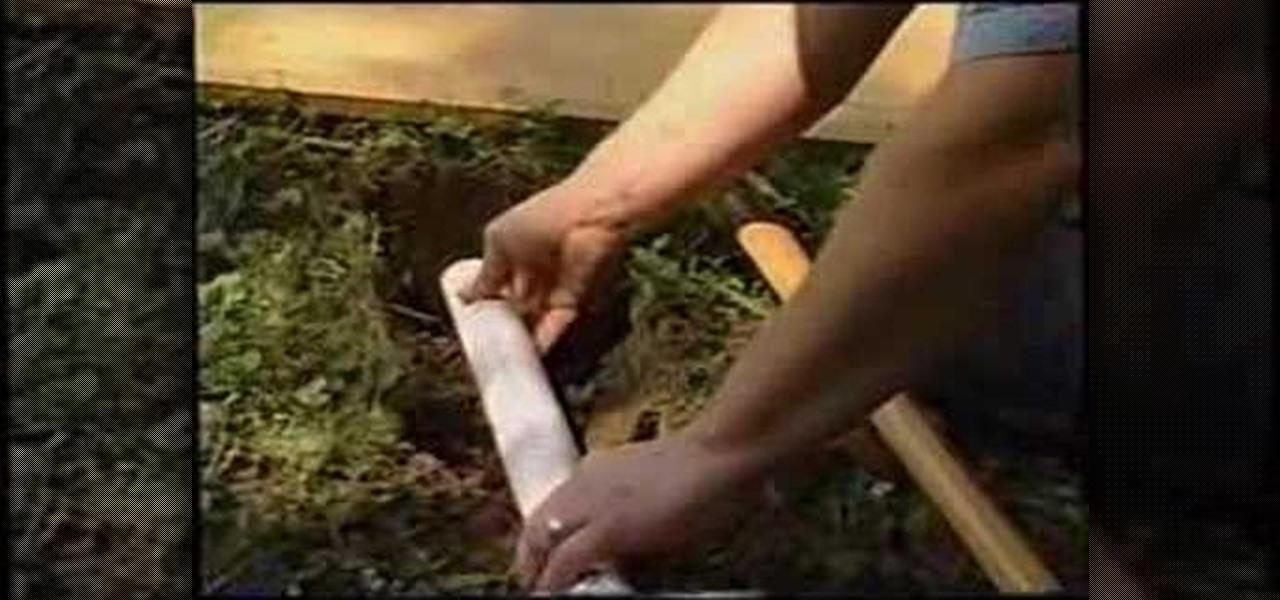
Tim Carter of Ask the Builder, demonstrates how to drill a hole under a sidewalk, driveway or walkway so you can install an underground wire.

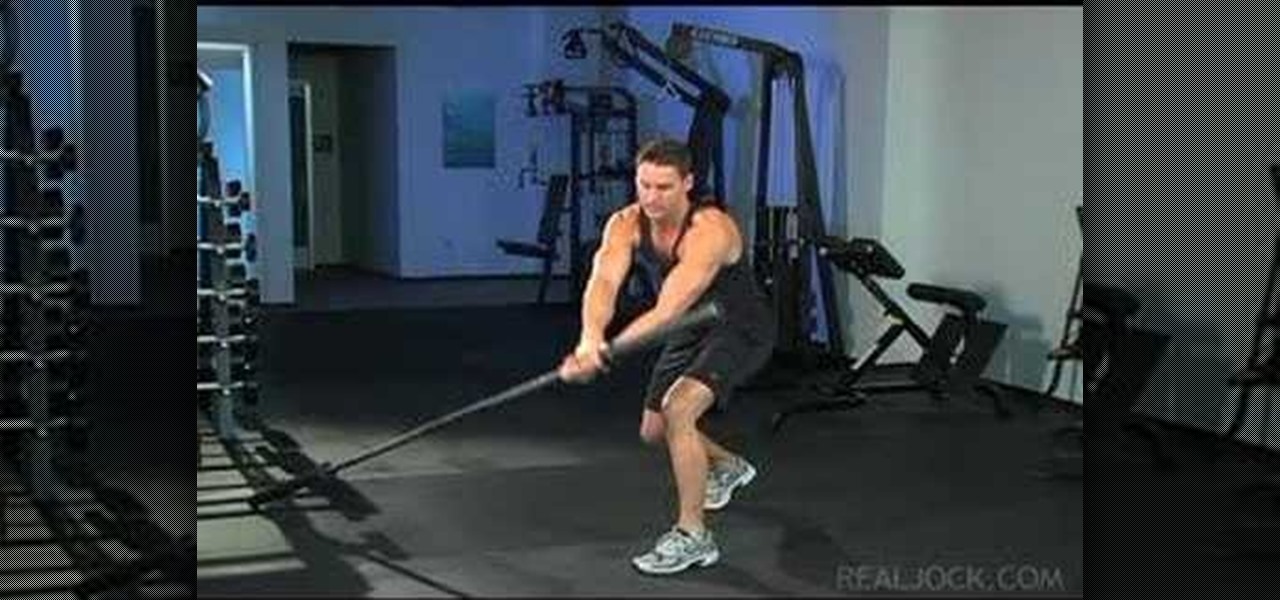
Learn how to do landmines with a barbell. Presented by Real Jock Gay Fitness Health & Life. Benefits

Need some smooth pan shots for your indie film? How about a cool dolly zoom effect? Well, you don't need to be a professional filmmaker to use such a device, but you do need the money for the gear. But—if you can work your way around the workshop, you can probably build your own camera dolly and track just fine. And for under $100! This video shows you how to build your own DIY dolly and dolly track, and all you need are the parts listed below. Then you just need to learn the art of the dolly...

Okay, so you've read our guide on how to make the perfect poached egg. Maybe you've also read our tutorials on making great hard-boiled eggs and even scrambled hard-boiled eggs. Now comes the question: what's next?

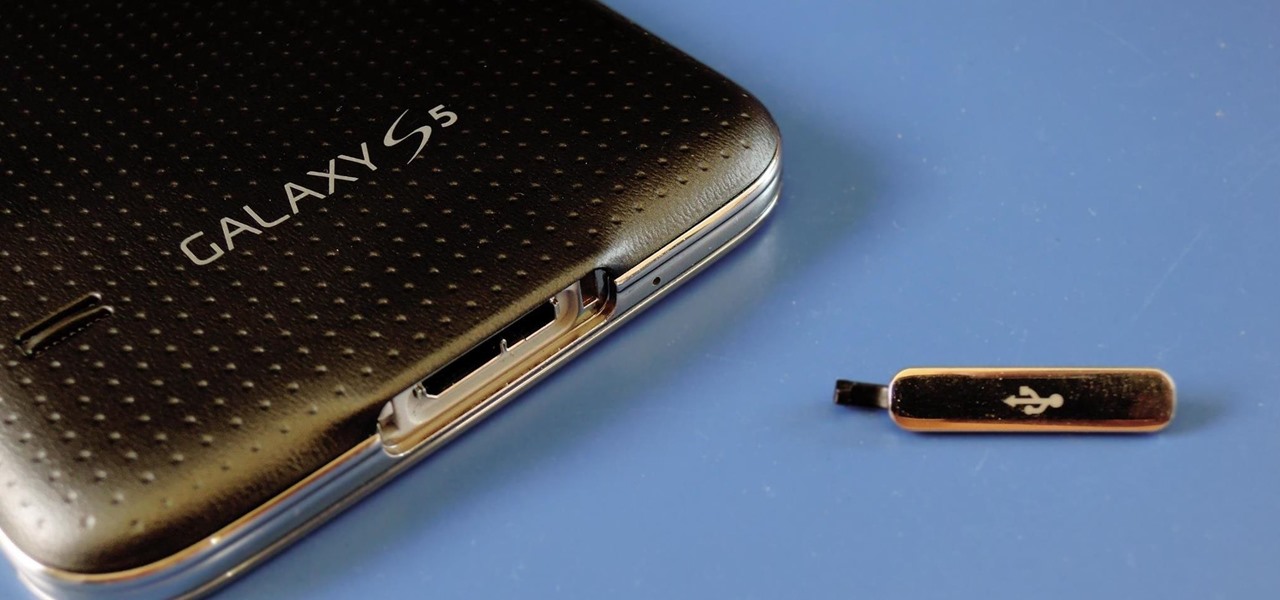
Having a dust- and water-resistant phone is truly useful, but it comes with a price. In order to achieve this functionality, Samsung had to literally plug up any holes in the Galaxy S5, and this included the charging port.

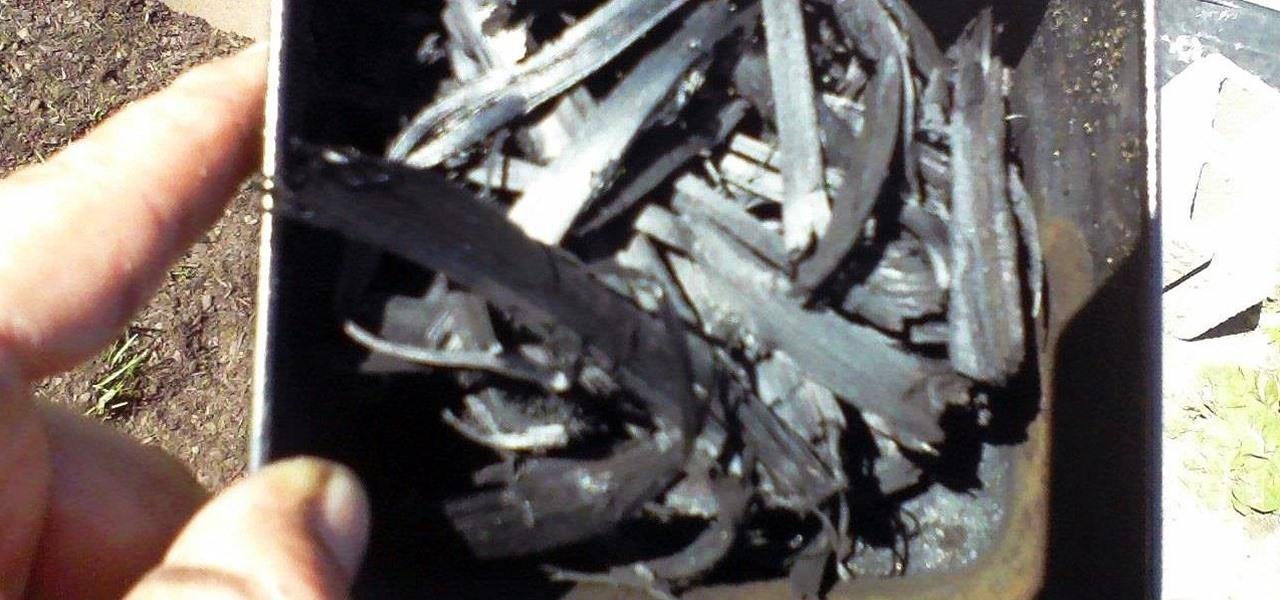
Hello, all. In this article, I will be showing you how to make one of the most useful products known to man. I am talking, of course, about charcoal.

How to easily build a raised garden bed out of wooden pallets for free! …Well almost free. Building a raised vegetable garden with pallets or reclaimed wood is a really rewarding experience. The garden bed idea out of pallets came about from the fact that l wanted to build a rustic looking raised garden bed. A vegetable garden bed that not only provides delicious food, but looks good at the same time. The recycled wood has come from hardwood timber pallets that have been sourced totally FREE ...

I know Americans love to hate on the French, but from my standpoint, they've given us a lot of things we should all be thankful for, like French kissing, casual sex, Pepé le Pew, and of course, French fries. Well, maybe not...

In Minecraft, a large aspect of the game is PVP (Player vs. Player Combat). A hardcore Minecraft fan will remember that back in Beta 1.8, combat was switched up, and it really changed the game around. Here are some tips on what a two-year Minecraft player has to say.

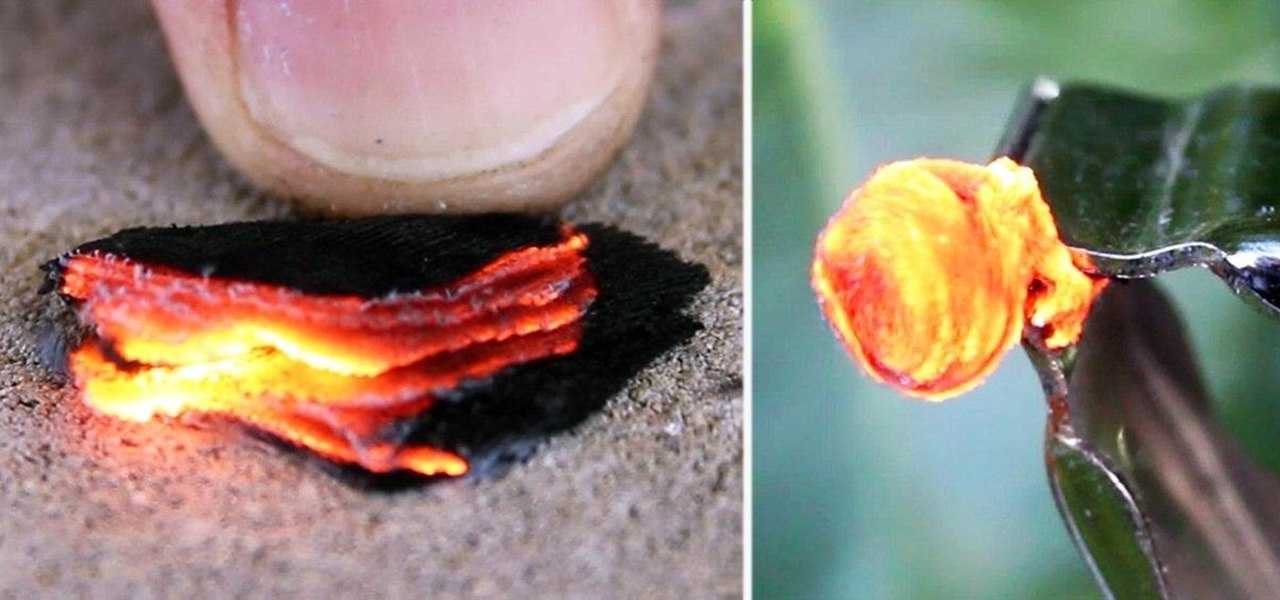
For this project, I sacrificed some of my kids' clothes and a can of tuna to make some high-quality fire starter! Here's how to make a great batch of char cloth to add to your emergency survival kit.

Hello again, faithful readers. For today's lesson, we will be learning the correct way to restring and tune an electric guitar. I almost wasn't going to post this because it is so basic. But, as with many basic tasks, there are a lot of people who know how to do it, but can't really do it right. If you are a new guitarist, this is an essential piece of maintenance work, because guitar shops usually charge way too much for this task. Of course, I'm kinda cheap, so even 5 bucks is too much for ...

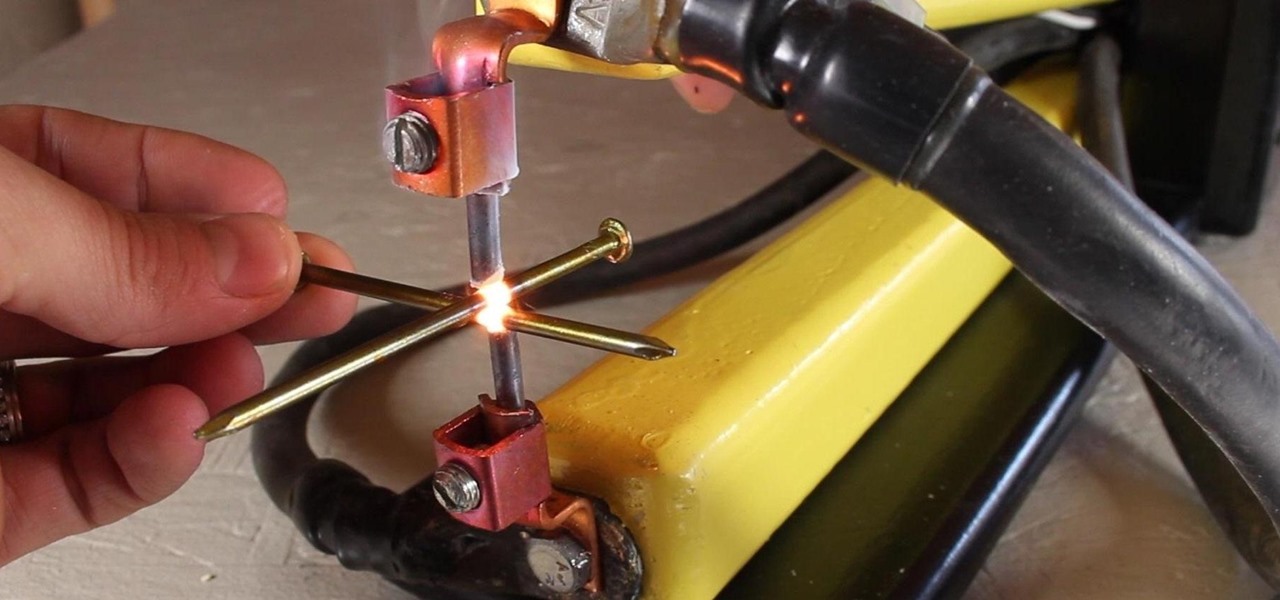
A typical resistance spot welder can range in price from about $200-$800, but with a little resourcefulness and a bit of free time, you can make one like this for about $10 or less.

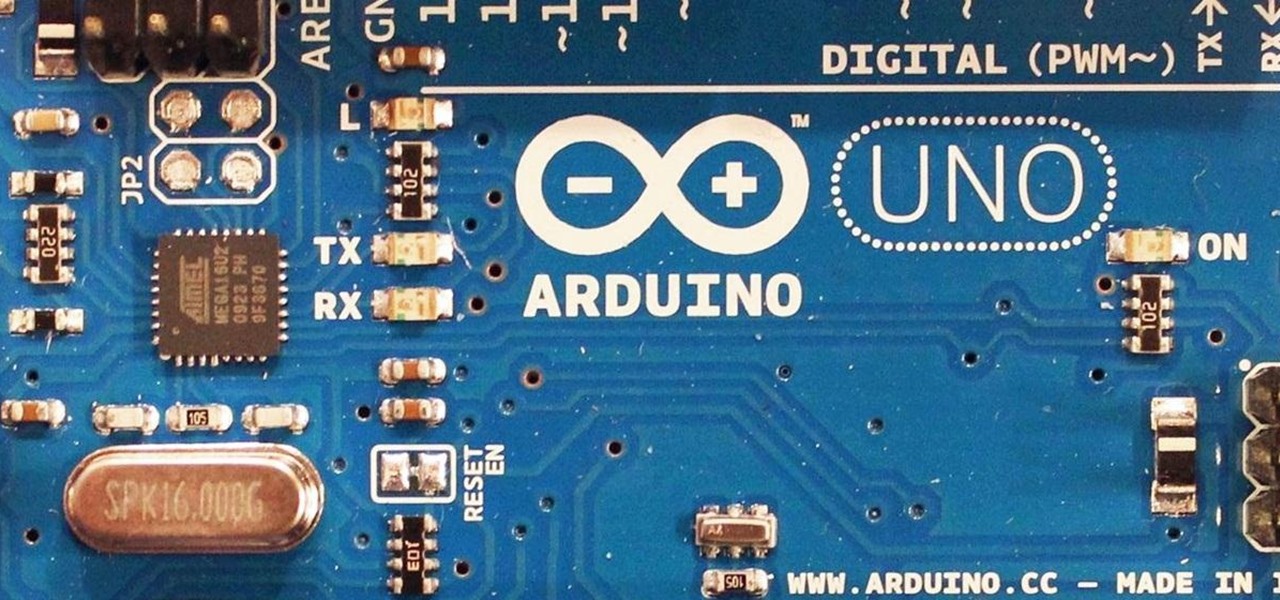
I obviously do a lot of Steampunk projects, but there are a ton of things out there that I haven't tried yet. So, in an effort to broaden my horizons, I recently taught myself how to use Arduinos, which I plan to incorporate into some of my future Steampunk builds.

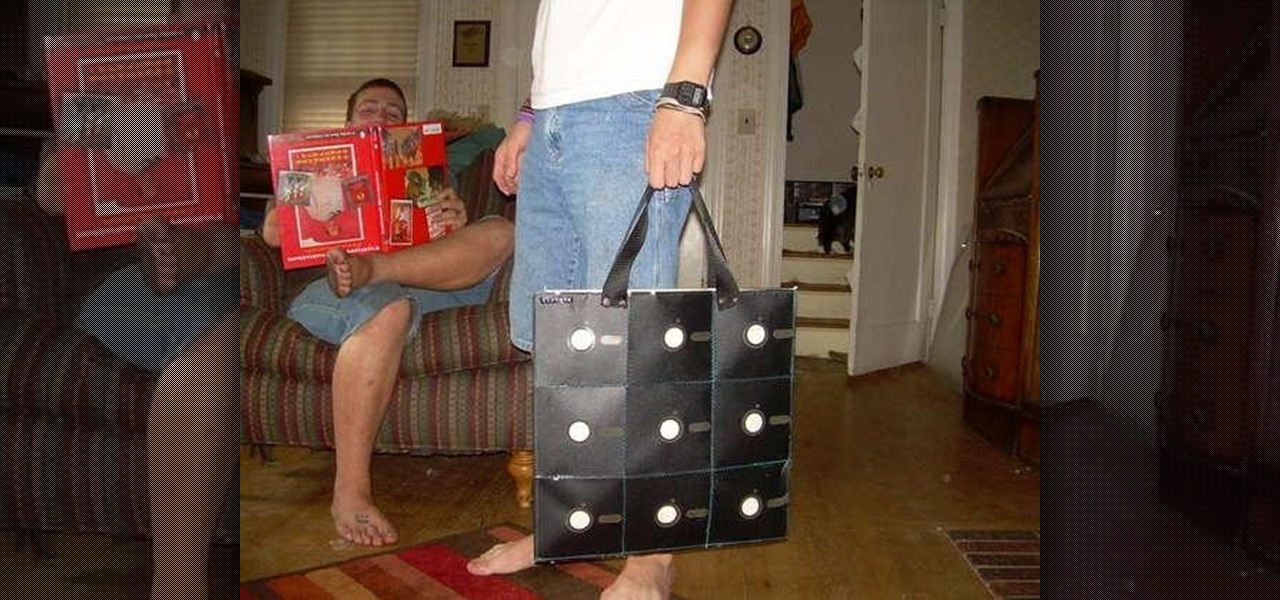
Stand out from the high street fashion clones with stuff you’ve fashioned yourself. It’s easy to take old pieces of electronic junk and transform them into all sorts of fun ‘n’ funky geeky accessories. Like a totally useful tote bag, a what-on-earth-is-that wallet and a bedazzling belt. It’s terribly geeky but chicy too. Here’s how…

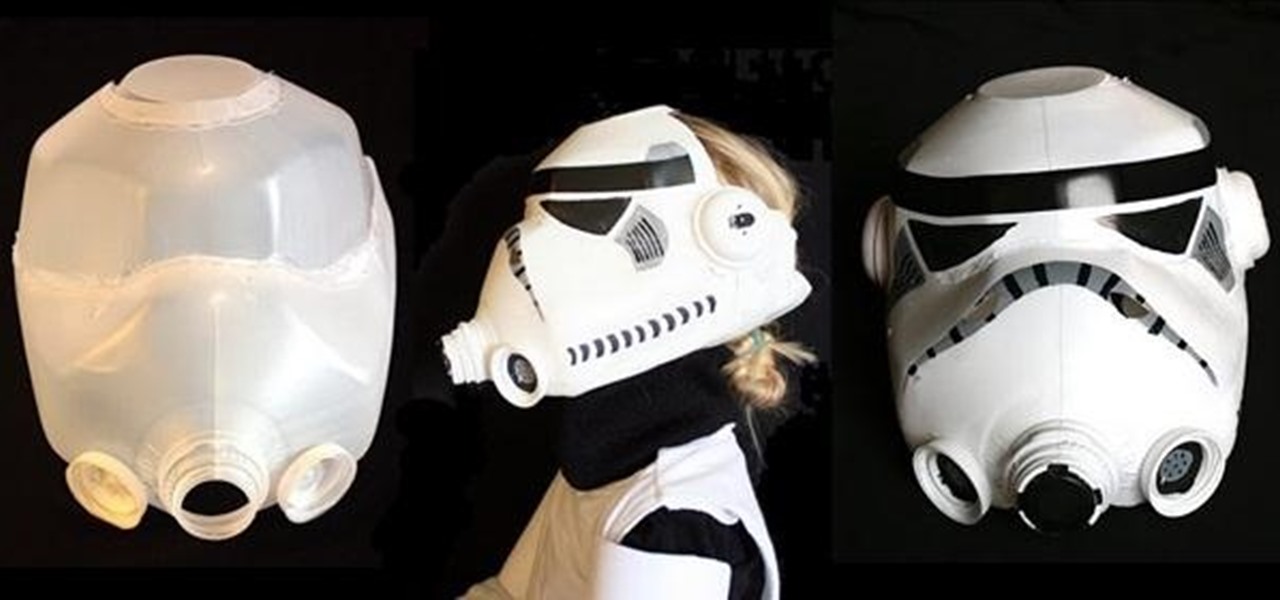
When it comes to milk, my family consumes anywhere between two and four gallons every two weeks. That's about four to eight gallons every month. That's a lot of milk—and a lot of empty milk jugs! Instead of simply tossing them in the recycling bin, why not get creative and make something useful out of them yourself?

Baby / pet gates are a fixture of the modern American family, eager to keep it's freer spirits from roaming where they shouldn't. If you want to install a gate in your home but not put big holes in the hallway wall, watch this video to learn why pressure-mounted baby gates may be right for you.

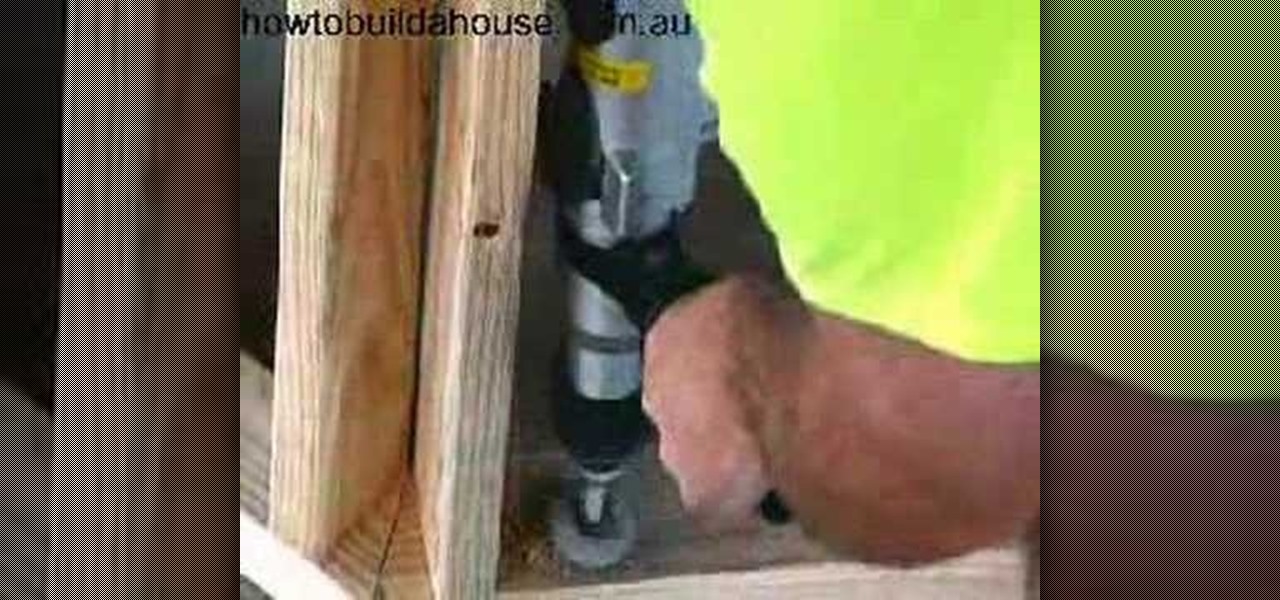
During house construction, you are bound to have to drill holes on concrete. Watch this video tutorial for a demonstration on how to drill concrete using an electric drill.

An installer shows how to drill out an existing frame hole to make it larger to accommodate the installation of a trailer hitch.

Watch this video to learn how to perform a nasal drain.

In this video series, watch as expert kayaker James Sullivan teaches beginning kayaking tricks while playing in holes and waves. Learn how to find a good hole and identify a bad one, how to enter a hole from above and the side, how to move forward and backwards in a hole, how to get on a foam pile, how to find sweet spots, how to edge control in holes, how to enter a wave from above, how to avoid pearling, how to carve an edge, how to use the power stroke, and how to use forward and reverse r...

In this video Bob Schmidt shows you how to use a newer product where any homeowner can remove most common hair clogs in sinks and tubs without taking anything apart and not causing damage to metal parts of sink or tub.

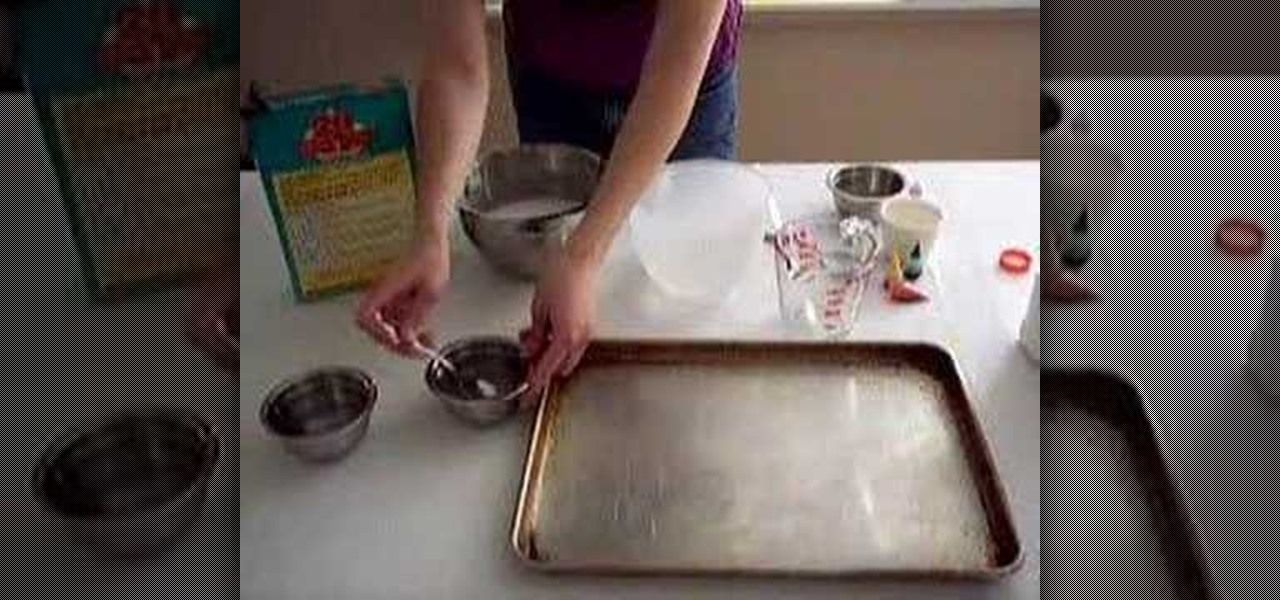
In this video from lachoneus87 we learn how to make silly putty. You need 3 small cups or bowls, warm water, a teaspoon of borax, a big bowl to mix it all in, 2 cups of glue, liquid measuring cup, 1 cup measure, a spoon to mix, and a teaspoon to measure. Optional is food coloring.


