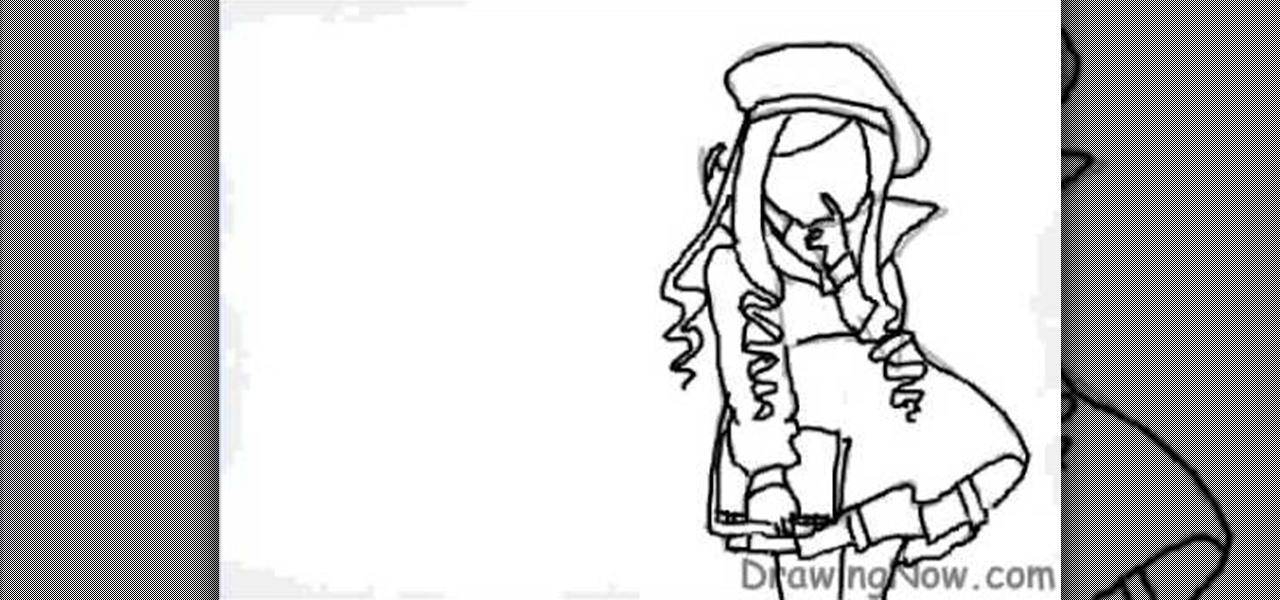
In this video, we learn how to draw mange clothes on a computer. There are many different types of manga clothes that you can draw, so study what you want to draw before you do it. When you start to draw, make sure you use great detail with the clothing, no matter what kind you are doing. After you draw the basic clothing, then add lines to show folds and creases inside of the clothing as well. Draw in shading around the inside of the clothes and then you will have your clothing complete. Enj...

In this video, we learn how to draw the classic Sonic the Hedgehog character. First, draw a round circle for the head. Then, draw in the eyes and the hair around the head in big huge lines. After this, sketch in the rest of the body. Then, start add details to the head, drawing in the eyes, mouth, and hair lines. From here, draw in the details of the body and then create the leg and feet clothing as well. Draw a bold black line over all of it, then you will add in shading to finish up this dr...
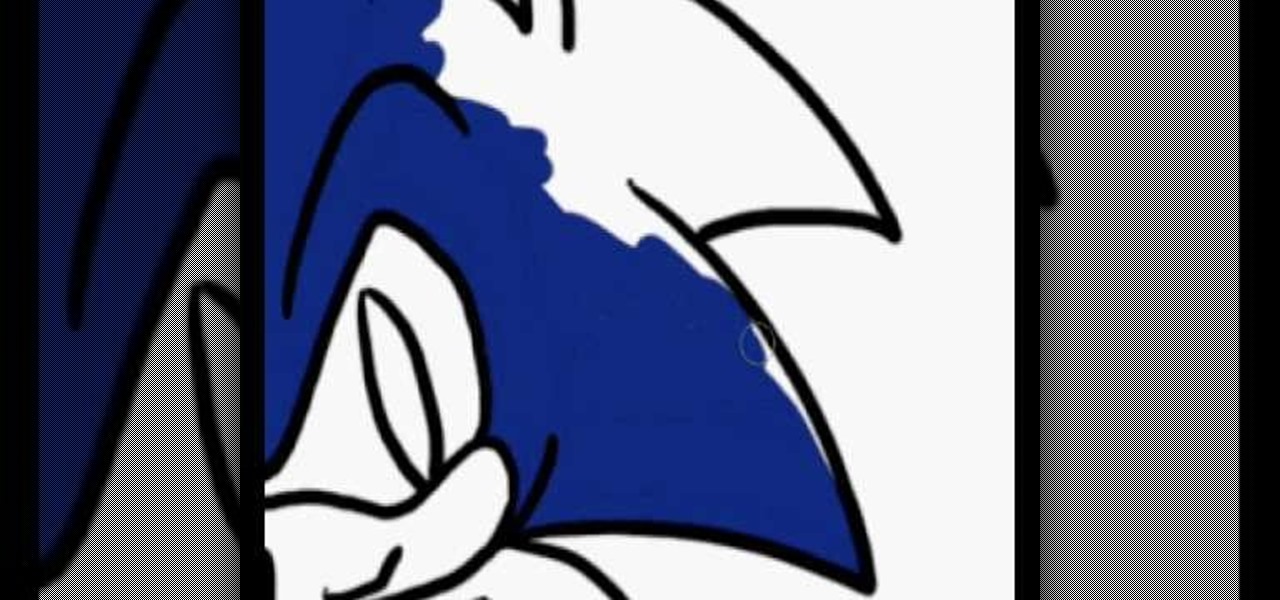
In this video, we learn how to draw Sonic the Hedgehog in Photoshop. First, draw a circle on the page and then draw the eyes onto him. After this, draw on his ears and then his hair around his head. After this, draw in the rest of his body and his feet. From here, use a darker paint brush to create the final outline of the character. Draw in the lines around Sonic to make him appear more realistic. Then, color him a dark blue color with red on his shoes. When finished, save this drawing and y...

In this video, we're shown how to draw Fred Flintstone from "The Flintstones". Start off by drawing the outline for Fred's body, drawing in his limbs and his upper/lower body. After this, use a darker pen to draw in the full outline and create a more 3D type of image. Next, you can draw in the clothing for the character, drawing in lines to show creases in the clothing as well. Then, you will need to color the skin and the outfit as well and add in the facial features. After this, draw in the...
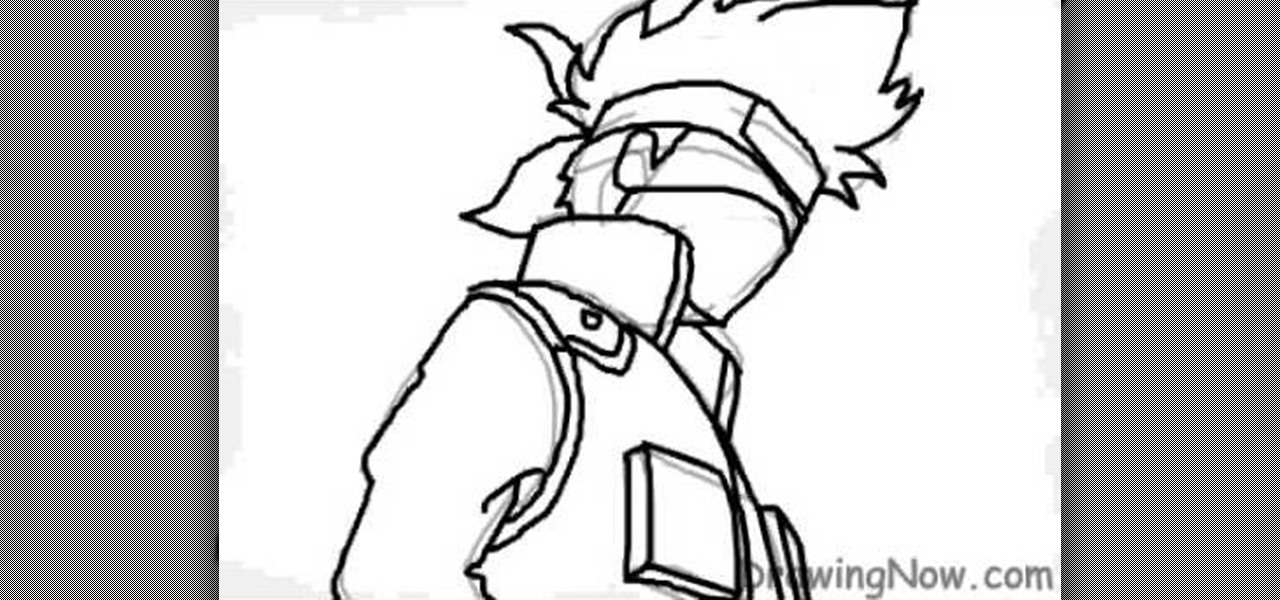
For those of you who are unaware of who Kakashi is, he is a popular character in the media franchise Naruto and is the titular character's teacher.
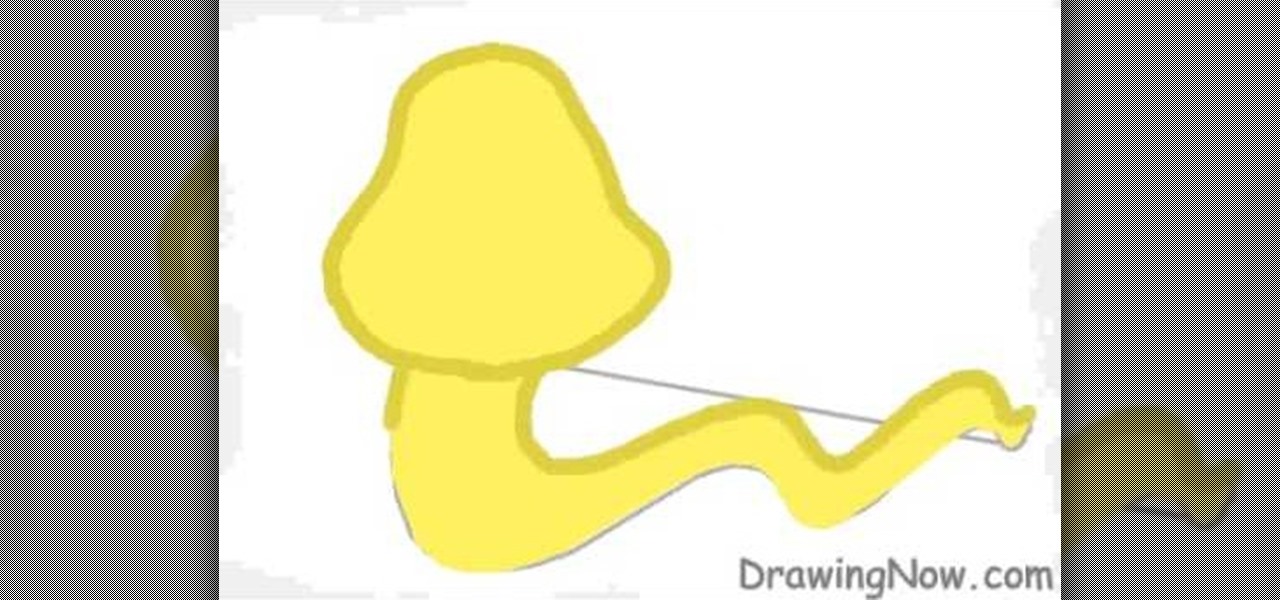
In this tutorial, we learn how to draw a cute snake. First, draw a bell shape for the head, then draw a thick squiggly line for the body of it. After this, color the snake yellow and then outline it with a dark green color. From here, add stripes to the snake in hot pink. Next, you will draw on the face to the snake. Make sure to give it a friendly smile and draw the stripes on the top of the head. Next, you will draw on the tongue, giving it a long one with two triangle edges. This will fini...

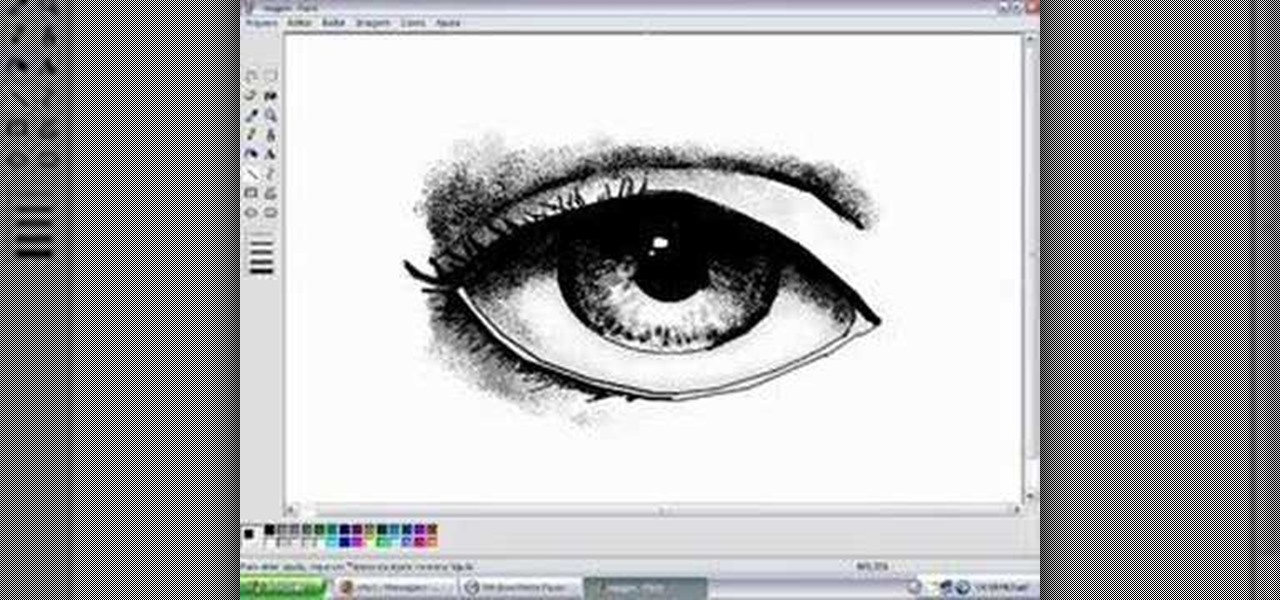
In this tutorial, we learn how to draw eyes in MS Paint. Start out by drawing the outline for the eye using a thin marker. After this, draw on a thicker line at the top of the eye and then draw on the crease of the eye above this. Now, draw in the details of the middle of the eye and start to shade in around the crease of the eye and the middle of the eye. From here, draw in the eyelashes on the top and the bottom of the eye, making them longer if they are for a woman. When finished, save thi...

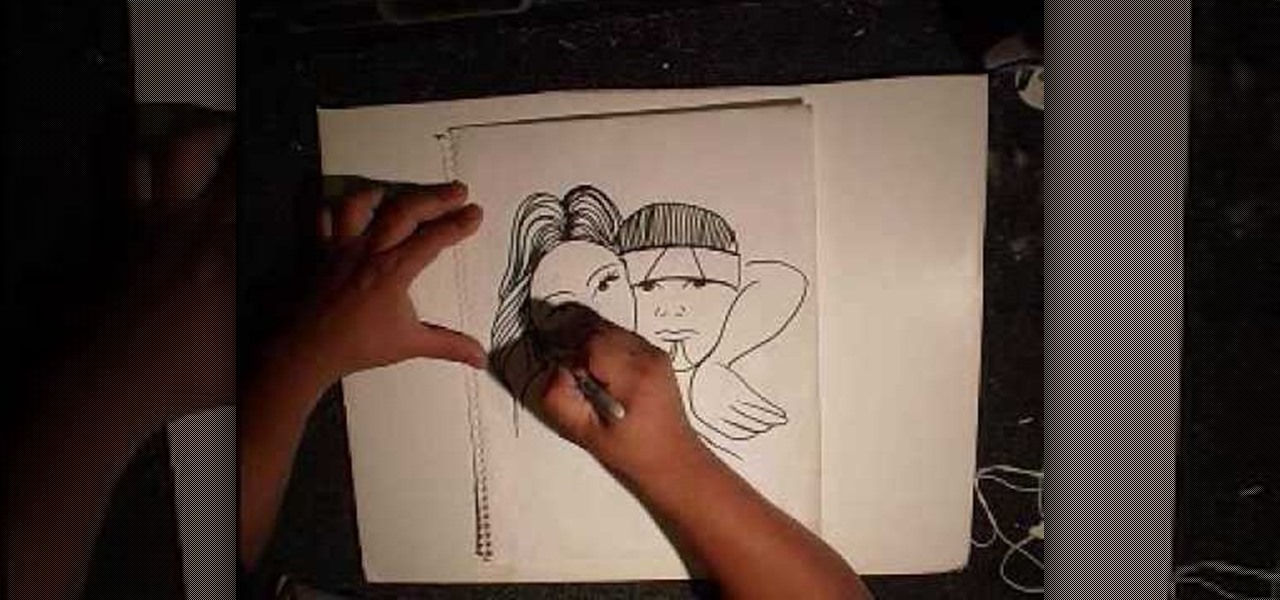
In this tutorial, we learn how to draw a gangster graffiti couple. First, draw in the eyes on the piece of paper. Then, draw in the nose and the mouth, adding in details to make it look more realistic. Draw in the hair for the woman, then draw in the details for the man's face right next to the woman's. Draw in the rest of the face, then add in the hair with a band around the head. Draw an arm coming from the side of the woman and another on the neck of the man to show them hugging. Add in de...

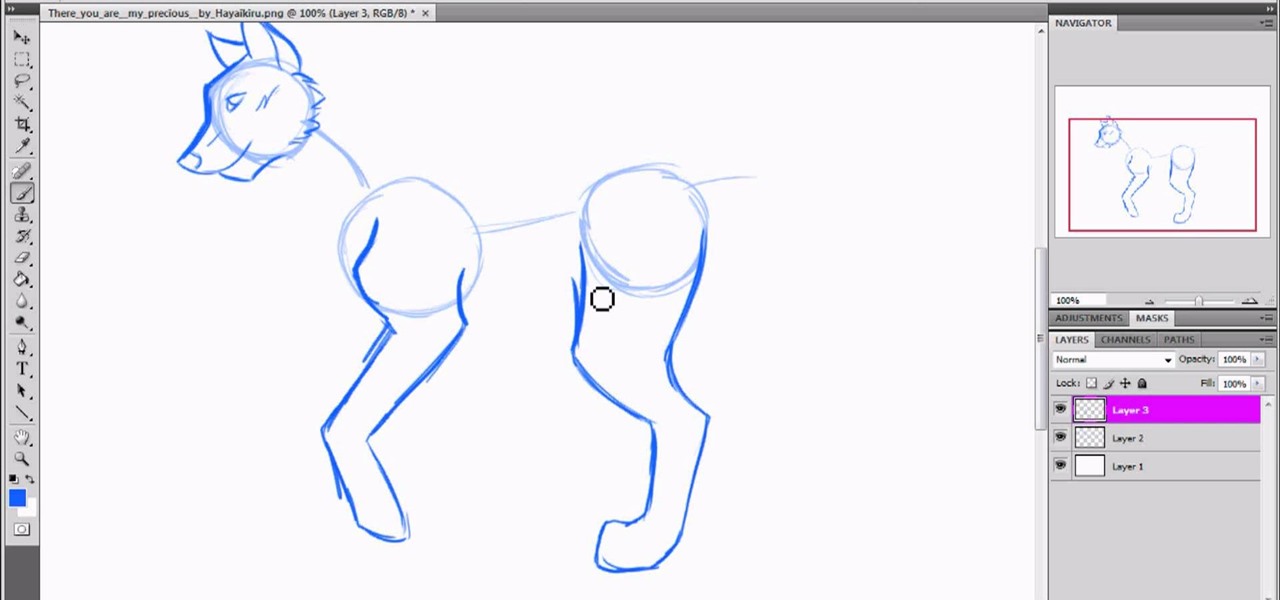
In this tutorial, we learn how to draw a wolf with basic guidelines. First, draw in circles from where the main sections of the wolf is. Now, draw a line connecting all of these and draw in the details of the face. Now, draw the back legs starting with the front leg and then the back leg. After this, draw in the stomach and the main part of the body. Erase the circles and background lines, then draw in the hair of the wolf and the stomach. Create a tail on the back, then add in the ears and t...

In this tutorial, we learn how to draw super-simple trees. Start out with a pencil and piece of white paper. Draw a straight line for the trunk of the tree. After this, draw the branches coming off of the tree in diagonal lines. From here, draw smaller lines coming off of those to make more branches. Draw in a smaller tree next to the larger one and you will have created a very simple tree! You can add more detail to this by drawing on leaves and grass at the base, but this is the most simple...

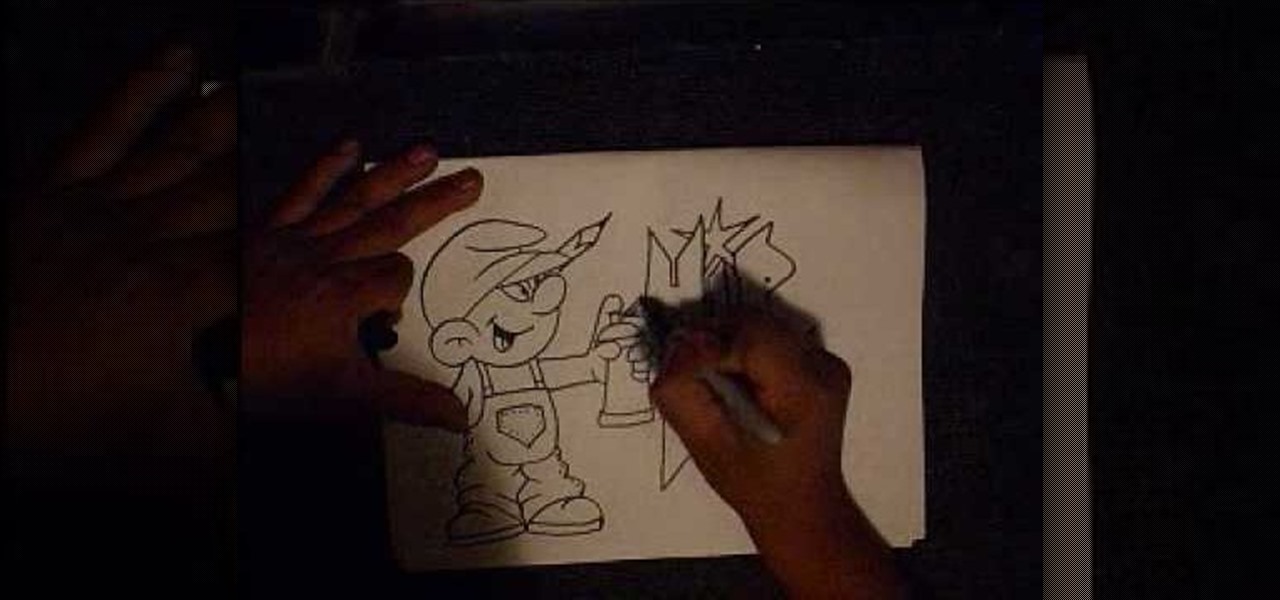
In this tutorial, we learn how to draw a graffiti Smurf character. Start off by drawing the hat for the Smurf, then draw in the ear on the side of the head. Then, draw in the face and start to add in the details. Draw in the mouth, nose, and eyes. After this, draw in the upper body and the clothing that the Smurf is wearing. Add crinkled lines on the edges to make it look like the pants are too big, then draw in the feet, arms, and hands. Draw a spray paint can in the hand of the Smurf, then ...

In this tutorial, we learn how to draw Orochimaru. Start with drawing a circle for the head, then draw lines crossing the circle to use as a measurement of where the features of the face will be. After this, draw in the eyes, nose, nostrils, mouth, and eyebrows. Next, draw in the neck and the shoulders for the body. Once finished with this, draw in the hair surrounding the face, then erase the back lines from the drawing because you won't need them any longer. To finish, add in details to the...

In this tutorial, we learn how to draw Sango and Kilala. Start out by drawing a circle and reference lines for the head, then draw a stick for the body and draw a half circle going off the bottom of the page. Then, draw circles on the upper body to create the hands and draw fingers coming off of those. Now, draw in the neck and the clothing that is on the character. Erase the background lines, then all in the features of the face and the hair around the head. Also make sure to draw on the ear...

In this video, we learn how to draw a sports car. Start out by drawing the wheels and the base of the car. After this, draw the rest of the body of the car and the windows. Then, add in the wheels, tail lights, and the rest of the details of the vehicle. Once you have finished this, add in shading and lines to create a more defined vehicle. Continue to draw using this same method, drawing different types of cars and vehicles that you like. Make sure to look at a picture of different cars as y...

In this tutorial, we learn how to draw Karin 2. Start out with a circle for the head, then draw in your reference line so you can align the different features of the face. After this, draw in circles where the joints of the body would be for the upper body, then draw around this using bold lines. Once you are finished with this, draw in the rest of the arms and create clothing on the body as well. Next, you will need to draw in the features of the eyes as you would like, then add in the detai...

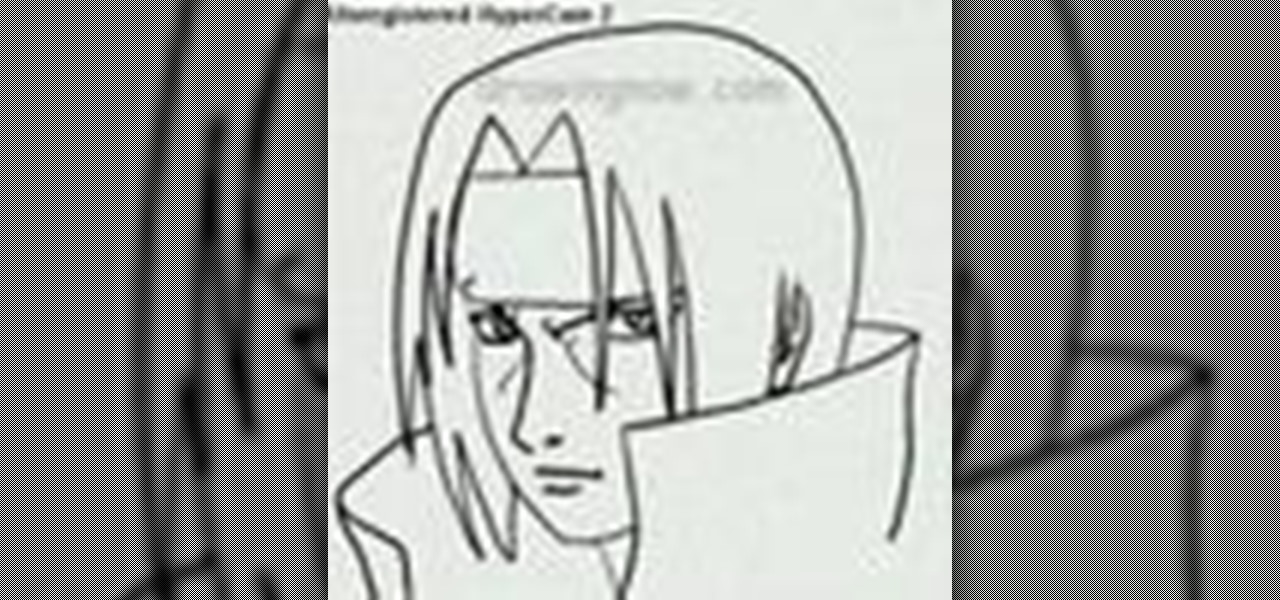
In this tutorial, we learn how to draw Itachi. First, draw your reference lines on the head so you know where to place the features of the face. Draw in the eyes, adjusting them so they are more towards the left of the face than the right. After this, draw in the bridge of the nose and the nose, as well as features of the cheeks. Next, draw in the nostrils and the mouth, as well as eyebrows and creases around the eyes. After this, draw in ears on the side of the head, then start to draw in th...

In this video, we learn how to draw Rukia. Start out by drawing a circle with a triangle shape at the bottom. Then, draw reference lines in the face to measure where the features of the face are going to be. After this, start to draw in the details of the face. Draw the eyes, mouth, nose, eyebrows, and any other details you need. Make sure the eyes match the original character and leave white for the pupils to show. Draw in the hair to finish up the drawing, making sure to draw the eyebrows a...

In this tutorial, we learn how to draw manga eyes. Start off by drawing the top of the eye, the measure how long it is. Then, make one eye width between each of the eyes and draw the other eyelid. Now, if you want to draw eyes in a different perspective, you will draw the line from the outside of the eyes to see where the line of vision would be. Next, draw in the lower lid and go around the form slowly. Draw large irises to make it look more like a manga character, then you will need to draw...

In this tutorial, we learn how to draw Stitchpunk. Start out by drawing the outline of the entire body. After you do this, draw in the details of the feet and the hand. Next, start to draw in further details of the hands so you can clearly see the claws and the hand area. Once finished with this, draw in the details of the face. After you do this, you can erase any reference lines that you drew and fill in further details. Draw in any other details needed throughout the character, then erase ...

In this tutorial, we learn how to draw Axel. Start out by drawing the head, then add in the facial features including the eyes, nose, ears, and mouth. After this, draw in the spiky hair that goes around Axel's head. Next, draw the neck and shoulders. Continue to draw down the body until you reach the feet. Add in the details of what the character is wearing, using lines on the clothing to make it look more realistic. After this, you will need to draw in shadowing on the drawing to make it loo...

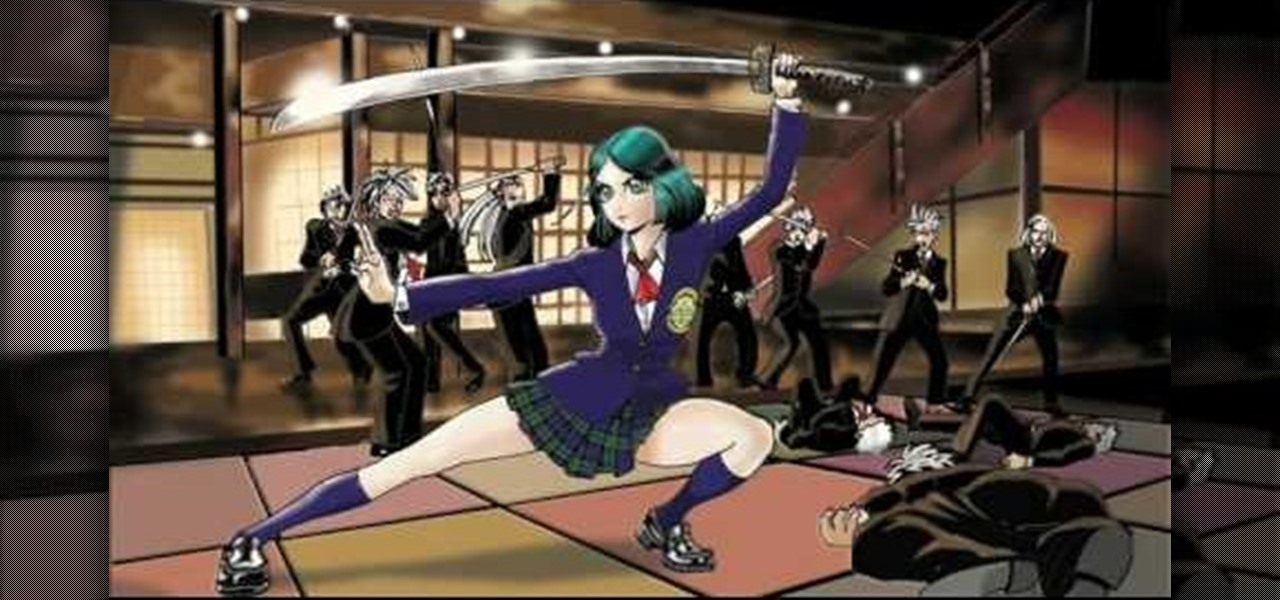
In this tutorial, we learn how to draw a female anime or manga school girl. Start out by drawing the outline of the character, then drawing in the details along the middle and the body of the character. Use circles inside the body to create a references as to where the body joints would be. Then, draw in clothing on the body and add a sword in the hands of the girl. After this, draw in additional details to the drawing and then focus on the face. Draw in the facial details, then add the hair ...

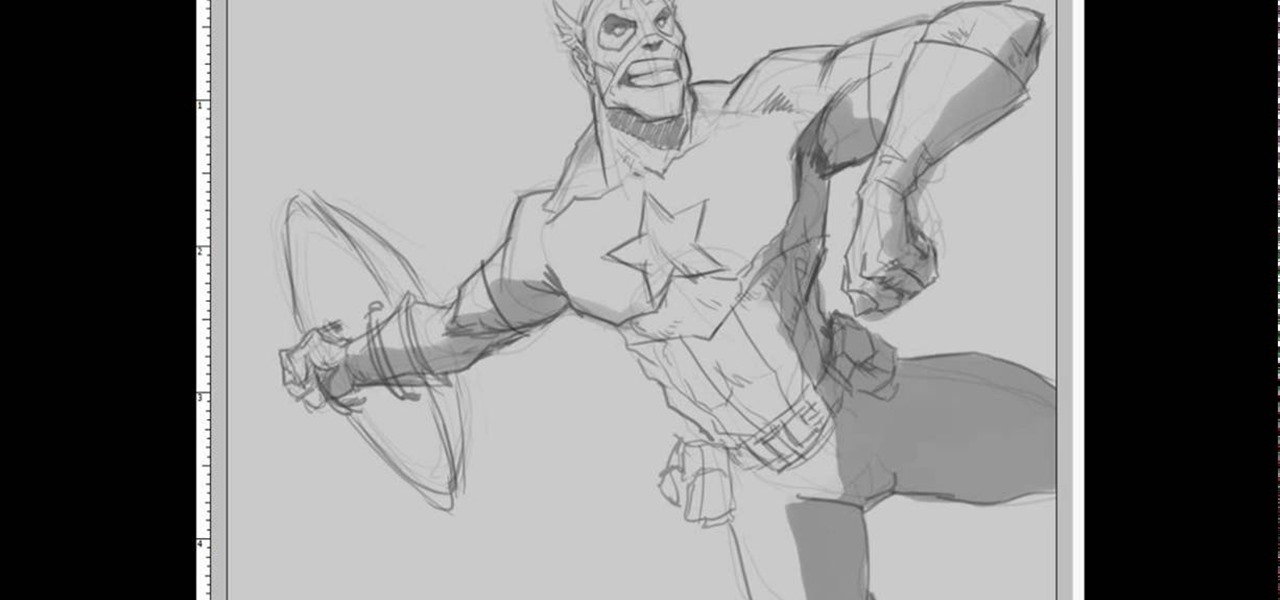
In this video, we learn how to draw Captain America in an action pose. Start out by drawing the torso, then the rib cage and pecks. Continue to draw the outline and small details of the rest of the body. Draw in arms gong out of the body so that they are spread apart, then draw in the head. Draw in lines for where the muscles are, then start to draw in the mouth, nose, lips, eyes, and other facial features. Once you do this, start to add in even more details of the outfit that the body has on...

In this video, we learn how to draw Kagome Higurashi. Start with drawing the head and the reference lines for the face. Draw in the eyes slightly to the left, then draw in the rest of the details of the face. Make sure the eyes are wide and bright, and there are eyelashes on the sides of the eyes. Next, draw in a nose and a mouth, then an ear on the right hand side of the face. Draw in bangs and the rest of the hair for the character. Make sure there is a long neck with shoulders draw in as w...

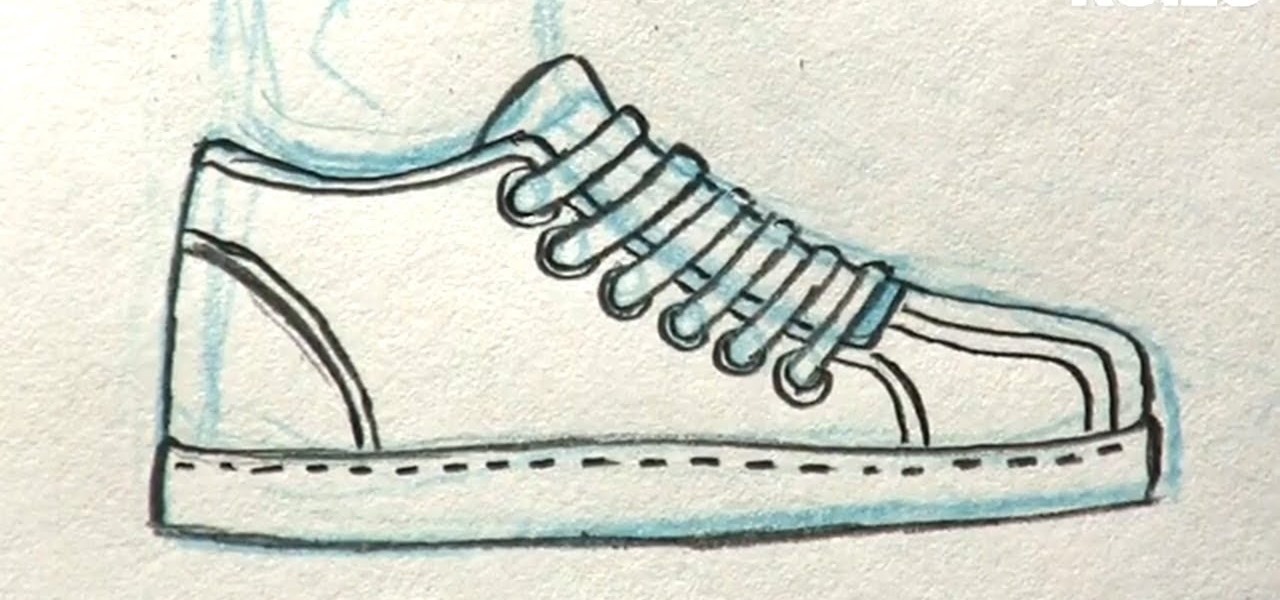
In this tutorial, we learn how to draw manga shoes. First, you want to sketch the basic shape of the foot. On top of this, you will draw a rough shoe shape with a different colored pencil. Next, draw in the details of where the laces are going to go, and where the lip of the shoe will be. Also draw in the soles and any other details you feel you need. Switch over to a black pencil to draw in darker details and add in shading throughout the drawing. When you are done, sign your name by your dr...

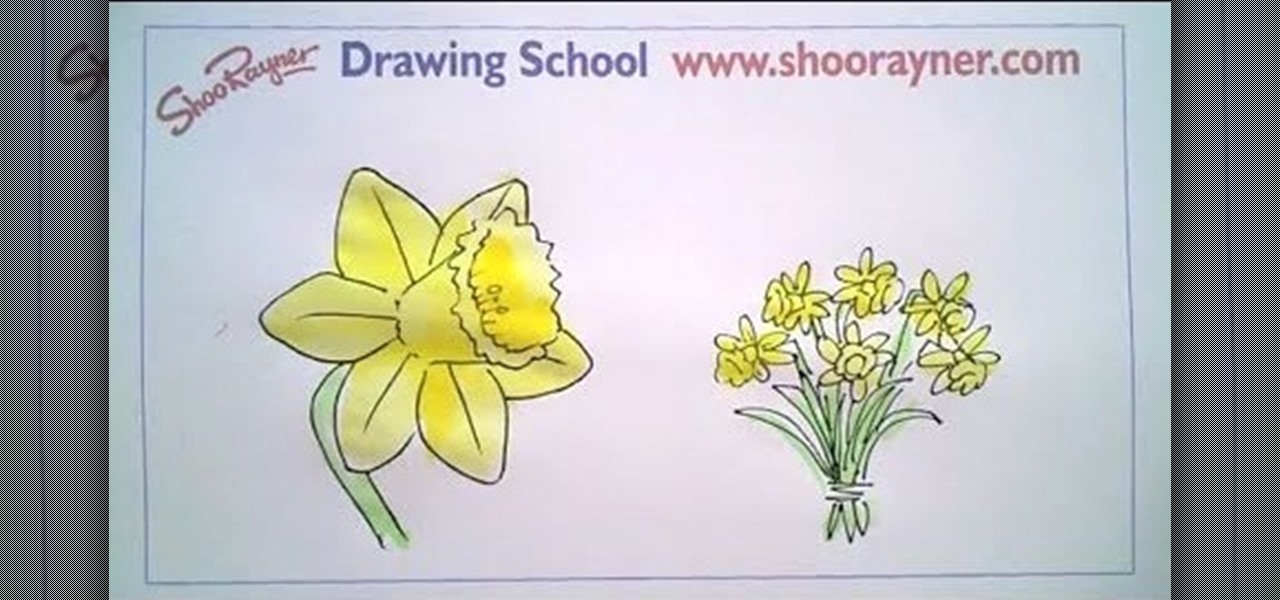
In this tutorial, we learn how to draw a daffodil for St. David's Day. Start off by drawing a circle to measure out where all of the different petals are going to go, then draw a circle in the middle you know where the middle will go. Next, start to draw out the petals onto the circle. After this, draw the middle of the daffodil with the seeds that are in the middle. After this, draw the lines that are in the middle of the leaves. You might want to use a real flower for a reference picture on...

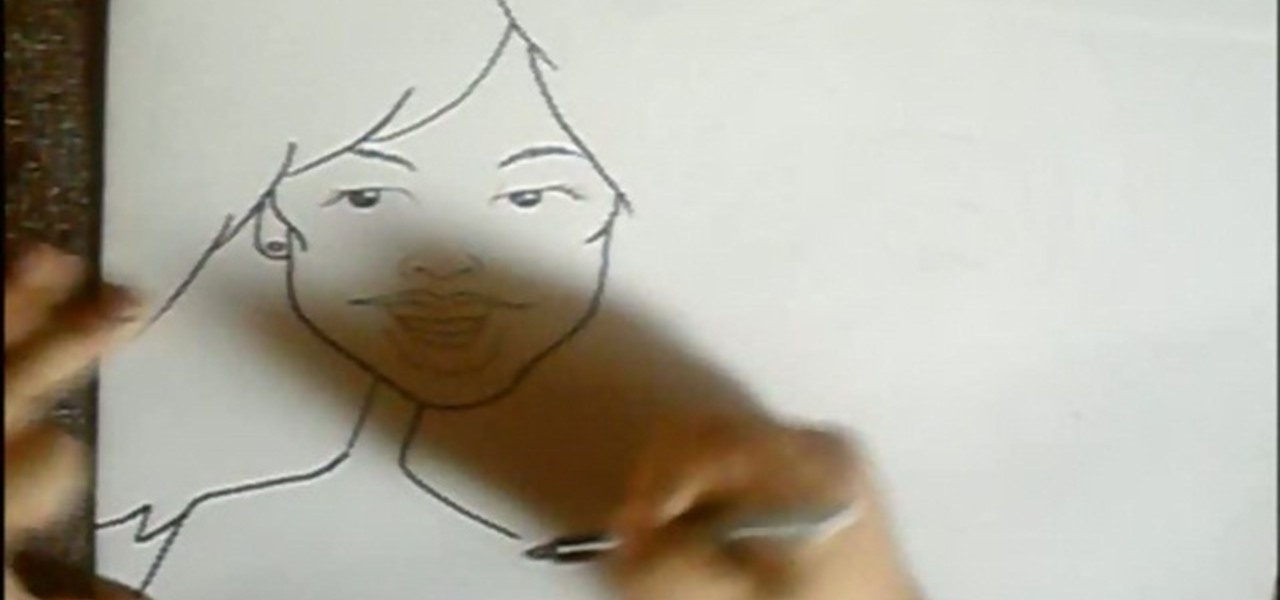
In this tutorial, we learn how to draw cartoon caricatures. Start off by drawing the eyes and the eyebrows. Next, draw in the hair on the forehead and then start to make the face surrounding the hair. After this, you will need to draw in the ears and make a note to draw in any prominent features that the person you are drawing has. Make sure to draw larger lips and a small neck, making the head look larger. For men, do the same thing and give each of the pictures a bit of personality! Don't b...

In this tutorial, we learn how to draw a rose, step by step. start off drawing the petals of the rose, making the inside of the flower first. After this, start to draw in more details and draw around the inside of the flower, making the rose larger and larger. After you have done this, draw on the stem underneath where the petals are, and add leaves onto the stem. Continue to add in any details that you see fit throughout the picture. When you are done drawing, color it if you prefer, then si...

In this tutorial, we learn how to draw a 3D ball and cone. First, draw a circle with two lines coming out the side of it. After this, add in shading to the bottom of the circle and then draw a shadow coming out of the bottom of the circle as well. After this, draw a light that is shining onto the ball. Make sure you are drawing a black crayon to get the best texture out of this. Draw in darker lines on the circle, then draw lines over the top of the ball and through where the light is shining...

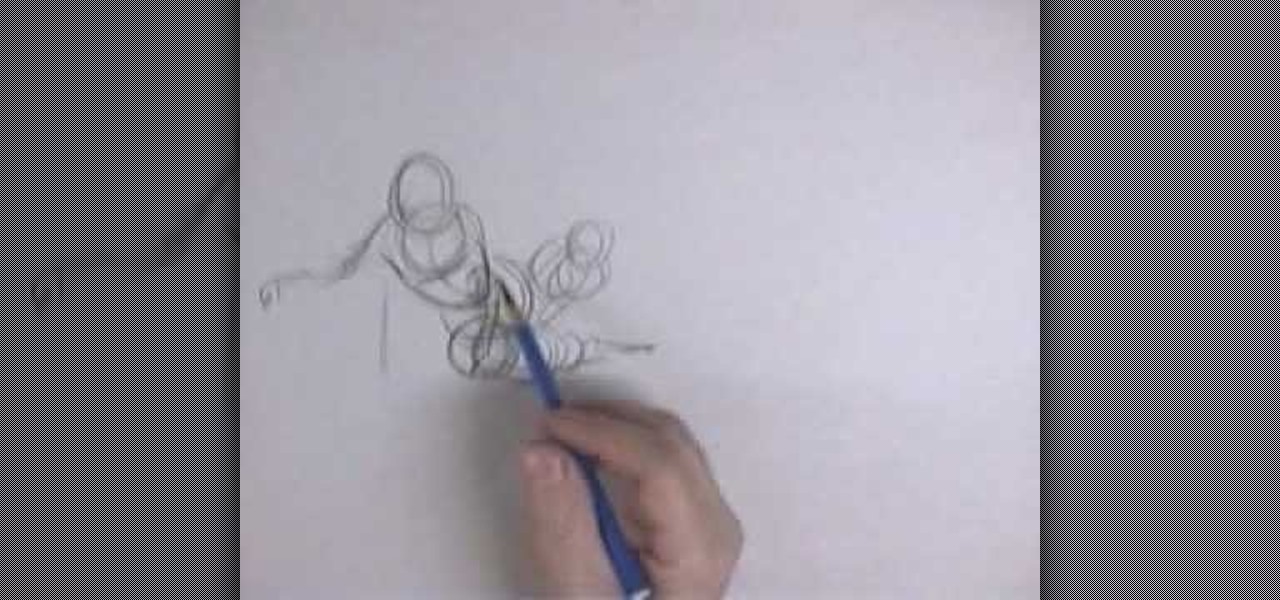
In this video, we learn how to draw foreshortened figures. First draw a circle and then continue drawing other circles to connect them together and make an out line. After you have drawn these, you will start to outline the circles so you see a body detail coming out of the drawing. Draw in the legs and the arms as well as the head. Don't worry about adding details to this, it's all about drawing just the figure. Shade on the different areas and add in lines to make the figure look more reali...

In this tutorial, we learn how to draw Chowder. Start off by drawing the ears, then start drawing in the head underneath. Make sure the face is wide, then draw in large eyes, a nose, and a large smile. Make sure to add the tongue inside the mouth. After this, draw the arms, making sure to add in layers of fat to the upper body. Then, draw in the stomach and the legs to this character. Draw in shorts, then add on a t-shirt as well. Finish this off by adding in a tail, and any more details you ...

In this tutorial, we learn how to draw Ryo Bakura Yu Gi Oh style. Start off by drawing the head, making a pointy nose on the front of the face. Next, draw in the eyes making eyebrows in and pupils. Also draw in the shapes on the head, then start to draw in the hair. Make two sides of the hair pointy spikes on both sides. Start to draw the neck and shoulders going down to the very bottom of the paper. Place a collared shirt, then start to add in shading on the picture. Draw in lines, then add ...

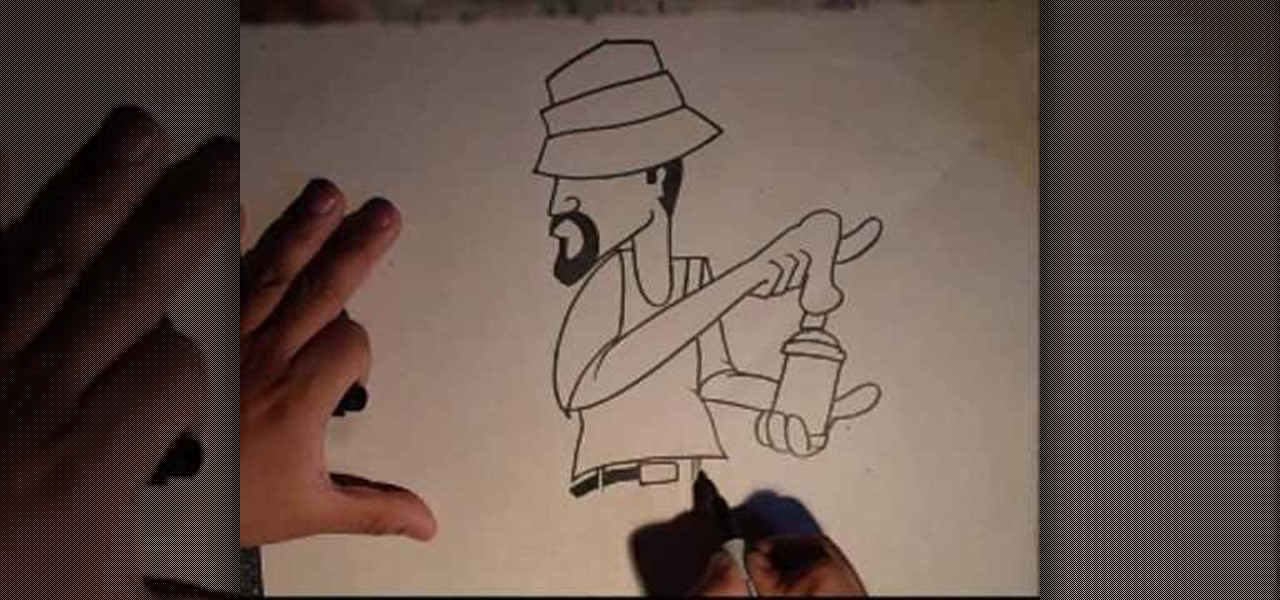
In this video, we learn how to draw a cholo graffiti character. Start out by drawing the hat, then draw the face underneath the hat. Draw a mustache and beard around the mouth and hair on the back of the head. Next, draw a neck going down from the face, followed by an arm and the chest wearing a tank top. Make the hand on the arm hold a spray paint can on the top and the other hand hold the can at the bottom. Next, draw a belt and jeans onto the character. Draw jeans that are oversized for th...

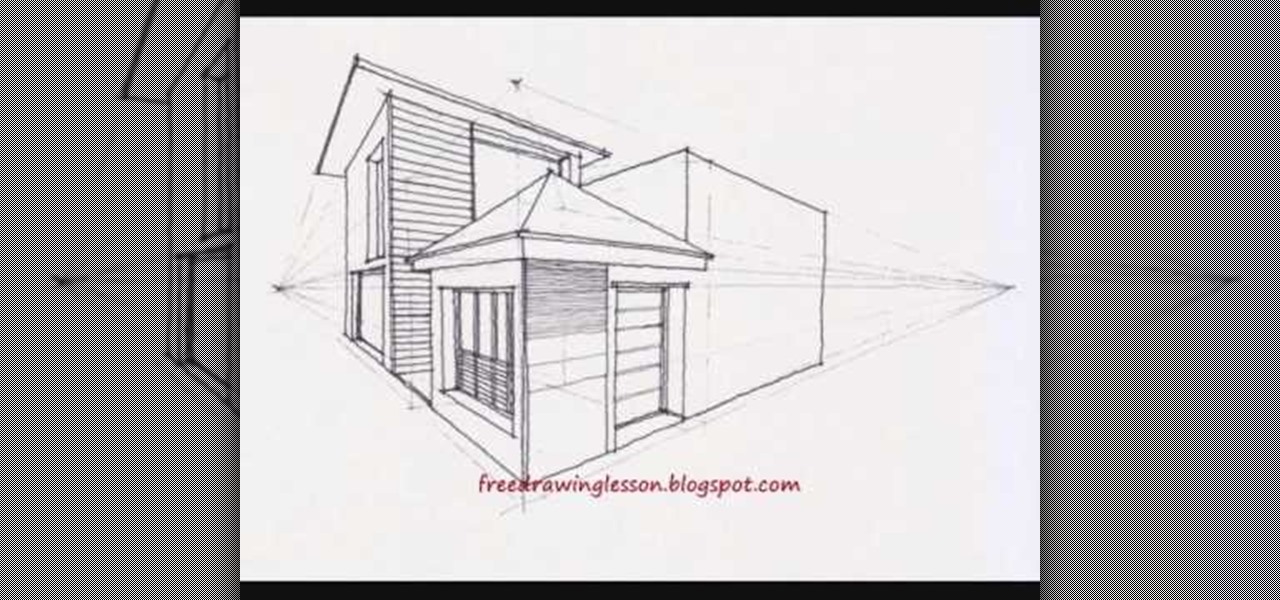
The true test of good technical drawing is being able to handle multiple vanishing points and levels of ground at the same time. So rather than just creating a scene on the same uniform plane, you add additional height and width with complex levels.

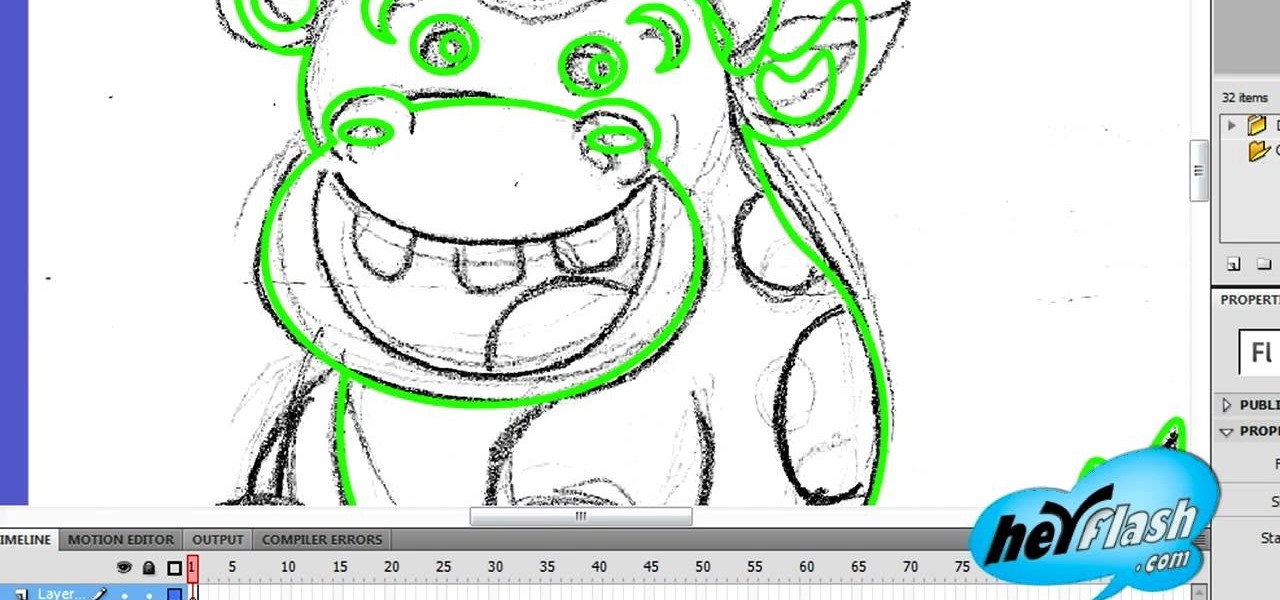
Flash CS4 is not only a powerful tool for creating animations. You can also use it to draw! This video will teach you the basics of drawing in Flash CS4 by showing you how to draw a cartoon cow from a scanned image. He looks good, is easy to draw, and should improve your Flash skills. Now make a movie!

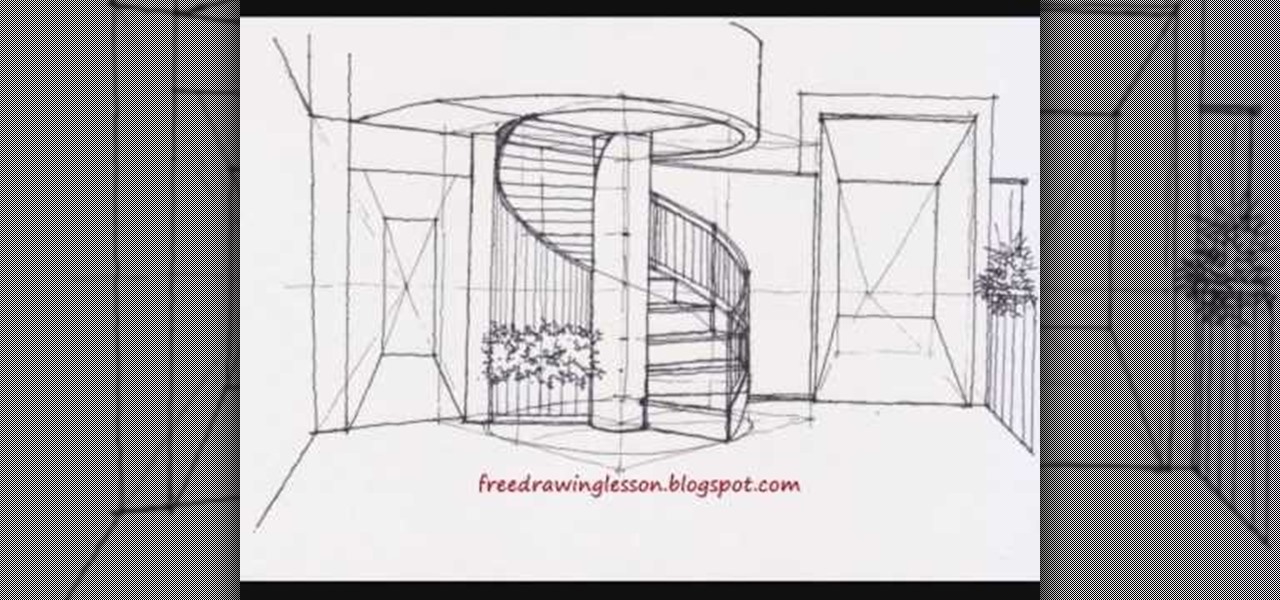
Spiral staircases are complicated enough to look at, so imagine how much hard work goes into replicating these twirly architectural wonders on paper. Though more difficult than drawing straight, normal staircases which mostly require straight lines, spiral staircases add interest to your drawing.

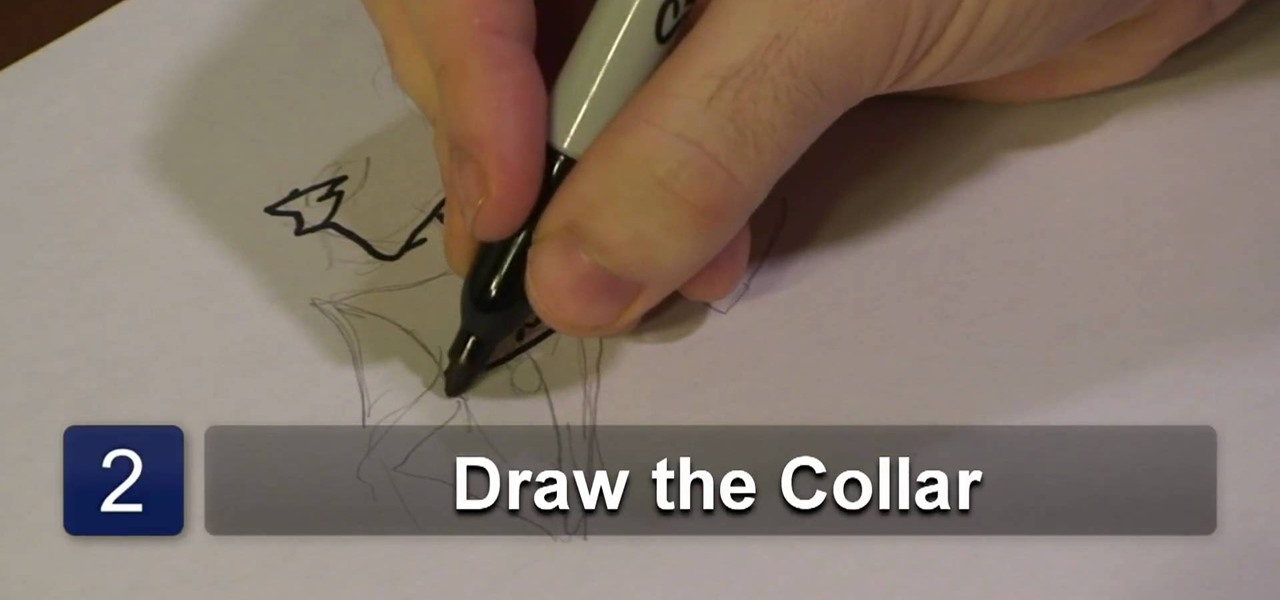
In this video tutorial, viewers learn how to draw an animated shirt collar. Users will need a sheet of paper and a drawing utensil. Begin by drawing the neck of the figure and attach the head to the neck by connecting it with a chin. Add some lines on the neck for details. At the bottom of the neck, draw an oval shape to close the neck and draw another oval outside of it for the collar. Finish by adding a few lines in the collar for detail. This video will benefit those viewers who enjoy draw...

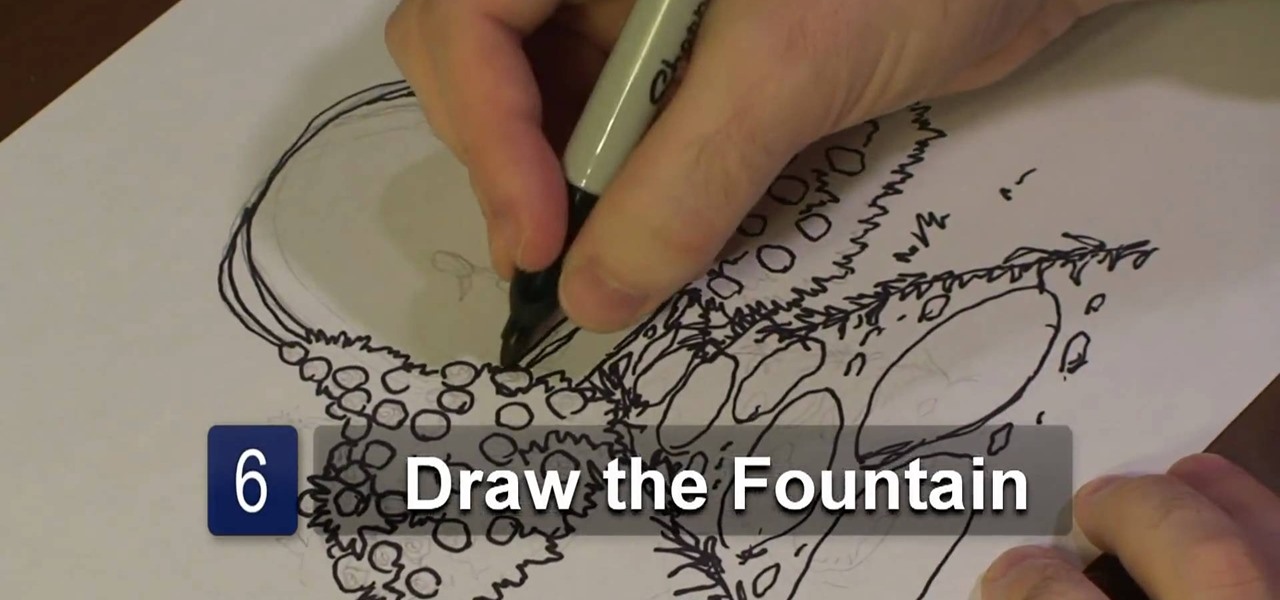
In this video tutorial, viewers learn how to draw a rose garden. Begin by marking the locations of the objects, such as the pathway and the arch. Then draw the rosebushes surrounding the path and arch. The bushes only need to be drawn with cross hatching or quick lines. They don't need too much detail. Then add some circular boxes into the bushes as the roses. Now draw some grass around the pathway and stones in the pathway. In the center of the arch, add the center fountain piece. Finish by ...

In this video tutorial, viewers learn how to draw a bridal dress. Begin by drawing the basic shape of the female figure. Then draw the arms wearing a long gloves. Now add the hair on the figure's head. Make the hair curly and glamorous looking. Then draw the basic form of the dress. Give the dress a lot of layers and frills by adding curved horizontal lines along the dress. Finish by drawing the bride's veil behind her head and back and any extra details. This video will benefit those viewers...

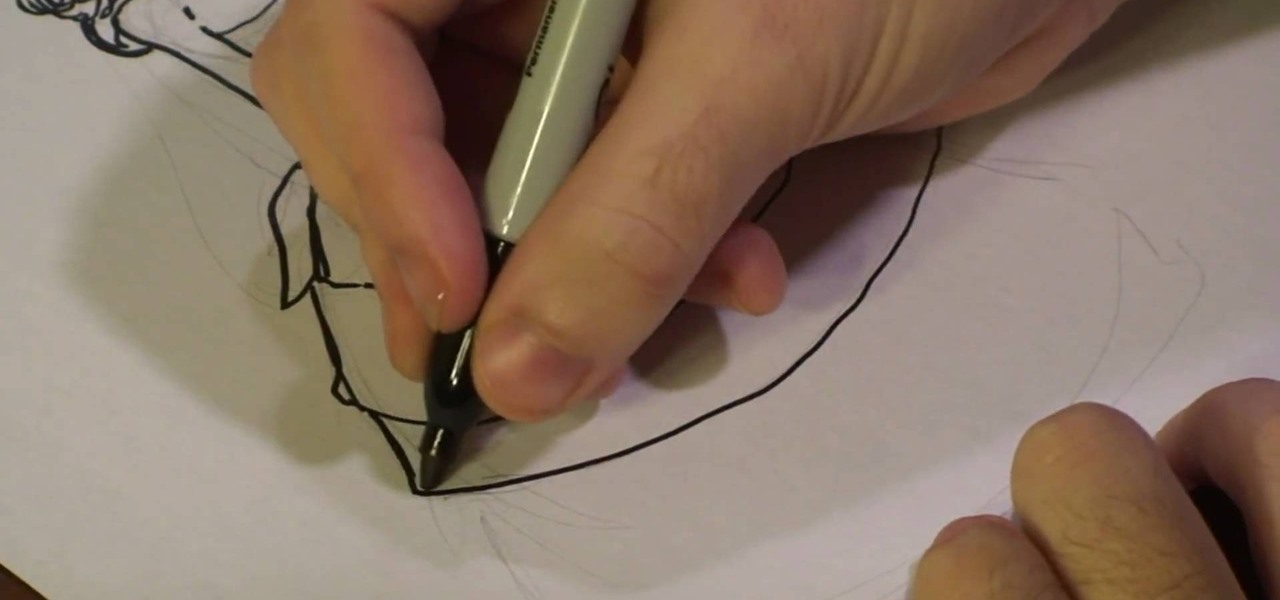
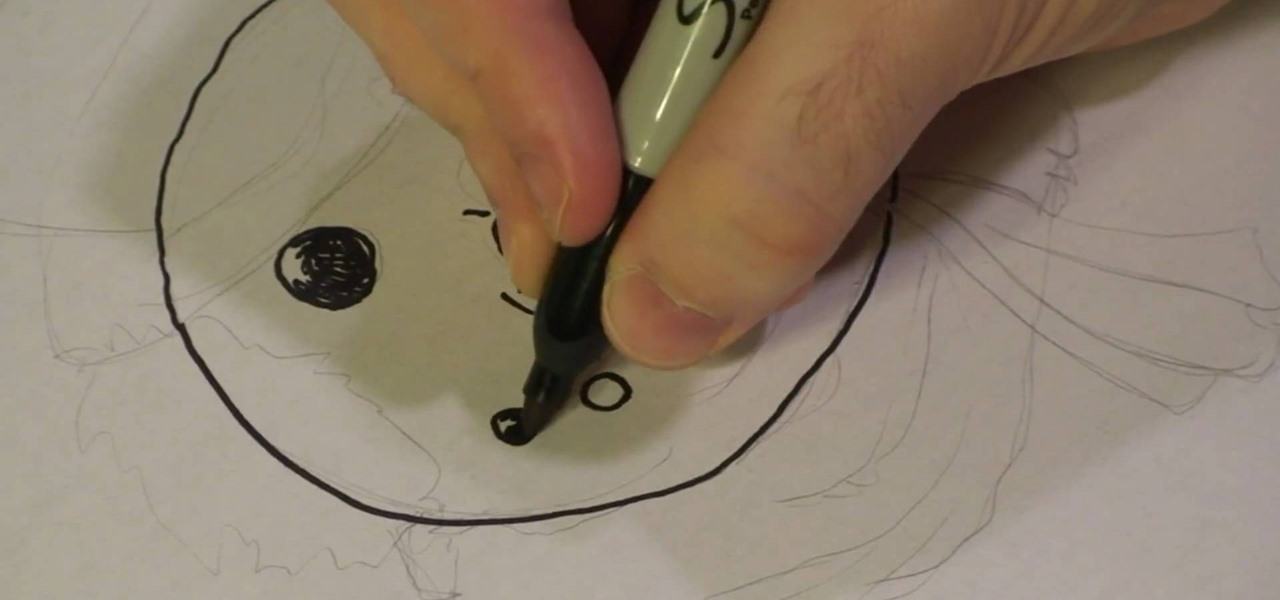
Michael Weisner shows aspiring artists how to draw a snowman's face on a piece of paper using any writing utensil. In order to save time, Michael has drawn a rough outline sketch in pencil to give an idea of what the finished product should look like. However, it is not necessary to do this and by following the directions, one should be able to sufficiently draw a the snowman. First, begin by drawing a circle for the head and then two large circles for the coal eyes, adding detail to show tha...

In this video tutorial, viewers learn how to draw a rebel flag. The materials needed are a ruler, sheet of paper and drawing utensil. Begin by using the ruler to draw a rectangle for the flag. Then draw an X in the center of the flag, going diagonally from the top corners to the bottom corners. Now draw outer lines on the X. Then draw the 13 stars on the flag, The first star is in the center of the X and add 3 stars on each side. This video will benefit those viewers who enjoy drawing, and wo...


