In this tutorial, we learn how to draw Danzo. To start, you will draw the outline with the light touch of the pencil. After this, draw in the final outline darker and then erase the background lines. Next, you will add in the details around the character and then add in lines to show creases and make it look more realistic. From here, you will add in shading to make the drawing have some more depth. After this, you will finish up by cleaning any stray lines with an eraser. You can also use th...
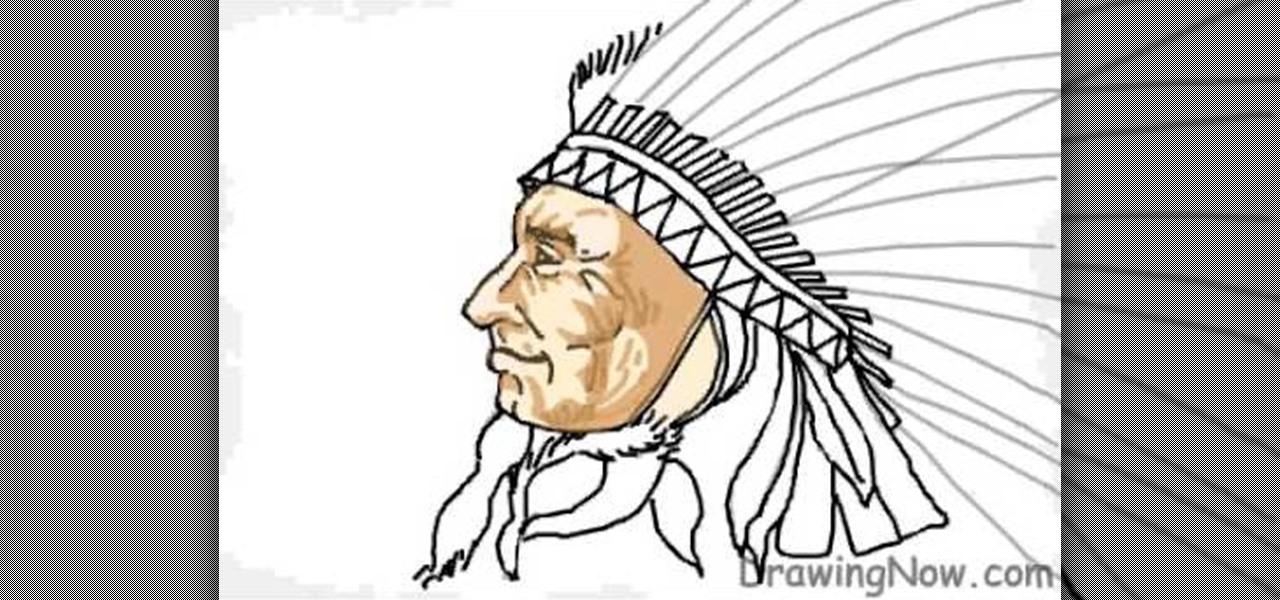
In this tutorial, we learn how to draw the head of a Native American Indian chief. First, you will draw the outline of the head as well as the head dress that he is wearing. Draw in lines to show where the jaw lines, cheeks, and other facial features are. After this, draw in the details of the face then get to work on the headdress. Add in details to this, then start to add in colors to it, making it as colorful as you would like it to be. When finished, add in some feathers at the bottom and...
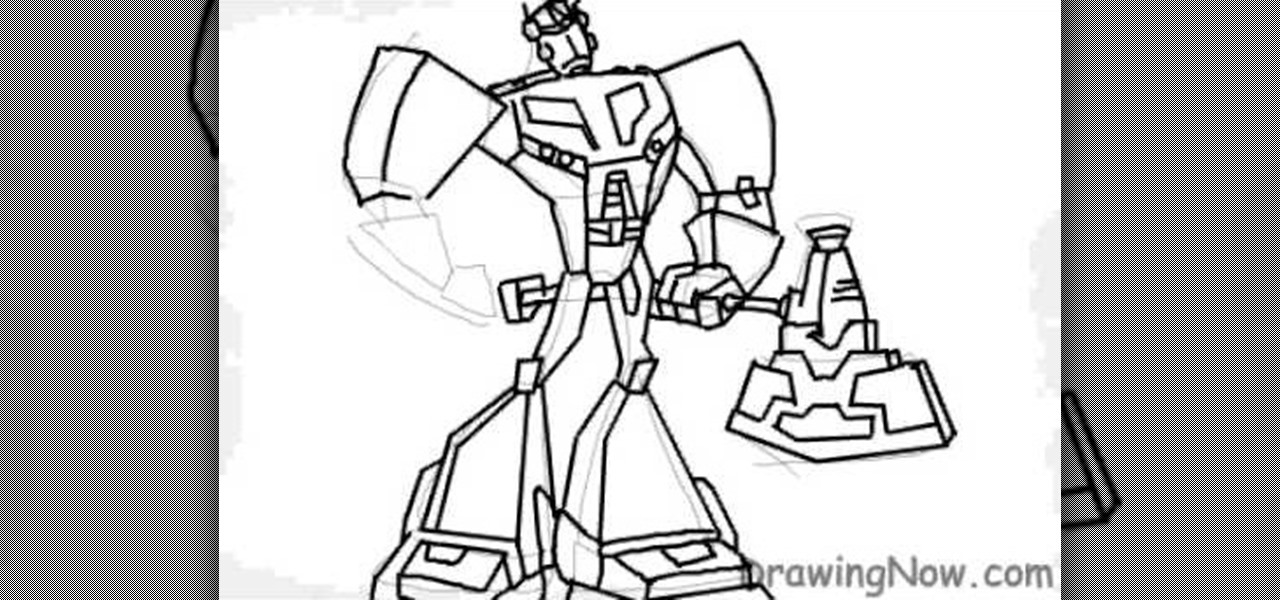
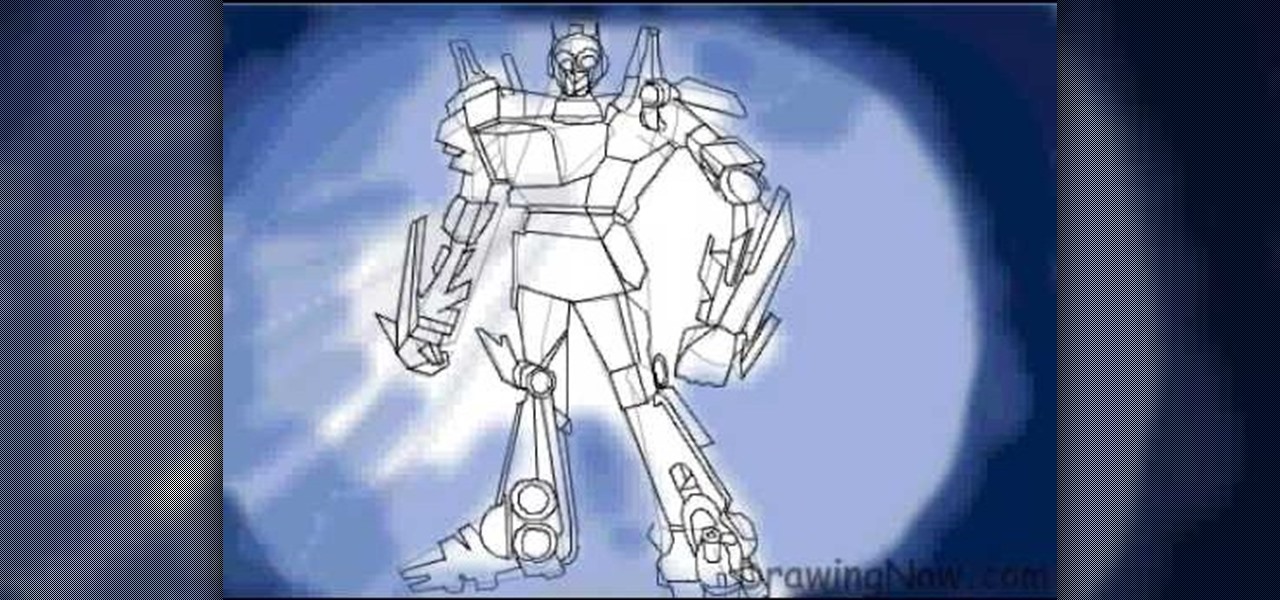
In this tutorial, we learn how to draw Optimus Prime of Transformers. Start off by drawing the outline of the entire body of the character. Make sure to add in the large arms and feet as well. Next, draw over this to make a more elaborate outline including the details for Optimus Prime. Once you have all the details draw, erase the background lines. Ten, color in the character and add in lines and shading to make it look more realistic. Once you have done this, then you will finish off with a...
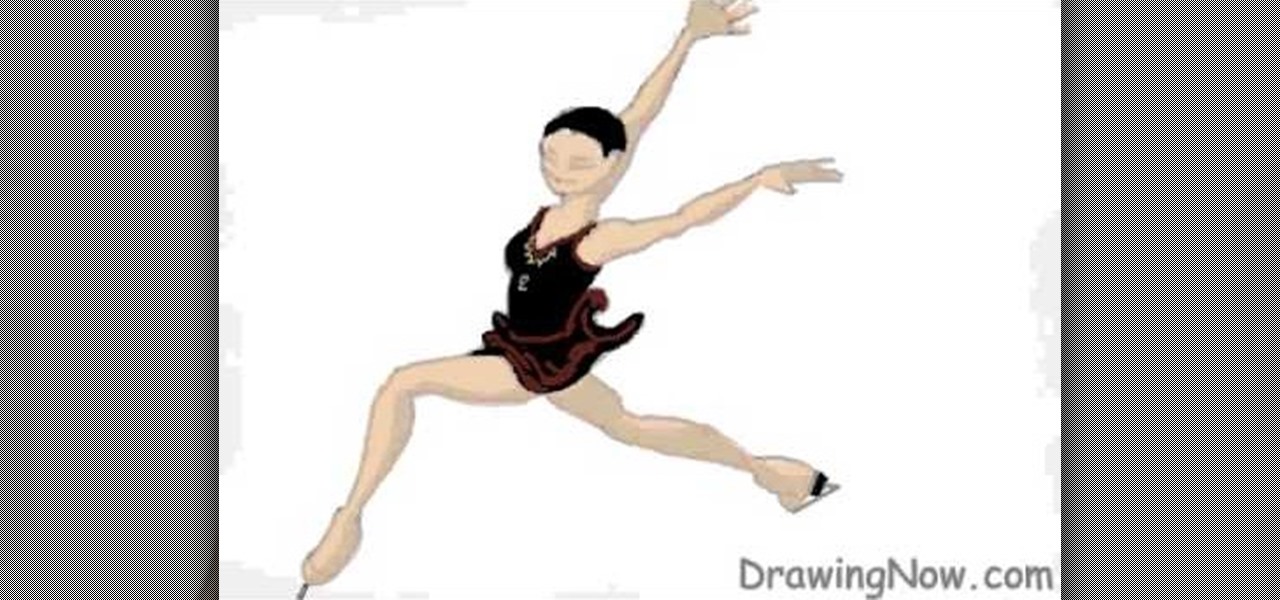
In this tutorial, we learn how to draw a cartoon female ice skater. Start off by drawing the outline of the skater's body. Draw both of her hands in the air and her legs apart like she is dancing. Then, draw in the skates and the details of the face and outfit she is wearing. After this, you will start to add color onto the outfit and the skin of the dancer. Once finished with this and adding in the details, work on the background. Make it look like the floor is ice and then add in blue for a...
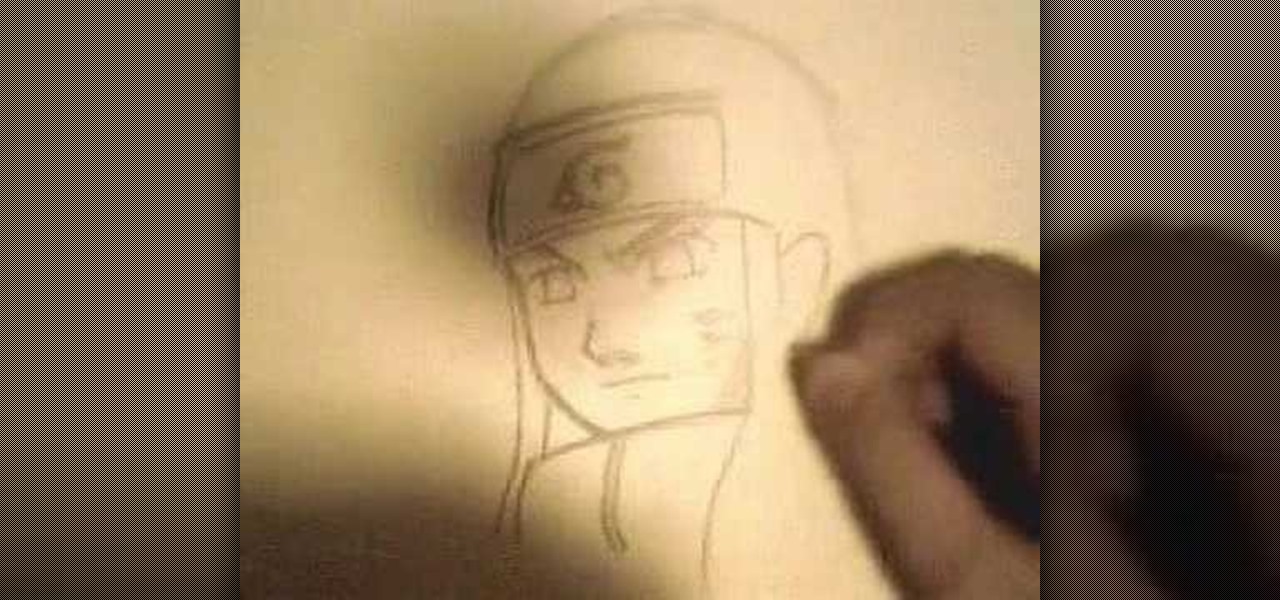
In this tutorial, we learn how to draw manga Neji. Start off by drawing the outline of the character. Don't forget to include the parts where the facial features, limbs, and hair are at. From here, you will use a darker pen to draw in the rest of the character. Next, you will start to draw in the additional lines and shading to make the character look more realistic. Once you do this, you can start adding some color! Use any colors that you would like or use the normal colors that are on Neji...

In this video we learn how to draw hands without references. First, draw the basic structure of the hand using a photo to make sure it's true to size. After this, draw on boxes and circles to create the wrist, hand, and the knuckles. Then, you will draw on straight lines for the bones in the thumb. After this, start to add details of the fingers and make out their basic shape. As you continue with details, erase any background lines and start to add lines in for wrinkles on the skin. Finish t...

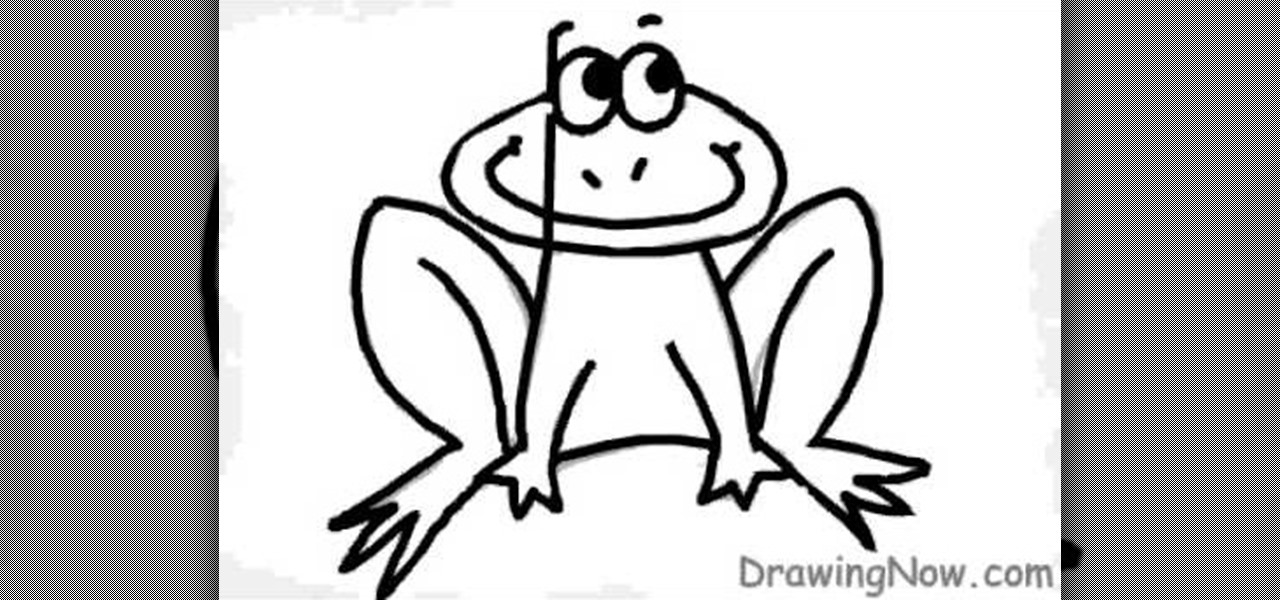
In this tutorial, we learn how to draw a cartoon frog. First, draw an oval fro the face with two small circles sticking up. After this, draw the outline for the legs, arms, and body. Then, draw on the eyes, nose, and a big smile. Make sure to make the toes on the bottom of the feet. After this, erase any background lines and start to add in some color. Use green and dark greens to shade the sides and middle areas on the frog. Then, add dots to the legs to give it some character. After this, c...

If you're a fan of Tinkerbell, then this video is for you! We learn how to draw Disney's magical fairy, Tinkerbell. Start off by drawing the outline of her body and wings. Then, draw over this to make a 3D version of her. From here, you will start to draw in the details of the face and the body as well as the clothes. Once finished, you will color in the skin, wings, and clothing. Use shading and lines to make the character appear more realistic. To finish this up, add a colored background an...

In this tutorial, we learn how to draw portraits. First, you will use a light touch of the pencil to draw the outline of the face and hair. Make sure to include the jaw bone and create a line for the chin. Next, use the side of the pencil to draw on the shading underneath the features of the face, which you will gently outline with the pencil as well. As you add more detail, you will increase the color with the pencil to create a bolder image. After this you will draw in the ears and the hair...

In this tutorial, we learn how to draw Optimus Prime, leader of the Transformers. First, draw the outline of Optimus Prime, use basic lines and circles to show where the joints are going to go. After this, draw the full outline around the character, using a dark line to make it look 3D. Then, draw in the rest of the details for the character, giving him a look like a machine or a bunch of metal. Next, you will start to shade in the different parts and add colors that were used in the movie. W...

In this tutorial, we learn how to draw The Incredibles. Start out by coloring the background orange, yellow, and white. Then, draw the outlines of the bodies for all of the characters in the family. After this, draw in the details, giving them a 3D type of image. Next, you will color in the clothing and add in the fine details for the hair and the face as well. Erase any background lines from the drawing to clean it up, then add in some shading to make it look more realistic. To finish this, ...

In this video, we learn how to draw a perfect eye. Start out by drawing the outline of the eye, the create the basic shape. After this, draw the crease above the eye and then the inside details of the eye. Darken the pupil, then add in lines around the pupil to show detail. Create a circle eraser mark near the pupil to show the eye having a glare, making it look more glossy. After this, shade in the sides of the eye and underneath where the bottom lash line is. From here, create the eyebrow a...

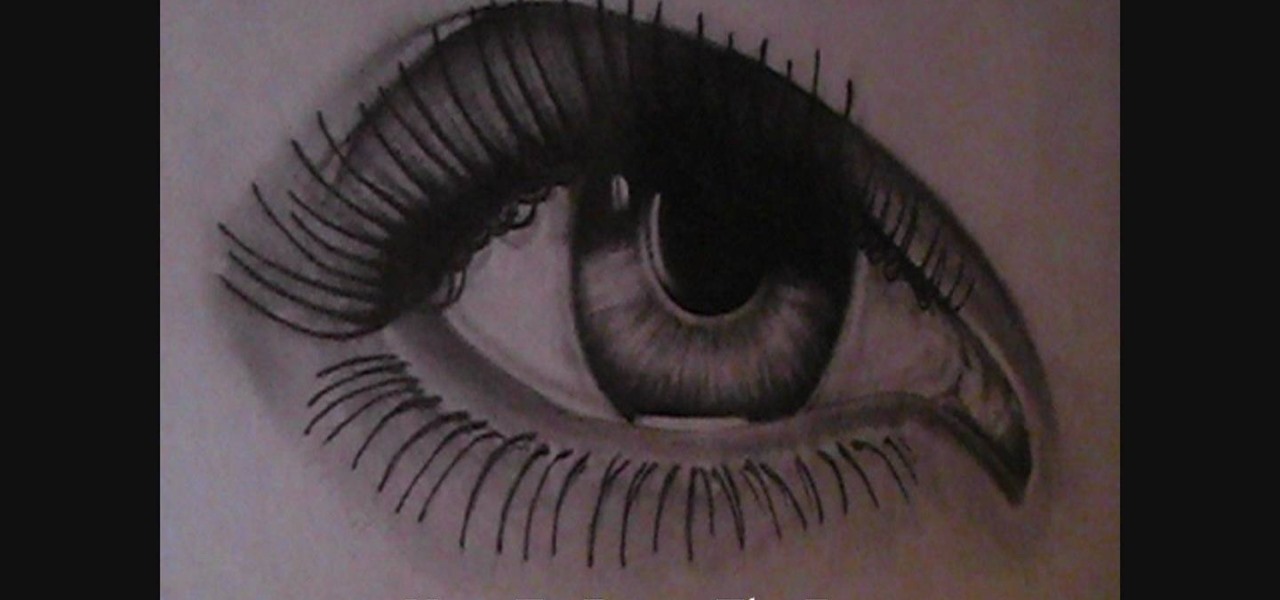
In this tutorial, we learn how to draw an eye. Start out by drawing the outline of the eye, which should be in a football shape. Then, draw the inside of the eye and the outside of it as well. Then, you will start to add in additional details around the eye and the eyelashes. After this, add in the crosshatch inside the eyes and shade in the pupils. Shade around the outside of the eye, then add darker lines for the eyelashes on both the top and the bottom. Add a crease in the eye to make it l...

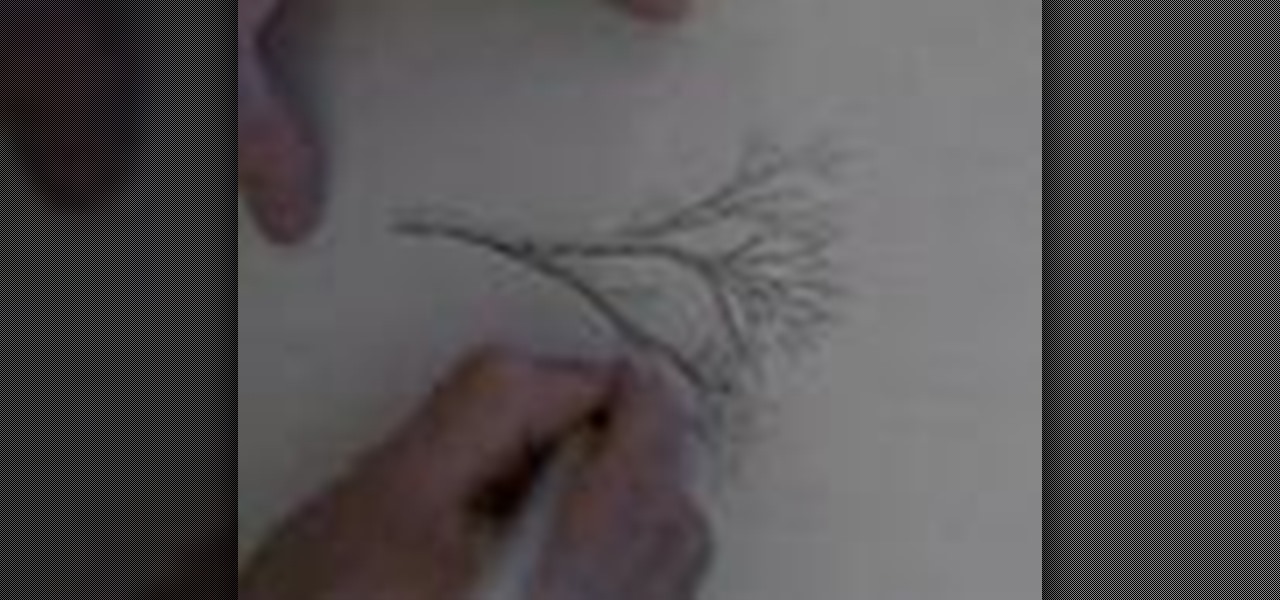
In this tutorial, we learn how to draw a tree branch. Start out drawing two lines for the trunk of the tree. Work these lines up until you reach the top where the branches are located. Then, draw outward lines that will be the branches. Do not make all of them the same size. You want this to look realistic, so make them all vary in size. Draw small lines at the tip of every branch to make it look like wood coming off of them. When finished, add in lines along the branches to show bark on them...

In this video, we learn how to draw a graffiti spray can. Start out by drawing the top of the can with the nozzle on the very top. Use a half circle with a thick line under it to make the top. Next, draw the rest of the can creating a face on the side of the can with a mouth, nose, ears, and eyes. Then, draw in the bottom of the can using a circle shape and filling it on black so it looks sealed. Add in some lines to show the can spraying, then write in graffiti letters underneath to finish!

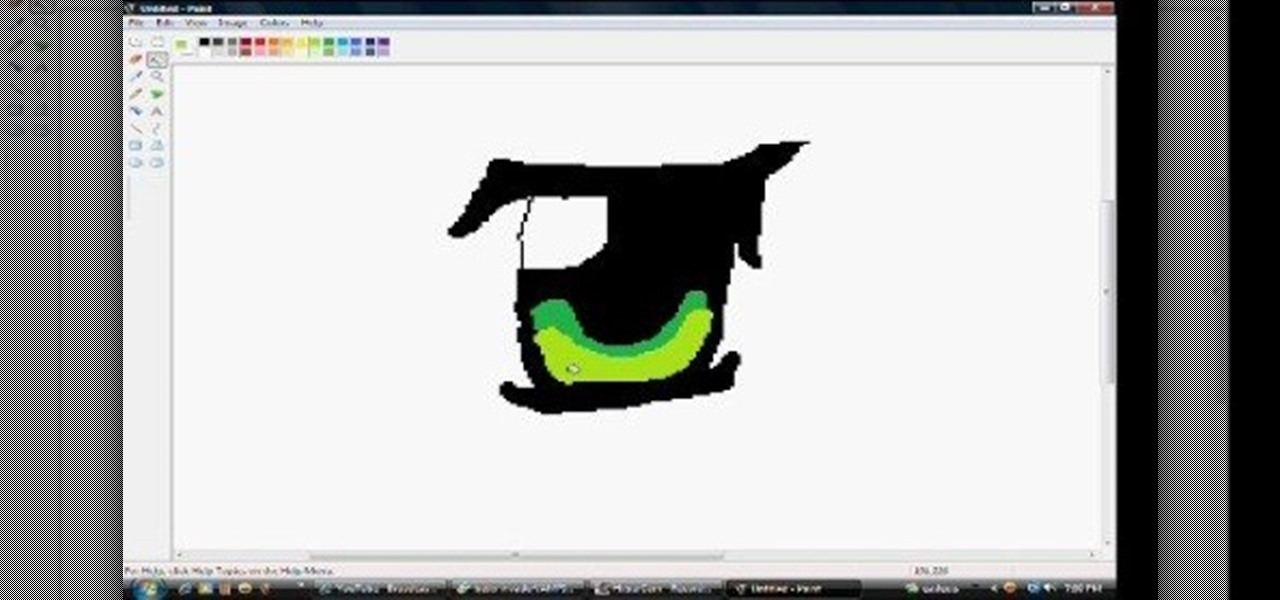
In this tutorial, we learn how to draw anime eyes in MS Paint. First, open up MS Paint and then grab a marker that is thick. From here, draw in a thick line that will be the top of the eye. Then, draw in the round area underneath the eye and the pupil inside of this. Draw in the bottom lash line of the eye, then start to add detail to the middle of the eye. Use the dark line to create a thicker line around the pupil, then fill the eye in with black. Leave a white part to make the eye look glo...

In this tutorial, we learn how to draw a fairly realistic eye. Start with a pen and draw a wispy line for the eye, like a football shape. Then, you will draw the pupil inside the eyes and the ring around it. Draw in lines around the pupil and the eye to show where the colors and shades of the eye come into play. Then, shade in the entire eye lightly. From here, darken up the upper lash and create a create on the eye. Then, make the eyelid crease on the bottom of the eye and add in the inner c...

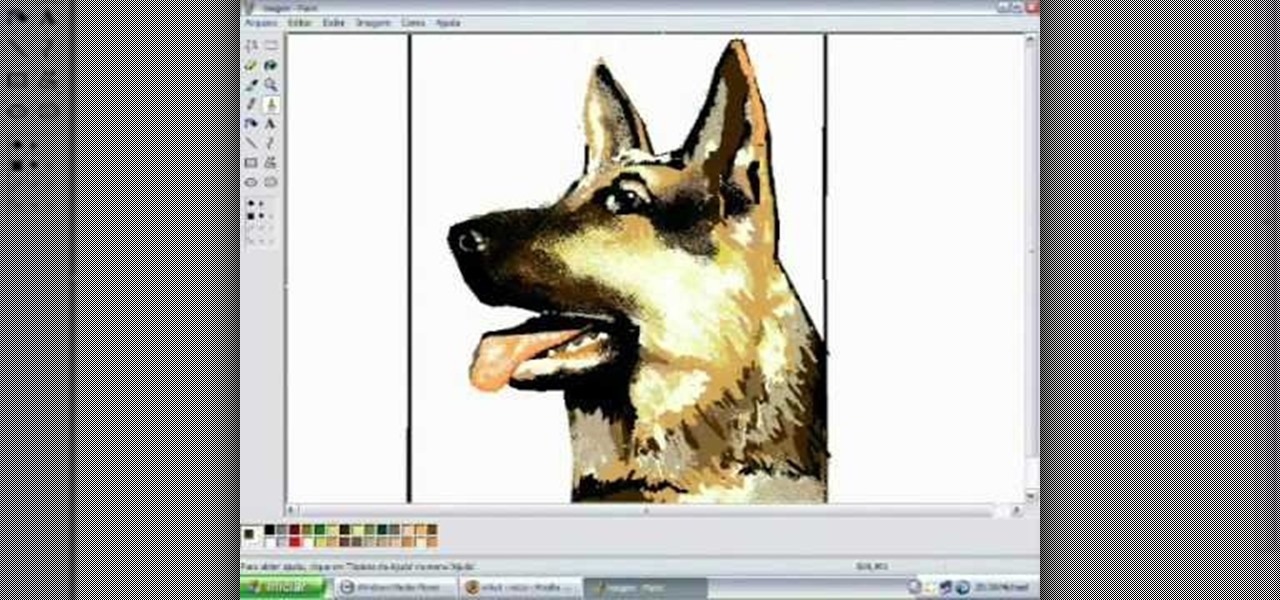
In this tutorial, we learn how to draw a dog in MS Paint. You will do this by using Paint and your mouse, not using a tablet or a pen on the PC. Start out by drawing the outline of the dog in the middle of the page. Next, fill in the nose, mouth, and eyes with black. Then, color the tongue and draw on the ridges of the teeth in the mouth. From here, you will spray paint the color of the dog onto the edges. Spray brown around the edges, then add in white, tan, black, and other colors to make t...

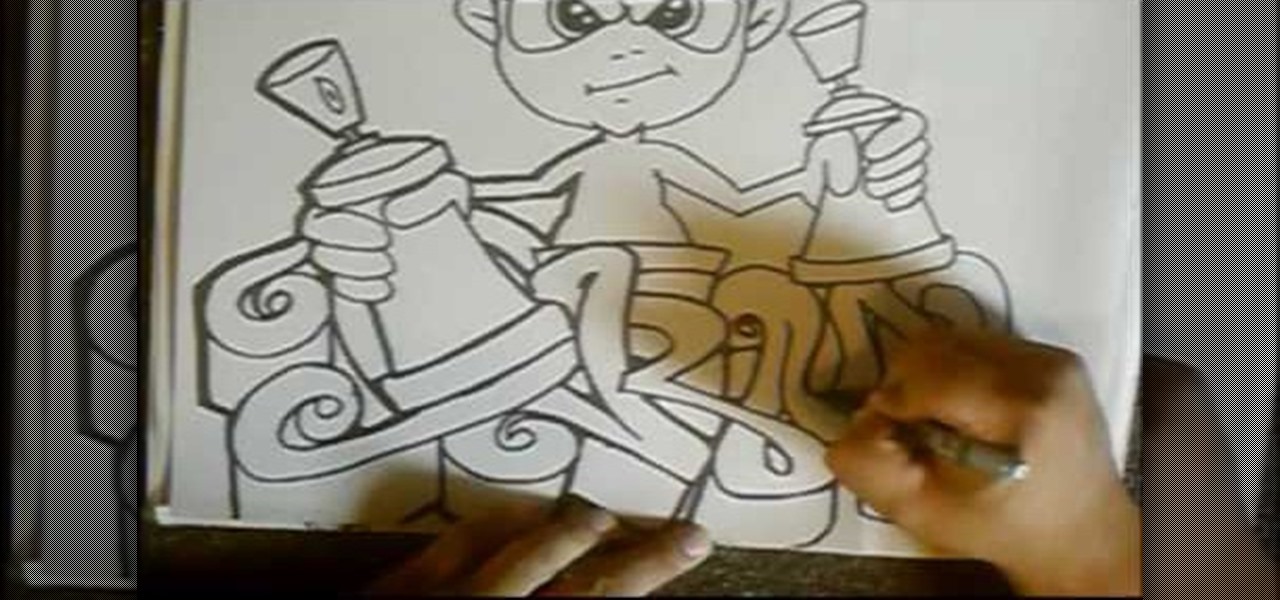
In this tutorial we learn how to draw graffiti. Graffiti can be done in hundreds of different ways, depending on your taste and your abilities. Remember when you draw on graph paper that it will help your letters stay to scale so you have a more even looking word or letter. Also, when you draw your characters you want to draw them with large features and exaggerated clothing, so it gives the gangster loose clothing look. Use a brush pen to create a flared effect and shade in around the letter...

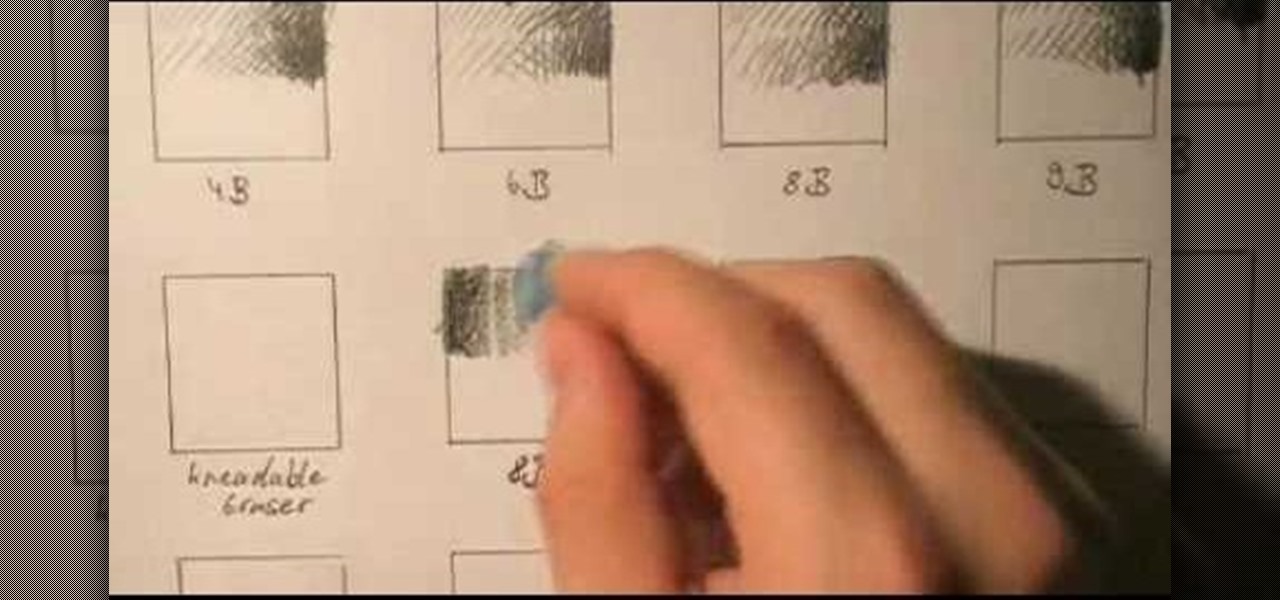
In this video, we learn how to draw with basic concepts and techniques. To shade with different pencils, you will start out by doing a light touch on the pencil and then push down harder to create a darker shade. Use different pencils to get long and wider lines from the shading. A 4B and a 6B pencil will have lines that look the same, but they are different in the way they apply graphite to the paper. Practice using all of your pencils to get an idea of how they write, then you can choose wh...

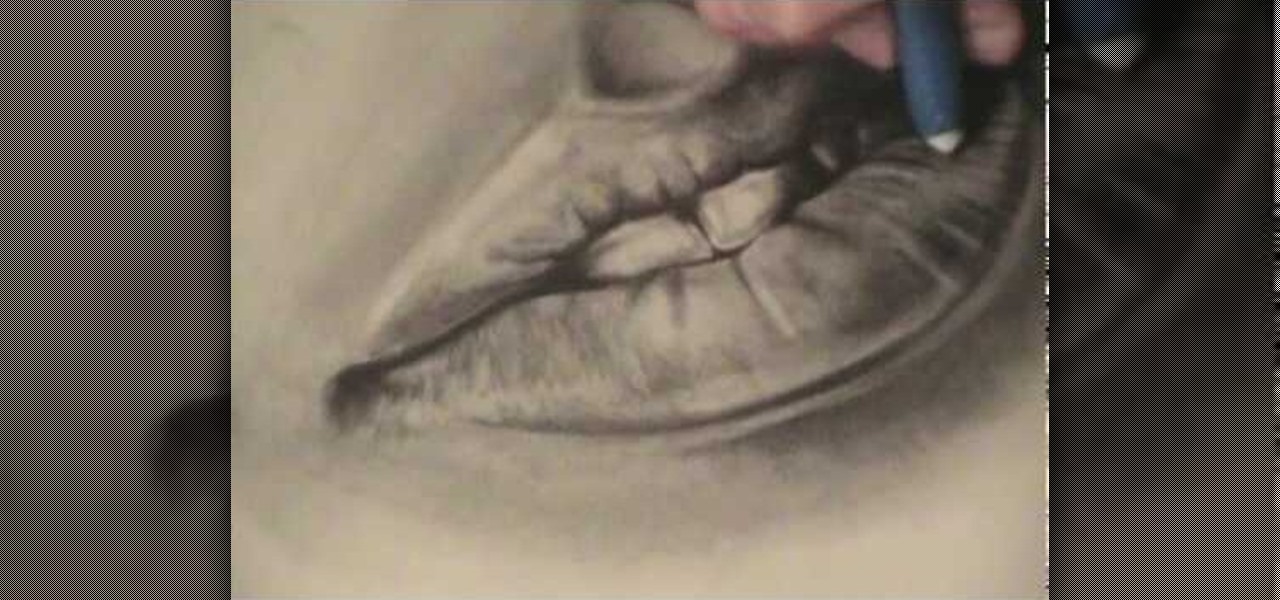
In this tutorial, we learn how to draw realistic lips and teeth. First, draw on your outline for the lips and teeth, using a light pencil. Try your best to get it as natural looking as possible. Now, draw in the shadows and the mid-tones for the lips. Also add in reflective lights and draw in the teeth. Add in details to the teeth and use darker lines to separate them. Use dark creases to form the lips and then continue to add in additional details. When you're finished, darken around the mou...

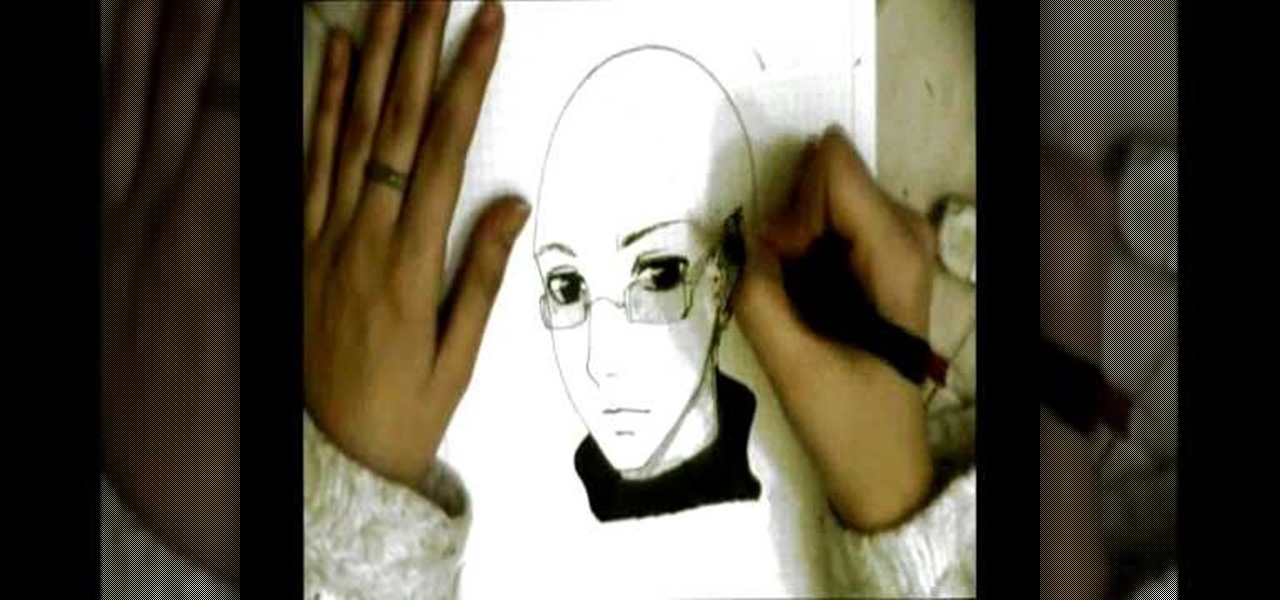
In this tutorial, we learn how to draw wavy manga hair. Start off with your manga face shot and then grab a pencil. Draw in strands of hair on the forehead and create bangs across to the eyebrows. After this, draw down hair on the head going down around the ears and throughout the rest of the head. Use a light touch of the pencil to create most of the strands coming from the root of the head, then use a darker line to create different types of strands. When finished, add in additional details...

In this tutorial, we learn how to draw Dialga. Using a pencil on a white piece of paper, use a light touch to create the outline of Dialga. After this, draw in the small details on the inside of the body. Use shading and lines to make it look just like the real character. Continue to draw down the entire body until you reach the feet. Make sure to draw the spikes on the side and add in the proper lines to make it look like the real character. Add in more details if you would like, then save t...

In this tutorial, we learn how to draw bat/demon wings. Start out using a light pencil marking to make the outline of the wings. You will want to draw wispy lines and make them light to create a light effect on the ends. Once you have the outline finished, use a hard pencil mark to draw over it. Create large wings with hard edges and mark in lines along the middle and the edges of the wings. After you have done this, make sure there is another wing on the side of the wings and then shade to f...

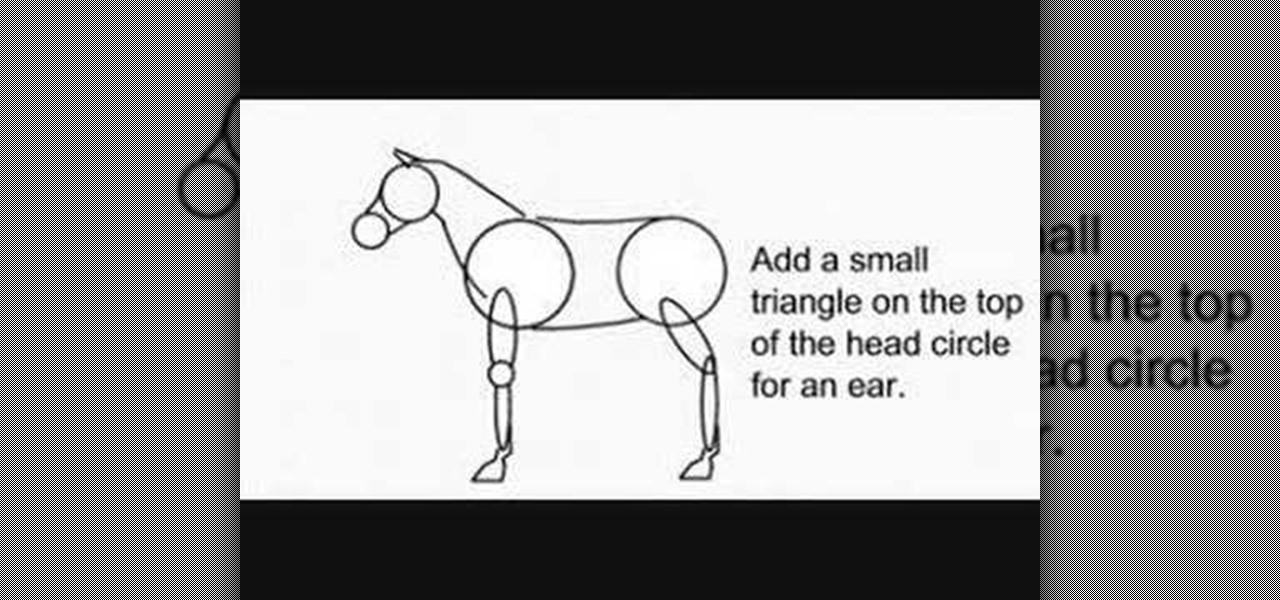
In this video, we learn how to draw a decent horse. First, start with two circles connected by two curved lines. Next, add a sausage for the top of each leg and add a small circle for the front of the knee. Then, add another for the lower part, and add two hoof outlines at the base of each leg. Then, add the back of the hooves. Next, draw two more lines that are far apart at the bottom and narrow at the top for the neck. Then, draw two circles for the top of the head and the muzzle. Join the ...

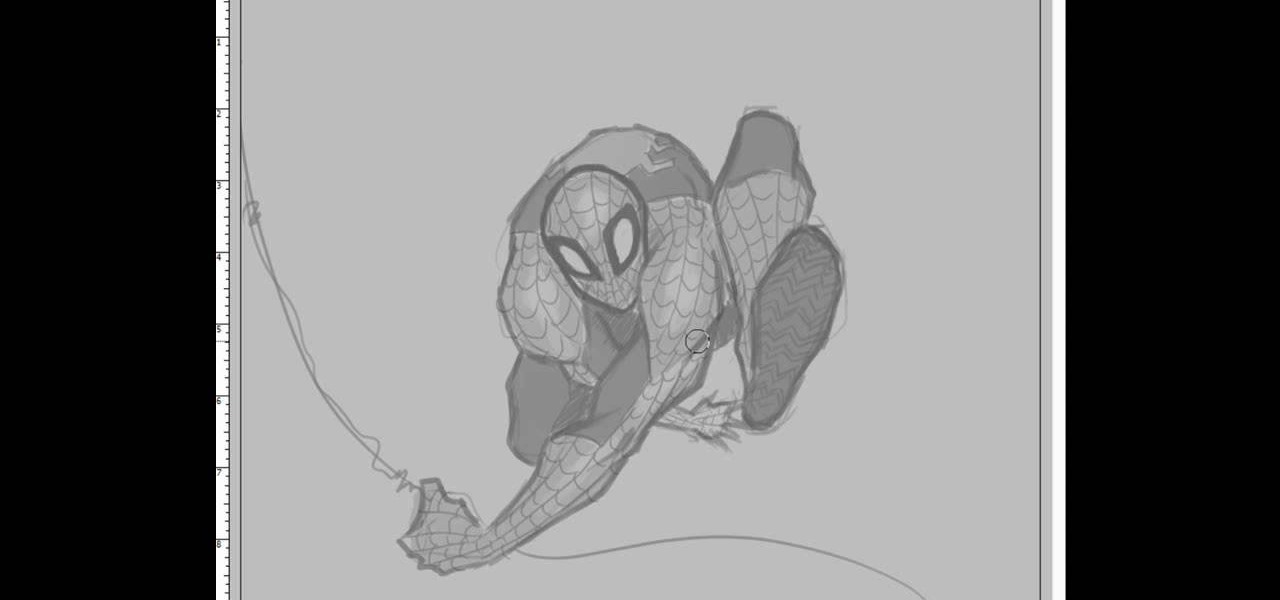
In this tutorial, we learn how to draw Spiderman. First, draw the outline of Spiderman's body while hanging from a web up in the air. Then, use a darker line to draw over the original sketch of the body. Start to fill in details of the entire body and the face of the character. Next, fill in the small details of Spiderman. Draw the details down to what the bottom of the shoes on his suit look like. Make sure the face has all the right details, then add in lines to the web to make it look more...

In this video, we learn how to draw Maplestory Bigfoot. Start out by drawing the outline of the character, then start to draw on the details. Once you have finished the outline of the entire character, start to use a darker pencil or pen to make it darker. Add in shading on different parts to make it look 3D, then add in lines to make the character look more realistic. Add as many details as you would like, then when you are finished you can color in the picture as you would like. You can rep...

In this video, we learn how to draw a funny cartoon bird in CorelDraw X4. Start out by opening up CorelDraw and using the pen to sketch out the shape of the bird. There is no set way to draw this, just be creative with the drawing. Add in the hair, eyes, beak, and body to the bird. Give it crazy eyes that are different sizes and wacky colors. Fill in the bird with different colors, also filling in the colors of the eyes and adding in details to the beak. Continue on to fill in details and col...

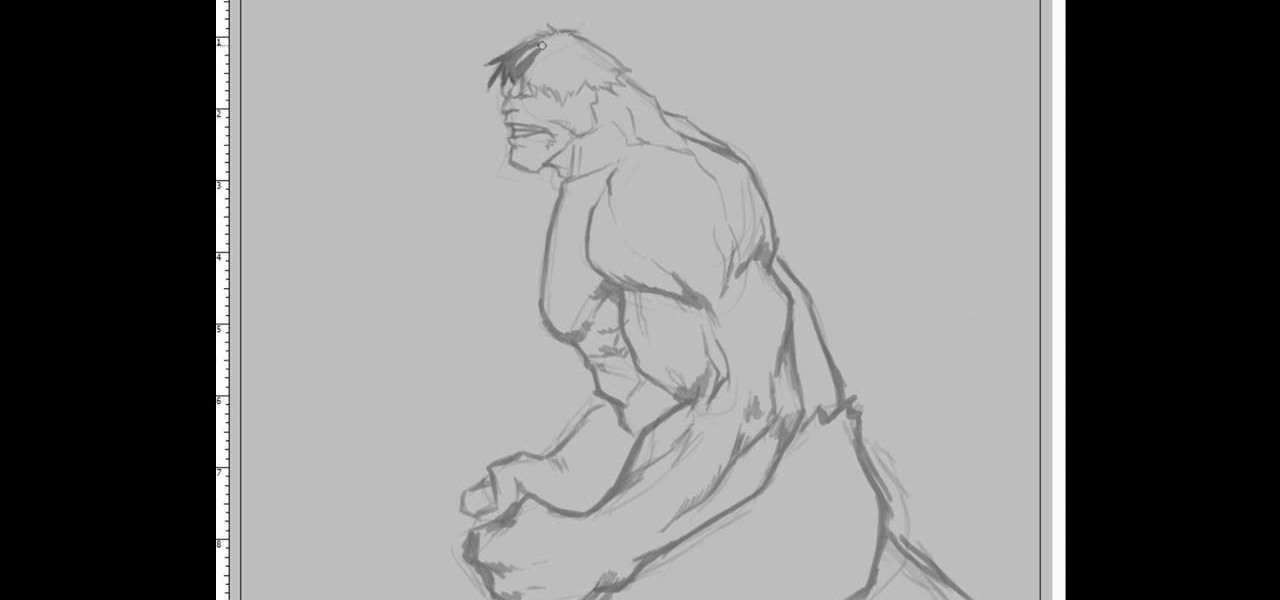
The Incredible Hulk, the result of Bruce Banner being exposed to an intense amount of Gamma Rays. Gets stronger the more you hurt him, and can break tanks in half no sweat. Wouldn't you like to be able to draw the green giant? In this video you will learn how to draw The Incredible Hulk from a side view, watch him start from the outline all the way down to the coloring of the finished picture.

Comic book art is not only awesome, but it takes a really keen eye, and talent, to draw great comic book art. Steven Sanchez has a unique style and tone to his artwork, and in this great two-part video, you will learn how to draw the faces and heads that make Steven stand out from other artists.

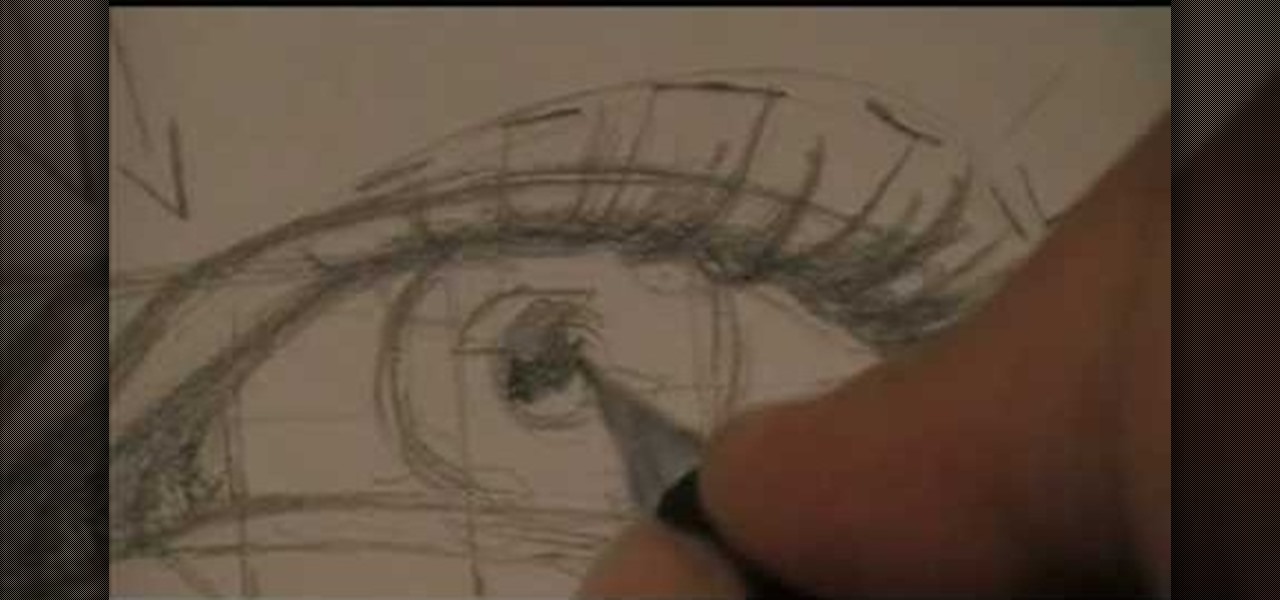
One of the most emotional and striking things that you can draw is the human eye. It can say everything that you want to say without a single piece of text. But to draw like that requires skill and talent. In this amazing video you will watch as he shows you all the various steps and techniques that he uses to make a truly amazing eye, starting with pencil and eventually finishing with ink.

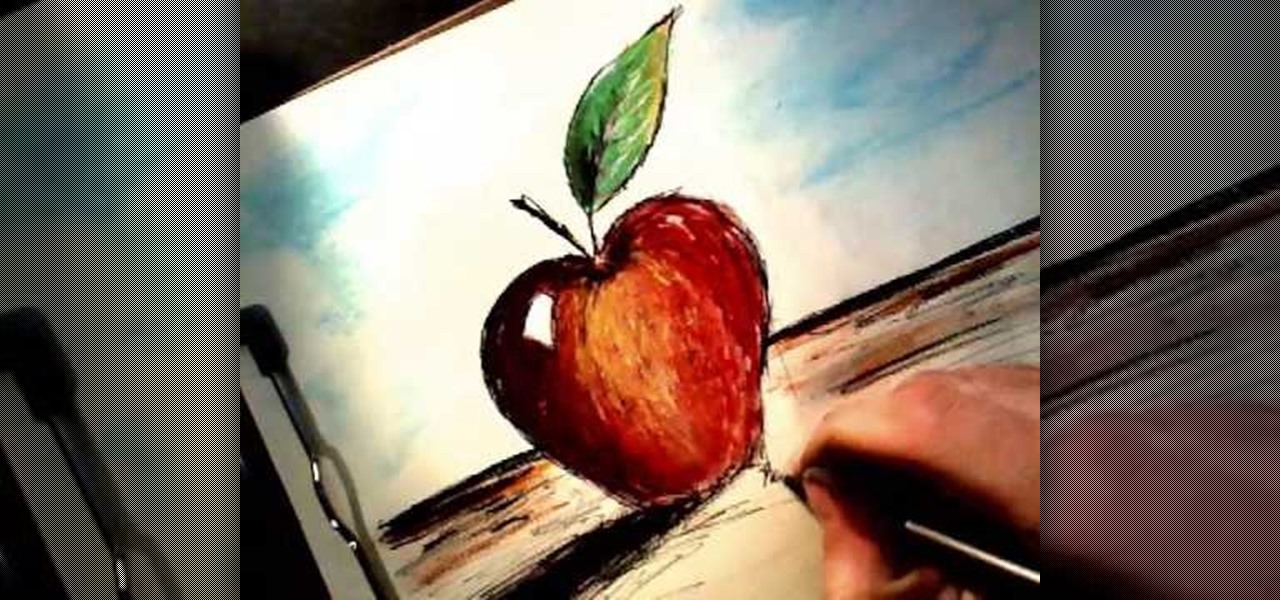
In this tutorial, we learn how to draw an apple. Start by drawing the outline shape of the apple. It looks like a slight heart shape in the middle of the apple where the stem is. After this, start to fill in the apple with lines to make it look more realistic, then draw the stem and a leaf coming out of the top middle of it. Color in the leaf with browns, blacks, and green. Then, draw lines on the bottom of the paper to make it look like the surface. Finish by coloring the apple red, making d...

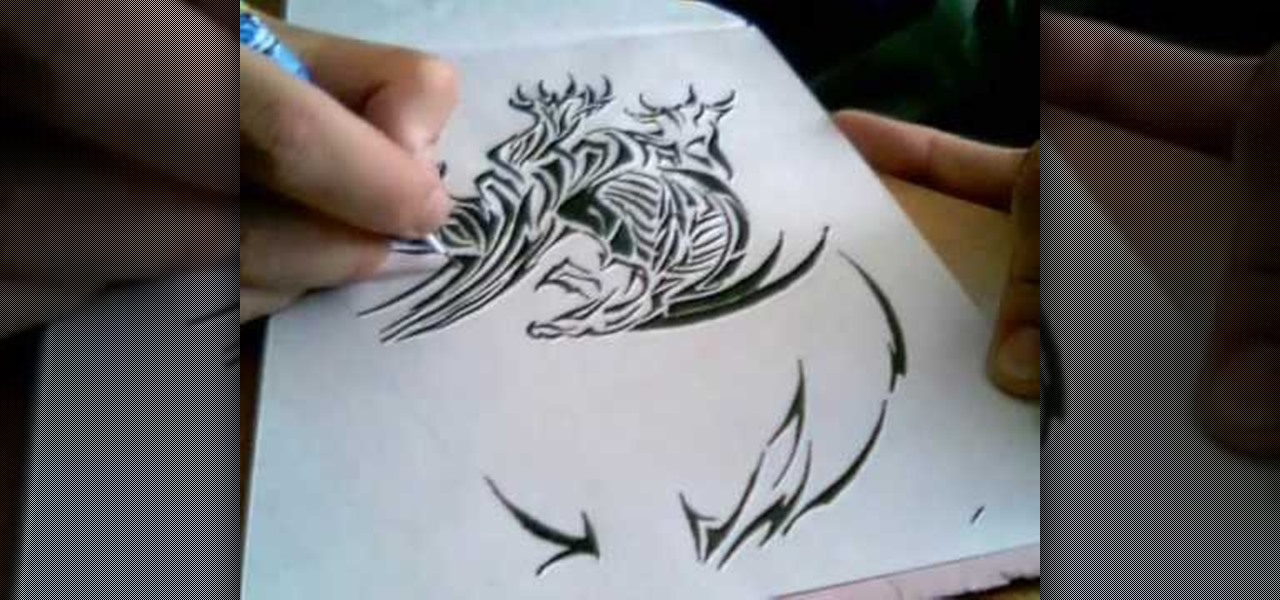
In this tutorial, we learn how to draw a tribal style dragon. Start off by drawing the wings of the dragon, adding in tribal designs on the inside of it. After this, start to draw the head of the dragon, as well the inside of the face. Also, draw the legs and the claws of the dragon. Add in more details until you have a full dragon design. Use a pen to fill in the lines on the tribal design. It will sort of look like a zebra pattern with the black and white colors rotating. When finished, sig...

In this video, we learn how to draw a wolf step-by-step. First, draw out an outline of the body using circles and lines to show where the legs will go. Next, make the snout for the nose and then draw in the ears and the eyes. Next, draw in lines around the outside of the wolf to show that it has fur. Next, use a darker pen to outline the wolf, then add in details to the legs and the rest of the lower body. Add in a tail that is curved but not high in the air. When you are done, you will have ...

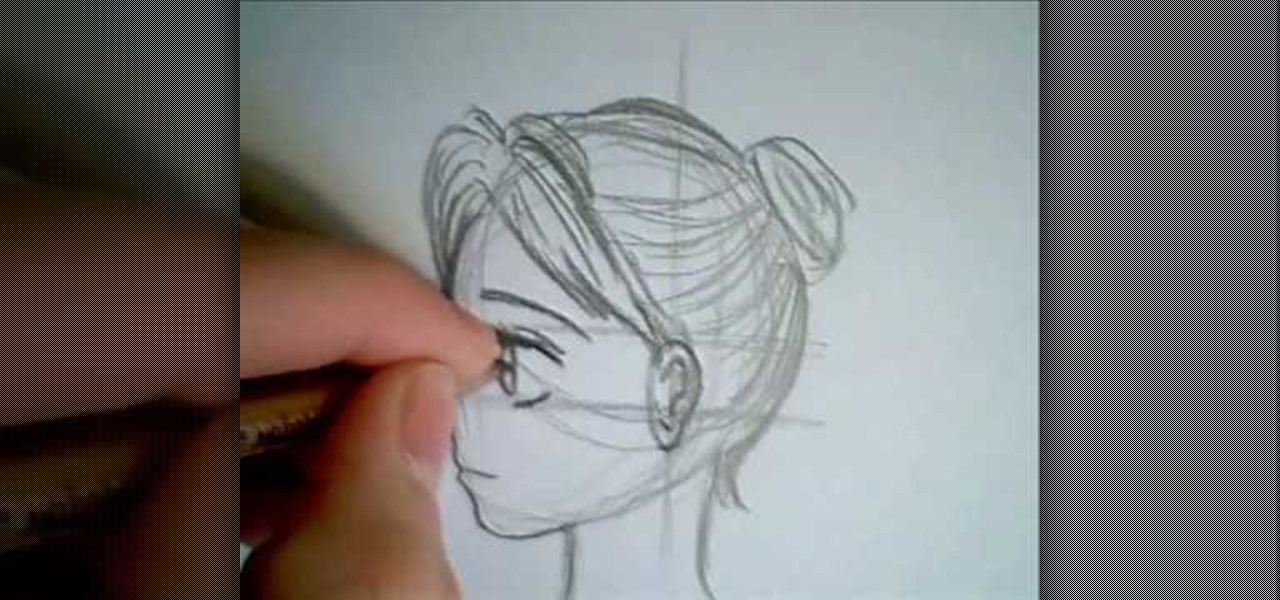
In this video, we learn how to draw a manga face sideways. start by drawing a round circle with a light pencil. After this, draw a chin that is from the side view. Next, add on the nose and make the chin look more prominent, like you are seeing the profile of the face. After this, draw on the ear to the center of the face, then start to add in further details. Make the eye and add shading by the nose to make it appear as though there's another eye. Add in eyelashes, then start to add in hair ...

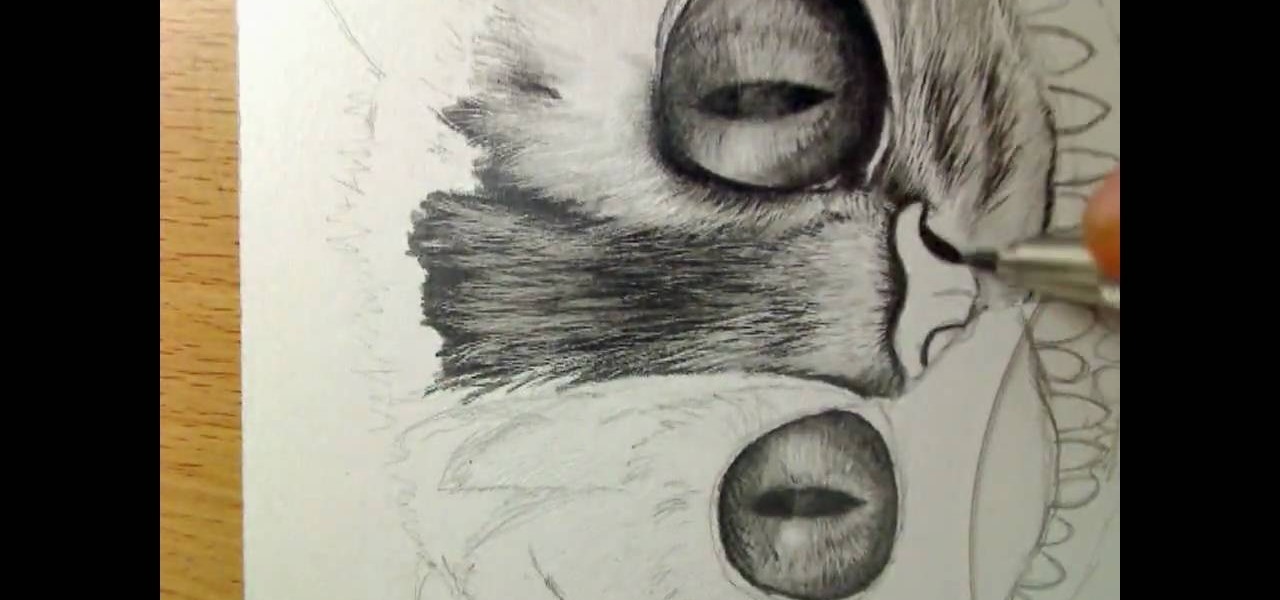
In this tutorial, we learn how to draw Cheshire cat in Tim Burton's Alice in Wonderland. Start out by drawing the large eyes, then drawing in the nose and face around the cat. Add in the many teeth, then draw on the ears of the cat. Shade in the eyes and make the pupils diamond shapes for a more realistic cat look. After this, shade in areas and make it look as though there is hair on the cat. After this, shade in the nose and add hair around the outside of the cat. To make this look more rea...

In this tutorial, we learn how to draw a simple cartoon dinosaur. Start by drawing a rectangle and give it eyes on the upper right hand corner, then nostrils. Start drawing a body that has a jelly bean shape. Now, create small arms on the side of the body, that are smaller than the rest of the body. These arms should have a cylinder kind of shape to them. Now, draw some legs onto the bottom, using large cylinder shapes and little pointy toes. There should be adequate space in between each of ...

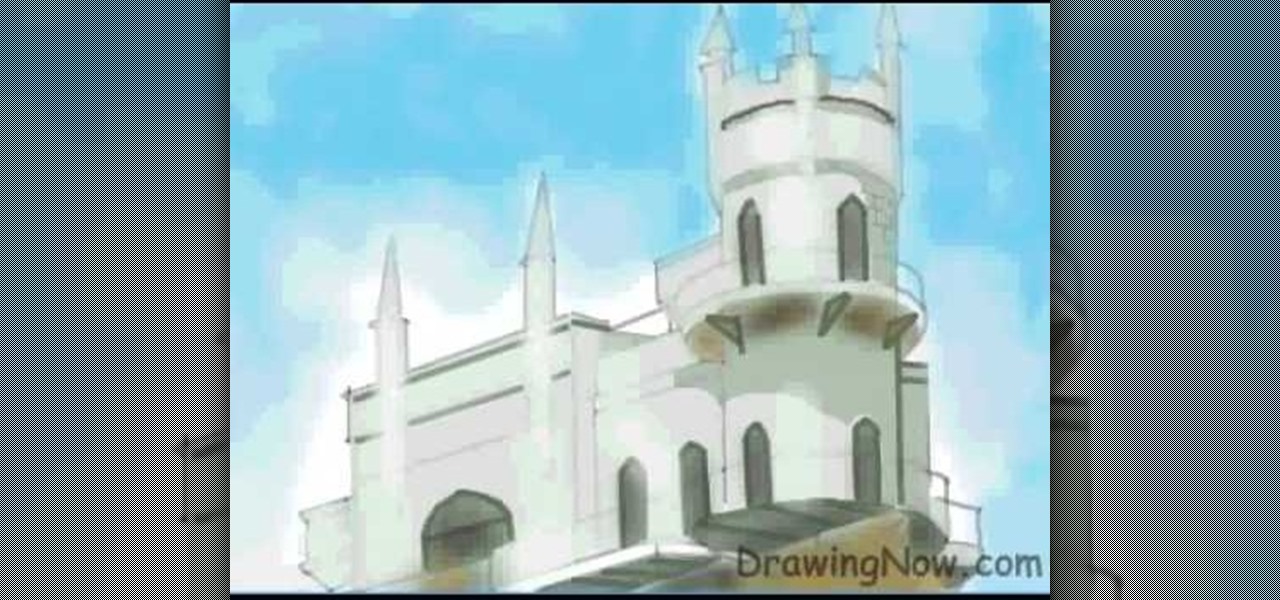
In this tutorial, we learn how to draw a castle on a sunny day. Start off by drawing the base of the castle, so you know where it will stand. Then, draw in the pillars and the top of the castle going up. After this, draw the body of the castle where the main entrance is. Now, start adding more details to the building, adding in the windows and doors, as well as the points on the top and stairways. Then, color the entire castle gray and add in bricks. Shade the doors, windows, and other areas ...

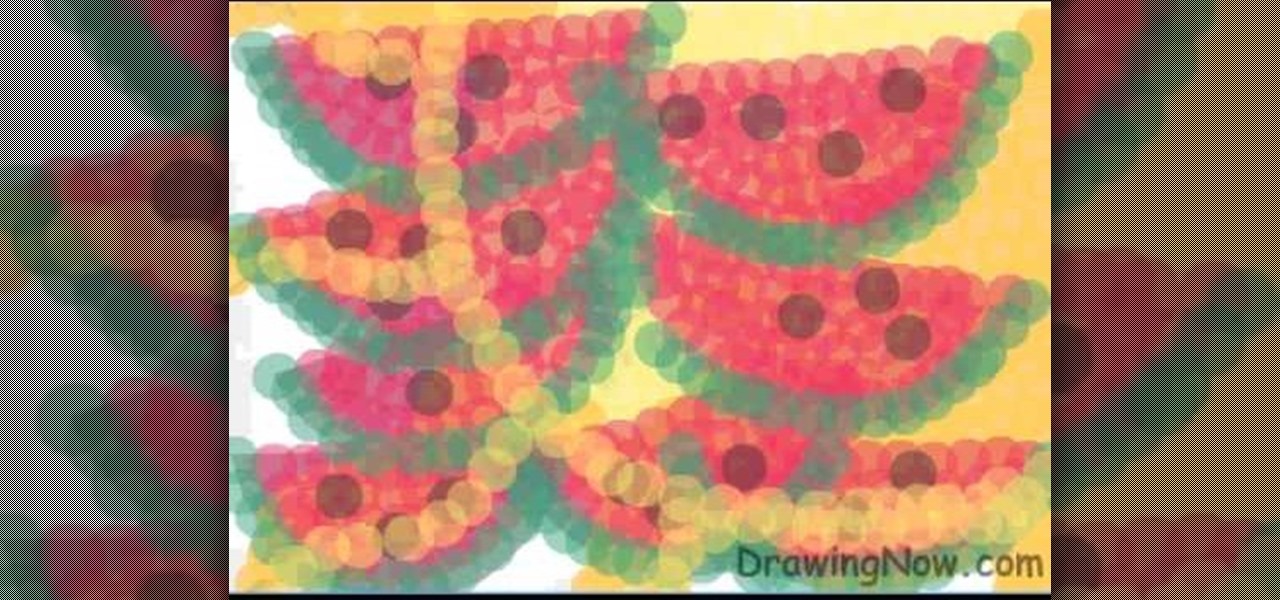
In this tutorial, we learn how to draw abstract watermelons. First, draw a circle, followed by wavy lines coming out of it just like the sun. Next, draw half watermelon shapes all over the picture you just draw. Now, fill in the picture with yellow circles on the inside of the circle shape. Use a dark yellow/orange for the second half of the circle to the bottom. After this, use the orange to fill in half the wavy lines and then use red to fill in the other half and make large half watermelon...

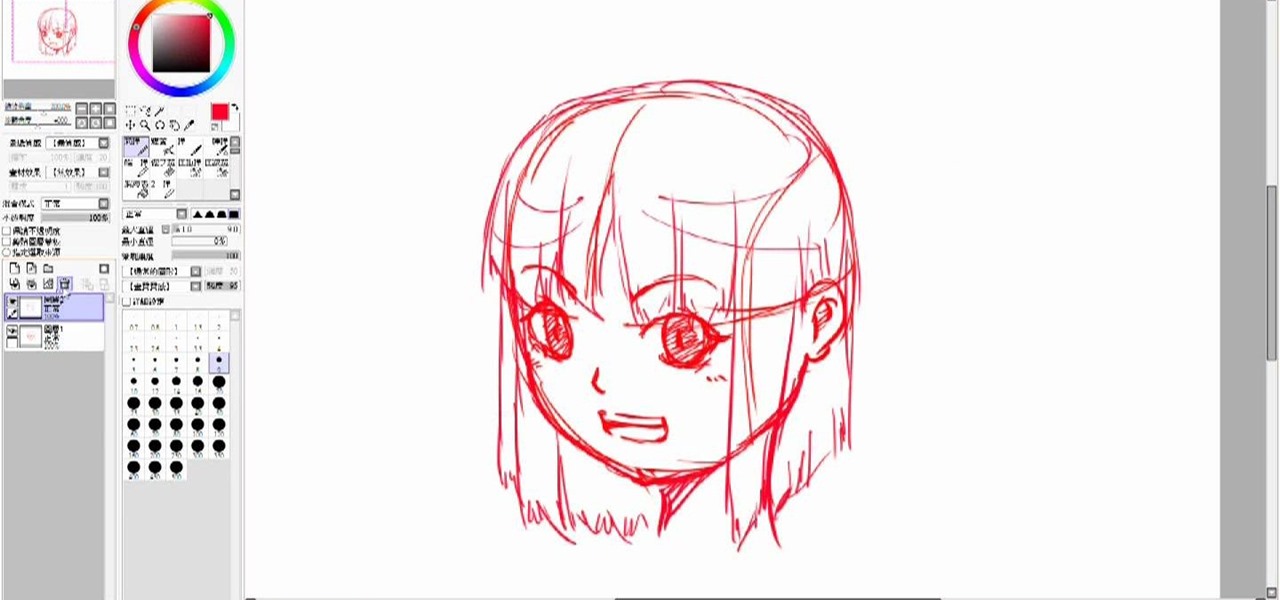
In this tutorial we learn how to draw a manga face. Start off by drawing a circle, after that add a cross in the middle as a reference point for where to draw the eyes, mouth, and nose. After you do this, you can start adding in further details to the face to make it look more realistic. Don't forget to add in lines on the face for wrinkles and pupils to the eyes. Ears should be placed on both sides of the head and don't forget to draw in hair as well. Outline the pictures with a darker brush...


