Watch this professional cinematography video to learn how to pan and lock to enhance and maximize the performance of the P+S Technik SKATER Mini dolly. This allows you to either lock the wheels for fixed camera angles, or execute basic panning shots. View final footage of the Skater used on professional film sets.
Watch this professional cinematography video to learn how to use the Steadybag to enhance and maximize the performance of the P+S Technik SKATER Mini dolly. The Steadybag allows you to work with angled shots. Just place the bracket into the frame of the skater and then place the camera on top of it. View final footage of the Skater used on professional film sets.
Watch this instructional video to learn how to use periscopes and borescopes to maximize the performance of the P+S Technik SKATER Mini dolly. Working with periscopes and borescopes can add interesting perspective to the shots you do with the SKATER. View final footage of the Skater used on actual professional film sets.
CaptainDisillusion challenges the urban legend of a gas station ghost that's talked about by newcasts across the country. Find out the tricks or illusions of low quality video footage.

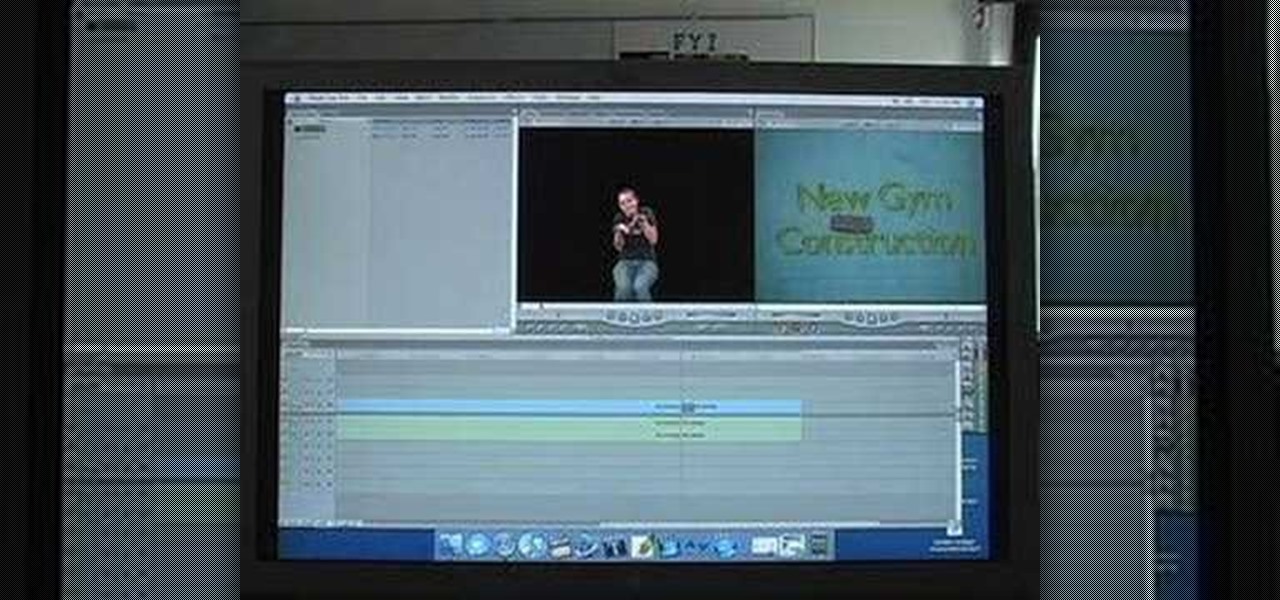
To make your movie look as professional as possible, you'll want to include only the best footage. It's easy to remove the parts of your clips that you don't like.
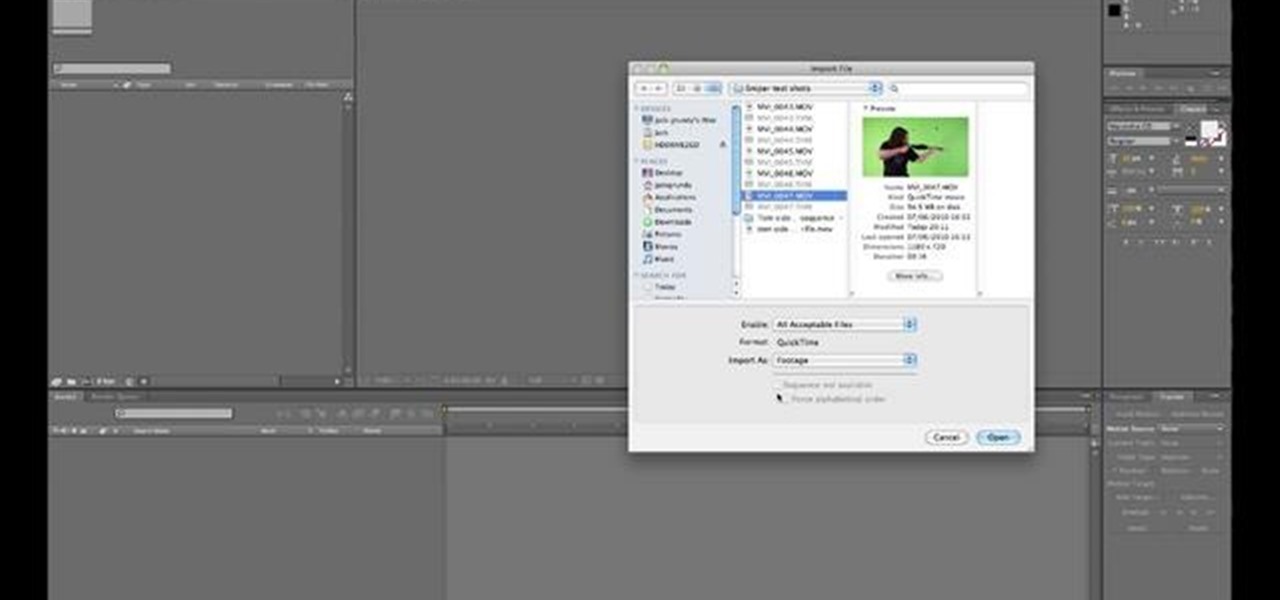
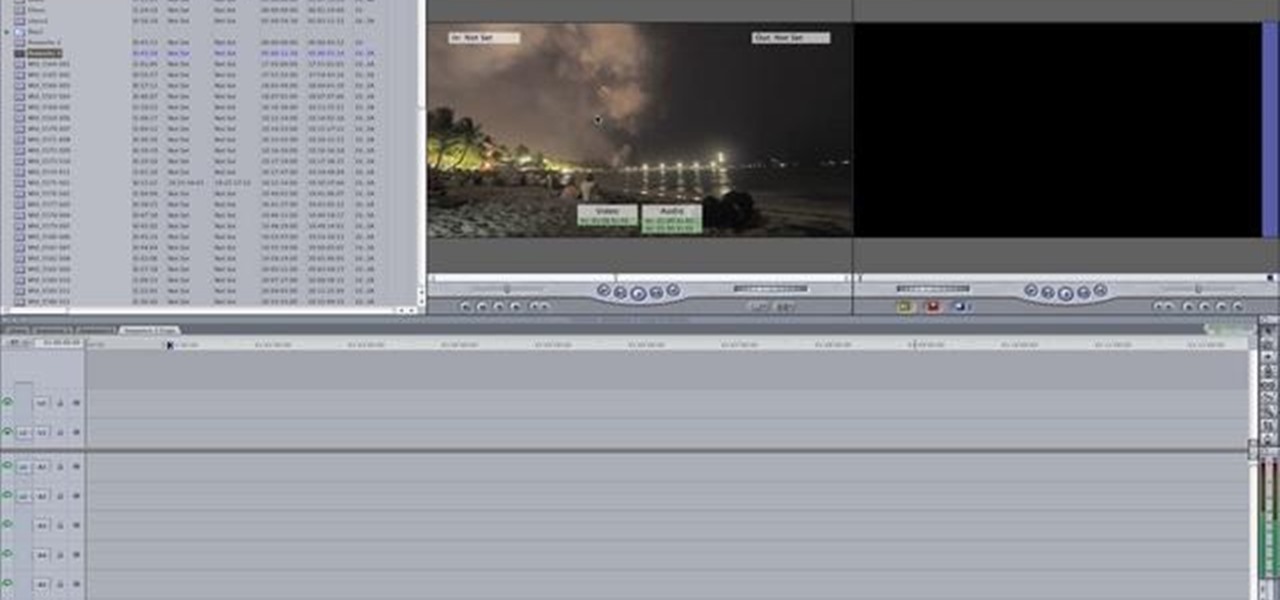
The first step in any After Effects CS5 project is importing your footage and setting up a custom composition with reference to the technical settings of your individual clips. Learn how it's done with this video tutorial.

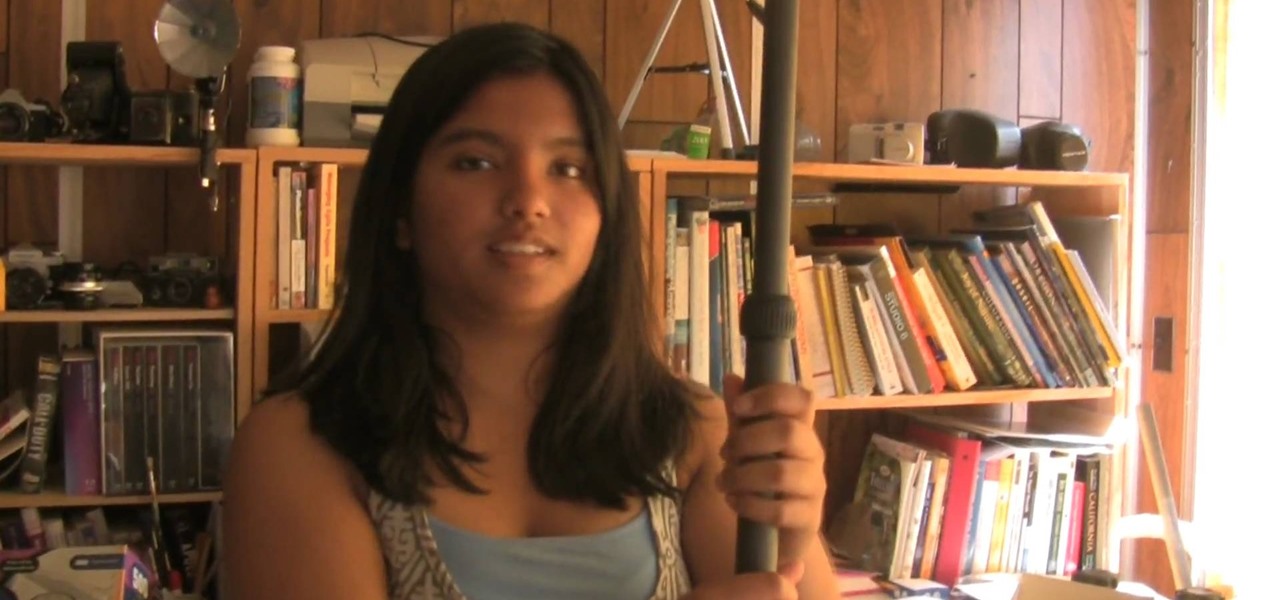
Low angle shots are a great way to evoke a sense of panic in movies, but if you're trying to get good quality shots from ground level with just your hands, then it's not going to work. The video footage will be all shaky, unless that's another look you're wanting to achieve in your film. If you want steady, fast-tracking low angle footage, then Ritwika has a great trick on taking those ground level moving camera shots. You'll need a monopod, water bottle (with water), 2 rubber bands and your ...
Seanshows us how to use the cloning feature in Adobe After Effects. The first step consists of moving two versions of his footage (video clip) into the time-line area. He then takes a single frame from his footage and saves it as a Photoshop layer and puts it into the time-line. That frame will act as a masking layer and is to be made invisible by deselecting the eye icon. After watching this informative how-to video you will learn how to use cloning in Adobe After Effects.
This video describes the "green screen" process in iMovie. The shirtless presenter has setup a green screen in his home along with several lights to provide realistic lighting. The presenter then places the object, in this case a porcelain troll, in front of the green screen. The background scene in this instance is a busy downtown area. By watching the background video while filming the green screen footage, the presenter is able to position the troll so it appears to be interacting with the...
This After Effects tutorial gives a basic overview of how to create the tongue effect as seen in the show Kung Pow. You want your actor to move as little as they can, or you will have to fix the footage by motion tracking, which isn't covered in this tutorial.
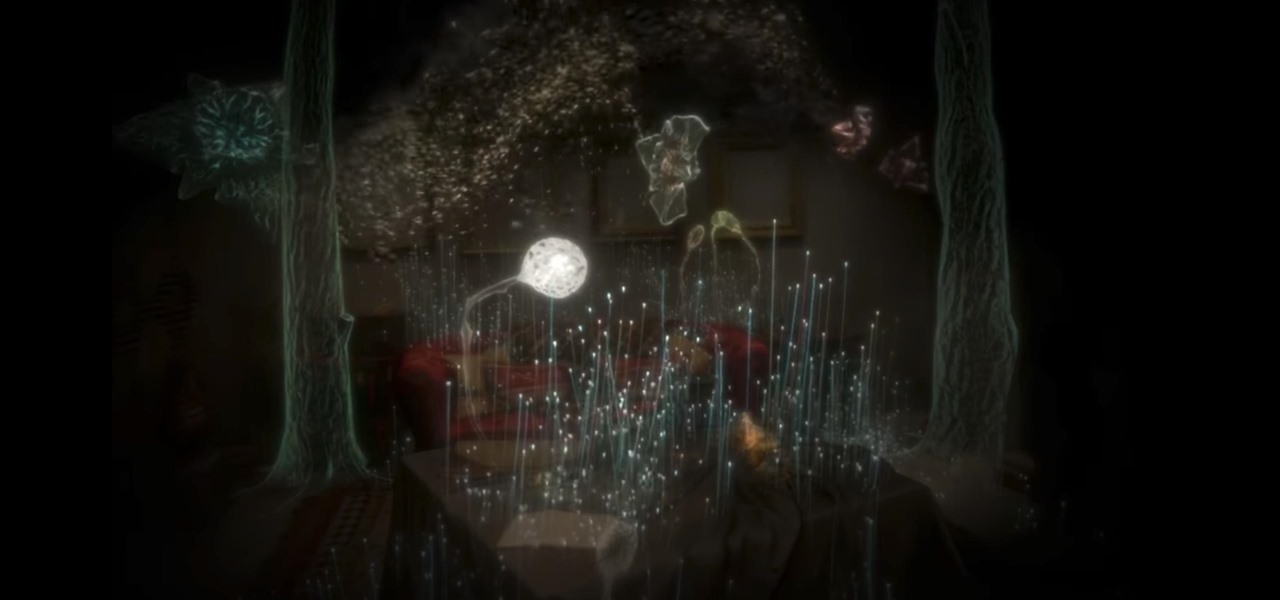
On Monday morning, secretive augmented reality startup Magic Leap revealed a collaboration with Icelandic music group Sigur Rós. But the story detailing the app didn't reveal anything more than a still image of the interactive Tónandi app, leaving most of us to use to our imaginations in terms of visualizing how it worked.
If you've grown bored of day-to-day hacking and need a new toy to experiment with, we've compiled a list of gadgets to help you take password cracking and wireless hacking to the next level. If you're not a white hat or pentester yourself but have one to shop for, whether for a birthday, Christmas present, or other gift-giving reason, these also make great gift ideas.
Learn how to import your videos into iMovie by viewing this video. This tutorial shows the various methods used to import the video clips into iMovie, arranging the clips in the timeline, and optimizing the video footage in the editing environment.
Learn how to edit videos in this quick and easy tutorial. Use iMovie in this project to make a 5x5, which is a series of 5-second video clips compiled together into a 25-second video project. This tutorial details the various steps of video editing, including importing footage, arranging clips in the timeline, trimming & cutting, editing sound & music, adding text effects and exporting to a video sharing site like Vimeo.
When editing digital footage within Windows Live Movie Maker, it's important that you not forget that you're not working in a strictly visual medium—that is, you should also give some consideration to your movie's soundtrack. This clip from Vimeo's excellent Video 101 covers how to do basic sound editing within Movie Maker.
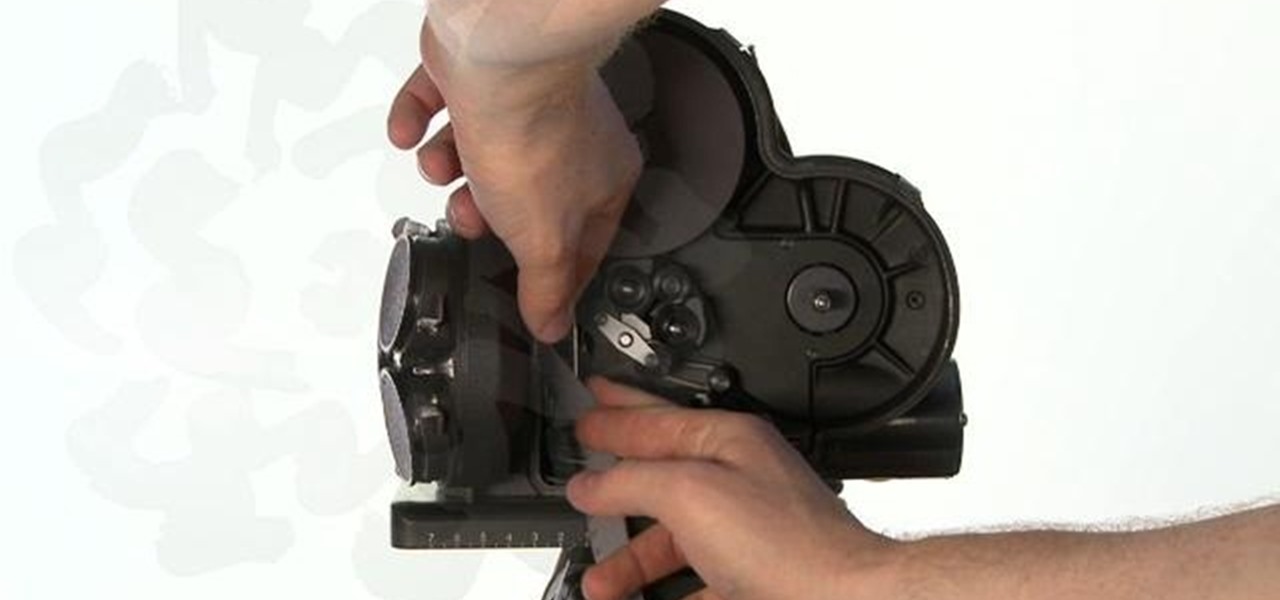
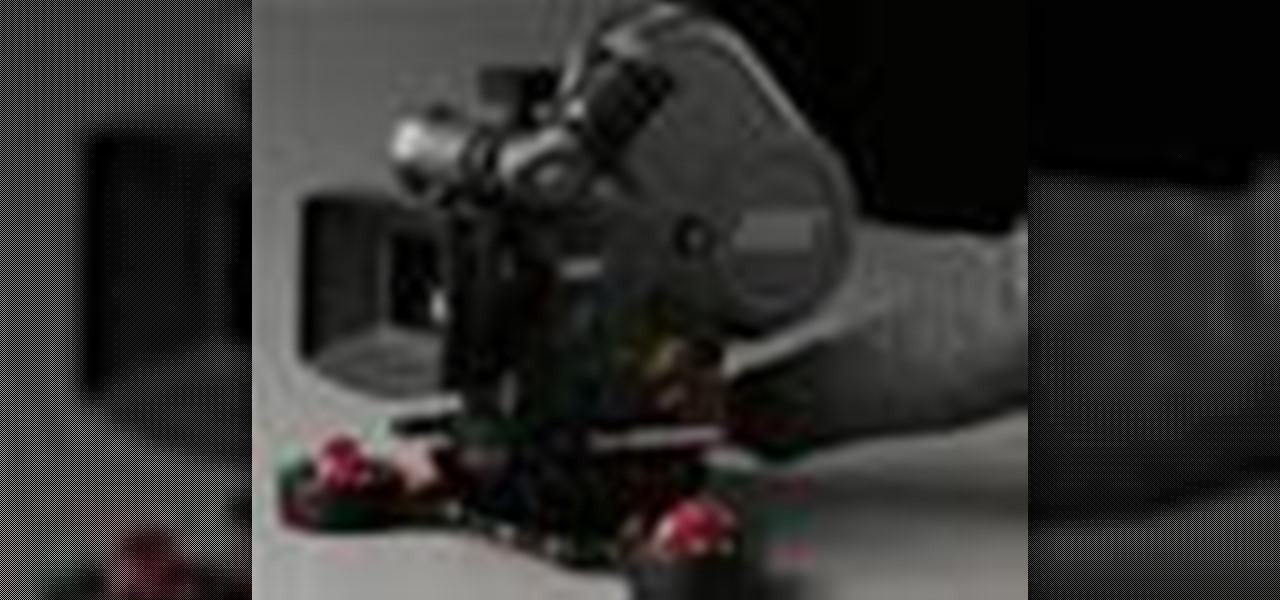
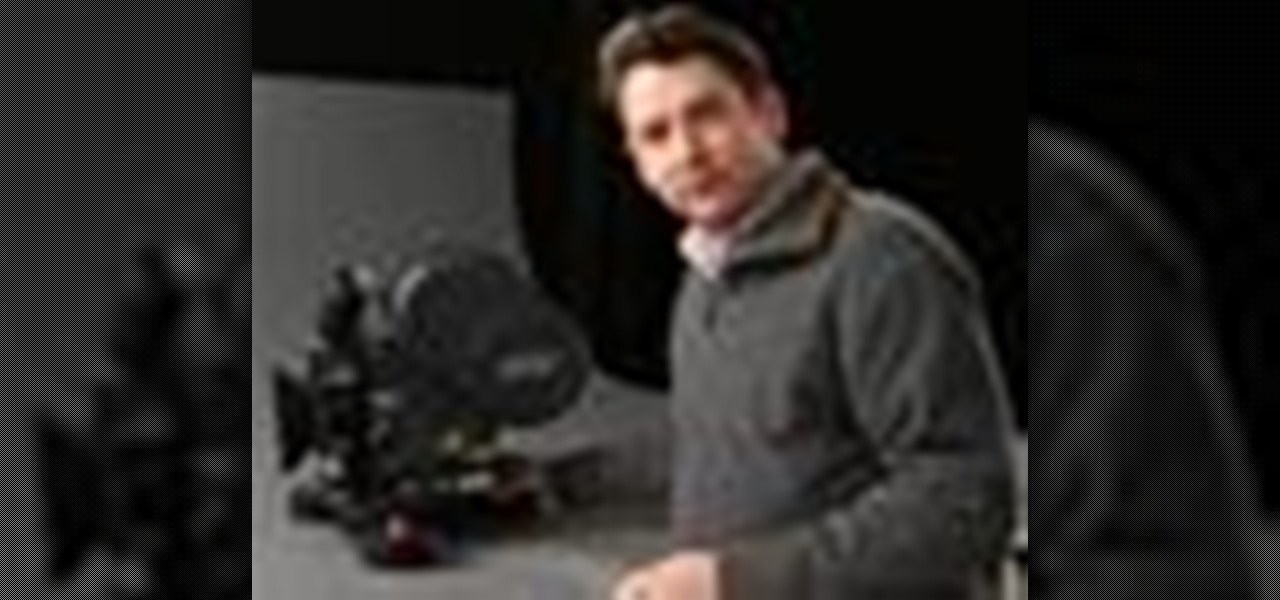
The Arriflex S is a high grade, professional quality 16mm camera. It can shoot steady, consistent film footage. This tutorial shows you how to properly load your film into the camera and a few other tips for getting the most out of your equipment.
You will need to create some time lapse footage first. Then, you can use the Magic Bullet software to edit in a fake tilt shift look for your time lapse film. This technique will work on most other video editing programs as well.
Use a 2D image of clouds to generate realistic video footage of 3D cloud motion. In this tutorial from All Bets Are Off, Aharon Rabinowitz demonstrates how to create this effect using a single 2D image of clouds and a few simple clicks.
Use After Effects to simulate a 3D stereoscopic effect, and remap time to speed up and slow down footage (a popular video effect used throughout the 2007 movie '300'). This tutorial from motion graphics designer James Zanoni shows you how.
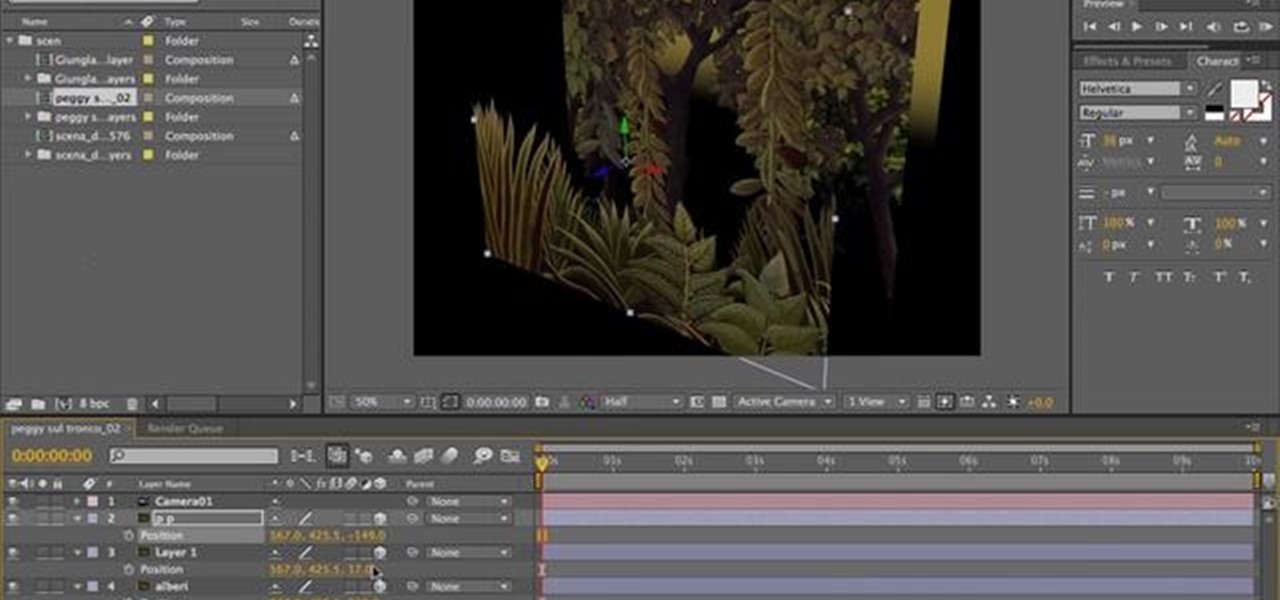
Using a layered photograph, chroma key footage and depth of field, prolific Italian designer Juri Ciana demonstrates precisely how to create a stunningly beautiful 3D composition with After Effects. In this informative video-only tutorial, depth of field and focus is utlized as critical elements that provide the various components of this video composition with a living vibrancy and dynamism.
Replicate the Predator-style video camouflage in After Effects by using displacement maps. This uniquely stunning and groundbreaking visual effect has been seen countless times in film and television to show video camouflage, invisibility, heat distortion, holograms, and static interference, among others. This video shows how to replicate this effect by using green screen footage, Fractal Noise and Displacement Maps, all within Adobe After Effects.
If you've imported some video footage into iMovie, but want to use the sound elsewhere, like in GarageBand, you're going to have to detach the audio from the video. This tutorial will show you how to remove the audio from an video clip in iMovie in Mac OS X. Detaching audio is very simple, so don't worry!
If you have a still image from Photoshop that you want to use in After Effects, how do you get the file to work properly? This video covers this question, showing you the preparations involved with taking a print design and preparing it for use in Adobe After Effects. Importing as footage and compositions is also covered.
Steady cam rigs allow you to film really great smooth footage, but they cost about $300. If you're too lazy to make one yourself that is! This video will show you how to make a cheap substitute called a fig rig using $30 dollars worth of materials. Now you can finally push beyond handheld to the world of professional-looking video.
In this clip, you'll learn how to take full advantage of Magic Bullet Mojo when color grading digital footage within Final Cut Pro or Express. Whether you're new to Apple's Final Cut Pro non-linear video editor or just want to better acquaint yourself with the popular video editing program, you're sure to benefit from this video tutorial. For more information, including detailed, step-by-step instructions, watch this tutorial.
Need a primer on how to get started editing video within Final Cut Pro or Express? This clip will show you how it's done. Whether you're new to Apple's Final Cut Pro non-linear video editor or just want to better acquaint yourself with the popular video editing program, you're sure to benefit from this video tutorial. For more information, including detailed, step-by-step instructions, watch this tutorial.
In this video, learn how cine film was transferred in the days before modern telecine machines. This demonstration shows a vintage Sony VC-20 multiplexer transferring home movie footage.
The Sniper Fi spec-ops mission in Modern Warfare 2 requires teamwork in order to complete. You should have one partner covering the main enemies, while the other guy watches the ladders and nearby enemies. Be sure to use the predator drones as much as possible as well, as they are great for destroying the enemies.
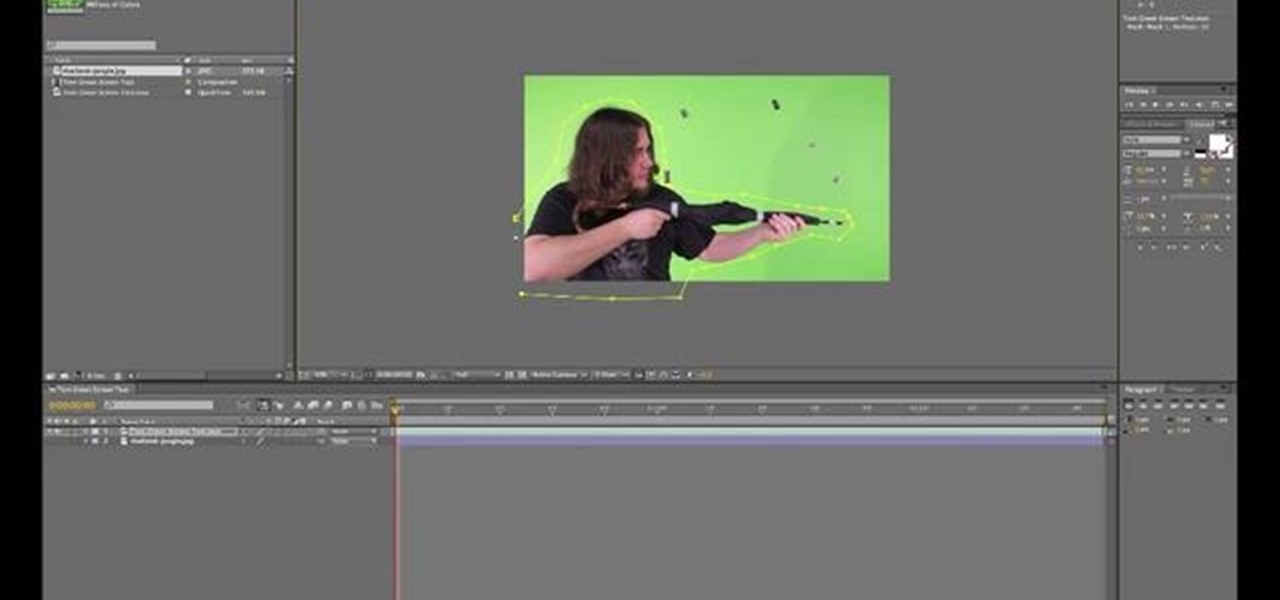
Here is a Final Cut Studio software suite tutorial on how to use the green screen function in Final Cut Pro. Footage that has been shot on a green screen can be brought in and isolated with Chroma Key settings. Once you have your subject removed from the green screen background, you are ready to apply hundreds of effects and transitions in Final Cut Pro.
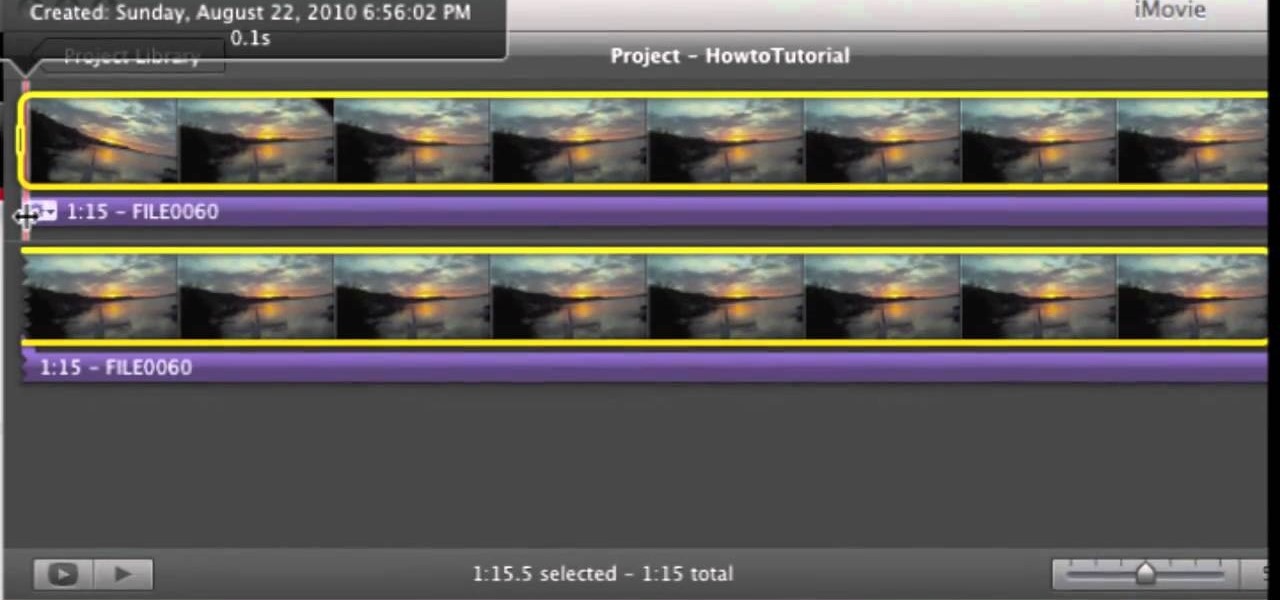
With your video footage imported, you're ready to start arranging your clips in the way that tells your story best. Use the iMovie clip viewer to organize your clips.
Original footage of Scott "The Cluckbucket" Roth demonstrating a chicken wing eating technique called The Grenade.
Learn basic video editing in Apple iMovie and begin transforming your raw footage into tight and focused movies.
Intel's RealSense family of depth tracking cameras has a new addition with a different set of sensory capabilities.
An amazing amount of news this week; new proposals and new agreements have sprung up. But so has our "need" to spread our presence. The military warns of another war, while 26 congressmen decry the use of drone strikes. Read on:
This tutorial demonstrates how Twixtor Pro can be used to create slow motion special effects when editing video in After Effects. Learn beginner to intermediate VFX, specifically slowing down footage shot at a very high shutter speed. Twixtor allows the user to manage blur and warping when creating a slow motion effect.
Having a clip filmed at 25p can sometimes make the footage look jerky, which can distract the viewer from the content of your film. This tutorial shows you how to convert a 25p clip to 50p or 25i using Adobe After Effects.
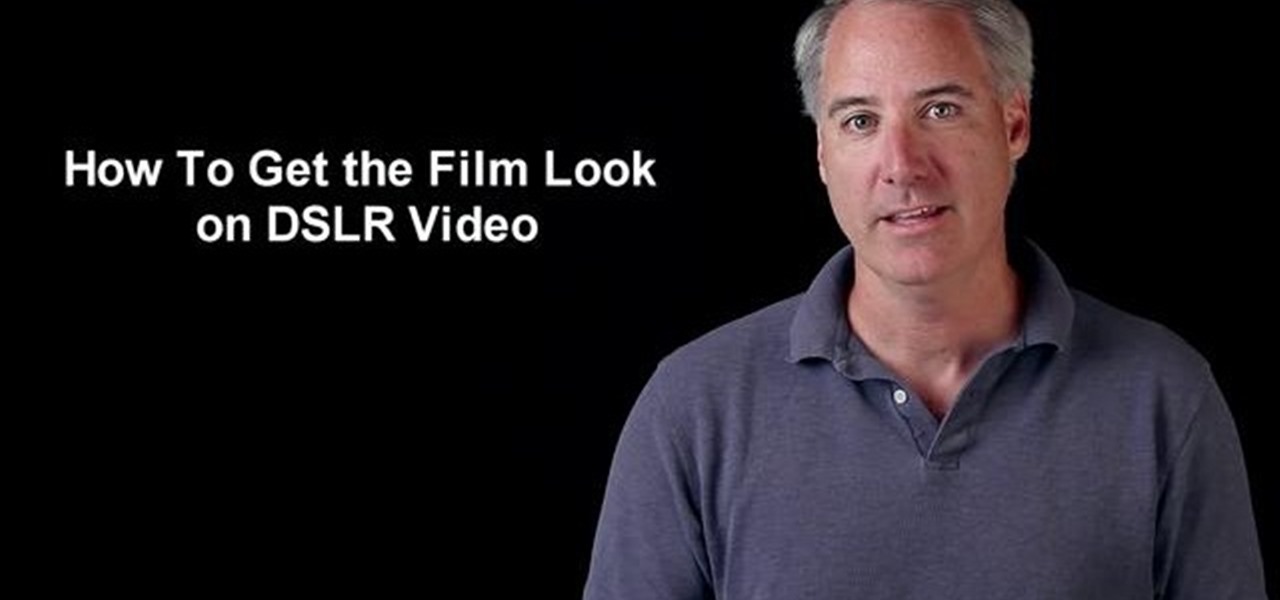
Turn your digital footage into something that looks more like film! Set your frame rate to 24 and shoot with a low depth of field to mimic the look of a film camera. Also make sure you pick the right aspect ratio, resolution and use a tripod!
Learn how to use FCP's SmoothCam filter to fix shaky footage after the fact. Whether you're new to Apple's Final Cut Pro non-linear video editor or just want to better acquaint yourself with the popular video editing program, you're sure to benefit from this video tutorial. For more information, including detailed, step-by-step instructions, watch this tutorial.
In this video tutorial, you'll learn how to retime when working within FCP 7. Whether you're new to Apple's Final Cut Pro non-linear video editor or just want to better acquaint yourself with the Final Cut Pro 6 workflow, you're sure to benefit from this free video tutorial. For specifics, watch this Final Cut Pro lesson.
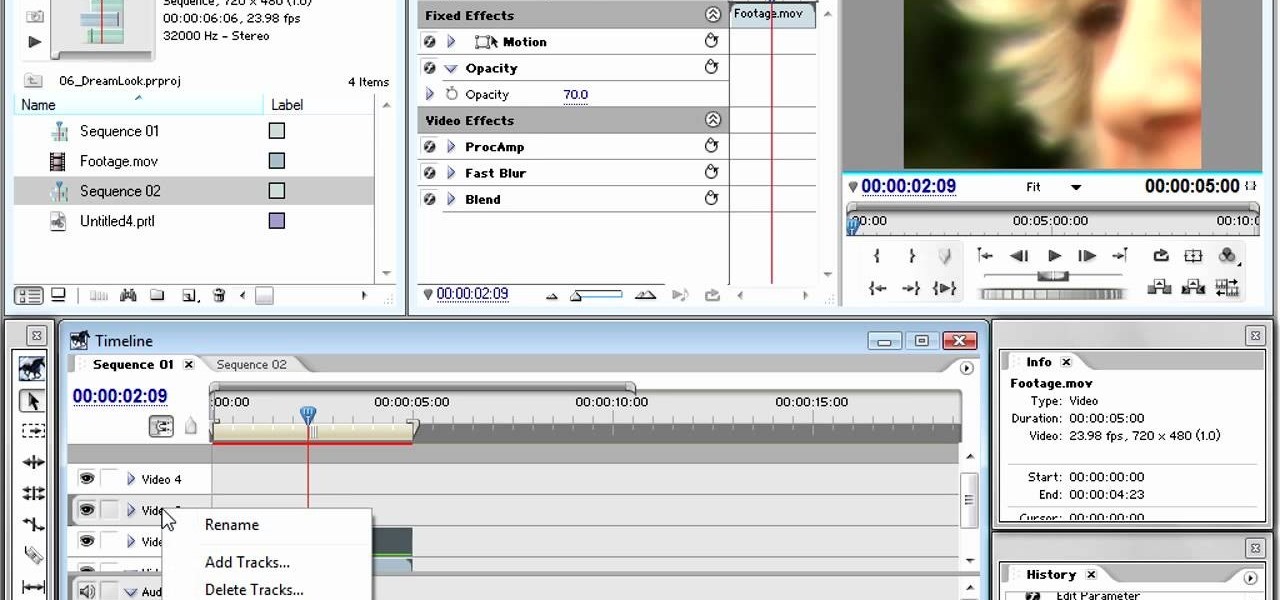
Dreams are often very fun to shoot, as they allow the filmmaker a lot of freedom to include otherworldly content and visual styles. This video will help you make your dream scenes even more dreamy by teaching you how to add some dream effects (including blur and little bit of motion) to your footage using Adobe Premiere Pro.