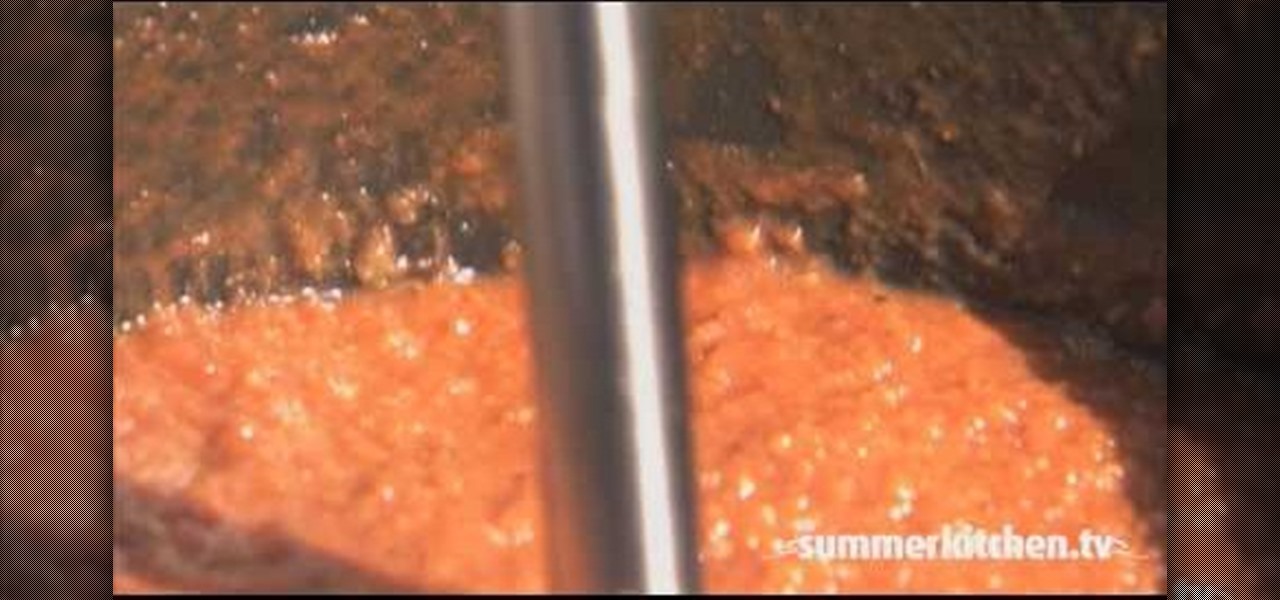
Check out this how to video to learn how to make BBQ sauce. Experience a new video cookbook with delicious summertime recipes, perfect for your picnic basket or backyard BBQ table. All you need for this classic BBQ sauce recipe is:

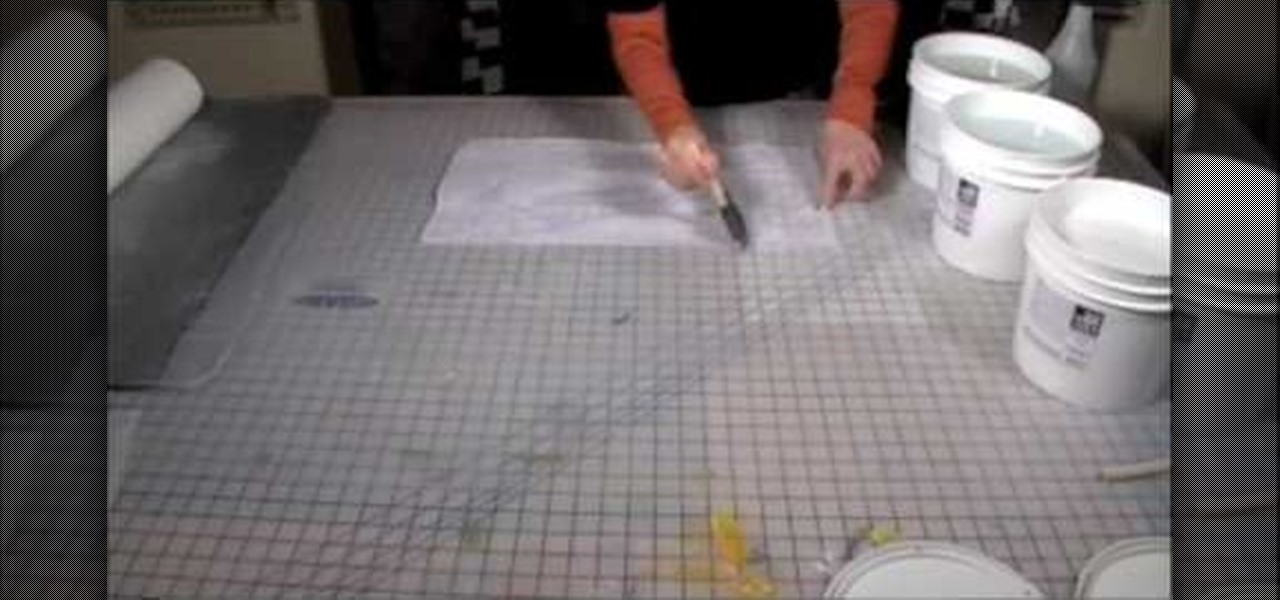
Eager to start your lime plastering project? Check out this video to gain some advice from two pros!
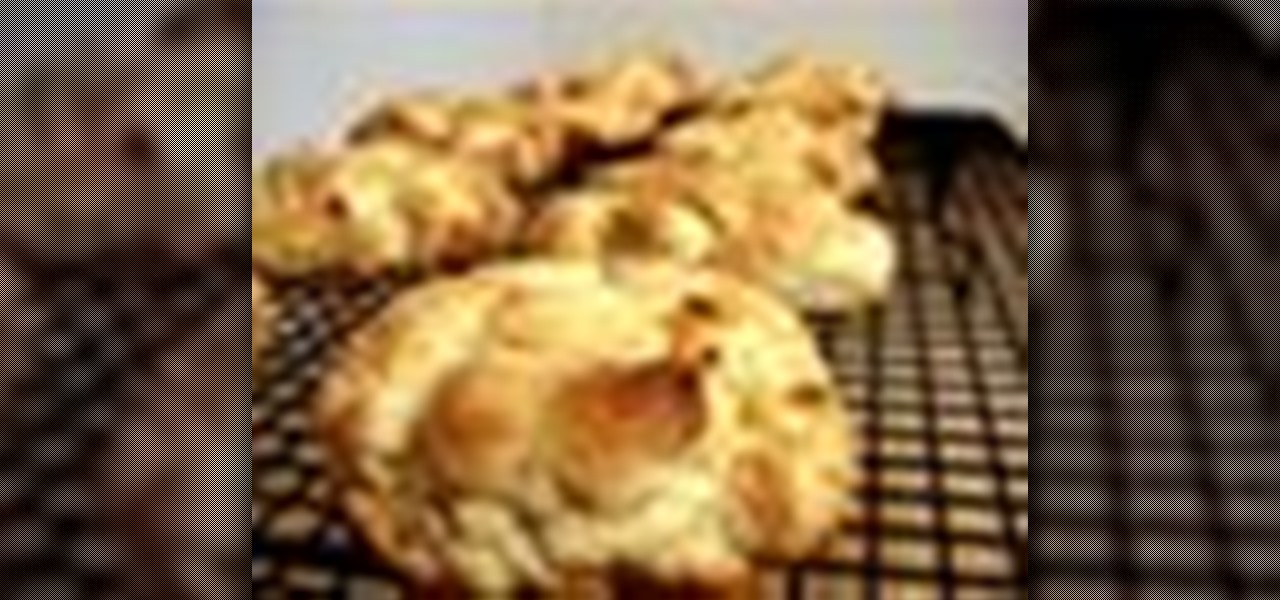
This wonderful easy vegan scones serves 12 people. The prep time for this yummy scookies takes 8 minutes and cooks in 10 minutes.
This is a easy recipe for vegan portobello burgers that serve 4. It has a 20 min prep time and a 20 min cook time.

Prepare a vegan ratatouille that serves 4 and is easy to make. This recipe takes 5-8 min to prep and about 20 minutes to cook.
Void into the hat. Measure the amount of urine and record it in the voided volume column on your record sheet.

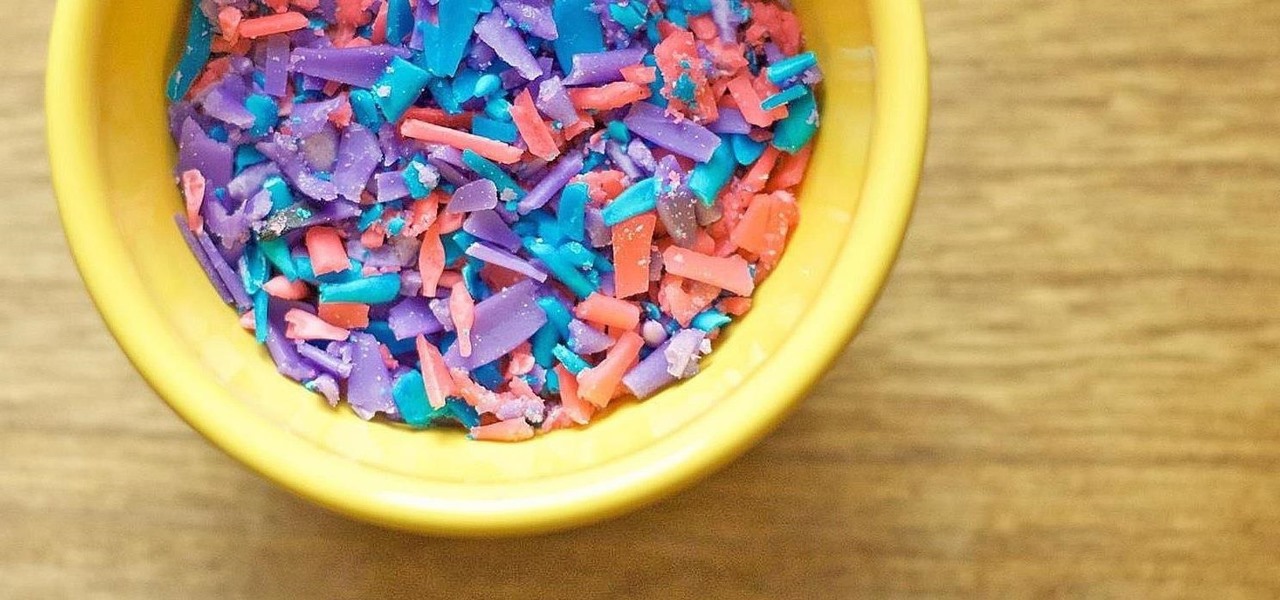
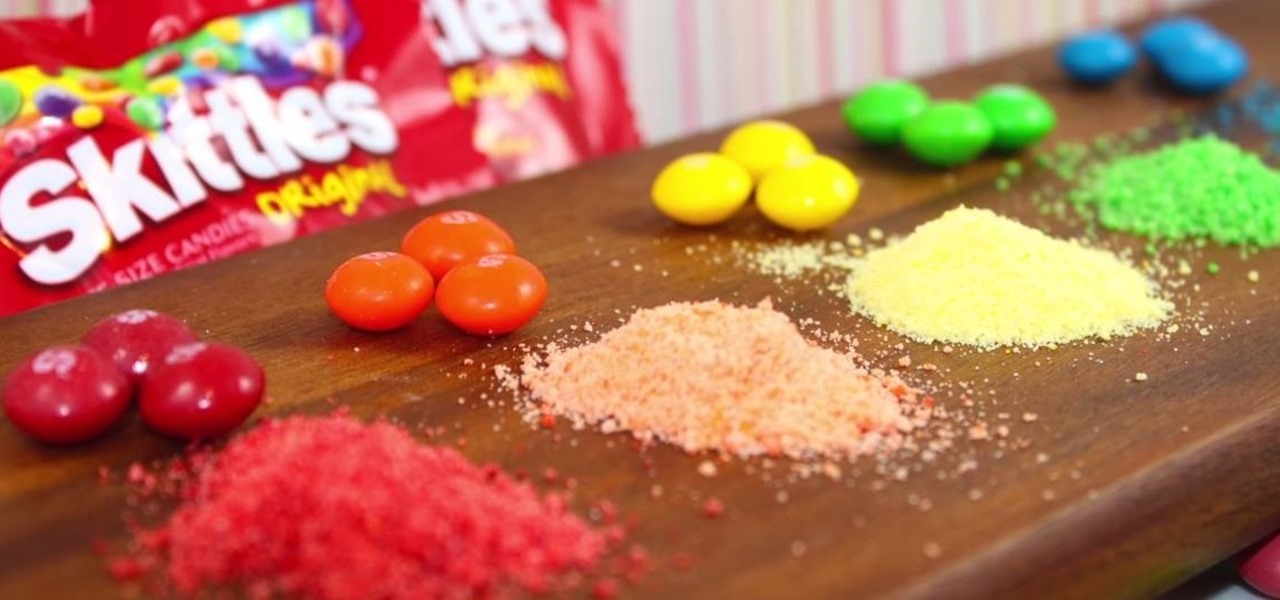
Sprinkles are a gateway to excitement, whether it's a birthday party with friends or an ice cream sundae by yourself. It may seem like these colorful creations can only come from the grocery store, but it's actually pretty easy to make beautiful sprinkles in your own kitchen.
In this video I'm going to teach you 5 pranks you can get away with at school or at home On April 1st.
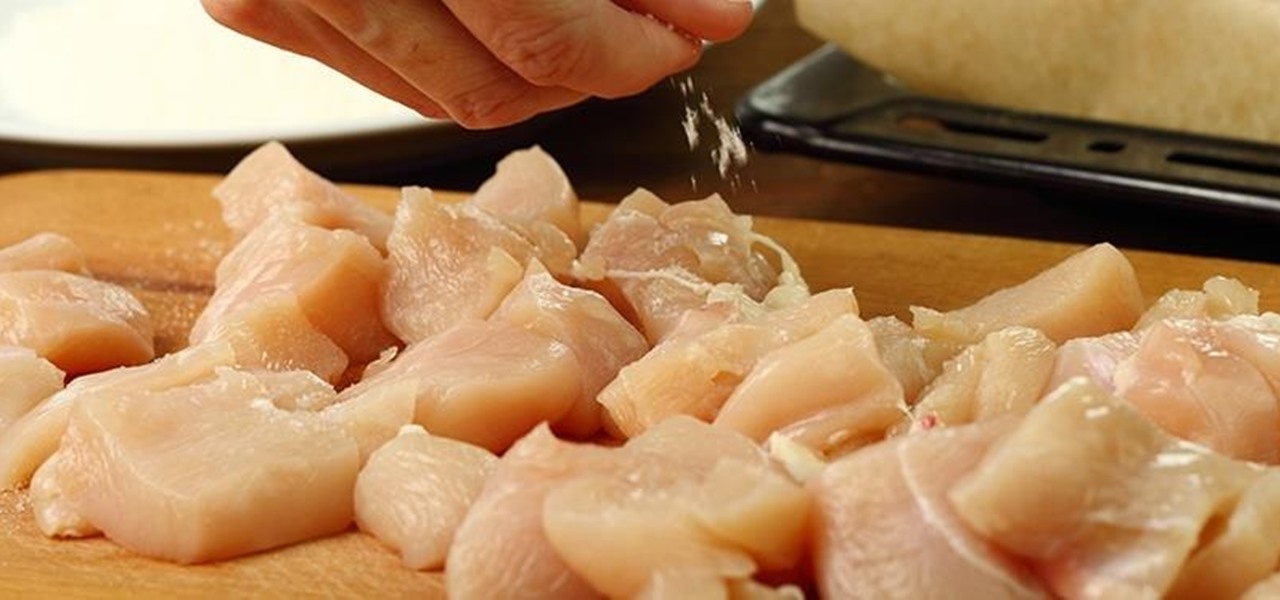
I'm no coupon-cutter (I just don't have the patience for it, sadly), but I do love buying things in bulk to save a buck or two. And one of the staples on my bulk-buy list is chicken; I cook with chicken so often that trying to save money on it is a no-brainer.
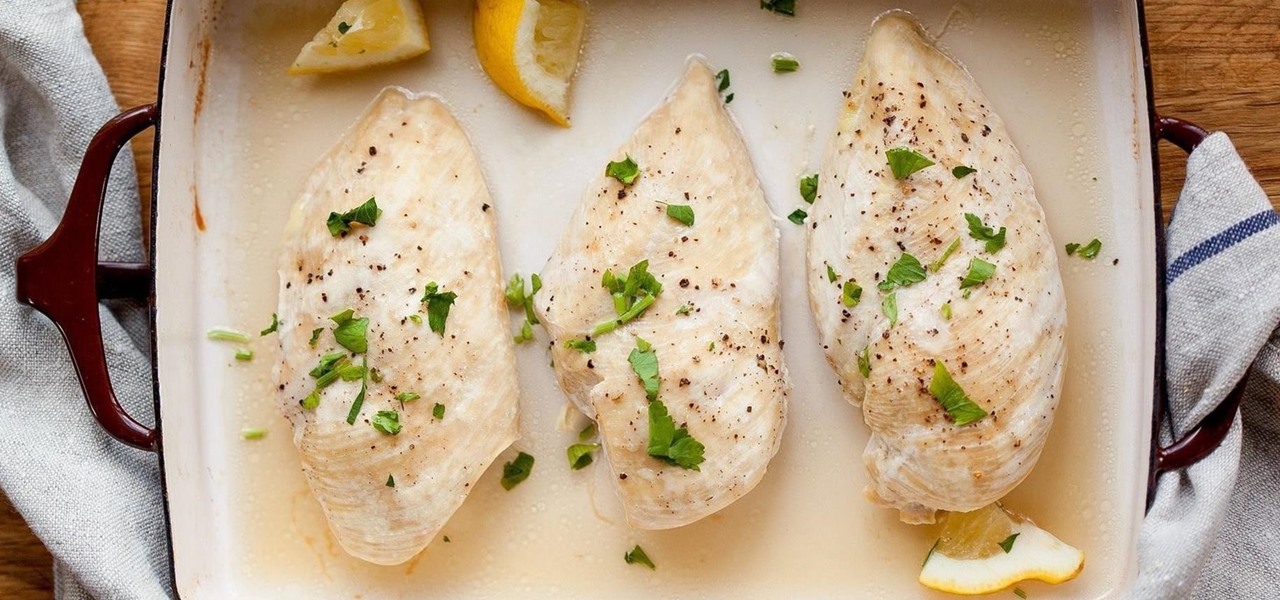
Chicken breasts have gotten a bad rap. Dry, flavorless, boring... poor white meat gets no love, and dark meat gets all of the credit for being sinfully flavorful and delicious. But the truth is, even though chicken breasts are lower in fat and calories, they can also be incredibly versatile and full of flavor... if they're prepared correctly. You're probably familiar with poaching, which is a technique that gently cooks more delicate meats such as chicken or fish fully submerged in a liquid b...
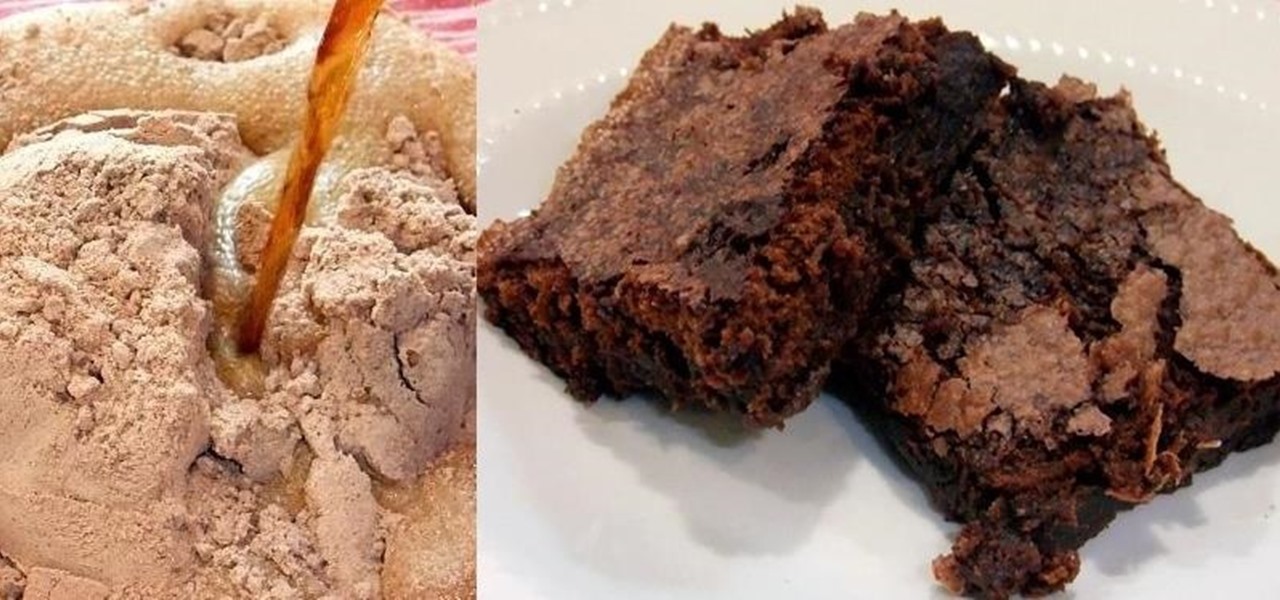
Boxed brownie mixes advertise their convenience compared to homemade brownies—with only a few ingredients, they promise a moist, chocolatey crumb. However, these "instant" mixes still require fresh ingredients and a baking time that matches that of homemade brownies. When you're craving a chocolate fix but you're coming up short on eggs, oil, and time, don't despair: you can still make brownies using a can of soda. Two Different Methods, One Soda Required
Baking used to be a fun, relaxing hobby and a way to make treats for friends and family. These days, this hobby has become a creative battleground among out-of-work graphic designers with Pinterest accounts. People everywhere are now upping their baking game by adding interesting ingredients or daring designs. Presentation has become just as important as taste.
I love it when peaches are in season! It means it is cobbler time. This simple peach cobbler recipe will sure to impress your friends and family, it is super easy to make, and it is pretty darn cheap as well. Let's get baking!
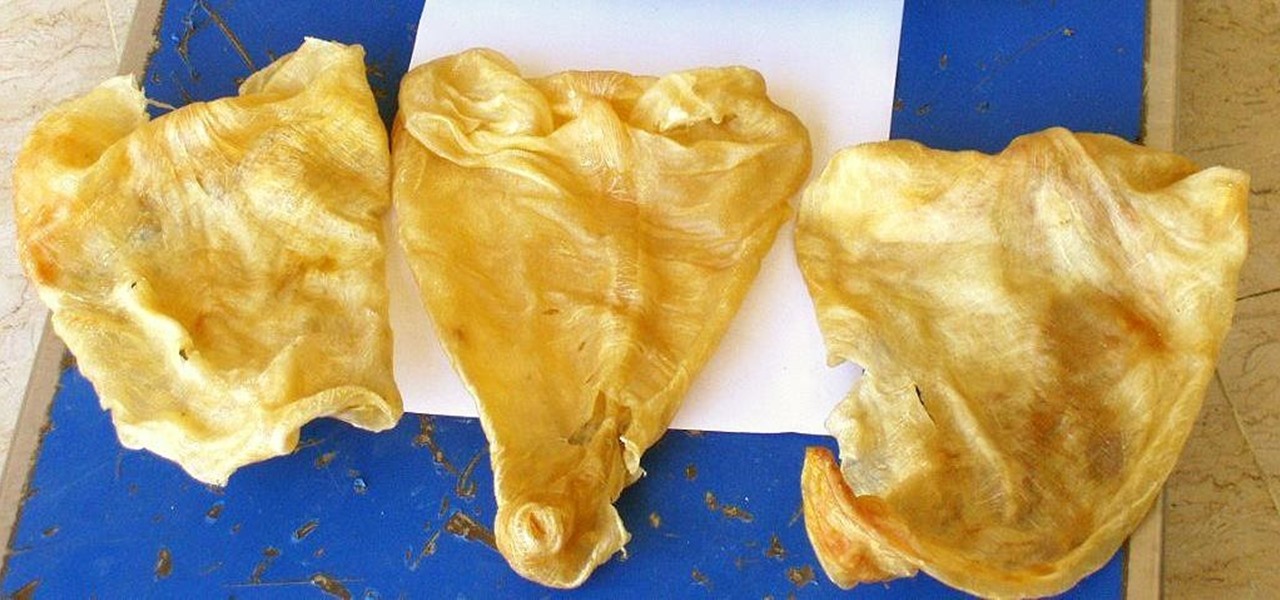
Fish is a remarkably useful ingredient, whether you eat it as is or use fish sauce to give your recipes extra depth and flavor. However, if you enjoy a glass of Guinness on occasion, you might be surprised to know that there's most likely fish in that beverage, too.
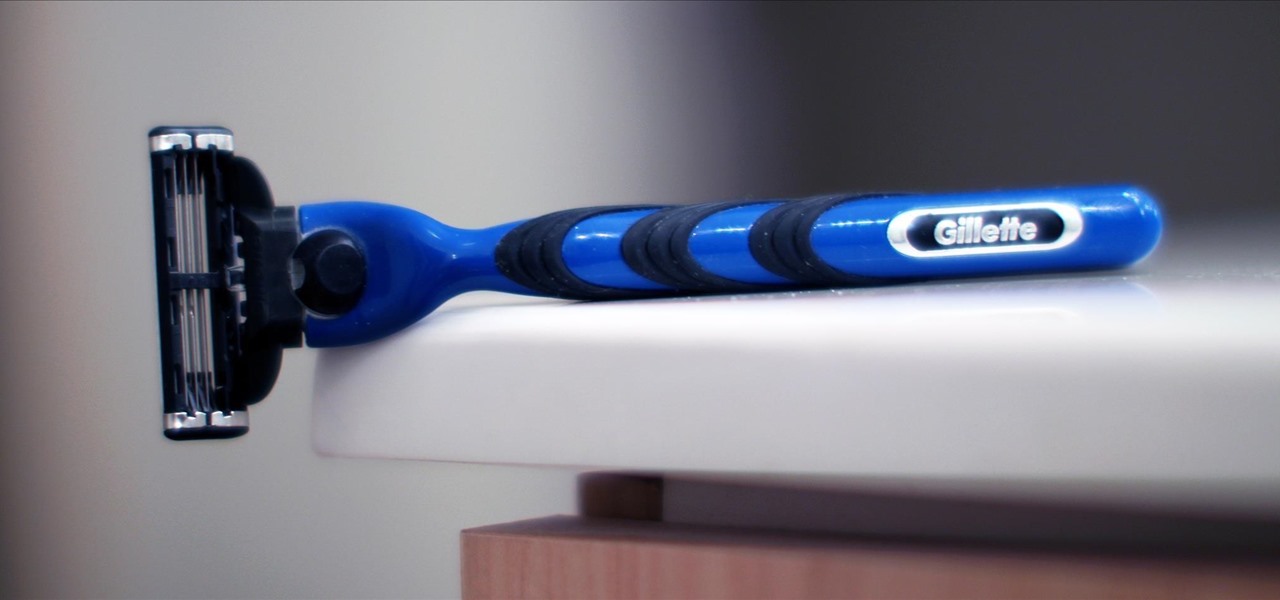
Early in the morning, there's almost nothing worse than discovering your razor is dull midway through your pre-work routine. No matter how hard you try to preserve those precious blades, it can seem like they're dull every time you reach for the razor. With one, seconds-long step after each use, you can save your razor blades and make them last longer.
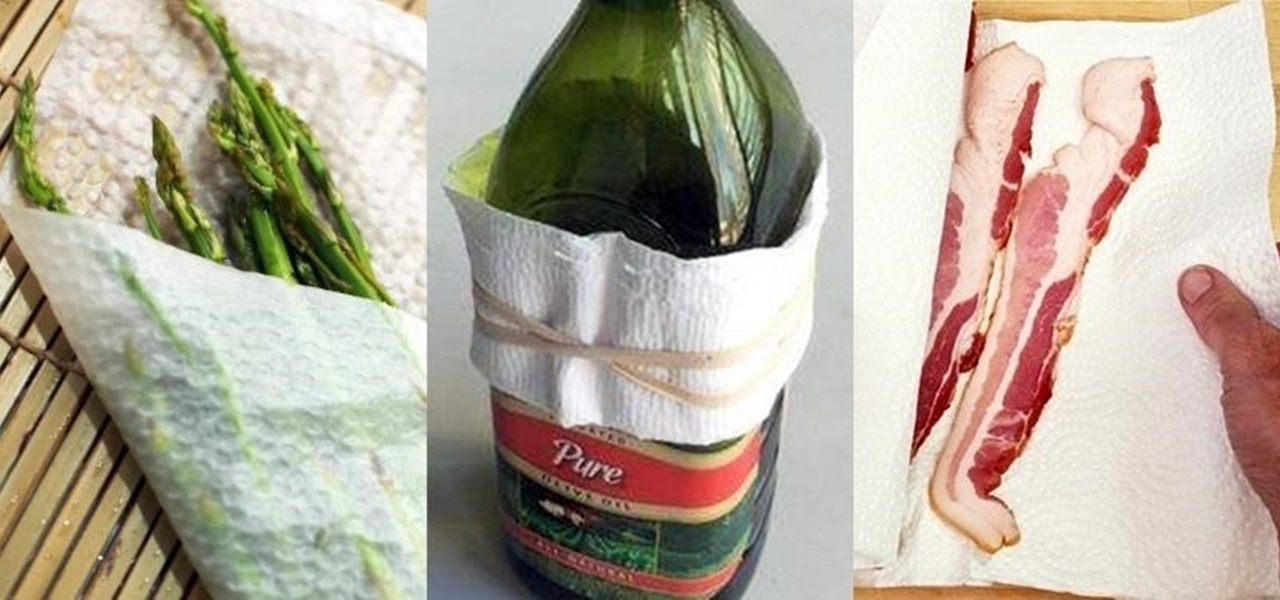
The paper towel is a wondrous invention. It allows cooks to wipe up really gross stuff without having to constantly do laundry and drain fried foods so they're crunchy and crispy instead of oily and heavy. But did you know that your humble paper towel has several other uses besides the obvious ones? Read on to find out these essential hacks.
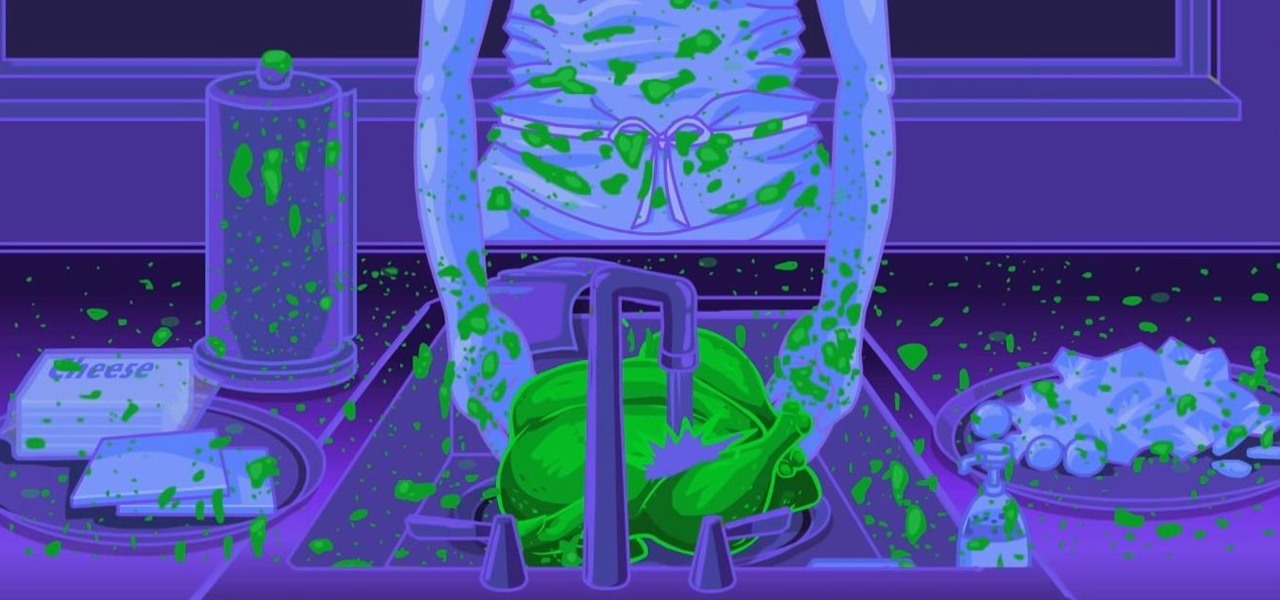
Both professional and home cooks have been rinsing raw chicken and turkey before cooking it for what seems like forever. It's one of those divisive practices—either you do it or you don't, and people tend to be rather opinionated on their stances.
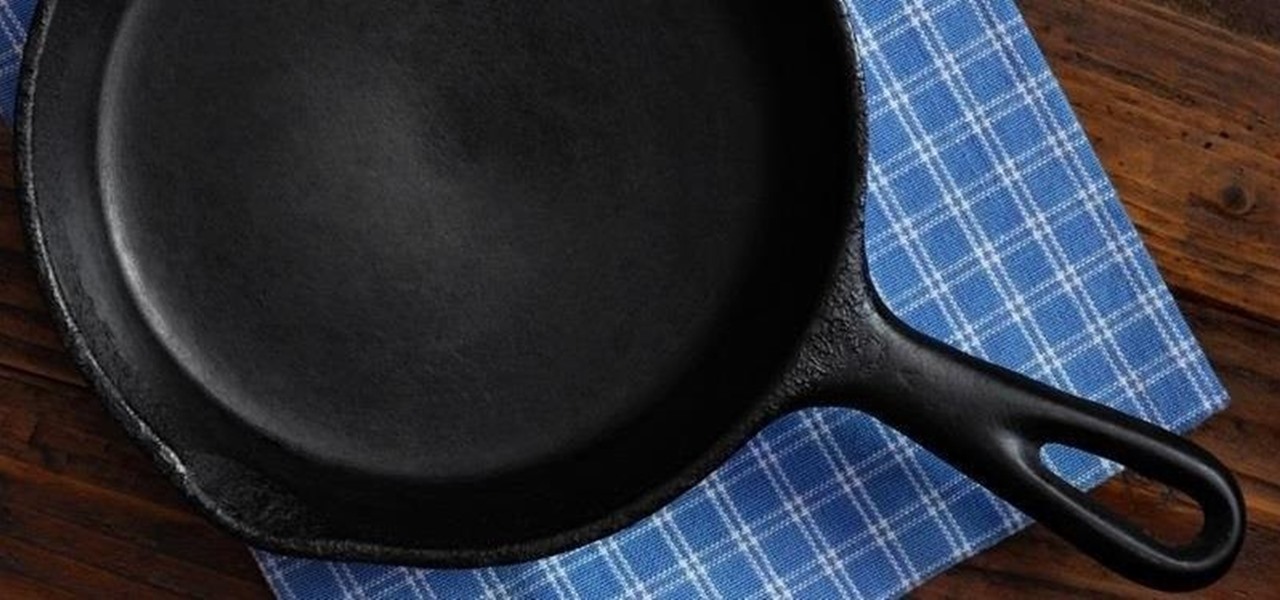
Cast iron is one of the best surfaces to cook on, but taking care of it is a whole 'nother story. It's not as simple as just washing it in soapy water like all of your other pans, and everyone has different ideas about how it should be done. It seems intimidating at first, but once you learn the basics, you'll be making the best steaks, homemade pizza, and fried chicken of your life.
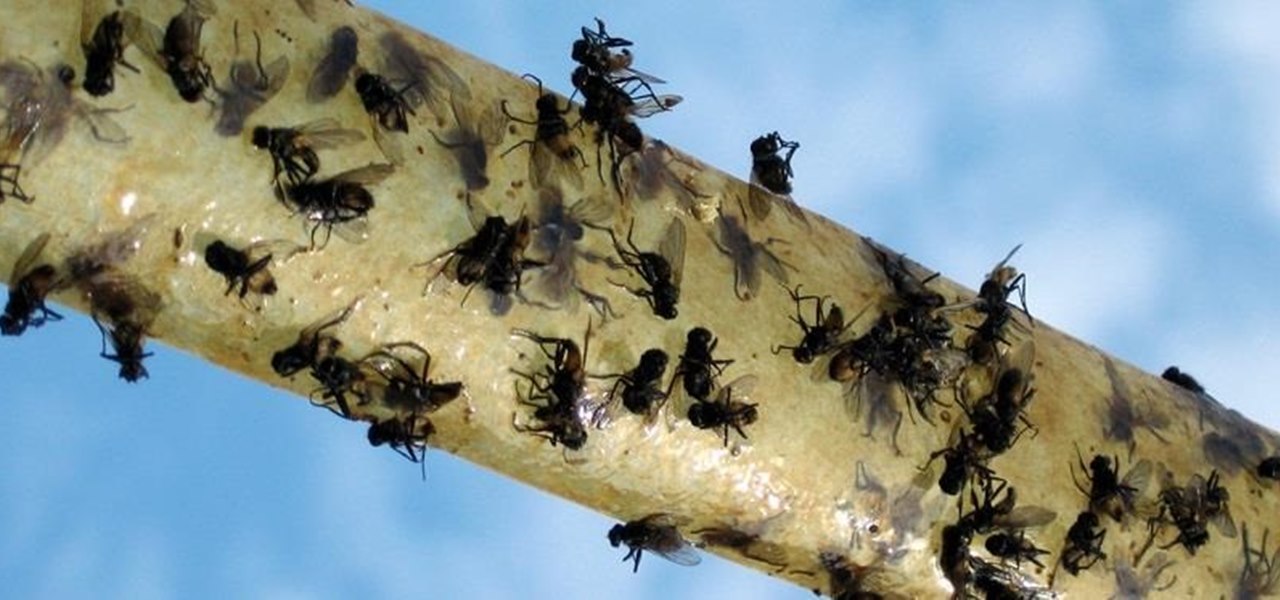
Despite being disgusting, houseflies are actually beneficial to humans in a few ways. As scavengers, they help the environment by eating rotting organic matter, and make great food for pet tarantulas. Regardless of the advantages to their existence, having them in your home can be infuriating. There are countless sprays, traps and devices made to kill or deter the little pests, one of the most common being flypaper that hangs from the ceiling. These sticky strips are incredibly easy to make a...
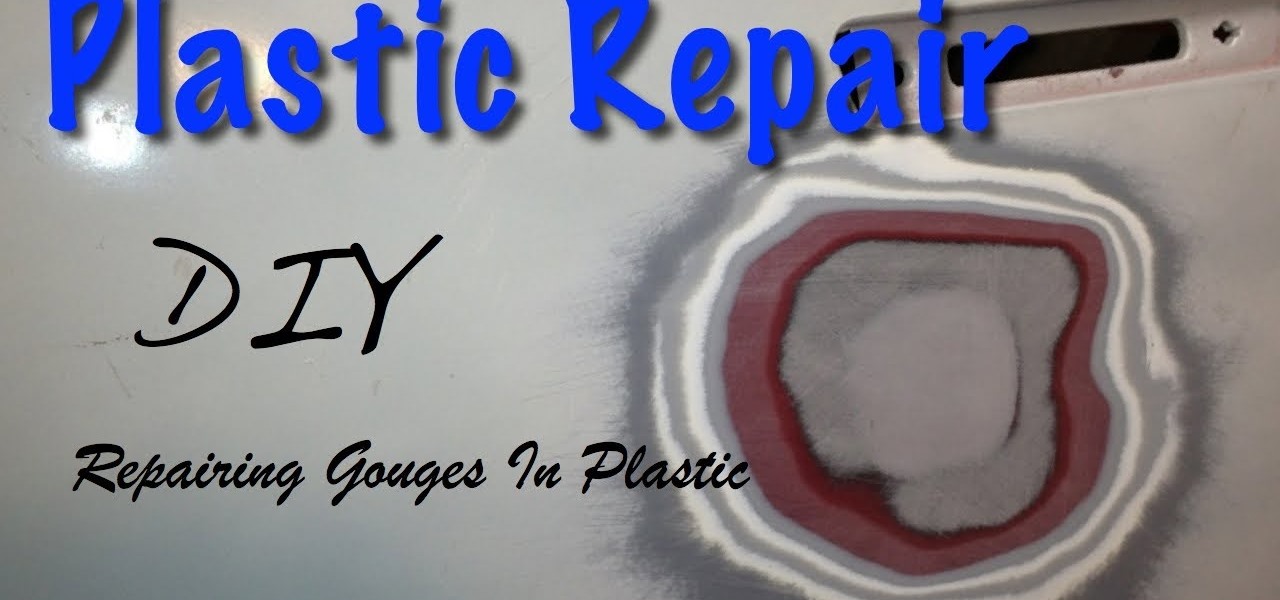
If you are wanting to learn how to perform small repairs to your car, then plastic repair is something you need to learn how to do. Cars are using more plastic now than ever before. With car required to increase fuel mileage, I don't see the use of plastic going away.
A common problem on bumper covers is that the tabs that attach the bumper to the car get broken. This is critical, as this is what secures and aligns the bumper cover. Many times, a broken tab is all that is wrong with the bumper cover. With the cost of these plastic parts $200 to $700, the replacement cost can break the bank.
While there are countless ways to welcome in the new year, many of them involve imbibing copious amounts of delightfully spirited libations. If you're anything like me, I know you're fearing the monster hangover on New Year's Day.
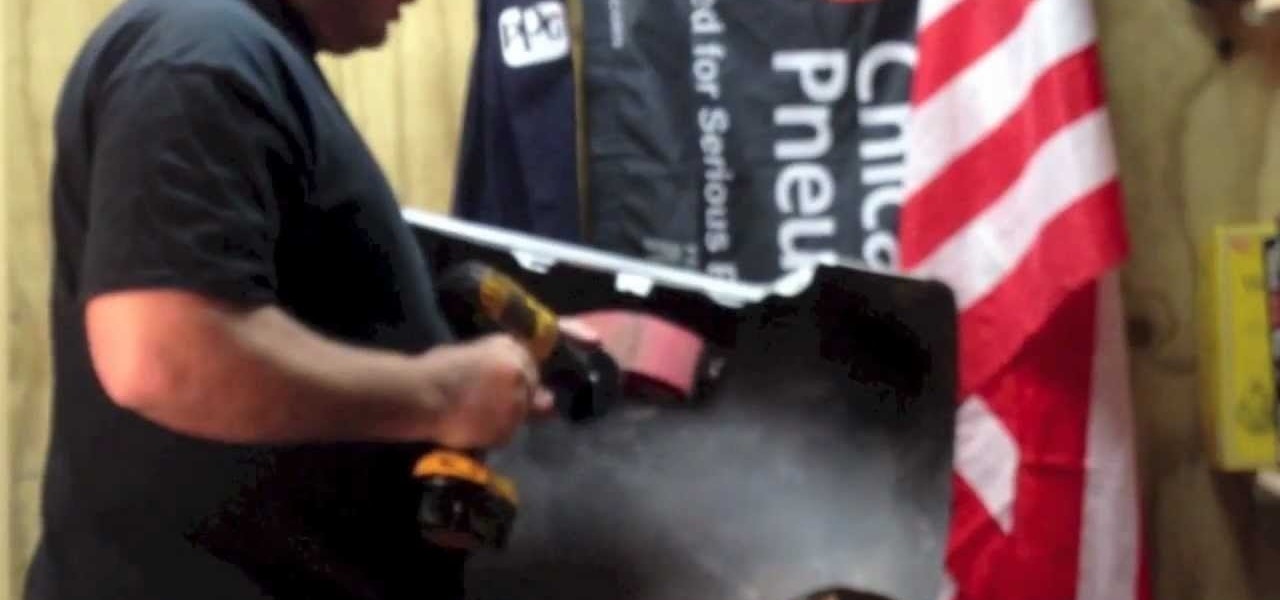
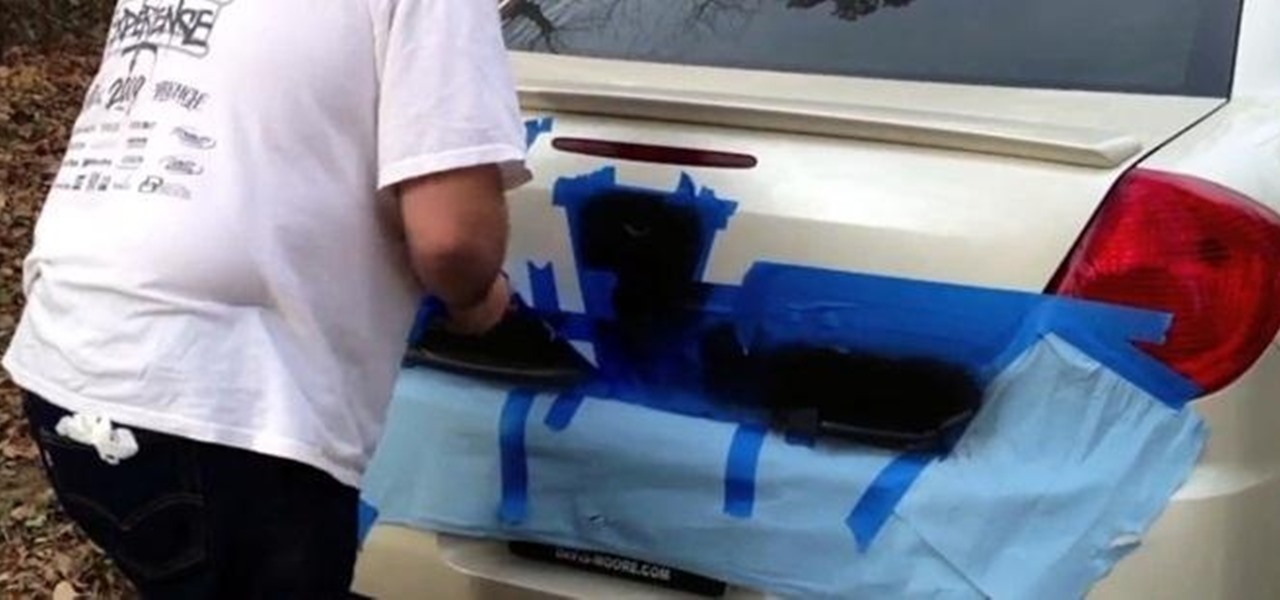
Plasti Dip coating is a rubber like coating that can be dipped or sprayed on. I first remember the coating available as a dip years ago. It was first introduced as a coating used to dip tool handles in to provide a grip. However, since then, the coating has became available in a spray can. It has also became popular on car parts, such as wheels, emblems, and even entire cars.
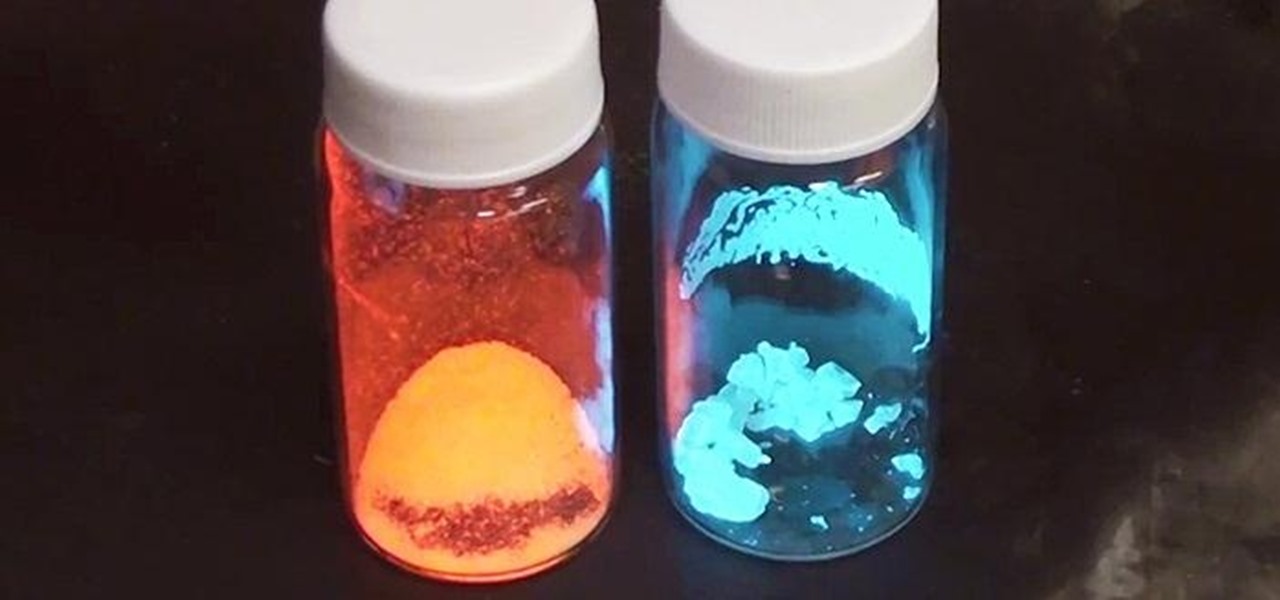
If you're a Breaking Bad junkie who can't wait for the next episode, satisfy your craving with a little at-home chemistry and make some blue DIY smash-glow crystals! No, this is not Walter White's so-called "Big Sky" or even the subpar cringe-worthy product of his competitors. It's not even the same kind of crystals, otherwise you wouldn't be reading this. This is totally legal, even kid-friendly if you play it safe, though it actually requires more safety precautions than the potassium nitra...
Love chess, but hate having to stop in the middle of a game when you don't have time to finish? This DIY vertical chess set made by Redditor pigthunder will ensure you never have to abandon a game again. It hangs on the wall, so you can pick up where you left off anytime. Here's how to make your own.
You know your going to have to sleep outside and you don’t know how to stave off the chill of the night. With the right equipment, some layering techniques and a full belly you be sure to get a good nights sleep even if it’s cold out.
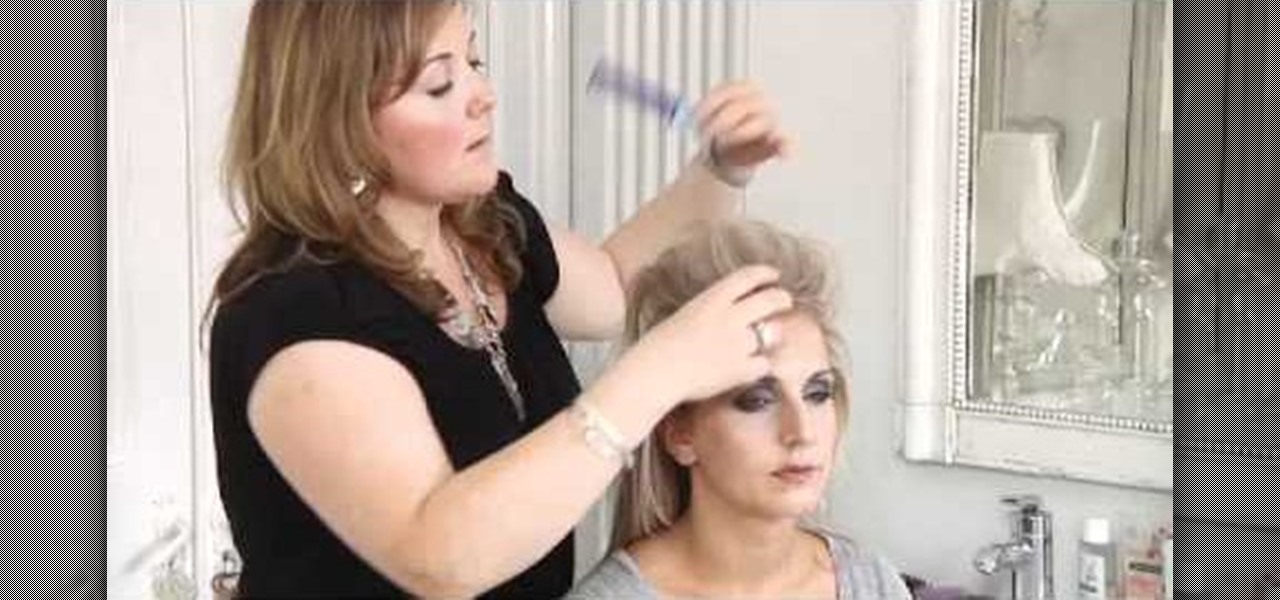
Ponytails, who doesn't love them? And the only thing better than a small one, must be a big one. This video will show you how to use dry shampoo with oat milk and a back brushing technique to achieve that big ponytail look. For this you'll need long hair, the aforementioned product, a brush and a mirror helps as well. Come on, bigger is better! Go for it! If you have short hair, this is not likely the right hairstyle for you.
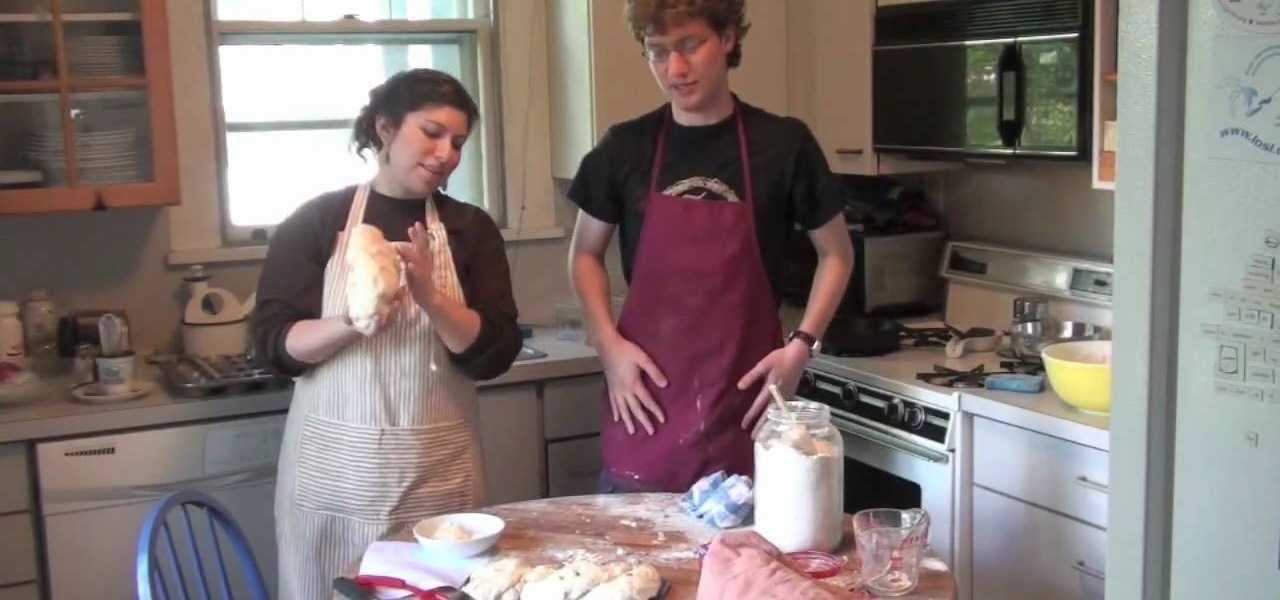
Nothing is quite so tasty as home-baked bread! It's not even as difficult as you might think. All you need is some flour, water, salt, a little bit of sugar and some active dry yeast (which you can find in most grocery stores).
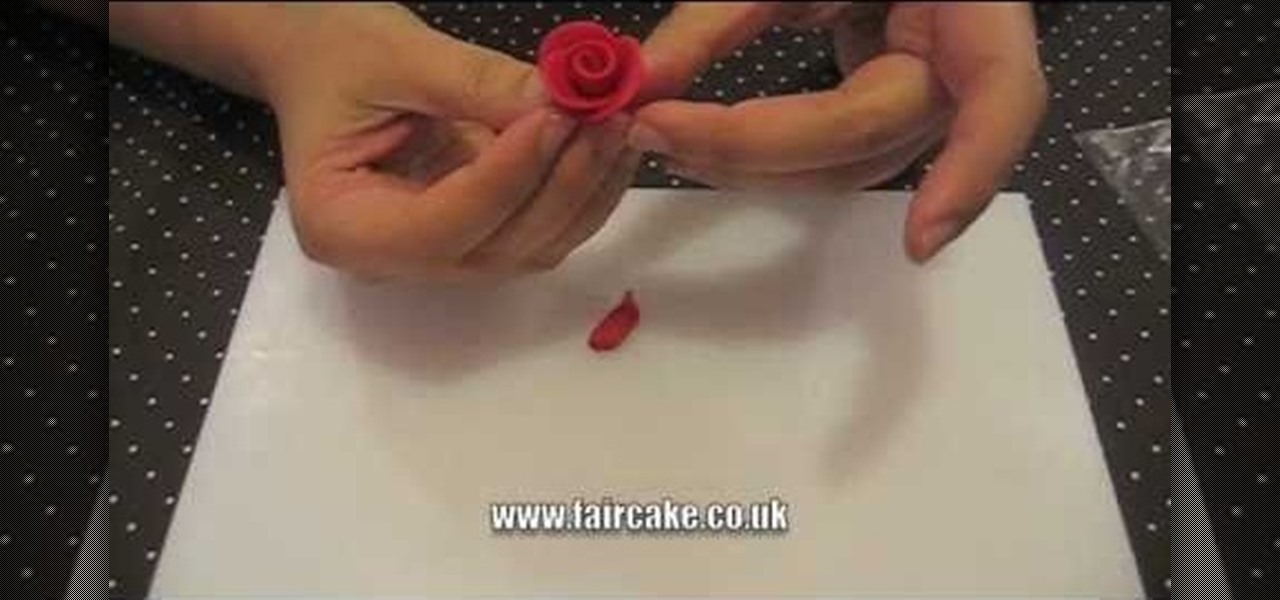
One of the fastest ways to turn a boring, white fondant-covered cupcake or cake into a beautiful, impressive work of art is by adding roses. And you're even better off if these roses are edible.
In this video, we learn how to make & decorate puffed-up petal cupcake. Start off by placing the food coloring inside the fondant and then rolling it with your hands. After you roll this out in one color, then cut it into thin strips. Pinch the sides together and then let them sit to keep their shape. From here, you can combine these together to create a beautiful flower on the top of your cupcake! These should dry overnight, then you can stick on the cupcake for a very unique flower that's u...
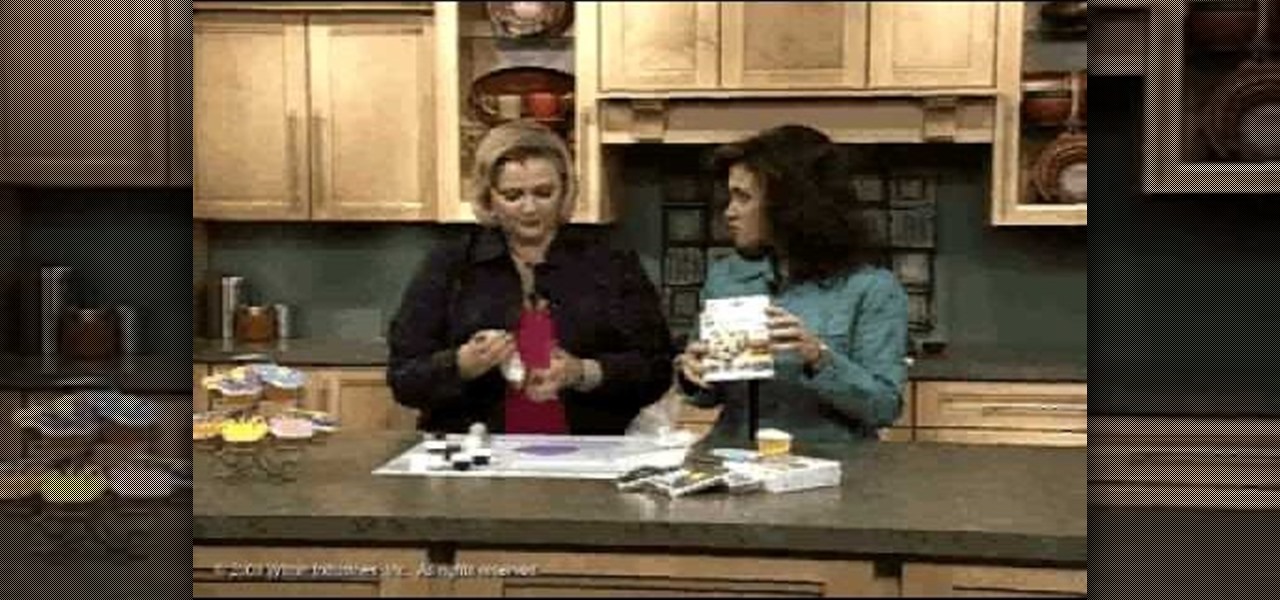
Vivian shows us how to use the watercolor salt technique in this video. This is great if you want to make underwater paintings and have a coral effect on them. The salt will cause the painting to look more rough and you can see the salt on the paper and how it absorbed the color. To start, you will wet your cold pressed paper on both sides. Then, add your paint to your brush and continue to paint. Don't apply the paint too dark if you are going to work on it later. When finished, let this dry...
In this video, we learn how to digitally print on uncommon surfaces. First, you will want to apply the gloss evenly with a sponge brush. Use clear so that when it's printed you will almost be able to see through it. This will come out really crystal clear and look amazing. Take the top sheet off and set it aside to dry. Grab the underneath part and then cover this with the gloss as well. Doing this step beforehand will help the pre-coat look even better for when you are printing. Once you are...
In this tutorial, we learn how to scrunch hair. You will need: hair spray, Herbal Essences Totally Twisted Curl Scrunching Gel, and clips. First, take a shower and towel dry your hair for a few minutes. After this, apply the gel to your hair all over and scrunch it up. To do this, push your hair up and grab it with your hands, crunching it. Then, spray hair spray in your hair all over. From here, bring your hair into a messy bun on the top of your head. Next, you will take the hair down and i...
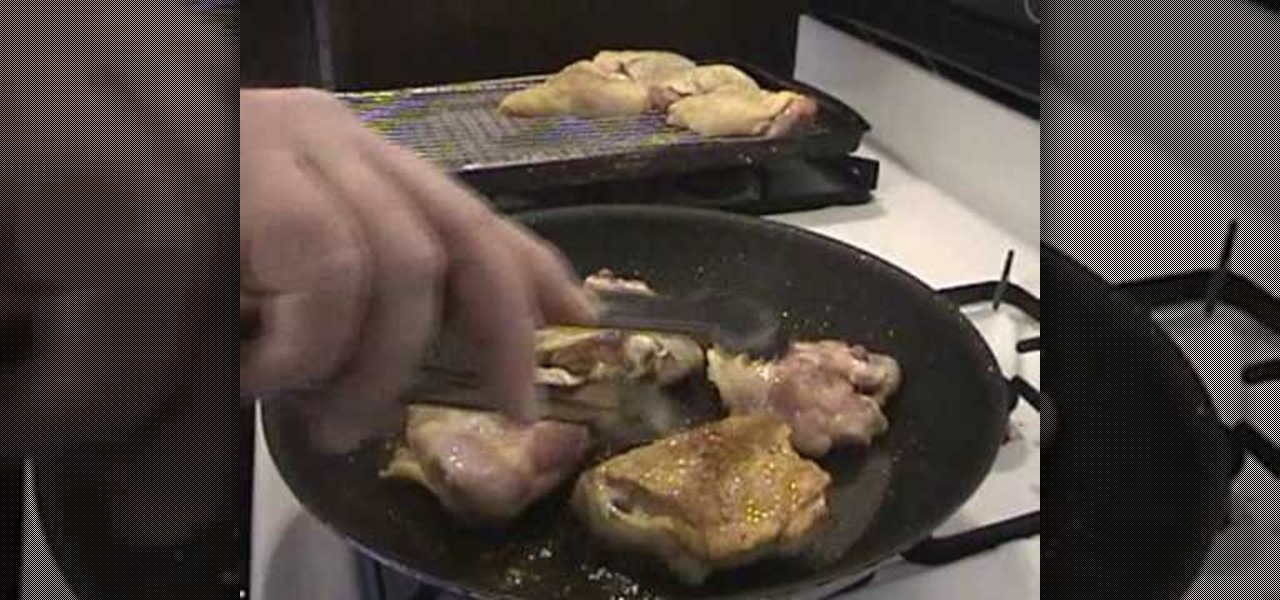
In this tutorial, we learn how to make crispy chicken thighs in a cherry-pear sauce. To make this, you will need: 8 chicken thighs, 1 1/4 c dried Bing cherries, 1 1/4 c chopped Bosc pears, 4 diced leeks, 2 c Marsala wine, and 1 c cream. First, you will bring the leeks, cherries, pears, and wine to a boil. After this, remove from the heat and then cover, allowing them to plump. After this, fry the seasoned chicken in oil, skin side down, on high heat until golden brown. From here, fry the leek...
In this video, we learn how to paint your favorite sports team logo on a racing shell. First, you will take your shell and trace out the logo on it with a Sharpie marker of your choice. Use tape to cover the areas that you don't want marked, so the lines come out cleaner and straighter. After you have done this, paint the logo onto the racing shell with small brushes and your choice of paints. Leave the tape in place until all of the paint has dried. Then, remove the tape from the shell and y...
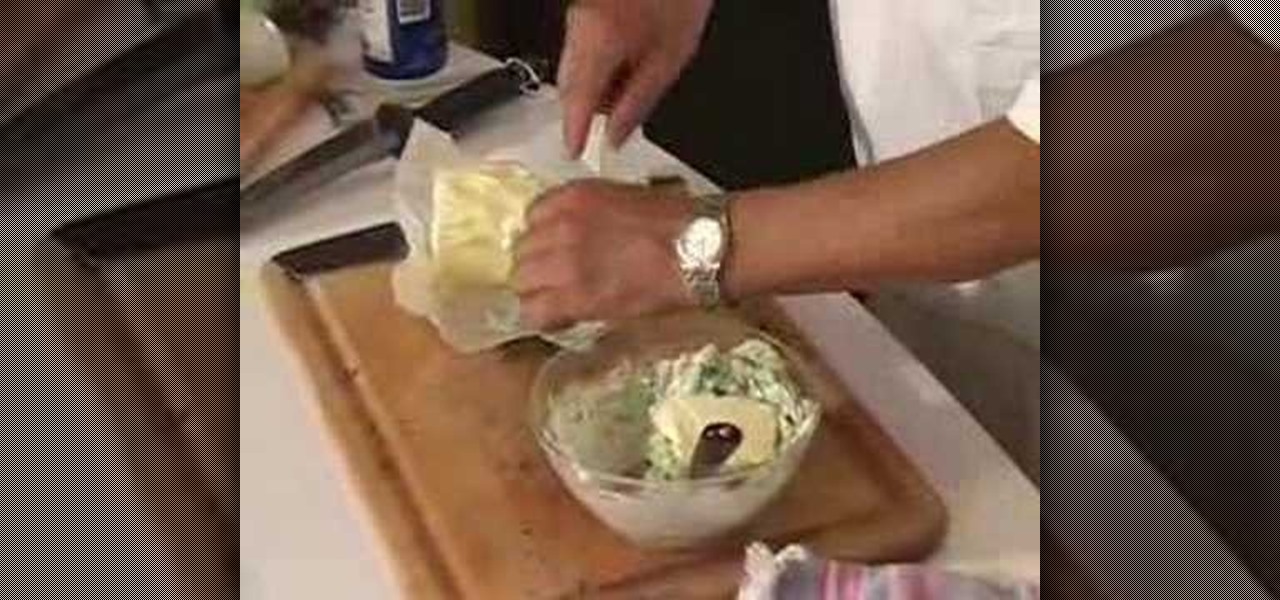
In this tutorial, we learn how to make garlic parsley butter. First, wash your parsley and then chop it up. Make sure it's completely dry before you chop it. Then, combine this with unsalted butter and mix together well. Sprinkle in some salt to the bowl, then sprinkle in some fresh pepper. Add in some minced garlic, then continue to mix together until combined. Try the butter to make sure it has enough ingredients, then continue to add salt if necessary. Place the mixture into foil, then rol...
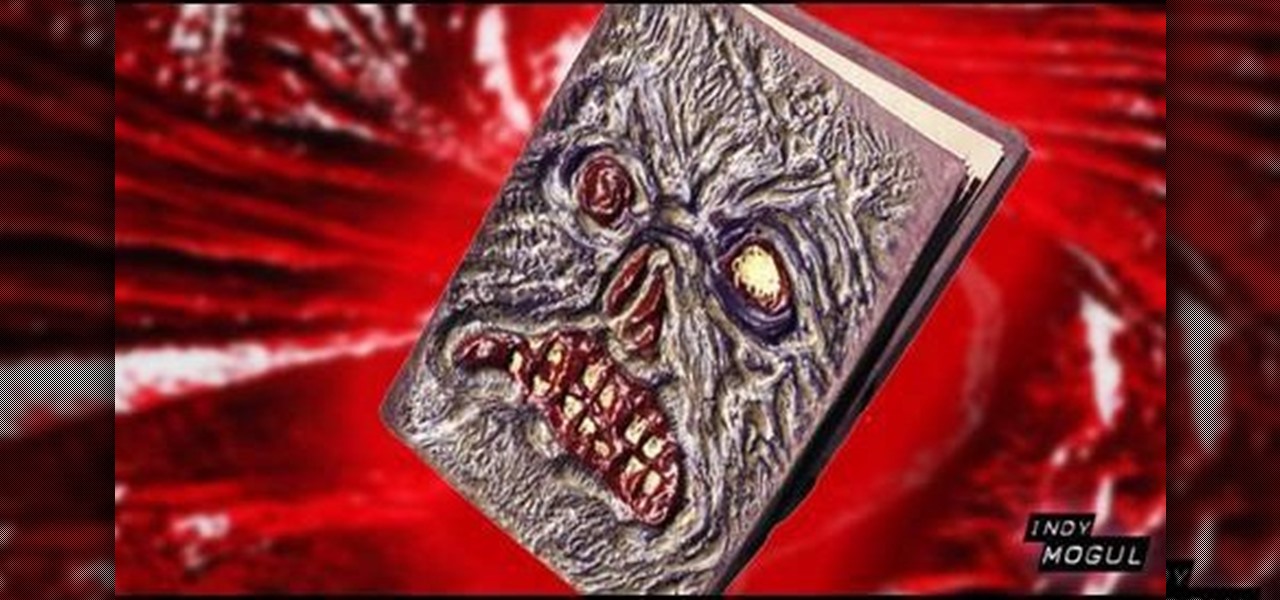
In this video, we learn how to make a Necronomicon prop from the "Evil Dead" series. First, gather all of your materials together so you can make this prop. After this, cut up piece of cardboard into the desired shape, then tape them and make sure it's able to open and close. Next, you will use tape to make it look like creases in the skin and create the face by rolling it together. Use masking tape to connect these and make it look like it's all part of the same skin. Next, mix red, yellow, ...
In this tutorial, we learn how to do the glitter windows technique when card making. First, you will need to pick an area in the card where you want the window to be at. Then, grab a piece of card stock and stamp the areas out where you want the empty space for the window to be. Next, set this aside and grab another piece of paper in a different color. Apply glitter to this, then let it dry before attaching the cut out piece onto this. Now you can use this for the rest of your card and have a...
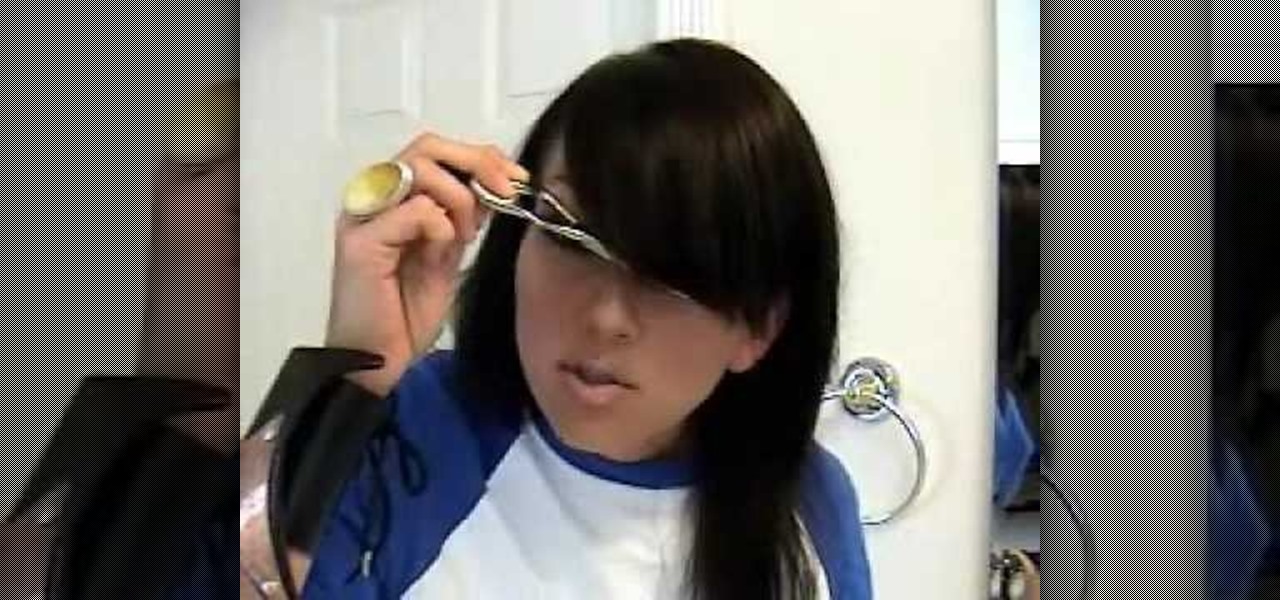
In this video, we learn how to cut side swept fringe bangs. To do this, you will either need hair scissors or a razor that is meant for cutting hair. Start off by having dry and straight hair. Next, you will curl the bangs so they are to the side of your head, using your blow dryer and a large round brush. Next, decide where you want your bangs to hit on your face. Then, brush your bangs down with a comb and use your razor or your scissors to cut the bangs to the right length. When you are fi...
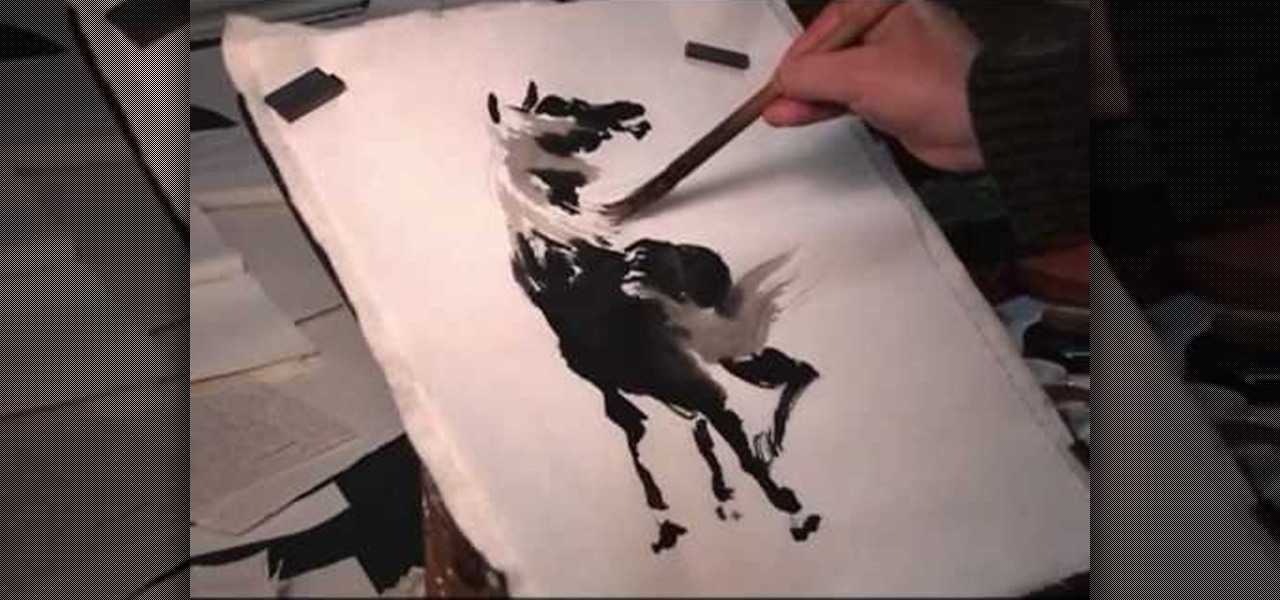
In this tutorial, we learn how to draw the back view of a horse. Start by drawing the tail. Use a horse main brush made out of real horse main hair. Change to another brush to use a darker color for the rest of the body of the horse. Paint around the tail that you made to create the rear end and the legs that are on the horse. Also create the feet and make sure to just use one stroke as you are creating these. Next, creating a neck and then the head along with the main on the top of the horse...