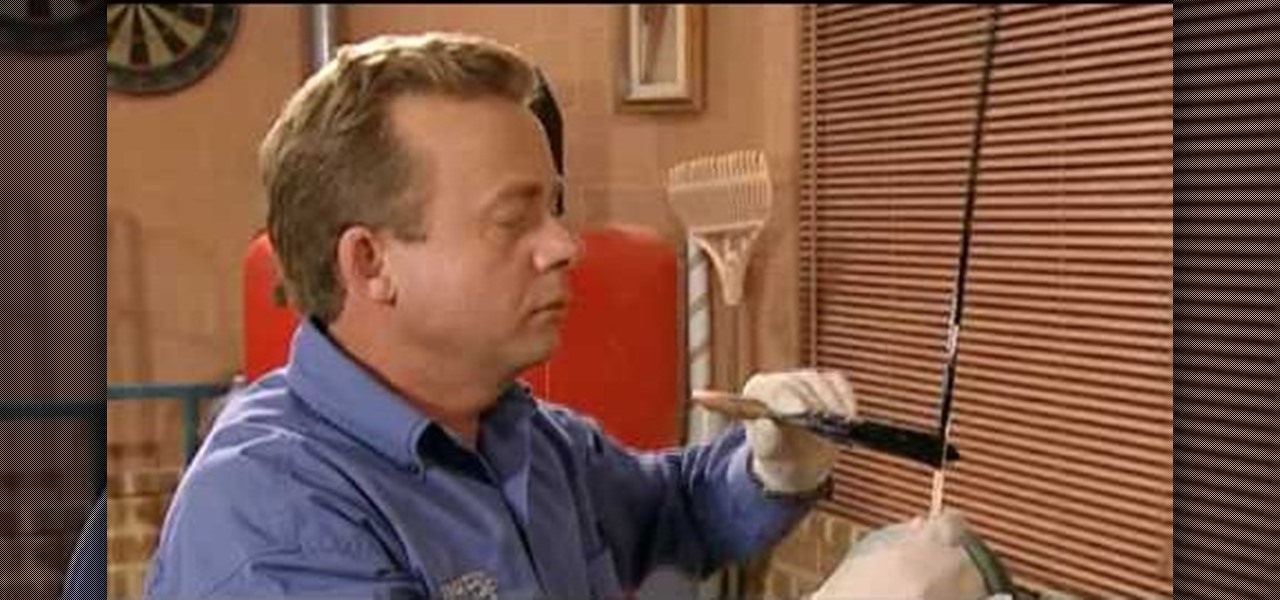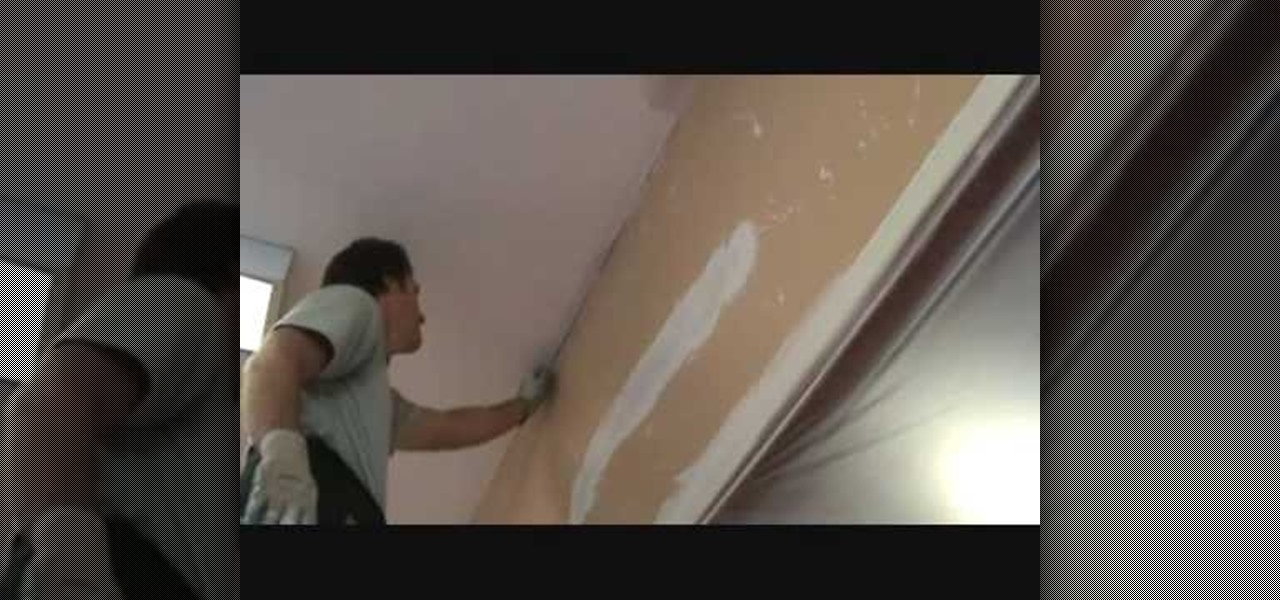
Video Joe Knows demonstrates how to install an inside corner ceiling patch when installing drywall. First, give the paper tape a definitive crease. Then, wipe quick set on the ceiling and the wall. Make sure you get enough material behind the paper tape. Have more quick set on than you need because you can wipe off the excess. Build it up on the edges using a three or four inch knife. Next, apply the tape by pushing it into the corners of the desired area. Finally, wipe off the excess quick s...

Lots of people love magic, and most of those people like card tricks, so why not learn a few? Whether you're a magician or not, you can still impress your friends with a few card tricks up your sleeve.
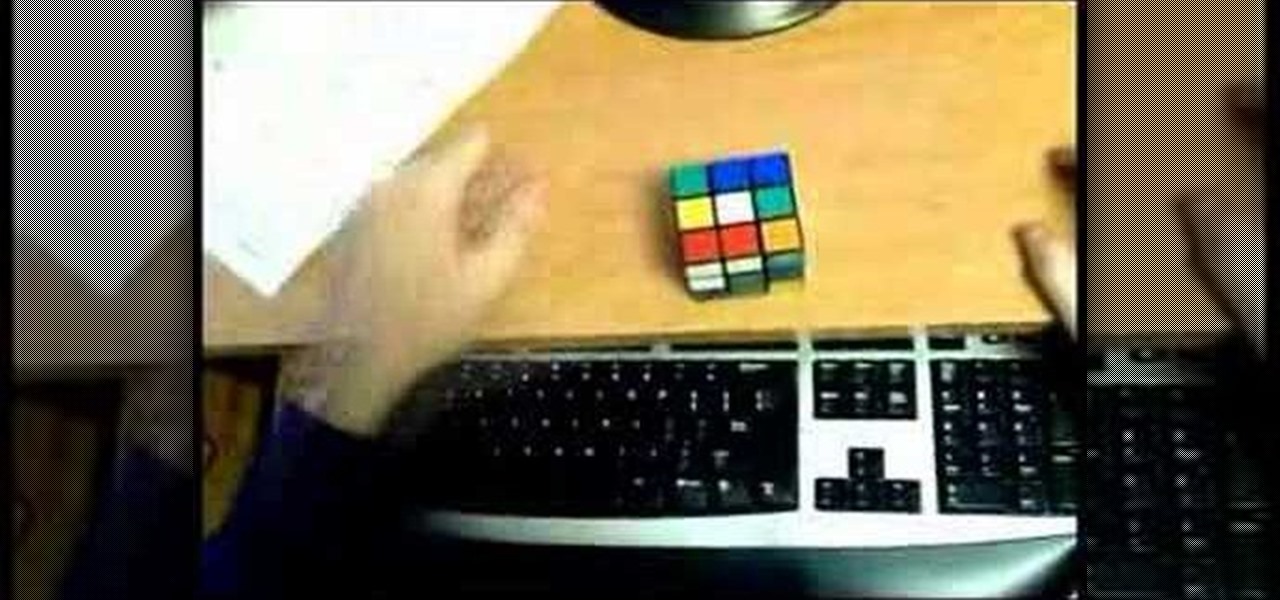
Are you a beginner Rubik's Cube solver? Can't quite figure it out yet? Too slow? Well, solving the Rubik's Cube is easy, but solving the Rubiks Cube fast is hard, just keep that in mind.

This video explains how to overtake another kart safely in corners when Go-Karting.

This tutorial gives tips on how to properly enter corners when go-karting for the fastest times possible and while being safe.

How to use Roundpic.com to put rounded corners on any digital photo or image on your computer.

Learn how to create Web 2.0-style rounded corners in Adobe Photoshop PSE or Photoshop CS4. This clip will teach you what you need to know. Whether you're new to Adobe's popular raster graphics editing software or a seasoned professional just looking to better acquaint yourself with the program and its various features and filters, you're sure to be well served by this video tutorial. For more information, including detailed, step-by-step instructions, watch this free video guide.

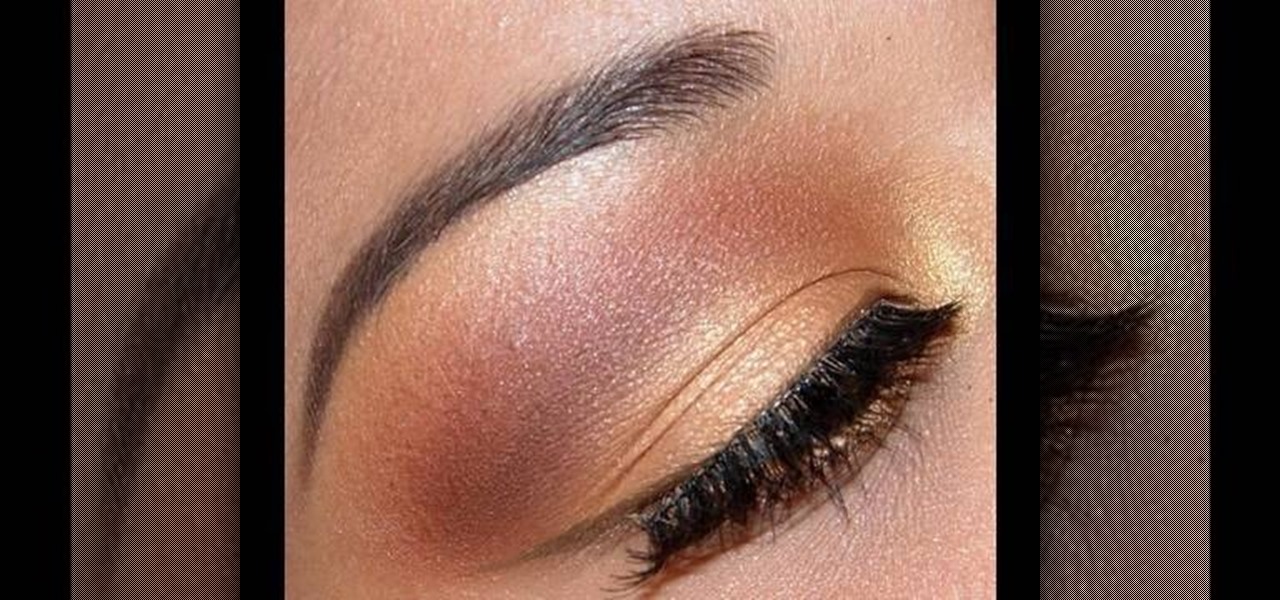
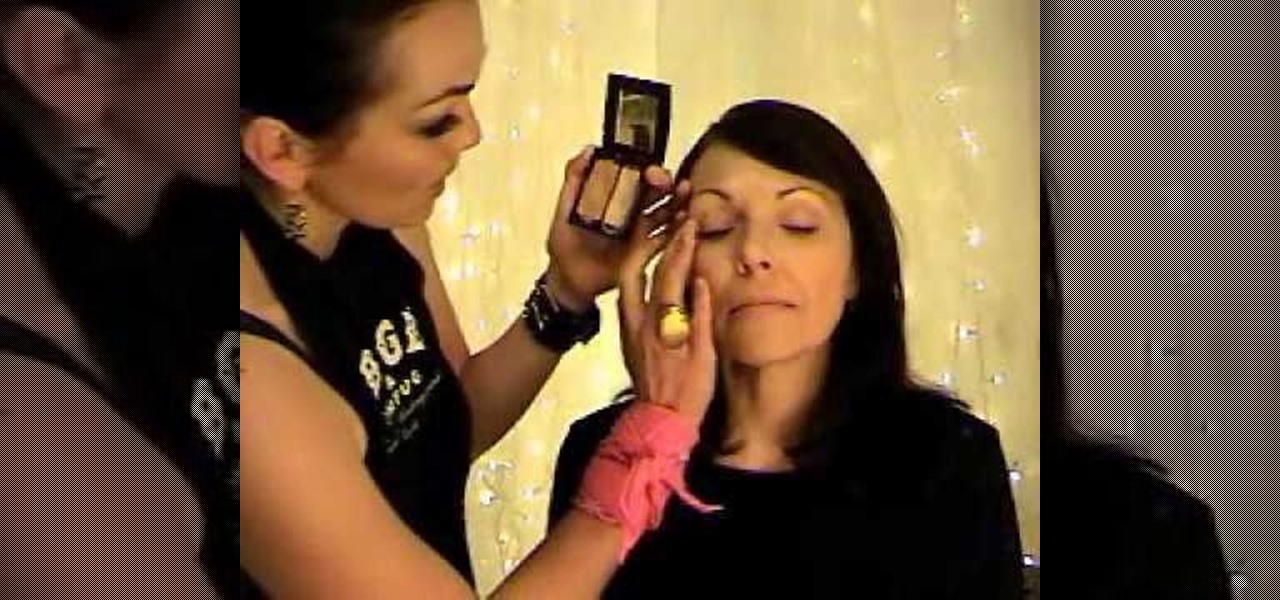
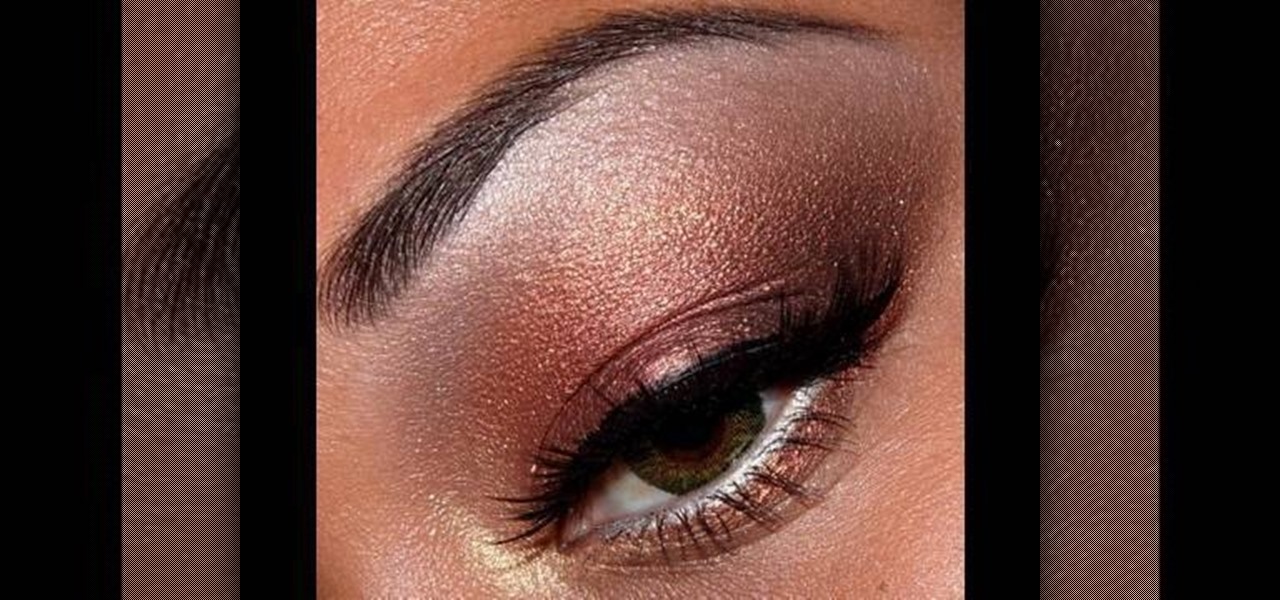
In this tutorial, we learn how to apply autumn gold brown eye makeup. First, apply a primer to the eye, then apply a gold color to the inner corner of the eye. Next, apply a dark gold color to the middle of the eye going up to the crease of the eye. Next, use a matte red/brown eyeshadow on the outer crease of the eye. Next, blend all of the colors together. Next, take a dark brown color and blend it on the outer right corner of the eye. Now, apply a light layer of black eyeliner to the top an...

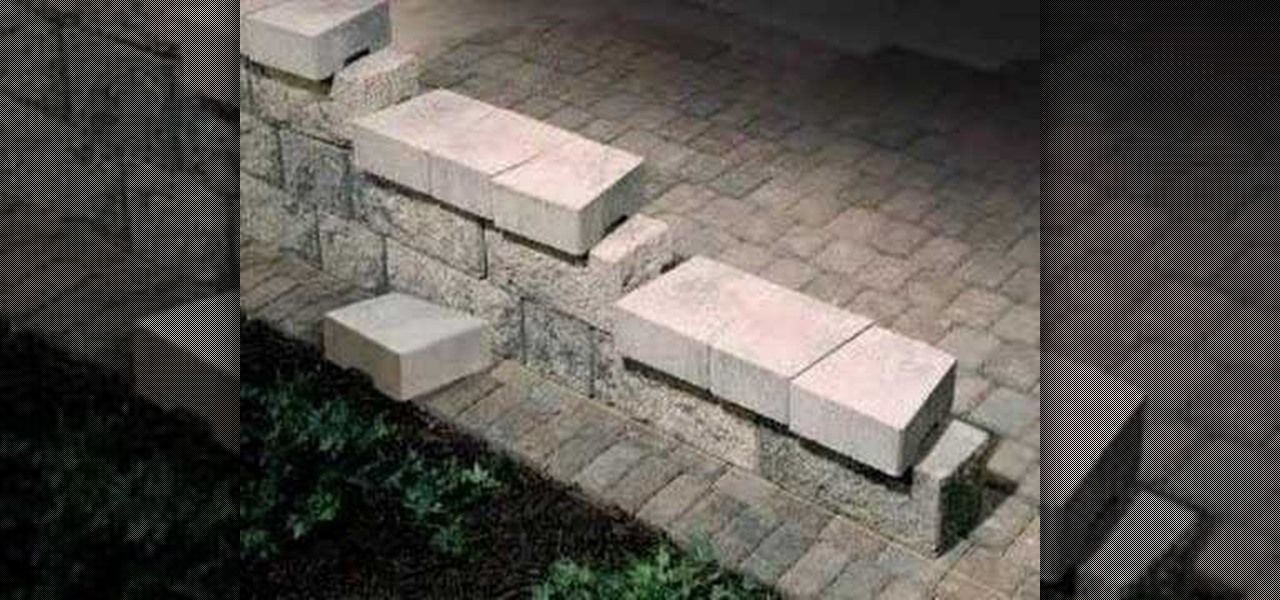
In this how to video, you will learn how to build a post. Court yard posts create beautiful accents to your yards. They can be used as entry monuments and fence posts. When using corner blocks, make sure the long sides are at the outside of the post. First, place these corner blocks in a square. Align the blocks with the square. Next, place four more blocks on top of the original blocks. Make sure the blocks touch two blocks. Keep on stacking them to the desired height. Add two post caps. Sec...

Instructions for building wall panels and posts using Alan Block materials. This is How-to Sheet #190, for the Courtyard Collection. Combine walls and posts in a three step process: build a post, build one wall off the post, then build a second wall off the first. Corner blocks help make perfect corners, and have one long and one short side. Offset the vertical seems by alternating. Blocks used for the wall include Dublin center-split, Dublin end-split, and York center-split. You will need to...

In this Home & Garden video tutorial you will learn how to step down or end your patio wall. This video is from www.allanblock.com. Get the installation details and the location of the nearest dealer from the website. The instructions are on How-to sheet #160. The easiest way to create step down is to create corner blocks. Simply place corner blocks at the end of each course overlapping the block as the wall steps down. Finish the wall with wall caps. Once the wall caps are in place, you can ...

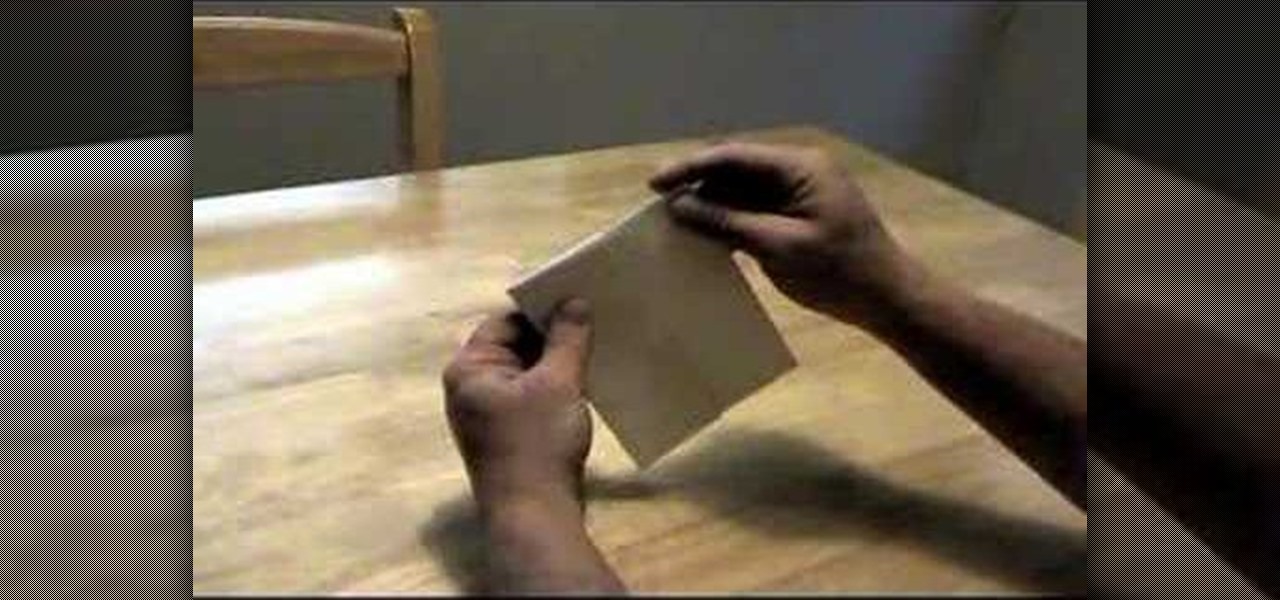
This video demonstrates how to make a loud and annoying paper popper. Prepare a regular sheet of paper and lay it down on the table or a flat surface. Fold the lower portion of the paper at about an inch and a half (1.5") or two inches (2"). Fold it the second time at about the same length you did with the first. Then, fold the paper right in the middle in the opposite direction with your first two folds. Your paper should now be folded to resemble a nurse's hat. Hold one corner of the folded...

Evil Penguin Master demonstrates how to make a paper spinner. First fold a regular sheet of paper in half, defining the lines well. Then, cut the paper along the crease with scissors or tear it with your hands. Next, fold the halved paper again lengthwise. Then, fold down the corner. Flip the paper over and fold down the other corner so it forms a slanted rectangle. Repeat the technique with the other sheet. Lay the sheets on top of each other so they form an X or a star. Fold each triangle i...

Kandee is a makeup artist who takes us through this great youthful looking cougar makeup look. First put a primer all over the face. This is great to fill up any wrinkles or lines. Areas to highlight are the eyelids, underneath the eye, and all areas around the nose. Take the powder and only place it on the key areas which include the eyelids and gently underneath the eyelid, and around the forehead. Next pick an eyeshadow and was the entire lid in that light color. Then choose a dark eyeline...

To create a winged out eyeshadow look you first take a paint pot as a base. Apply to the eyelids and under the bottom of the last line. Blend with finger after you're done applying with a brush. Next, take a brush and place black eyeshadow above the lash line on the eyelid, while doing this, brush outwards in the corner of the eye to make a cat-eye. Don't place the eyeshadow too high on the eyelid or it will change the shape of the eye. Make sure to place the eyeshadow in the corner creases o...

In this video, Nekkoart demonstrates how to make an origami valentine heart. Begin with a sheet of paper that is nineteen cm by eight cm. Fold the paper to form a square. Unfold. Fold both sides to the center crease. Unfold again. Fold the paper in half horizontally (not forming a square) and unfold. Fold a corner to the edge of the center crease. Unfold and repeat with the other corners. Squish both sides down to form a square. Fold down the upper half. Fold down the two triangles at the top...

A combination of red and gold eyeshadow is great for emphasizing green eyes - this is because red and gold are complementary colors to green. For the base, apply a clear or skin-colored base to the entire eye area. Use a highlight base just beneath your eyebrows. Blend it in. Use a black liquid base on the upper eyelid. For eyeshadow, start off with a shimmery gold by putting it in the inner corners of the upper lid. Take your red and start off slightly in the middle of your eye, where you le...

This video shows you how to get a New Year’s Eve look that is very fun, flirty, but simple using glitter. For a base use two face eye shadow insurance all over. Take a blue and put it onto the lid up and away. For the bottom use a dark blue and with a small brush smudge it across the bottom of the eye. Use Aqua Black and with an angle brush apply it as a liner. Use MAC glitter liner and put it on the inner corner of the eye. With a clean q-tip take a silver glitter and dotting it into the gli...

Check out this DIY video tutorial from Curbly, the best place to share pictures of your home, find design ideas, and get expert home-improvement advice.

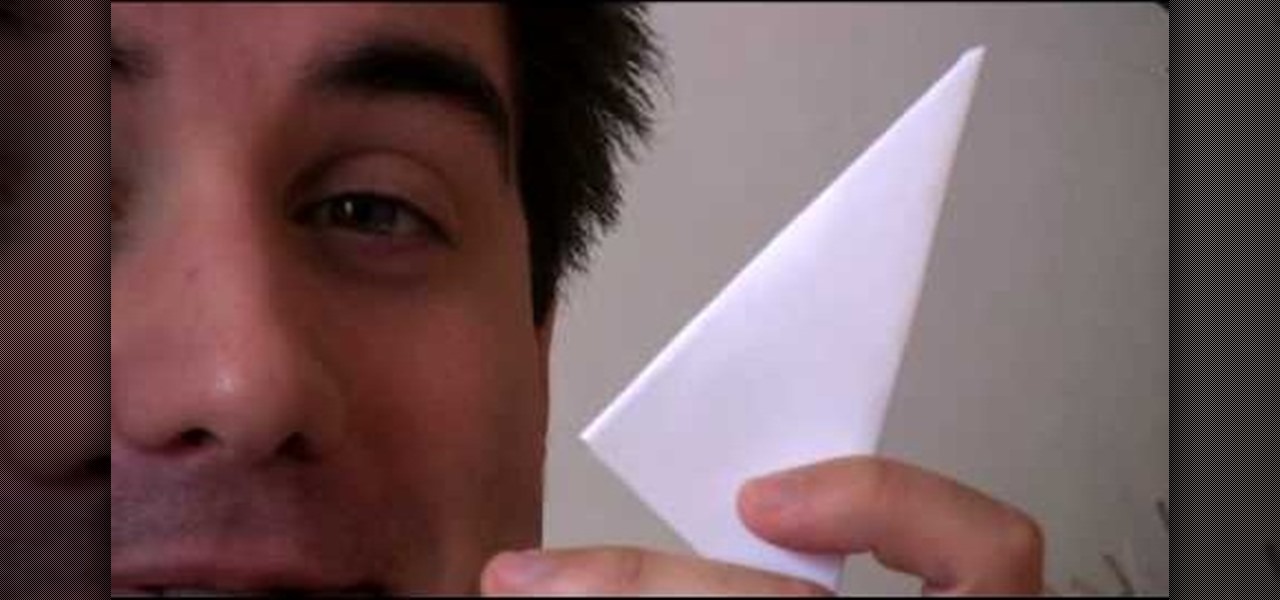
A seasonal how-to for creating easy, perfect paper snowflakes. This is a fun Christmas craft this holiday season. To begin, start with a square sheet of paper. Fold the sheet corner to corner. Fold again to create a new triangle. Cut like crazy! For all sorts of patterns and ideas check out this accompanying article:

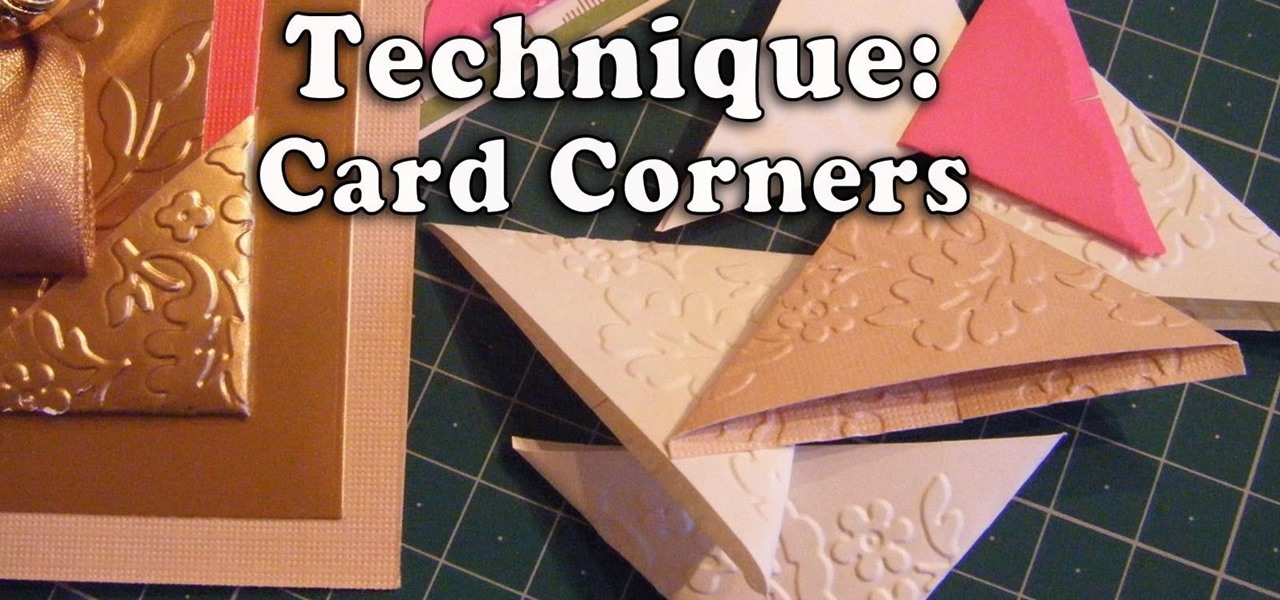
In this Technique Demonstration I show you how I make card corners in both plain and embossed card for all your card, scrapbooking and paper projects. Easy and quick to make, and once you make them, you will be wanting to add them to everything.

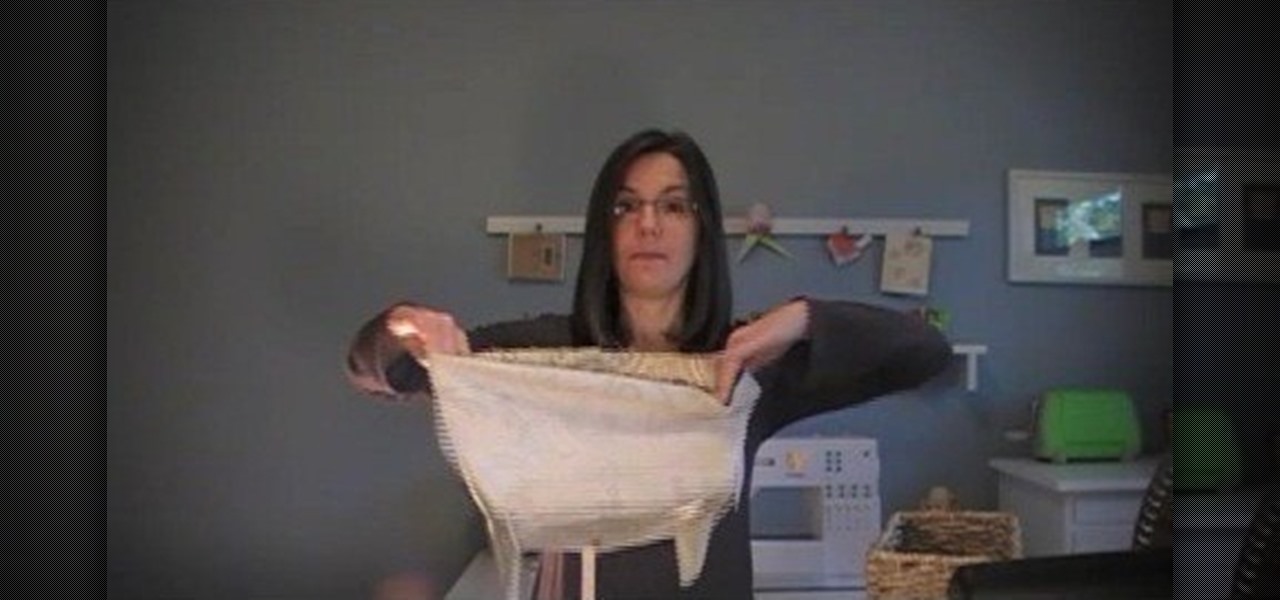
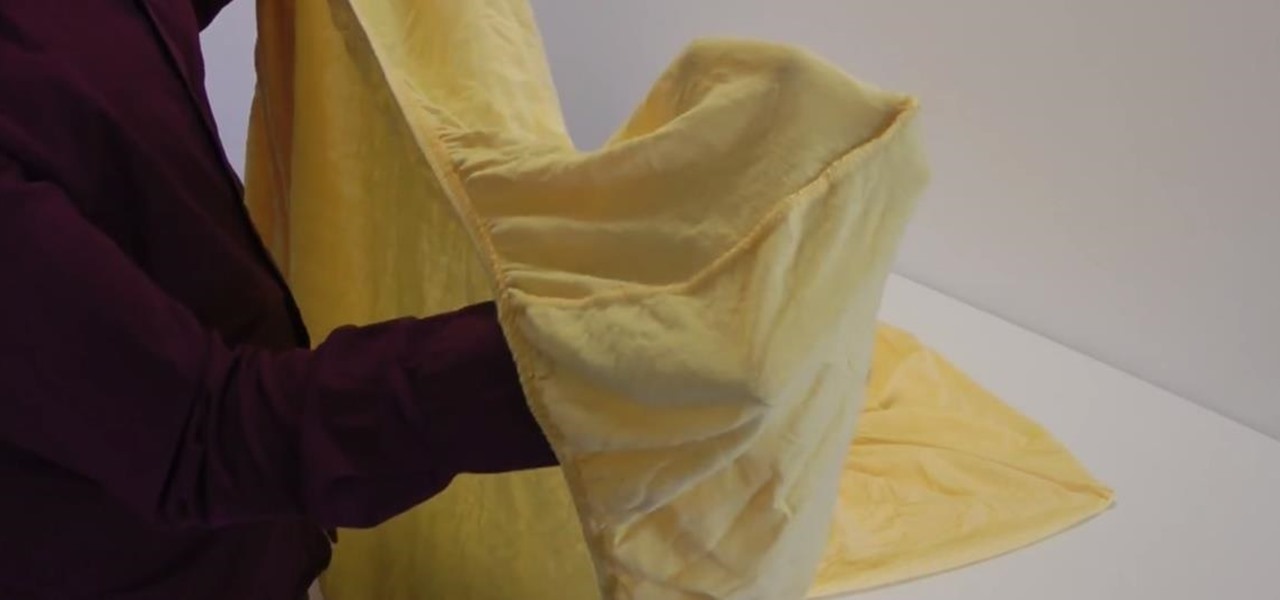
Folding fitted sheets seems nearly impossible, but with a neat trick it's just as easy as folding a blanket.

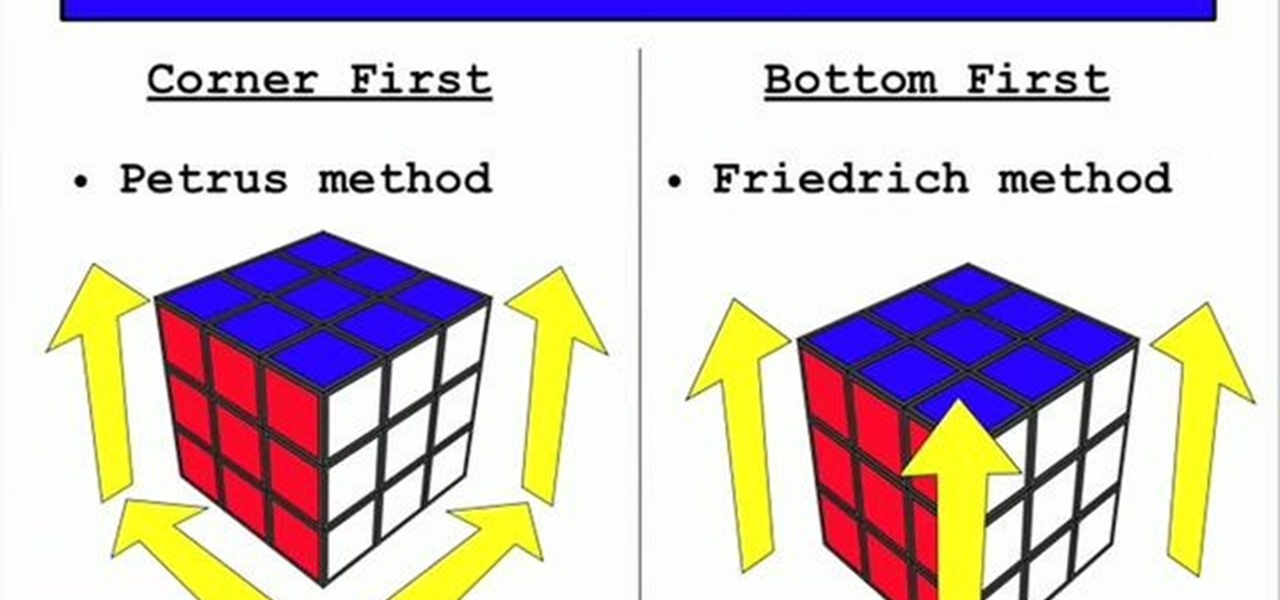
Learn how to solve a Rubik's cube in ninety seconds in this video. You'll learn that there are couple of common methods used to solve the cube. The Petrus method which starts with the corner and the Friedrich method which starts at the bottom and moves up. The presenter shows how he uses several methods and algorithms to create seven steps to a solved cube. The first step is to make a cross on the bottom layer. The second step is to correctly place the bottom corner pieces. The third step is ...

To make an 8 sided ninja star first you need to take a sheet of the paper you are using and fold this in half, the short way. Unfold this so you have a crease. Now, fold the corners into the center crease. Do this to the top corners. Now, flip this over and fold over the bottom of the paper to the back and crease this. Now, you will want to tear this bottom half creased part off. Fold this into a square and fold the square into halves on both sides and tear this off to create smaller squares....

Love4Nails teaches viewers how to paint nails with a blue, white and gold nail art design! First, you need to apply your background color. This color will be a blue nail color. You should let this dry. Now, take a black nail art polish and do 3 stripes, that start at the bottom corner and go up slanted. You do not have to go all the way to the top. Next, get a white nail art polish and start the stripes at the opposite corner and paint two across - these two stripes will touch at the corner. ...

1: Place paper sideways. Place the paper on the flat surface with the long edges at the top and bottom. 2: Fold long edge to opposite edge and unfold. Fold one long edge to the opposite long edge, crease, then unfold. 3: Fold longs edge to center and unfold. Fold one long edge to meet the center crease you just made. Now do the same with the other long edge, so they both meet in the center. Unfold completely. 4: Fold short edge to opposite edge and unfold Rotate your paper and fold one short ...

To make a Paper Orchid you need to know the steps as follows: First fold a square sheet of origami stock paper into a triangle, bringing both points together. Use this as your flower base. Fold the paper again bringing both corners together. Rub your finger along the crease of the fold to make sure that it stays put. This step completes the triangle base. Begin making the flower base by taking the triangle base folded over twice and adding a third piece, folding it over as well to meet with t...

Learn to make an origami flower with just a few easy steps in this video tutorial! 1. Use an 8 inch by 11 inch piece of paper.

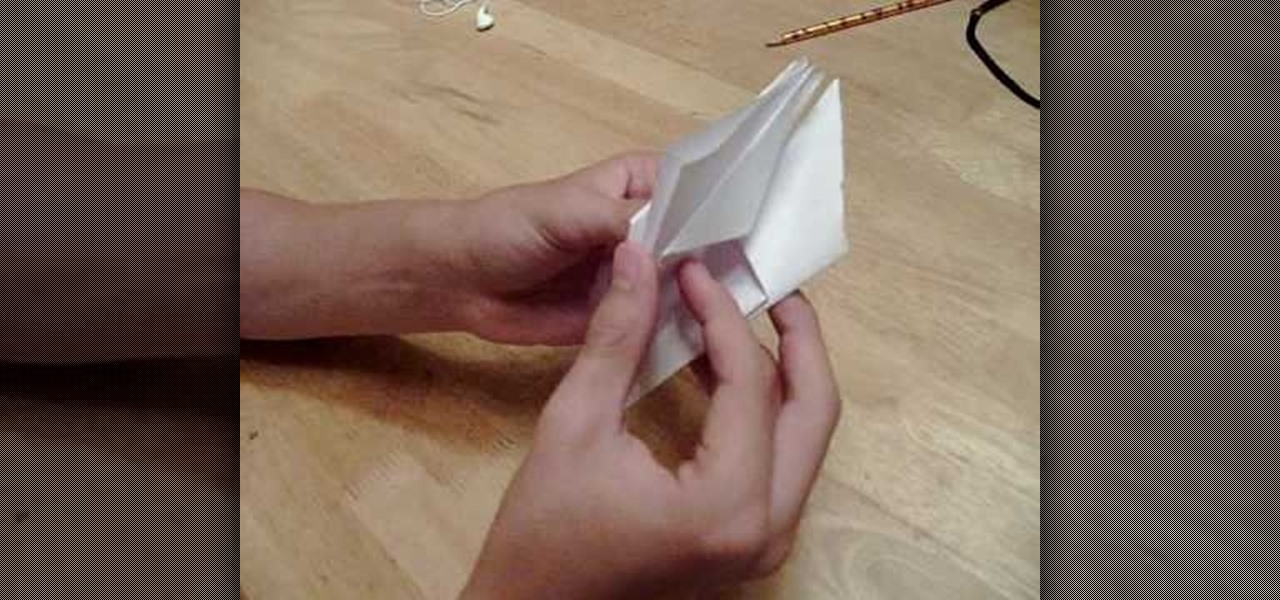
For all origami enthusiasts, here is something new. This video details how to make your own origami enigma box. As with all origami pieces it can be made using just a single piece of paper. The paper is first folded, taking from two separate parallel ends, in such a way that both sides meet in the middle of the paper. This will make four rectangles when unfolded which are to be further folded into half to make eight. Now, the paper is to be taken from the other two ends and folded to meet in ...

It might seem easy to a few, but some of us out there grew up with email and consider "the letter" an artifact. However, writing a letter is the ultimate in class and shows someone you took the extra time to get in touch with them. Whether you are writing a business letter or a friendly letter, these tips will guide you in properly writing that letter to a special someone, friend, or client.

The first License Tests in Gran Turismo 5 on the PlayStation 3 to unlock are the National B License Tests. Once you've unlocked them (which can be done by simply purchasing a car) you can start playing the challenges. This video will show you how to get the gold trophy on the third one (B-3).

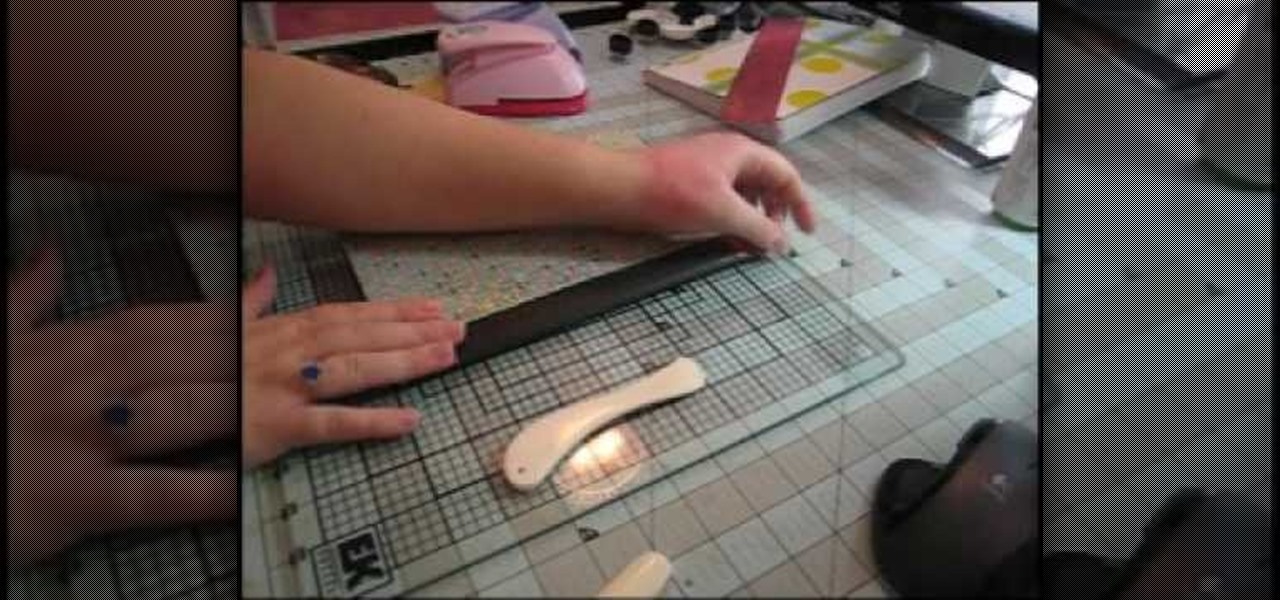
In this video, we learn how to turn a composition book into a decorative notebook. First, measure your composition book, then measure out that same size on a piece of decorative paper. Next, put adhesive on the back of this on all four edges, then diagonally. Now, you will have a solid attachment for the paper to be placed on top of the composition notebook. Use a straight edge to push it down and it's completely flat. Then, use scissors to cut any excess paper off of the edges and corners. Y...

In this Home & Garden video tutorial you will learn how to build your own windmill with household materials. Materials needed for the windmill are a template, scissors, straw, some yarn, some pennies, a paper cup, rubber bands, pencil, single hole punch, a skewer and thumb tacks. Take the template, cut it out along the solid lines and punch holes on the corners as shown in the video. Now with a thumbtack and a pencil make a nice hole at the center of the template. Fold the template along the ...

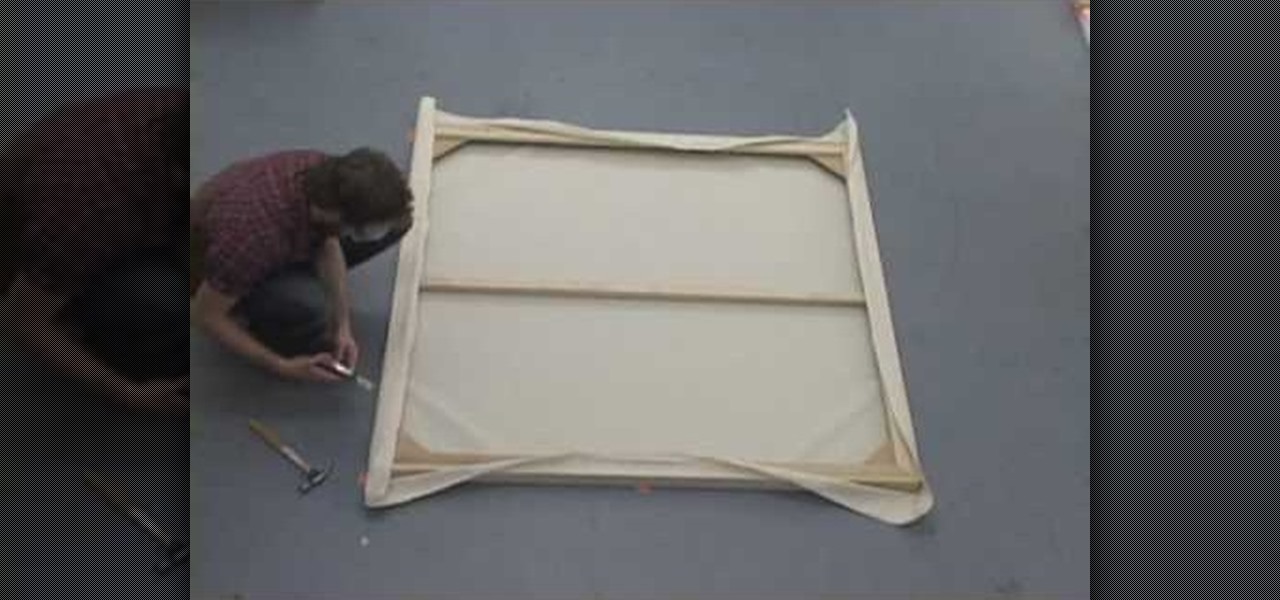
In this tutorial, we learn how to stretch the perfect canvas. First, measure the canvas. After this, center the canvas and make sure there are no wrinkles. Then cut the canvas and staple it to the frame. This will take several minutes, and you will work your way from the inside to the outer corners. After you are finished stapling hide the folds on all of the corners with the stapler gun. When you are finished with this step, you will be done and ready to paint on your new canvas! These steps...

This video tutorial is in the software category where Kerry Garrison will show you how to use vignettes with Adobe Photoshop Lightroom. By this you can remove the dark corners in a photo created by some zoom lenses. Select the photo, kick in the vignettes and fade out the corners focusing on the main subject matter. For this, select 'lens correction' on the right hand side and with the help of the sliders apply the vignettes. You have the choice of applying either a light or a dark vignette. ...

Husky and broad-shouldered as they are, cowboys occasionally get chilly while working the herd outdoors or casually saving a damsel in distress on his way to pick up a swankier cowboy hat in town.

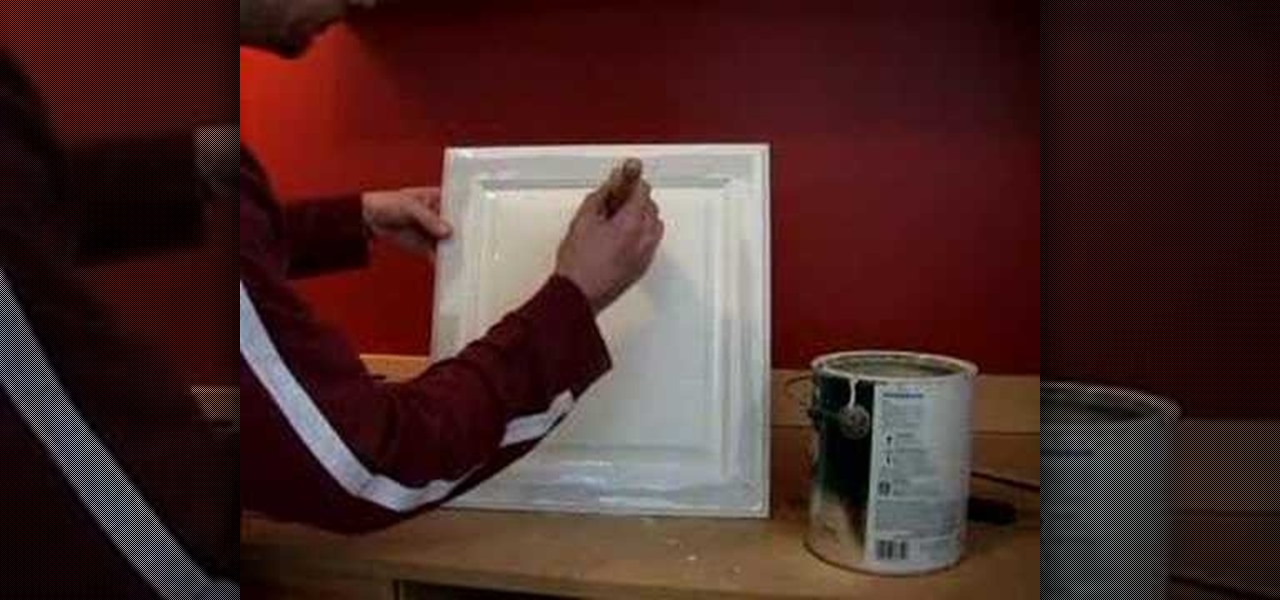
In this tutorial, we learn how to refinish and paint cabinets. Start off by grabbing a fresh brush and dipping it into your favorite color of paint. Next, brush the outer edge of the cabinets, brushing off the corner instead of in the corner, which will create a mess. Now, paint the entire outside of the cabinet, making sure to paint more heavily in the parts of the cabinet that has gaps and creases in it. Next, apply a new layer but paint very smoothly so you don't get any bubbles or brush m...

In this tutorial, we learn how to make a Japanese screen. First, cut your wood out and sand it down. Then, use a corner clamp to drill a hole in and screw the different sides together. Also use wood glue to help stick the pieces of wood together. Once your frame is assembled, sand the corners of it. Next, you will stain the wood with black Japan wood stain. You will only have to put one or two coats of this on, because the color is so dark. Now score notches onto the wood to allow your screen...

Many science fiction feature films and TV shows feature holographic communication and interfaces. Specifically, this video addresses how to use corner pinning within Holomatrix. Red Giant Holomatrix allows you to easily recreate that effect with just a few clicks. Whether you're new to Adobe's popular motion graphics and compositing software or a seasoned video professional just looking to better acquaint yourself with Red Giant Holomatrix, you're sure to be well served by this video tutorial...

This HelpVids.com tutorial shows the basic options for setting an alarm on an iPhone. To begin, open the "clock" app. There are four sub-menus in the the "clock" app. Choose the "alarm" sub-menu. To create a new alarm, touch the "+" in the upper right corner of the screen. A new screen appears and the user has different options. A repeat time for the alarm can be chosen. The user can choose the sound that plays when the alarm goes off. The "snooze" option can be toggled on or off, and the ala...


