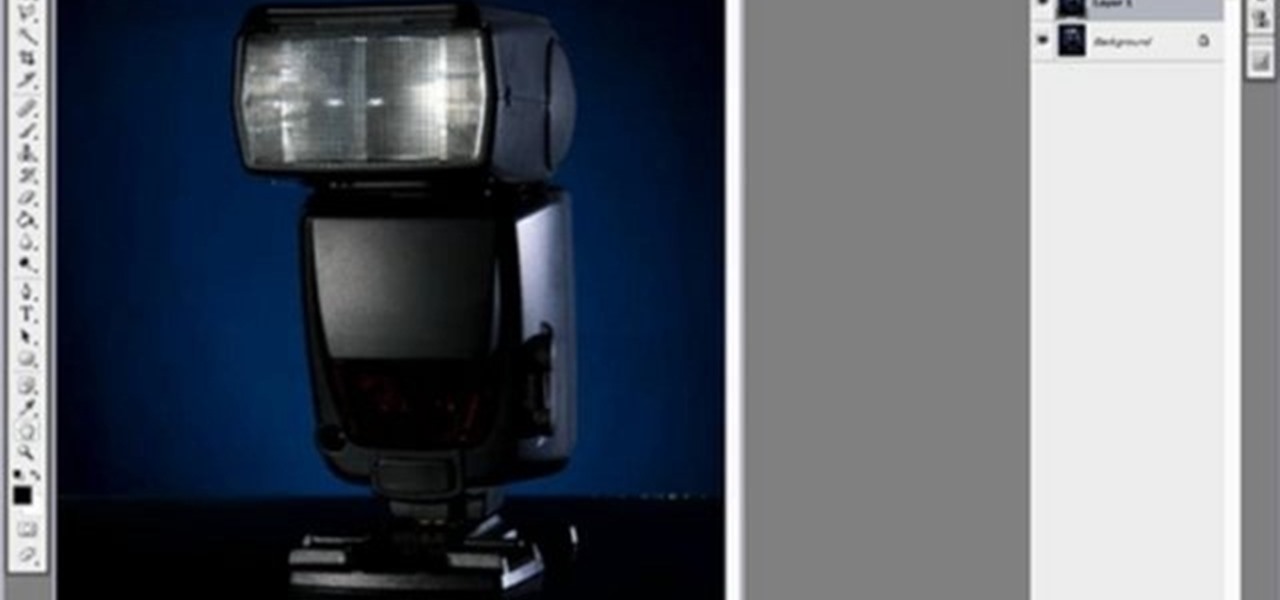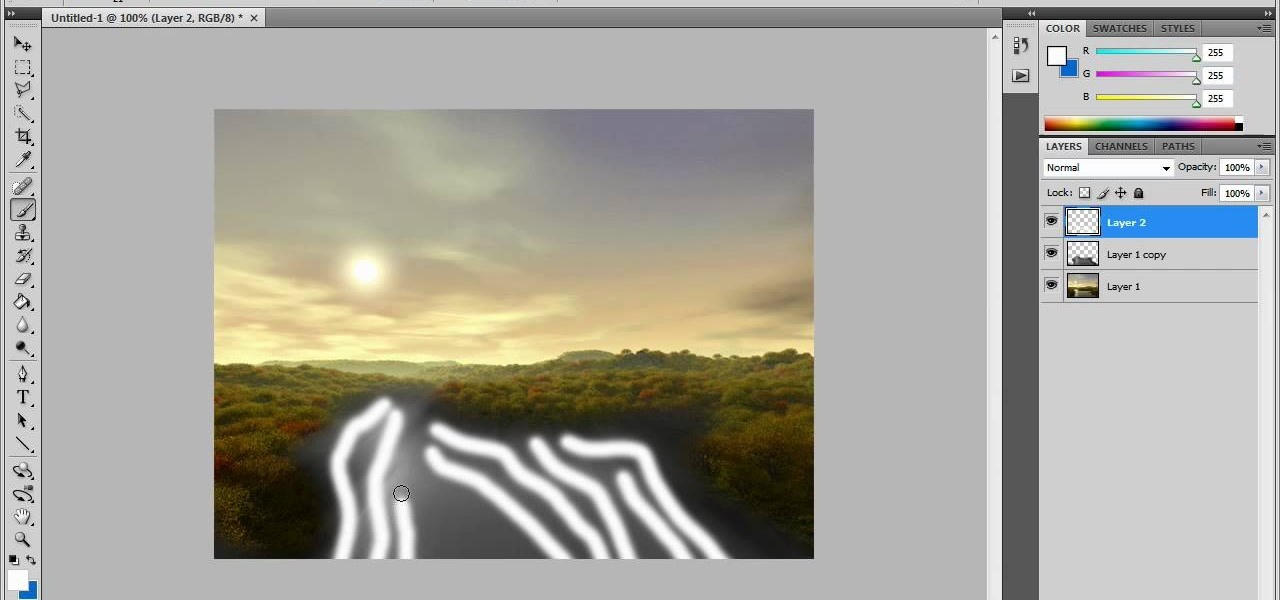
Yanik Chauvin teaches us how to color correct product shots in Photoshop in this tutorial. First, remove some of the black from the image by using your crop tool. After this, if your image is too wide, duplicate your layer and use the marquee tool to edit. Remove any dust spots from your image, to make it look more clear so you have an image that is impeccable. You can do this by creating a new layer and then adding a feather to the image. Continue to go through the editing tools available un...

The magic trick in this video can be performed with nothing more than items found in your local restaurant or bar.

Kim Kardashian is beautiful and any girl would most likely love to duplicate her look. Well, if you are a fan of Kim's - or at least her makeup! - check out this video and replicate it for yourself.

In this video tutorial, viewers learn how to create fog using Adobe Photoshop. Begin by importing the image into the program and duplicate the image. Now go to Filter, select Blur and select Radial Blur. Set the amount to 100, Blur Method to Zoom and Quality to Best. Now select the rectangular marking tool and select the sky. Then open the Hue/Saturation menu and set the Saturation to -100. Use the eraser tool to remove the gray from the edges. Now use the paint tool and paint white streaks o...

In this Software video tutorial you will learn how to sharpen blurry images using Photoshop. Open the image and duplicate the original layer. Then go to filter > other > high pass. In the window that pops up, enter a value of 4 – 6 pixels. Now simply change the blending mode of that layer to overlay by clicking on ‘layers’ and selecting ‘overlay’ from the dropdown menu. You will notice that you have a much clearer picture. Then go to filters > sharpen > ‘unsharp mask’ to add som...

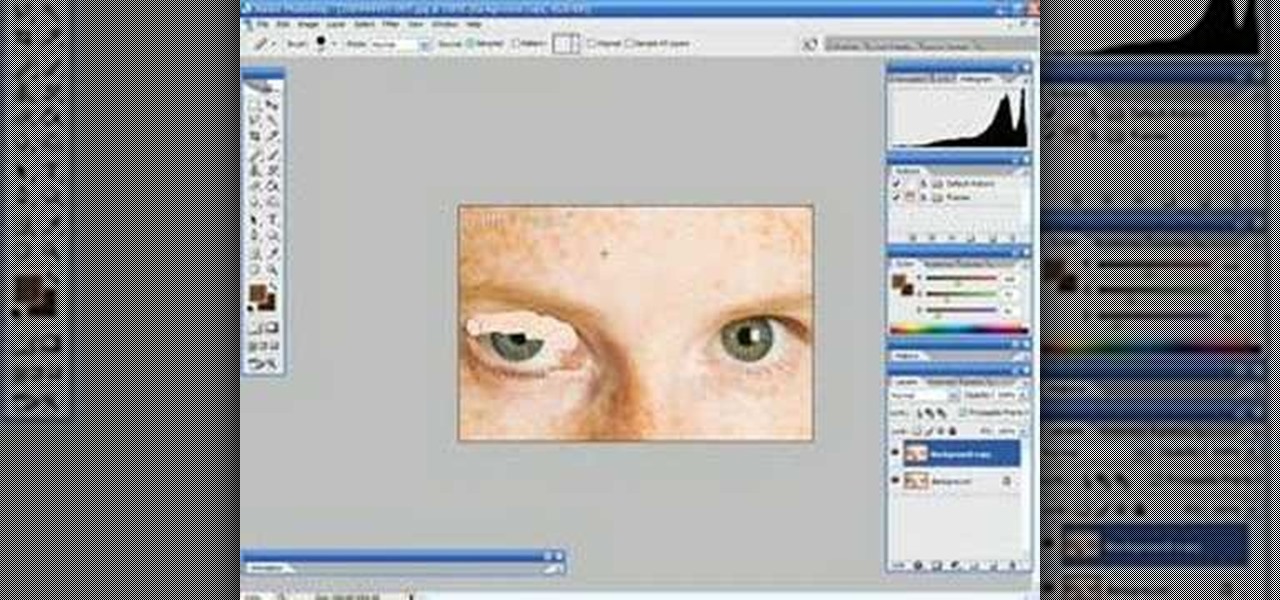
In this Software video tutorial you will learn how to make a winking animated GIF in Adobe Photoshop. Select a photograph of two eyes and duplicate the layer. Now copy the top eyelashes and paste them on top of the bottom eyelashes. Go to the eye drop tool and select a dark color. Then go to paint brush, choose a brush with size 1 and select darken in the ‘mode’ dropdown menu. Reduce opacity to 50%. Now darken the lower eyelashes as shown in the video. Then go to healing brush tool and se...

In this video, we learn how to turn a photo partially black and white using PhotoShop. First, open up the program and open up the picture you'd like to change. Now, click with the right key above the layer and choose duplicate "layer". Now click above the eye icon to hide the layer, then select the layer. Now you can go to image, adjustments, then black and white. Now make the second layer visible and select the eraser tool. Wave your brush over everything but what you want to keep colorful. ...

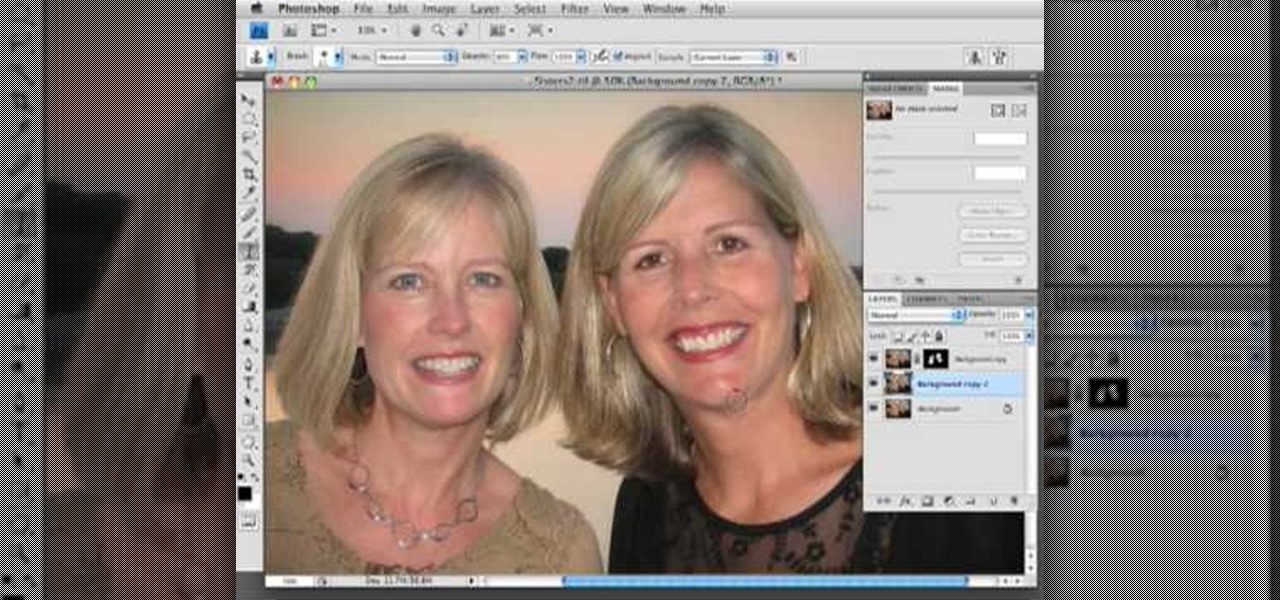
In this how to video, you will learn how to get rid of shine using Photoshop. This is useful if you took a picture using too much flash, causing shine to appear on the faces of those in the photo. First, open the image in Photoshop. Duplicate the background layer. Select the clone stamp tool on the left and select a brush with no hardness. From here, change the opacity to 80 percent. Click the option key on an area of cheek. Now, click on the dots of shine on the faces. This can be used on wr...

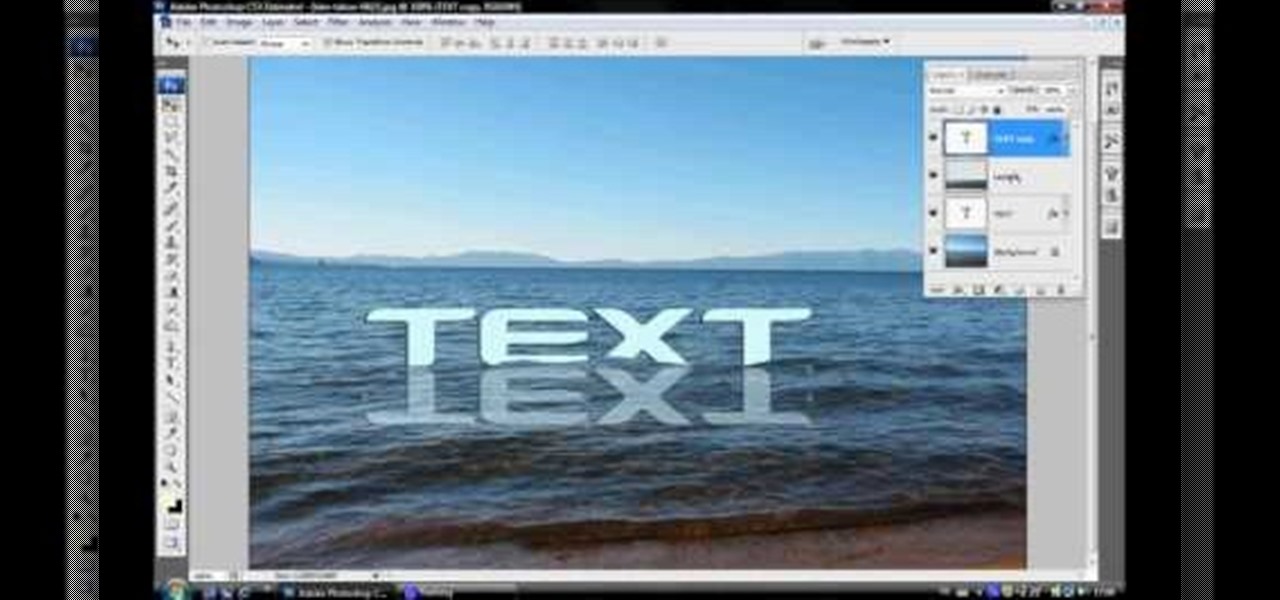
In this video tutorial, viewers learn how to make floating text on water. Begin by importing the water image into the program. Begin by selecting the polygonal lasso tool in the toolbox and select the top of the water. Once you have made the selection, right-click on it and select Layer via Copy. Then select the text tool and type in your text. Create a contour to make the 3D and give the text a light color. Then place Layer 1 over the ext layer and use the selection tool to place it behind t...

Jack Johnson is a great musician. His music is catchy and heartfelt and it seems like everybody is a fan. In this tutorial, learn how to play your acoustic guitar in the style of Jack Johnson and impress your friends.

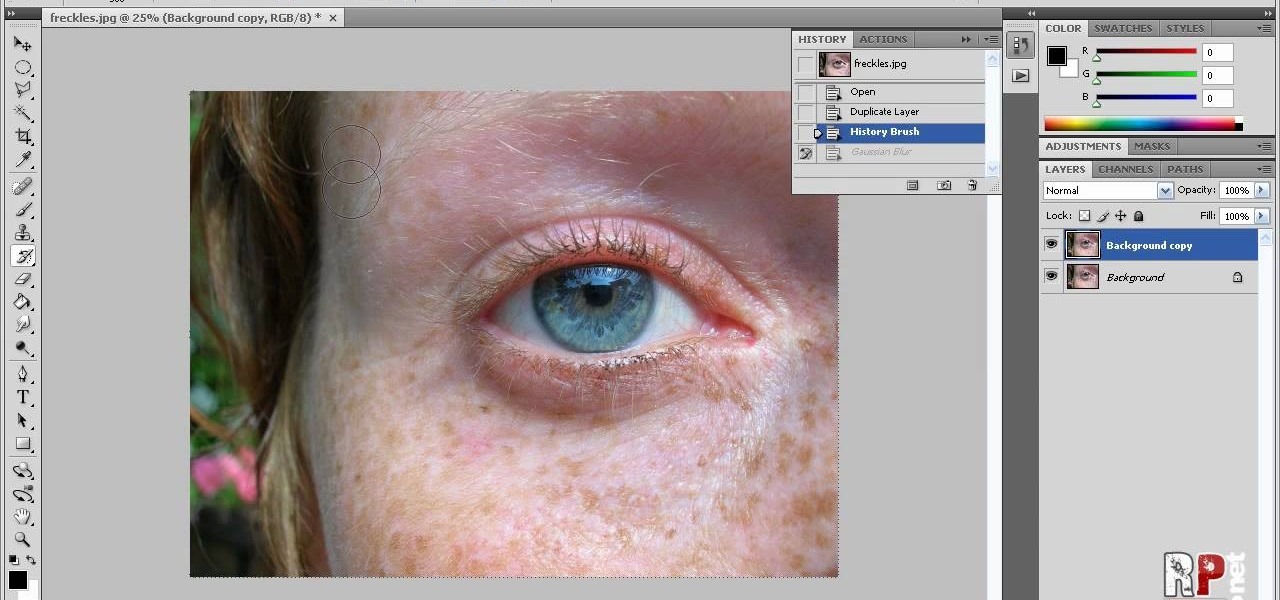
In this how-to video, you will learn how to reduce freckles in Photoshop. This is useful for editing people who have a lot of freckles. First, open the file in Photoshop and copy the background layer. Apply a Gaussian blur to the layer. Adjust it so that the freckles are no longer visible. Click okay and then open up the history palette. Click on the duplicate layer in the history window. Set the source for the history brush. Set the mode to light. Next, paint over the freckles. Now the freck...

Robert with Roberts Productions demonstrates how to give your photos depth of field with Photoshop. You can create this effect by having a clear foreground and a gradually blurry background. First, duplicate the background layer. Then, go to filter and select Gaussian blur. Set it to a believable radius like 12 pixels. Create a mask by clicking on the mask icon. Then, make sure the foreground is set to black while the background is set to white. Next, go to the gradient tool and make sure tha...

River City Graphix Tutorials demonstrates how to make a reflection in Photoshop. First, fill the background layer with black. Then, select the text tool and a color of your choosing. Type the words that you would like to reflect. Next, duplicate the layer to make a copy of the layer. Hold shift and bring it down, setting it on the bottom of the other layer. Select the rectangular marquee tool, right click to get the free transform tool. Right click again and then flip the image vertically. Se...

New to Microsoft Excel? Looking for a tip? How about a tip so mind-blowingly useful as to qualify as a magic trick? You're in luck. In this MS Excel tutorial from ExcelIsFun, the 159th installment in their series of digital spreadsheet magic tricks, you'll learn how to solve Duplicate VLOOKUP function problems with a COUNTIF formula that creates a column of unique values for the first column in the lookup table.

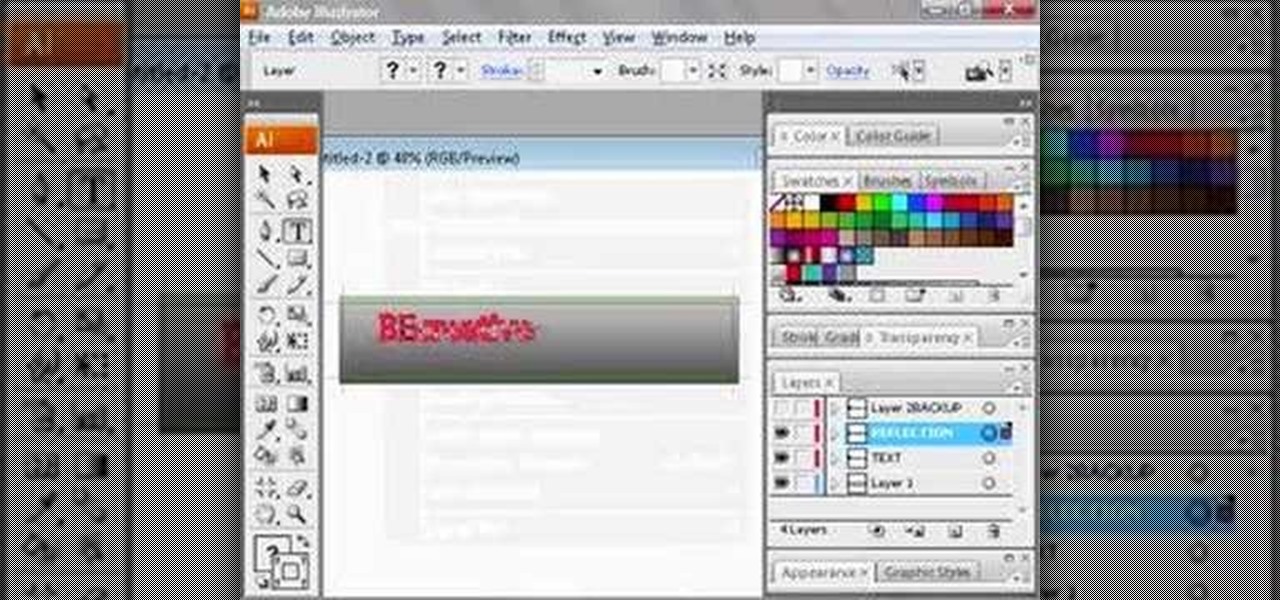
In this video tutorial, viewers learn how to make a reflective text in Adobe Fireworks CS3/CS4. Adobe Fireworks a bitmap and vector graphics editor. Begin by opening Fireworks and create a new project. Create your text and then duplicate it. Align the duplicated text under the original and flip it vertically. Click on the color and select Fill Options. Select Gradient and keep the second option at Linear. Drag the opacity on the left to zero and the right to 100. This video will benefit those...

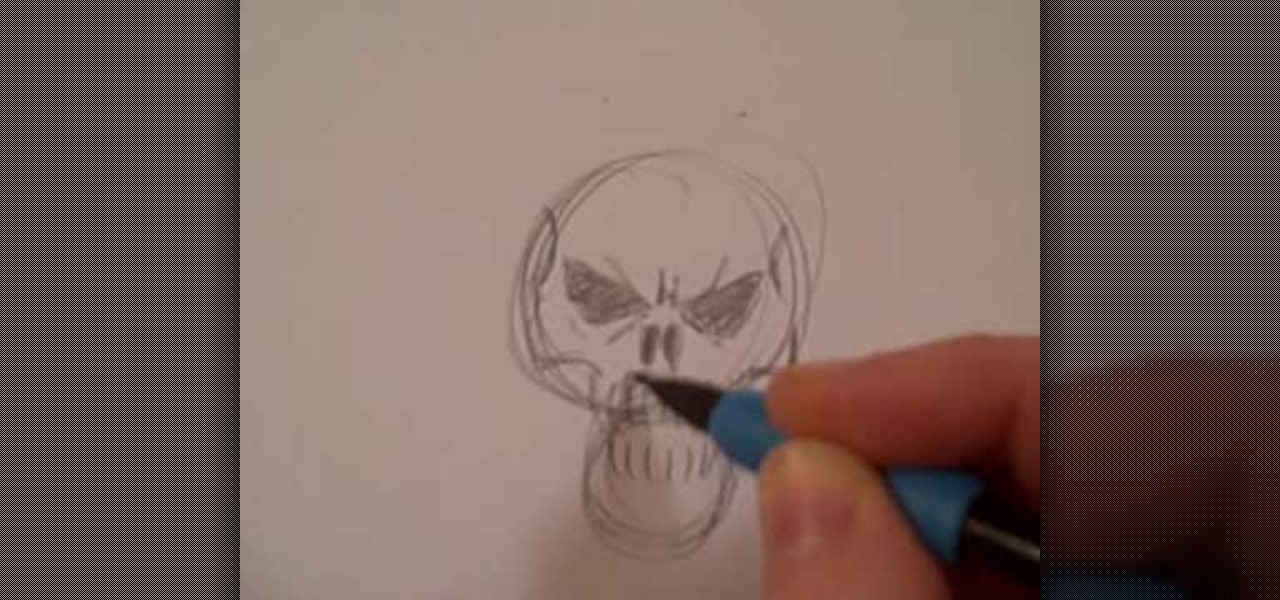
This short video shows how to draw a skull with a pencil. The video contains no spoken or written description of the process the artist in the video is going through, so to duplicate his drawing, you'll have to just watch and draw along. The artist starts the drawing by making two circles vertically, the lower circle being about half the size of the upper circle. He then adds the nostrils, eyes, and teeth, before going on to add some definition to the jaw area, making it look like a complete ...

Adding motion to graphics using Photoshop can create an exciting and dynamic effects. Select a picture you want to add motion to. First, duplicate the background layer. Then under Filters, select blur, and then select Motion Blur. Then you set the angle of the Motion Blur. You can select any direction and also set the intensity of the blur by setting the distance setting. Then you will need select the eraser tool and select under Options select the brush. Chose a soft edge brush and erase ove...

To make some flowers of geranium plant, the flowers are colorful and beautiful. Put the branches together to the main branch in various designs. Merge three leaves together to form a new design. Now start placing all the leaves to the main branch if you want. You need to make a petal to form the flower. Arrange the bunch of flower in middle of your dining table allowing its fragrance in the entire room. We will put the flowers together .This is very important and necessary step. We will dupli...

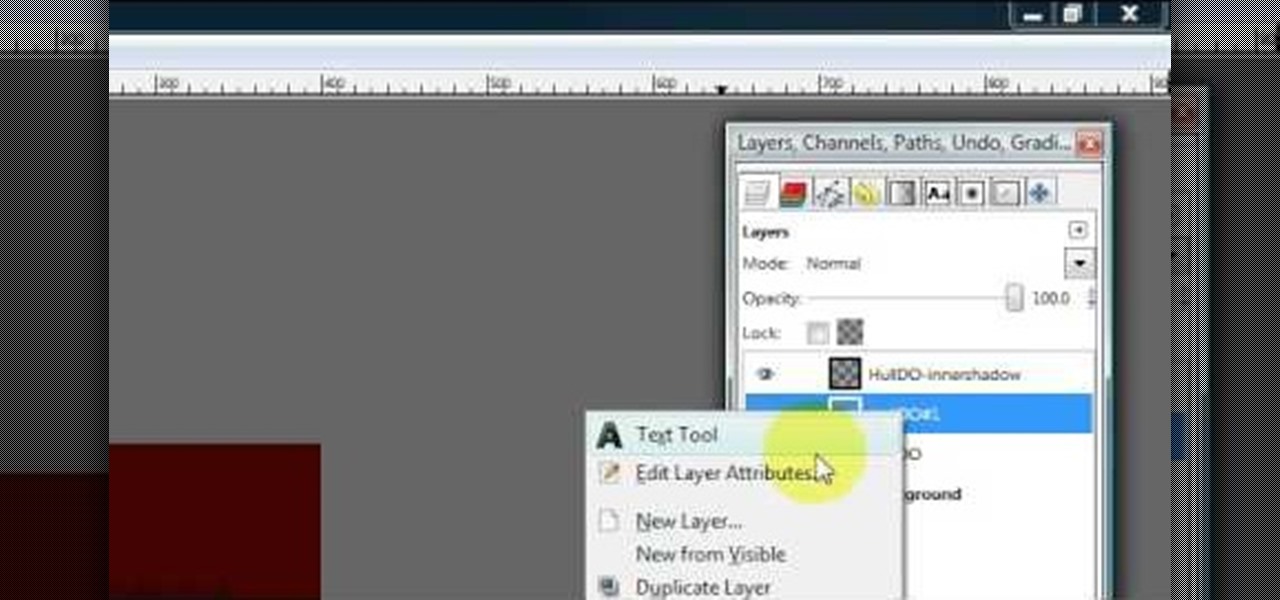
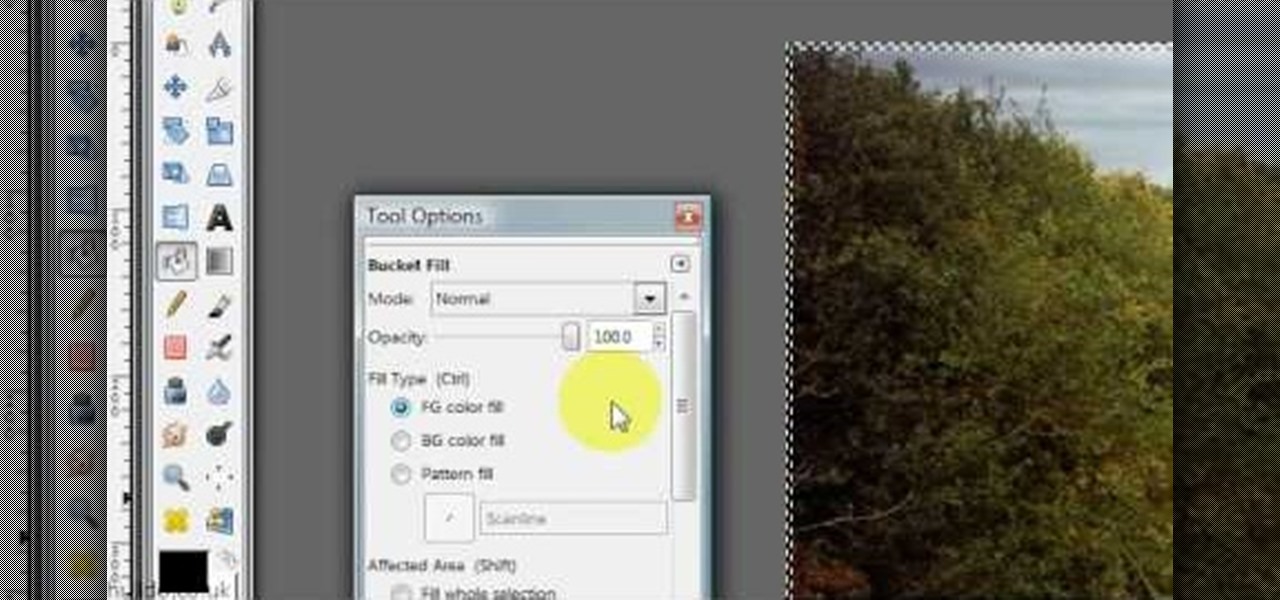
Hulldo teaches you how to create indented text in GIMP. First, create a new document of any size. Then use the text tool to write some words. Next, select that text and go to Script fu-layer effects-inner shadow. Once you've done this, duplicate the layer. You will now want to filter-blur-Gaussian blur. Apply that to your second layer. Now you can either merge the layers or leave them as they are. You can also play with the text settings, if you want a larger shadow, a bolder text and so on. ...

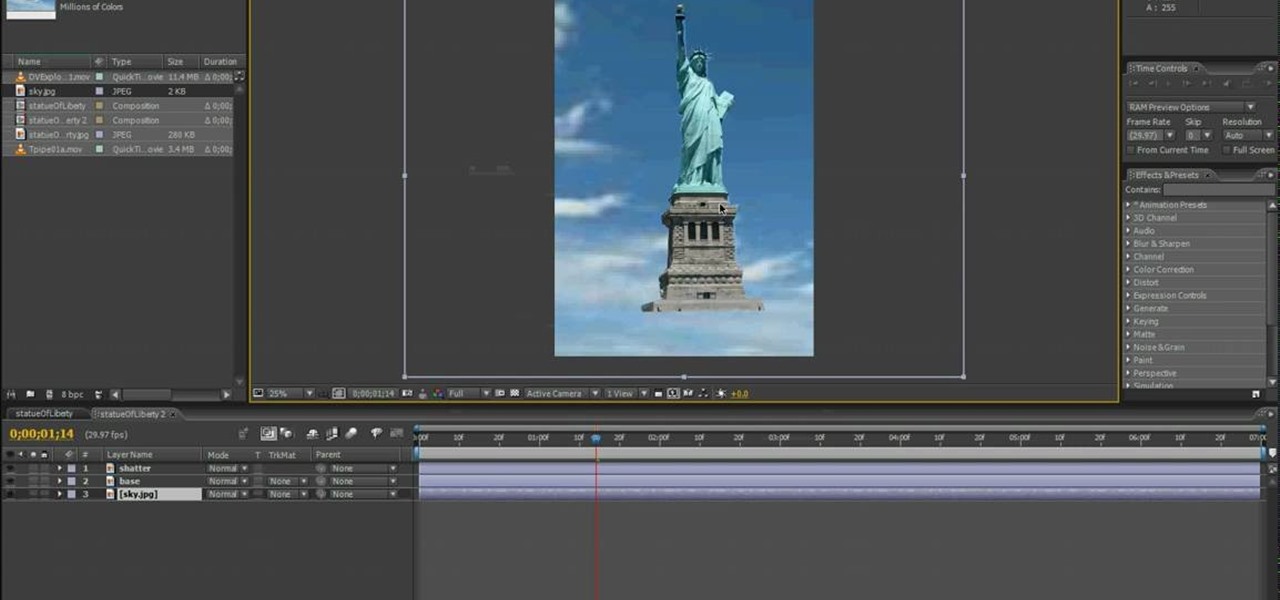
This video shows you how to create a building explosion (more specifically, the Statue of Liberty) in Adobe After Effects in less than ten minutes. The smoke and fire are downloaded separately, while the shattering of the statue is created in After Effects. First, duplicate the layers into what will and what will not explode, then create a mask around each one. Then, set the shatter effect to the exploding layer. Set the shape pattern to glass to make it more realistic. Also, you can raise th...

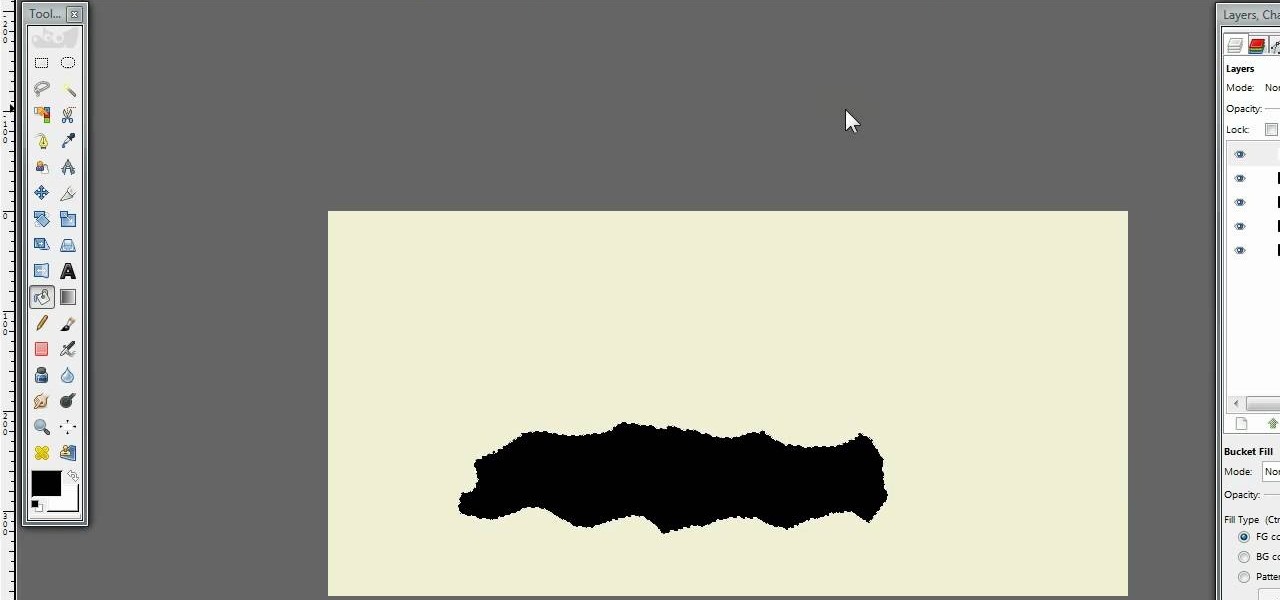
Hulldo teaches you how to create your own headlines in GIMP. You start off with a new file and paint that a light brown. Make a selection on the file and create a new layer on top. Color that layer black and add Gaussian blur. Put that layer beneath so it will make a shadow on your selection. Create the start of a gradient or simply a Grey layer on the bottom of the headline. Then add your text with black color. You can duplicate these layers, reside the selection and change the text. You are...

Hulldo teaches you how to give your images a widescreen border using GIMP. Open up a picture and the click new layer. Next go to select - border and make it 3 pixels. Go to tool options and use black for foreground fill. Select none and create a new layer. Go to view and make sure snap to canvas edges is ticked. Go to rectangle select tool and go to its menu. Then select 640x30 pixels. Fill that layer with black and select none. Duplicate this layer. You place this one on the bottom and you a...

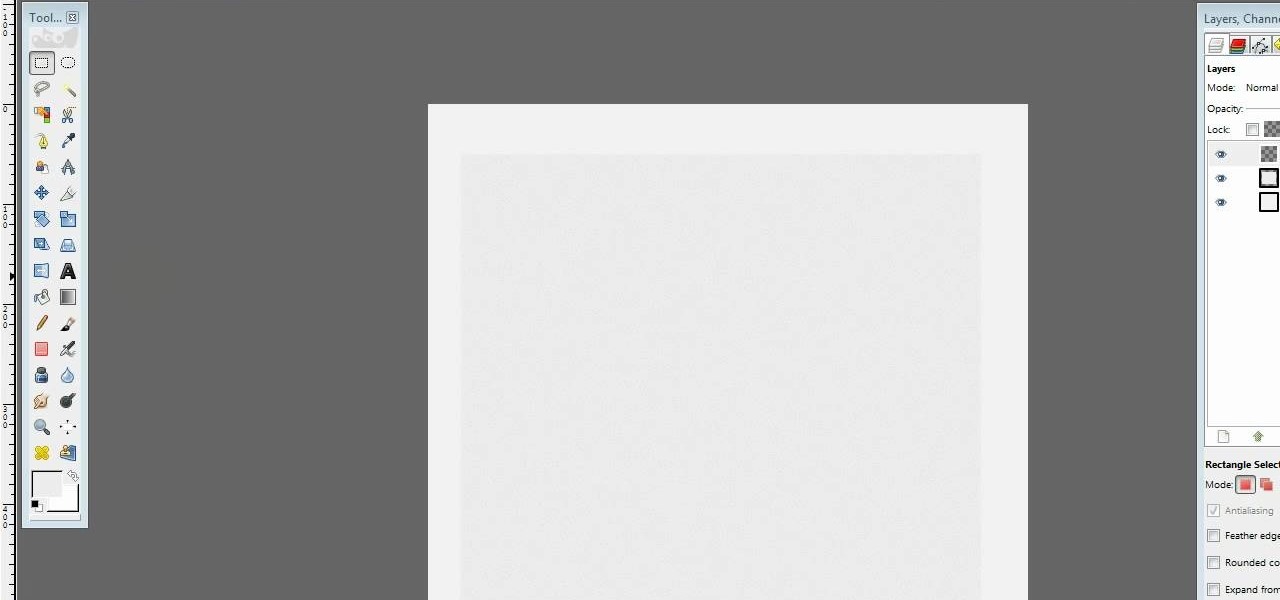
Hulldo teaches you how to draw lined paper in GIMP. First you create a new document and make it 600x600 pixels. Make the background a bluish grey. Create a rectangle in the middle of the document. Now you want to add a blue horizontal line. You will want to then duplicate that layer until you're at the bottom. You can add a stroke to the rectangle or use a shadow to make it look like it's on top of a regular piece of paper. You also have to leave some space at the top and bottom to mimic a re...

CathyDirector teaches you how to make someone fly using After Effects. You will need two clips: one with the background and one with the background and the person walking or running. To have the same type of footage, use a tripod for stabilization. Duplicate the second layer and go to frames and cut the frame in which the person is in the air jumping. Use the mask tool to create a contour of that person. Add radial blur at the time he is still close to the ground and some sound effects. Next,...

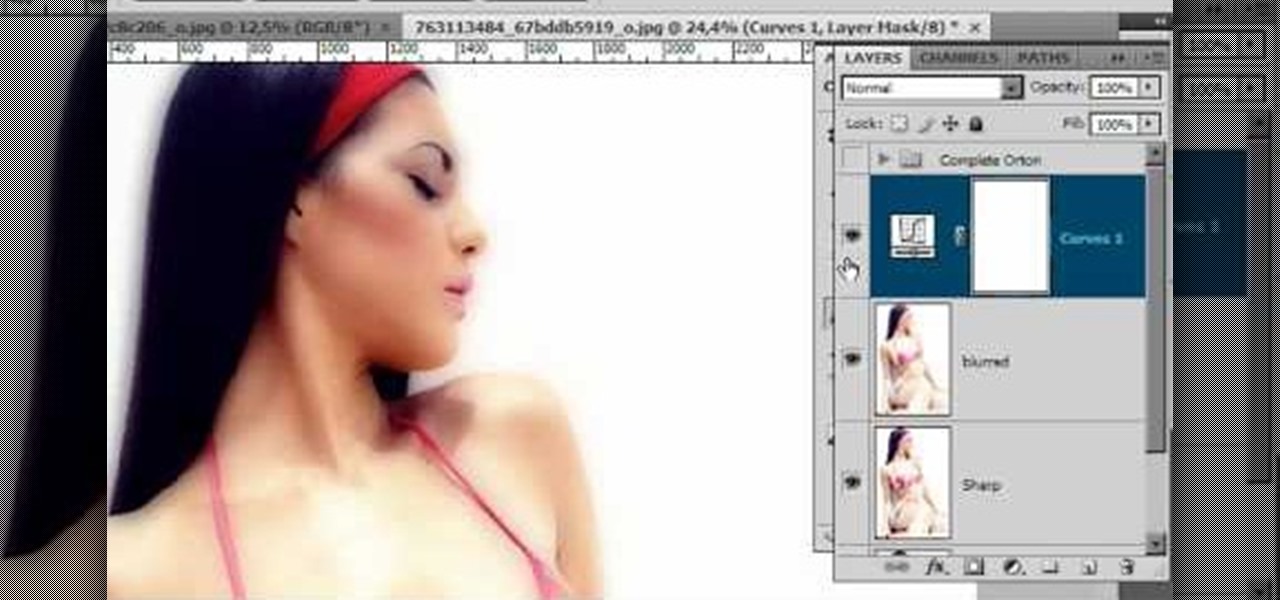
In this video tutorial, viewers learn how to create the Orton glow effect using Adobe Photoshop. The Orton glow effect is achieved by combining a sharp image with a duplicate that is deliberately blurred or softened. The overall result is often characterized as a dreamscape, diffusion, or softening glow. It is an effect used for landscapes and portraits. This video provides voice narration and step-by-step instructions for viewers to easily understand and follow along. This video will benefit...

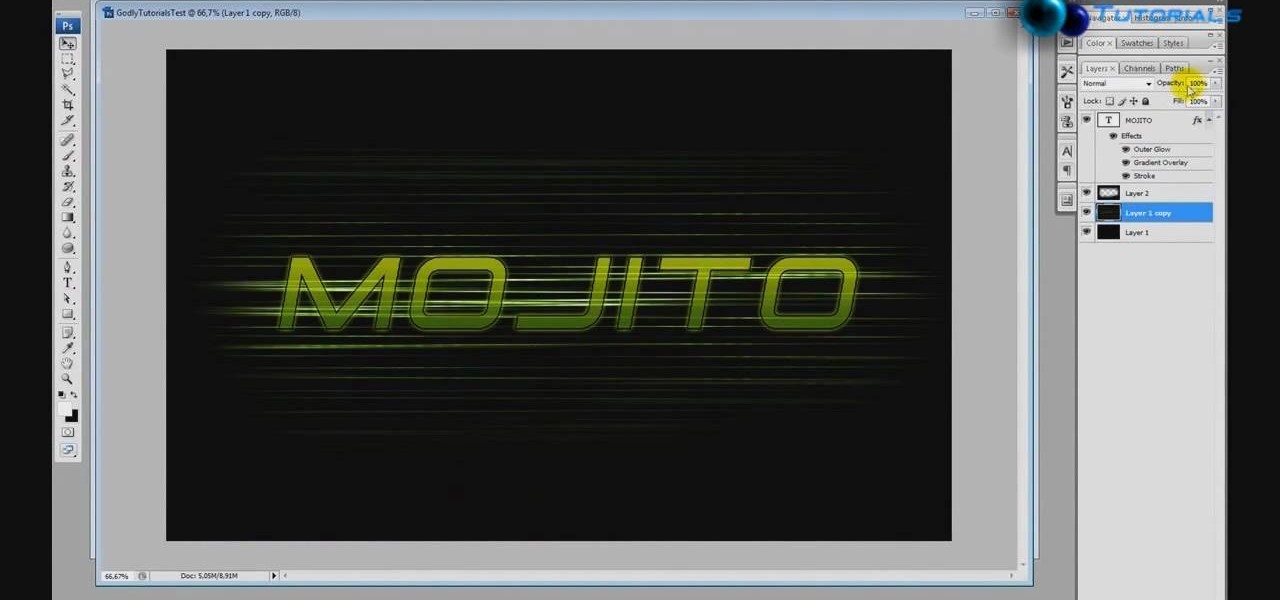
In this tutorial CreativeIceDesigns shows you how to make really cool electricity text effect by using Photoshop. To do this you need to open Photoshop and create new document. Layer will be black. Go to Type tool and type the word which you want to give effect. Now duplicate the layer and hide one. After that go to filter, stylize and wind option. Give this effect from all side. Change the color and unhide the text layer. After watching this you will be also able to make electricity text eff...

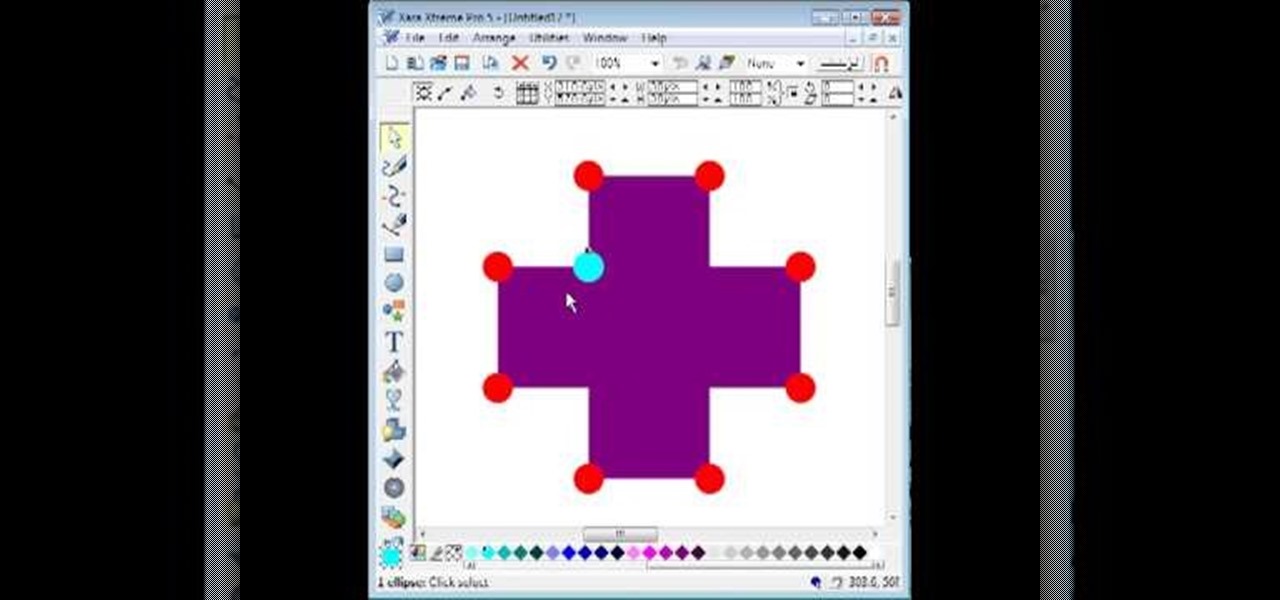
By utilizing the click and drag features of Xara Xtreme, users can take shapes and duplicate them for quick work (ctrl K). Further by identifying them by colors and other subsets, users can add or delete with just a button push, or (use the add shapes, subtract shapes options.) All this is done in the event for the sake of convenience; eliminating the tediousness of creating shapes one by one, and using them as plot points on a map to create projects within record times.

Are you bored with the similar font styles? Open Adobe Illustrator, click the text tool. Select Arial font, bold & italic and a size of 48. Type some text and give its fill color-white and stroke color-black. Duplicate the layer text by going into layers. Then change the duplicated path's color to black. Then create a new background with some different color and keep it below all layers. You can change the opacity of the text for a shadow effect. This will help in bringing innovative presenta...

Blogger Chantal McCulligh offers advice on cutting your own side-swept bangs in this video. She shows you how to cut your own bangs in the mirror to achieve the side-swept layered look without having to buy fancy scissors for the task. This video shows the technique several times to fully demonstrate the trick with plain old craft scissors. Chantal makes it look easy and the results look great. Following her directions closely would result in anyone being able to duplicate her stylish look.

The character Alice Cullen from the Twilight series is the basis for the look in this how-to video. Use Mac Pink Couture Shadestick, Mac Da Bling, Mac Sunset B, Mac Mutany, Mac Bell Bottom Blue, Mac Stars N Rockets, Benefit liner in Royale, Wet N Wild Black Liquid Liner, Ardell Lashes in Romantic, Loreal Telescopic Mascara, Mac Pleasantry Blush, Mac Angel Lipstick, and Mac Sugarrimmed Dazzleglass to replicate this feminine look. Check out this video makeup application tutorial and learn how t...

While a lot of makeup how-to video creators stick to the high end cosmetics, Christine makes looks with brands across price points, from drug store to Dior. For this look, she created a prety and simple style to wear daily. Give this video makeup lesson a go and learn how to duplicate this fresh easy school makeup look.

This animation shows the various steps taken when creating an RTV mold. First, risers are put on the part to allow air to escape from the final mold. A thin film is attached to the part, which will act as a seam for the final mold. A box is built around the entire structure, and it is filled with silicone rubber. Once the rubber has cured, the box and risers are removed, the mold is opened at its seam, and the original part is removed. Any type of urethane can now be injected in the mold to c...

This how to video shows you how to create wallpaper for your computer desktop. Open Photoshop and create a new file. Change the dimensions to the size of your desktop. Click okay and go to edit and fill. Choose color and select black. Click okay to fill the screen with black. Duplicate the layer. Once this is done, go to filter, render, and lens flare. Make sure the lens flare is in the center. Edit the settings to your liking. Click okay to add the effect on to the image. Go to filter, disto...

This is a video about creating a logo using adobe illustrator. First go to adobe illustrator and open the new document. Next if you want to make a logo in rectangular shape take the rectangular and drag it over in the new document. Next choose a color and fill it in the rectangular. Next go for new layer and click the button. Next insert the text what you want in that rectangular. Next increase the text size how much you want. Next if you want to change the color in between the text select th...

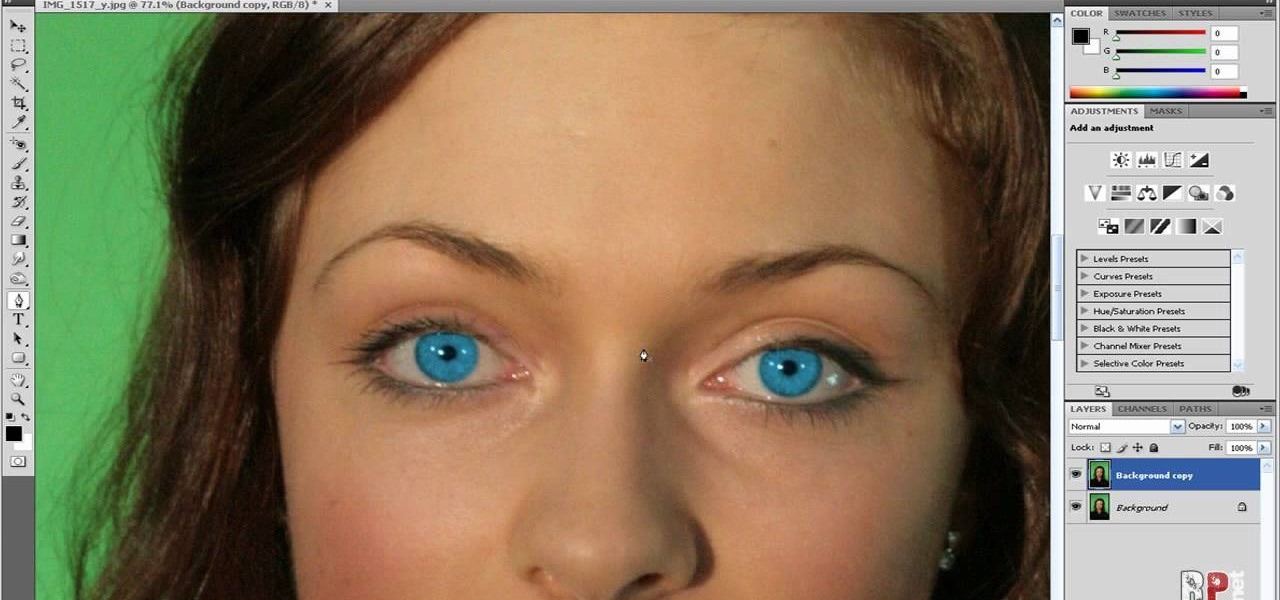
In this how-to video, you will learn how to change eye colors using Adobe Photoshop. First, open the image, Duplicate the background image. Zoom in to one of the eyes and select the pen tool. Set it to paths. Now, go around the iris of the eye. This does not have to be perfect. Click and drag to the other eye and select the other iris as well. Once these are both selected, right click into one of the selections and set the feather radius to about three pixels. Go to Image and Adjustments and ...

First of all open the image of Daniel Craig. Go to 'layer' and create a 'duplicate' the current layer. Then from top choose 'colors' then 'saturation'. Now click the 'r' from right side bar and also adjust up the 'hue' to 108 till he looks green. Now adjust the 'saturation' bar till 100 and then click 'ok'. Now go to 'filters' at top bar and then click 'distort' and then 'iwrap' filter. This shall open a new screen. Drag the image large. Now click 'move' and then 'deform radius’. This shall m...

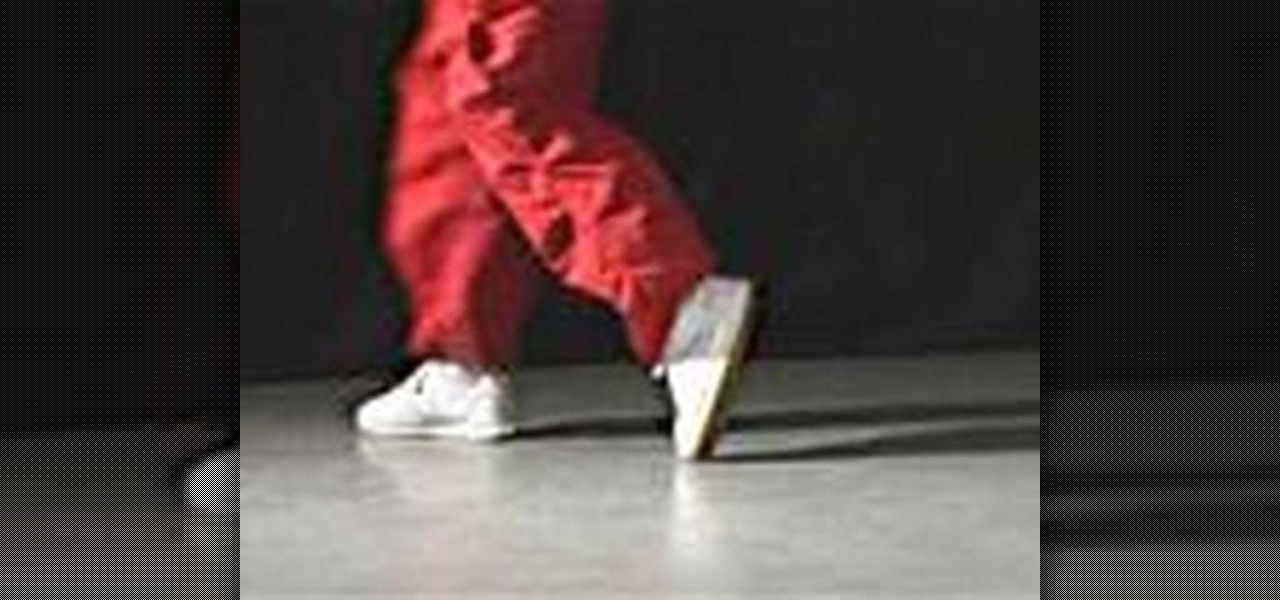
If you want to know how to do Michael Jackson's moonwalk, you should watch this. 1. Find a flat, smooth surface that won't provide an immense amount of friction and wear any comfortable clothes and trainers. 2. Stand with both feet flat on the ground. Lift your left leg into "L" position so that the toe of your right leg is pointed to the floor. 3. Learn how to balance your self. With your weight on your bent leg, slide back your left foot. Be sure to keep your left foot flat on the floor as ...

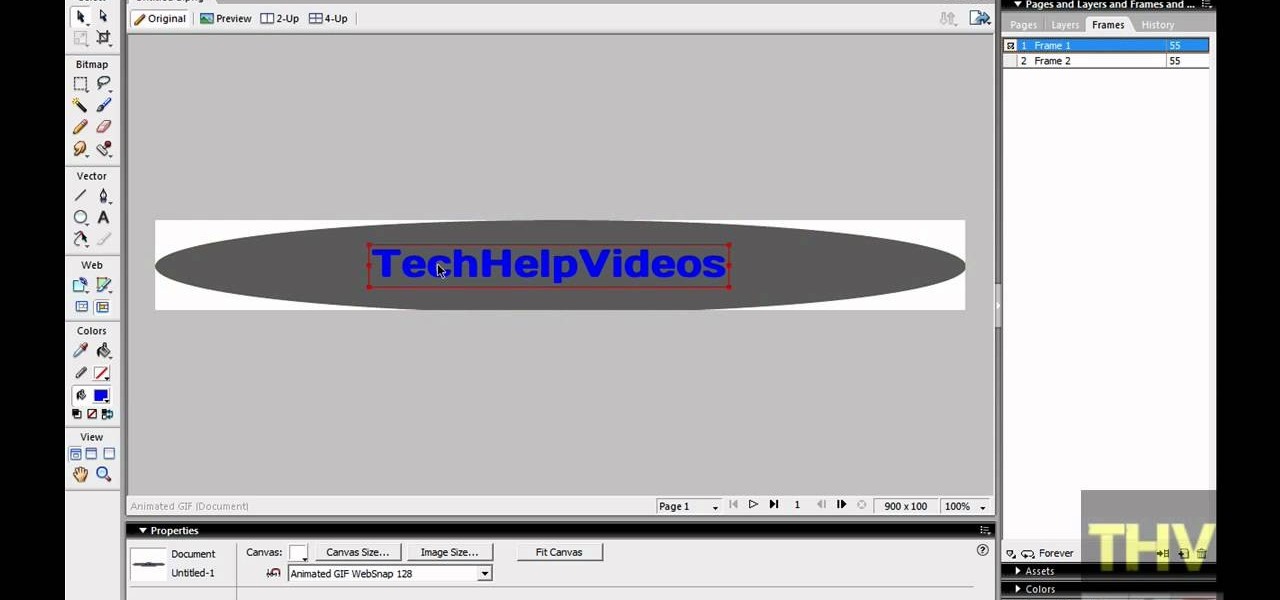
First of all open adobe Firework CS3/CS4. Open the 'file', then 'new' and set a banner with 'width' as 900, 'height' as 100 and ‘resolution’ set as 72. It shall open a banner for you on the screen. Now from the side bar underneath the vector, select the 'ellipse tool' and then drag the ellipse to fill in the whole banner as shown in the video. Now from the right side bar you have to expand the 'pages and layers'. Now select 'optimize and align' and select 'animated website 1. 2a’. Now minimiz...

The first thing that you want to do is in a new image, create a new transparent layer. Then you want to use the oval shape tool and check "fixed" so that it forms a perfect circle. Draw the circle, fill it with any color that you want, and then duplicate the layer. Use the move tool to move the new circle underneath the one you just created, leaving some room. Merge this layer with the one you originally copied it from, and repeat this step until you have as many circles as you want. Then you...

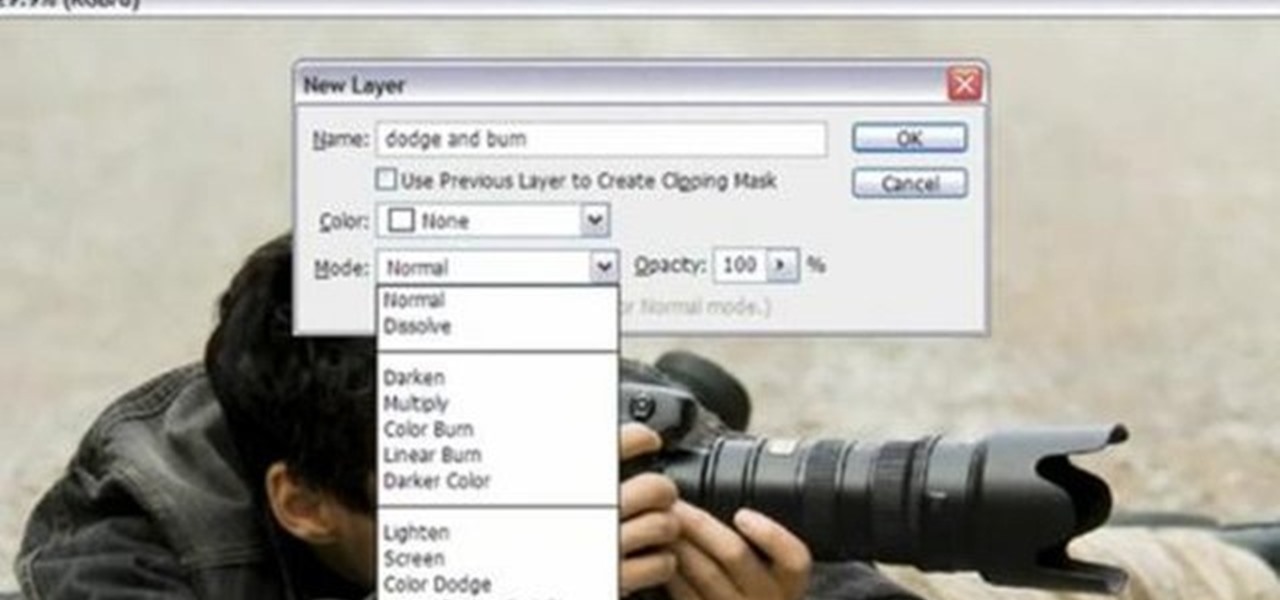
Yanik Chauvin demonstrates how to do Non Destructive Dodging (lighten) and burning (darken) of images using the tools in Photoshop. He shows the image of a man lying on earth with his camera. To start the work he wants to make a new layer which can be done in two ways either by clicking on the ‘layer’ button on top of menu or by pressing down the alt key and clicking on the new layer at button of the layer palette. It will bring up the dialogue box. He named it “dodge and burn” and from the l...
