In this tutorial, we learn how to draw a husky puppy. Start off by drawing the head, don't use a straight line at the top, make it look like it has hair. After this, continue and draw teeth and a tongue hanging out of the dog if you want it to look happy. Next, add ears to the top of the head and eyes to the face. Give the dog markings and pupils on the eyes. Then, add the nose on with a button shape at the top. Draw out the collar and chest of the dog, then add on the two front feet, the bel...

In this video tutorial, viewers learn how to draw Obi-Wan from Star Wars. Begin by drawing a circle for the head and rectangular shape for the jaw. Then draw a line 1/3 way across the circle. Draw the eyes on the line and the nose just underneath the line. Now draw 2 lines from the ends of the eyes to the rectangular shape. Use those lines as a guide to draw the length of the mouth. Then add the ears, eyebrows and beard. Now lightly draw the hair. Finish by coloring and shading the image. Thi...
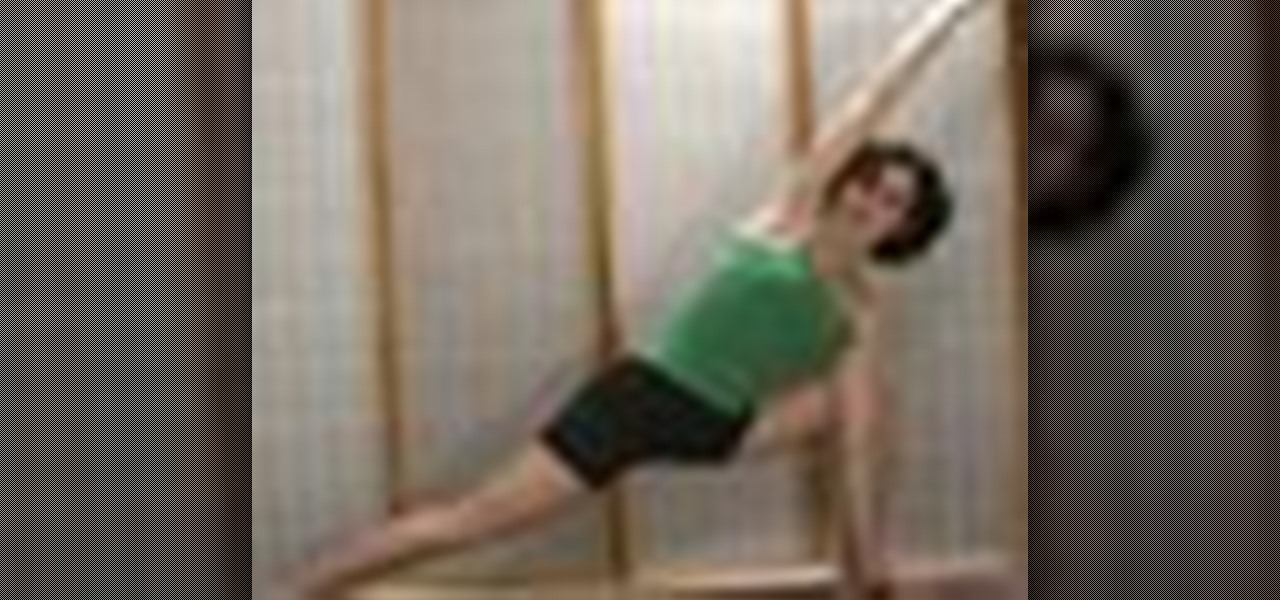
In this video, Dina Prioste shows us how to do a heart gate yoga pose. Make sure you are warmed up before you come into this exercise, so you won't pull a muscle. Begin in a basic side angle pose, starting in warrior 2. Now, take the right elbow onto the right thigh and sweep the left arm over to the left ear. Make sure your core is straight and your spine is long. Now, lean down into the right side of the body while keeping the left arm high. To take it into a deeper stretch, look over your ...
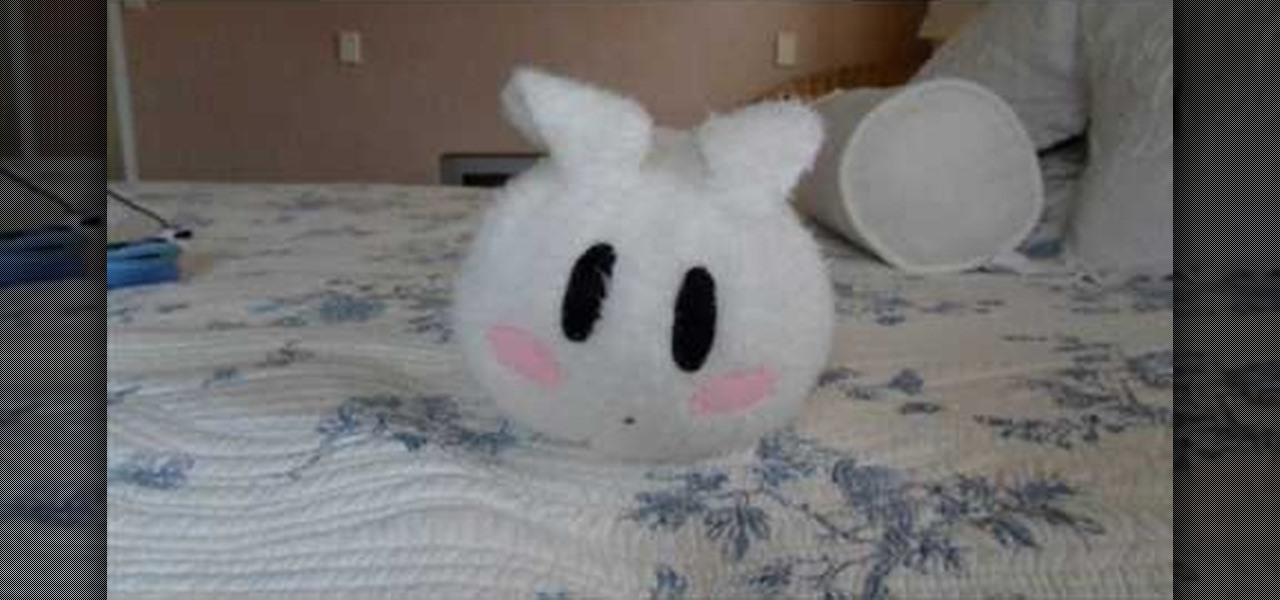
Want to know how to make the most adorable pillow in the world? Then you've stumbled upon the right tutorial. This video will guide you through how to sew together a blasphemously cute round rabbit pillow with eyes done in the anime style.

In this video, Caroline gives you a few tips on how to lose your love handles easily, Caroline herself lost her love handles during a 9 day cleanse in which she lost 2 inches off her waist. In order to do this exercise, you need to first stand with your legs about shoulder length apart. Then, placing one of your arms at your hip, extend the other one far above your head, touching your ear on the same side. Begin to stretch to the opposite side, stretching your side until you are at about a 45...
Liz Muller guides us how to make a cute twist hair style with little effort. First, put a small amount of hair gel in the front of your hair. Then, grab the front of one side of your hair and start to twist it. Twist the front into the back until you reach the area behind your ears. Now, clip the twist and then repeat this on the other side of your head. Using bobby pins to clip it will work the best. With the rest of your hair, you can either curl it or leave it straight, whichever you prefe...

In this tutorial, we learn tips from roadies. If you experience a nosebleed and don't know how to handle it, there is a very simple way to cure it. First, take a long string and tie it around the middle of your hand a few times until it's tight. Then, make a fist with your hand and squeeze for two minutes. By the time the two minutes is up, your nosebleed should have subsided. Another tip, is for when you have hiccups. First, take a pen and press it on the inside of the ear. After a few secon...
The iPhone can actually be annoying sometimes, especially those little sounds it likes to make when you click on anything. When you're typing, it can really be just too much for your ears. So how do you stop all the noise? Best Buy has answers. The Best Buy Mobile team explains how simple it is to eliminate the typing sounds on your Apple iPhone.
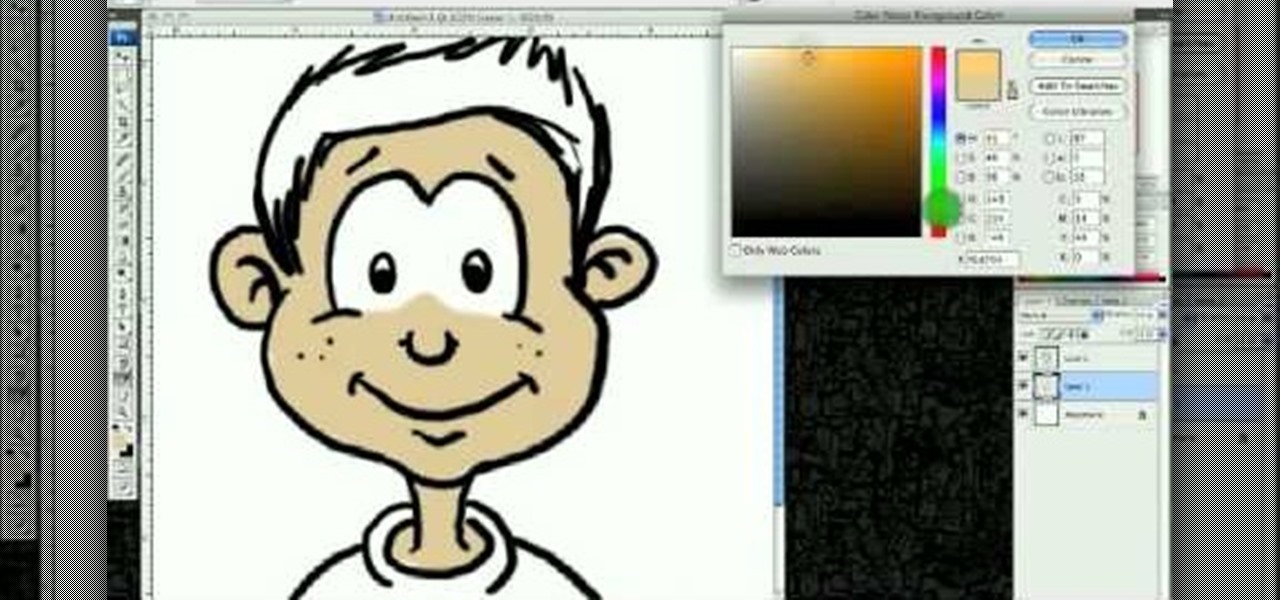
This video illustrates how to draw a cartoon boys face in Adobe Photoshop.Here are the following steps:
Abigail Goss demonstrates a traditional Apostolic hairstyle, the vertical roll with pin curls. She starts by creating a poof, back combing the roots from the crown to the forehead. Then she creates a section of hair above the ears. She rolls this hair several times in one direction and then puts all of the hair into a ponytail at the base of the neck. At this point the style looks like a french twist with a ponytail at the bottom. She then coats the hair with gel. To make the curls, she takes...
This video illustrate us how to draw a face. Here is the procedure for the following: Step 1: First of all take a sheet of paper and start by drawing a oval representing the outline of the face.
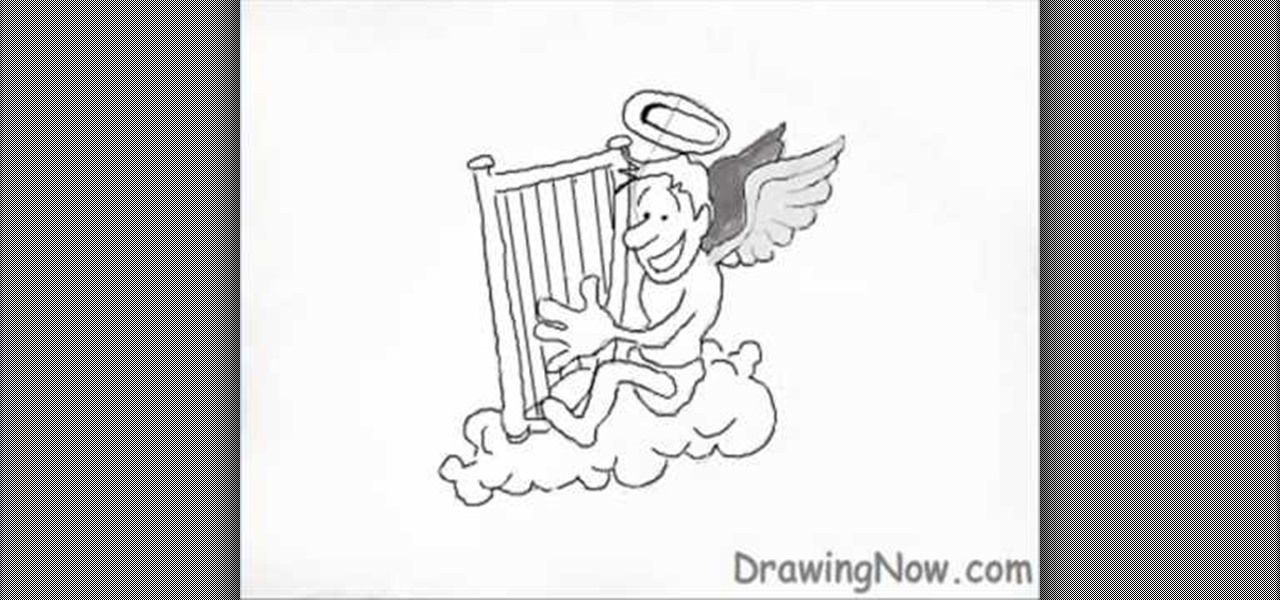
Three circles are drawn ontop of each other and a foot and a hand is added to the left side of the bottom and middle circles respectively; with the foot in a running motion. A rectangular shape is added in a way that the hand grasps it. A cloud is added below the forming person, so that he sits on it. Wings, a crown, a nose, an ear, hair, eyebrows, eye and a mouth with a smile are created in and above the first circle. The middle circle is traced onwards to the hand, to create the back,chest ...
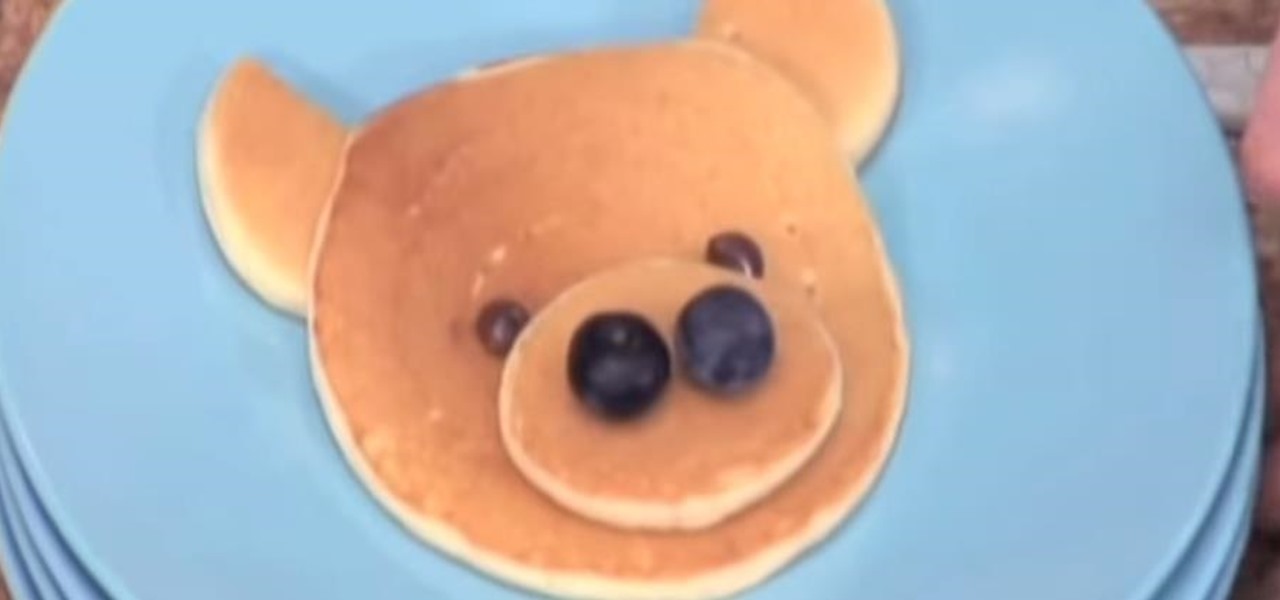
Liv Hansen with Betty Crocker TV demonstrates how to make pancakes in fun shapes that kids will love. Make sure to pour your pancake batter into a squeeze bottle for better control when creating your pancake shapes.
This video demonstrates how to paint a rabbit in leftover ground ink. The style used is called sumi-e. Using a the side of a thick brush, create a filled in circle in the center of your page. This will be the head. Below this circle, add an elongated abstract oval shape for the body. Add a small circle at the back bottom area of the body for the tail. From the top back of the head, add two long thick lines for the ears. Using the thin tip of a brush add the details of the face including the n...
In this how-to video, you will learn how to draw Homer from the television show, The Simpsons. You will need a piece of paper and something to draw with, such as a pen or pencil. First, draw two circles for his eyes. Next, move on to his nose and mouth. From here, you can draw the outline of his head. Add the lines for his hair. Move on to his ears and neck. You can also fill in the pupils. Next, draw Homer's collar. You can shade in the color of Homer's skin if you want. This video shows you...
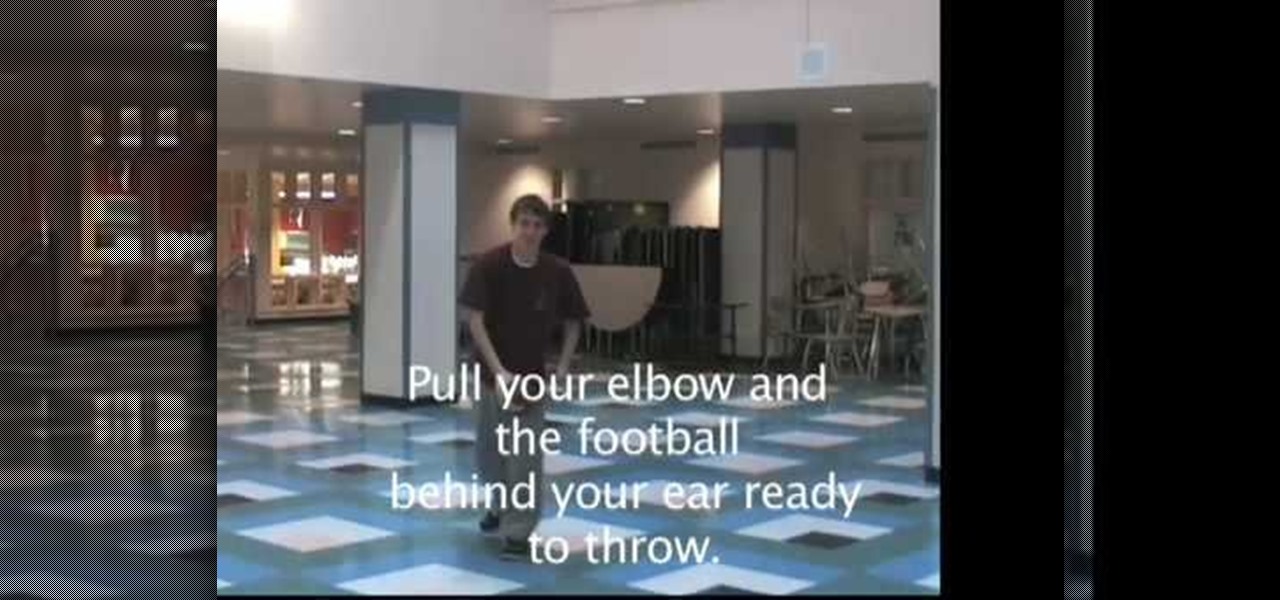
In this how to video, you will learn how to properly throw a football. You will need a football to do this task. First, position your feet parallel to your shoulders while you are getting ready to throw. Place one hand on the lace and the other on the opposite side. From here, pull your elbow and the football behind your ear ready to throw. Now, put each step into one quick motion to complete the throw. Keep on practicing this to get the perfect throw down. This video offers great advice in s...
This video is about drawing a horror anime.The materials required for this are a large sheet of paper,a pencil and an eraser.To create the anime, you need to fist draw the skeleton, then do the eyes followed by the eye brows. You should add more details to the face as this would help in creating the nose.Switch over to the mouth,then the ears and the hair.After you are finished with the head,erase the inner circle and start drawing the neck.Then you have to draw the shoulders and the collar b...
First you draw a triangle then you attach lips to the triangle then you go up and over to make his head. make two half circles to make two eyes. Draw two ears on the top of the little dogs head. Then from the head you draw down to proceed to make his body. You can make him a little fatter if you like fat dogs. Draw his tail. And for a little extra look you can add a spot over his eye. You can also draw a collar on him and if you draw a circle at the center of the collar you can even name him ...
Using just the airbrush in MS Paint you can make a cartoon dog on your computer. Start off by making a circular shape using the airbrush, keep at it until it is dark and prominent and then color in the lower half of the circle, this is the nose. Now start making a line from the bottom of this circle downwards, slowly start curving the line at a ninety degrees angle. At the end of this line attach a semicircle to it so that it is perpendicular to the line. Above this line also make three small...
This video shows rather than tells you how to draw a cartoon figure. There are no words of explanation. It starts with a simple Mario game character already drawn on the paper. Then you see a hand with a pencil come into the frame. This hand draws the eyes first, then the nose and a mustache. Then it does the outline of the face and the ear. The perspective is slightly to the side of the face, not directly in the center. The outline of the hat comes next, with the emblem on it. The final area...
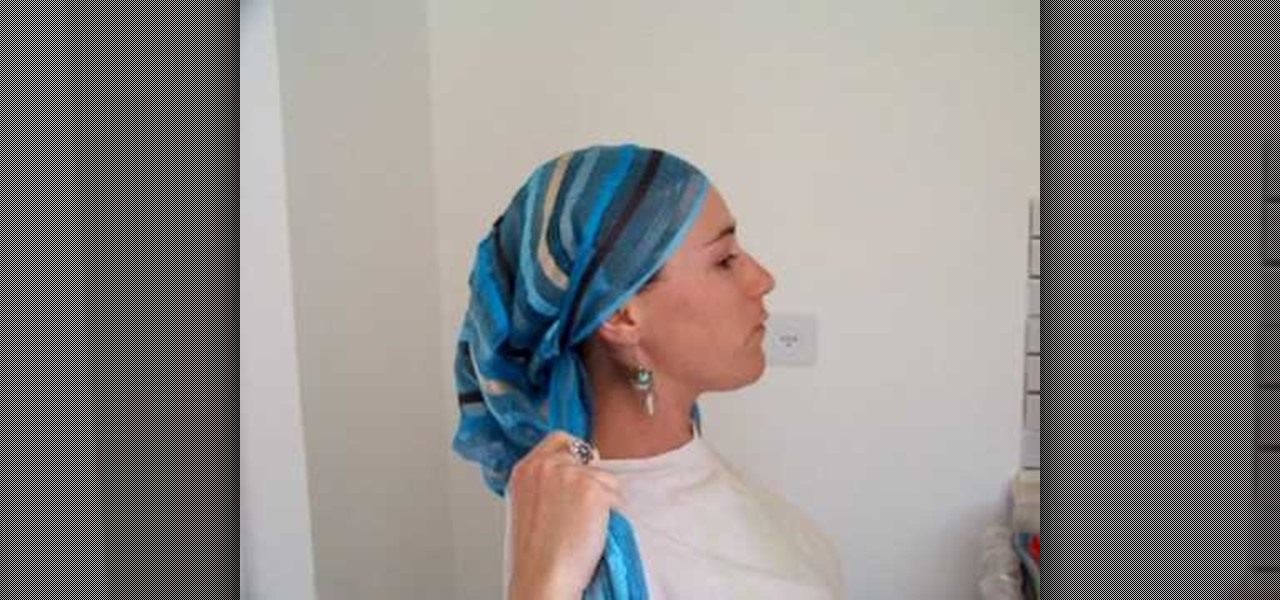
This how to video is for people looking to learn how to tie a scarf attractively. Get a long scarf for your head and place the middle of it on the top of your head. Gather each end in the hand closest to it in the middle. Turn it around by pulling it behind your head and tie the ends over each other. Next step tuck the scarf behind your ears if you like it that way. Then twist the left end around your head. Create a bun with your hair and the scarf in the back using the final side to tie it up.
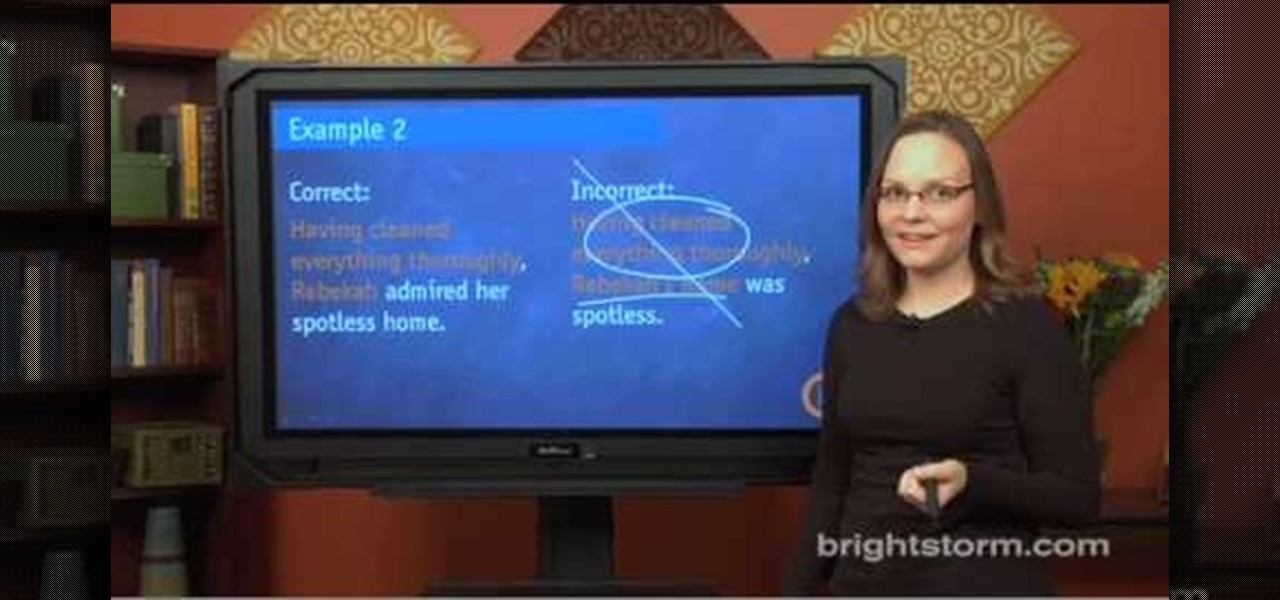
Eva Holtz with SAT: Confidential demonstrates how to use modifiers on the SAT reading and writing sections. A modifier is a group of words that describes a noun. On the SAT, modifiers frequently appear in the improving sentences questions. It often appears at the start of the sentence, followed by the noun it describes. Make sure that the modifier correctly describes the noun that immediately follows and not a similar, but incorrect, idea. Make sure that the noun that follows the modifier is ...
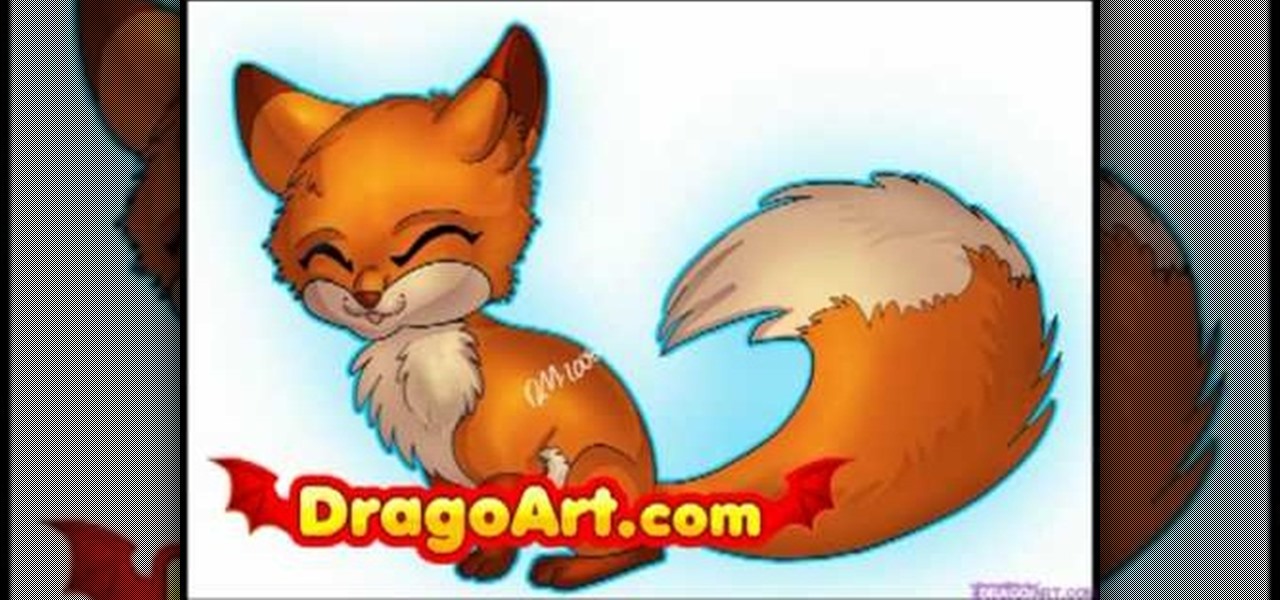
This video illustrate us how to draw an animated fox step by step. Here are the following steps:Step 1: Take a piece of paper and pencil.Step 2; Draw a small oval shape, this is the face of the fox and within this face draw two lines representing the eyes. Draw a small circle between and a bit lower then the eyes representing the mouth.Step 3: Draw the body of the fox by drawing a hands free semicircle and extend the semicircle with two very small circle on the lower side representing the leg...
In this video he just draws a simple picture of boo. It maybe takes two or three minutes to make the sketch. First you just draw a circle roughly, and add ears to that. Next add tongue which is very long and outside of the mouth. You just have to give importance to the teeth in this drawing to make your sketch great. Next you just add teeth, which is wide. Next make the teeth highlight. Next draw two small circles like eyes and highlight it with the pencil. Next make the rough sketch into the...
In this how-to video, you will learn how to groom your dog. Grooming is important for any kind of dog. It is important to find a groomer if you cannot do it yourself. Hair under the arms should be trimmed, otherwise it will become dread locked. It is also important to brush your dog's teeth on a regular basis. You can feed your dog with a brand that is good for teeth care. Purchase and use a brush specially designed for dogs. This will help keep your dog's hair from becoming matted. Teach you...
In this how-to video, you will learn how to draw Ned Flanders from The Simpsons. First, start off with the basic outline of the body. Use simple shapes for this. Next, fill in the eyes, hair, nose, mustache, ears, and mouth of the figure. From there, you can move on to the details of the clothing such as the collar and cuffs of the sweater. Finish with the shoes and the fingers on the hand. The basic outline is finished. Now, go in and erase the simple shapes from the drawing and fill in more...
Do you think you are tone deaf? If you have trouble staying in key, or feel like you just can't get the rhythm, check out this video for advice on how to harness your inner songbird.
Dragons are very popular storybook characters, especially with the release of "How to Train your Dragon" in movie theatres. Check out this tutorial and learn how to draw your very own fire-breathing buddy!
This is a video demonstrating how to make a cute and cool hair band scarf. Take a scarf. You can use any material, including a ready made scarf from another outfit, or a ribbon. Hold the scarf in the middle and make a bow. Pull the bow until both sides are even. Lay the bow on the top of your head with the scarf tails hanging down. Tuck the tails behind your ears. Tie the scarf into a knot on the back of your neck. Adjust the angle of the bow on your head. It is good because it gives you opti...
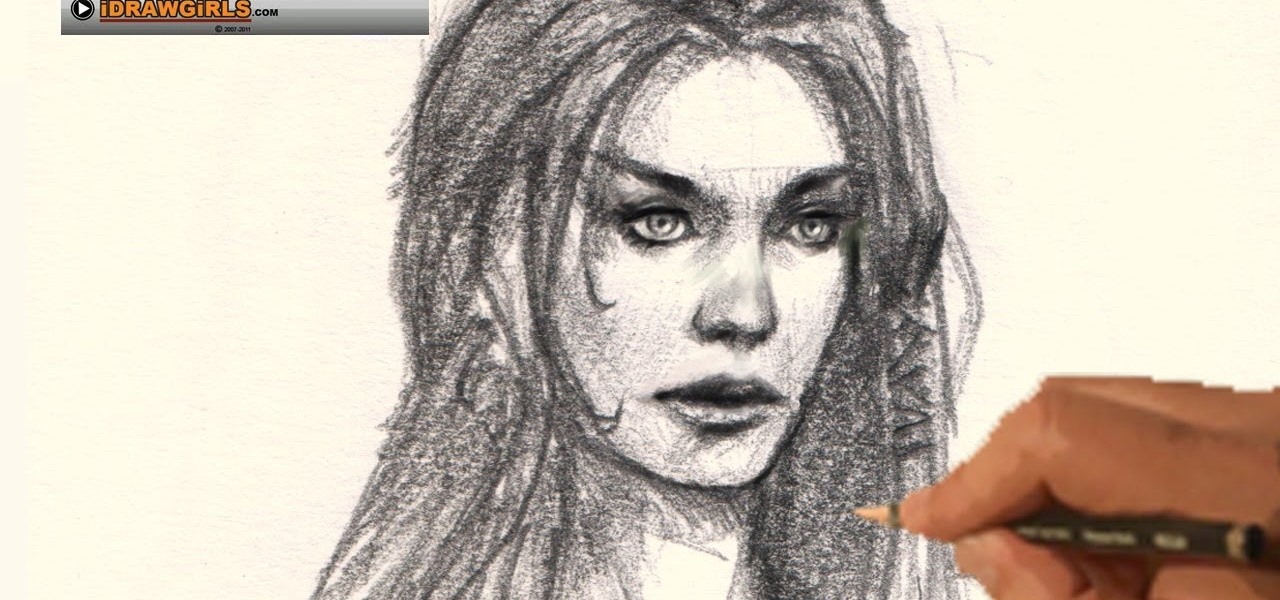
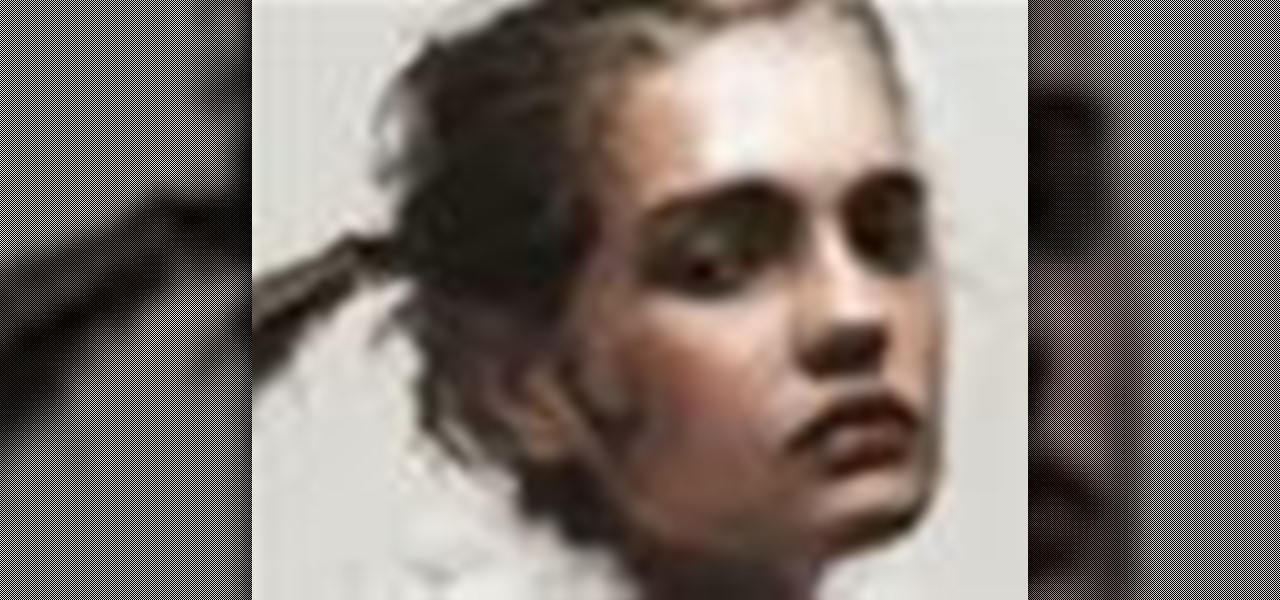
The artist begins by sketching house the outline of the face and body using a pencil. Then he begins to form the eyes, nose, hair and ears, and applies a gray mask to the face which is then covered by the tan coloring of the woman. The lower body is applied with a lighter mask which is converted to the white furry coating of the coat. The drawing is then smoothened out showing us the main features of the realistic woman. Using the software and computer graphics that he uses, the hair, eyes, a...
This video shows how to make a bay girl and boy head made of clay. The first thing you need to do is get a small round ball of clay that is a skin color color. Then you get the small black beads and place it firmly on the ball they will act as the eyes. Then make the eye creases on the side of both eyes. After that you add the other physical features like nose, mouth, ears, and eyebrows. The last thing you do is fold two square pieces of clay into the shape of a bow then place it on the top o...
TVLessonDotCom teaches you how to draw a person's face from the front. Start with a basic oval shape. You can do this part in pencil and then erase it. Use a vertical cross line and a horizontal one. Add two more horizontal ones to break the face into sections: hairline, eyes, nose and mouth and then chin. The eyes are small oval shapes. You can also create a small circle in the middle and then eyebrows. Draw the nose next and then add the mouth. Everything must be in proportion, so the verti...
Neti pots can be used to clean out your nose of dust, dirt and allergens and can help reduce swelling of the nasal passages. Stir half a teaspoon of salt in to a cup of warm water. Salt should be kosher salt or sea salt (DO NOT use ordinary table salt). Pour saline solution in the neti pot, then leaning over a bowl or sink place the spout of the neti pot in one nostril. Tilt your head so that your nose is slightly higher than the mouth, then rotate your head so your ear is facing the bowl or ...
American Girl Doll earrings are easy to make and here's how we can do it. First, find some sticky-sided jewels (they usually come on a sheet) at any regular craft store. Then you are going to need a roll of what is called zots-they are little blue dots found at any scrapbooking store. Place the sticky side of the jewel down onto the blue dot, lift, and now the zot is connected to the jewel. You can then stick these directly onto the doll's ears and you have American Doll earrings! You can mak...
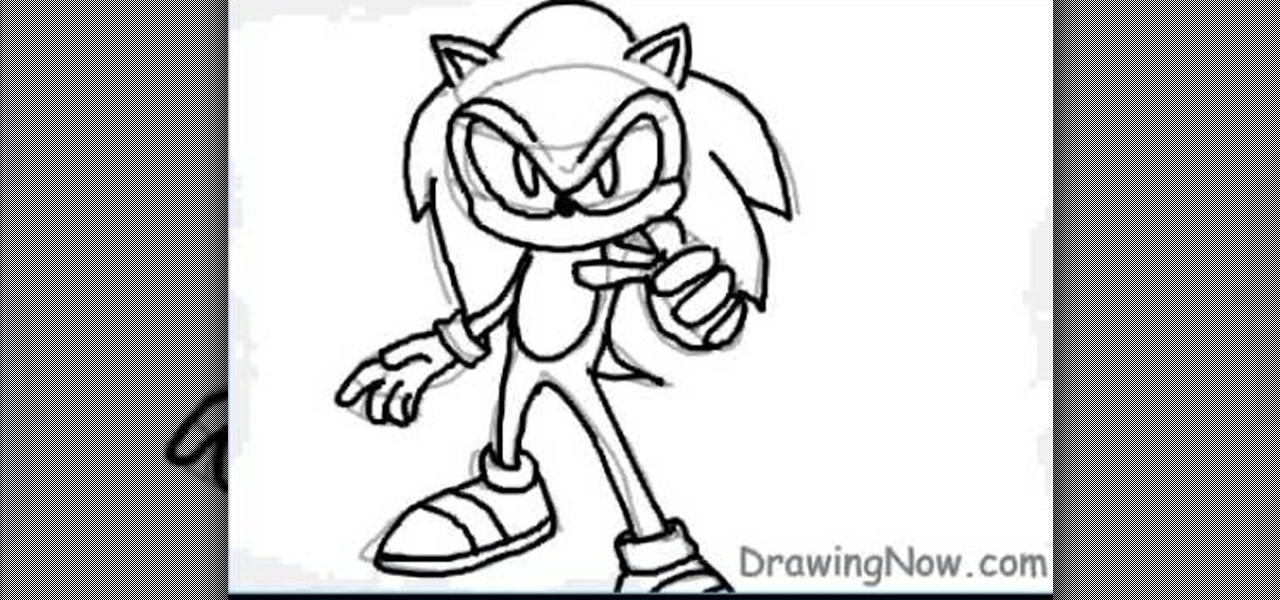
In this video tutorial, viewers learn how to draw Sonic from the Sonic the Hedgehog. Begin by drawing a circle for the head and 2 triangles for the ears. Then draw the lines for the spikes and a small oval for the stomach. Now draw the hands, legs and feet. Draw the eyes. Now draw the tail and outline the image. Add the details and delete the guidelines. Start adding color to the image. Add some darker colors around to create shading. This video will benefit those viewers who enjoy drawing on...
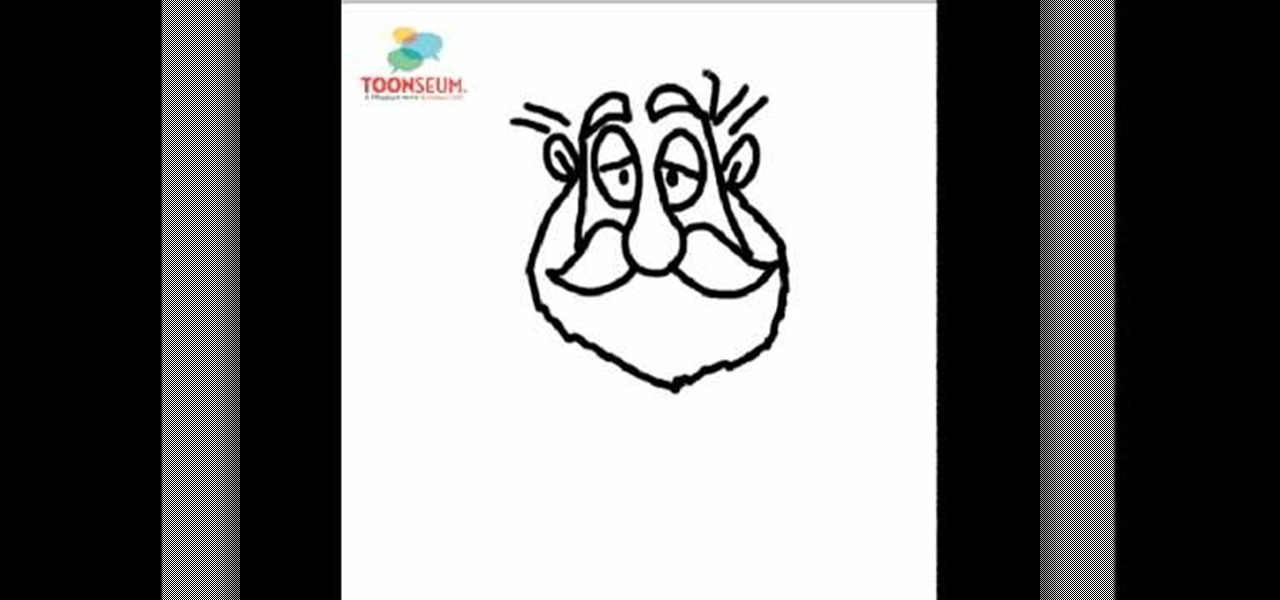
This video shows the viewer an easy way to draw Father Christmas or Santa Claus. The drawing demonstrated is a line drawing but could easily be colored in. The method shows starts by drawing a bulbous nose connected to the eyes. The moustache and the eyelids are then followed by the beard and ears. The hat and eyebrows finish off the top of the face. The mouth is simple and smiling. The body is relatively crude and the legs are very small in comparison to the head. The overall effect is very ...
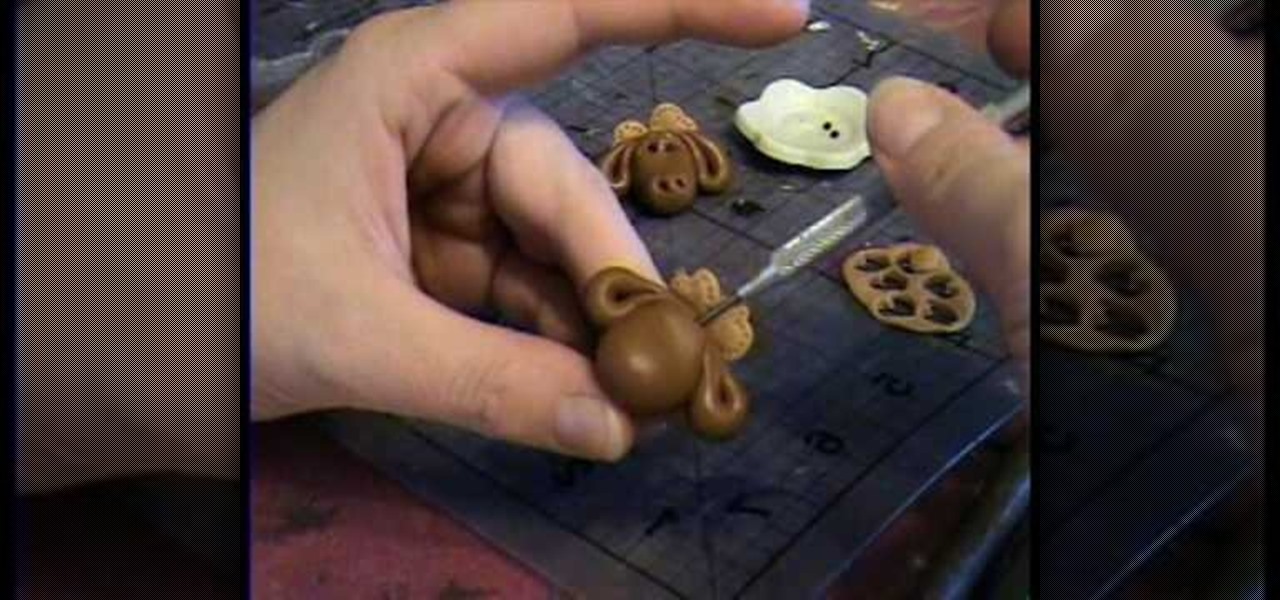
This video tutorial is going to show you how to make a Moose Bead from Polymer Clay by Garden of Imagination. You begin with clay and make a shape it like the head of the moose as shown in the video. Then take more clay and make the ears and attach them to the head. Now take lighter color clay, cut it out into heart shapes, poke around the edge with a pin, and attach them behind the head. Take a pin and make a hole at the top end of the head to make it a bead. Watch the video to finish the pr...
This video tutorial demonstrates how to make a simple vintage style button earring. Materials required are two pairs of vintage style buttons, a button shape remover or pliers, some earring poles and super glue
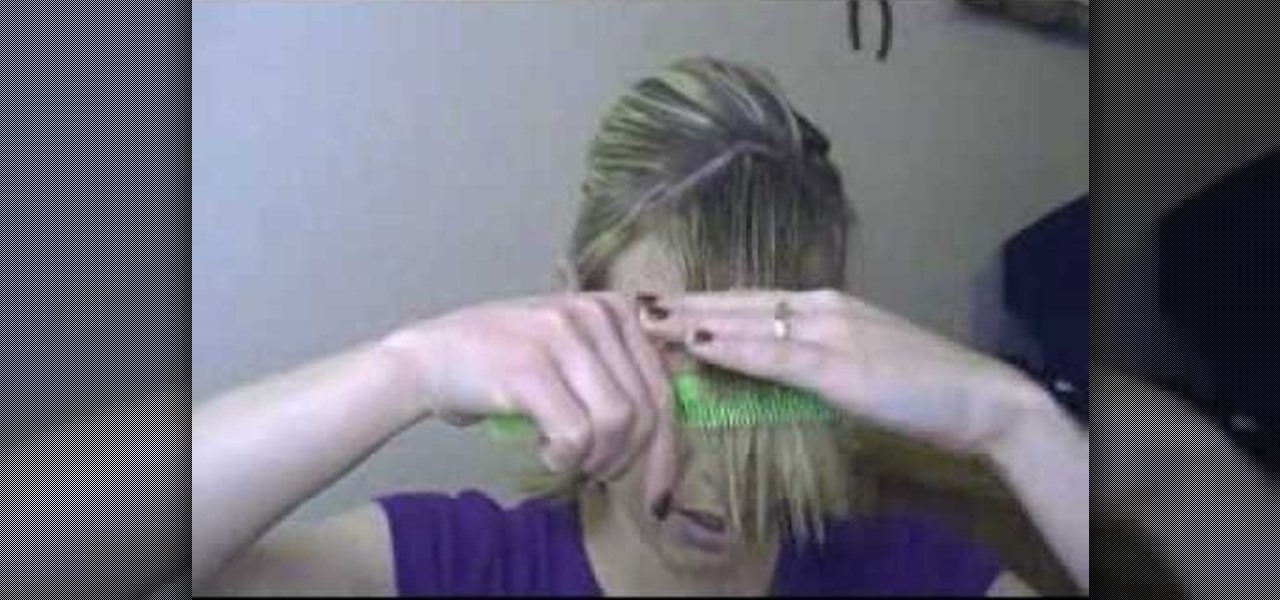
This video is about how to easily trim side swept bangs at home. You will need a plastic grocery bag, a spray bottle, a clip or ponytail holder, a comb and some sharp scissors. First put your hair behind your ears so you can see where your bangs start and comb your bands straight down and comb the rest of your hair back and clip the back of your hair back. Get the bangs wet with your water bottle. Decide what length you want. Make sure to cut them a little longer than you want them to be beca...
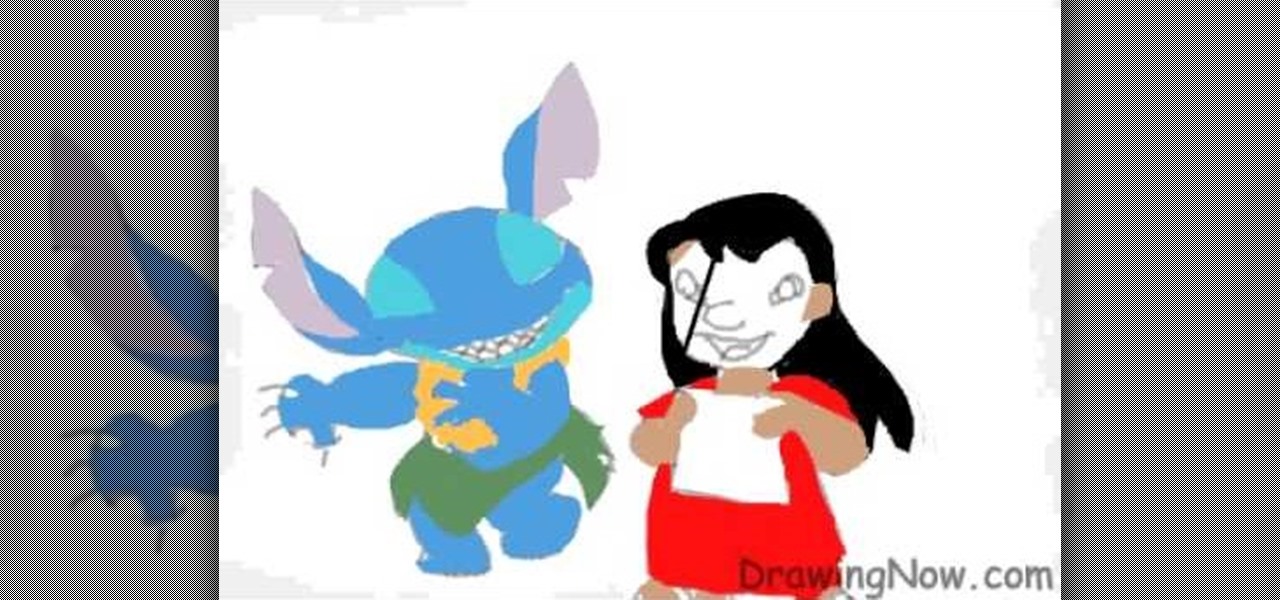
Begin by drawing an oval and attach two feathered shaped ears to head. Draw guidelines for the face. Draw the face and a marshmallow shaped torso. Add the legs and arms. Add the detail and start erasing the guidelines. Repeat the similar steps for Lilo. Once finished both characters, color them. Add a darker shade of the colors for shading. Outline the characters and add all the details. This video will benefit those viewers who enjoy drawing on the computer and would like to learn how to dra...