
How To: Care for your dog's ears
When taking care of your dog, you need to check his ears - check for wax build up, funny smells and more. This video gives tips on keeping those dog ears clean.


When taking care of your dog, you need to check his ears - check for wax build up, funny smells and more. This video gives tips on keeping those dog ears clean.

Everybody loves AirPods, right? Well, maybe everybody whose ears fit AirPods. That was the issue with the first two generations — one size doesn't fit all. But the new AirPods Pro come with three rubber ear tips of different sizes. While you can experiment on your own to figure out which fits best, Apple programmed your AirPods Pro to make that determination itself.
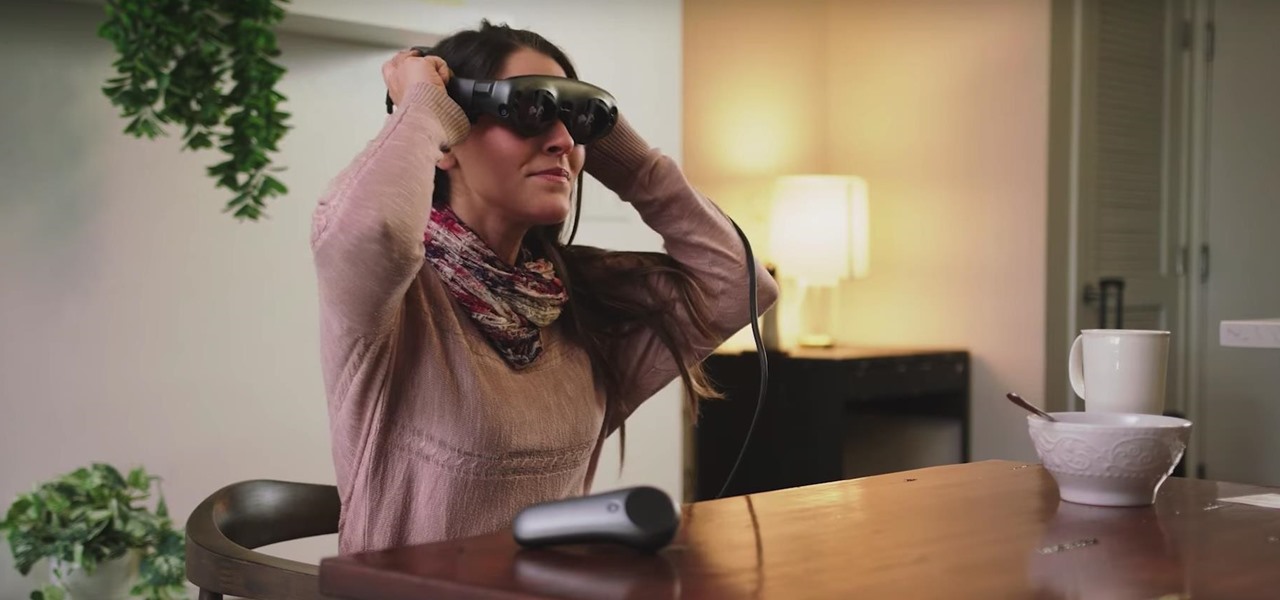
News junkies who own the Magic Leap One received some good news on Thursday, as CNN has published an app for the headset to display the network's news coverage in augmented reality.

Portrait drawings are difficult for most artists, but one thing's for sure— drawing nerds is as easy as they come. Nerds are easier to draw because you can stray from the formality of portraits, putting your own spin on it, over-compensating the details, exaggerating the dorky features. It's a drawing class in its own, and Merrill shows you how to draw his version of the NERD!
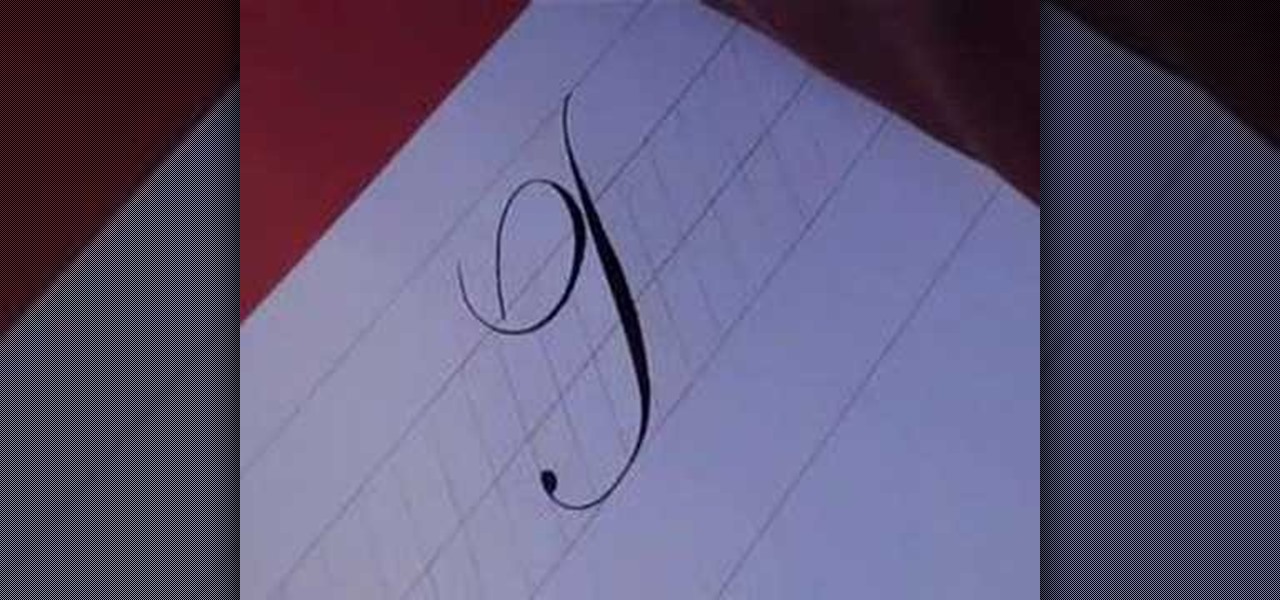
In this video, we learn how to write the letter T in calligraphy copperplate. Start by drawing a thick line that follows out a loop that curves to the left hand side. After this, create a loop at the top of the line, on the left hand side. Draw this out and cross the line over the top to make the T shape, ending with a slight curve at the end. To make the lower cased letter, draw a thin line, then draw a thick line over it, then cross a thin line across the top middle of the letter. Now you w...
This is a great instructional video on how to build an 8000 lumen CFL and makeshift rain shield. First you need build a PVC frame. For that you will need 3-3/4 'T'S, 4-12" 3/4 pipes,2-2 1/2 " pipes and 4-3/4 caps. You will also need 1-1 " 'T'. 2- 1" 1" pipes and 1-1"-3/4" reducer. Hold the job in a mechanical vice and cut the material into required sizes and make the snap fittings. Then friction fit the rest of the components into this stand. Then lastly you have to make the light box. That i...

In this video tutorial, viewers learn how to draw Homer Simpson from the animated shot, The Simpson's. Begin by making a light outline of where the top of the head, sides of the head, ear and neck will be. Then do a light sketch of where the mouth, nose and eyes will go. Make the eyes large and make one eye overlap the other. Also make the nose into a sausage shape and mouth into a lemon shape. The eyes should be overlapped by the nose. Make the top of the ear line up with the bottom of the m...
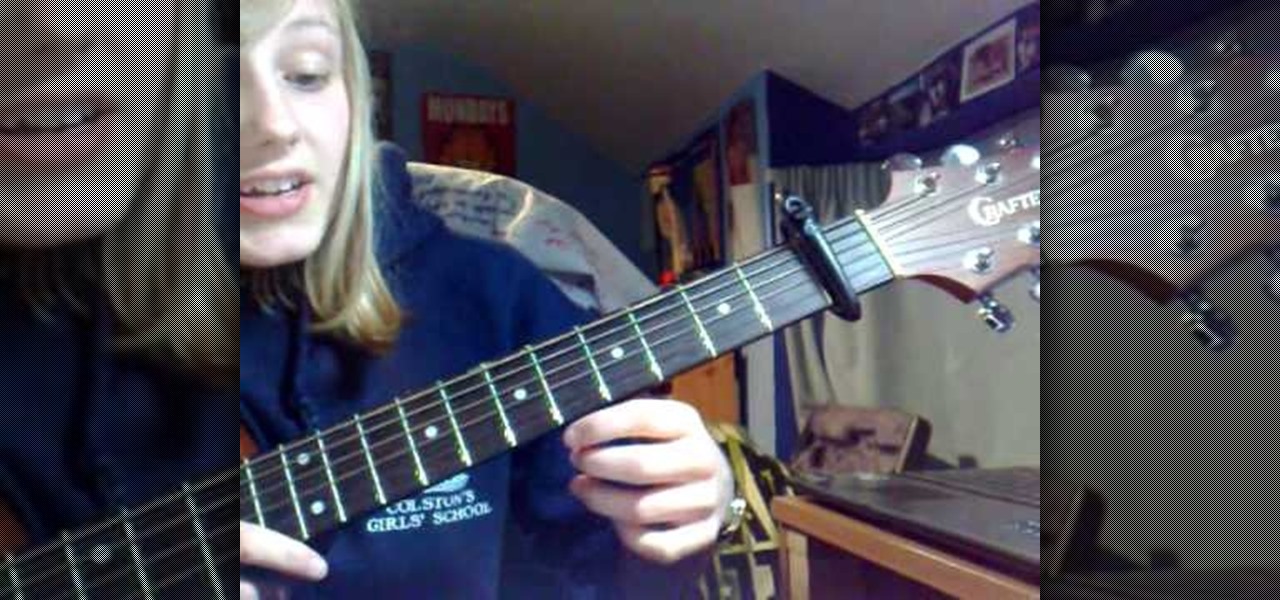
Want to play "Hey There Delilah" by Plain White T's on your acoustic guitar? See how it's done with this free video guitar lesson, which presents a complete breakdown of the song and it chords. While this tutorial is geared toward those who already have some knowledge of the guitar, players of all skill level should be able to follow along given adequate time and effort. For more information, and to get started playing "Hey There Delilah" on your own guitar, take a look!

Want to learn how to make your own authentic Italian meatballs? Chef Tony. T would like to share with you this Italian meatball recipe that has been passed down through his family for many years. This video will be explaining to you all of the ingredients that you will need for the meatballs, as well as the full process of making them. Watch Tony. T's video today and learn how you will be able to add some extra flavor to your next spaghetti dinner.

These elephant-shaped towels are so cute and easy to create that you’ll never want to use them for drying.
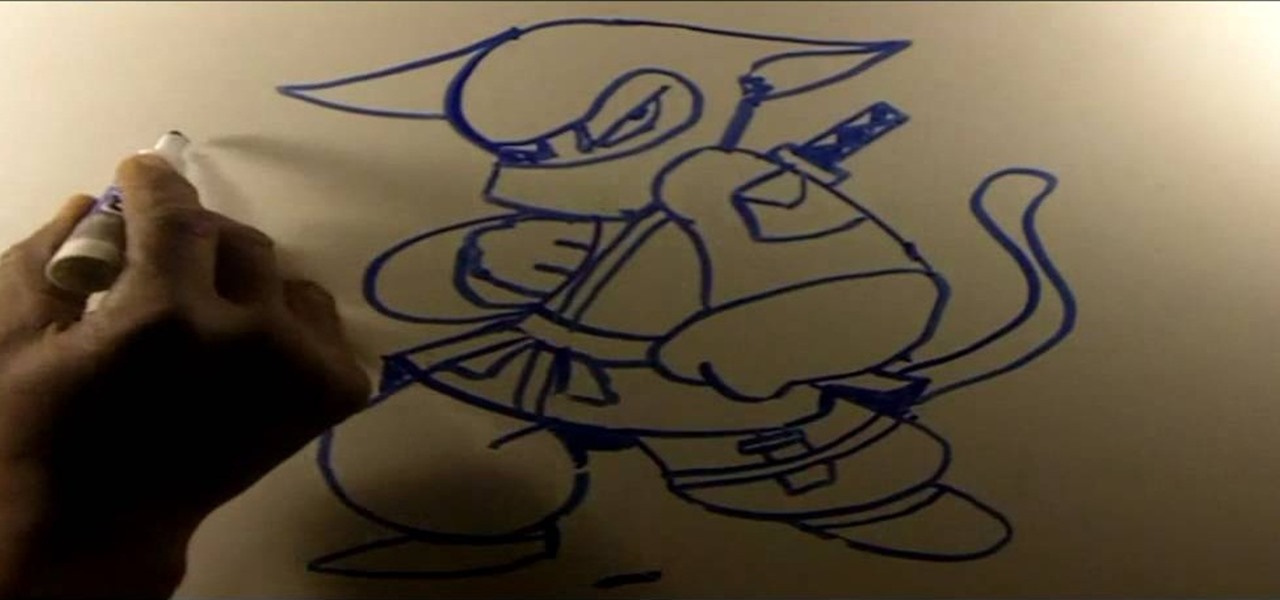
In this tutorial, we learn how to draw an anime ninja cat. Start off by drawing a circle at the top of the page, followed by two cat eyes, one going into the left side of the face. Next, draw a cat ear on the side of the face on both sides, then remove the head line from one ear. Next, draw in a small circular body with a round bottom. Next to this, draw the arm and legs to the ninja cat. Make pants and shoes on the cat, as well as a belt. To finish this drawing, erase any lines that can be r...
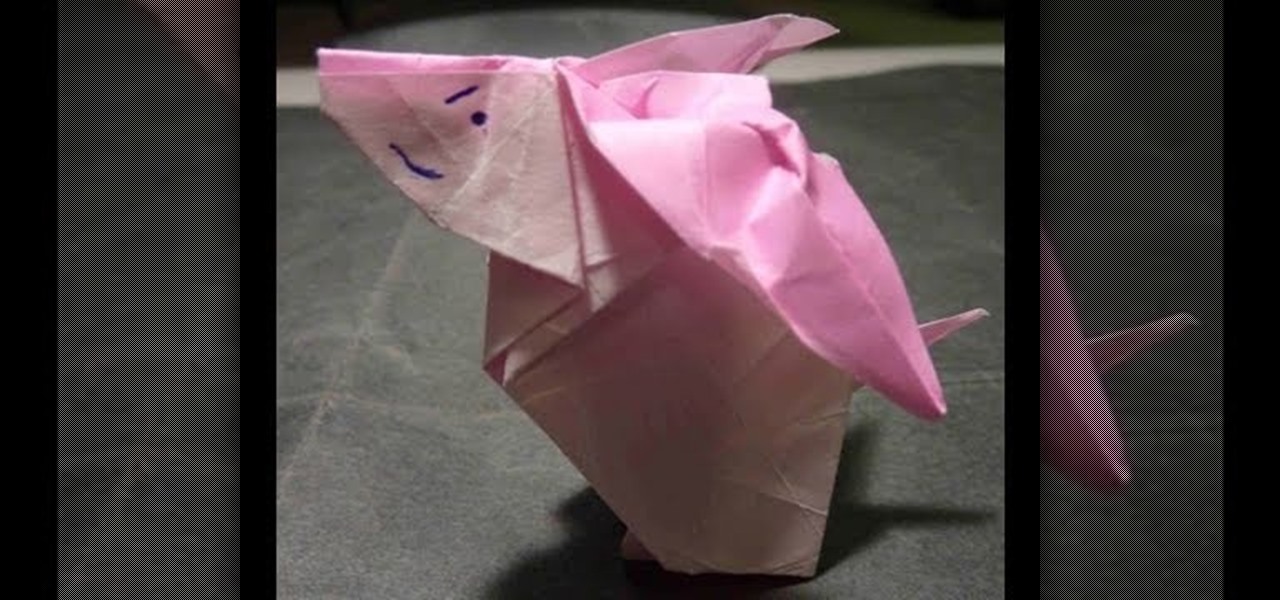
Bunny rabbits don't only have to be reserved for Easter. In fact, bunnies are pretty darn cute all year round. While real bunnies, with their fuzzy fur and floppy ears, are the most cuddly and endearing, for those who can't raise one in their homes, this origami bunny is the next best thing.
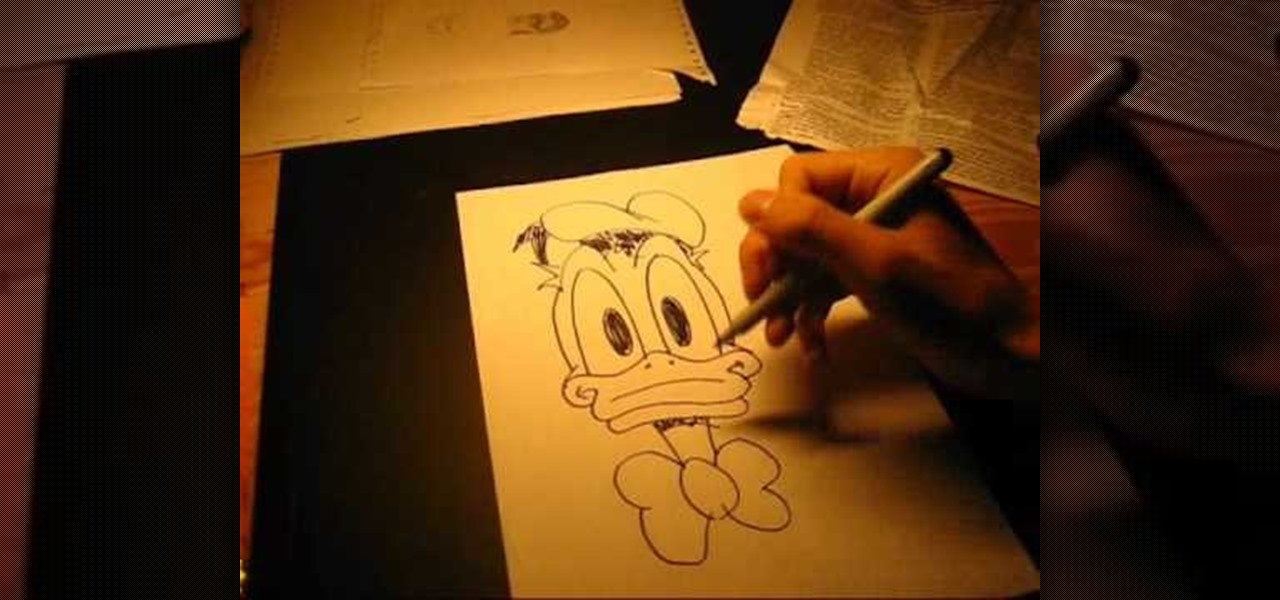
This video illustrates the quick and easy method to Draw Donald Duck on your own . The process is comprised of the following steps:Step 1: Take a blank sheet of paper and a HB Bonded lead pencil.Step 2: Draw a face that resembles a duck's face. Make sure you don't make the ears too large as Donald Duck has got small ears.Step 3: Another point to consider is the length of the beak. Make sure it is elongated and oval shaped.Step 4: Now , make a oval shaped figure and shade it's outline to form ...

In this tutorial, we learn how to make a Max from Where the Wild Things Are. First, you will make the ears and the tail for the costume. Use felt for the ears and a furry type of fabric for the tail and the body. Cut out all of the different materials, then sew them onto a large off white colored hoodie. Once you have finished sewing these on, put the hoodie onto your body to make sure everything is secure in place. After this, put on shorts and sew the tail to those, then you will be able to...
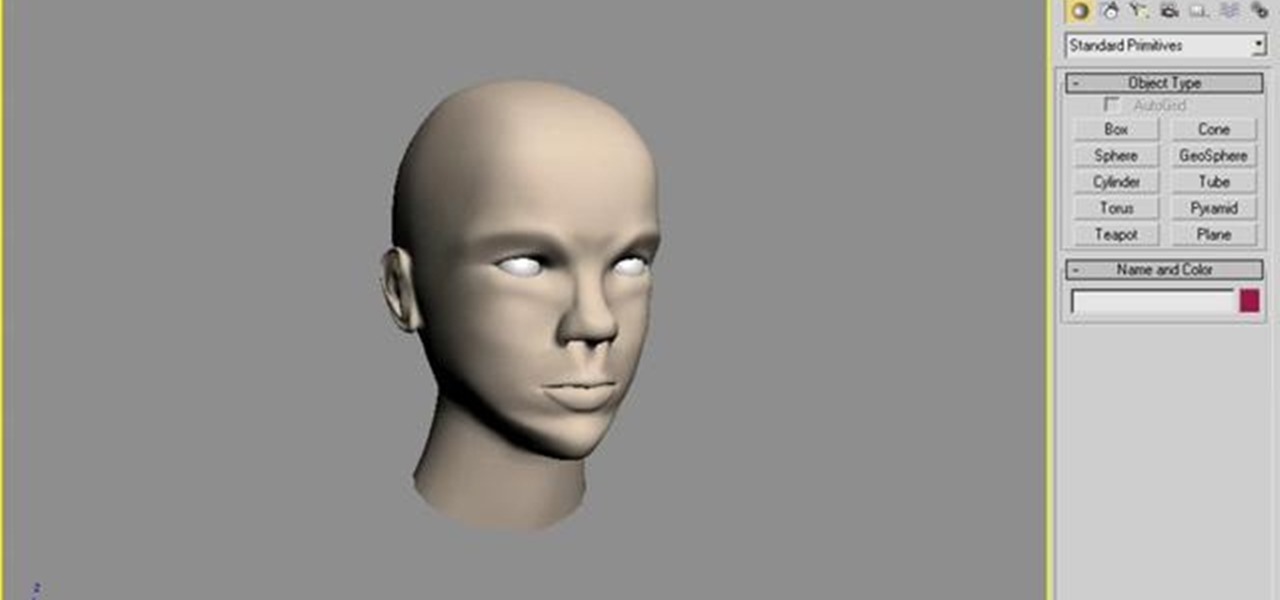
A polymodel head is being mapped. Keep the turbo smooth active to smooth out edges and seams. Use the relax tool to help even out the mesh and areas around the mouth, the ears and the neck as work proceeds. Use the stitch modifier to attach and combine the top and bottom of the head. To get all the seams and areas to match they must be moved, rotated and scaled. Use the weld tool on all the vertices and use the relax tool to get all the seams to match. Use the pelt map for the ears. Use the s...
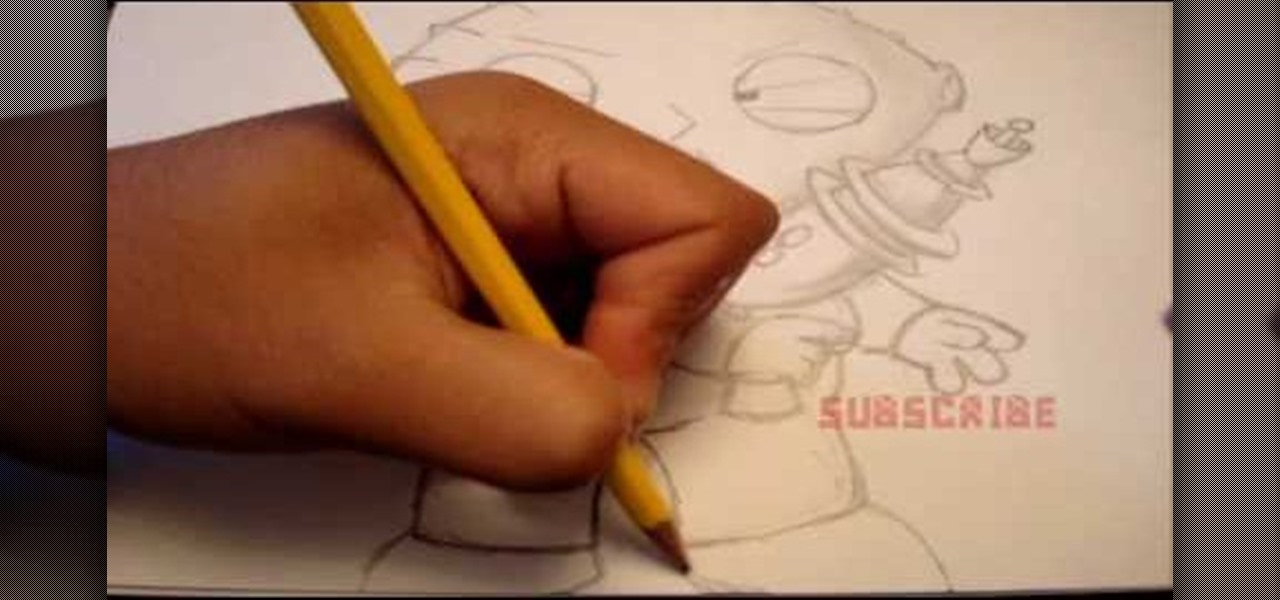
In this tutorial, we learn how to draw Stewie Griffin from Family Guy with a pencil. Start off by drawing the ears, then the football shaped head around the ears. next, draw the arms with the shirt on it, and make the hands. Also, draw a rocket with Stewie holding it. Keep drawing downwards, making the arms around the rocket and the body with pants and a bib on top. Draw in the details of the face, giving the character large eyes and a triangle shaped nose. Give the character narrow eyebrows ...
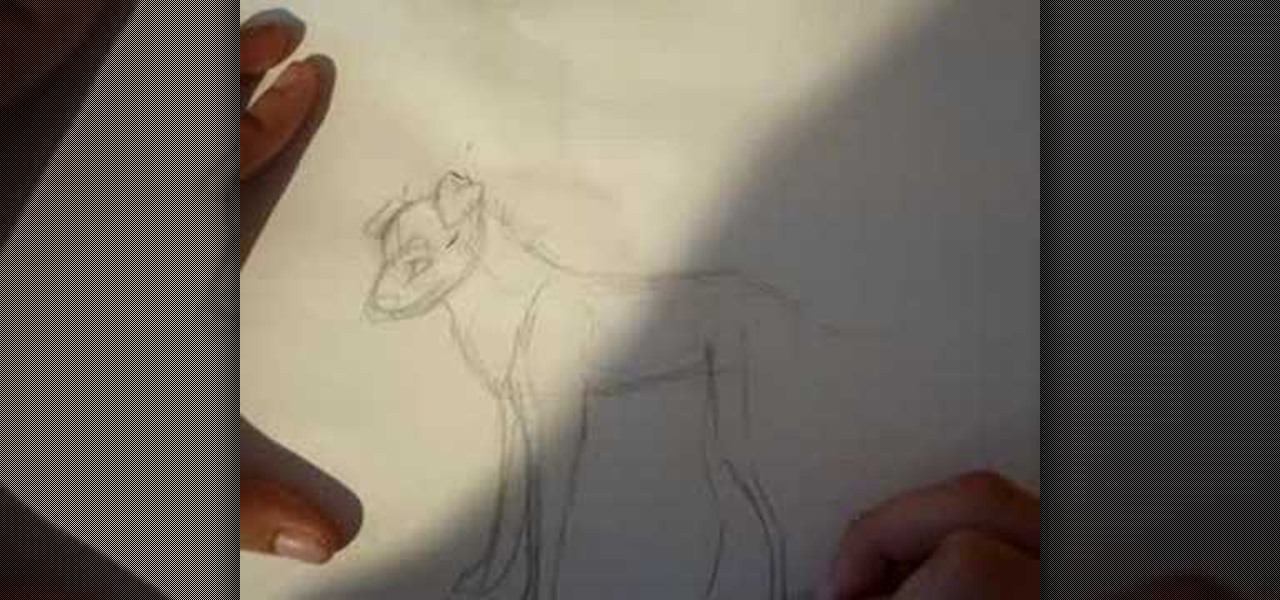
Learn the right way to draw a wolf with its full body, by watching this video. The artist begins by drawing three circles faintly and connecting them with a line, representing the head and body of the wolf. Next, the skeletal structures of the legs are outlined. The tail and ears are faintly outlined next. The artist then begins outlining the face in detail, adding the eyes, nose, mouth, ears etc to the wolf’s head. The body is now outlined adding rough edges to indicate fur. The legs of the ...

Jason Bill teaches us how to cook and peel hard boiled eggs. The music for this video plays in both ears, however the audio for Jim's voice only plays in the right ear. He first teaches us that soft boiled or raw eggs do not spin well. Hard boiled eggs instead spin and eventually stand up. Do not place the eggs into boiling water but rather put the eggs in and then boil the water. He then peels the ends and blows into the egg in order to peel it.
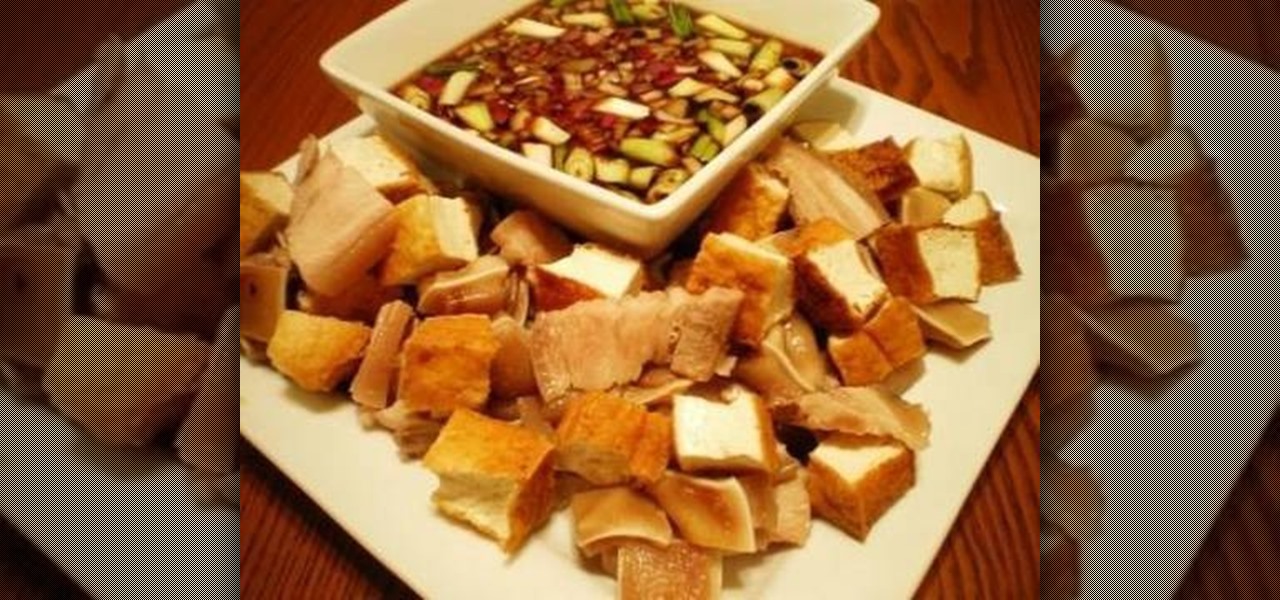
Pour water in a pot and boil. Add salt and whole pepper corn.
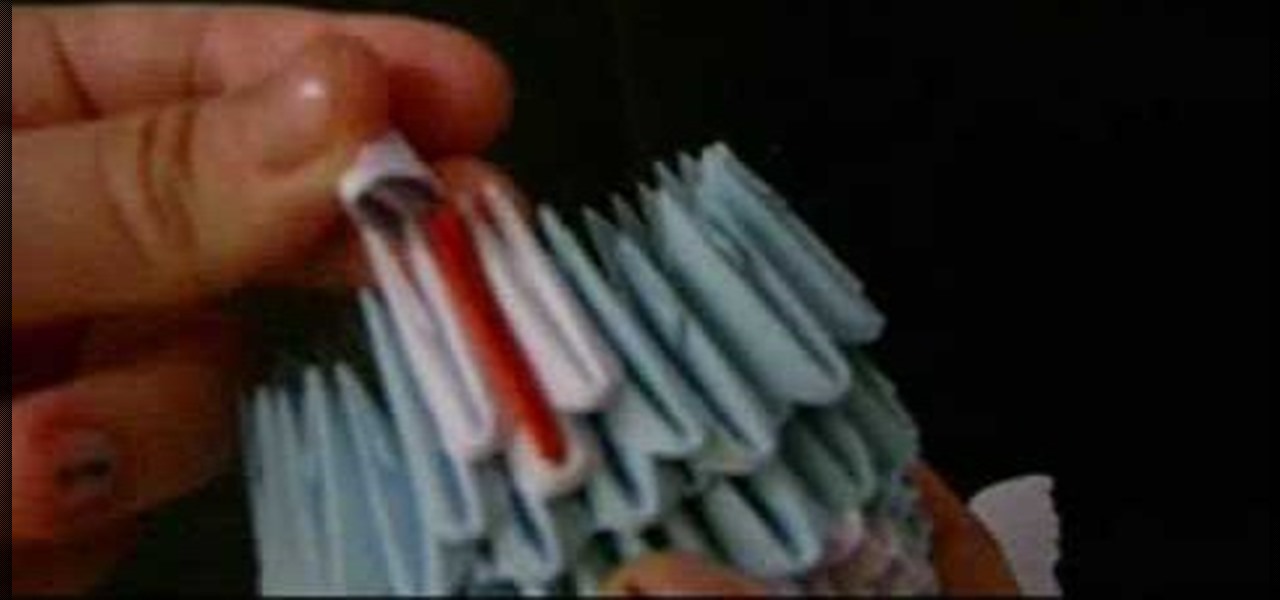
In this video, Jewellia describes how to create a 3 dimensional origami teddy bear. First, she lists the materials needed and the quantities necessary. She then begins the actual process of building the teddy bear, which is broken into steps. Step 1 is "creating the base". You will create 18 "pairs" out of origami paper which you then put small blue origami triangles on top. It looks circular. She then demonstrates how to repeat this circular pattern of triangles upward until you have a cylin...

After performing a Vital Signs examination on a patient, usually, the next step for a doctor is performing the HEENT.
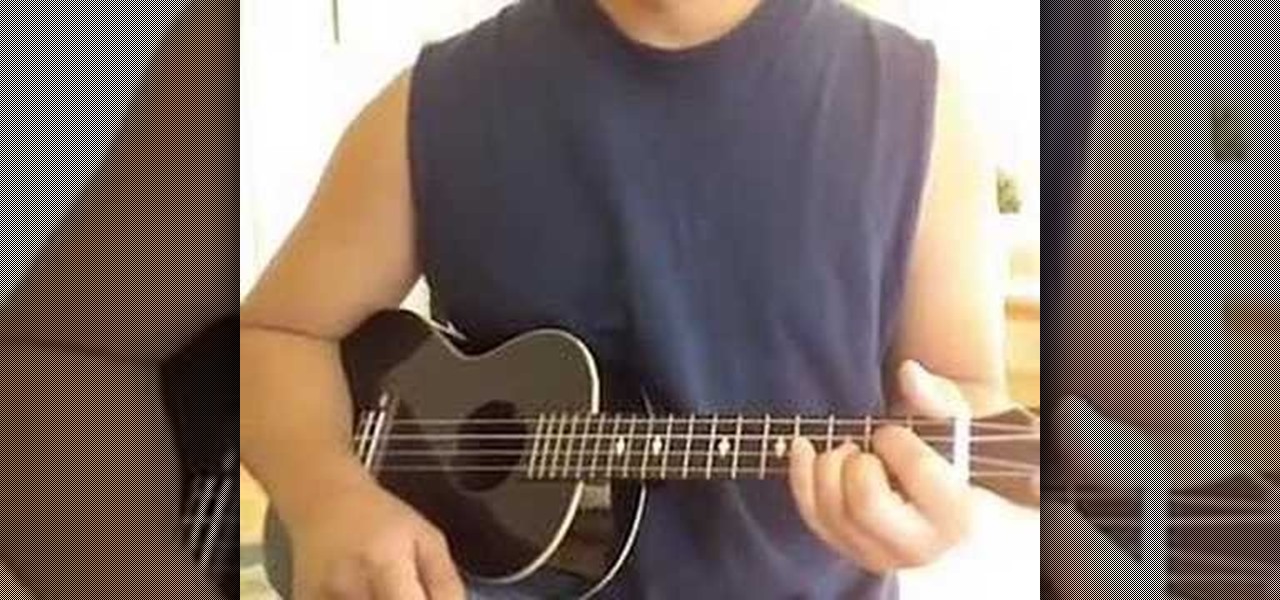
This is one of the most basic but most important things to know in order to figure out songs on the ukulele a lot more quickly. When you train your ear, you eliminate a lot of the hunting and pecking method! Use ukulele theory 101 lessons!
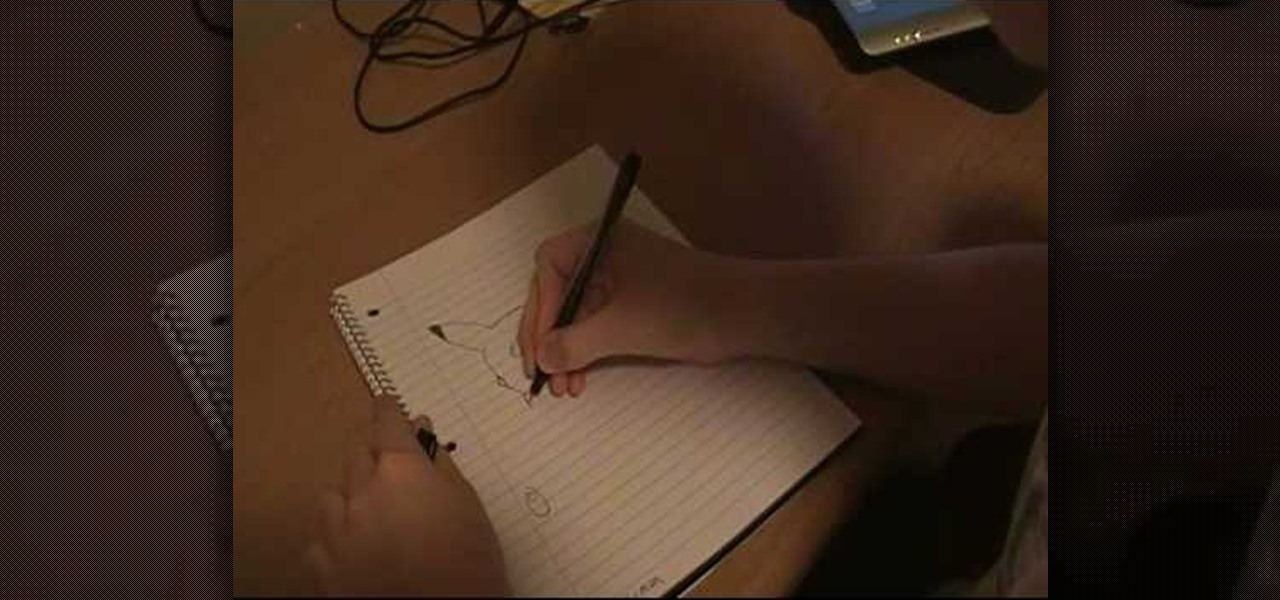
In this video we learn how to draw Pikachu from Pokemon. First, draw the ears and the top of the head. After this, create the sides of the head and color in the tops of the ears. Draw in circles for the eyes and then draw in the nose, cheeks, and smile. Continue on to draw the rest of the body and the details of the chin of the character. Add in the details for the side of the body and then add in shading and body lines wherever possible. When you are finished, share this with others and be a...
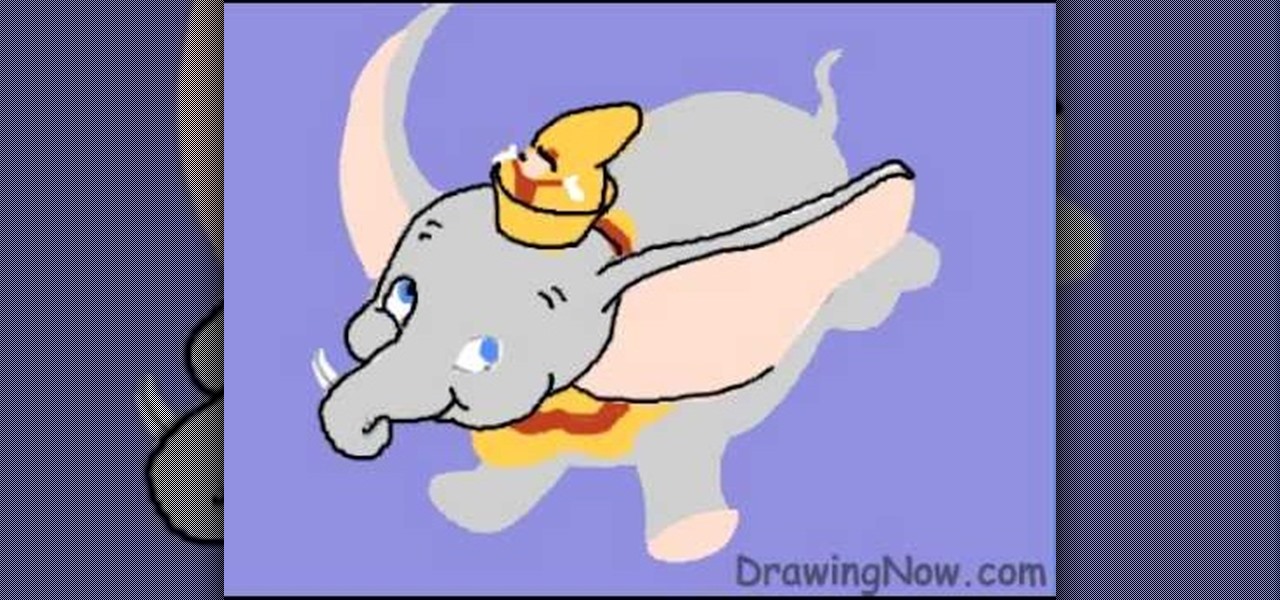
In this tutorial, we learn how to draw Walt Disney character, Dumbo. First, draw the ears flying out in the air, then draw the head outline around it. After this, draw in the trunk outline, the eyes, and the hat. Next draw in the body and legs of the character as well. Next, color the background of the drawing and then start coloring the character in with gray. Next, use a paintbrush to outline the body, then add in any details you see fit. Color in the inside of the ears and then color in th...
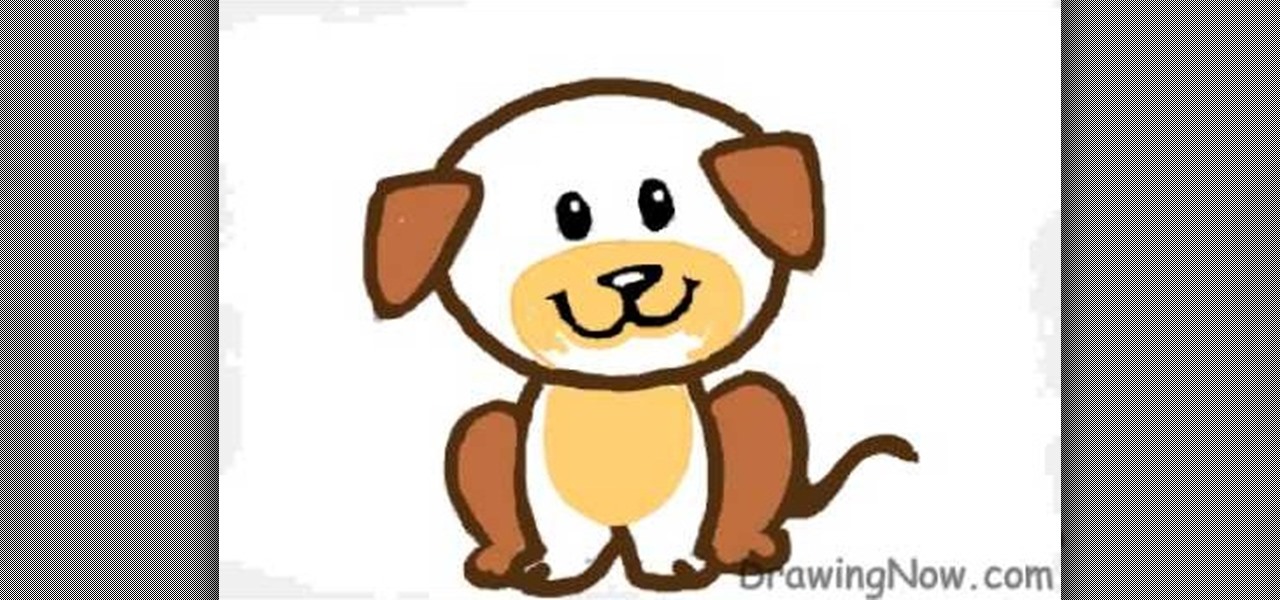
In this tutorial, we learn how to draw a cartoon puppy First, draw the oval head, followed by triangles for ears. next, draw the body underneath with four legs coming out of the bottom like the dog is sitting down. Add on a squiggly line for the tail next to the leg. Now, color the ears and back legs light brown, then add eyes, a nose, and a mouth onto the face. Draw a circle around the nose and mouth, then color in with lighter brown/tan color. Now, color the rest of the dog a darker shade o...
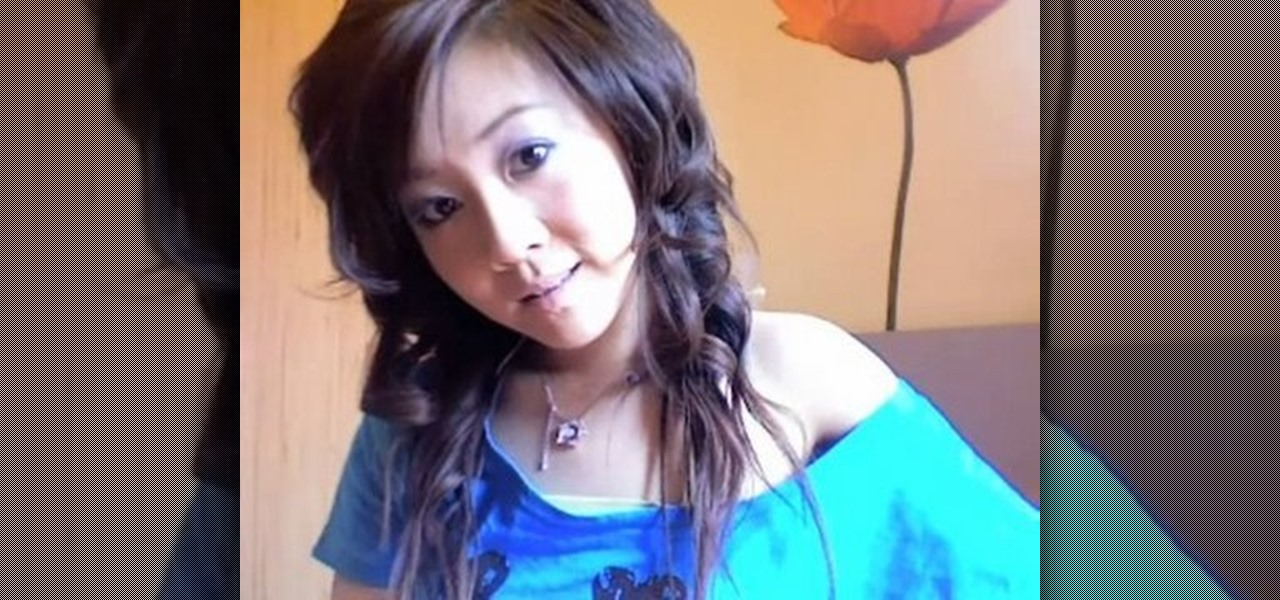
In this tutorial, we learn how to get curls from using a hair straightener. First, prep your hair with a heat protector, which will also help smooth the hair. Next, apply a curl activator mist evenly throughout the hair. Next, section your hair from ear to ear using your fingers, then secure one side so it's out of the way. Now, take about an inch of hair in your straightener then turn it 180 degrees, then pull straight down. Keep doing this for your entire head of hair, and you should get be...

This video tutorial is in the Fine Art category which will show you how to draw a deer from a triangle. First you draw an inverted triangle which will make up the face of the deer. Then you draw two small curves starting at the two top corners of the triangle to make the horns of the deer. You can also draw more short curves or straight lines starting from these curves to make up the complete horns. Then you draw the ears starting just below the horns. Draw the eyes and color in the ears and ...
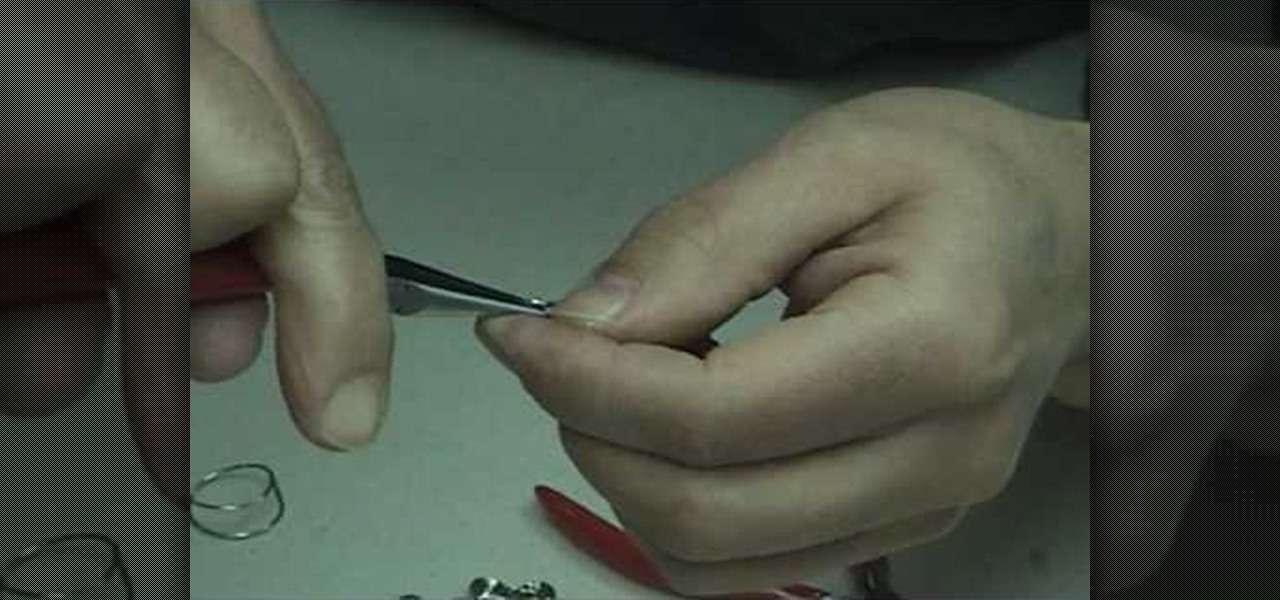
The video describes to make wire hoop earrings. Take a steel metal of anything and take a eighteen gauge wire and wrap a few length of it around the taken piece of metal which is cylindrical in shape. Cut the wire at the desired part and remove from metal.The wire takes the shape of a standard spring. Again cut it into two or three pieces. Hold the wire again and straighten the edge and after that once again bend it down holding at the place where bent begins. Put some on it to design and the...

Seven easy basic art methods and steps to drawing Anakin Skywalker. The first 1-3 steps illustrates the basic drawing methods for the human head shape, and line placement for a basic human head. The fourth step illustrates basic drawing of the eyes, nose, mouth and ears. Step five illustrates the basic shading around the eyes, nose, ears and mouth. Step six illustrates how to add the shaping and styling of the hair and facial features. The final step illustrates how to shade the hair. It also...
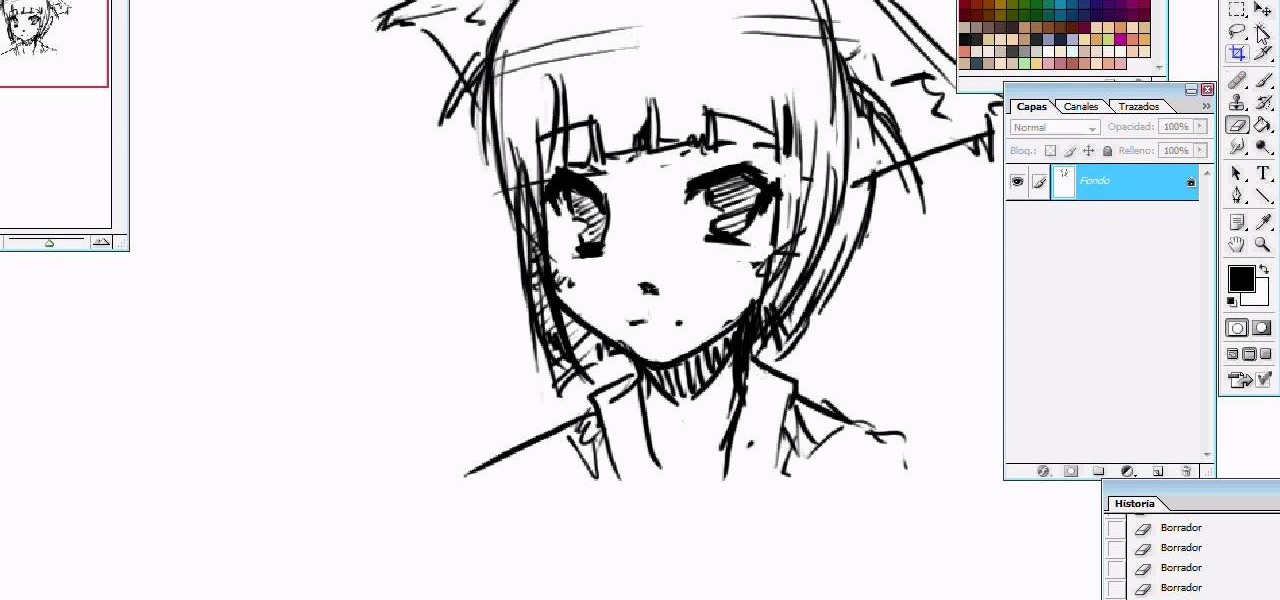
co23ghttoe is here to show you how to draw a manga fox girl. You first start with a circle and two lines to line up the eyes on the face. The eyes can come out looking pretty rough but with the proper use of eyebrows, it can make a "cuter" expression. You then outline the bottom half of the face, like the cheeks and the chin. Follow up with the hair by dashing your lines down her face. Finish up with her neck and shoulder line. Now is time to add the fox ears. Erase some of her head as demons...
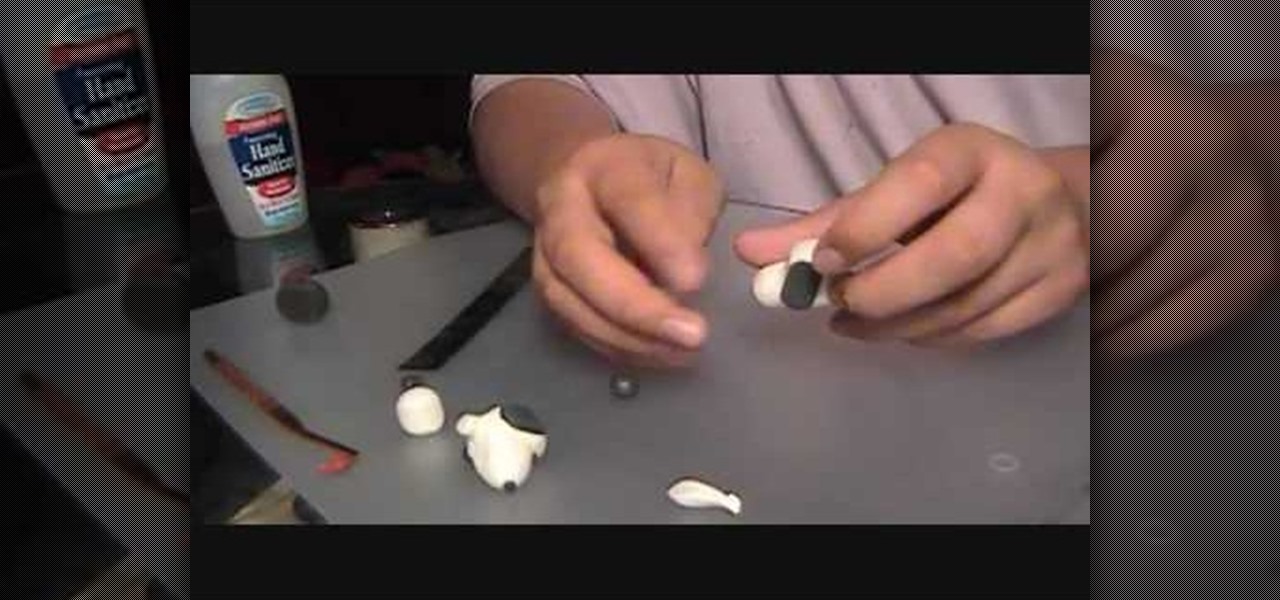
This video describes how to make a snoopy head from a type of polymer clay. You will need both black and white polymer clay, a blending tool and a ruler. It begins with the main part of the head and moves onto creating the correct structure using a blending tool. It advises using your thumbs to smooth away the creases and cracks from the surface of the snoopy head. After the main part of the face is made, it describes how to create the eyes and ears using the black clay. The eyes and ears are...
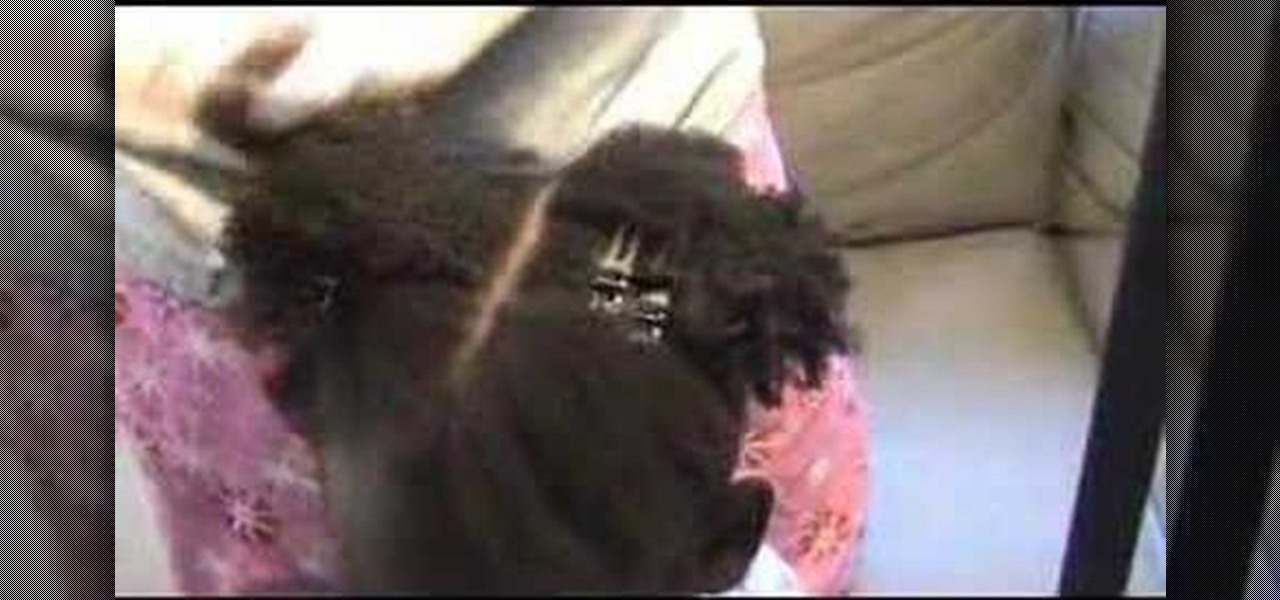
Criss-cross corn rows are a stylish way to maintain your hair. This video tutorial demonstrates how to braid hair with criss-cross corn rows. Begin by dividing the scalp into four parts, with one line extending from ear to ear, and the other crossing down the center of the head. To complete the hair style, continue to divide each section in half until you reach the desired amount of hair segments.
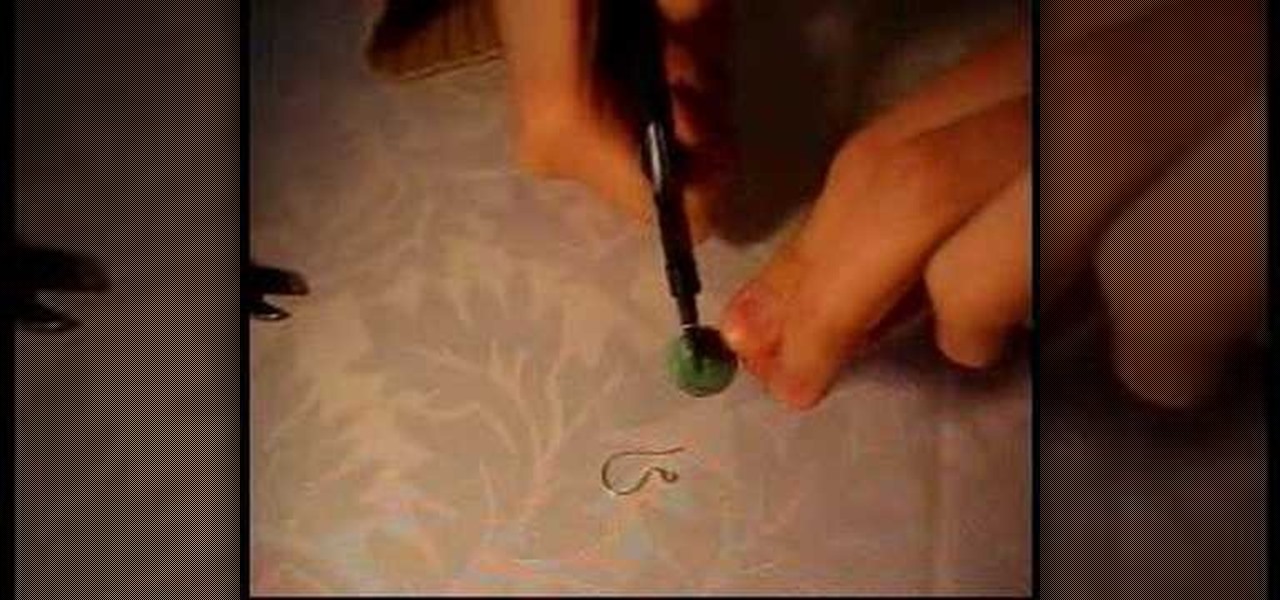
In order to make a simple hair pin you need a couple things first, a small and big bead (although you can use other items), an ear wire and a head pin. Tools that you will need are a pair of round nose pliers and a pair of cutlets. Now take the head pin and loop the beads through it. Take the nose pliers and bend it, about half way up the head pin and gently bend it with your fingers, making a 90 degree angle. Twist the pliers up and bring the head pin over the nose pliers. Then twist it cloc...
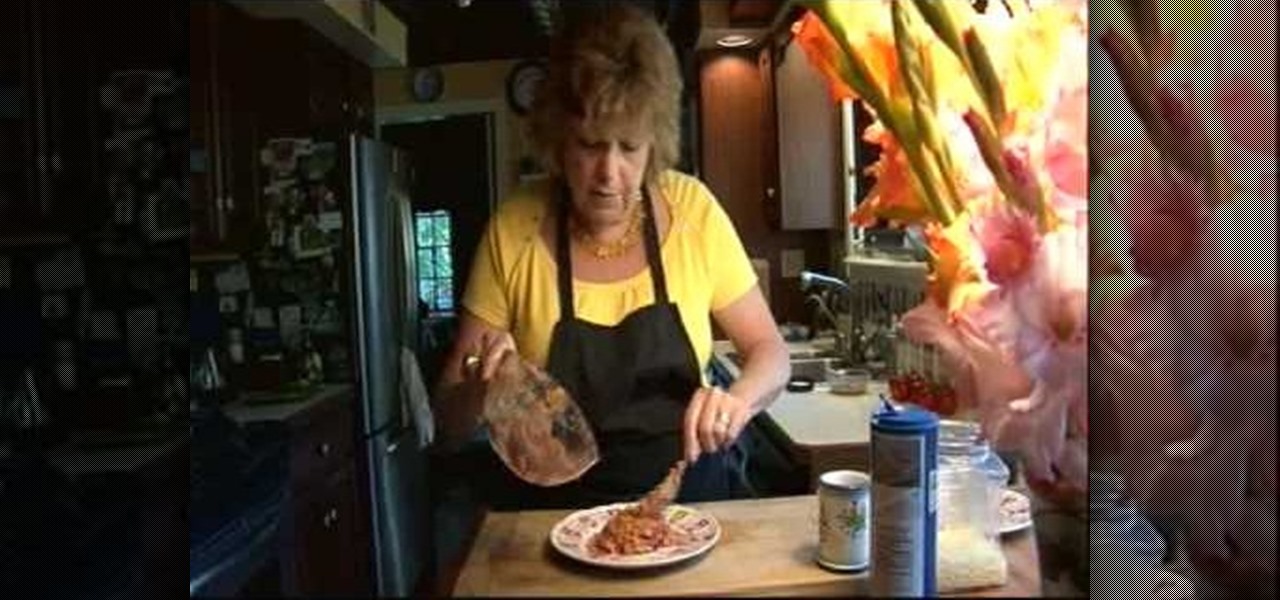
In this video tutorial ChowTime will show you how to grill caramel corn on the cob and Italian corn on the cob. These recipes are easy and fun. Remember to use the corn as soon as it is picked to ensure the quality of taste. Fun facts include that corn was first cultivated about ten thousand years ago in the highlands of central Mexico and that the average ear of corn has eight hundred kernels! after the corn has soaked for a minimum on thirty minutes, place it on the grill with the temperatu...
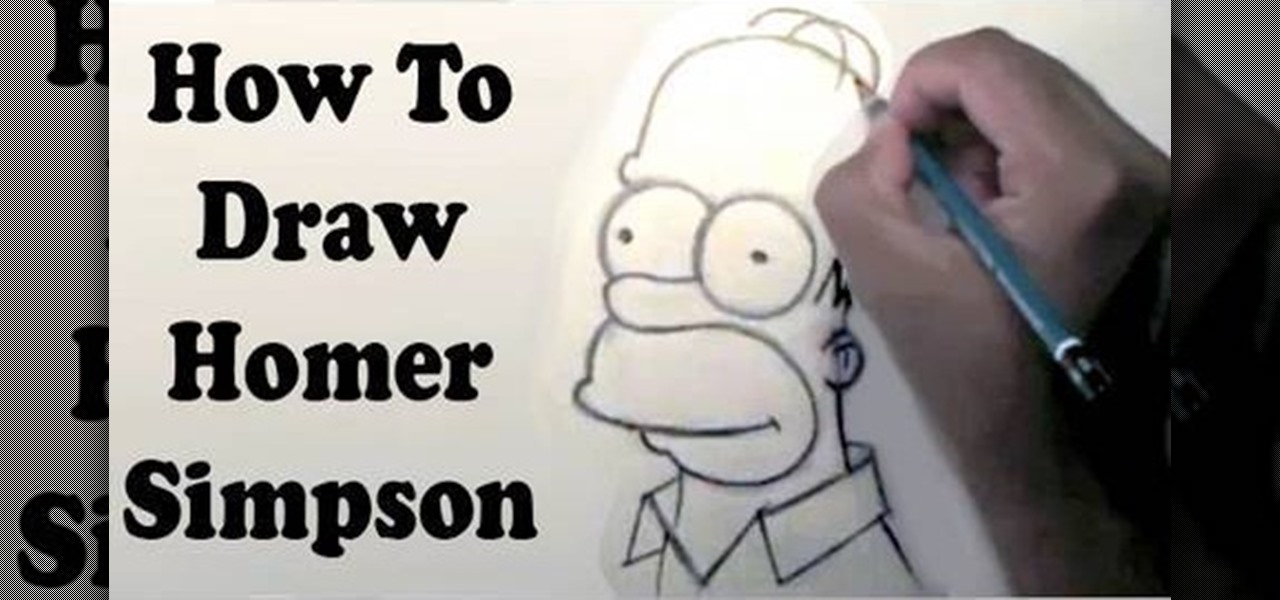
The video shows you how to draw a Homer Simpson cartoon. Start off with a big circle and a smaller circle below. Draw two slightly diagonal lines to the sides, a slightly curved line below and two lines for the lower part of the head. Then add another circle on the left side of the smaller circle. Draw a small pickle shaped nose and an eyebrow above the left circle. Draw the ear just below the eye line. The hair is drawn above the ear, like an M shape. Draw the mouth and the lower lip and ext...

YouTube user DrawingNow teaches you how to draw Kim and Ron from Kim Possible. You start with a green background and use a pencil to sketch their bodies. Start with a simple circle for the head and then add ears and hair. Add the neck connecting to the body and a fist extending forward. Draw the other hand and remember the pants and shoes. Next start with an oval for Ron's face and draw larger ears, but smaller hair. He's also in an action move, so reflect that in the way he holds his hands a...
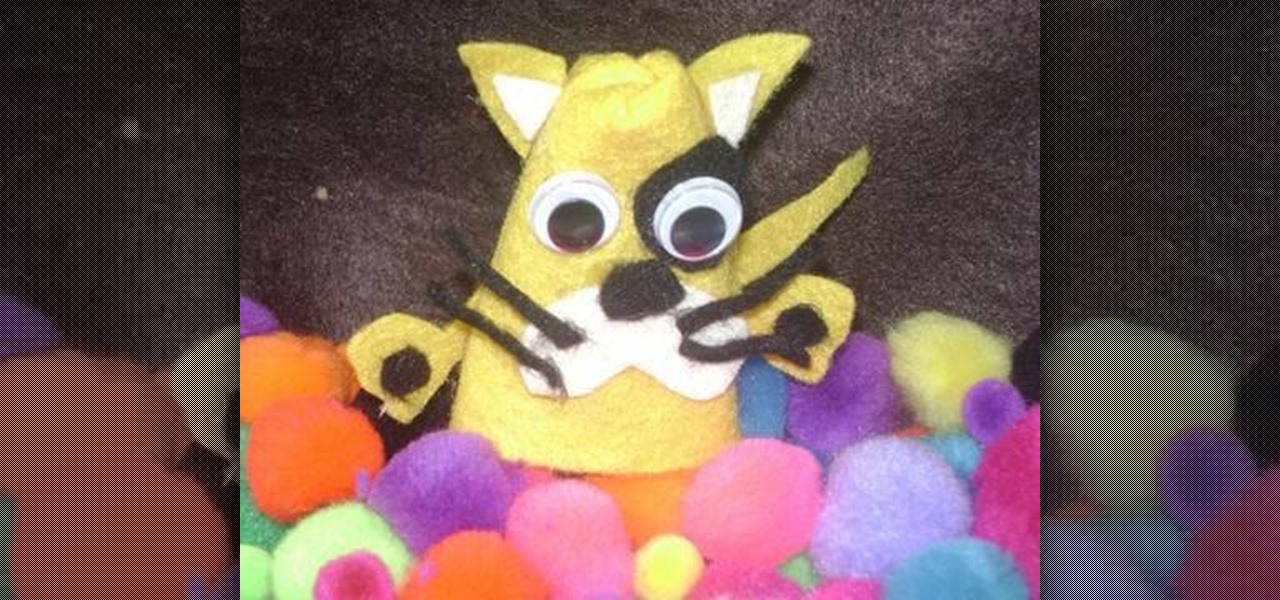
This is step-by-step video tutorial on how to make a basic but adorable cat puppet. The kids will have such a good time cutting and gluing the materials to make their very own puppet. The process is very quick and very easy. The materials you will need are: Felt (black, white and yellow), 2 googly eyes, scissors, and fabric glue. First cut out 2 triangles for the ears. Glue the circular edges of a half circle of felt together and glue the ears to it. Glue the eyes, nose, mouth, whiskers, and ...
So you want to get a piercing but you don't want to get impaled and infected. This video walks you through the do's and don'ts when looking for a great piercer.

How to create the puppy dog pumpkin, Good Boy. It's not very difficult, just saw off the top gourd stem and turn the bottom pumpkin upside down. I used some toothpicks to help level the bottom pumpkin. Carve out the eyes, mouth and legs. Gouge the rind off but leave the rest of the flesh on the dog's chest, eyes and tongue. Paint areas if desired. I used a button nose held by straight pins and funny eyes glued on. The ears are attached by toothpicks into the head pumpkin. Just look for unusua...
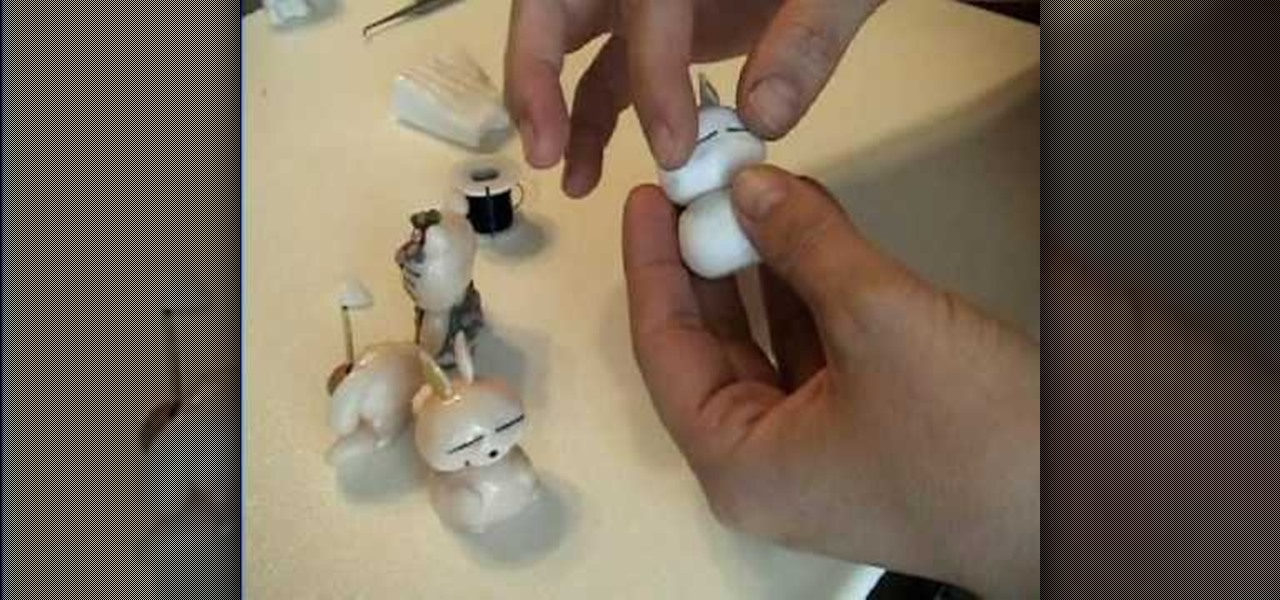
This video clip was designed to provide the viewer with the instructions to making a polymer clay Mashimaro character. First two small pieces of yellow clay are cut to go inside the ears. Next a large ball of white clay is rolled and pressed slightly flat for the body. A piece similar in size is rolled and flattened for the head. Shoving a toothpick into the body and clipping a small piece off allows for the head to be attached. Then a piece of white clay is laid out and the yellow clay is pr...