
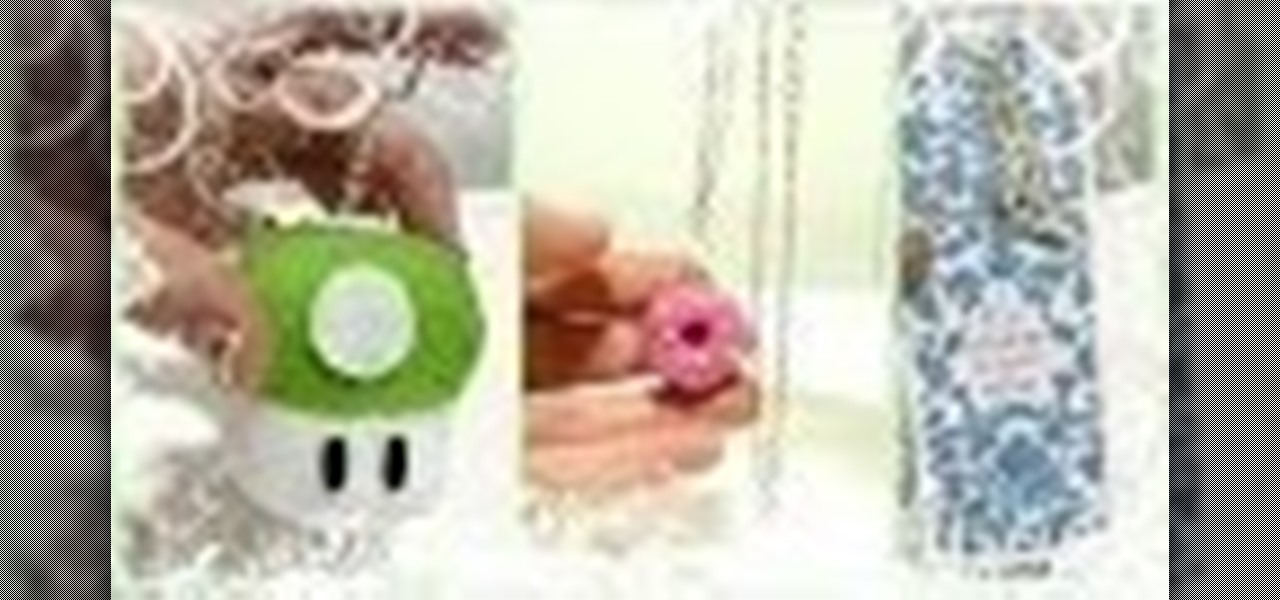
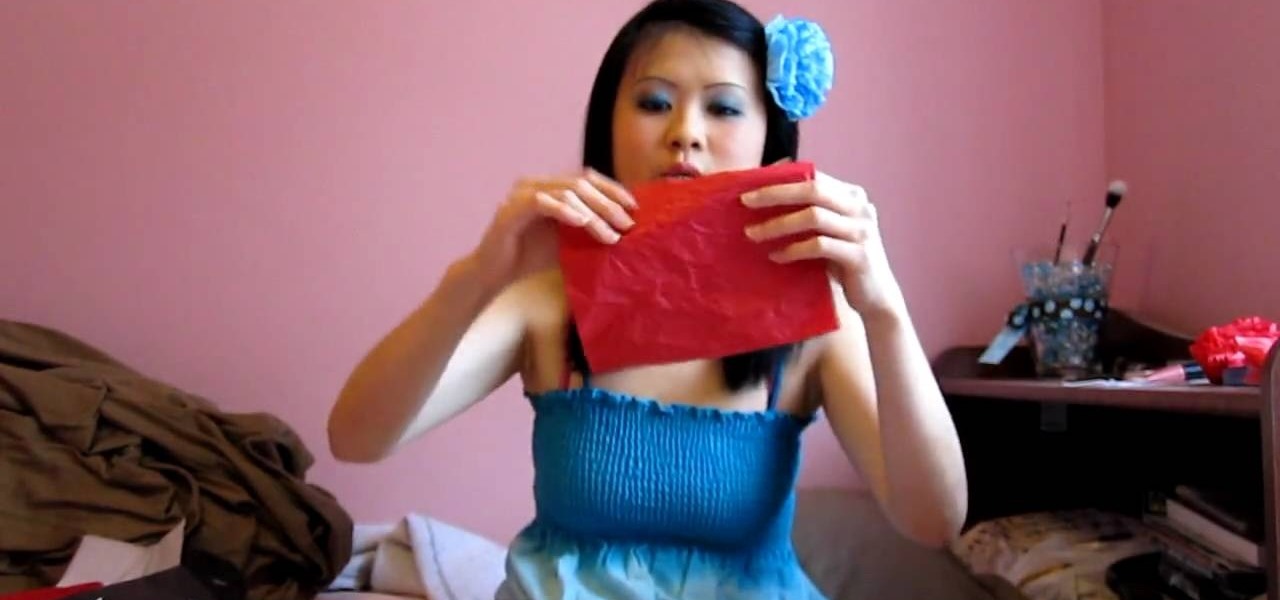
News: DIY Christmas Gift Ideas!
Video: . Here there are some DIY gift ideas perfect for the Christmas season. They are really easy to personalize depending on what your likes are.

Video: . Here there are some DIY gift ideas perfect for the Christmas season. They are really easy to personalize depending on what your likes are.
A common problem on bumper covers is that the tabs that attach the bumper to the car get broken. This is critical, as this is what secures and aligns the bumper cover. Many times, a broken tab is all that is wrong with the bumper cover. With the cost of these plastic parts $200 to $700, the replacement cost can break the bank.
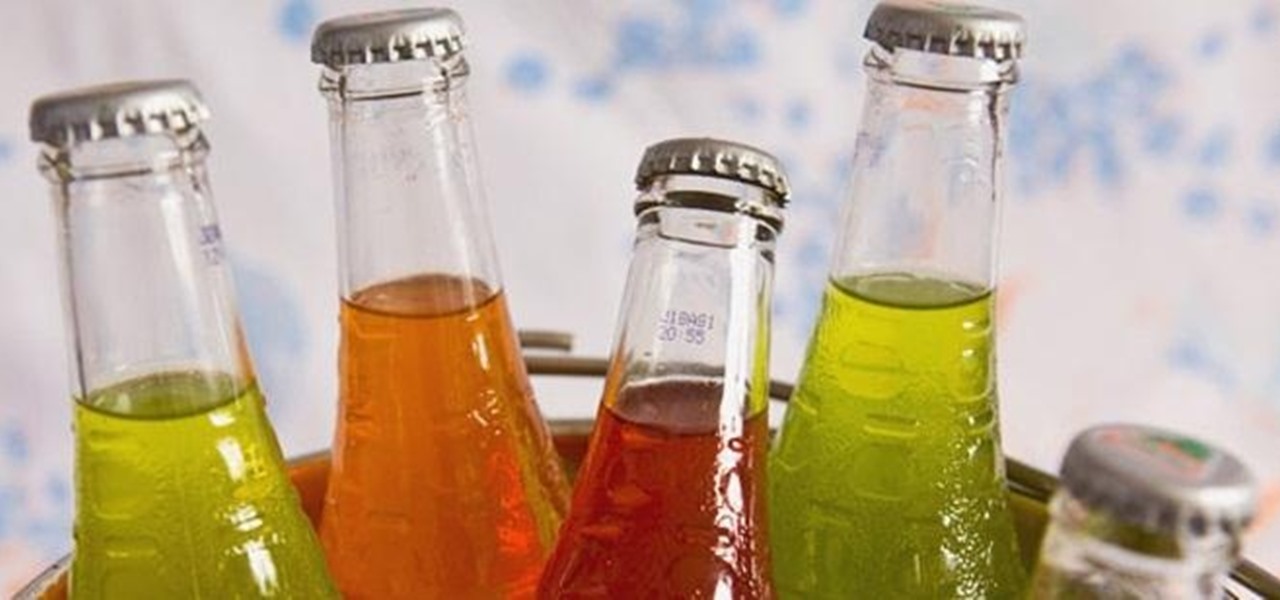
Even if you're not a hipster with your own self-sufficient garden, making your own edibles at home can be pretty cool. And while it's obviously easier to pick up a bottle of 7-Up at the store, there's something undoubtedly fun about making your own. For those addicted to their fizzy drinks, DIY soda is a great way to save some cash and make their drinks healthier with natural flavors and sweeteners, instead of something like corn syrup or aspartame.
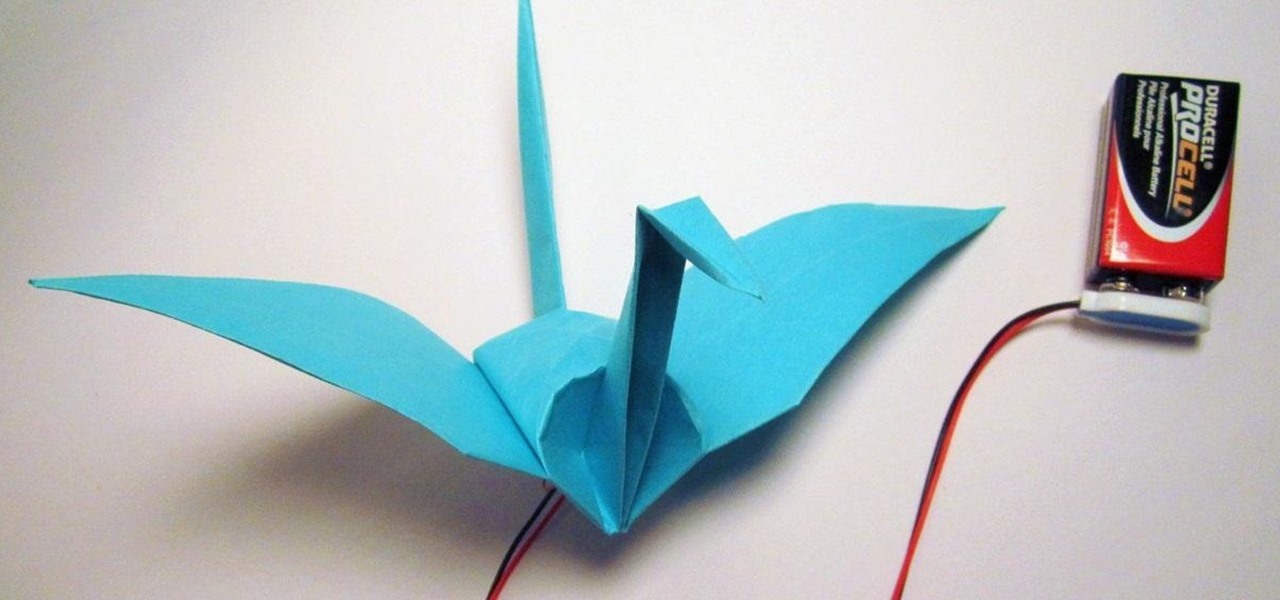
Want to spice up your origami cranes? MIT's High-Low Tech Group made two electronic origami cranes that flap their wings when you squeeze their tails.
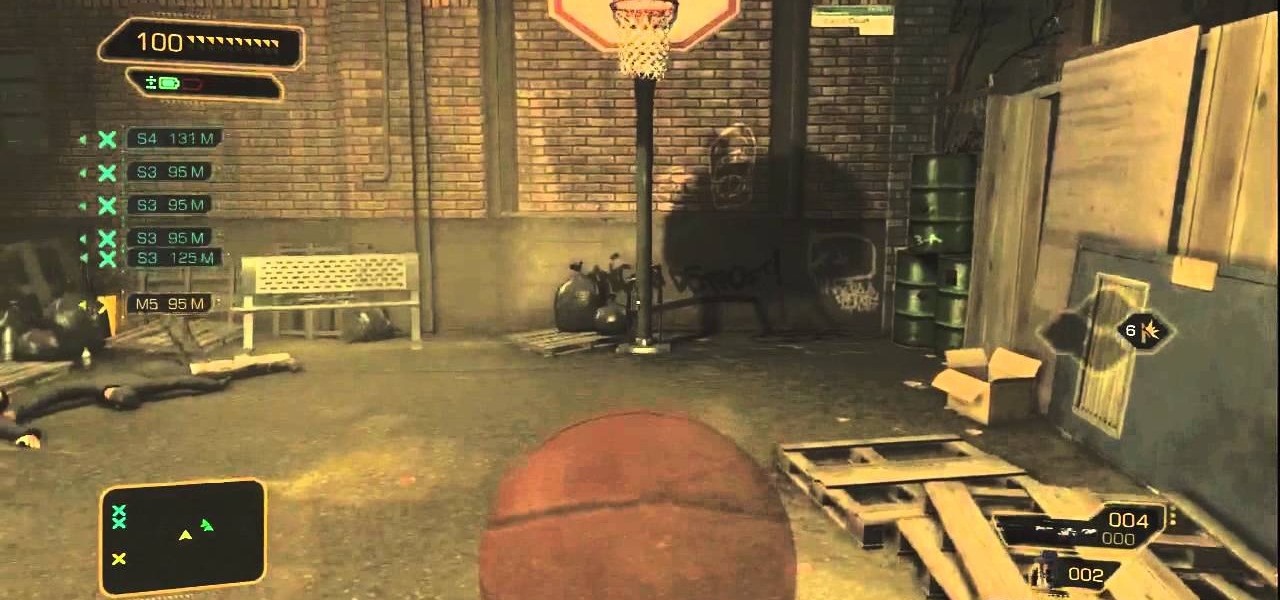
Once you have access to the Detroit City Hub in Deus Ex: Human Revolution, it's possible to unlock a secret achievement dubbed 'Balls' on the Xbox 360 version of the game. This Giant Bomb walkthrough will help you locate the basketball hoop you'll need to earn the achievement with, and give you a little tip on how to easily get the ball through the hoop.
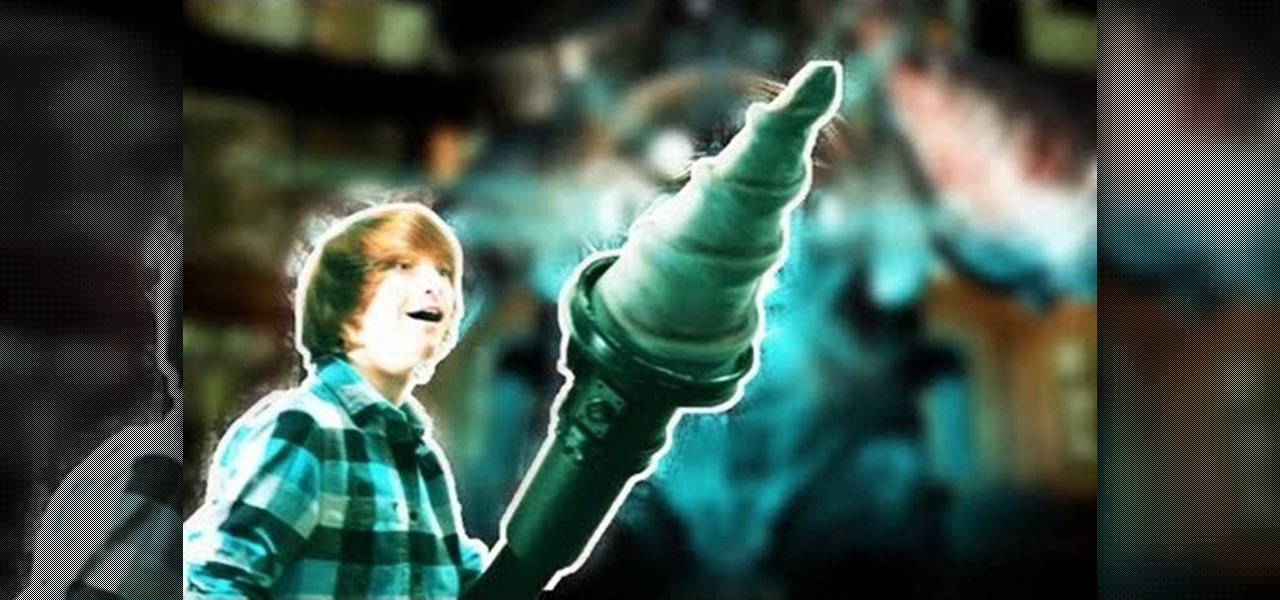
If you want to put the finishing touches on your new BioShock cosplay outfit, of if you just think it would be awesome to charge at your friends with the favorite weapon of Big Daddys across Rapture, this is a guide for you.
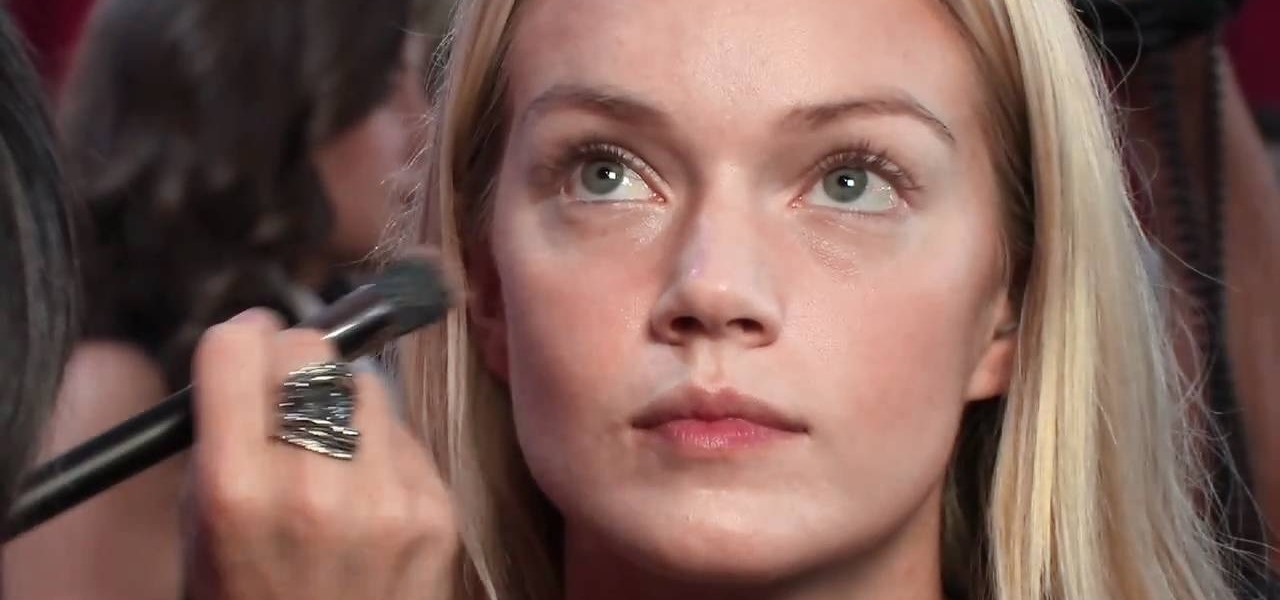
At this year's Victoria's Secret Fashion Show, the inspiration behind one of the segments is Katy Perry's summer anthem "California Gurls." So expect fun, flirty lingerie (one model blows bubbles while wearing a panty and bra with attached bubbles) and bronzy, glittery makeup.
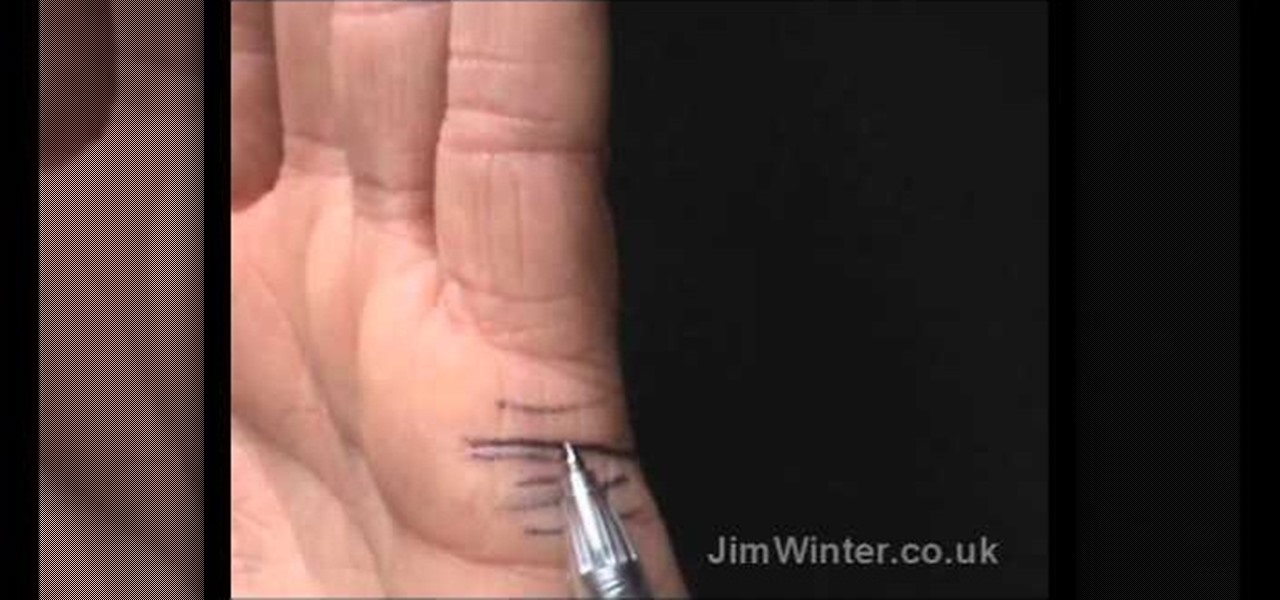
You don't need to be an authentic palmist to know the meaning behind your lines. If you want to explore the meanings behind the lines in the palm of your hand, Jim Winter is the man to learn it from. Here, he teaches the ATTACHMENT lines, also called AFFECTION lines, MARRIAGE lines and even UNION lines. These are very popular lines to read. See how attach in matters of love and how deep you commit yourself.

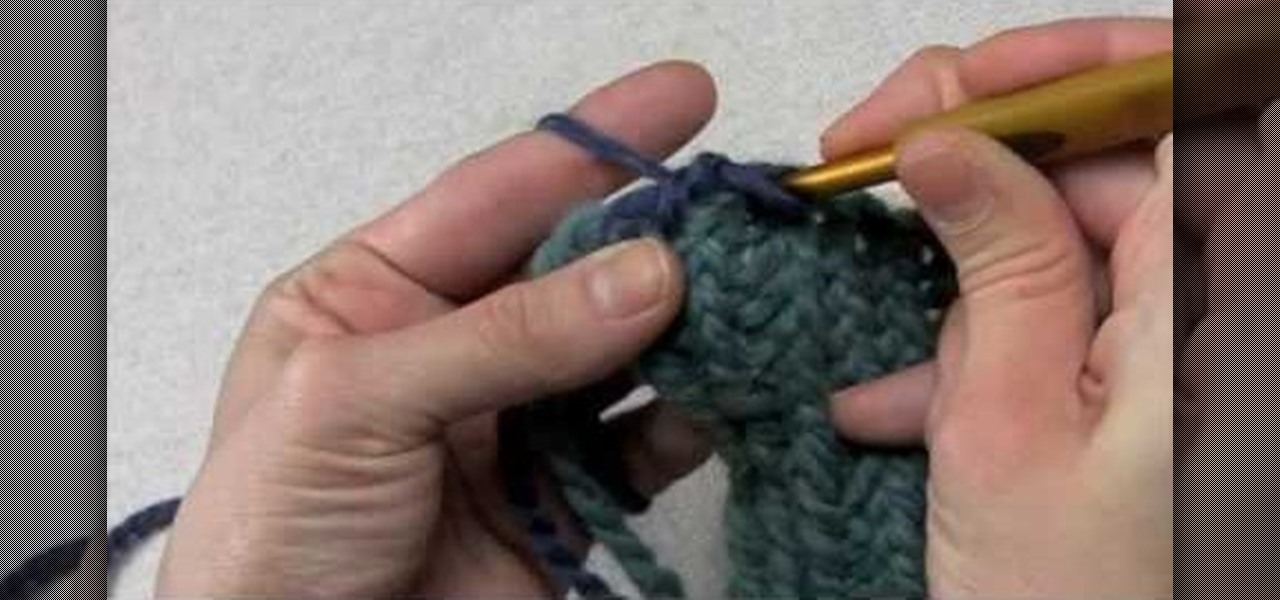
In this tutorial we learn how to edge a knitted piece with a single crochet. Start to attach the yarn to the right side, working in a forward direction. Now, work a slip stitch at the edge. From here, stick the hook in the fabric and pull through one loop. The, yarn over again and pull through both loops with the hook. After you do this, do it over again! You will repeat this process until you reach the end of the row. Once you're finished with the row, you will be finished with the edge and ...
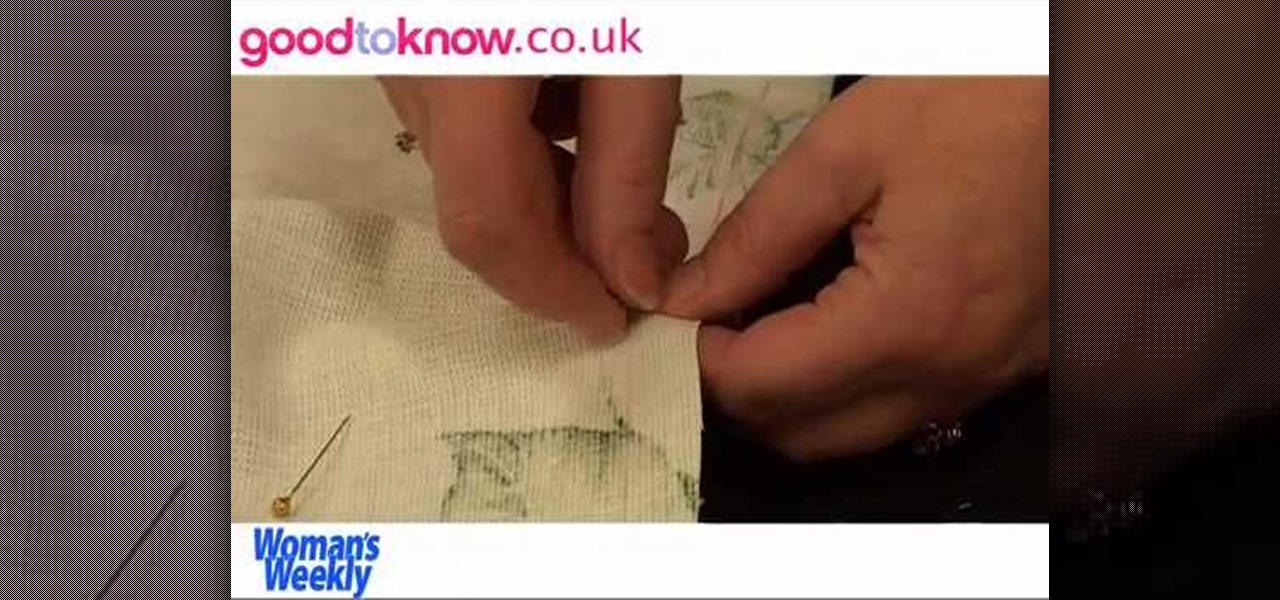
With a little practice a cushion cover can be made at home easily. The materials/equipments required are as follows: fabric of your choice (having appropriate dimensions) to make the cover, scissors, measuring tape and ruler, needles, threads, sewing machine and an iron.
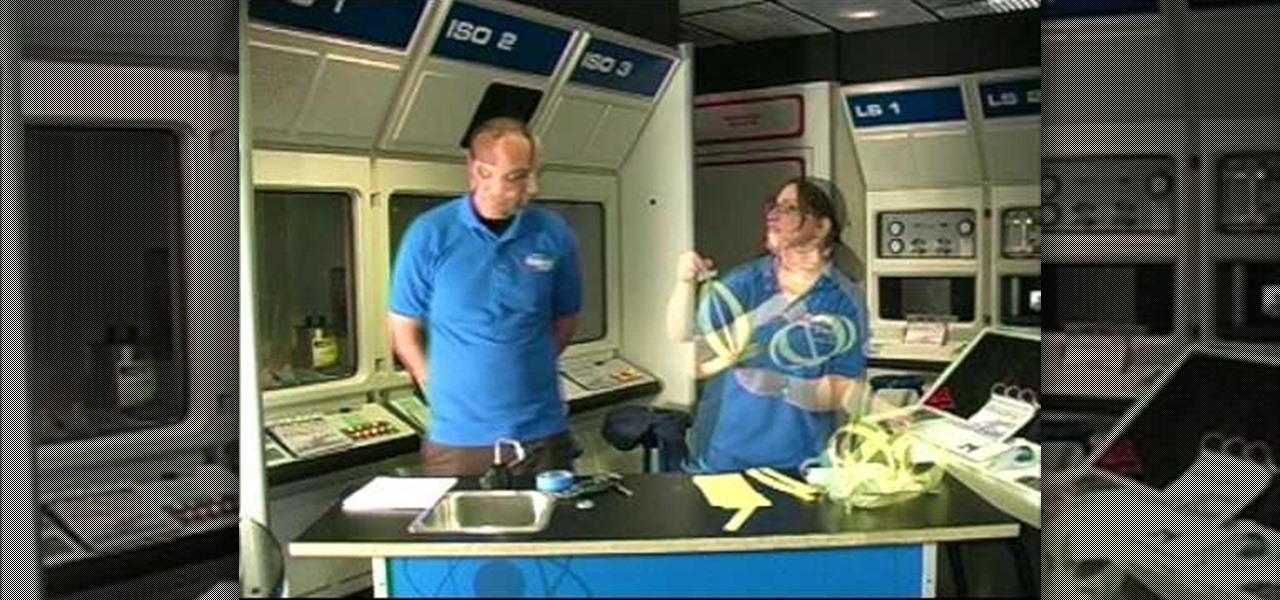
It is a well known fact that due to the rotation of the Earth about its own axis has a bulging effect on the equator and a slight flattening effect at the poles. This experiment tries the reproduce the same effect using simple materials.
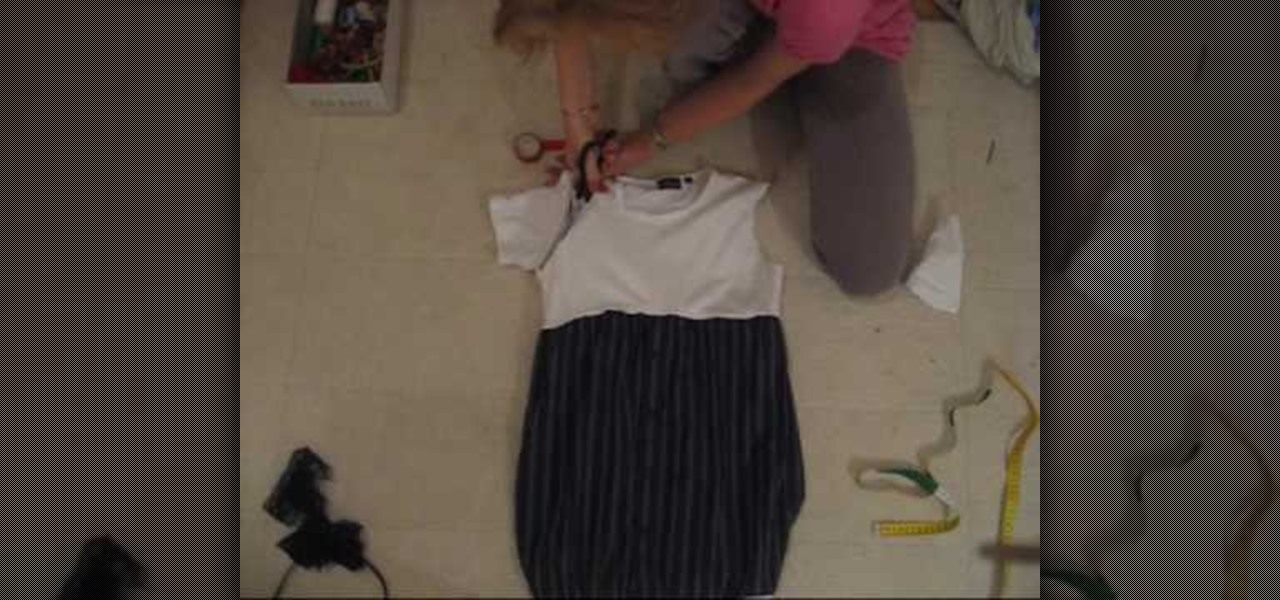
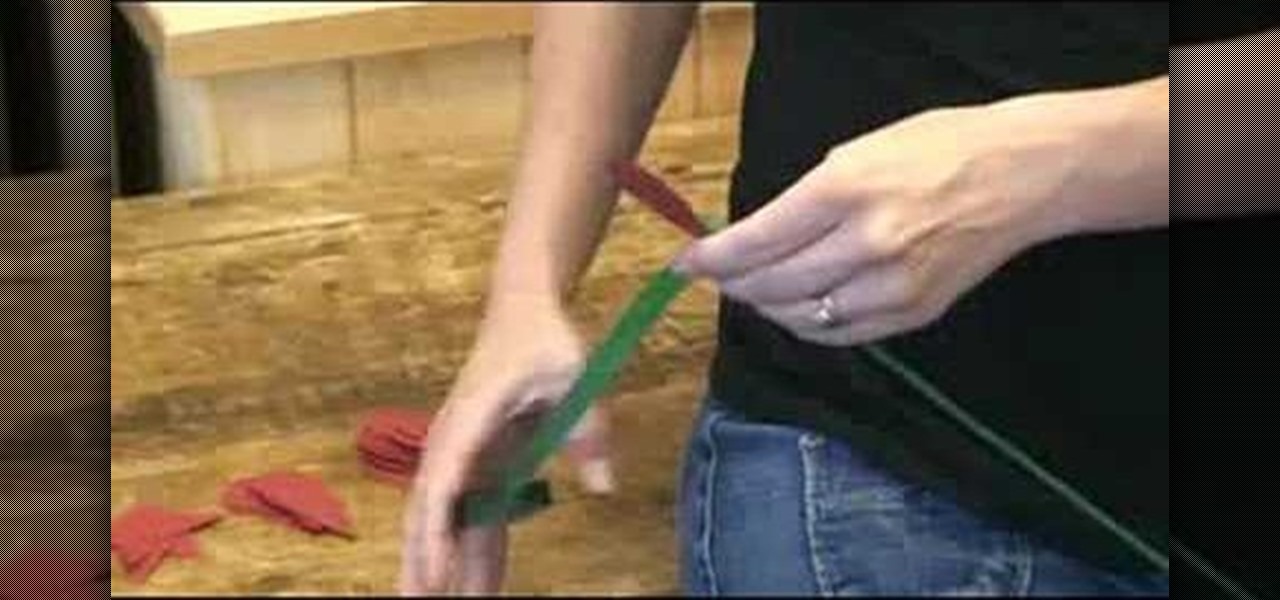
In this video we learn how to make a dress out of an old flannel & t-shirt. First, measure your body on the bust. Then, take an old shirt and mark the measurement on there. Then, cut where you marked the shirt leaving 1/2" extra. After this, attach the top of the dress to the flannel by sewing it with either a needle and thread or a sewing machine. After this, take the part that you cut off and sew it to the bottom of the dress. When finished, try this on and enjoy wearing your new homemade d...
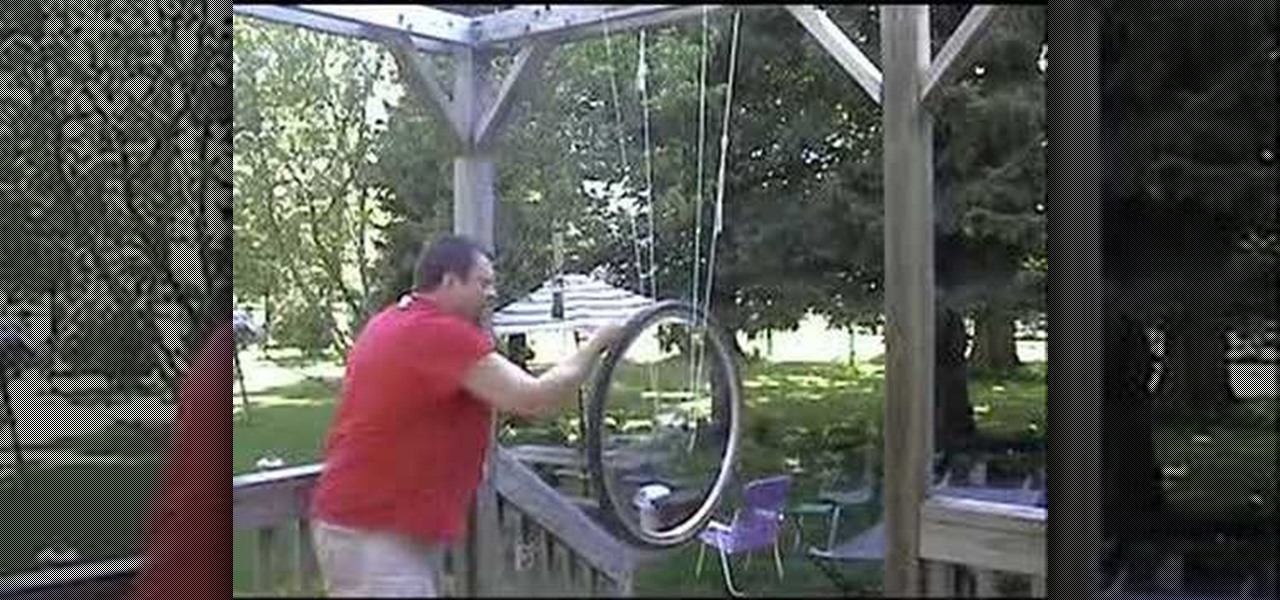
In this video, we learn how to make a wheel spin with angular momentum & inertia. You will need: a bicycle wheel, a lighter, and a couple of strings attached to the top of a deck. Now, take the bicycle wheel and hang it on the strings on both sides of the wheel. When you turn the wheel it will fall off of the strings. Start the wheel spinning again, then light one of the strings on fire. When you do this, the string will fall off but the wheel will keep on spinning while rotating. Do this exp...
In this video, we learn how to make an ornate paper rose. First, grab your paper and some wire. Start by wrapping six of the wires with floral tape all the way around. Next, use your scissors and cut out 8 teardrop shapes from the paper. Then, cut 16 more in different sizes. From here, wrap the petals around the stem using the floral tape. Start in the very middle of the flower and then add on petals until you have created the entire rose. To finish this, you will make the leaf. Cut out the l...
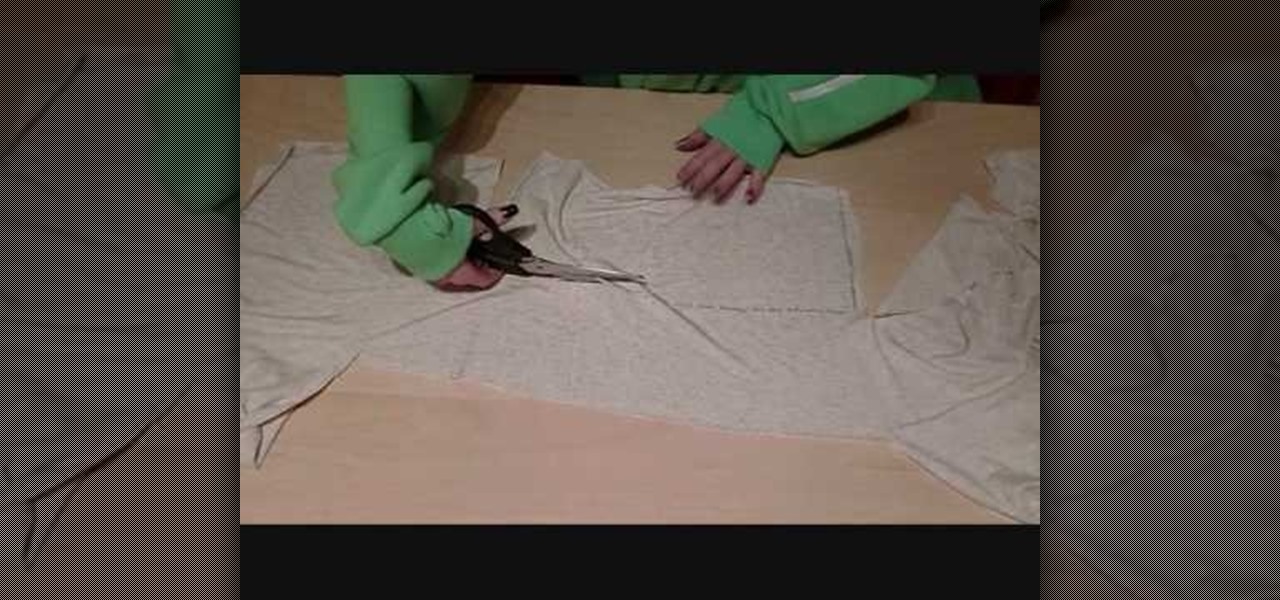
In this video, we learn how to make a feminine, long fitted sweater. First, lay out your fabric and use a pen to trace the lines for the sweater, measure it out so it's a good fit. Make sure to cut around the edges so you have room to sew. Now, sew along the edges and then turn the shirt inside out. Then, take extra fabric and cut out rectangular pieces that you will then attach to the bottom of the sweater by sewing them on. Once you are finished with this, try your sweater on to see how it ...
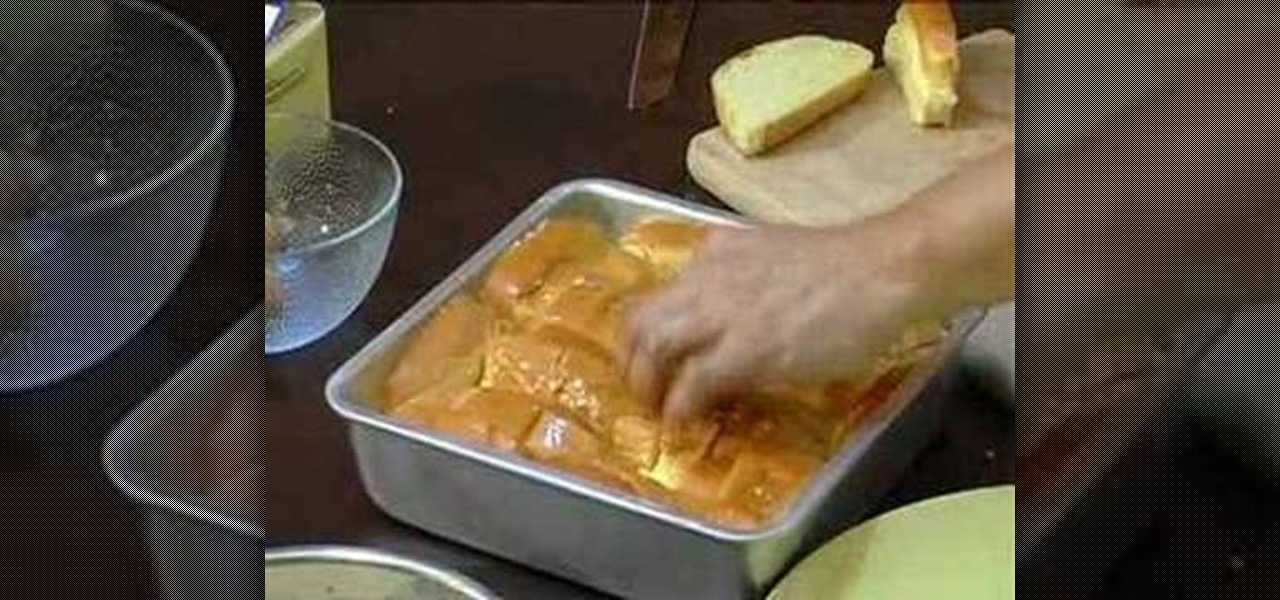
In this tutorial, we learn how to easily make bread and butter pudding. First, you will take 1 c packed brown sugar and add in some water to it. Put this into a pot and then put it over heat until it boils. After this has boiled, add in butter to the pan and let it melt completely. Once this is melted, add in some evaporated milk and use a whisk to combine everything together. Now, crack three eggs in a large bowl and whisk them together, then pour the milk mixture into this, mixing slowly sm...

In this tutorial, we learn how to do the glitter windows technique when card making. First, you will need to pick an area in the card where you want the window to be at. Then, grab a piece of card stock and stamp the areas out where you want the empty space for the window to be. Next, set this aside and grab another piece of paper in a different color. Apply glitter to this, then let it dry before attaching the cut out piece onto this. Now you can use this for the rest of your card and have a...
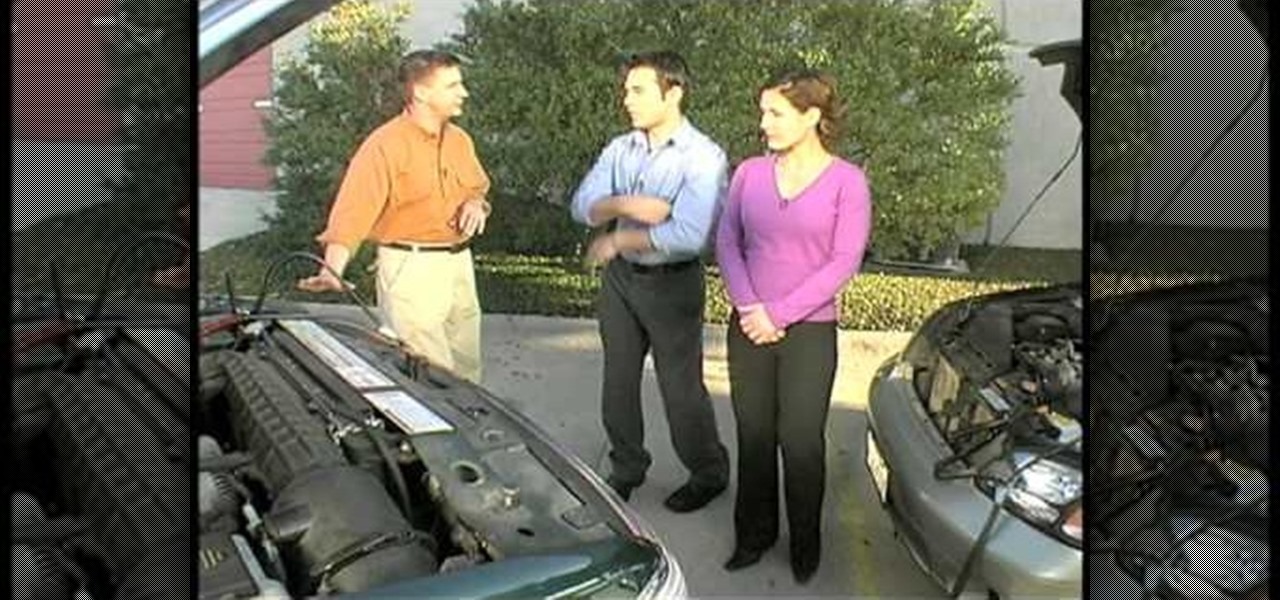
In this tutorial, we learn how to jump start a car using another car's battery. First, you will need to position the two cars in front of each other. Turn off both of the cars completely, then attach the jumper cables. You need to connect the positive post of the dead battery to the positive post of the live battery. After you do this, Then, wait for a couple of minutes while the cars are connected and the battery is receiving power. Now, start the car that has the bad battery and it should s...

An in-depth explanation of the structure of the hemoglobin molecule, the process by which it binds with the oxygen in the lungs, how it dumps the same oxygen molecule at the appropriate location in the body and how carbon-dioxide gets attached to the hemoglobin molecule are the topics which the narrator in this video explains with diagrams and a few equations.
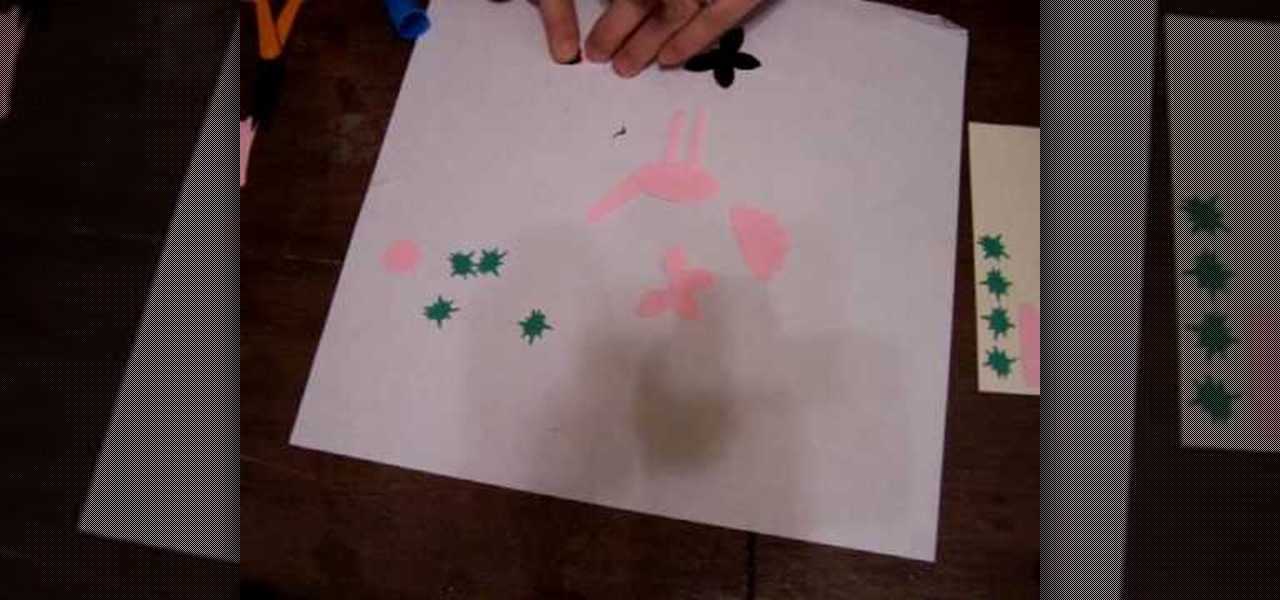
In this tutorial, we learn how to make a flamingo using Stampin' Up punches. First, you will need to punch out two five petal punches (black and pink), pink scalloped punch, large oval pink punch, 1/2" circle punch, and 2 long window punches in pink. Also, four green star punches. First, put the long lines together to make the legs, then attach to the oval shape and another long one to make the neck. After this, make the beak, head, and wings of the flamingo as well. To finish this, draw on e...

The Enzo Milano curling iron is revolutionary in that it is clipless. If you've curled your hair a few times before then you know that a great deal of curling irons always have a clip attached that holds in the hair, keeping it in place when you curl.
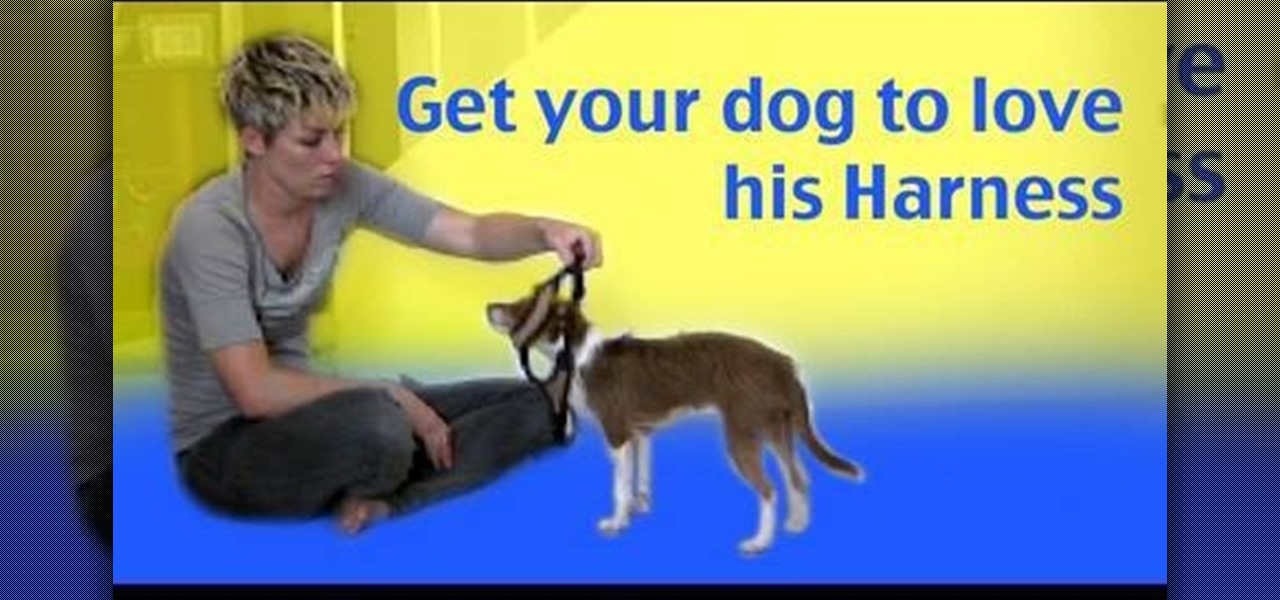
We'd let our little Fido run free all the time if we could, but unfortunately taking a dog out into any public space, whether it be simply for a walk in the park or to a shopping center, involves putting him on a leash or a harness.
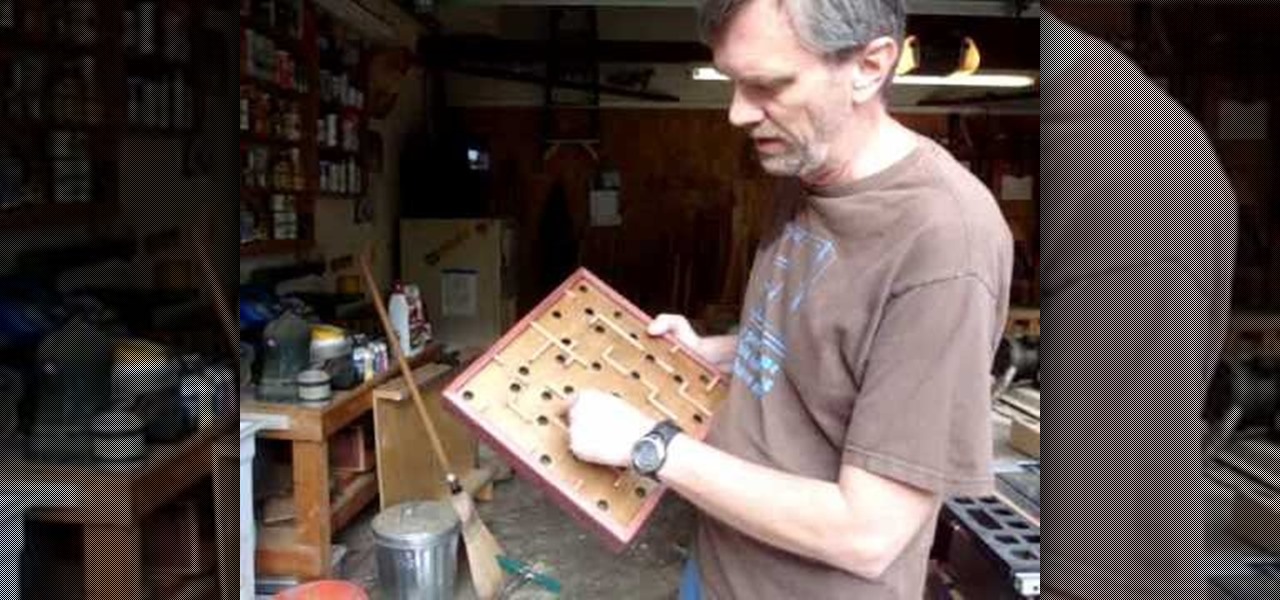
This video shows viewers how to create a wood labyrinth in which you can roll a small ball through a maze, trying not to allow the ball to fall into the hole. You will need some boards of wood which you will need to cut to the correct dimensions. You will need to create a box-like structure which will have an opening near the bottom from which you can retrieve your ball if it falls in a hole. After designing the template for your wood labyrinth, you should then proceed to make holes in the to...
Balloons in skilled hands can be used to model your favorite cartoon characters as well. Watch this video to learn how to create the leader of the Autobots Optimus Prime with balloons.
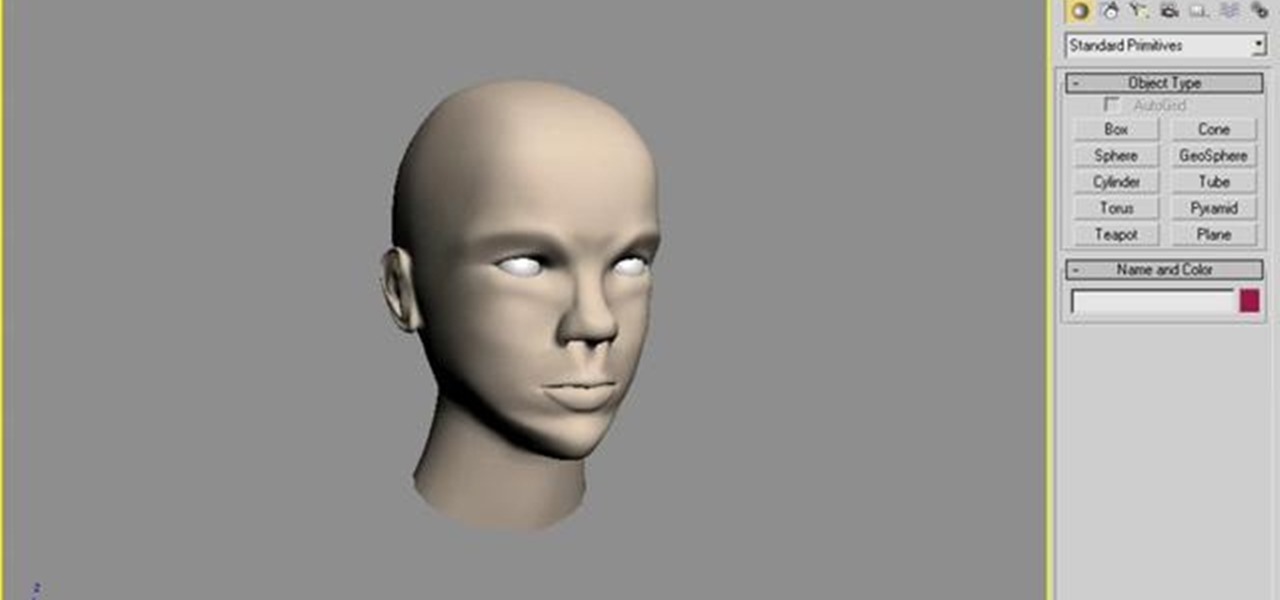
A polymodel head is being mapped. Keep the turbo smooth active to smooth out edges and seams. Use the relax tool to help even out the mesh and areas around the mouth, the ears and the neck as work proceeds. Use the stitch modifier to attach and combine the top and bottom of the head. To get all the seams and areas to match they must be moved, rotated and scaled. Use the weld tool on all the vertices and use the relax tool to get all the seams to match. Use the pelt map for the ears. Use the s...
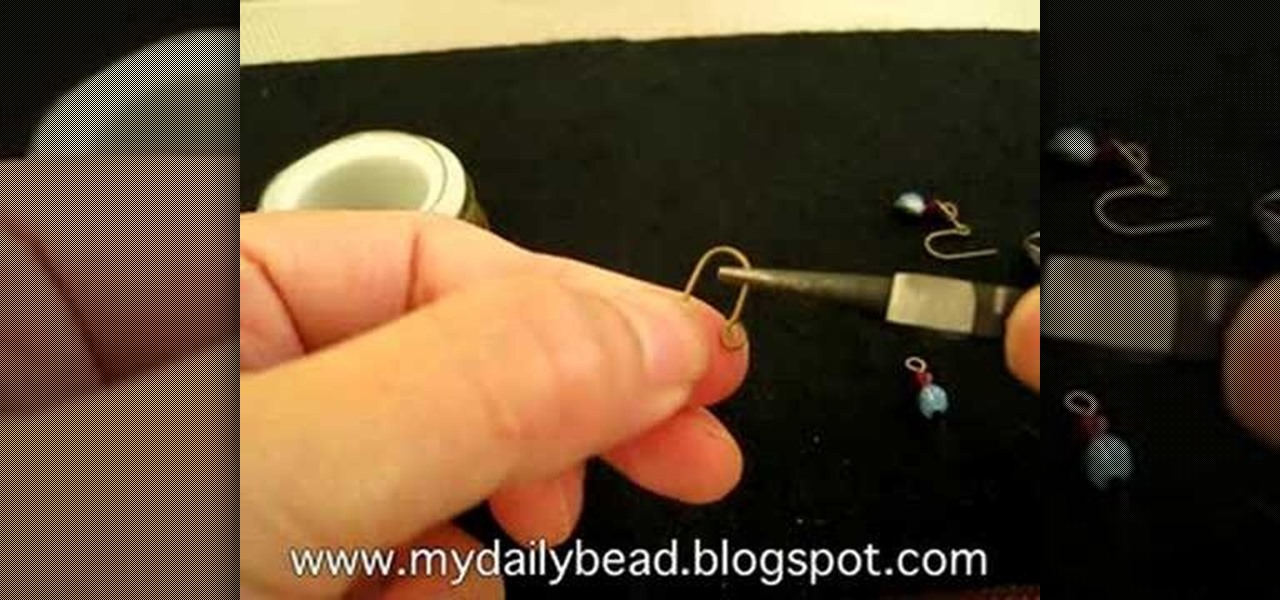
In this tutorial, we learn how to make earrings with Swarovski Crystal & coiled wire. You will need: 6 mm round bead, 4 mm Swarovski crystal, 2 inch head pin, and coiled wire. First, place the beads on to the head pin then bend the pin to 90 degrees. Cut this around 8 mm with a wire cutter, then use pliers to curve the bottom of the pin into a loop. Now grab the wire and cut it into a small strip. Form a loop at the bottom, then twist it into a wired circle. Attach this to the loop on the ear...

In this tutorial, we learn how to crochet a left handed streamer hat. For the first round, you will chain four, then double crochet through the loop. After this, repeat nine times from the beginning then slip stitch to join the beginning chain 3. For round 2, attach contrasting color of yarn, then chain 2. Single crochet in the previous chain 1 then go over the double crochet. Work 2 single crochets in the next crochet 1 then work a single crochet in each space. Slip stitch to join with the b...

Halo Reach is the final entry in the Halo series (at least according to Bungie), and if you're looking to chomp up some achievements with little to no effort, you're covered! In this video, IGN shows you how to cheat the multiplayer settings of the game to allow you to get as many of the game's multiplayer cheats with little to no effort. Just be sure you can handle Legendary mode!
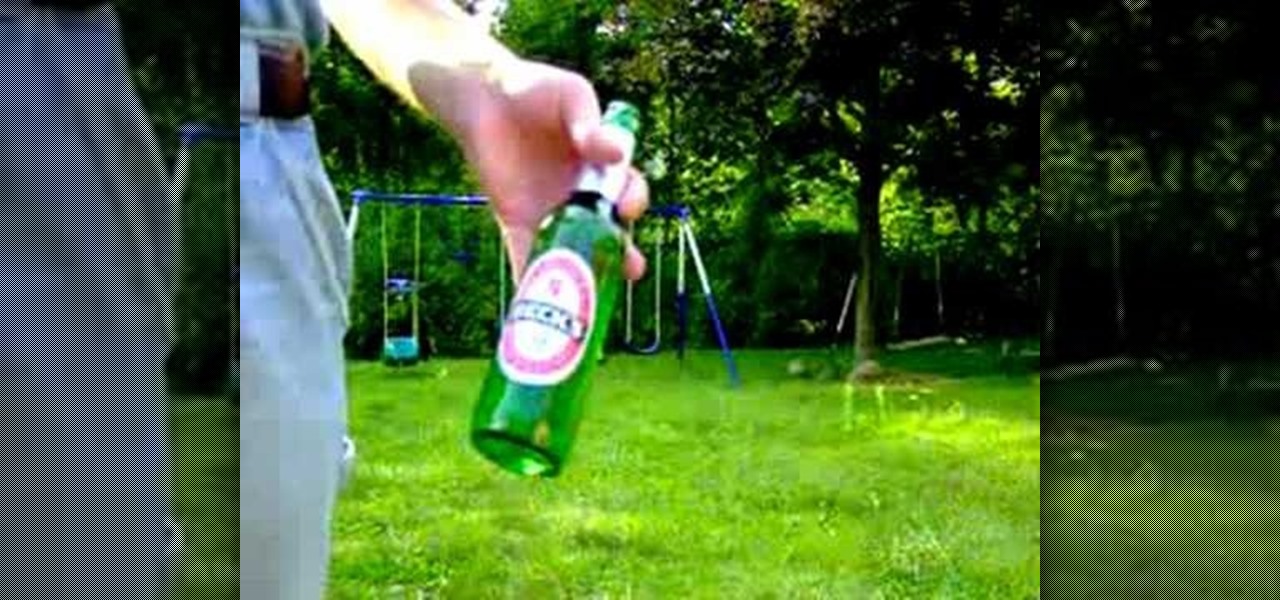
A broken bottle is a very dangerous weapon, and creating one quickly and easily in a combat situation can be the difference between life and death. It's also just kind of fun to break bottles. Whatever your motivation, this video will show you how to break a glass bottle quickly and easily using only your bare hands. It takes some practice, you might want to use gloves or a hammer at first, but once you get the hang of it it makes a great trick.

In order to make a sorcerer hat out of balloons, you will need the following: six (6) balloons, which will need to be partially filled with air and two (2) uninflated balloons, which will be used as the straps, holding the hat onto your head.
Jump rings are super functional in jewelry making, allowing crafters to connecting disparate sections of a necklace easily and also serving as their own minimalist decor. If you're into the look of chain mail (which is just that - lots of chains connected together via jump rings), then you should check out this video to learn how to craft your own jump rings.
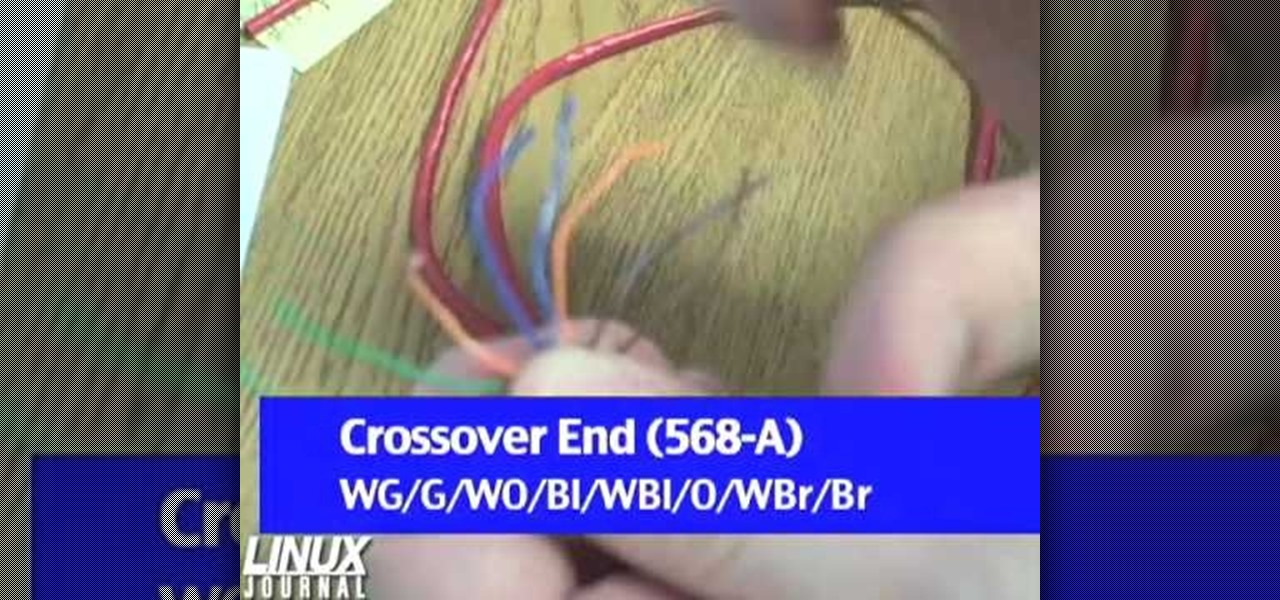
In order to make a crossover cable, for your computer, from scratch, you will need the following: Ethernet cable, an RJ45 connector, and a crimper.
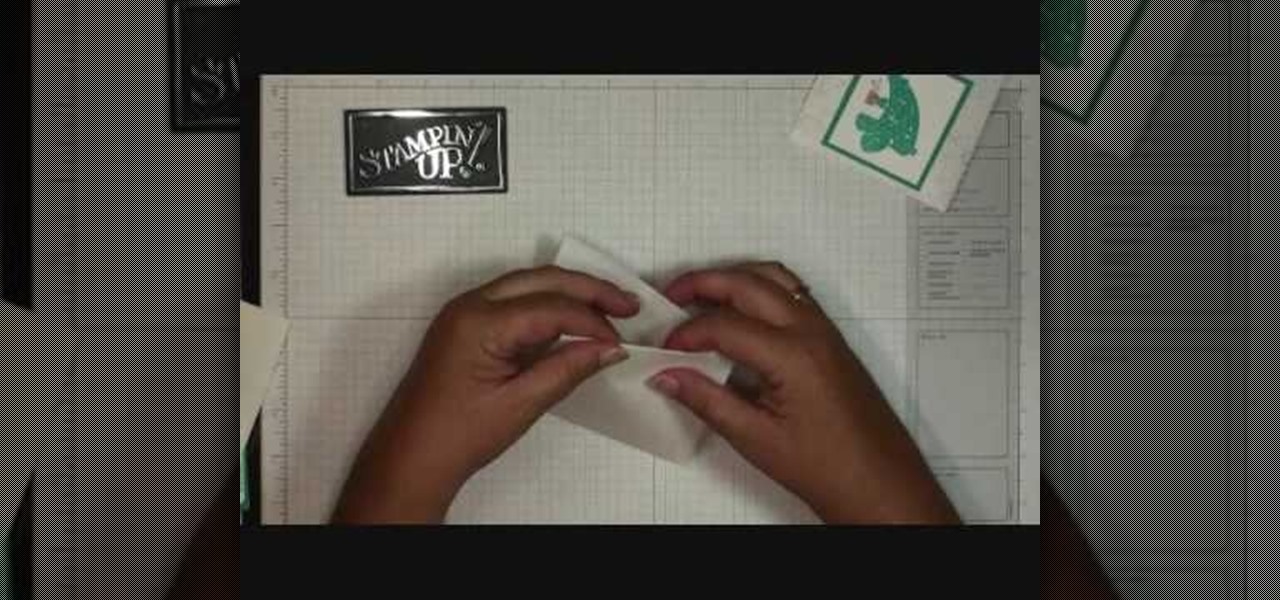
In order to make hot cocoa holders with Stampin' Up, you'll need the following: a whisper white Stampin' Up envelope, scissors, a paper cutter, cocoa, a jumbo wheel, ink pad, adhesive, stamps, ribbon, pen, stapler, glitter, and card stock.

In this video, we learn how to make photo magnets. First, clean your glass with vinegar, make sure it's small enough for the magnet. After this, cut your preferred image to fit in the glass, then apply adhesive to the image. Apply the glass with the texture side down, then push it around to work out all the bubbles. Clean the glass off with a damp towel before it dries. Next, apply Diamond Glaze to the back of the magnet and then allow it to dry completely. When finished, attach a magnet to t...
So we're going to ask you one question that will change your origami folding life forever: Are you ready to move beyond cranes? So many people get stuck and attached to making origami cranes because they're easy, cute, and pretty.
In this video, we learn how to make a flower hair accessory from shopping bag tissue. First, grab your tissue from any shopping bag and fold it down until you have a rectangle, then cut on the sides to make several different rectangle shapes. Next, start to accordion these together until you reach the end of the papers. After this, grab the middle of the tissue paper and tie a rubber band around it. Next, start to push up the tissue from both sides until you reach the bottom. After this, you ...
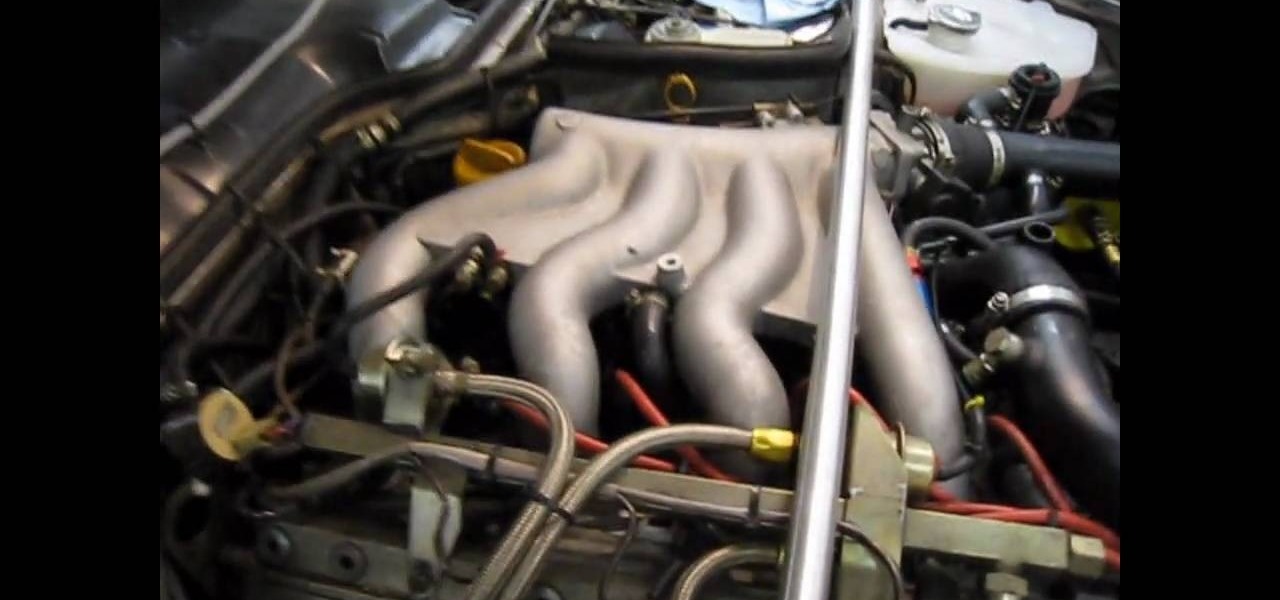
Do you think that you have a vacuum or boost leak on your Porsche 944 Turbo? Would you like to know, but not pay a mehanic a ton of money on something you can do easily? Then are you in luck! This next video tutorial is just what you need.
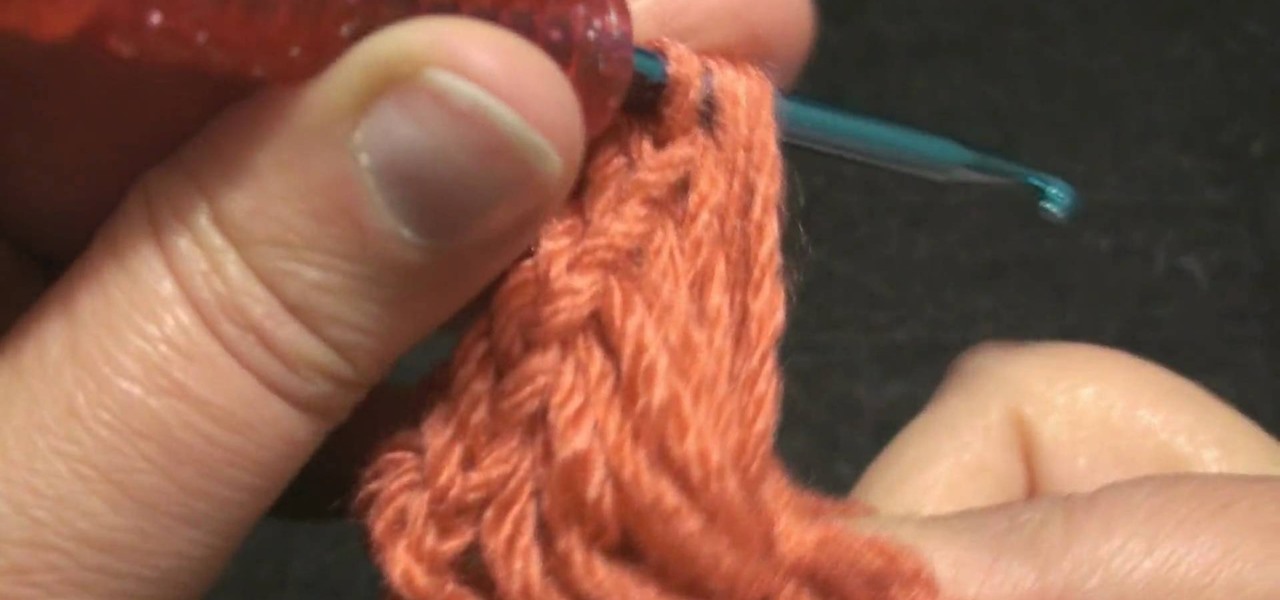
In this video, we learn how to edge a knitted piece with a crab stitch. First, attach your yarn to the left edge of your work. After this, work one chain stitch, then go backwards with the hook. Insert it into the fabric and grab the yarn and pull it through the loop. Go around the yarn again and pull it through again. Keep going backwards and grabbing more yarn as you go in reverse. You are working with one loop on the needle while going into the fabric. Make sure you're consistent with the ...
In this video, we learn how to crochet a left hand radiant butterfly. First, attach the slipknot to the crochet hook and chain four. Next, work four chain four loops. Slip stitch through the center of the chain four, then chain four again. Continue to do this until you finish one side of the butterfly wing. Next, continue on to create the next butterfly wing by chaining seven, then cut off the additional string after you knot it off. Now, use a pipe cleaner to shape it into the shape of the b...
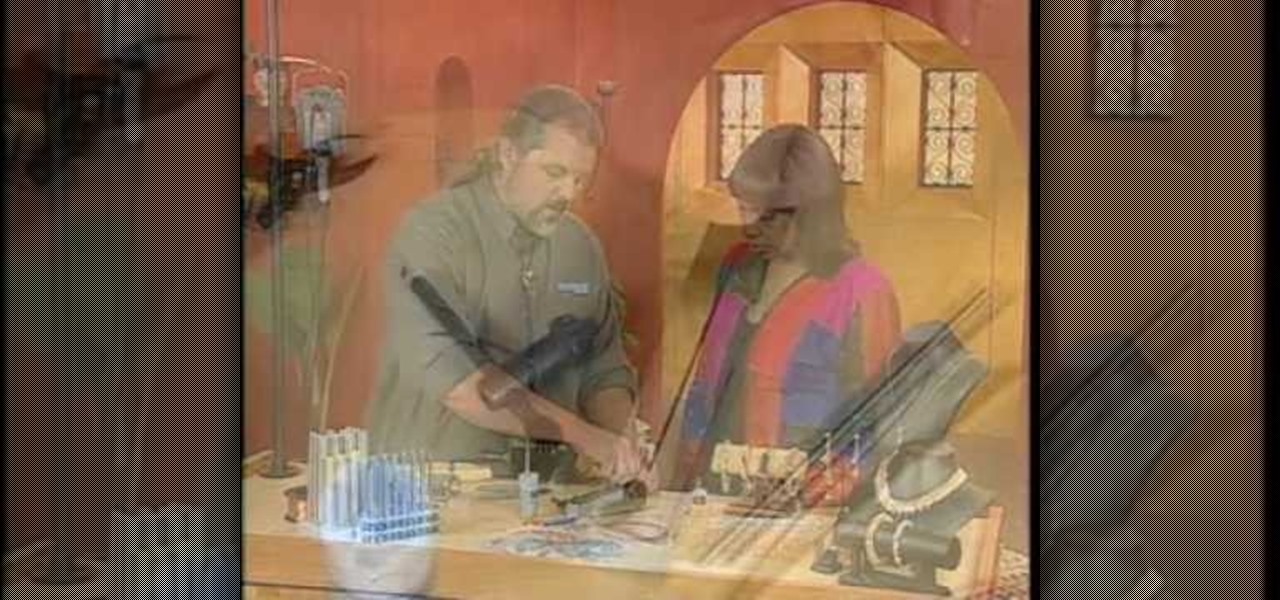
In this tutorial, we learn how to make a sniper rifle movie prop. First, go to this website to get the blueprints: Sniper. After this, draw your gun out onto a poster board and cut it out, you will do this for around 6 of these poster boards. When you are finished, use the hot glue gun to stick all of these together. Next, sand out the sides and attach duct tape to the sides to keep it together. After this, grab two empty water bottles and an empty toilet paper roll. Cut around the top of the...