Watch how to configure LDAPS Authentication on the BIG-IP Edge Gateway with BIG-IP LTM functionality. Whether you're new to F5 Networks' popular network appliance or are a seasoned network administrator just looking to better acquaint yourself with BIG-IP, you're sure to benefit from this free video software tutorial. For more information, including detailed instructions, take a look.
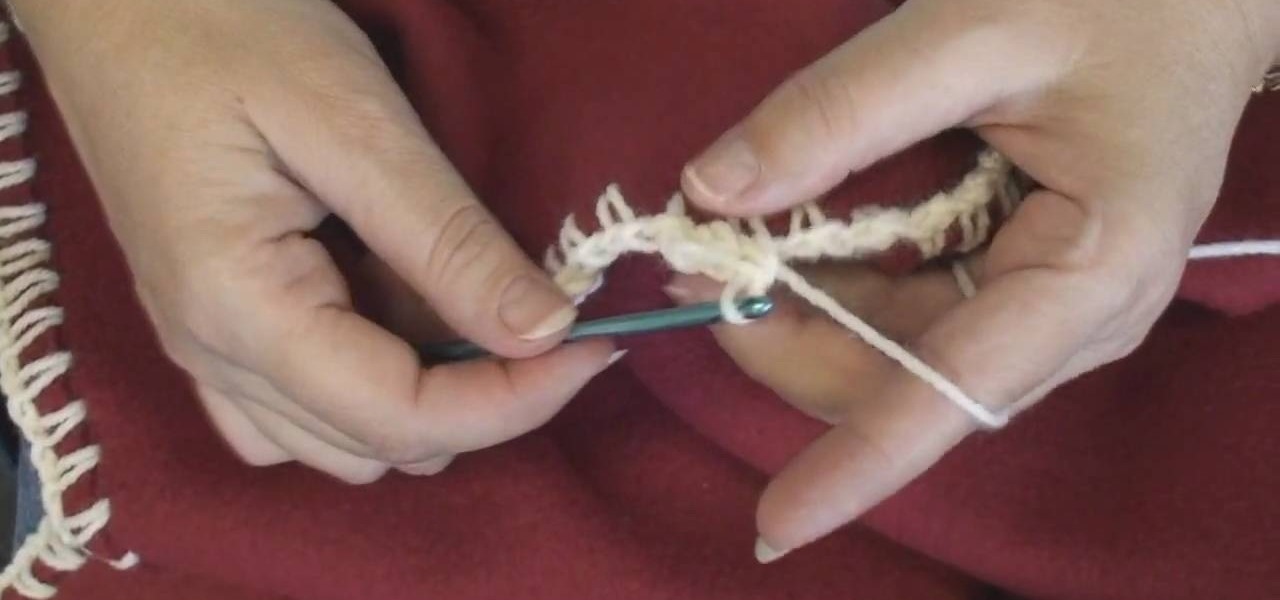
Crocheting is a hobby that has been around for years and years. It's a very useful practice that can be used to make material that is necessary like blankets or shirts. In this video tutorial, you'll find out howt o make a crocheted edge fleece blanket using this easy to follow instructional video. So check it out and good luck!

In this video tutorial, viewers learn how to tie a double handkerchief for tuxedos. Begin with 2 triangle handkerchiefs and fold one over the other. Over lap the triangle to form one mixed triangle handkerchief. There are 2 ways to fold. The first ways is to take a corner and fold it up. Then flip it over and fold a corner down to form a square shape. The second way is to roll in the tow corners to create a cone shape. Put a card inside the fold and hold it together with a pin. This video wil...
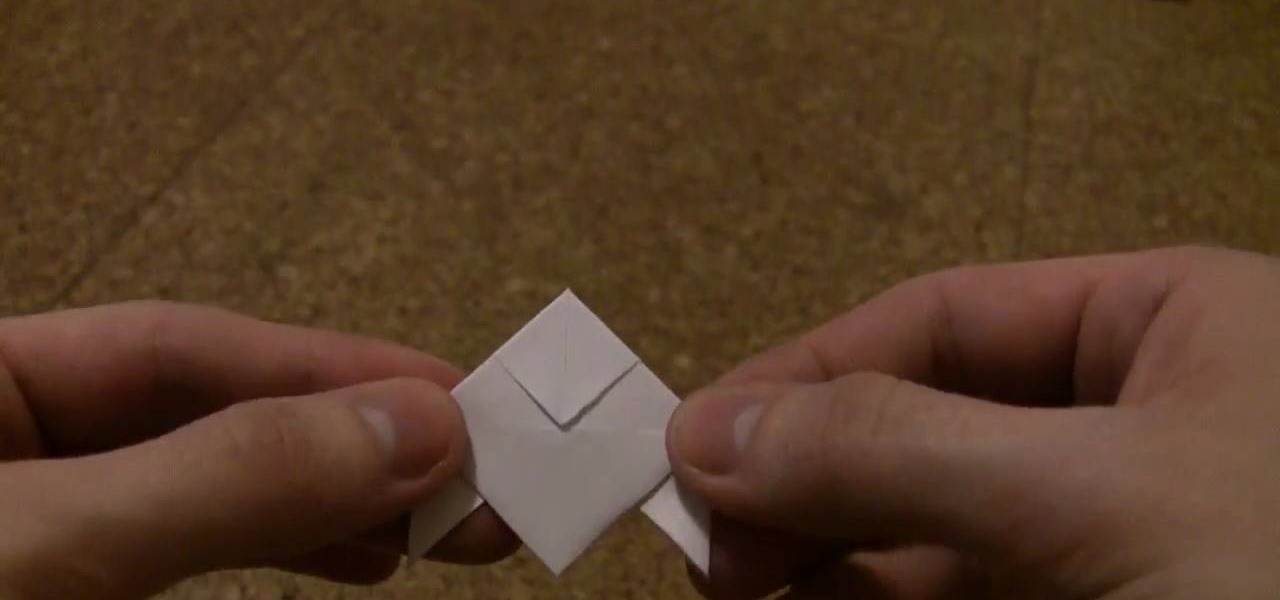
In this Arts & Crafts video tutorial you will learn how to fold a Heavy Rain-style paper origami bird. For this project, you will need a square sheet of paper. Fold it diagonally across both diagonals. Open it up and fold one corner up to the center point of the paper. Flip it over and fold the other three corners to the center point. Now fold all the four corners to the center point. Flip it over and now fold it in half as shown in the video. Then you pull out both ends from the center and w...

In this Arts & Crafts video tutorial you will learn how to create a box to hold a mini album or small cards. Take a shiny card stock 10.5 x 6 inches. On the 6" side, score at .5" and 1" on both sides. On the longer side, score at 3, 3.5, 7.5 and 8 inches. Cut out the corners on the flap side of the card as shown in the video. Do a step cut on the other side of the card as in the video. Round the four corners with a corner rounder. You can do some stamping now if you want or you can also glue ...
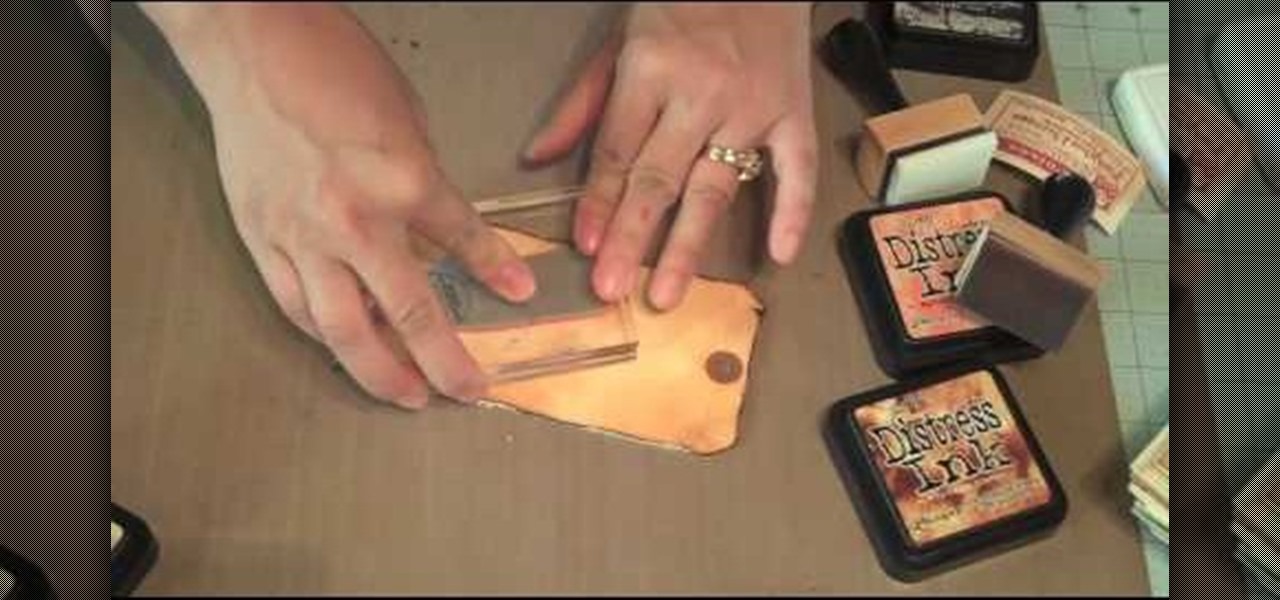
This video describes how to use distress ink. First we have to take a paper that we want to work on. Next take the distress ink colors. Spread the lighter colors first on the paper. Take the first color and spread it on throughout the paper. Next take the vintage photo and work on the edges with it. Next take the spiced marmalade ink and spread it on the edges again. Next take the paper and apply the paper edges directly to black soot ink pad. Next wait for sometime until it dry. Next take th...

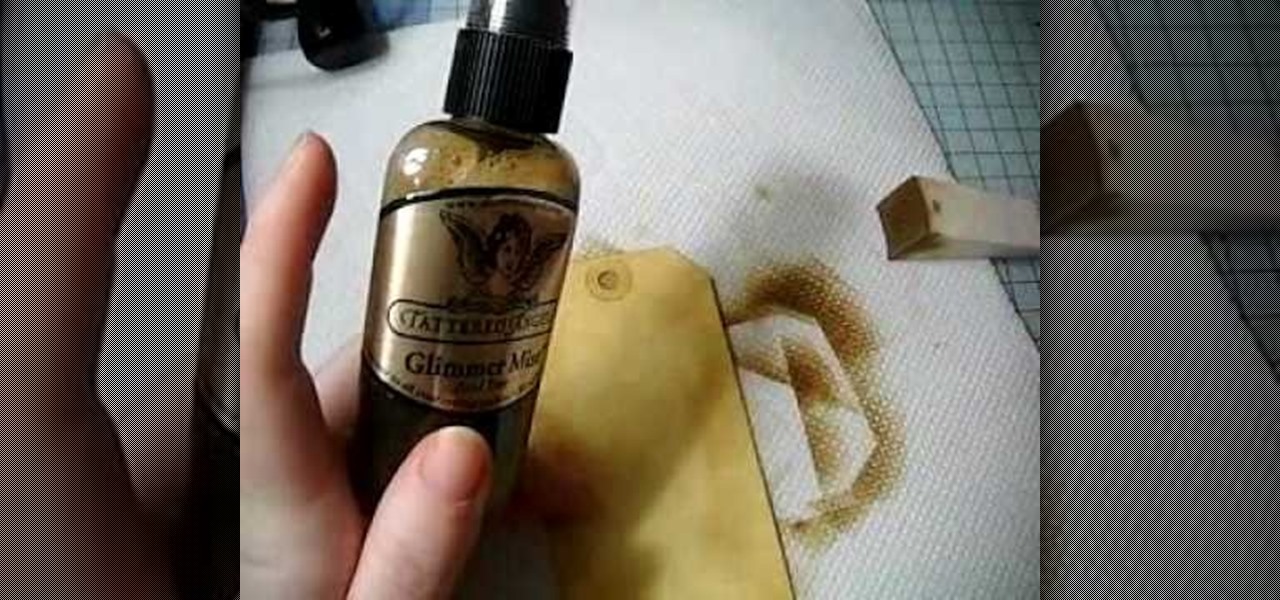
In this Arts & Crafts video tutorial you will learn how to make a distressed scarpbook tag. Take two tags, one red color and one yellow color and strip the threads off. Take a light color ‘Distress’ ink on a sponge and dab one side of the yellow tag with it to give it a light rough look. Now take little darker brown ink on another sponge and dab the edges of the tag with it. Then place the tag in a box and spray Glimmer mist on the tag. Dry the tag with a dryer. Now dab some more brown in...

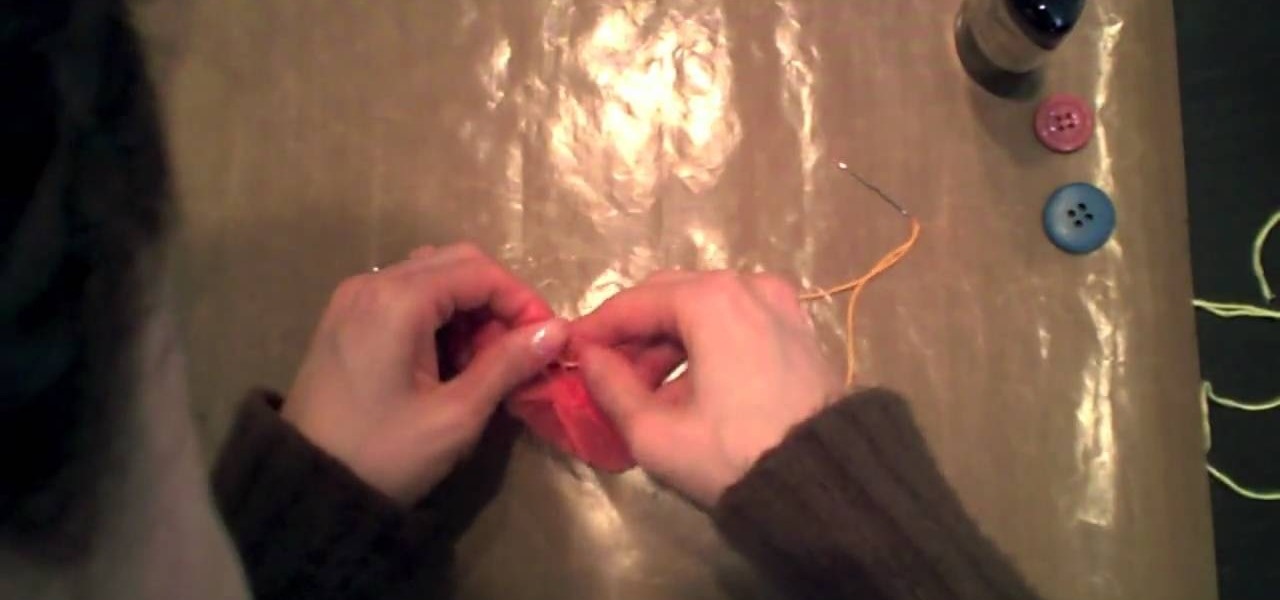
This video is about how to make flowers from recycled dryer sheets. Since the dryer sheets have already passed through the dryer it will be wrinkled but it does not matter. Cut the dryer sheets into strips 1 inch wide approximately and need not be uniform. Take a button and place the edges of the3 strips in such a way that it takes the shape of the flower and the other edge collects at the button holes. You may color the dryer sheets with dye like Ranger perfect pal mixed with water and spray...

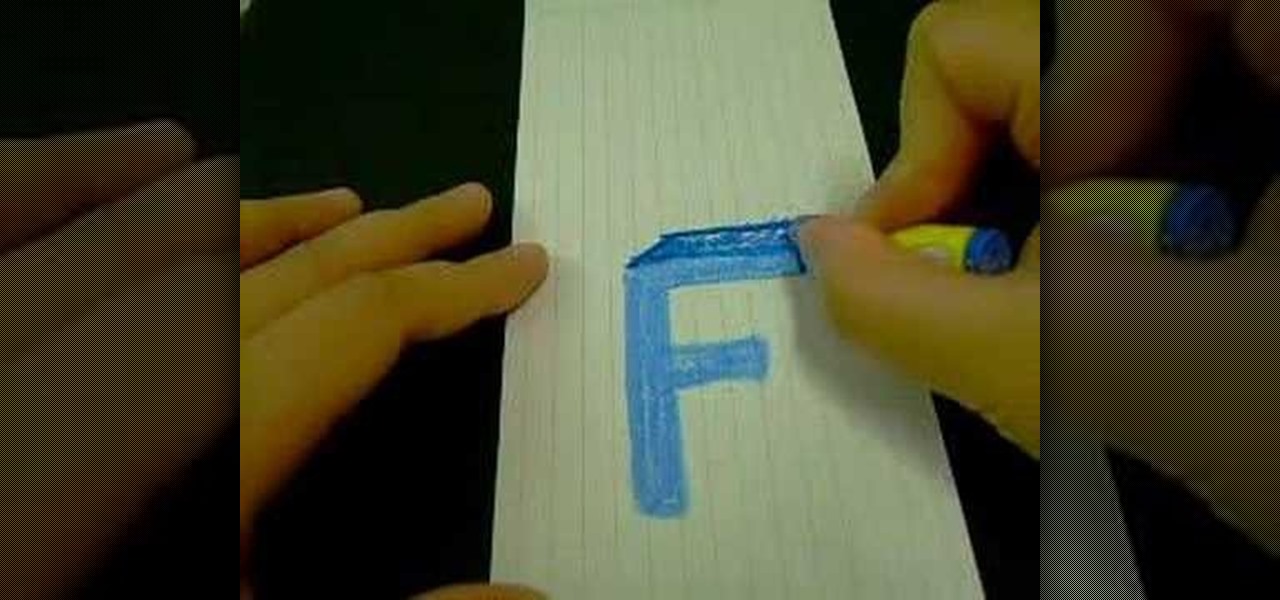
This video teaches us the method to draw the letter F in 3D. First draw F normally. Now double the outlines of the F on both sides of the outlines. Draw a line that is parallel and of the same length of the longer top arm of F. Join the ends of the line to the ends of the top arm by parallel lines. Color the parallelogram with a darker shade. Make a parallelogram by joining the ends of a line drawn parallel and equal to the smaller side of the rectangle of the top arm. Draw a vertical line an...

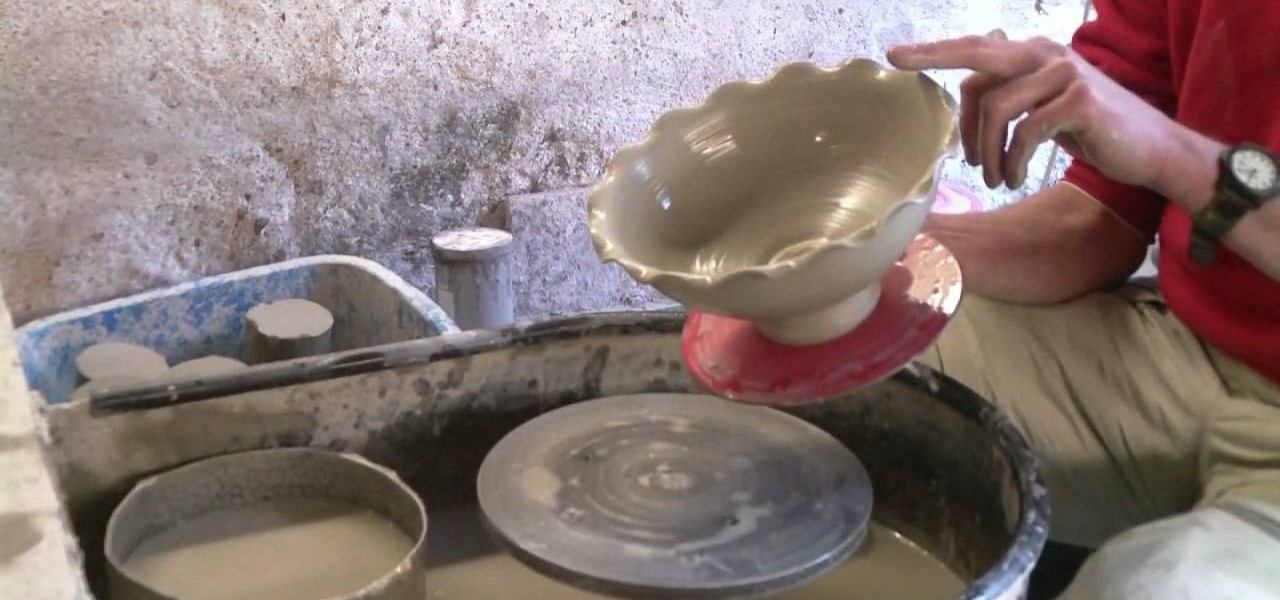
This video illustrates the method of throwing a wavy edged pottery bowl. This process comprises of the following stepsStep 1This process needs clay, pottery wheel and water in a bowl.Step 2Place the clay on the moving wheel.Step 3Now give the clay a desired shape with the help of your hands.Step 4keep wetting your hands at desired intervals and insert your fingers inside the clay so that it gives you the shape of a bowl.Step 5When your desired shape and size is ready take the clay bowl out of...

This is a demonstration of how to make a harrier paper airplane. First fold the paper in half lengthwise, making sure the corners line up. Unfold it and fold the corner toward the center line. Fold the top triangle down almost to the bottom of the paper. Fold the top corner in to the center line again. Fold in the first point. Fold the plane in half lengthwise. He demonstrates how to fold the wings in the right place so that the plane looks like a harrier. The plane can be customized and deco...

This video demonstrates how to make a double- crochet edge. The video uses a large cardigan neck to create a double crochet edge on. First, back the yarn around the hook and go into the next stitch. Then pull through a loop on to the hook. Take another loop on to the hook. Next, go through the first two stitches at the end of the hook. Then take another loop onto the hook and go through the last two stitches. So, you wrap, insert through next stitch, pull on another loop, draw the hook throug...

Learn Wake demonstrates how to properly take-off for a tantrum wake board move. The tantrum is one of the easiest inverts to land but it has a more complicated edge than a wake jump or a back roll. It requires an edge change at the wake. Approach the wake on your heels so that the board is flattened before the wake and then switch to your toe side edge to pop the trick. First, practice the edge change and pop with no wake. Cut away from the wake, edge out towards the flats, flatten the board ...

To make mini cupcake earrings first take a piece of sculpey and make a cylinder. Make vertical indentations around the cylinder, similar to those an the edge of a quarter. this forms the bottom of the cupcake. Next take another small piece of sculpy and role it into a line like a piece of yarn. starting at the edge of the top of your cylinder coil the line of sculpy around the edge and up, similar to a piece of novelty poop. this forms the cupcake. stick a earring finding through the top of t...

Folding fitted sheets is always trickier than folding a conventional rectangular sheet. First, throw the sheet onto the bed. Then use your hands to tuck all the corners in on themselves. Then lay the sheet back down and straighten it. It makes a horseshoe shape with its elastic. Then fold one corner over the top so that all your elastic hangs over one hand. With the other hand grab the other corner so you can lay it down flat in a half moon shape with all the elastic together in one place. Th...

Dragontrap uses 1/2 a yard of three different colors of fleece for this scarf project. She cuts the fleece into strips of twelve to sixteen inches in length and two to three inches wide. Then she sews the strips together lengthwise, rotating the colors of fleece. Once the strips are sewn together, she has a large rectangle of pieced together fleece This is folded in half with outsides together. She sews one edge of the scarf closed and sews all the way down the long edge of the scarf. Finally...

This instructional video shows us how to make a Japanese flag fan. The materials required are: Foamy (Red and white), four popsicle sticks, glue and scissors. First cut two circular shapes (with one straight edge) from the white foamy, then glue on the popsicle sticks to the straight edge of one of the circles to make the handle. After this, glue down the other white circular piece of foamy to cover the tops of the popsicle sticks. Then cut out two smaller circles from the red foamy and glue ...

This is a video clip about "how to make a paper box". To make the paper box get a hard sheet paper and follow the instructions. Fold the paper into a half and unfold it and fold the other ending of the paper into half. Then, fold the one corner side of the paper and make a triangle to fit the center as the right triangle and do the same procedure for the other corner side of the paper. After that, fold the bottom side of the paper upwards and repeat the same process for the rest of three corn...

First, prep the nails. Apply the white tips to the end of your nail. Use a nail clipper to clip the edges and a nail file to round the edges so they are not pointy. Next, apply primer to the bed of the nail. Then apply white acrylic with a brush to the tips that you put on earlier. Use the brush to make sure it fits the shape you want. Next, apply nail polish on the nail bed until it is the same height as the acrylic. File the edges down again if needed. Coat with transparent pink mix (a mixt...

This video illustrates how to light a match while bartending with one hand. Take a pack of match sticks. Slide the paper over the match pointer with your thumb. Fold a match stick backwards to the pack and fold it once at the edge of the pack. A match strip is printed over the edge in pack of match sticks. Just let the match stick rub the match strip using your thumb and the match stick is lighted up. Just slide over the table. Benefit after watching this video: 1. To light a match while bart...

Mind you now, that using a normal rectangular piece will not give you the desired results. You must use a square piece of any size. Start by making two diagonal folds for each corner to corner cross section. Now do two hot dog folds, like wise, then take each corner and fold it into the middle so it resembles triangular tabs. Now take these tabs and once again fold them in half but up to the outside of the paper, resembling another triangle. Fold Over, and do as shown in the video for the bes...

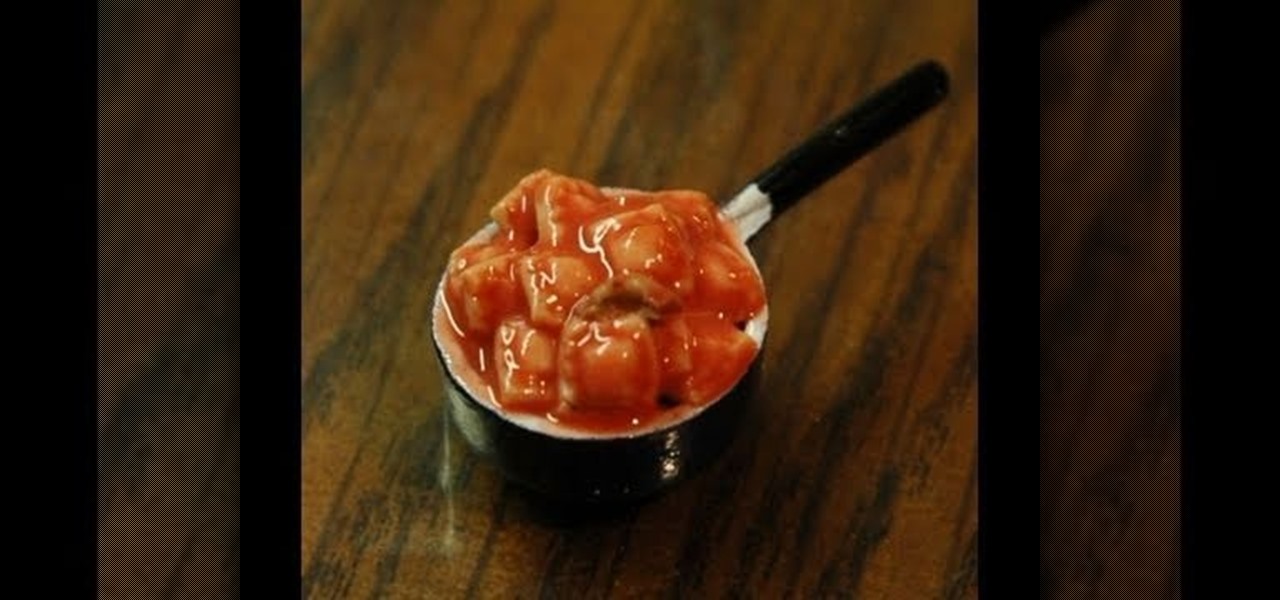
This video shows how to make a very realistic looking bowl of ravioli out of polymer clay, to be used in a doll house. She starts with flesh tone clay and uses a piece of plastic needlepoint to press the pattern of square ravioli into the clay. She trims off the edges and then cuts out the tiny ravioli. She uses the fluted edge of a toothpaste tube to imprint the edges of the ravioli. She uses a mixture of liquid polymer clay and red and brown pastel chalk to make the sauce. She puts the ravi...

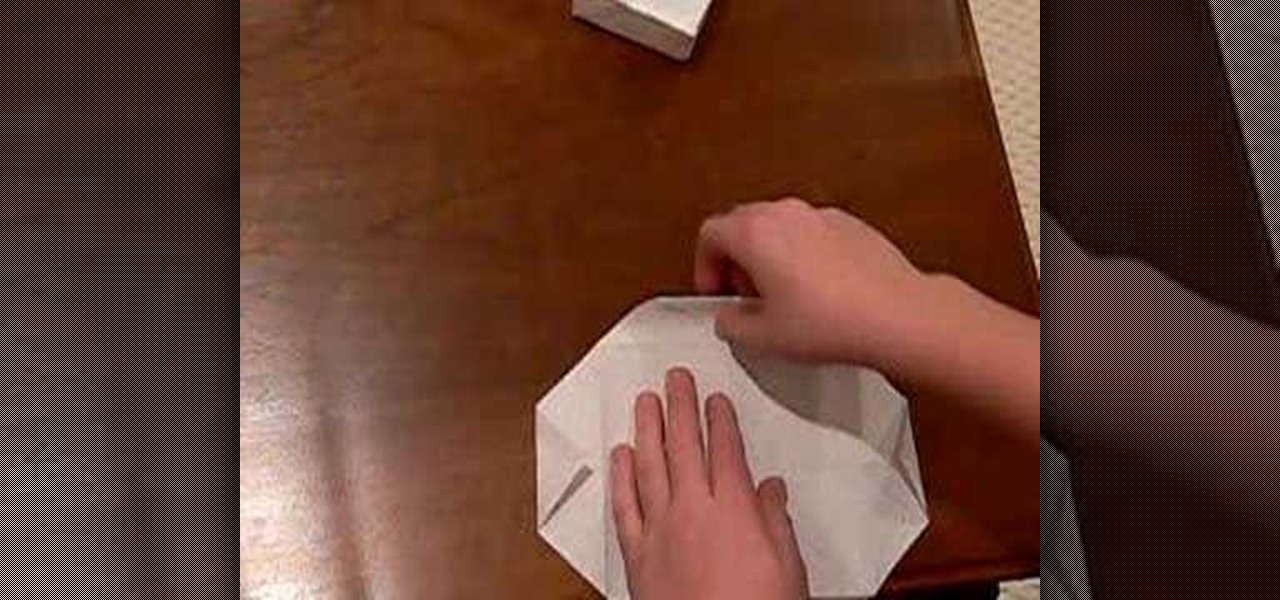
HowToMakeCrap teaches you how to make a paper box out of an ordinary a4 sheet of paper. Make a square out of that by folding from one corner of the page diagonally. The remaining rectangle slice at the bottom will have to be removed. You're left with a perfect square. Fold that horizontally. Then vertically. Then diagonally two times. Unfold it to the original square. Fold to create to triangles on top of each other. Take the lower left side corner and fold it to the top. Flip the paper and d...

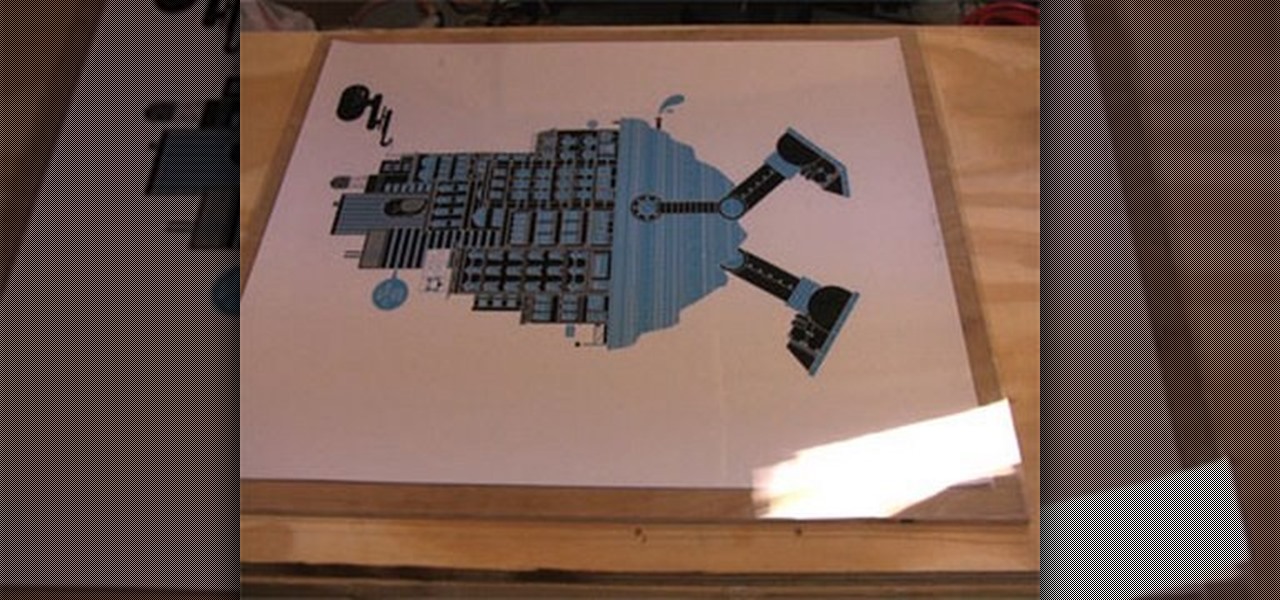
Framing and matting your favorite posters or art can get expensive! In this Curbly video tutorial, you'll learn how to make a quick and inexpensive frame. All you need are some basic supplies available at almost any arts and crafts supply store including: A sheet of plywood, a plexiglass cut to the size of the plywood, archival paper cut to the size of the plywood, frameless corner clips, and a bracket.

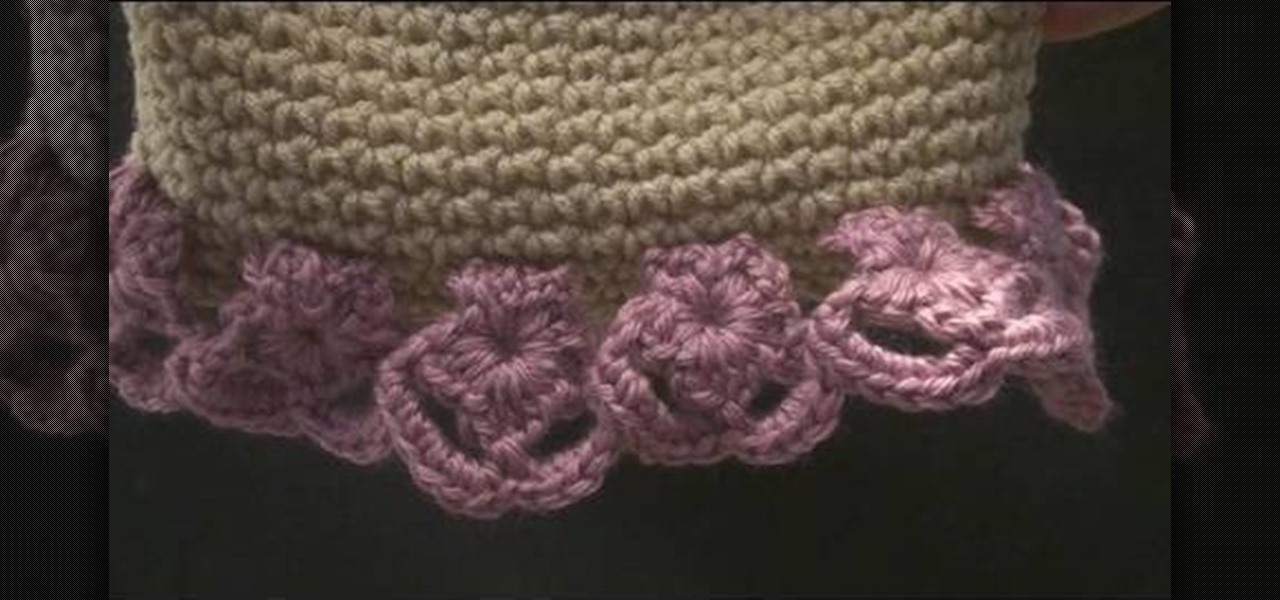
This how-to crochet video offers a simple pattern and instruction for stitching your own cute and easy crocheted hat. Knitted hats don't have to be for winter. While a cozy hat will protect you from the cold, a lighter yarn can add some style in warmer months as well. Check out this video d.i.y. arts and crafts lesson and learn how to crochet your own flower edging for hats.

Snowboarding: Hit the Slopes With Style There was a time when simply riding a snowboard made you the extreme guy on the slopes. But now, with more people strapping on a board instead of skis, the stakes have been raised. Fortunately, we've lined up this video tutorial to keep you on the cutting edge. See how to perform a nollie on a snowboard.

Watch this instructional origami video to fold a four cornered diamond box. There are several variations of the traditional Japanese origami diamond box, but this one has a slightly more complex structure. You will need four pieces of origami project to complete this origami project.

To install a sliding patio or deck door, first decide a practical, aesthetically logical and structurally sound location for the entranceway. Do not locate a patio door closer than 4 feet from any corner, otherwise the solid-wood sheathing or metal bracing at the corners could be compromised. Also, plan ahead. We chose the door's location in part because it allowed the option of later adding a bathroom at the corner of the adjacent wall. For a step-by-step at the installation process, take a ...

This scrapbooking video demonstrates how to decorate a paper circle frame using EK Success Corner Punches. You will need x-acto knives to make specific cuts. You can use store bought paper cutouts or make your own using scraps of recycled paper. Use embossing ink, embossing powder and a heat gun to add extra texture to you paper picture frame.

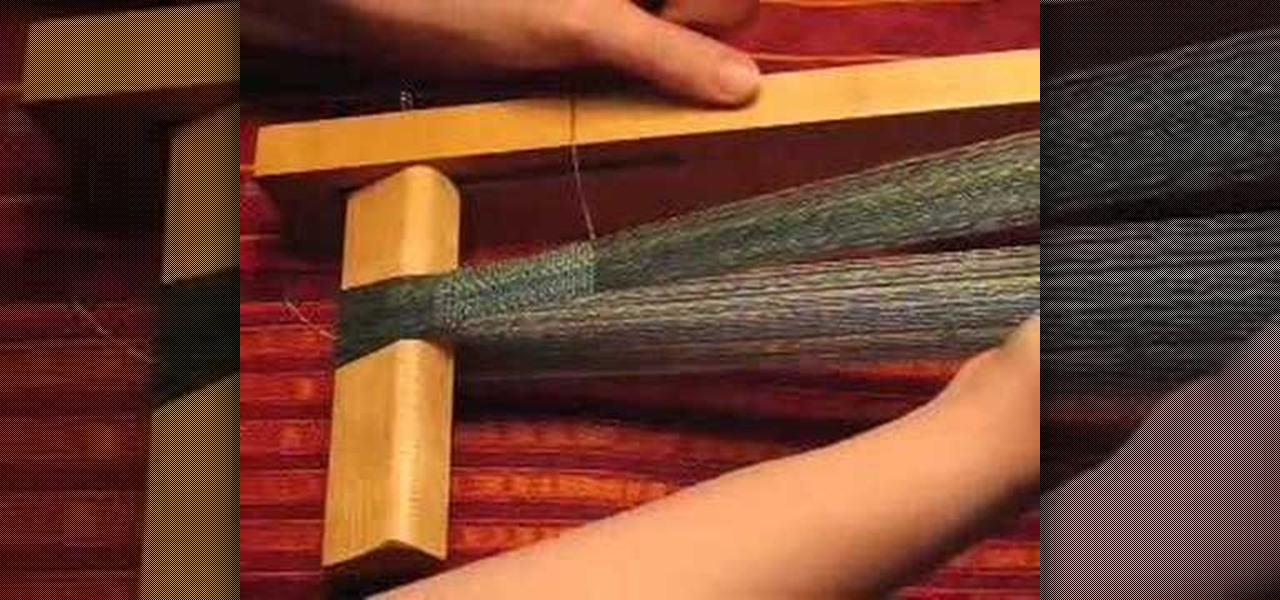
So you're weaving a narrow band. How do you keep the edges nice and straight? Here's a technique that combines weft insertion, beat, and selvedge control. It's useful for inkle weaving, tabletweaving, rigid heddle weaving, backstrap weaving... or even weaving small bands on a big loom. Try it!

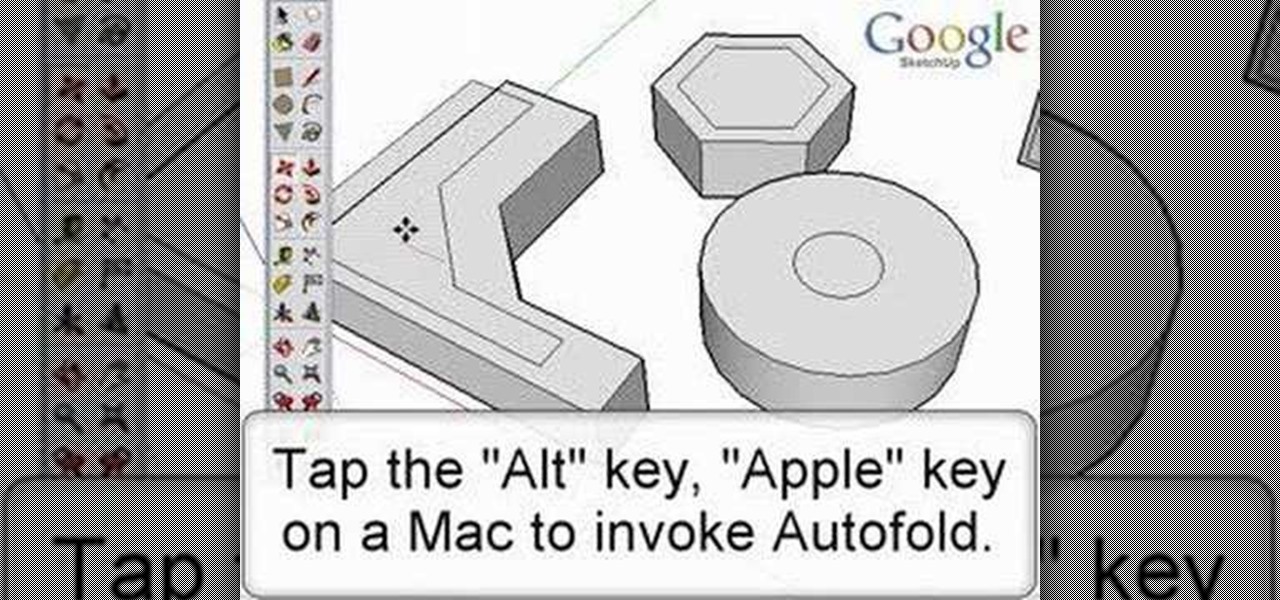
Autofold is part of the move tool and allows you to automatically create folding edges for new geometry. Take a look at this instructional video and learn how to use the move tool to autofold in Google SketchUp. The autofold can be activated by pressing the Alt key on the PC or the Apple key on a Mac. Autofold let's you move a point, edge or surface in any direction automatically creating fold edges as needed to do so.

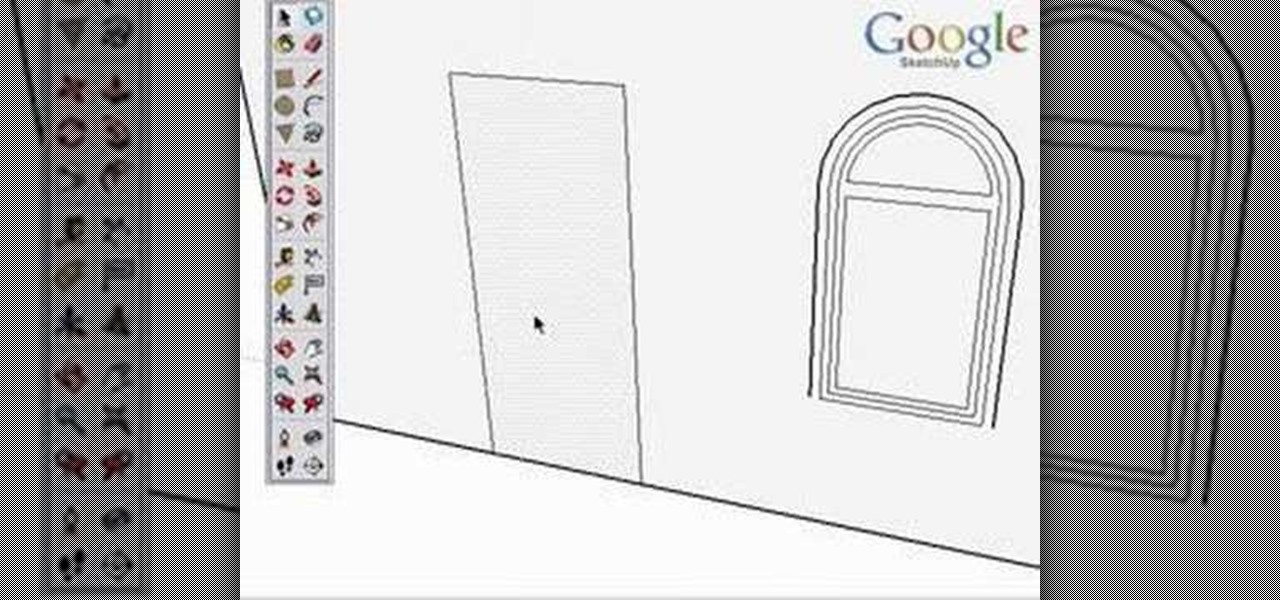
Take a look at this instructional video and learn how to use the offset tool in Google SketchUp. To click on any surface to offset its edges, in or out. The tool auto selects any surface if no particular surface is selected. You can select a number of different surfaces or an individual surface. This tutorial covers offsetting surfaces versus edges, inferring, and some speedy tips.

This video cake decorating tutorial shows how to design piped scrolls of frosting on a cake. Start with a tube 44 or 43 at one point and twist it at the top, allow the tail of icing to fall on the edges to cover the edges of the cake. Repeat the same process around the cake. Piped scrolls are easy enough to replicate, just watch this instructional video and find out how it's done.

This Blender tutorial covers snapping points and merging objects as well as lofting between edges.

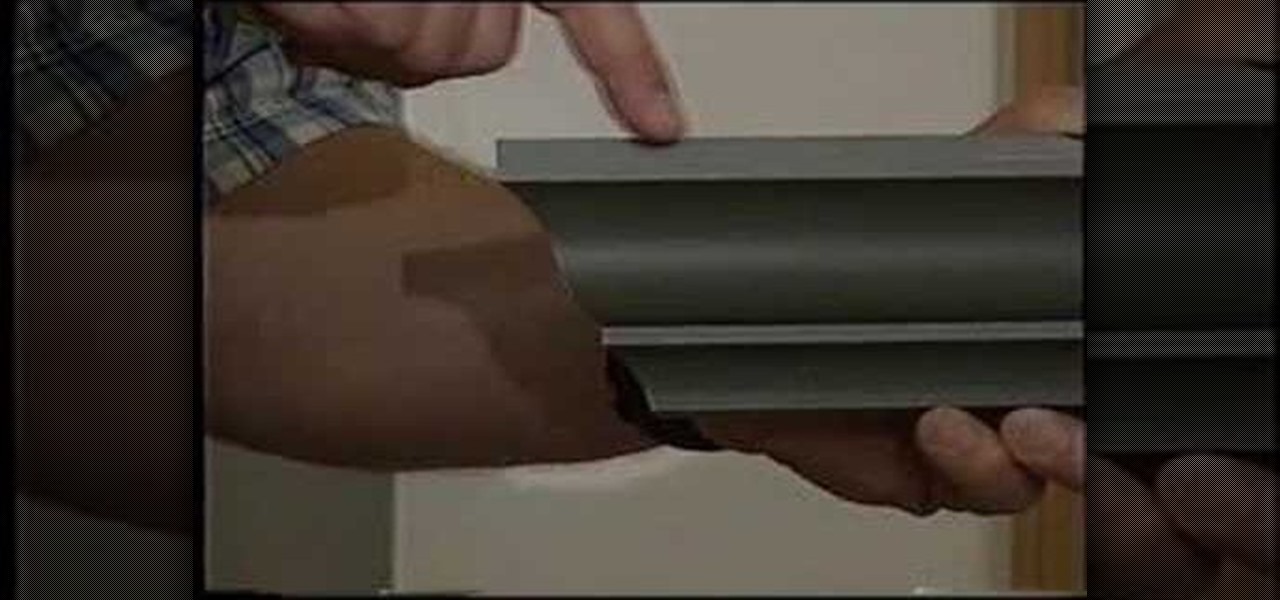
Cutting crown molding is simple with these tips from Tim Carter. Your crown molding will easily fit any inside or outside corner if you follow Tim's tips. Simple crown molding will be even easier and complex crown molding will be doable.

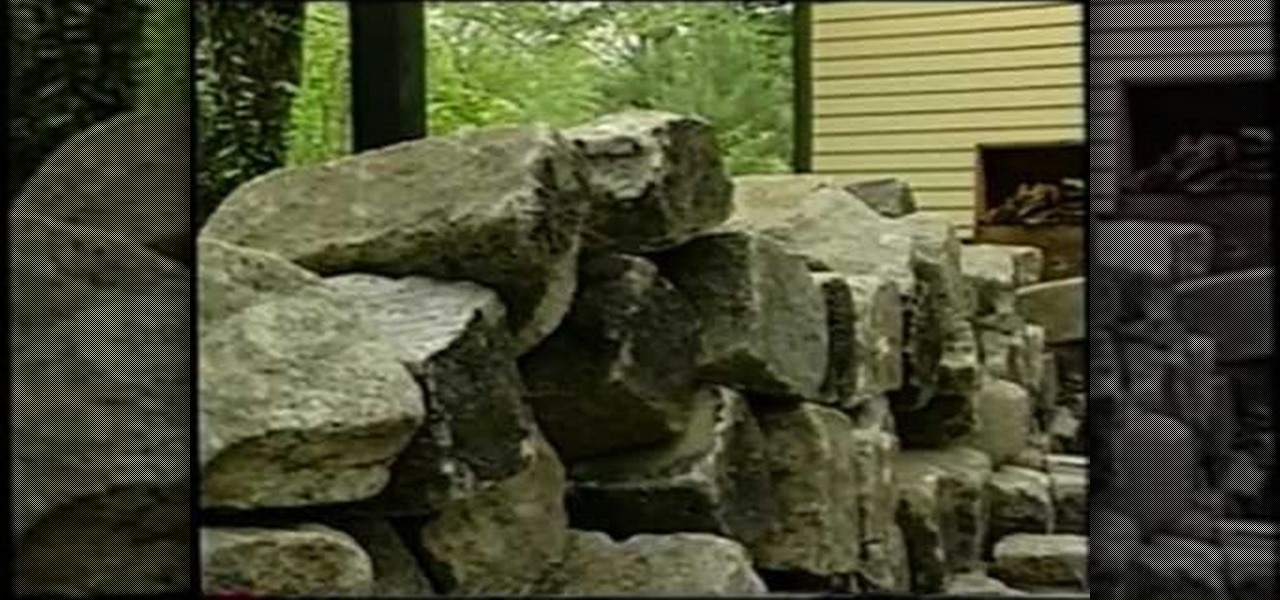
Tim Carter, of Ask the Builder, demonstrates how to use recycled cobblestones on your home property. Cobblestone can be used to edge gardens, driveways, and walkways.

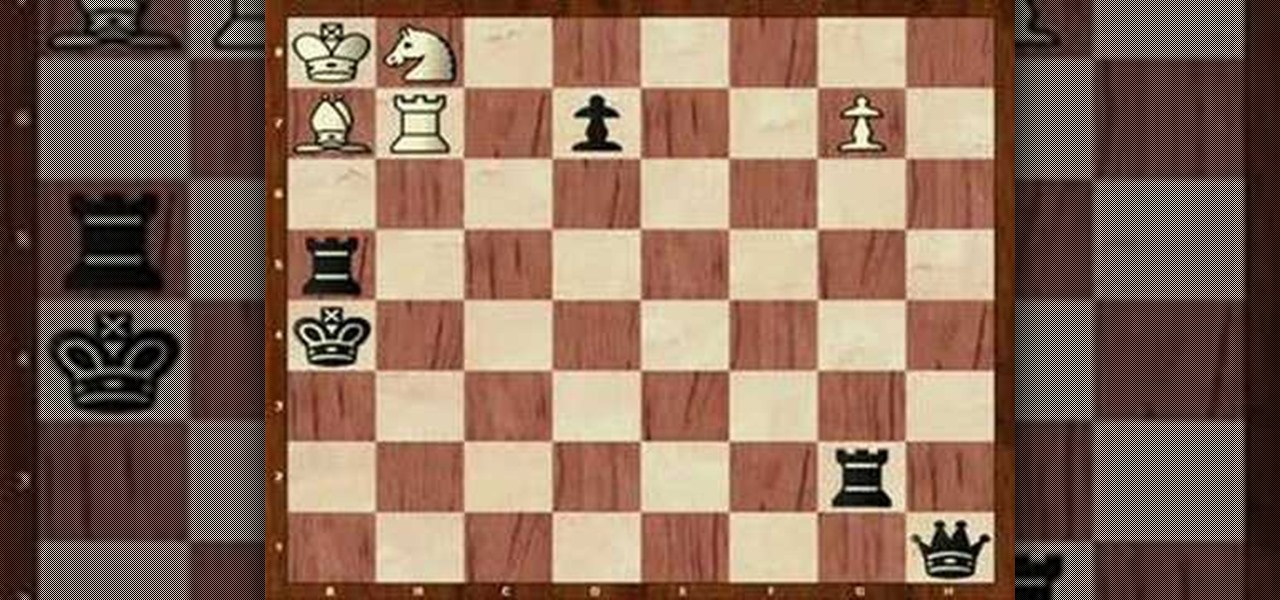
Gorgiev's 1928 game. Black is stuck in the corner. See how to let White win with this cute trick of keeping Black stuck in the mud.

It's 1912, and Lazard has got quite a mess on the board. White is stuck in the corner, and Black will surely win. See how to stop that from happening and create a draw.

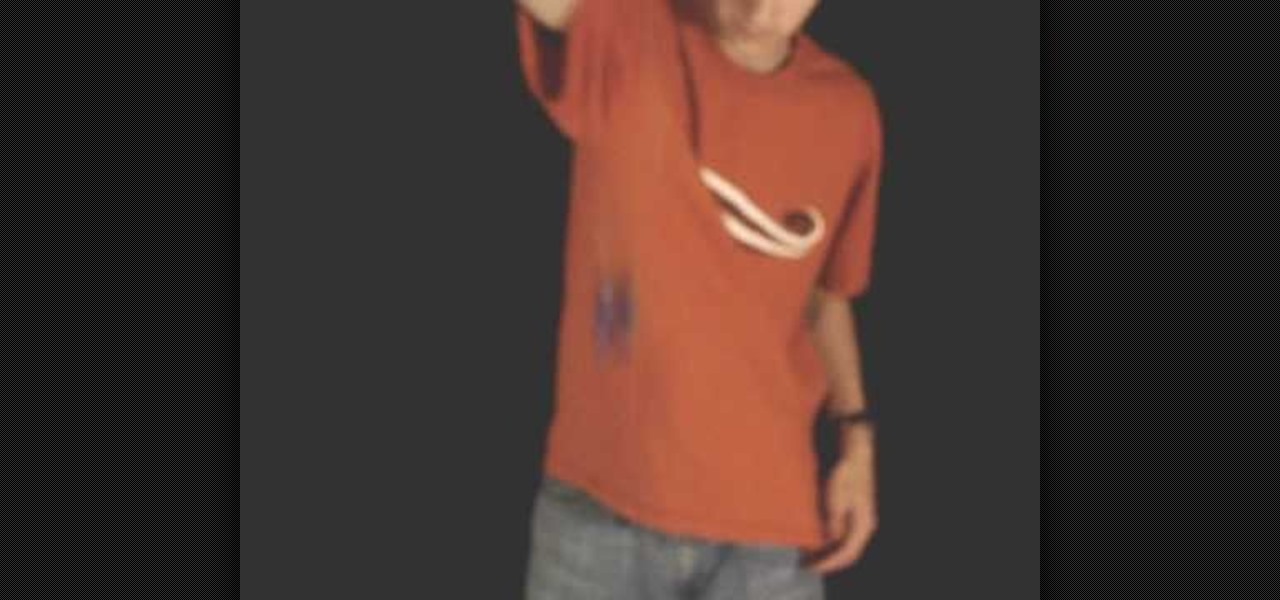
This video teaches you how to do the "around the corner" yo-yo trick. First, throw a hard sleeper. Turn your arm so that the string ends up hanging behind your forearm. Watch the video to learn more!

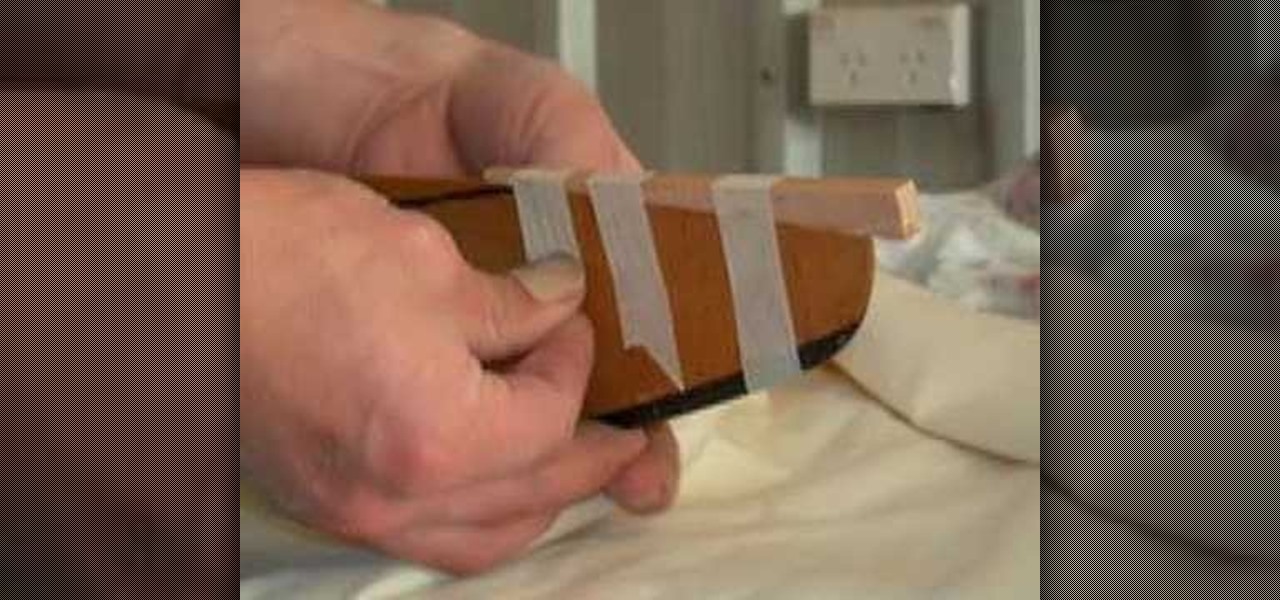
This video shows how to repair the damaged trailing edge of a wooden aircraft propeller using a scarf joint. It also shows how to fiberglass the repair.


