
How To: Get edges on a faced to sink in in SketchUp
This video explains what to do when edges on a face won't sink in. Part of Chapter 16 of the book "Google SketchUp for Dummies" this troubleshooting video will definitely come in handy.


This video explains what to do when edges on a face won't sink in. Part of Chapter 16 of the book "Google SketchUp for Dummies" this troubleshooting video will definitely come in handy.

A detailed lesson on how to play Creedence Clearwater Revival's down on the corner on the acoustic guitar. Includes tabs and chords.

Learn how to make stronger corner joints in your K'NEX structures without using blue and purple connectors.

A butterfly bandage is handy item when a wound has smooth edges. It brings the edges of skin together and thus speeds up the healing.
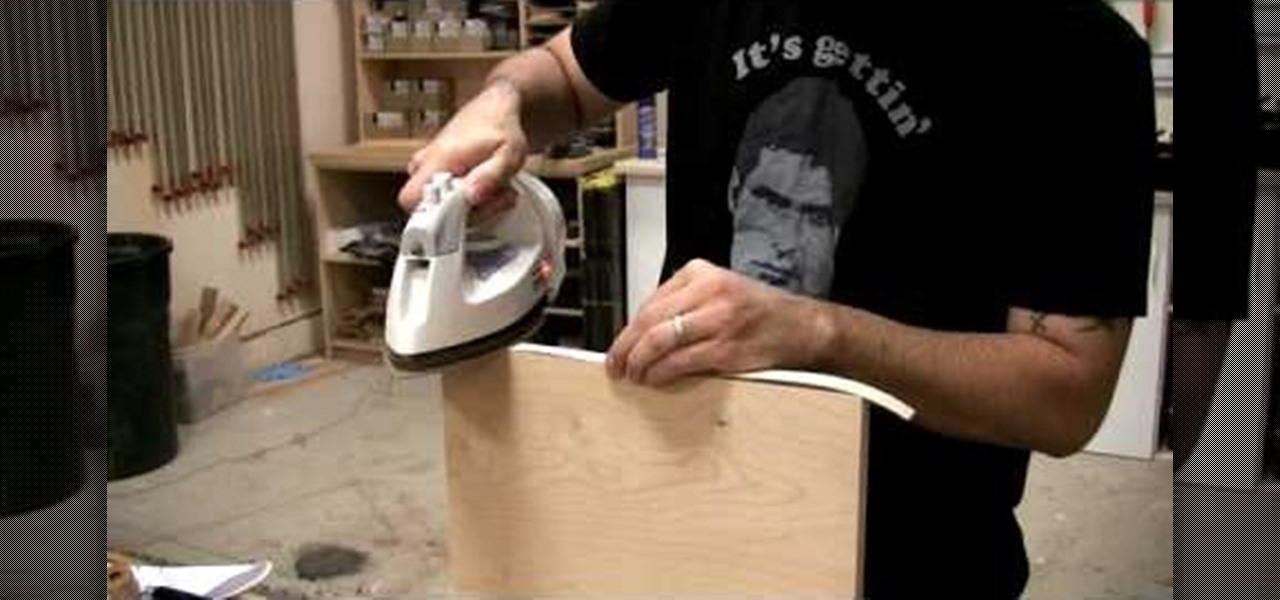
Watch this video to learn a few of the many ways you can cover the exposed edges of plywood. The Wood Whisperer demonstrates how to iron on veneer, thin solid wood, and thick solid wood.
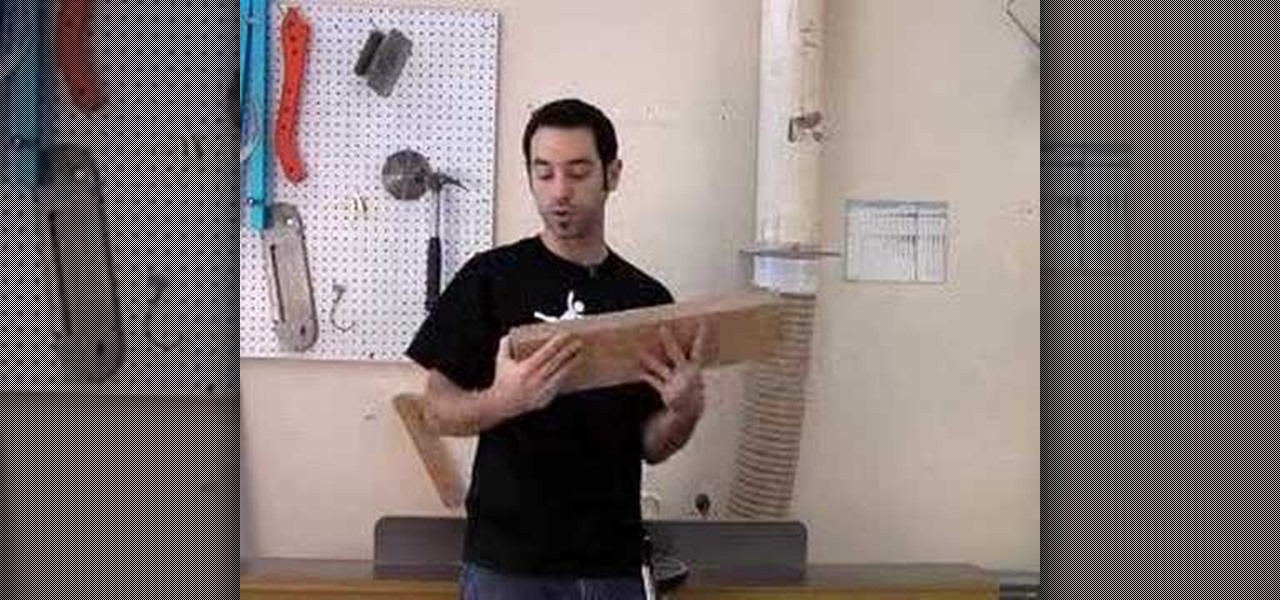
This video explains one of the most critical and fundamental aspects of woodworking: milling lumber. The Wood Whisperer reviews his 4-step milling process, which requires some big tools. Since many folks don't have a fully outfitted shop, he also presents numerous alternative methods for jointing edges and flattening faces. The jointer's jumpin'!!!

Learn to do a side mount or four corners pin in Jiu Jitsu.
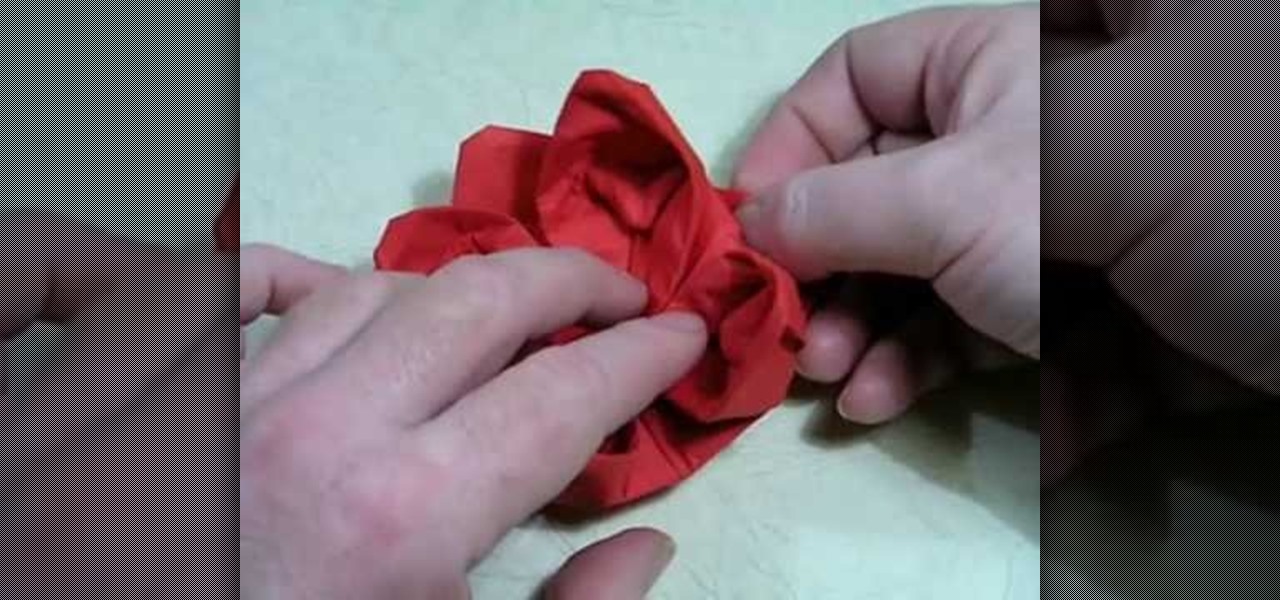
With this how-to on the ancient Japanese art of paper folding, you'll learn how to make a strikingly beautiful water lily from a paper napkin. For complete, step-by-step instructions on assembling your own paper lotus flower, watch this origami how-to and, if you like, read along below.

This video will help you learn how to create an Explosive rainbow color swath in Photoshop. First open a new file, keep the width 845, height 475, RGB color mode and white background.

If you're trying to learn a new skill, you wouldn't want to waste your time learning from someone with sub-par experience. No, you'd want to learn from the very best of the best to ensure you're getting a quality education.

Samsung has legions of loyal fans, and for good reason — their Galaxy S lineup ticks so many boxes that it would be a downgrade to switch to any other phone. Though if you're still rocking an older model like the Galaxy S7 Edge, the all-new Galaxy S9 can tick all the same boxes plus a few more. But is it worth the money to upgrade at this point? That's actually a tougher call than you might think.

After months of speculation and sifting through rumors, Samsung finally unveiled its Galaxy S7 and S7 edge flagships, and they're pretty much what we had been anticipating. But just because there weren't any major surprises doesn't mean that it's not still exciting. Let's have a look.

Although they're often times the primary source of income for websites, on-site advertisements can annoy even the most tolerable reader. That's why ad blockers have been some of the most popular downloads on Firefox and Chrome for some time now, demonstrating that when it comes down to it, most people just want nothing to do with ads shoved in their face.

Samsung's got a pair of beautiful new flagship devices coming out this spring that will surely top the sales charts. The Galaxy S5's successor is truly worthy of that title, but a second variant with a curved display turned heads at Mobile World Congress this weekend.
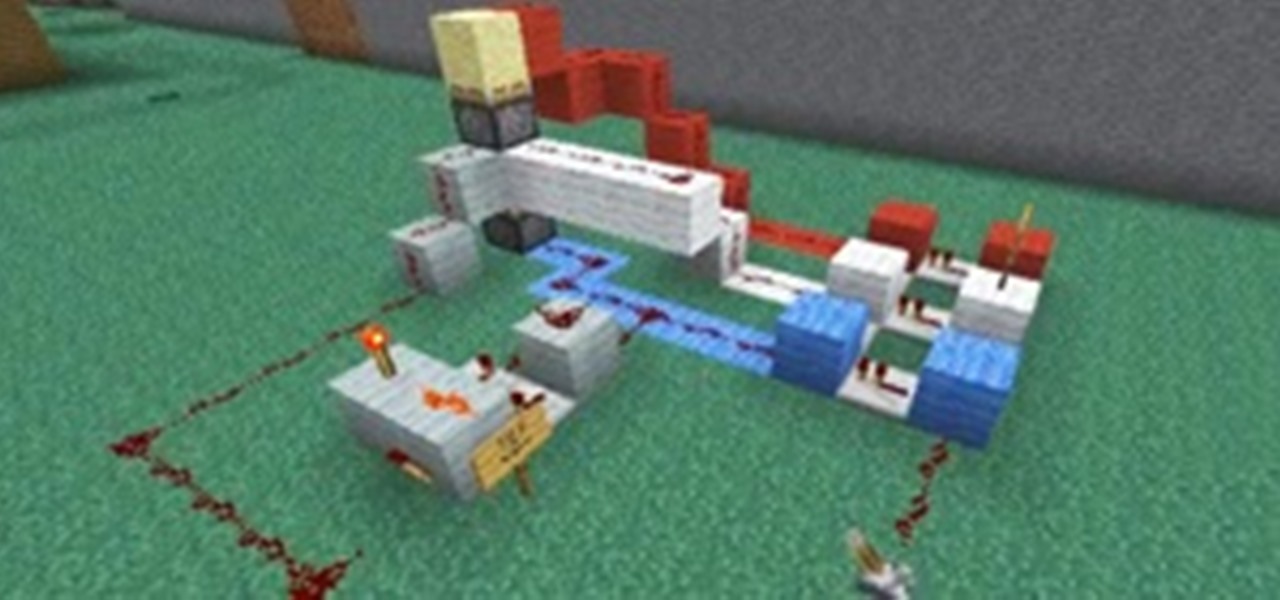
Okay, you can't really become the king of the world by stacking three pistons. For that, you have to stack four pistons.

In this tutorial, we learn how to create a Halloween leopard or cheetah face with makeup. Start by applying a white foundation to the face with a brush. After this, brush in a darker color right underneath the nostril and darken up the eyebrows. Apply a darker color on the sides of the chin, on the bridge of the nose, and on the corners of the forehead. Then, shape the sides of your face and start to blend this in, creating the face of a cheetah. Take your time when blending in, creating shad...

It's no secret, artists are broke. That's why they're referred to as "starving artists". One day these artists will achieve unimaginable success, but for most of their lives, they'll be struggling to survive… struggling to keep their vision alive. That's why they need to work cheap. And that's why they stretch their own canvases, not buy pre-made ones or have the hobby shop do it. If you’re a starving artist, save a few bucks, hone your carpentry skills, and stretch your own canvas.

In this Arts & Crafts video tutorial you will learn how to make an 8-petal flower from folded paper with origami. Take a square sheet of paper and fold it diagonally in both directions and open it up. Then fold it in half horizontally and vertically n the opposite side. Open it up and collapse the sheet in to a waterbomb base. Fold the flaps down along the center crease on both sides. Valley fold the four tips up. Open up the sheet and fold the four corners inwards. Then fold the direction of...

In this Home & Garden video tutorial you will learn how to build an outdoor kitchen. You can build it yourself using the AB courtyard walls collection. You should have all tools as per How-to sheet #341 before you begin. Determine the location of your outdoor kitchen and with a measuring tape mark the location of the back wall. Mark the line with masking tape. Begin the 1st layer by placing a corner block in the corner. Then place a large piece of a split block next to it. For information on ...
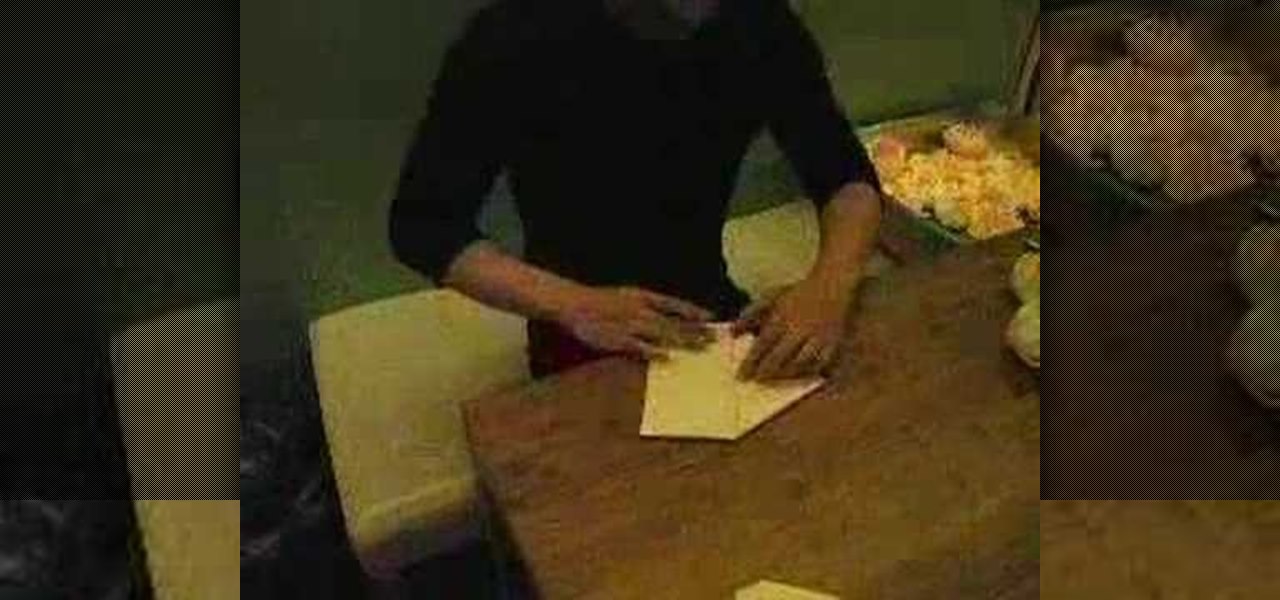
In this Hosting & Entertaining video tutorial you will learn how to fold a cloth napkin into a flower. First fold the napkin in half. Then lift one corner and fold it back up to the center fold line and do the same for the other corner also. Now fold the center point back up to the center fold line. Flip the napkin over and repeat these steps. Then open up the center fold and fold the protruding triangles back up to the center point of the napkin. You now have a square folded napkin. . Now fo...

This video demonstrates how to create a fancy elf look using simple makeup techniques. This look is complimented by a pair of elf ears that can be purchased on the web. To get this look you should colors that are inspired by nature such as deep purples and greens. To create the design, use paper coasters that will provide the stencil for your look. First, lightly apply moss green eyeshadow pencil as a base on the cheek bone, on the temple, and above the eyebrow. Use your finger to blend the p...
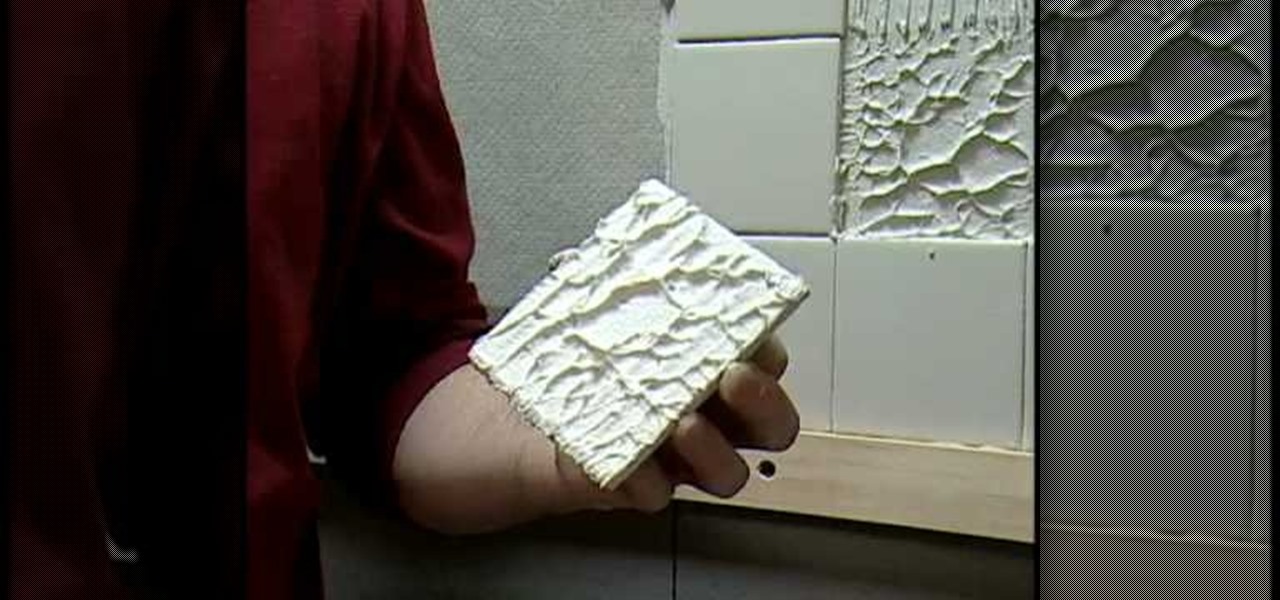
In this video, The Home Depot shows us how to tile the surrounding walls of a bath or shower. Since these walls stand up to a lot of wetness from daily showers, they need to be sound and waterproof. Ceramic tiles are a great way to go. In this demonstration, the tiles are attached to backer board. Protect your tub with a cardboard inlay before you begin. Then seal the edges of the tub with asphalt roofing cement. Then staple 15 pound felt to the studs, embedding the bottom layer to the asphal...
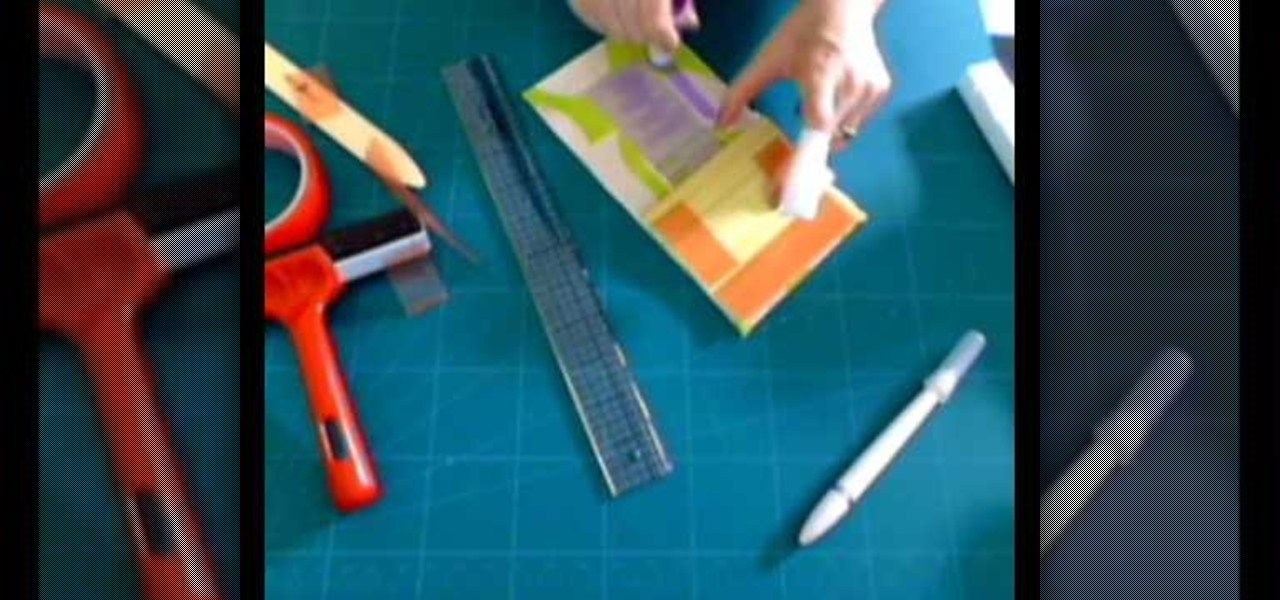
You share your innermost feelings with it on a daily basis. Why, then, settle for something drab, prefab and impersonal? With this handy how-to, you'll learn how make a custom fabric-covered hardbound journal.
Say goodbye to heavy backpacks and overcrowded bookshelves. You can fit a whole library – up to 350 ebooks! – in a device that's smaller and lighter than the average paperback. Here's how to make it work for you. Use the Reader Digital Book by Sony PRS-700.

There are a bunch of new and interesting features packed inside of Windows 10, but one of the most exciting ones is the Microsoft Edge web browser, the long-awaited replacement of Internet Explorer.

To start you will need a craft bag. They can be found at Michaels but they can be difficult to find. Take the bottom flap of bag and fold it over. The bags will be cut down to 4 and 3/8. You will next need your pink pirouette cardstocks, one will be 5 3/4 x 3 5/8 and it will be scored at 1 1/4. That will be the back of the bag. The other pirouette will be 4 1/2 x 3 5/8 and it will be the front of the bag. On the front Pirouette you will use your stamp on the front right hand corner as close t...
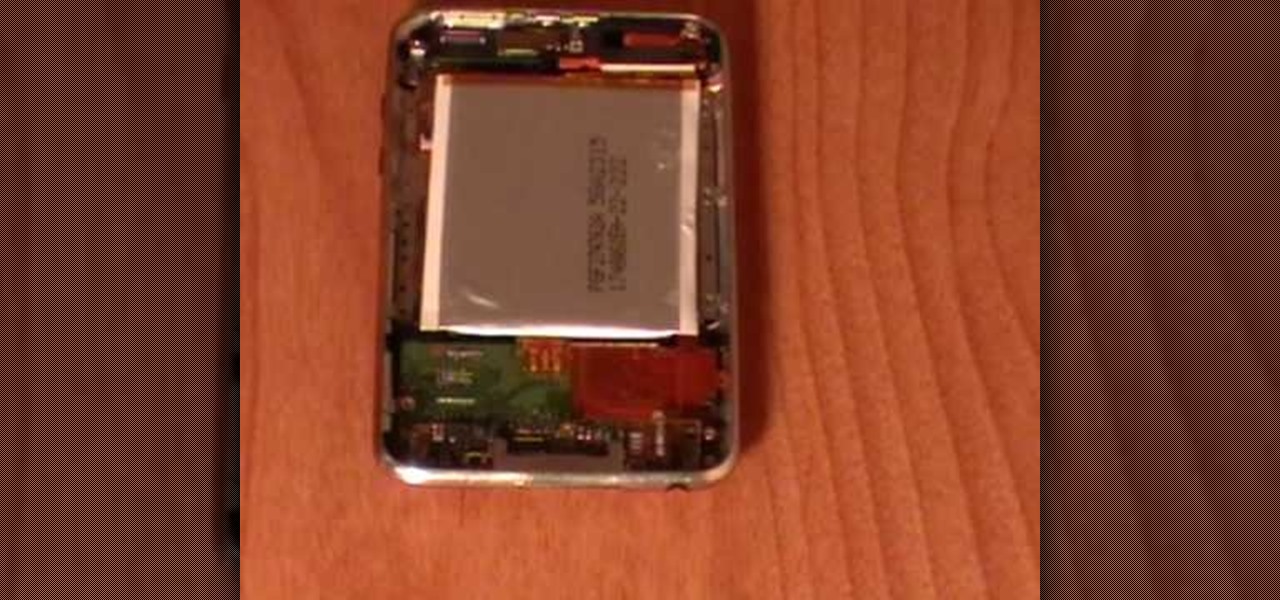
This video by repairs universe shows viewers how to replace the battery in the 2nd Generation iPod Touch. The tools you will need for this project include safe-open pry tools and a small phillips head screwdriver. To begin, remove the screen by releasing several clips that hold it to the frame using the safe-open pry tool. Run the tool between the case and the glass along all edges. Gently pull glass off and pry off the digitizer. Next, remove the small screw in the upper corner, lift up the ...

In this how-to video, you will learn how to add movement to still images using Final Cut Pro. Click on the view mode button in the canvas window. Set the mode to Image and Wire Frame. Move the canvas play head to the clip you would like to affect, and select the time line. To control the scale, grab the corner to shrink or enlarge. Reposition the clip by clicking on the image and dragging it around. To rotate the clip, move the mouse over the edge and click and drag it to spin it. Select the ...
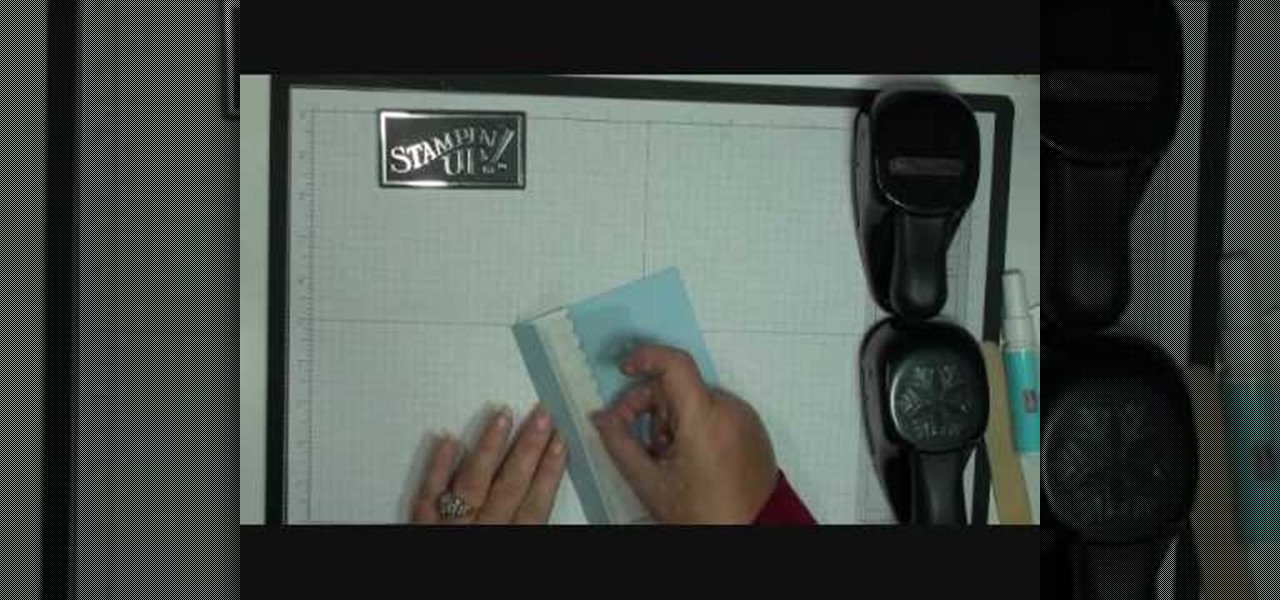
Dawn5377 teaches you how to make a wintery Christmas card with Stampin' Up. Start with the bashful blue card stock and cut it according to specifications. You will need the snowfall printed window and the whisper white card stock with a scallop edge punch on one side. You will also need the whisper white organza ribbon. Stamp Merry Christmas using the Teeny Tiny Wishes stamp set. Place the snowflake window under the blue flap and use glue on the flap. Flatten that. Place the whisper white und...

Face off against Hellion in this level of the Xbox 360 game Darksiders. In the Broken Stair, you need to find the soul chest and the beholder's key. Upon exiting the Choking Grounds tunnel you'll find yourself back out in the streets of the Broken Stair area. Head up the street and look for the pit along the right side. Drop into it and you'll find an Artifact at the edge of a cliff within this chasm. Head back up to street level and make your way towards the building to the southeast corner ...
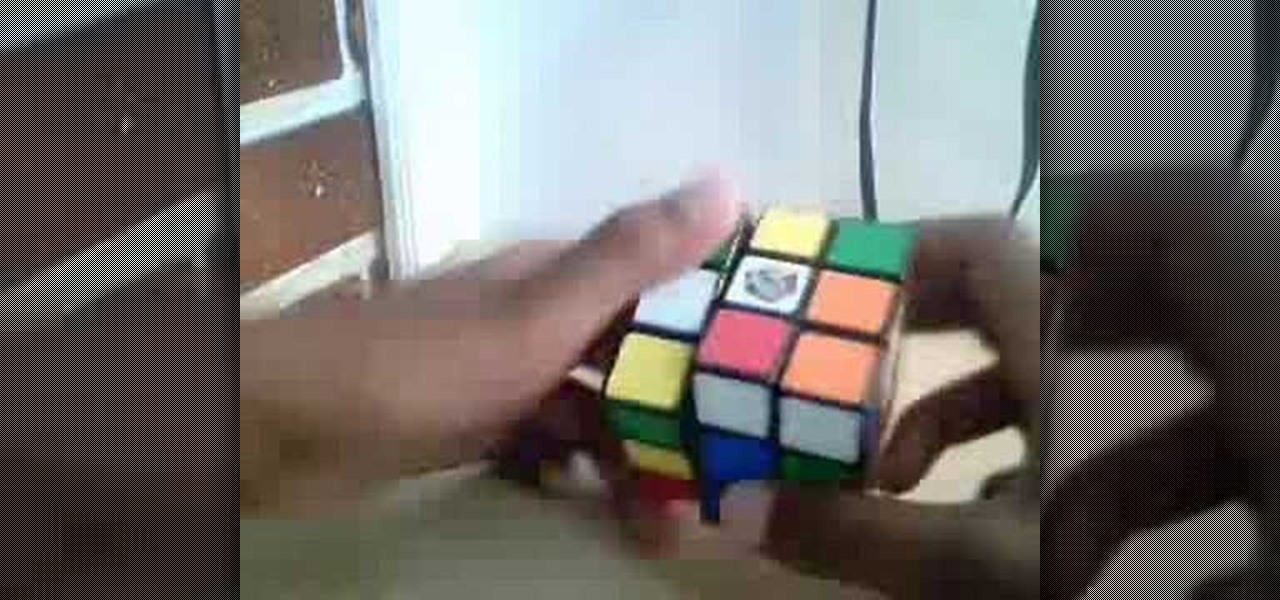
If you've ever wanted to solve a Rubik's Cube and look like a genius, you're going to have to watch this puzzle solving video tutorial. This video will show you how to, yes, solve a Rubik's Cube.
This video demonstrates how to sew a blind hem stitch to make Roman shades. This stitch is very easy to do. You need a sewing machine that has a blind hem stitch already programmed in it and a blind hem foot. The video shows two different kinds of blind hem foot for two different sewing machines. The one for Viking machines is used here. Fold and pin a one inch hem on your panel, making sure that the pins are pointing off the edge of the panel. Lay your panel on the machine with the hem side ...
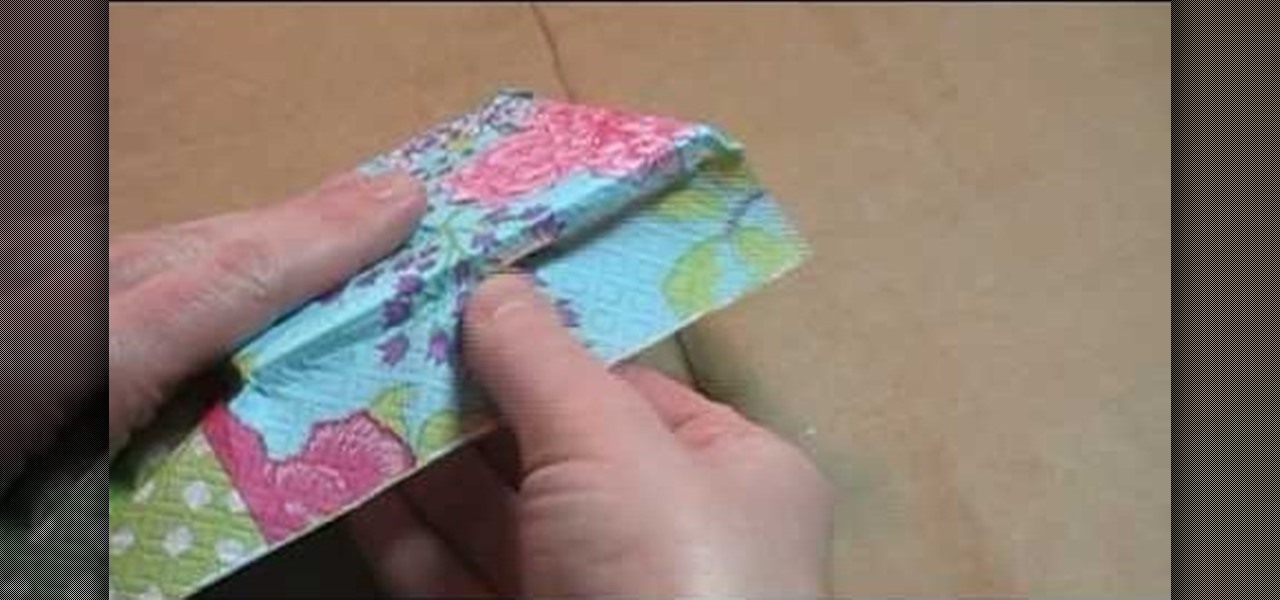
Check out this DIY video tutorial from Curbly, the best place to share pictures of your home, find design ideas, and get expert home-improvement advice.
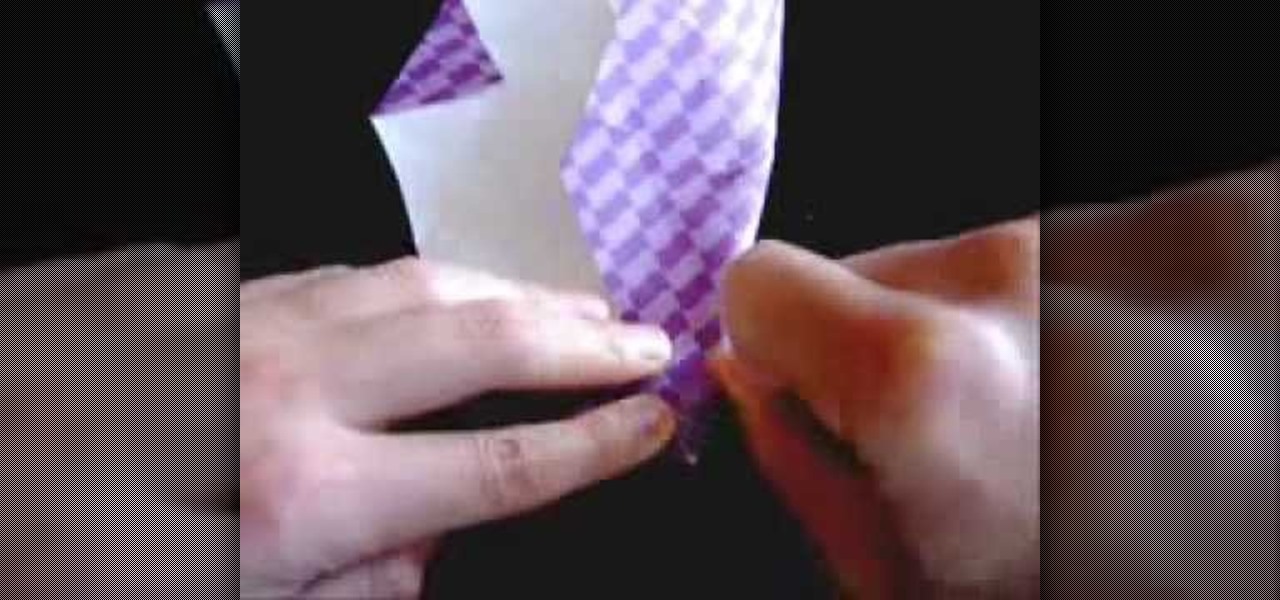
Fold paper in 1/2. Fold in half again into a square. Fold in half again, & again into a square about 1/16 of original size. Unfold paper. Fold marks divide paper into 16 small squares. Make 2 diagonal folds in each direction to form a big X in paper. Position paper with inside of folds facing you; fold paper in 1/2 again to form a rectangle. Using previous fold lines, fold lower 1/2 of paper in 1/2. This fold covers 1/3 of remaining visible paper. Grasp center where folds meet. Create 4 ridge...

This is a video about how to make the photo display board. You just need foam display board, fabric to cover the board, batting paper, pins, and some ribbons. First you have to cut the fabric about one half inch extra of the board to cover the board. Next you have to cut the ribbons upto 6 to approximately 21 inches long and cut one ribbon to hang the photo board. Next laying out the fabric on the table first. Next place the batting on the top of the fabric. Next take the foam board and place...
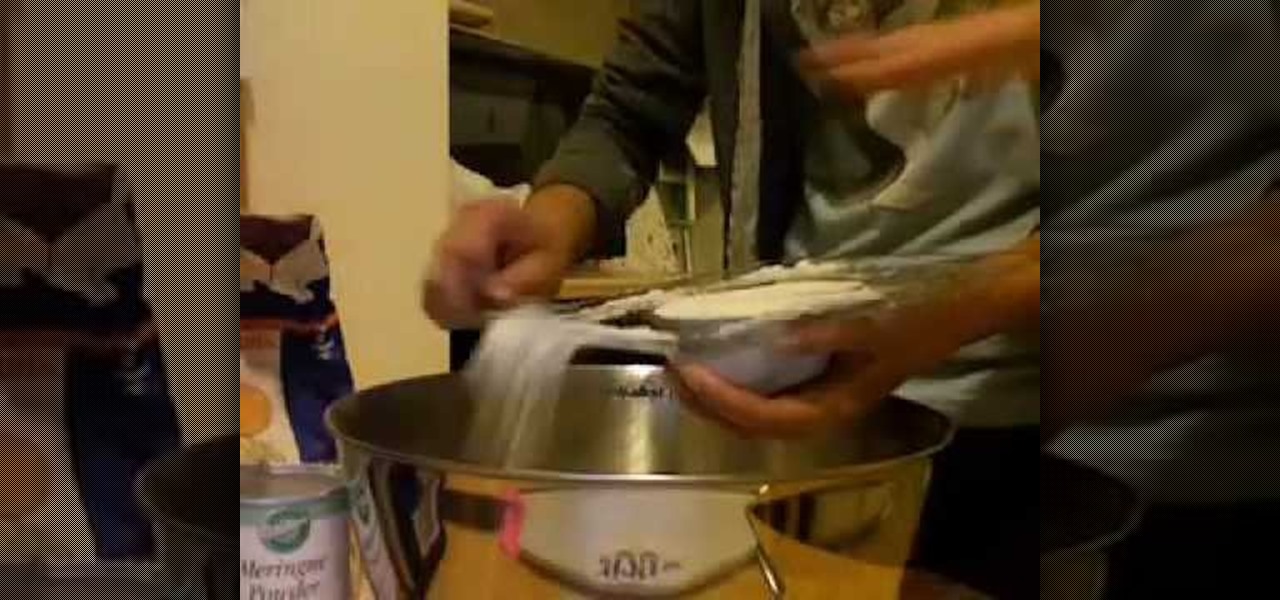
Michelina shows how to make Mexican Skulls with Sugar. You'll need a plastic skull mold, sugar, Meringue Powder, water, paste or powder food coloring, and powdered sugar. Add ingredients which would be 3 teaspoons meringur powder and r teaspoons water. Step Two: Mix ingredients. using your hands, make sure ingredients are well blended. Step Three: Fill your molds. Step Four: You'll need to wipe off the excess sugar. Make sure the top is smooth. Step Five: Flip your skulls over on a cut out pa...

To make an 8 sided ninja star first you need to take a sheet of the paper you are using and fold this in half, the short way. Unfold this so you have a crease. Now, fold the corners into the center crease. Do this to the top corners. Now, flip this over and fold over the bottom of the paper to the back and crease this. Now, you will want to tear this bottom half creased part off. Fold this into a square and fold the square into halves on both sides and tear this off to create smaller squares....
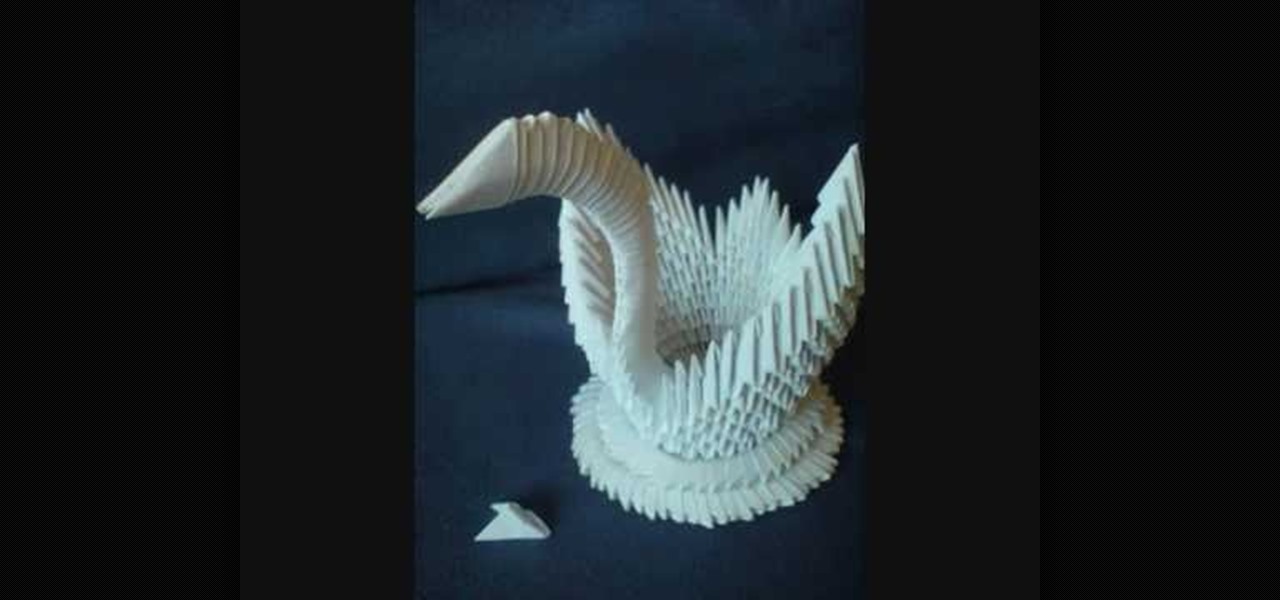
In this Arts & Crafts video tutorial you will learn how to make a 3D origami swan from 484 paper triangles. For this you will have to cut up 16 sheets of paper in to small rectangles. One rectangle is 1/32 of an A4 sheet. Take a small rectangle, fold it in half lengthwise and again fold it the other way. Open up the last fold and fold the closed edges from the center down the centerline. Flip it over and fold in the lower corners of the extended pieces. Then fold the extended piece over the t...
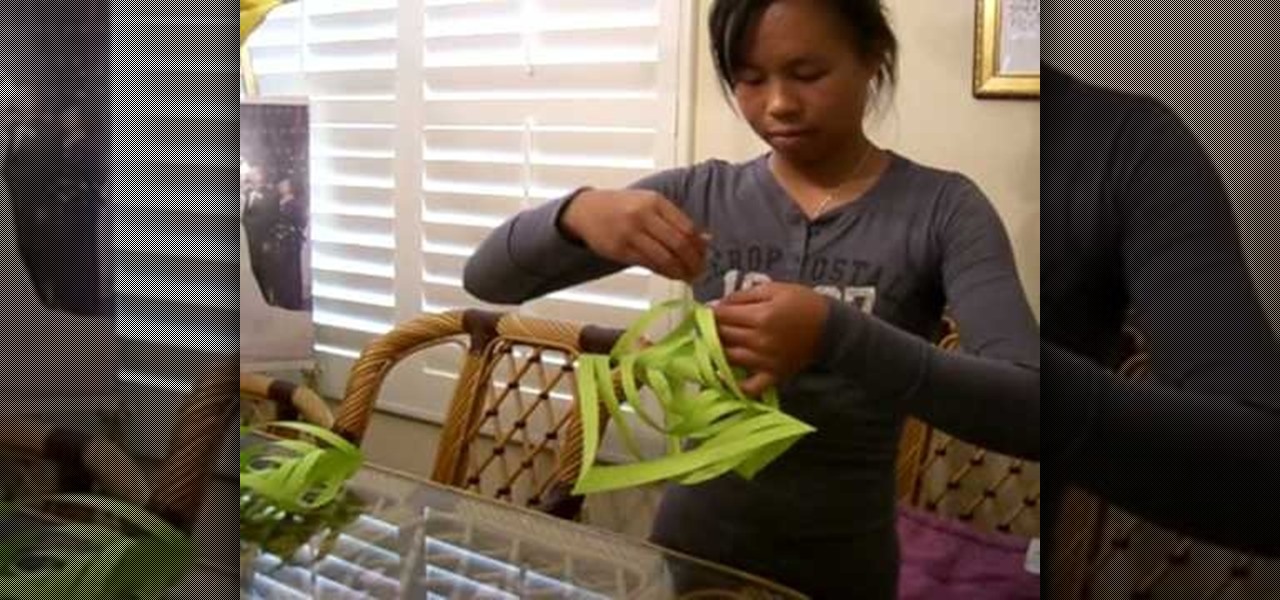
Here is an easy way to make a beautiful parol. All that you need is colorful papers, scissors, tape, stapler pin. Now take five sheets. Cross fold it and tear the extra paper, so that a perfect square is formed. Do it for all the five sheets. Now fold it cross wise, and again fold it in the same manner, so a triangle shaped paper is formed. Cut the papers cross wise and not on the edges. Care should be taken that it is not fully cut. Then open the paper, several sheets are formed now. Join op...

Love4Nails teaches viewers how to paint nails with a blue, white and gold nail art design! First, you need to apply your background color. This color will be a blue nail color. You should let this dry. Now, take a black nail art polish and do 3 stripes, that start at the bottom corner and go up slanted. You do not have to go all the way to the top. Next, get a white nail art polish and start the stripes at the opposite corner and paint two across - these two stripes will touch at the corner. ...