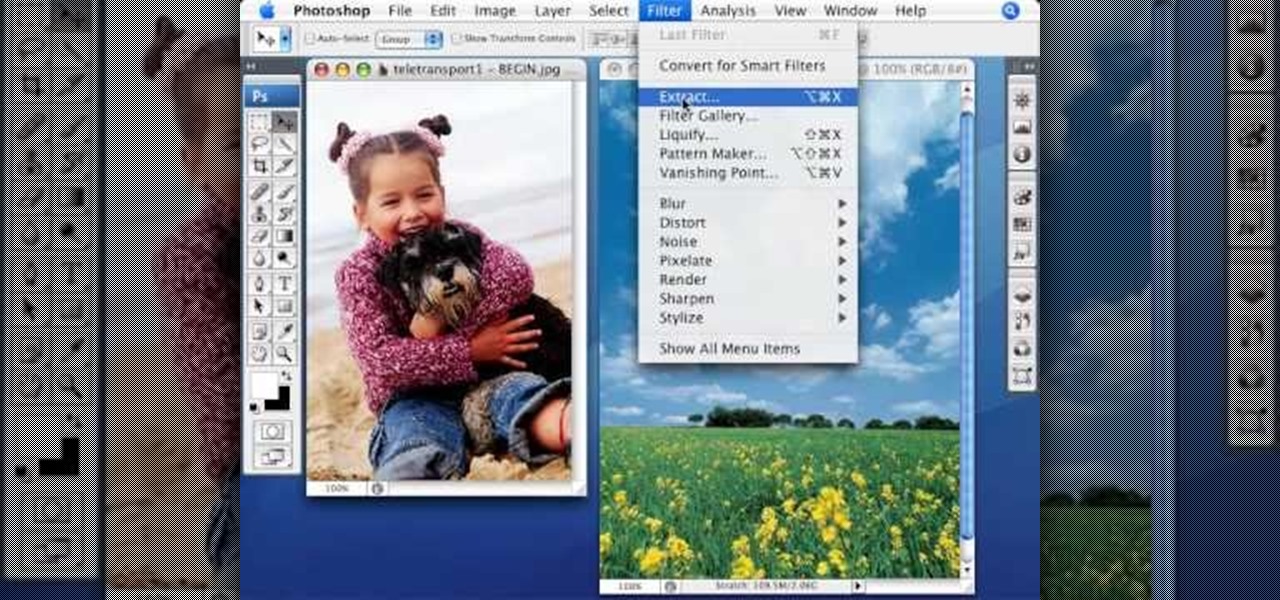
This video tutorial by photoshopuniverse, is to tele-transport people in photos using Photoshop. For this you will need two photos, one with a person and another of a suitable scene. Select the image with the person and extract the person using the extract tool by marking the edges. Make sure to change the brush size so that you can mark the edges with a bit of the border to be included and a bit of the outside to be excluded. Fill in the retaining area and extract the image. Using the move t...
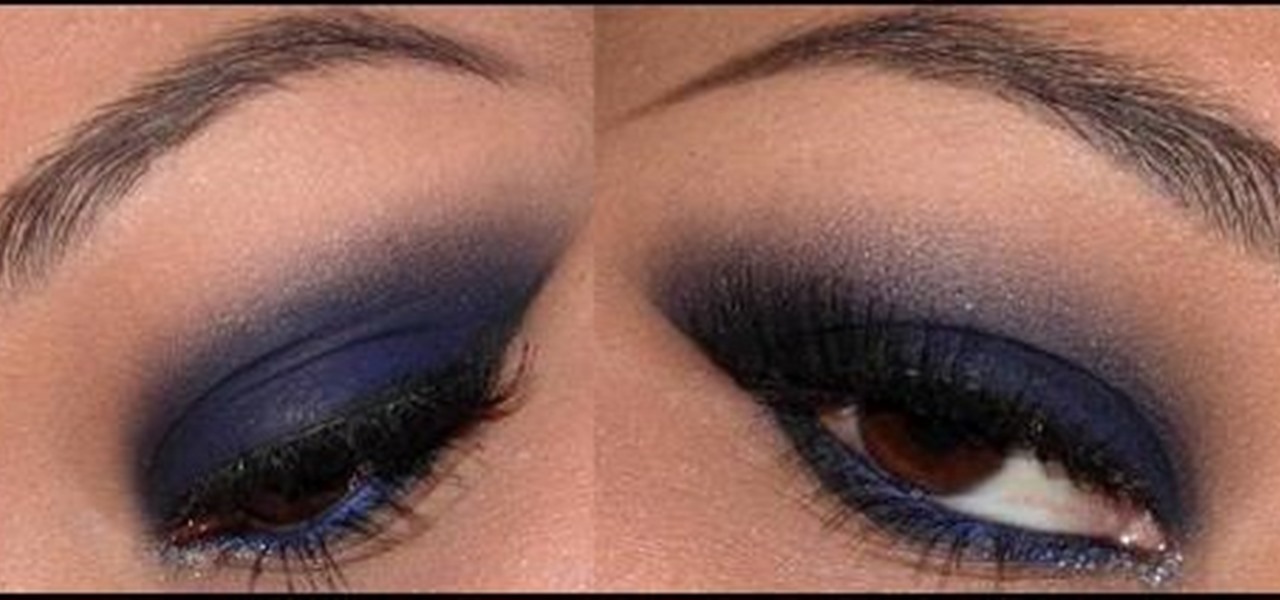
This video shows you how to get a New Year’s Eve look that is very fun, flirty, but simple using glitter. For a base use two face eye shadow insurance all over. Take a blue and put it onto the lid up and away. For the bottom use a dark blue and with a small brush smudge it across the bottom of the eye. Use Aqua Black and with an angle brush apply it as a liner. Use MAC glitter liner and put it on the inner corner of the eye. With a clean q-tip take a silver glitter and dotting it into the gli...
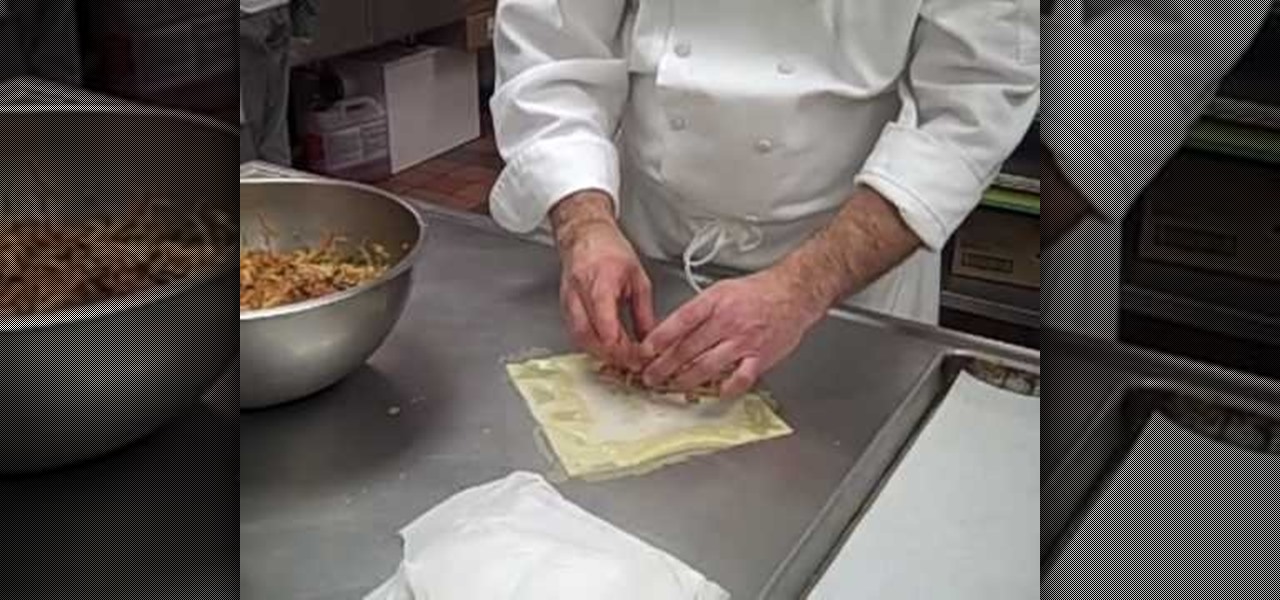
Make spring rolls like a professional! Use pre-packaged purchased wrappers. Have some egg yolk ready. Apply some egg yolk on the edges of the wrapper, so that it can act like glue. Paint it on all 4 edges. You can use a brush for that. The filling is pre-prepared. It is a mixture of vegetables , cooked pork, and cooked shrimp. We will then add ginger and soy sauce to the filling. Take a small amount of filling, so that the spring rolls are thin, because that is how they are meant to be. Fold ...
Check out this DIY video tutorial from Curbly, the best place to share pictures of your home, find design ideas, and get expert home-improvement advice.
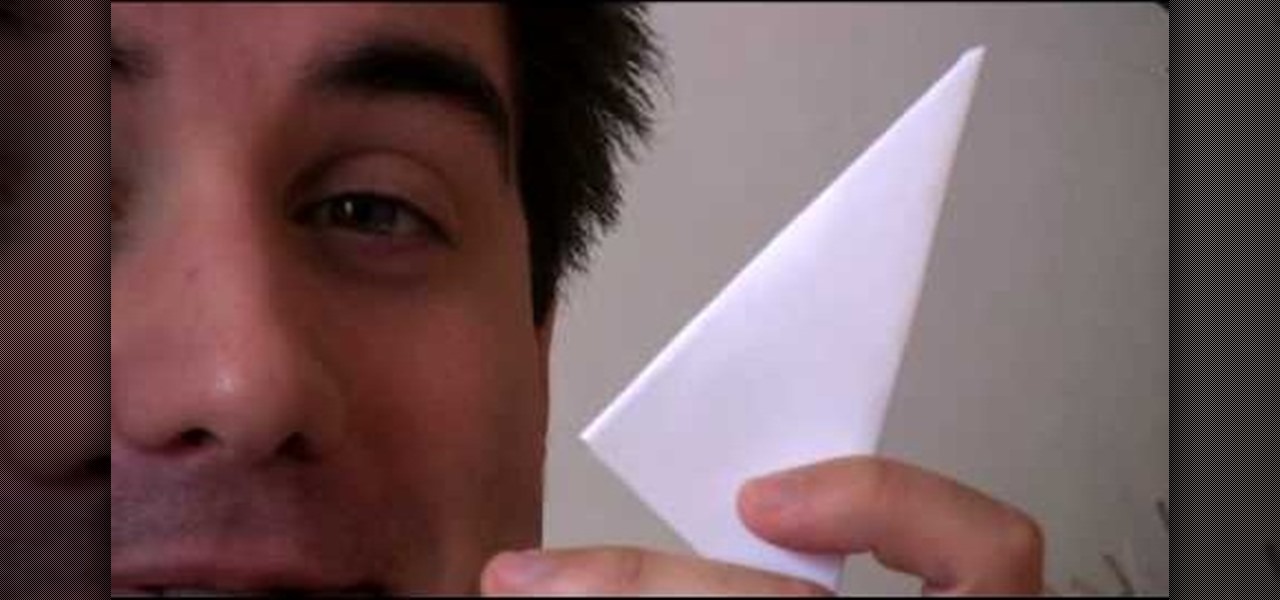
A seasonal how-to for creating easy, perfect paper snowflakes. This is a fun Christmas craft this holiday season. To begin, start with a square sheet of paper. Fold the sheet corner to corner. Fold again to create a new triangle. Cut like crazy! For all sorts of patterns and ideas check out this accompanying article:
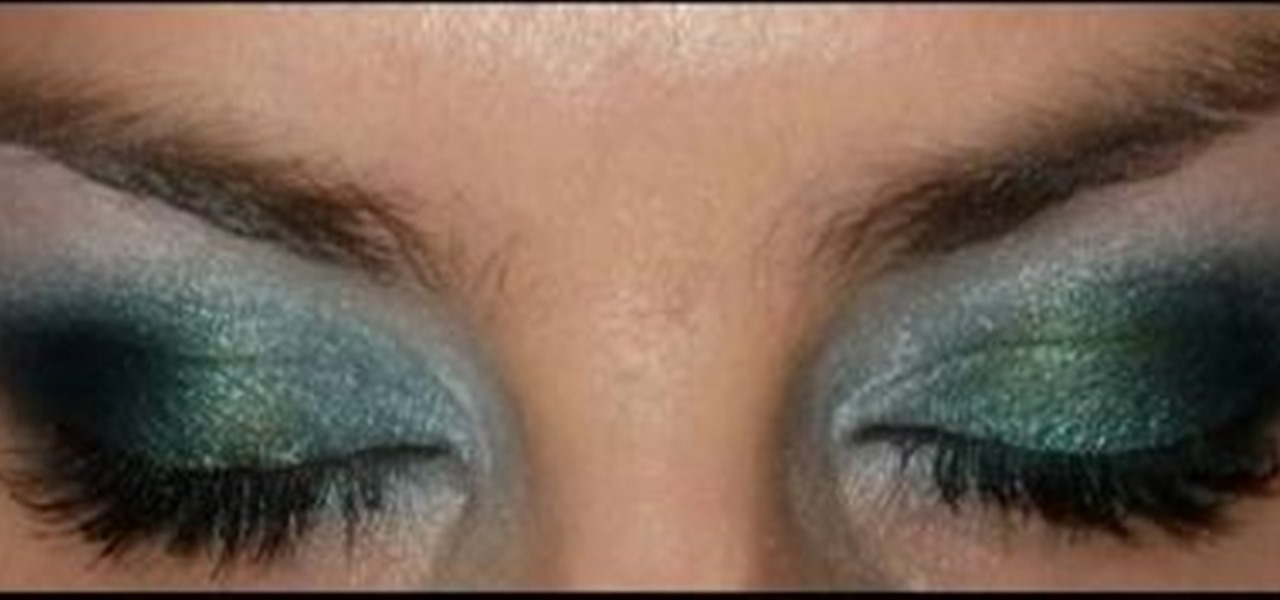
In this tutorial, we learn how to get Leona Lewis' Avatar themed "I See You" makeup look. First, you will need to apply black eyeshadow to your entire lid up until you reach the crease. After this, use a brush to blend the color out and create a winged effect on the outside corner of the eye. Next, apply this color on the bottom lash line, making a slightly smudged effect with your finger. From here, you will apply a teal colored shadow all over the eye and on the outside flare as well. Then,...

Everyone who spends a lot of time outdoors will get corner skin cracks eventually, and they are ugly and painful. Watch this video for some tips on how to cure these unfortunate facts of lip life with at-home remedies and medicine.

Paper or plastic is a thing of the past; both options are equally terrible for the environment. With this tutorial, learn how to turn your old bed sheets into funky grocery tote bags. You will be the envy of everyone at the store with these adorable, homemade bags.

Grab your long-handled wooden spoon and let's get to bed making. There is a science in making the immaculate and consistent military-style bed. Use this method at home and know that your making your bed just like soldiers do every day.

Lots of people love magic, and most of those people like card tricks, so why not learn a few? Whether you're a magician or not, you can still impress your friends with a few card tricks up your sleeve.

Watch this video tutorial to learn how to use yellow glue and an a household iron to adhere a wide edge band. This how-to video is a must-watch for all furniture and woodwork enthusiasts.

Check out this knitting and crochet how-to video from wonderhowto.com. This tutorial will teach you to crochet using picot edging.

This video is designed to give lots of clear and helpful information regarding the rib cable cast on" method, also referred to as the "alternate cable cast on" method. It is used as an edging for rib fabrics and forms a somewhat 'invisible' cast on edge that blends perfectly with the rib texture.

Watch this video from the Concrete Network to learn how to use a variety of edging tools including hand, combination and walking edgers.

You know that special faded, blurred edge effect you get when you take glamour shots at a photo studio? While it looks all professional and difficult to pull off, all it really takes is some basic Photoshop tweaking.

Add more flare to you knitted projects. Watch this how to video to learn how to add a crocheted edge to any knitted object.

This video explains how to overtake another kart safely in corners when Go-Karting.

This tutorial gives tips on how to properly enter corners when go-karting for the fastest times possible and while being safe.

How to use Roundpic.com to put rounded corners on any digital photo or image on your computer.

It's no secret that the enterprise sector is hot for augmented reality, but the move into the enterprise AR software market by one of the biggest names in industrial engineering announces the technology's arrival loud and clear.

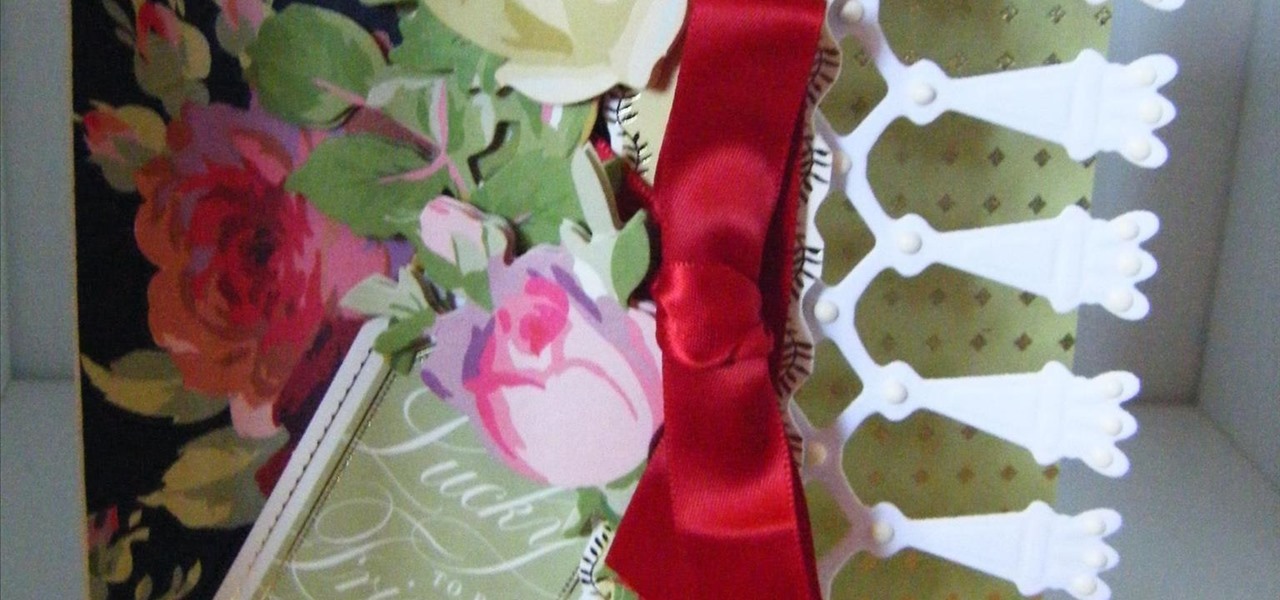
This card project is a little bit different and will show you how to make a trimmings side edge card, using some fabulous products from Anna Griffin, including the Trimmings 12" dies and the Rose designer collection. The card is easy to make and looks so pretty, but it is a 'easy when you see how' card. Step 1: Now Watch the Tutorial

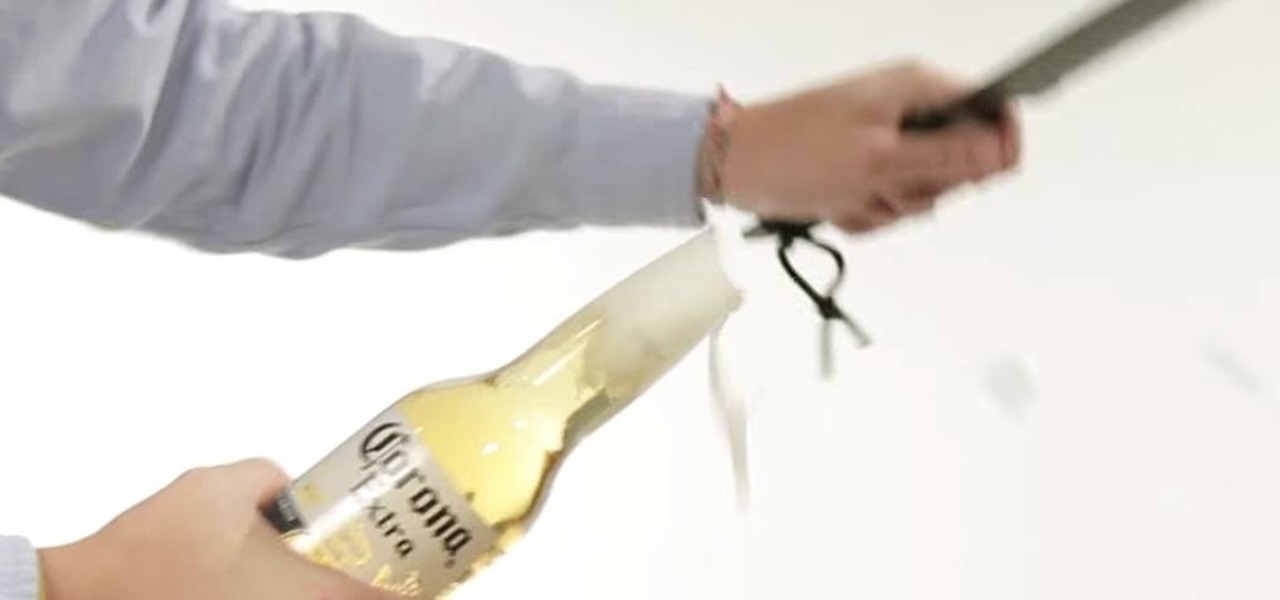
As exciting as it can be to crack open a beer, there's nothing fun about wandering around a party and asking other partygoers for a bottle opener.

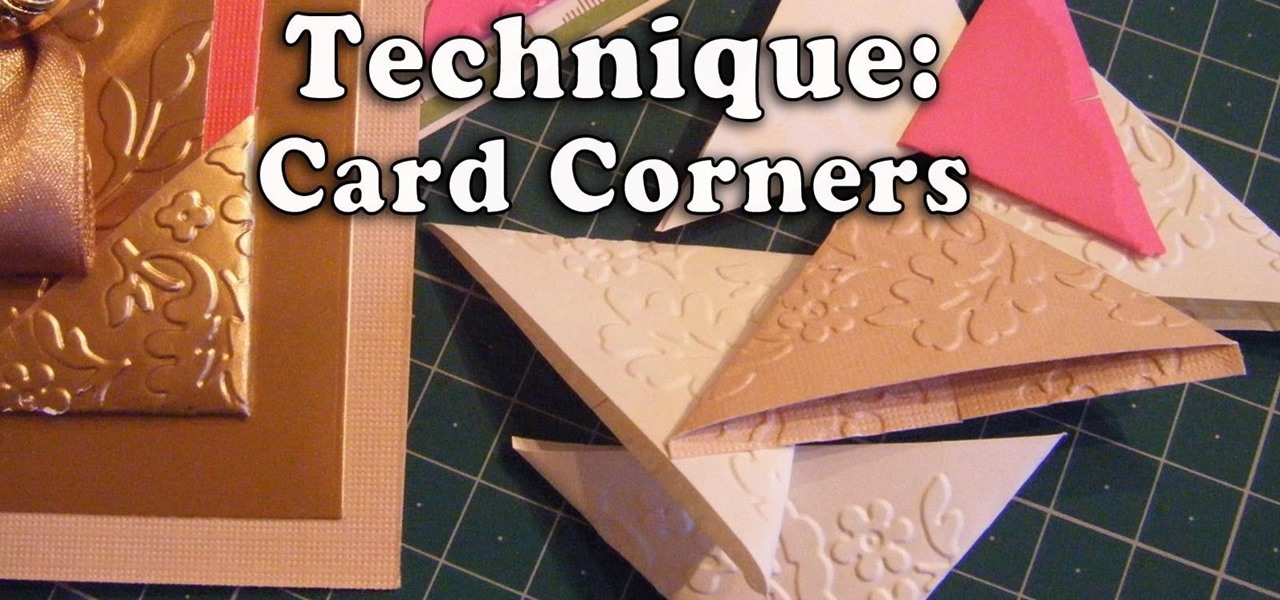
In this Technique Demonstration I show you how I make card corners in both plain and embossed card for all your card, scrapbooking and paper projects. Easy and quick to make, and once you make them, you will be wanting to add them to everything.

There have been plenty of rumors and lots of speculation about the Galaxy S7 and S7 Edge, and now we're finally getting our first look at Samsung's newest flagships—in the form of two images.

The Galaxy S6 Edge comes with a very nice pair of earbuds, which might possibly be the best set I've ever owned. They're quite comfortable, and they provide clear and robust sound, but they could still use just a little boost in volume.

With the Galaxy S6 Edge, the curved display is mainly an aesthetic feature. Unlike the Galaxy Note Edge, Samsung didn't include many software features to take advantage of its unique design, outside of the scrolling tickers and night clock. For instance, with the Note Edge, you can launch apps from the curved portion of the screen—but this isn't true for the S6 Edge.

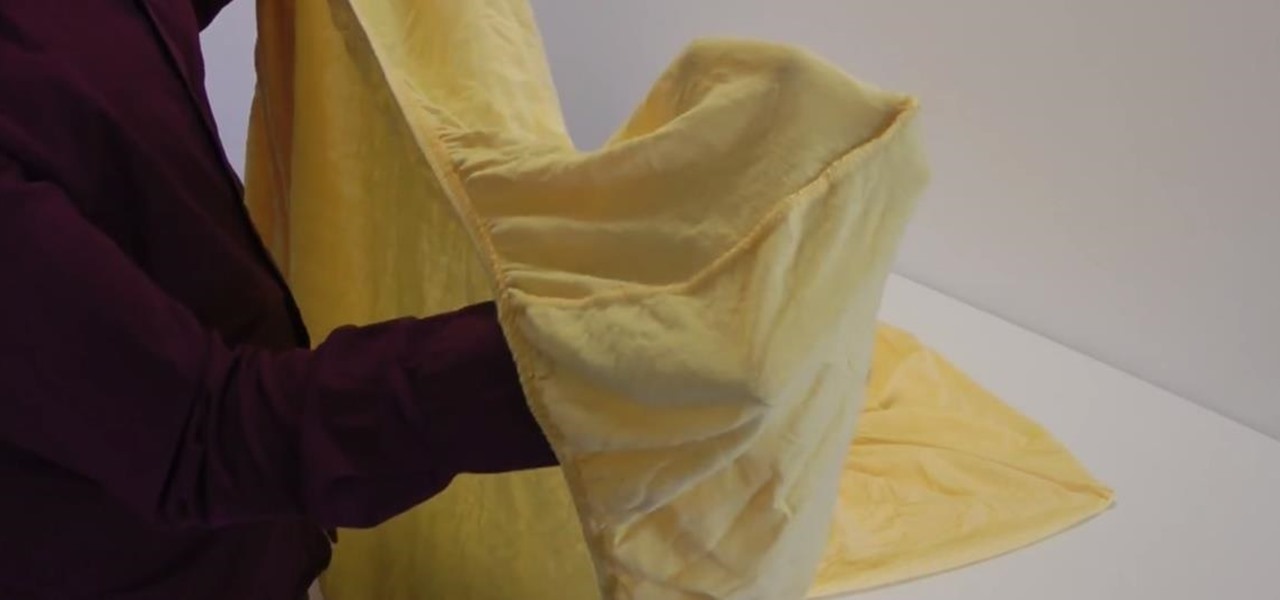
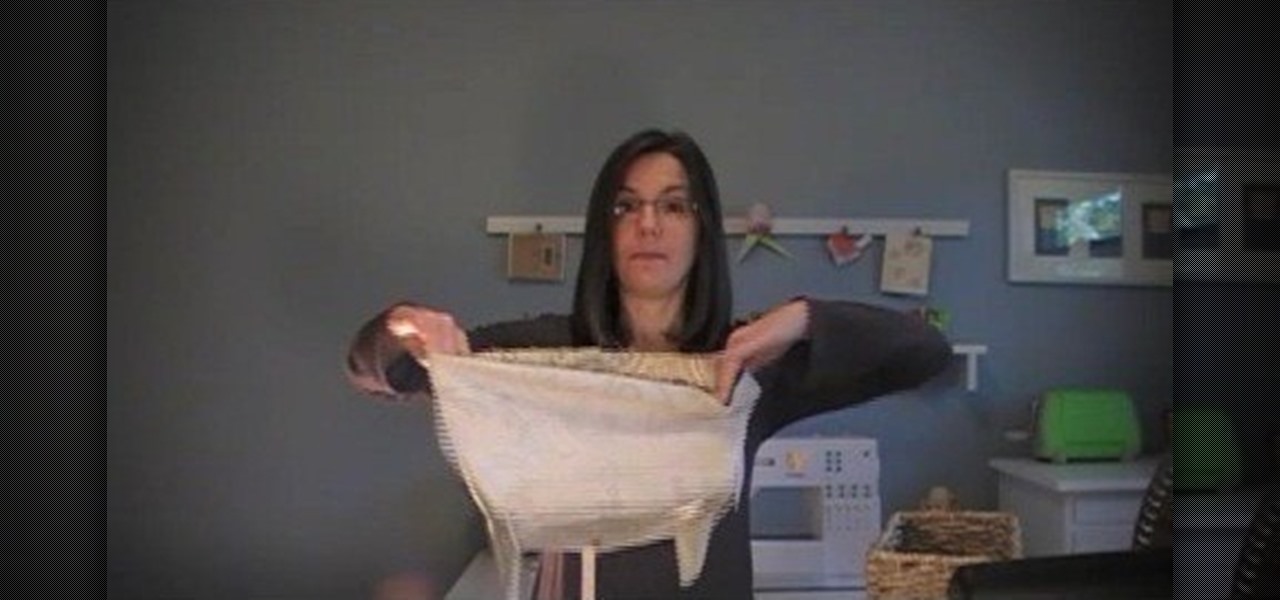
Folding fitted sheets seems nearly impossible, but with a neat trick it's just as easy as folding a blanket.

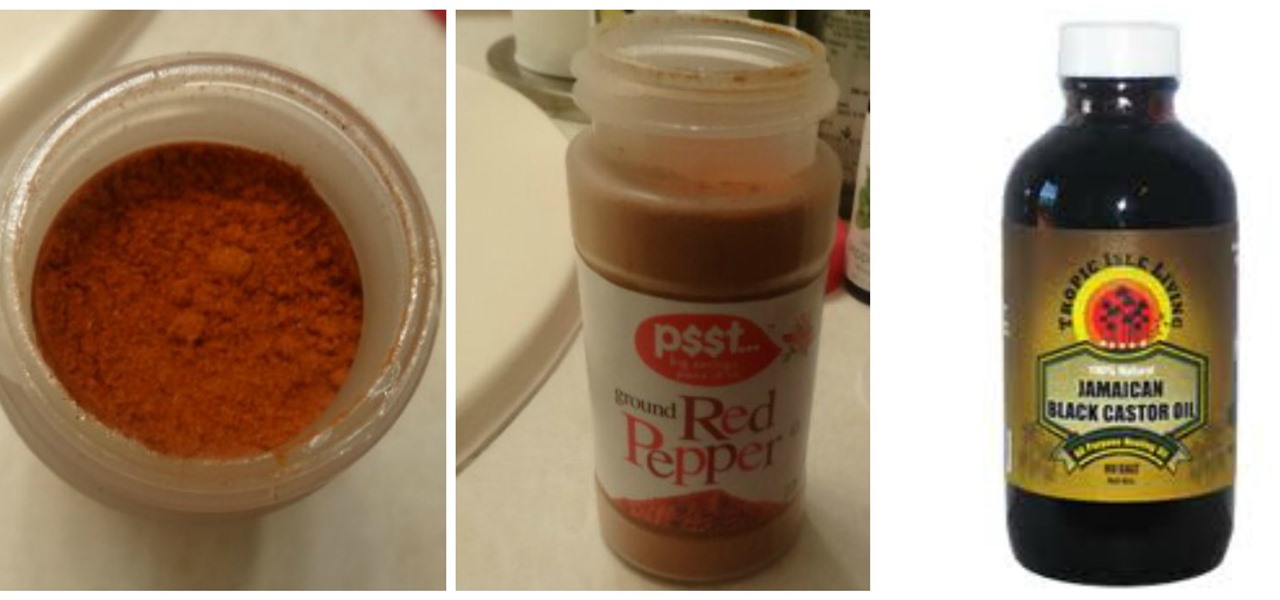
How to Get Your Edges Back w/ Cayenne Pepper & Tropical Isle Black Jamican Castro Oil.

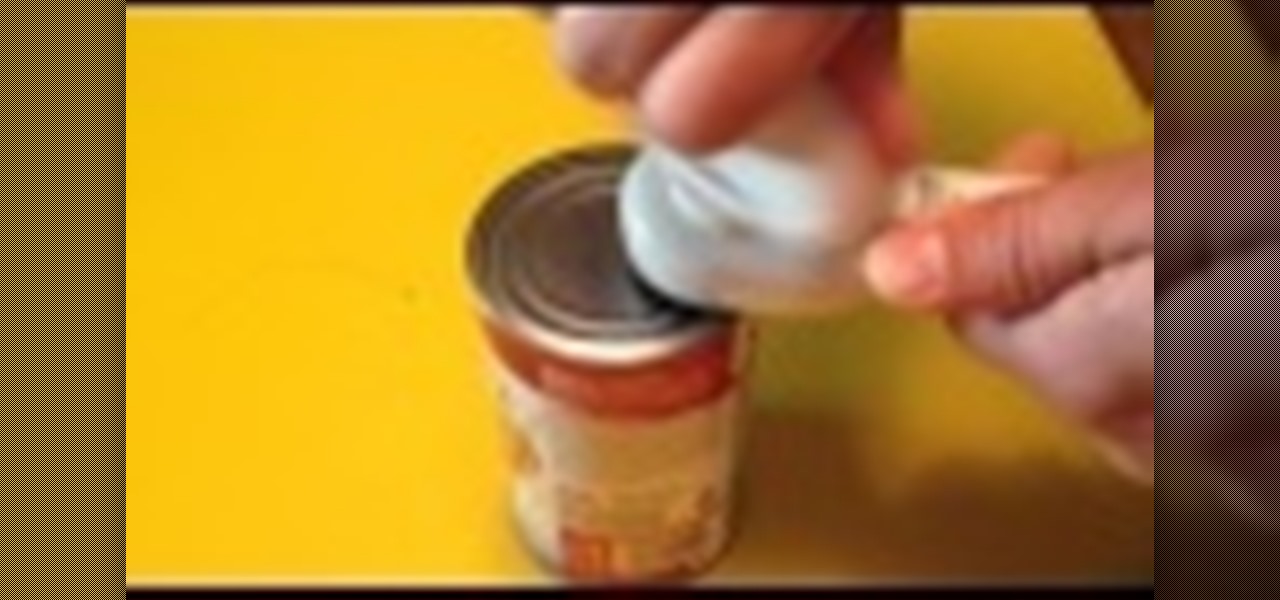
This is a video of how to use a can opener that's a safe can opener, which will not leave sharp edges. You can also reuse the lid to put back on top of the can if all of it's contents are not used.

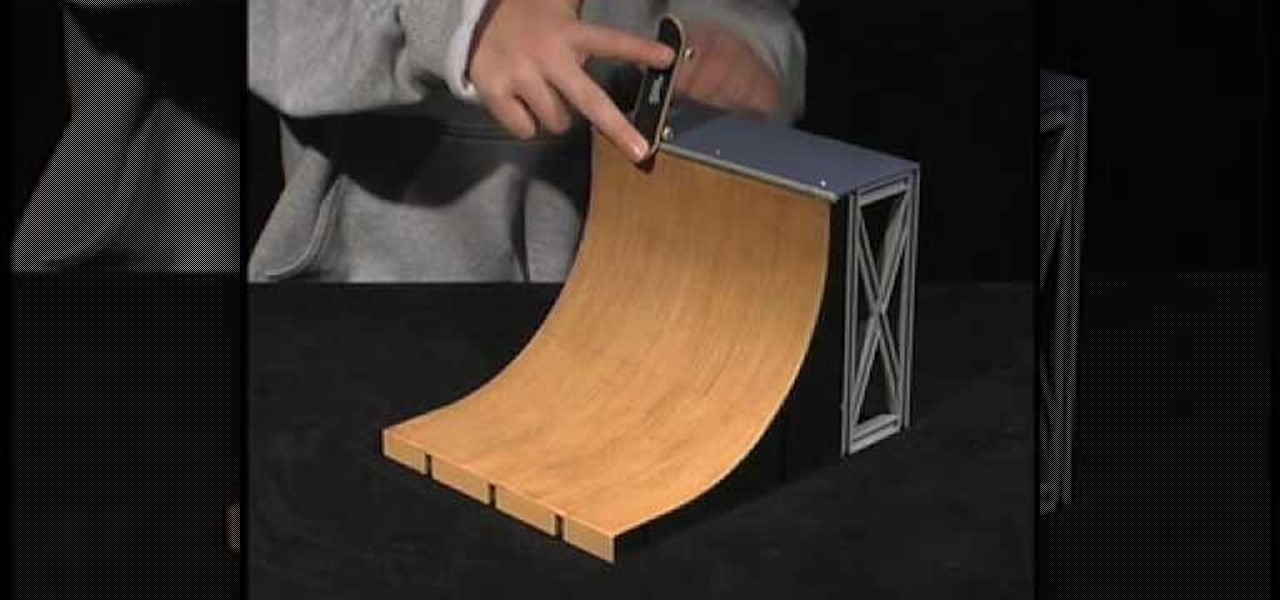
Tech Deck videos demonstrates how to do ramp tricks on a Tech Deck fingerboard. Any trick that you learn can also be performed on a ramp. A rock to fakey is the easiest ramp trick. Ride up, touch the lip of the board to the ramp, balance the center of the board on the edge, tap the front wheels on the ledge, and ride back down the ramp fakey style. You can then turn the rock to fakey into a board slide. Instead of rocking on the lip of the ramp, push the board along the edge and then dismount...

In this video Jennie shows us how to make a perfect spiral paper rose. All you need for this is a piece of 6X6 inches of paper, scissors, some glue and, if you really want to be creative, some ink. For starters you're going to need a 6X6 inch piece of card stock. Jennie chose a double-sided card stock because she thinks it will look more interesting but you can also use a plain piece of paper. The first step in creating your rose is making a spiral patterned cut alongside the paper. The ideal...

Making your own Mondrian-inspired cushion cover is demonstrated in this clear and concise crafting video. Materials required are a plain cushion cover( preferably in a tight weave such as canvas or cotton; water; medium size, firm, flat edge paint brushes; scissors; one inch wide masking tape; a sturdy piece of cardboard , saran wrap and 4 jars of textile paint - one color should be black or graphite. You may choose plain or glitter paints. Cut the cardboard about one inch smaller than the si...

The video helps us to make sterling silver hoops earrings. It is one the popular style of earrings. These earrings can be made of different sizes, shapes, forms whatever we like. This art and craft work is shown by Natalie.

The Art of Crochet by Teresa explains how to sew together crochet ribbing. Thread a tapestry needle and align the edges of the crocheting project. Sew the first stitch together and secure with a knot. Sewing through the top of the stitch on the edge will help prevent distortion and create a neater look for the ribbing. Pick up the back loop and align it with the stitch on the opposite side. Continue all the way across, sewing through the same stitch. It will push the top of the stitches up, c...

Learn how to 50-50 grind with a skateboard. After you've mastered some skateboarding fundamentals, try moving on to the 50-50 grind.

Learn how to shuffle a deck of cards. Impress your poker buddies by learning how to shuffle and deal like you do it for a living.

The first License Tests in Gran Turismo 5 on the PlayStation 3 to unlock are the National B License Tests. Once you've unlocked them (which can be done by simply purchasing a car) you can start playing the challenges. This video will show you how to get the gold trophy on the third one (B-3).

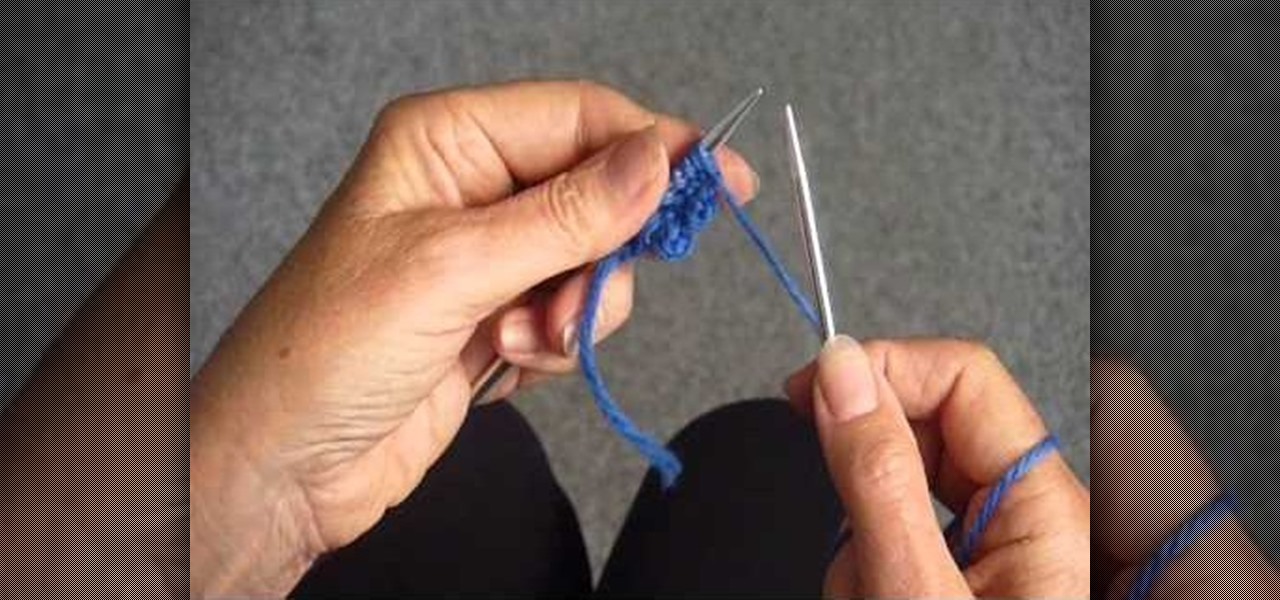
Master knitter Judy shows you how to knit a picot cast on in this knitting video. If you haven't figured out how to cast on yet, you should probably watch her video on that first. This is a sweet edging for the bottom of a baby sweater or blanket. There are many other instances where you would want to use a picot cast on, as well. Learn it with this up close demonstration by Judy Graham, Knitter to the Stars.

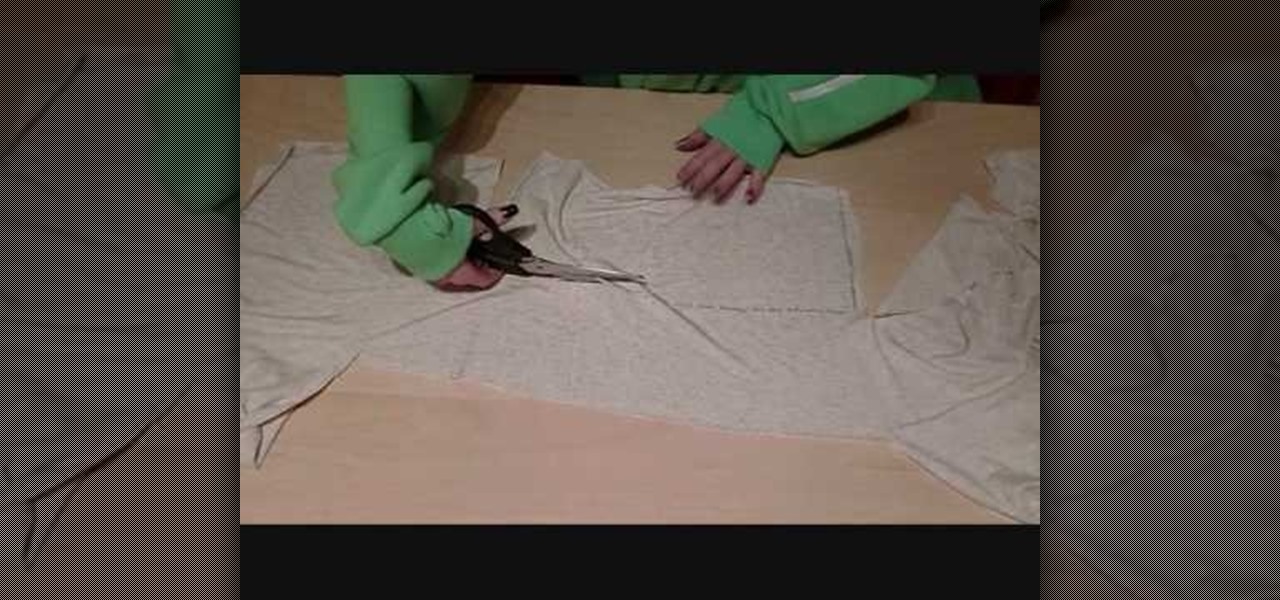
In this video, we learn how to make a feminine, long fitted sweater. First, lay out your fabric and use a pen to trace the lines for the sweater, measure it out so it's a good fit. Make sure to cut around the edges so you have room to sew. Now, sew along the edges and then turn the shirt inside out. Then, take extra fabric and cut out rectangular pieces that you will then attach to the bottom of the sweater by sewing them on. Once you are finished with this, try your sweater on to see how it ...

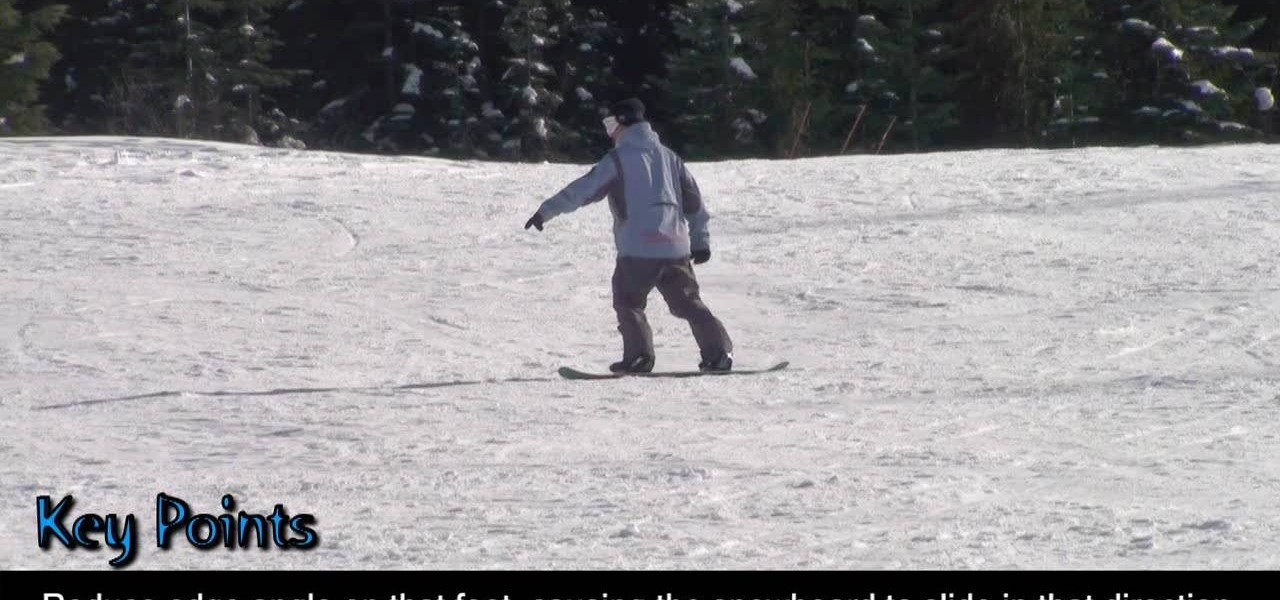
In this video, we learn how to do a toeside pendulum in snowboarding. Start by sideslipping on your toe edge. Take note that tapping on one leg represents increased pressure on that foot. Look and point in the direction that you want to travel, then tap on both legs to get even pressure on both feet. Increase edge angle with even pressure on both feet to slow down and stop moving on the board. Once you get these tips and tricks down you can better understand how to ride the snowboard. Remembe...


