In this video we learn how to do a heelside pendulum in snowboarding. Start by sideslipping on your heal edge. Then, tap on one leg to increase pressure on that foot. Reduce the angle and then you can slide your board down where you are facing. Look and point in the direction of desired travel. Tapping on both legs means even pressure distribution on both feet. Increase edge angle with even pressure on both feet to slow down and stop. Although you will start out slow at first, these are great...

In this tutorial, we learn how to create a masquerade ball mask with makeup. First, draw the outline of the mask around your eyes. After you do this, paint on light blue eyeshadow in circles around your eyes. Then, take a dark blue color and apply it on the outer edge of the light blue and inside the outline that you created. Apply glitter to the dark blue portion of the eyes, then draw on black around the outline of the mask, smudging it onto the outer edges of the face. After this, apply ey...
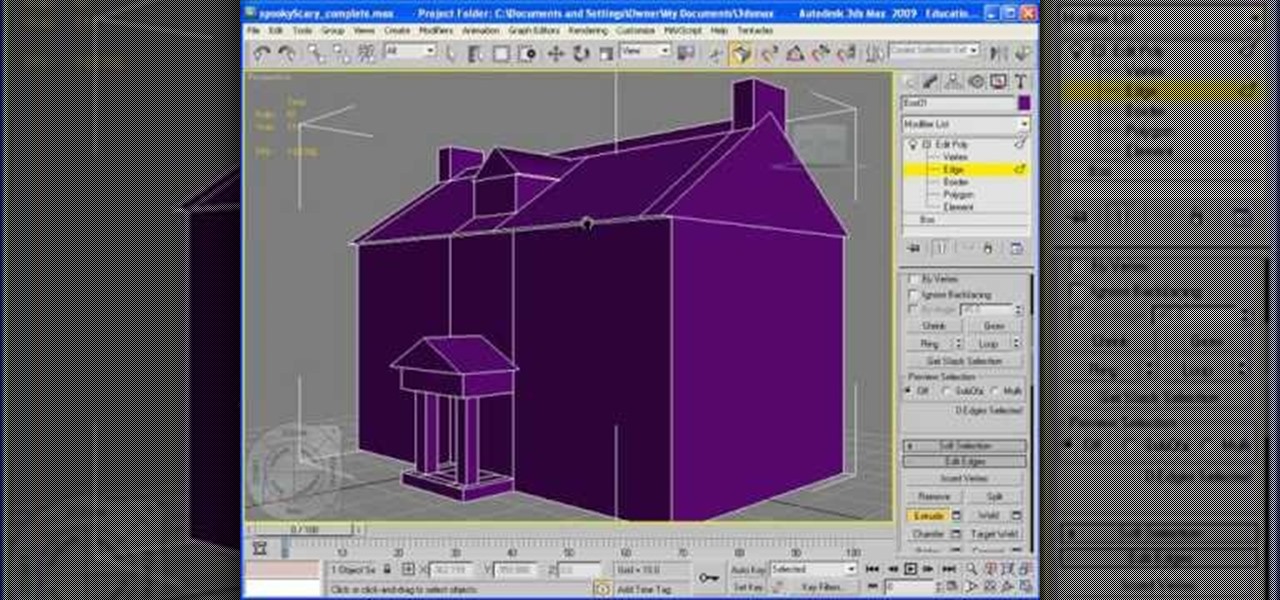
In this video, we learn how to add texture to a model house in 3D Studio Max. After you have created the model, press 7 on your keyboard. This will activate a new menu telling you how many polygons are in your model. Then, edit the edges and remove them so you have less polygons. After this, save the model under a name you want, then select everything on the model. Go to the parameters and click "edit". Now, go to mapping, then flatten mapping. The presets should be fine, then click "ok" and ...

In this video, we learn how to use the polygonal lasso tool in Photoshop. This will allow you to create a selection on your photo in a freehand style. First, select the tool from your toolbar, it's the third selection down. Once you select this, go to your picture and find the piece you want to cut out or copy. Press and hold the control and space bar, then highlight the area you want to. This is great to make a selection that has a straight edge. If you just click with it, it will have a dia...
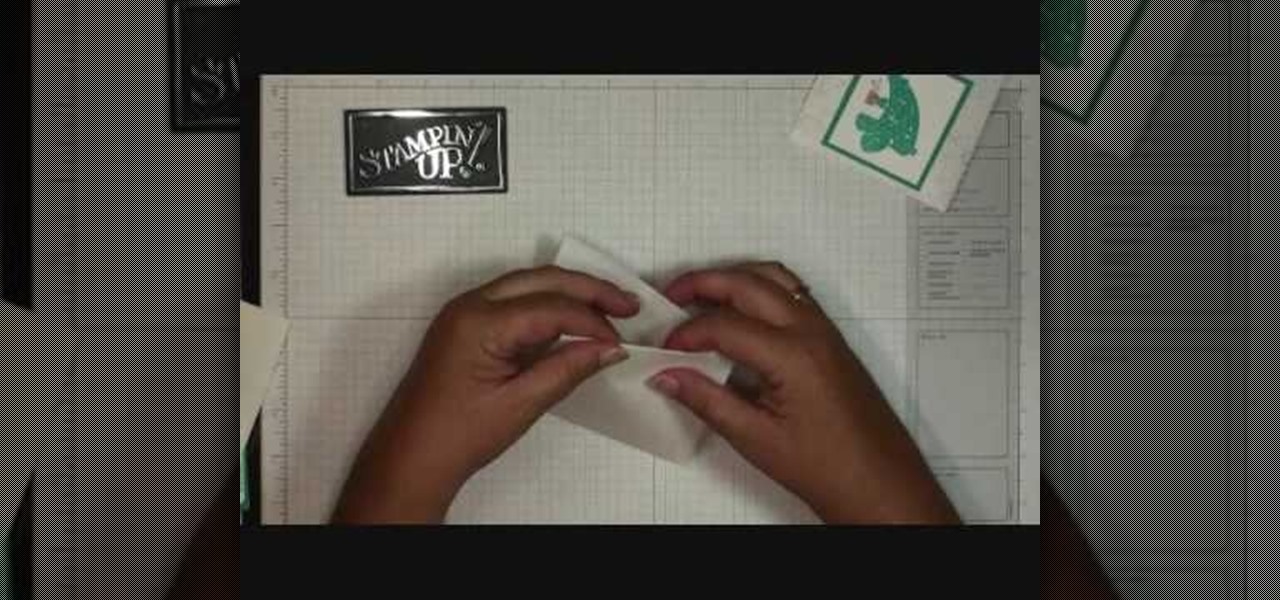
In order to make hot cocoa holders with Stampin' Up, you'll need the following: a whisper white Stampin' Up envelope, scissors, a paper cutter, cocoa, a jumbo wheel, ink pad, adhesive, stamps, ribbon, pen, stapler, glitter, and card stock.
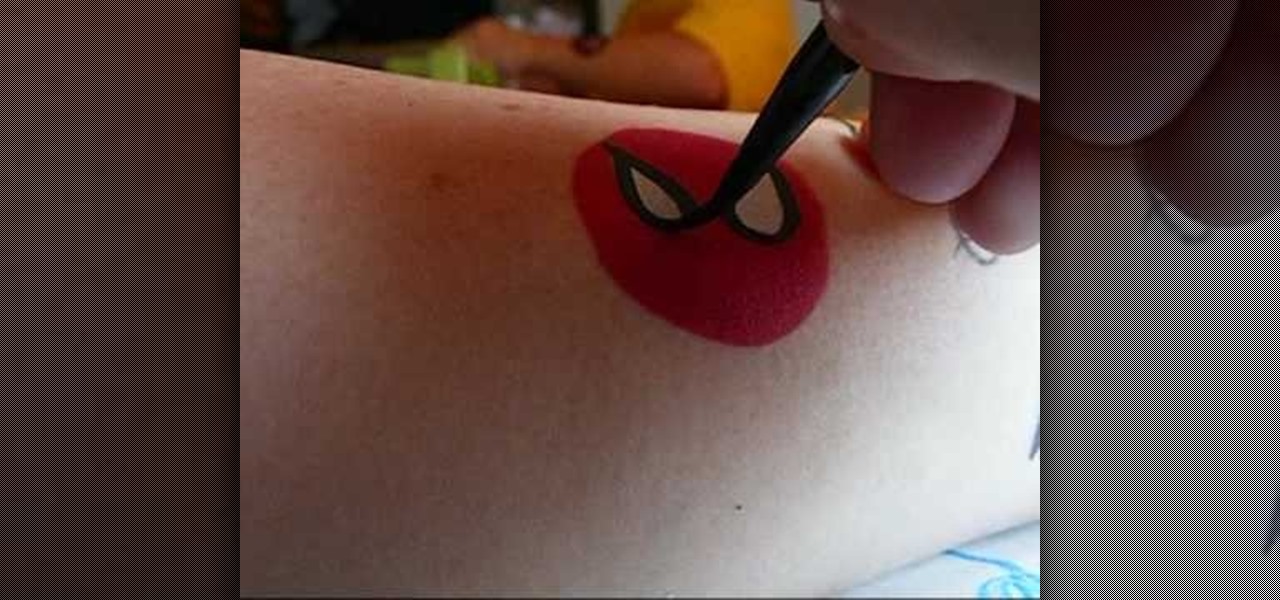
In this video, we learn how to make five easy face or body paint designs. First, to make a shooting star, grab a sponge and apply your paint to the edge of it. You will want to paint three colors next to each other on the edge of the sponge. Now, drag this across the skin and make a point at the end, then paint on a star. Next, to make a flower you will paint four hearts that are all touching with their points in the middle, then paint on leaves by swiping the brush sideways. To paint Spiderm...

In this video, we learn how to make a ceramic slab plate. First, roll out the ceramic. After this, place the clay on butcher or newspaper and smooth it out with a plastic card. Repeat this on the other side. Next, use a paper template to help cut your design or use a circular object. Cut slits to help remove the surrounding clay. Use the excess clay to build support pieces then curve the edges of the plate up and place the support pieces underneath. Use a piece of leather to smooth the edges....

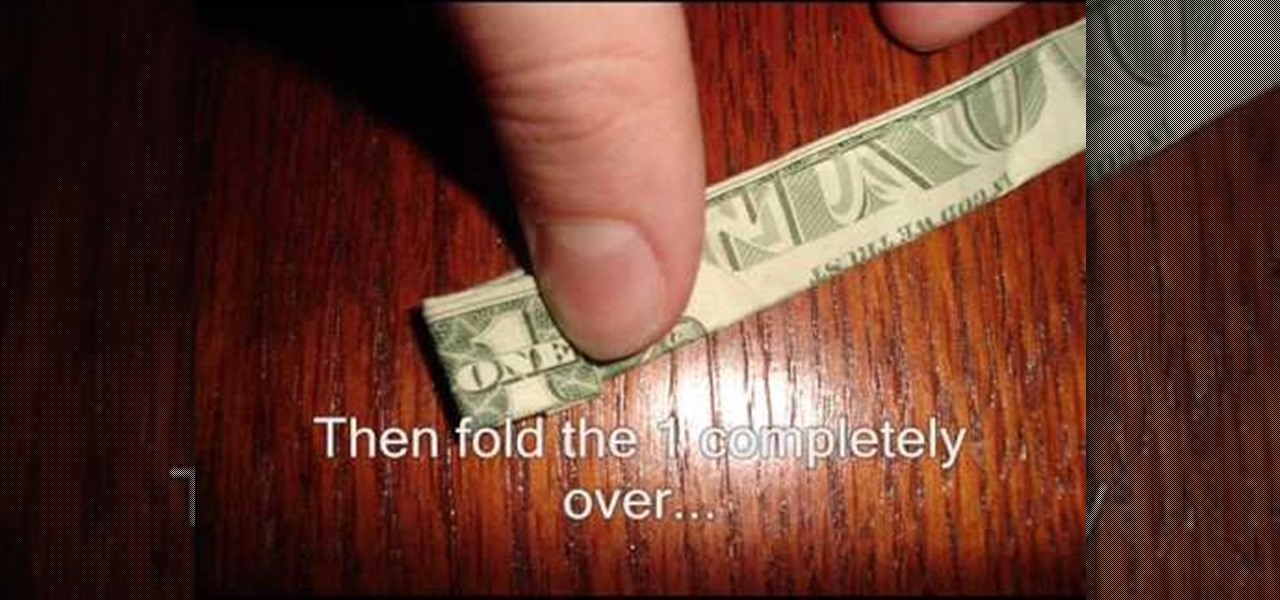
In this video, we learn how to fold a ring out of a one dollar bill. First, fold the white edges in at the top and the bottom. Next, fold it in half and then spin it around 180 degrees. Next, fold it in half again, then take the white edge on the right side and fold it down until you can see the 1. now, make a backwards "L" shape and fold it back down, then curl it up. Now fold the L underneath and curl the extra part underneath the 1. Now, place this on your hand and you can wear it as a ring!

If you're the new owner of a snowboard or plan on purchasing one, an important part of maintaining it is by waxing. Waxing a snowboard is one of the easiest things that anybody can do in order to increase the overall performance of your board. Waxing a board can also prolong the life of the board and reduce any minor damages it accrues.

In this Home & Garden video tutorial you will learn how to build your own windmill with household materials. Materials needed for the windmill are a template, scissors, straw, some yarn, some pennies, a paper cup, rubber bands, pencil, single hole punch, a skewer and thumb tacks. Take the template, cut it out along the solid lines and punch holes on the corners as shown in the video. Now with a thumbtack and a pencil make a nice hole at the center of the template. Fold the template along the ...

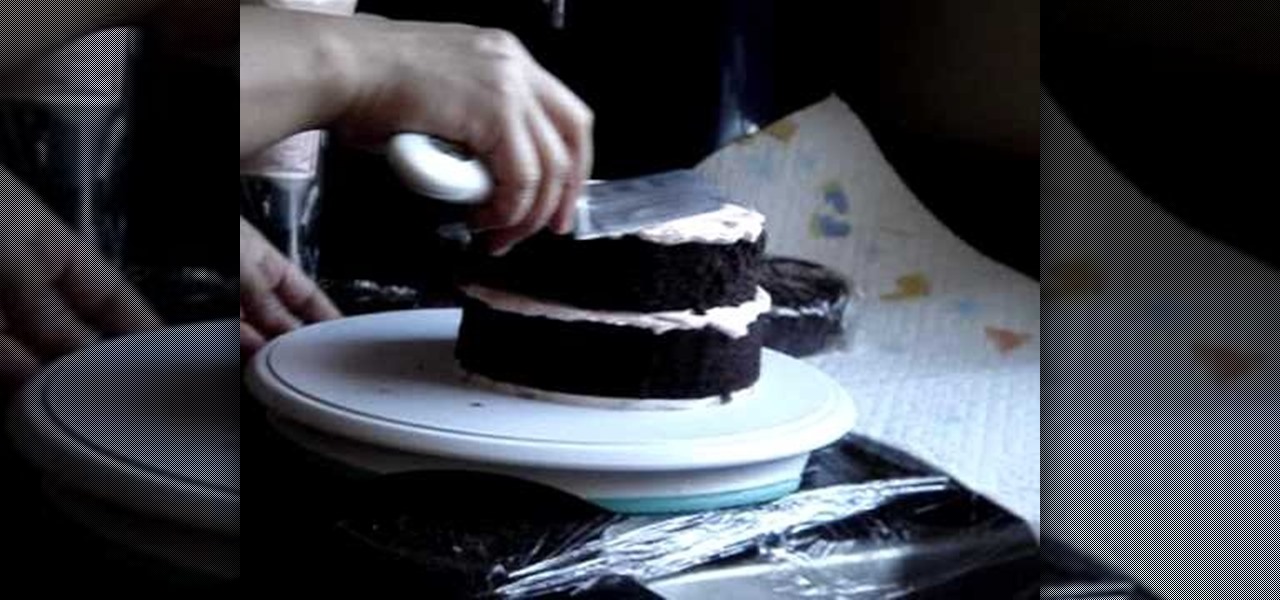
The video covers how to ice a cake. According to the video it is best to start by refrigerating the cake. You will need a 16" pastry bag with an icing tip on it. The tip should have a cerated edge on one side and a smooth edge on the other. Set the cake on a rotating plate. Rotate it and put a layer of icing all the way around the cake and then fill in the center. Once the cake is covered use a spatula and smooth out the icing. Then set the second cake on top of the first and put the icing on...

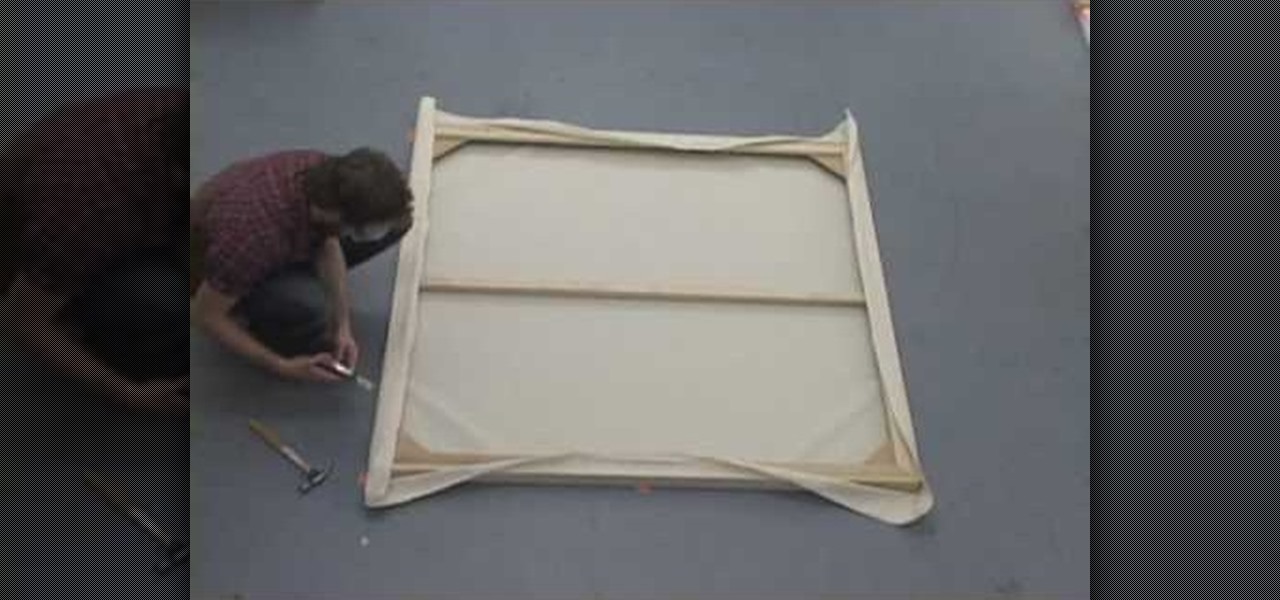
In this tutorial, we learn how to stretch the perfect canvas. First, measure the canvas. After this, center the canvas and make sure there are no wrinkles. Then cut the canvas and staple it to the frame. This will take several minutes, and you will work your way from the inside to the outer corners. After you are finished stapling hide the folds on all of the corners with the stapler gun. When you are finished with this step, you will be done and ready to paint on your new canvas! These steps...

In this tutorial, we learn how to use a zigzag stitch as an overlocking stitch. First, put your fabric under the sewing machine and place the edge close to the needle. Sew the side of the fabric and when you are done, you will have the overlocking stitch. This will stop your edge from being raw and there won't be any frays on the side, which will reduce unraveling. This is very easy to do and just takes a few minutes. Make sure you prepare your fabric before you do this stitch and you will be...

This video tutorial is in the software category where Kerry Garrison will show you how to use vignettes with Adobe Photoshop Lightroom. By this you can remove the dark corners in a photo created by some zoom lenses. Select the photo, kick in the vignettes and fade out the corners focusing on the main subject matter. For this, select 'lens correction' on the right hand side and with the help of the sliders apply the vignettes. You have the choice of applying either a light or a dark vignette. ...

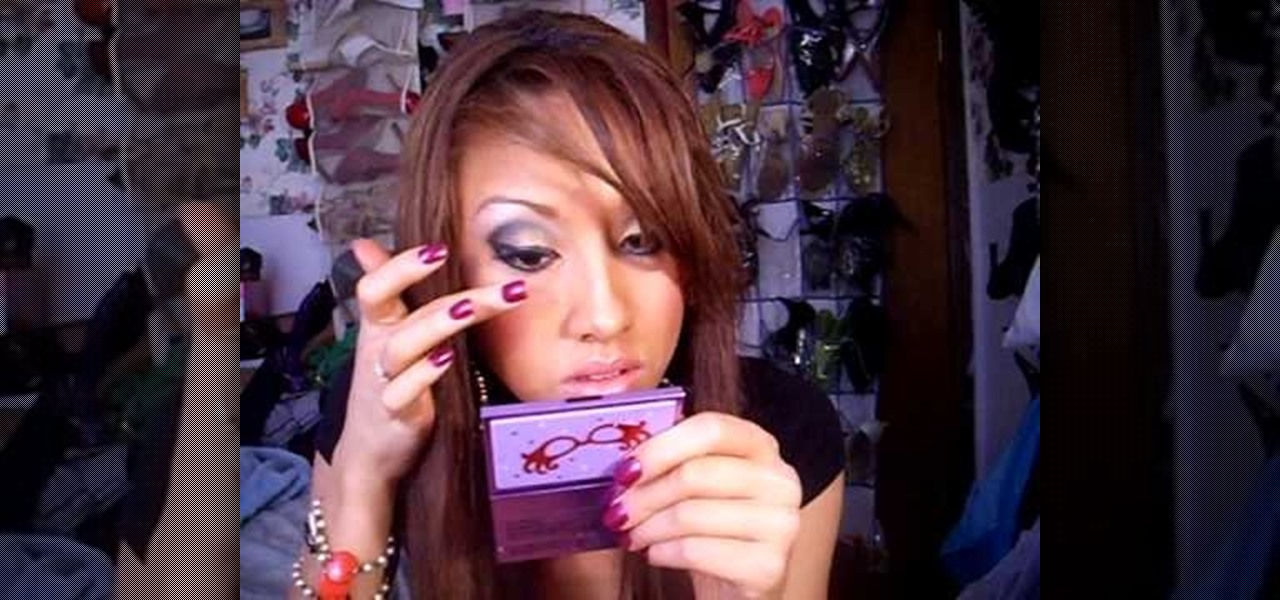
In this video, we learn how to create a gold and dark blue eyeshadow look. To start off, apply a primer to the top of the eyelid. Next, apply a gold eyeshadow to the entire eyelid, adding more on the crease of the eye going down to the bottom line. Next, brush a dark blue eyeshadow along the crease of the eye onto the outer edge of the eye. After this, apply a black eyeshadow to the outer edge of the eye and then blend the colors together. Next, draw black eyeshadow onto the bottom of the eye...

Husky and broad-shouldered as they are, cowboys occasionally get chilly while working the herd outdoors or casually saving a damsel in distress on his way to pick up a swankier cowboy hat in town.

In this tutorial, we learn how to make a Japanese screen. First, cut your wood out and sand it down. Then, use a corner clamp to drill a hole in and screw the different sides together. Also use wood glue to help stick the pieces of wood together. Once your frame is assembled, sand the corners of it. Next, you will stain the wood with black Japan wood stain. You will only have to put one or two coats of this on, because the color is so dark. Now score notches onto the wood to allow your screen...

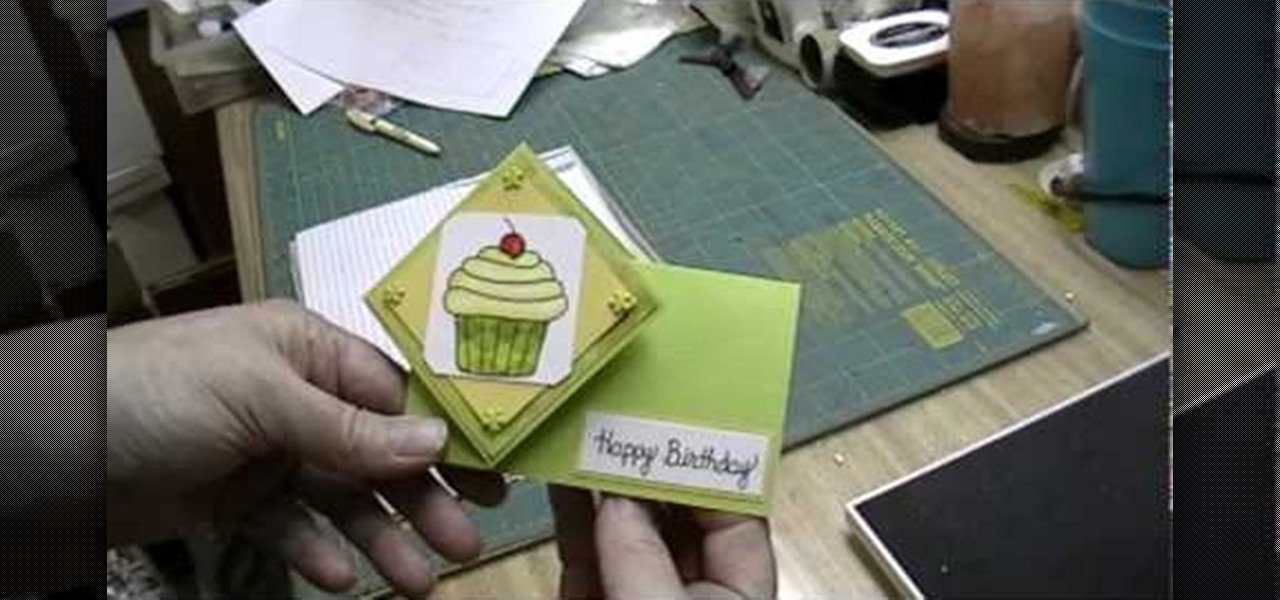
In this video, we learn how to make a twist turn style card. The card will open with a neat pop out image on the front of the card! First, get an 8 1/2 x 5 1/2 piece of card stock and then score it 2 and 3/4 inches from the left edge and 4 inches over from the left edge. Then, turn the card the other way and find the center, then score from the right end to the very first score line. Then flip the card over and score the rest of the center line up to the first line. Now, make a score line fro...

Many science fiction feature films and TV shows feature holographic communication and interfaces. Specifically, this video addresses how to use corner pinning within Holomatrix. Red Giant Holomatrix allows you to easily recreate that effect with just a few clicks. Whether you're new to Adobe's popular motion graphics and compositing software or a seasoned video professional just looking to better acquaint yourself with Red Giant Holomatrix, you're sure to be well served by this video tutorial...

This HelpVids.com tutorial shows the basic options for setting an alarm on an iPhone. To begin, open the "clock" app. There are four sub-menus in the the "clock" app. Choose the "alarm" sub-menu. To create a new alarm, touch the "+" in the upper right corner of the screen. A new screen appears and the user has different options. A repeat time for the alarm can be chosen. The user can choose the sound that plays when the alarm goes off. The "snooze" option can be toggled on or off, and the ala...

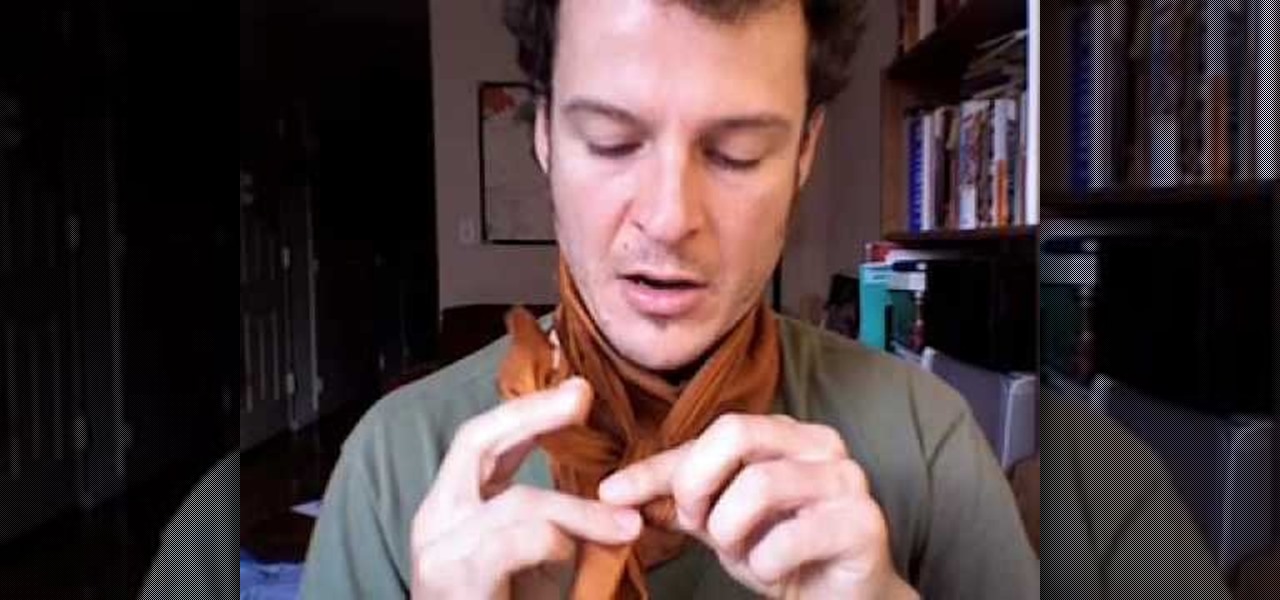
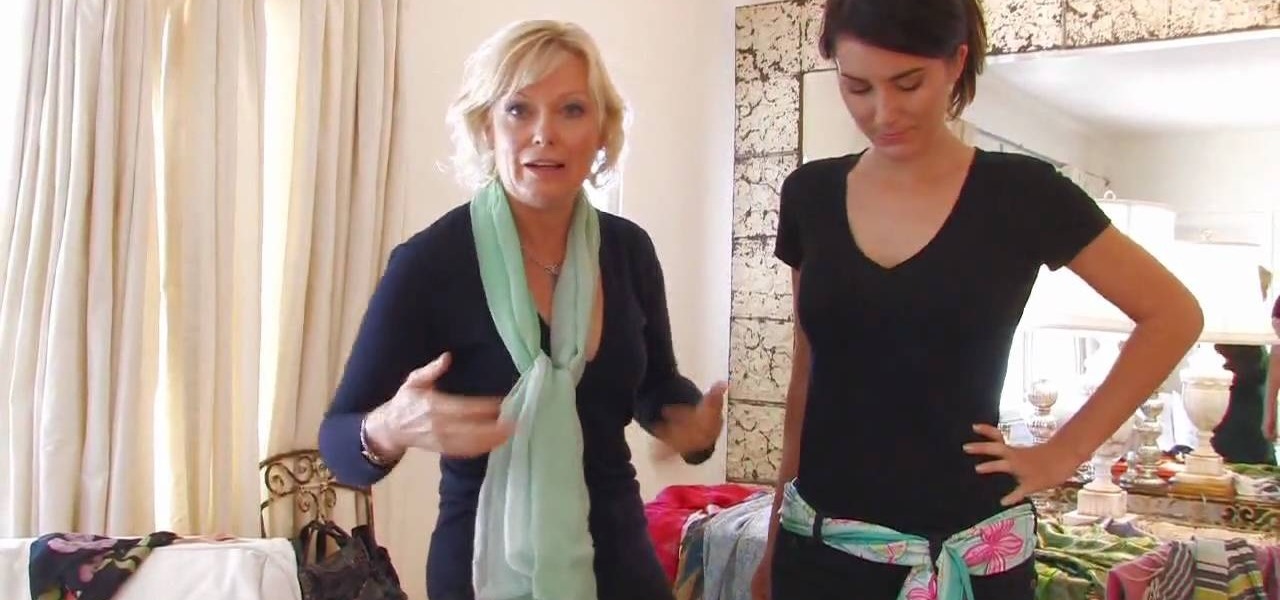
In this Modern Mom video, costume designer and fashion consultant Cate Adair shows how to wear a spring scarf. She shows how to use a long thin scarf as a belt. She threads the scarf through belt loops and tying it in a simple knot around the belt loop at the end. During the video, she discusses using fabric as a scarf, or changing the width of the scarf depending on body shape. Finally, she uses a large square scarf folded in half from corner to corner to tie a "sarong" style splash of color...

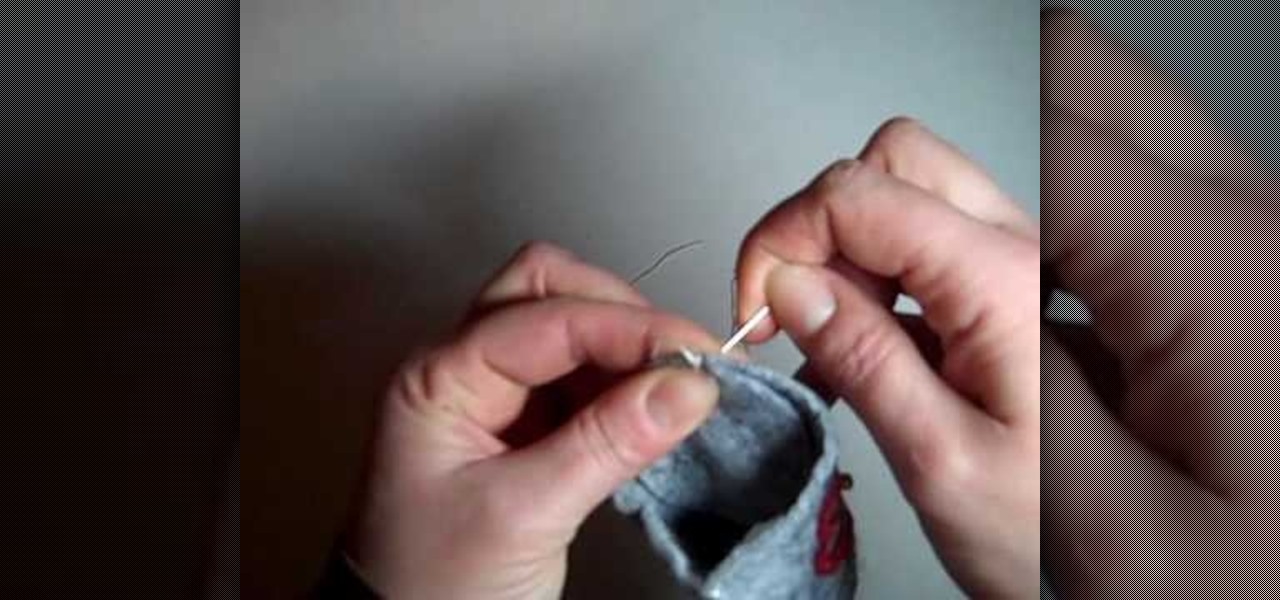
In this Arts & Crafts video tutorial you will learn how to do Whipstitching. The video demonstrates how to stitch the bottom of a cloth basket to the sides of the basket. A whipstitch is a very basic stitch. Start at one end of the basket; attach the bottom to the sides with a pin. Pass the needle from the inside so that the knot is hidden. All you have to do is taking the thread and whipping it around the edge. At the beginning, give it a bit of binding stitch before stitching the rest of th...

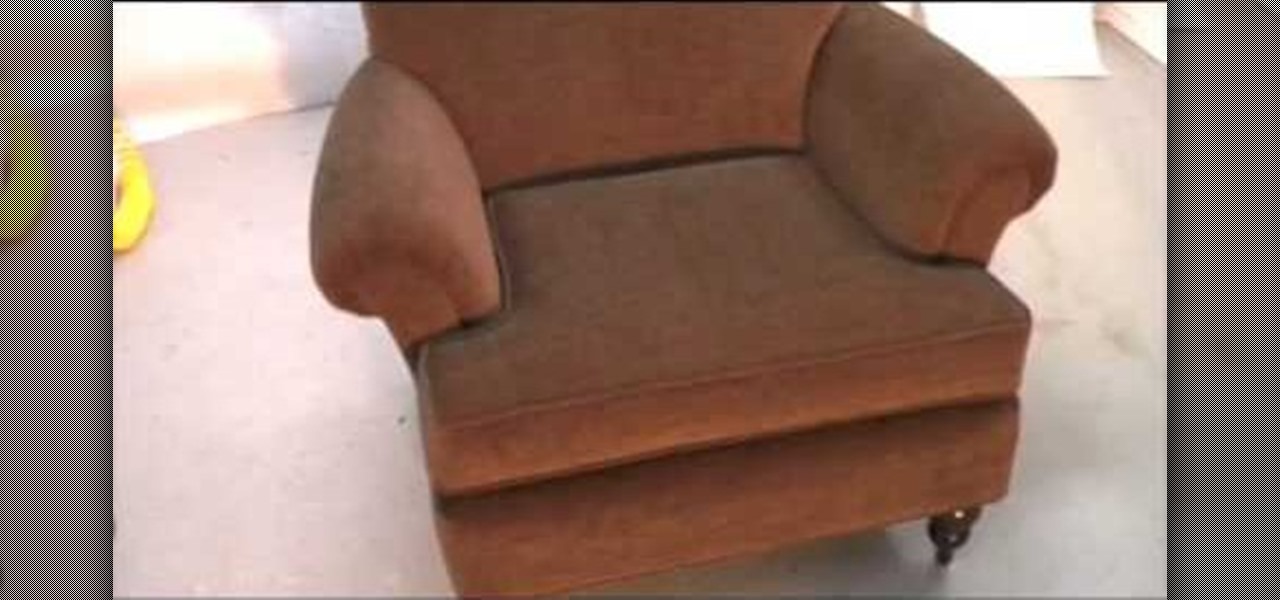
This is a demonstration of how to upholster full an occasion chair. First the seat upholster is removed carefully. The new cloth is cut accordingly to the shape. The edges are folded and stitched. The cloth is spread over the seat, tucked under the hand rest stretched to the bottom and nailed. For the hand rest a rectangular cloth of required color is cut. A piece of foam is spread over the hand rest and covered with the upholstery cloth and stapled at the sides and bottom. The back rest is r...

This is a great instructional video on how to apply star wars makeup. First you have to take off some glue stick to smudge on the second half of your eyebrows. Apply liquid green all over the face. Now apply yellowy green powder allover the face with a brush. Now contour bitches. Draw eye shadows with dark colors and eye brows with black color. Taper it out into a point both on the outer corners going up and in the inner corners going down, an Arabic kind of eye. Now set liner with black powd...

In this video tutorial, viewers learn how to use the vanishing point filter in Adobe Photoshop. Begin by selecting the image you want with rectangular marking tool. Then hold Control and C to copy it. Now go to your 3D shape. Press on Filter and select Vanishing Point. Click on one of the corners and drag to each corner. Hold Control and drag it down to create another selection. Now paste the photo by hold Control and V. Then drag the photo to the selected shape area. This video will benefit ...

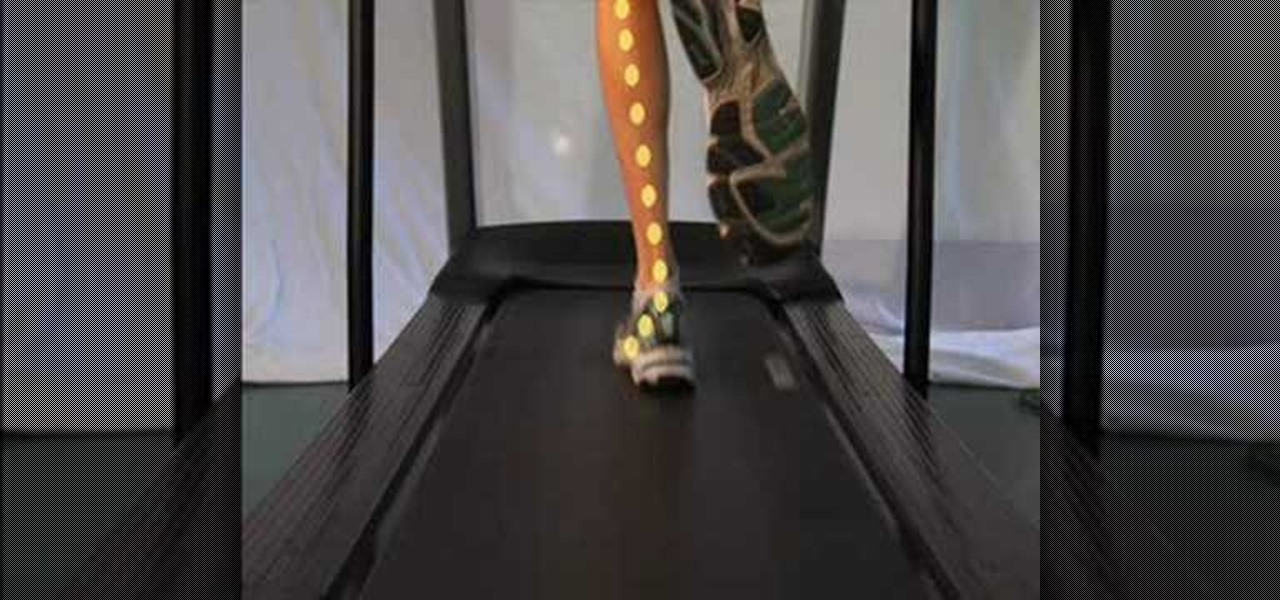
When the foot does not roll inward enough after the outside of the heel hits the ground, this results in Underpronation. The act of underpronation is visually depicted by an individual running on a treadmill; as the runner slows down via slow motion, one can see that the excess pressure of the body is only bearing down on the outside edges of the person's feet, as the foot neglects to roll inward. One can tell if they are underpronating by checking their footwear (running shoes, etc.), to see...

This film from Woman's Weekly shows you how to line a round cake tin. First you take non stick baking parchment. Fold the paper to double thickness, then rest the tin on top and draw around it with a pencil. After that, then cut just inside the pencil line to compensate for the thickness of the tin. For the sides, you roll the tin on its edge, allowing some extra for overlap and a little extra height above the tin. Make a fold a couple of centimeters from the top and then make some cuts from ...

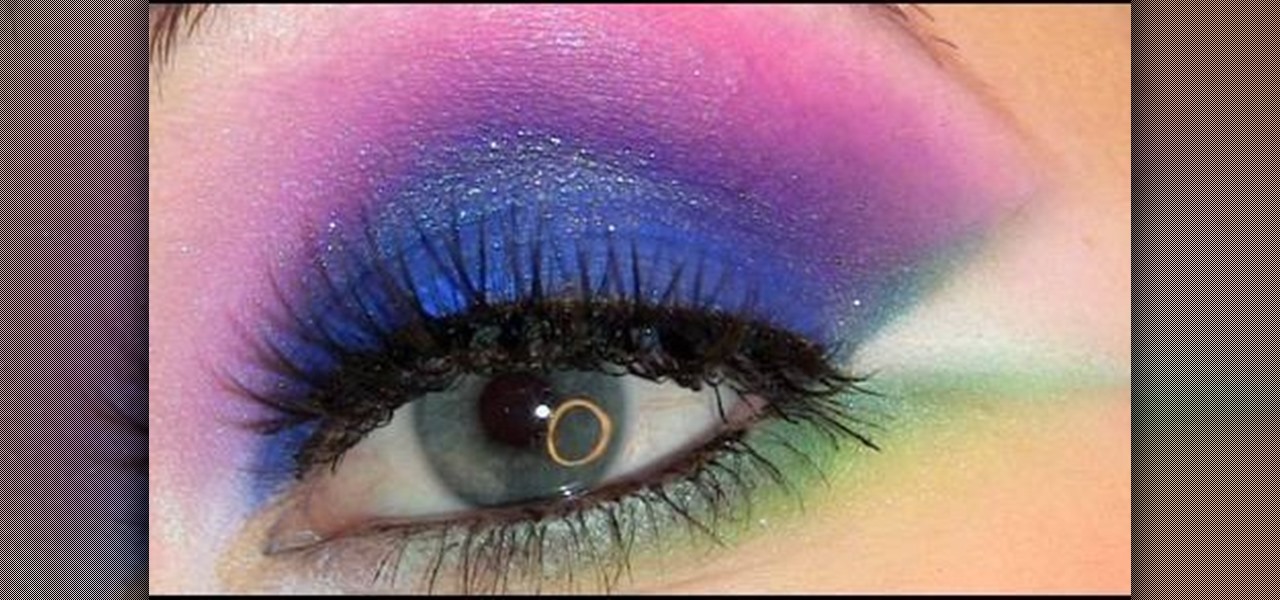
This video teaches the secrets of creating an Electro pop makeup style in simple steps. First wet a dark blue eyeshadow powder and apply to your eyelids. Now apply a pink eyeshadow using 222 brush and apply it over the blue. Now use white color and highlight under your eyebrows. Apply a green color using a flat brush under your lower lash and apply a brighter green over it. Apply a white eyeliner to the inner corner and make a triangle shape at the outer corner. Now apply some eyeliner, lashe...

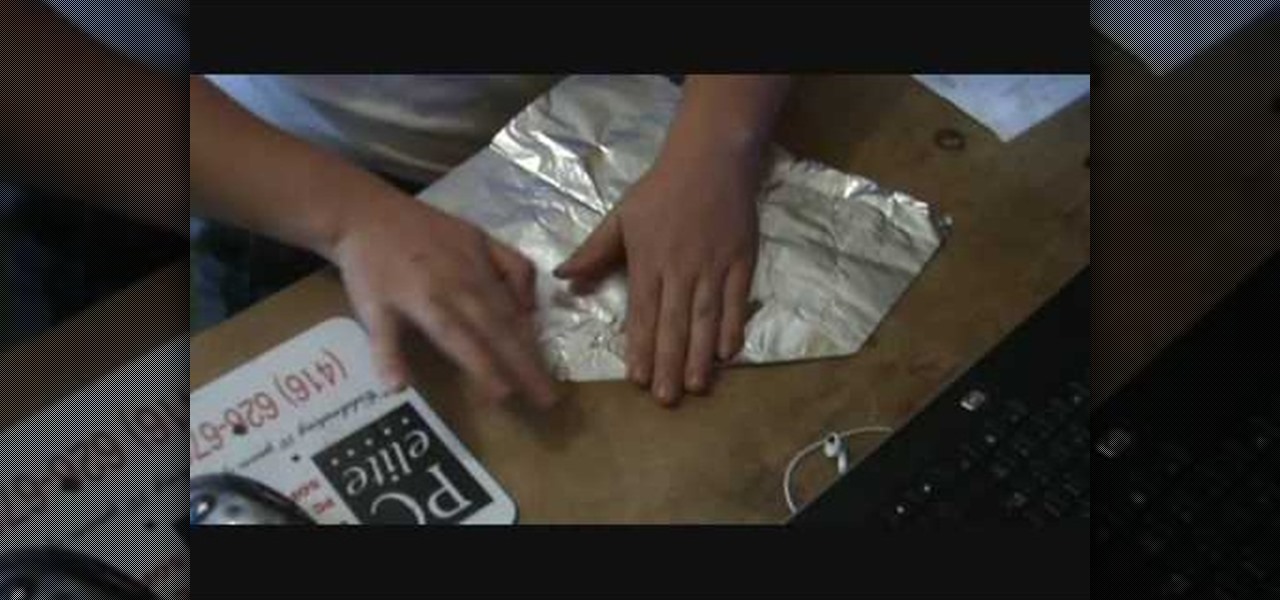
Learn how to make the perfect tinfoil airplane glider, every time. Obtain a rectangular sheet of tinfoil. Fold the shorter side of the rectangle foil in half and make a crease. Unfold the foil. Fold one of the corners into the middle crease. Fold the opposite corner into the middle crease. Fold the side into the middle crease. Fold the foil in half along the middle crease. Fold each side down so that it meets with the bottom crease and creates flaps. Press down on plane to strengthen the crea...

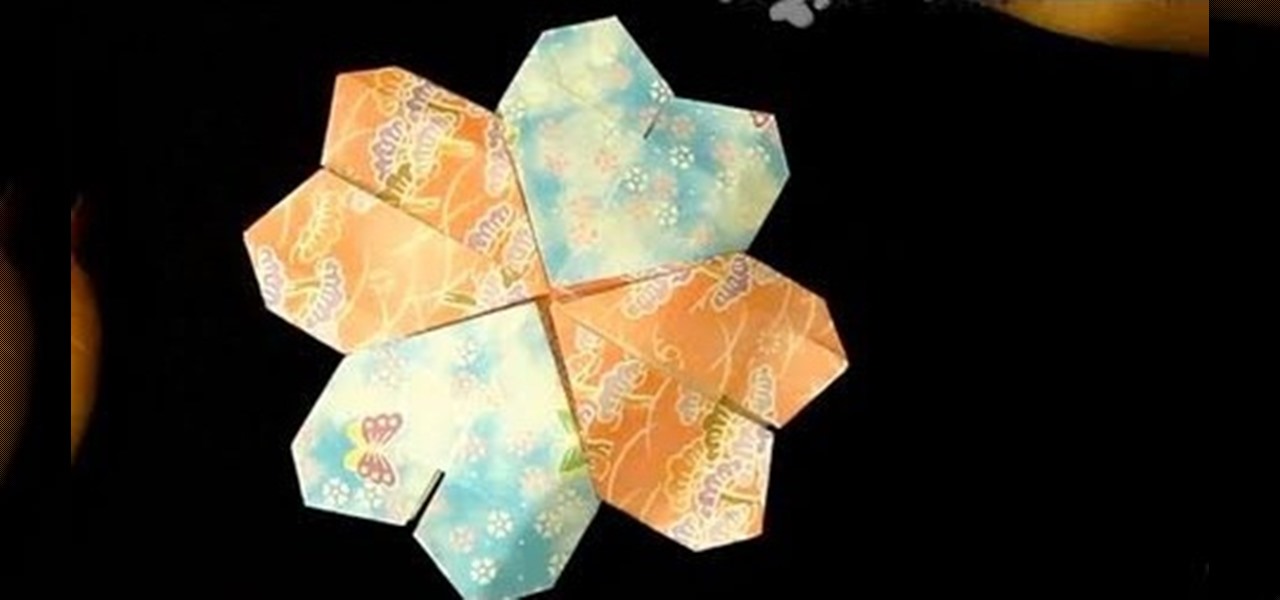
To fold an origami mandala heart you need to follow the steps below. First cut 2 triangles out of the paper you have, fold one of the triangles in half. Then, unfold the folded in half triangle and fold the top of the triangle down about two thirds of the paper. In this stage you will be making folds 3 and 4. Next, fold both of the side corners of the paper up to the top, creating the picture below. Now you will make folds 5 and 6. Then, turn the paper around. Now just fold the top flaps into...

In this video tutorial, viewers learn how to make an origami fortune teller. Fold a sheet of blank paper in half--vertically and horizontally. Fold the four corners of the paper into the middle. Flip the paper over and fold the corners into the middle. Fold it on the horizontals and diagonals. From then on, users can decorate the fortune teller. This video will benefit those viewers who enjoy origami and art.

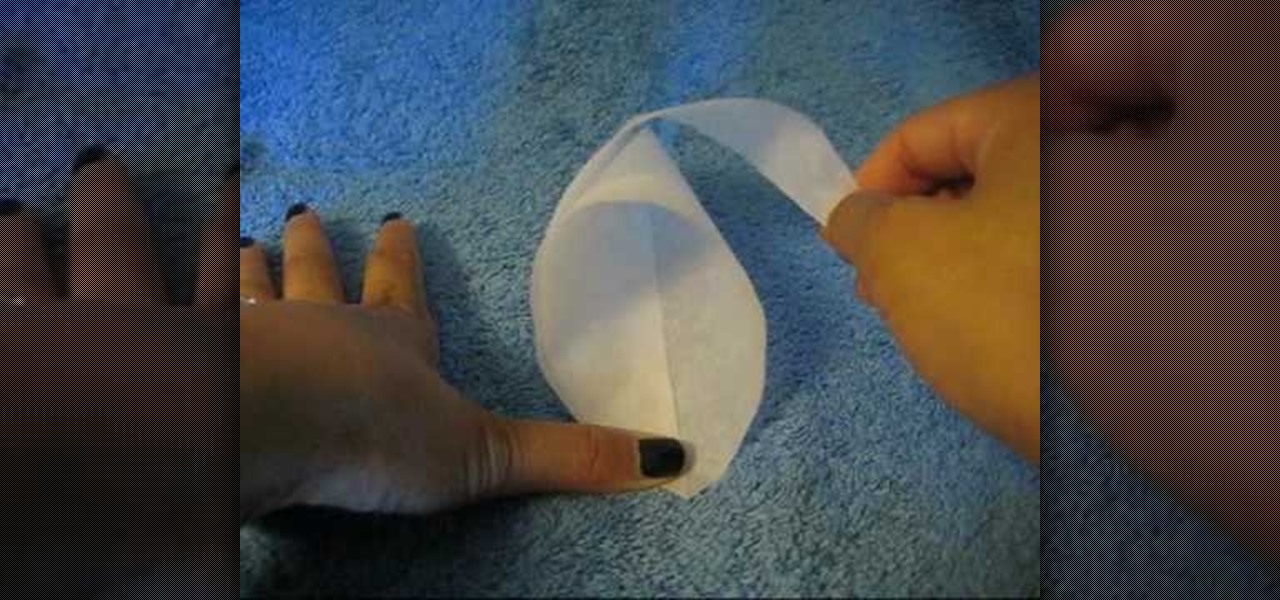
Want to make parchment cones for cake decoration? The secrets of making parchment cones for cake decoration are given in simple steps. First cut a parchment paper into an isosceles triangle of any size you wish. Now roll one corner inwards to the bottom end, curl it under and hold it. Now roll the other end over it and curl it under to form a cone, all the three tips should meet. Now fold the end with a sharp point inside the cone twice to secure it. If you are going to use it as decorating t...

Impress others with your artistic skills by learning to paint a gypsy dancer on the computer. Construct a rough sketch line drawing of a girl dancing. Use a soft brush to airbrush some colors in. Use as few colors as possible. Don't worry about the value yet. This will be a basic map of what colors you want to use. Start adding darker colors in. Use a highlighter to add lighter colors. Use the soft edge brush to blend and a hard edge brush to define forms. Experiment to your liking. With this...

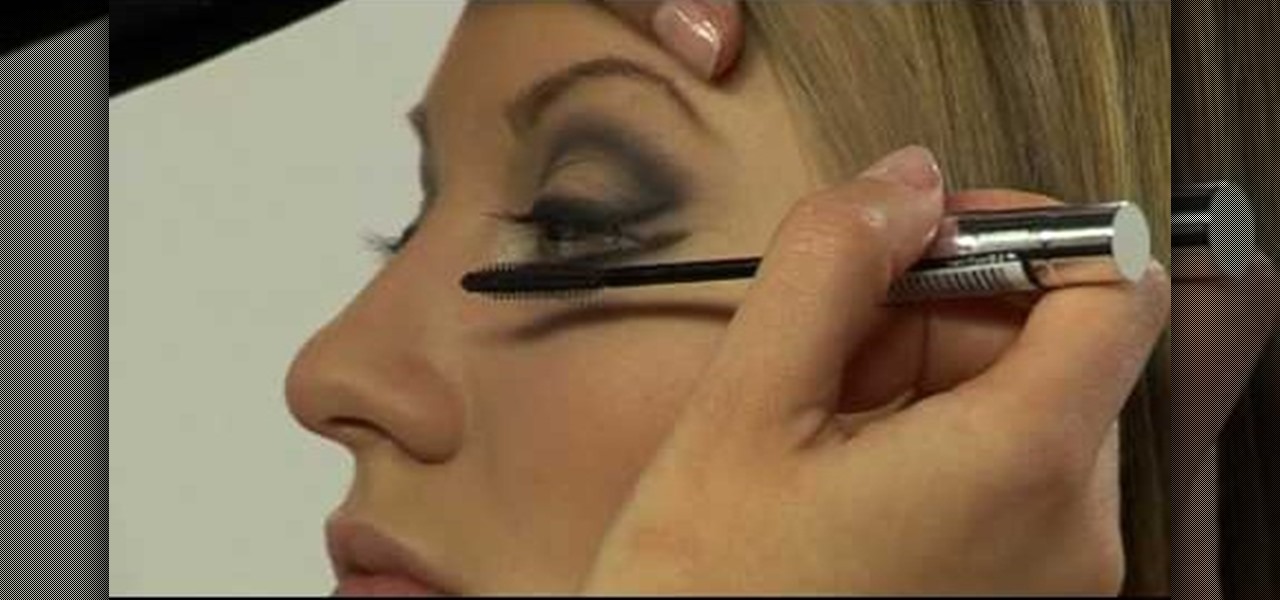
Makeup artist Sarah Jagger demonstrates how to fashion your hair and makeup with an "everyday" version of Versace winter 2007 styles. She uses a hair straightener to iron hair flat with a flick at the end. She then adds black-gel eyeliner with a flare pattern on the outer corner of each eye. Eyeshadow is applied to meet the eyeliner at a point and create a 1960's style appearance. Lighter tones are then blended-in above the eye, and added around the corners, to complete a wing-shape makeup ey...

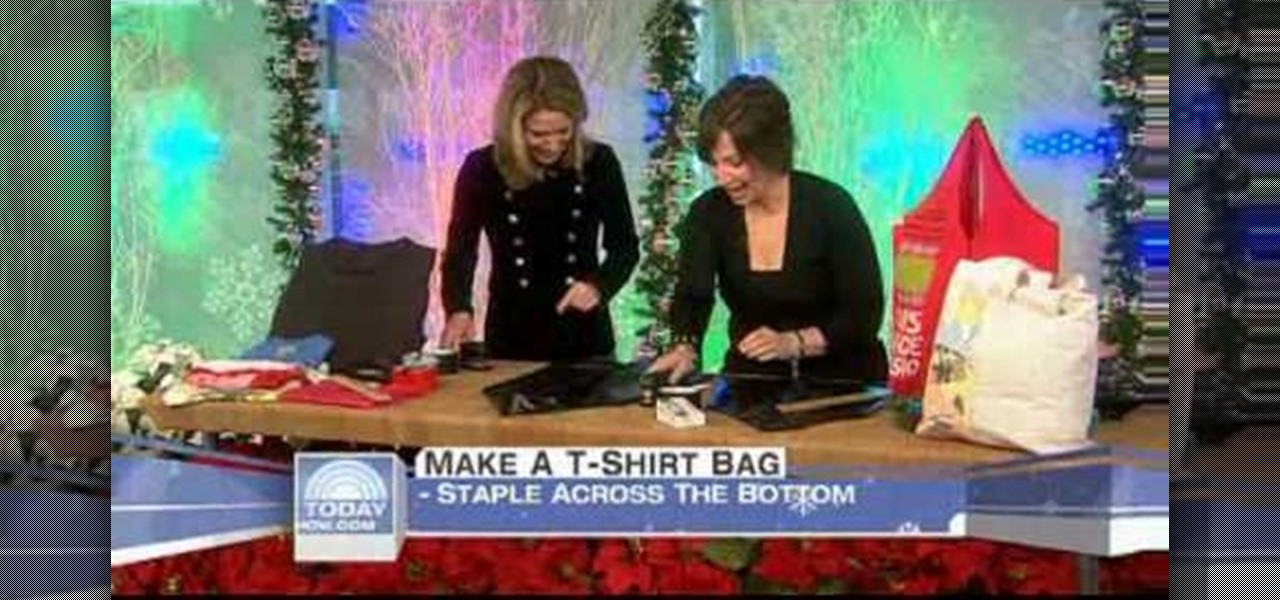
This video shows the viewer how to turn an old t-shirt into a tough bag that can then be reused many times. This is done by first cutting the sleeves off. This creates a top that resembles a tank top. The t-shirt should then be turned inside out and then covered completely in duct tape. The bottom of the bag is then stapled closed and another layer of duct tape then covers this up. A line is then stapled across each corner to change the angle and create more conventional corners. When the bag...

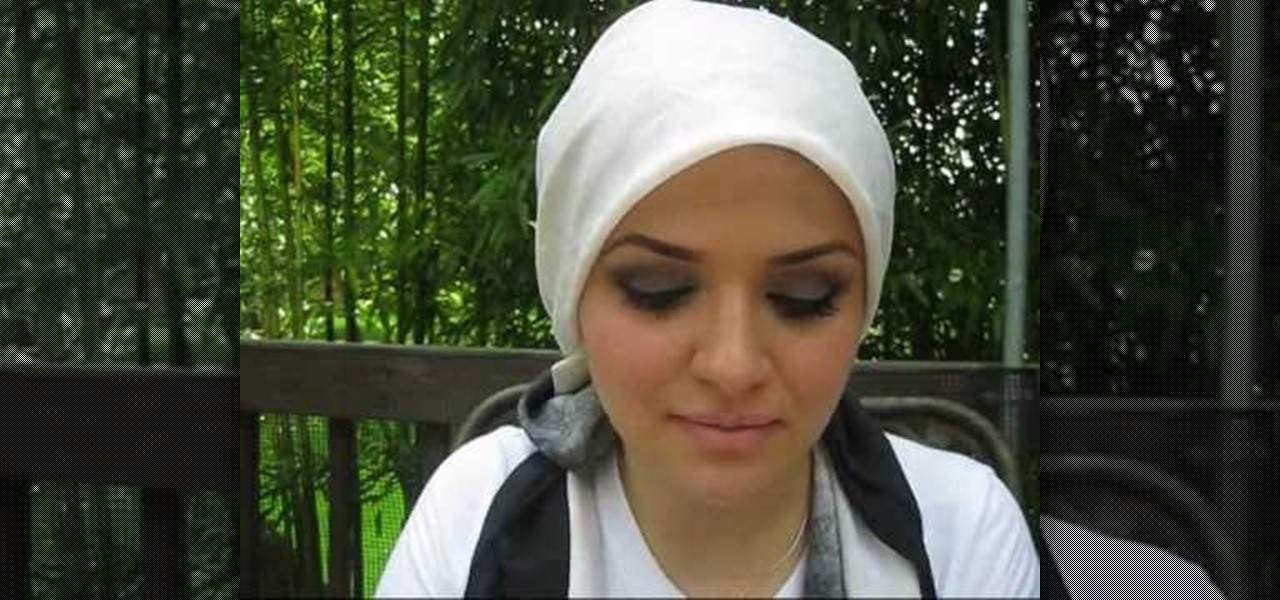
This tutorial is a great one to watch if you are looking for an elegant but still natural smoky eye look. Start off by taking the eye shadow Grey Stone and applying it all over the lid. Then take the MAC eye shadow called Omega right over the crease, rounding it off at the end. Use the MAC Charcoal Brown eye shadow right on the outer corner of the eye. Then put the NYX dark brown eye shadow on the outer corner, as well brushing it into the outer bottom of the eye. The next step is to take a s...

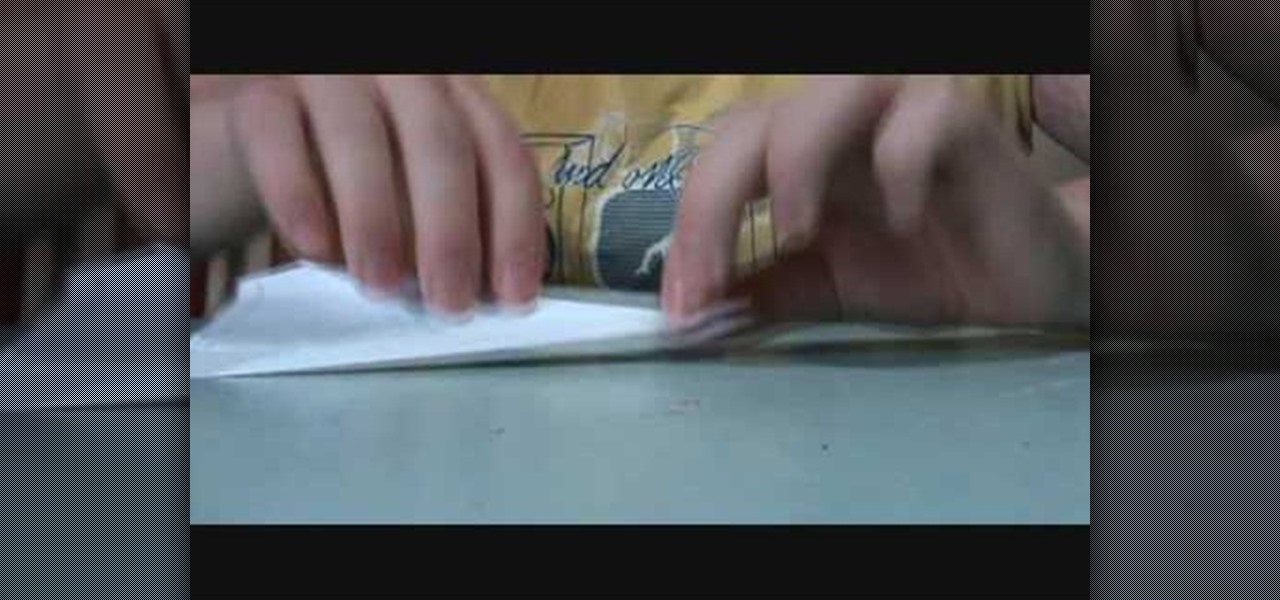
Watch this video as it gives easy instructions on how to make a mini paper airplane that flies far. -Get a small piece of paper. 4X8" would be best.

If you're headed through the firey hell region of Dark Souls, you may encounter the Ceaseless Discharge boss when you pick up the item in the corner. If you want to defeat the boss, take a look at this guide from IGN on utilizing a safe spot.

Watch as Kipkay hacks a bulky VHS camcorder and turns it into a night vision headset. This video tutorial will show you that old technology can still be useful in today's world. Just think, you might not have ever been able to see in the dark corners of the night without this hacked VHS camcorder. Night vision isn't just for the military, it's for you, and me, and your dog...

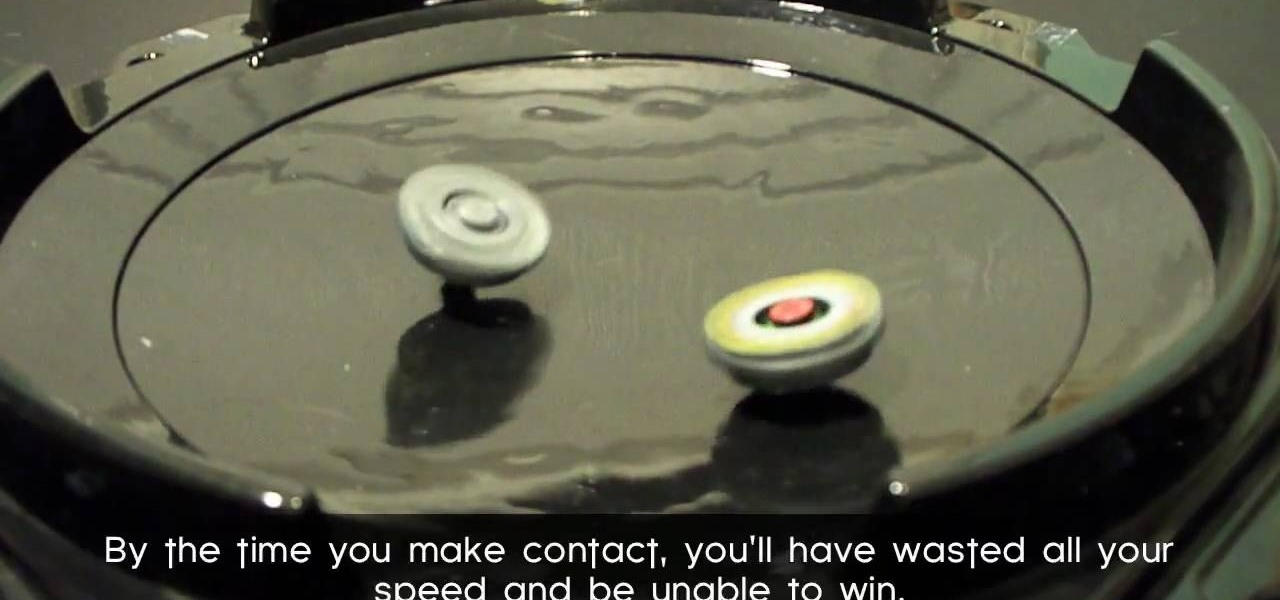
A standard straight up and down Beyblade launch usually sends your Beyblade spinning around the edge of the Bey Stadium. If your opponent's Beyblade is in the center of the stadium this means that you will lose a lot of power before you hit them and probably lose the round. This video will show you how you can angle your launcher to do a sliding shot that will cross the middle of the stadium and win you more Beyblade.


