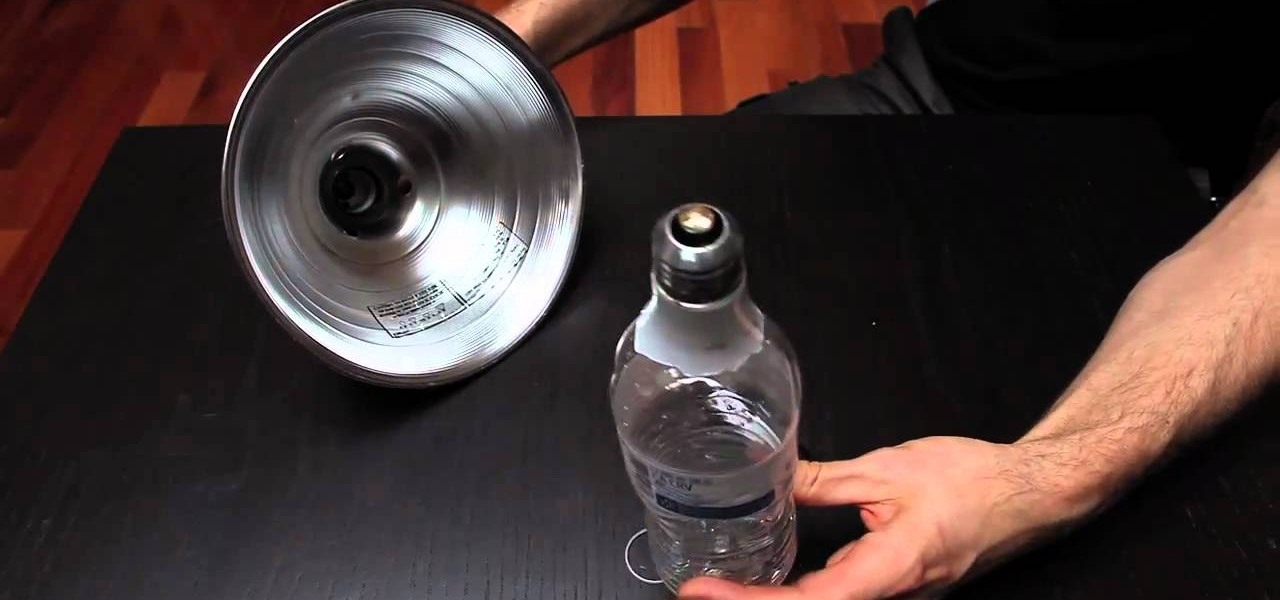
How To: Change a broken lightbulb using a water bottle
Removing lightbulbs that have gone out is easy enough: Unscrew the broken lightbulb and then pop in a new one. But what if your lightbulb happens to be broken with sharp edges?


Removing lightbulbs that have gone out is easy enough: Unscrew the broken lightbulb and then pop in a new one. But what if your lightbulb happens to be broken with sharp edges?

So, in The Pillar of Autumn mission in Halo: Reach, if you're feeling like ammo is a little scarce, at least for the weapon that you're using, and are looking for an edge on the battle field, try making an entire ammo cache pop itself out of a wall! Yes, this is possible, and the only way that you can do it is by watching this video to find out!
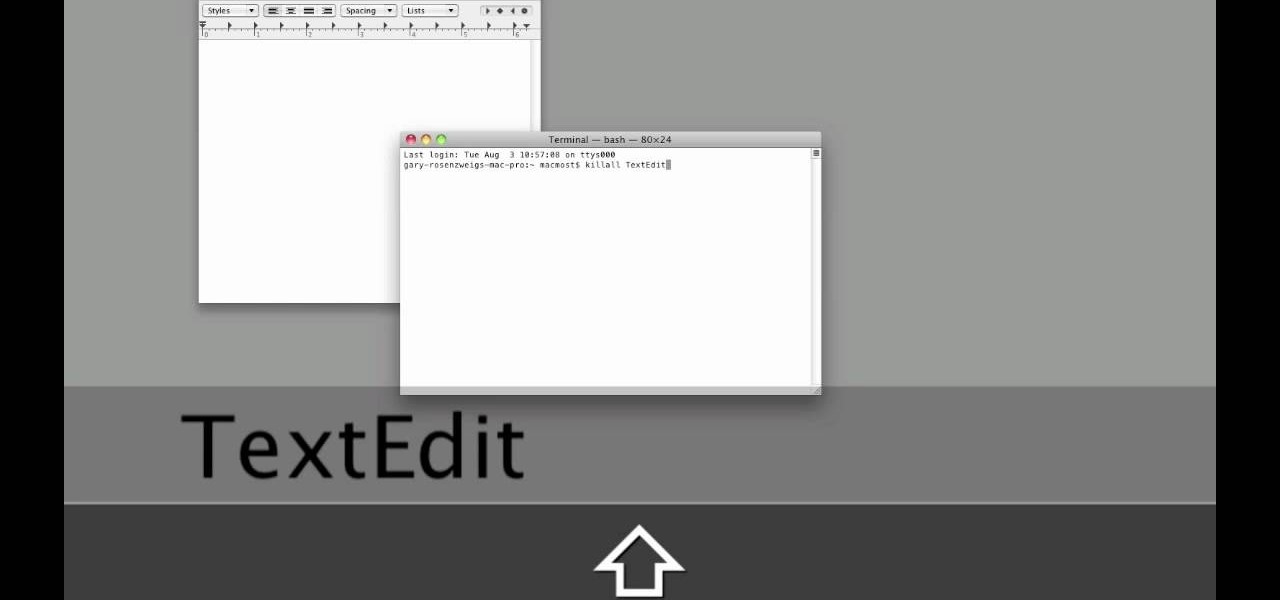
When it comes to closing applications in Mac OS X, there are more options available than just clicking the little red circle in the left-hand corner of an application window. There are, in fact, 10 different ways in which a person can quit an app. And this handy home-computing how-to demonstrates each and every one of them.
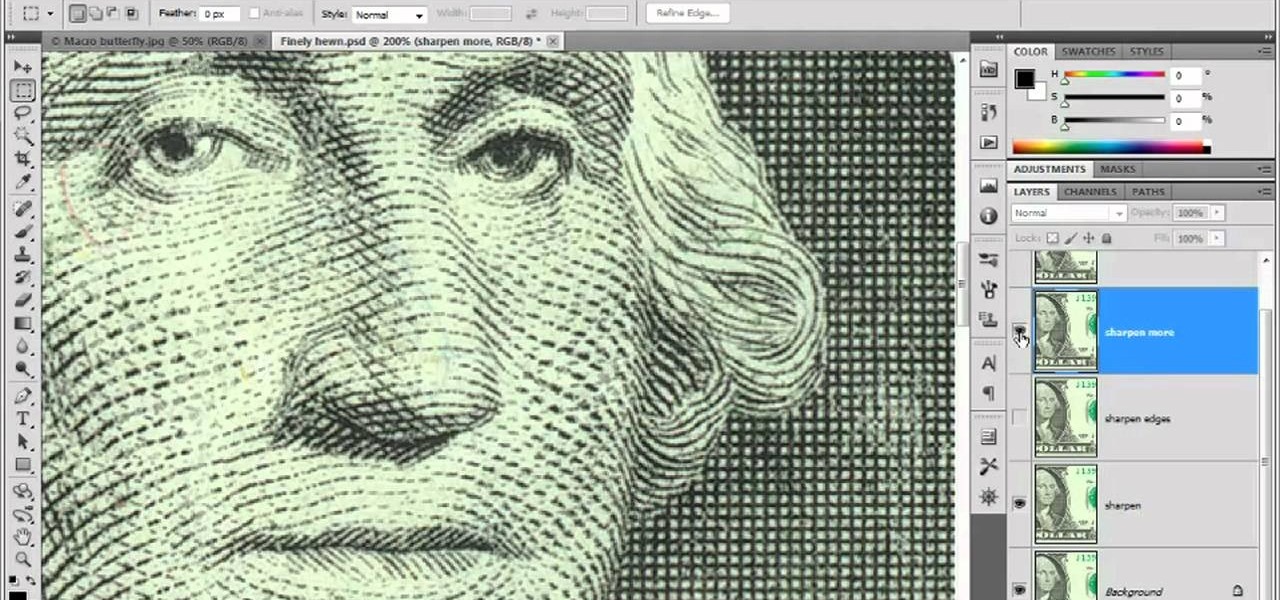
Looking for a general introduction to Photoshop CS5's single-shot sharpener tools? Well, you're in luck, as this clip presents just that. Whether you're new to Adobe's popular raster graphics editor or a seasoned designer looking to better acquaint yourself with the new features and functions of the latest iteration of the application, you're sure to benefit from this free software tutorial. For more information, watch this video guide.

Use double sided paper, 12-30 parts. Six parts is too small and you can't see the form of the rose. Fold in half. Fold in half again. Fold the bottom tip to the first line and rotate. Repeat with other tip. Do your right side because that's how you attach the units. Be careful not to rip or wrinkle the paper. Fold corner under. Rotate. Fold opposite corner across. Fold down and crease. Repeat on opposite side. Should have two pointed edges. Fold each edge down to form a diamond.
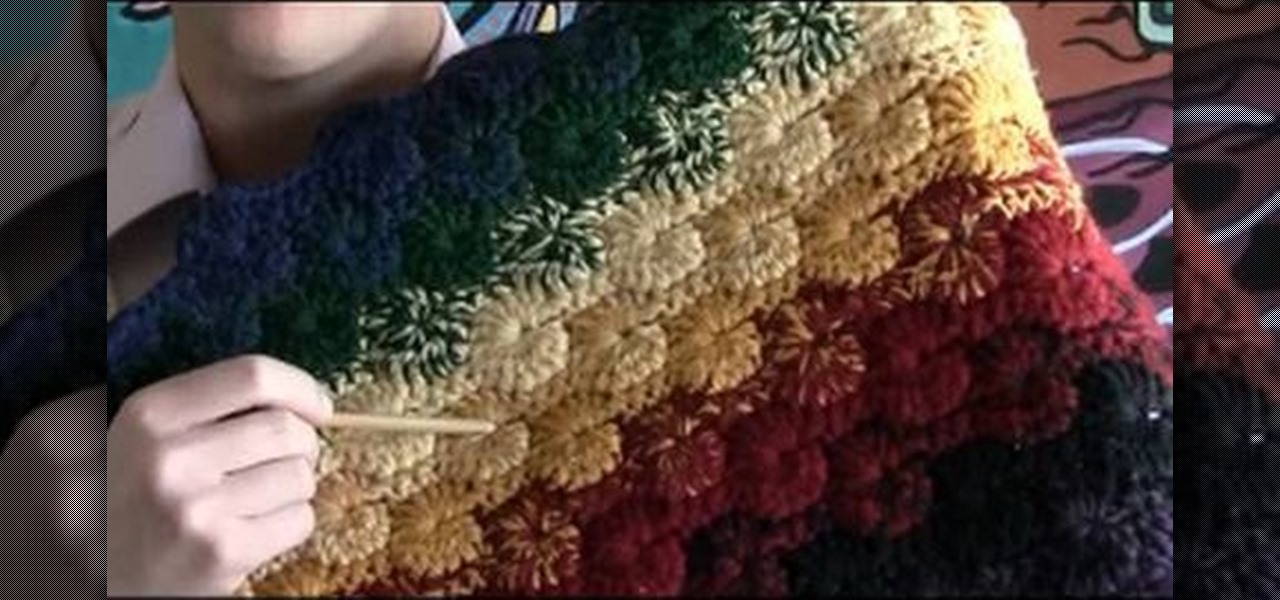
This left-handed crochet tutorial teaches you how to complete a Catherine wheel stitch, which consists of a row of vibrant pinwheels surrounded by an undulating, wavy edge.
Learn how to create a sepia effect for your images in Photoshop using both adjustment layers and using a duotone image. You will also learn how to add some dirt specks and a dark vignetting around the edges.
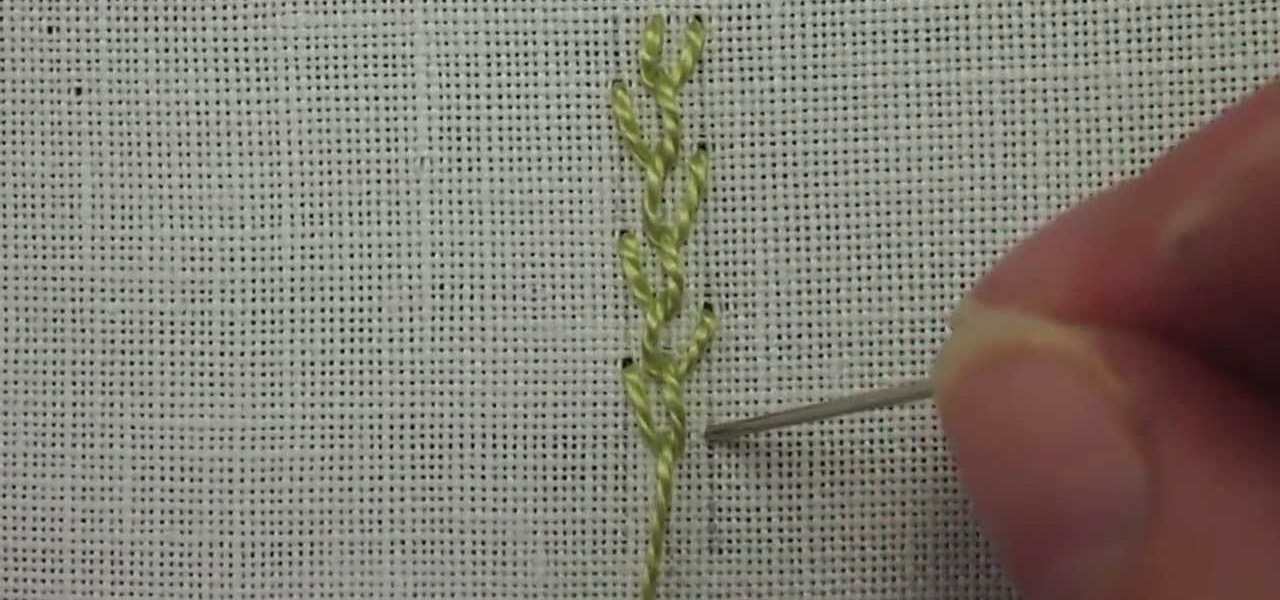
The feather stitch is an easy stitch for hand embroidery. It's worked vertically, from top to bottom in a kind of back-and-forth, right-and-left motion. You can use the feather stitch in hand embroidery for edges and borders, it's used often in crazy quilting as a seam embellishment, and it also makes a good foundation of foliage or stems in flower designs, in Brazilian embroidery, and more. Watch this video from Needle 'n Thread to see how it's done.
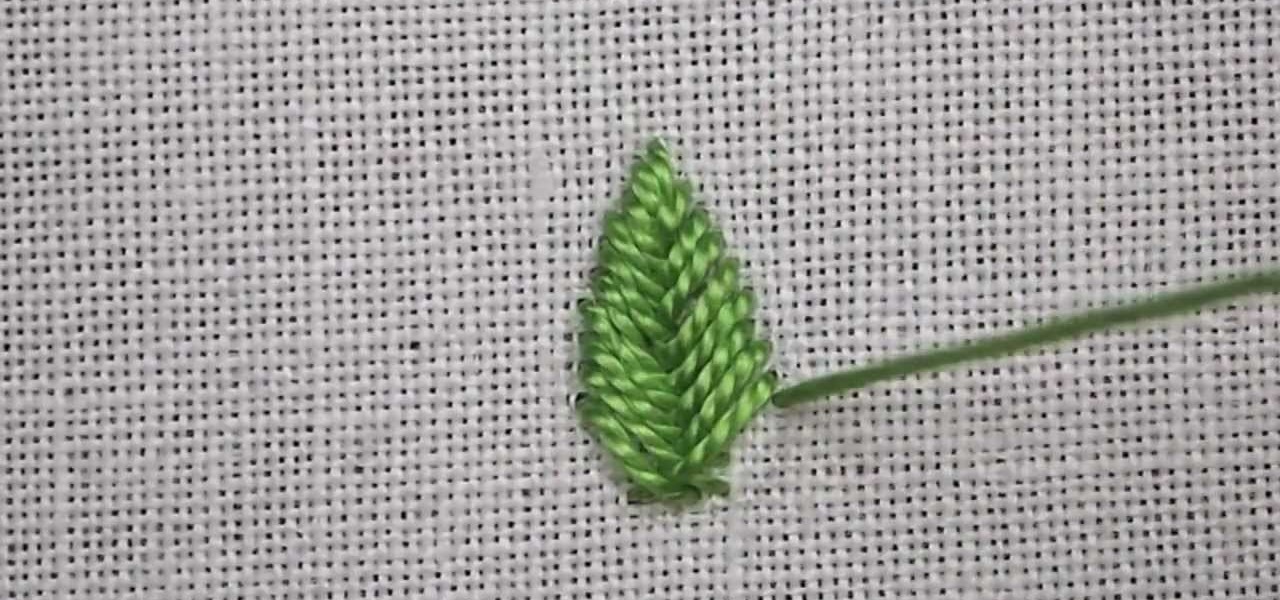
As you'll see in this video tutorial (from Needle 'n Thread), the fishbone stitch is an easy embroidery stitch to use for filling in leaves (and other shapes, too). The stitch is a good stepping-stone to satin stitch, as it requires you to keep a neat edge on the outside of your design.
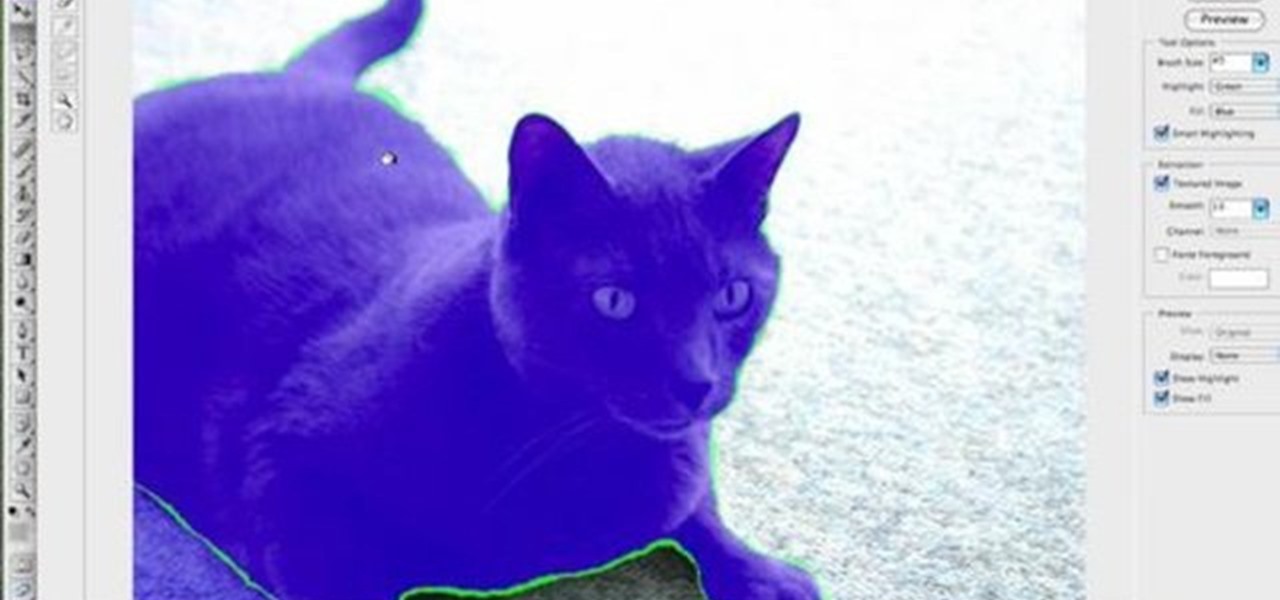
When creating an aesthetically pleasing image, sometimes more is more. Blending images together and blurring the edges is a great method for creating desktops featuring multiple photos of hottie Sam Worthington, or simply for creating a pretty website background.
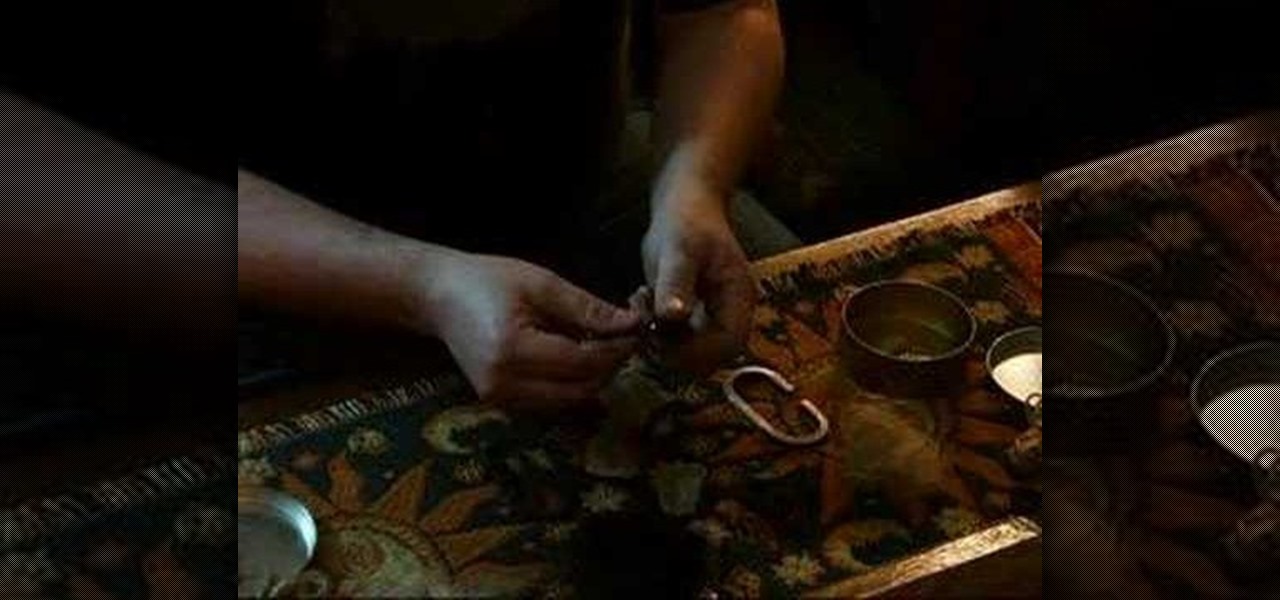
Learn the proper method of striking a flint, how to hold the flint, and the angle of attack. Use a slow, downward scrape--make a spark even on a dull edge!

The video begins with a piece of card/thick paper in front of the person who is making the box. The maker then shows a small box as an example of what the finished box will look like. The maker then takes the top left corner and folds it over so that it is against the right edge of the paper and so the two edges are straight. Then she takes some scissors and cuts the excess paper (the area which is just a single thickness, not double) to leave a folded triangle. Next she unfolds the paper and...

There is power in the detail. Sending an email at a specific time can give you an edge. Depending on what you are doing, it can help your email get read or it can put you at the top of someone's inbox. With the Gmail app for Android and iOS, you can now schedule your messages to maximize the efficiency of your email.

Your best chance of getting to a destination on time during rush hour is to drive through relatively empty HOV lanes. Thankfully, if you're using Waze to navigate through traffic, you can easily locate HOV or HOT routes to optimize travel times by adding your toll passes in the app's settings.

A relatively new feature in Snapchat, having been first introduced in February 2018, is GIF support. These new animated stickers, straight from a partnership with Giphy, came to the app about a month after Instagram received GIF capabilities. If you've used Instagram's version, adding GIFs to snaps is even more intuitive. While they were late to the game, they're doing it better.
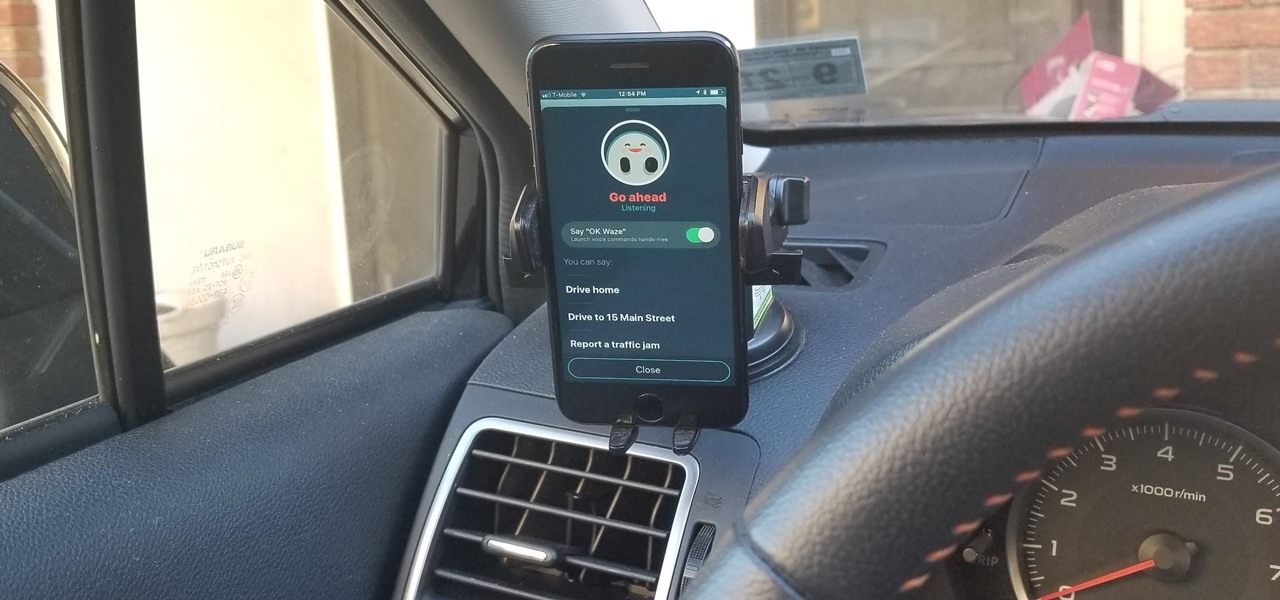
Drivers the world over are painfully aware of the inherent danger of taking their eyes off the road even for a second. In fact, according to the National Safety Council, 27% of all car crashes result from distracted driving due to attempted cell phone use. Fortunately, Waze comes with a feature that can help keep you from being a part of this grim statistic.

Android Nougat is a godsend for tablet users, as it's packing some serious multitasking improvements. It goes well beyond the new split-screen mode, too, because as it turns out, there's a hidden setting that turns your apps into completely resizable windows within a desktop-like interface.

The widget selection on Android is one of the main things that set it apart from other mobile operating systems. You can get quick, at-a-glance information for topics like weather, news, music, and much more, all without ever leaving your home screen.

A lot of things have been changing over at Microsoft recently. Not only did they acquire the ever-popular Android keyboard SwiftKey and give away Windows 10 for free, but they've started a Google X-like experimental division called Microsoft Garage, and they've actually released quite a few awesome Android apps.

Samsung has a long-standing reputation for packing their devices with lots of added functionality, and the Galaxy S6 Edge is no exception. It comes with a nifty feature called "Information stream," which allows you to get quick, at-a-glance information by swiping the edge of your screen back and forth while the display is off.
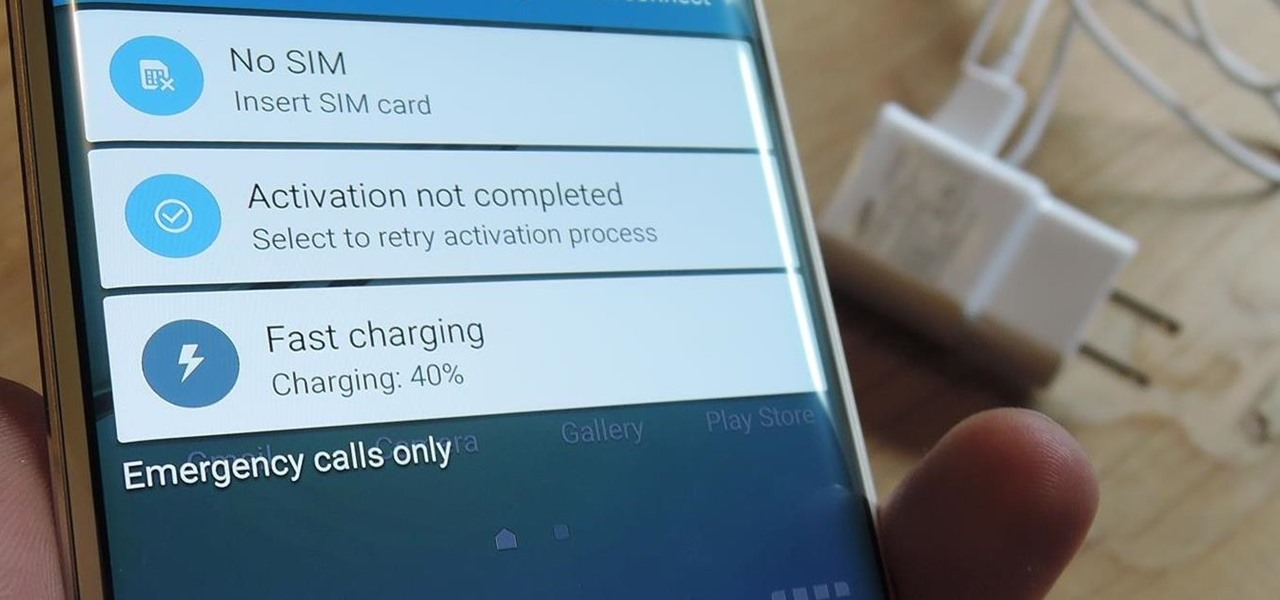
I picked up my Galaxy S6 Edge on release day and have loved it ever since. Did I spend an extra hundred bucks for the mostly-aesthetic Edge display? Yup! Did I have buyer's remorse about my frivolous spending? Not even a little.
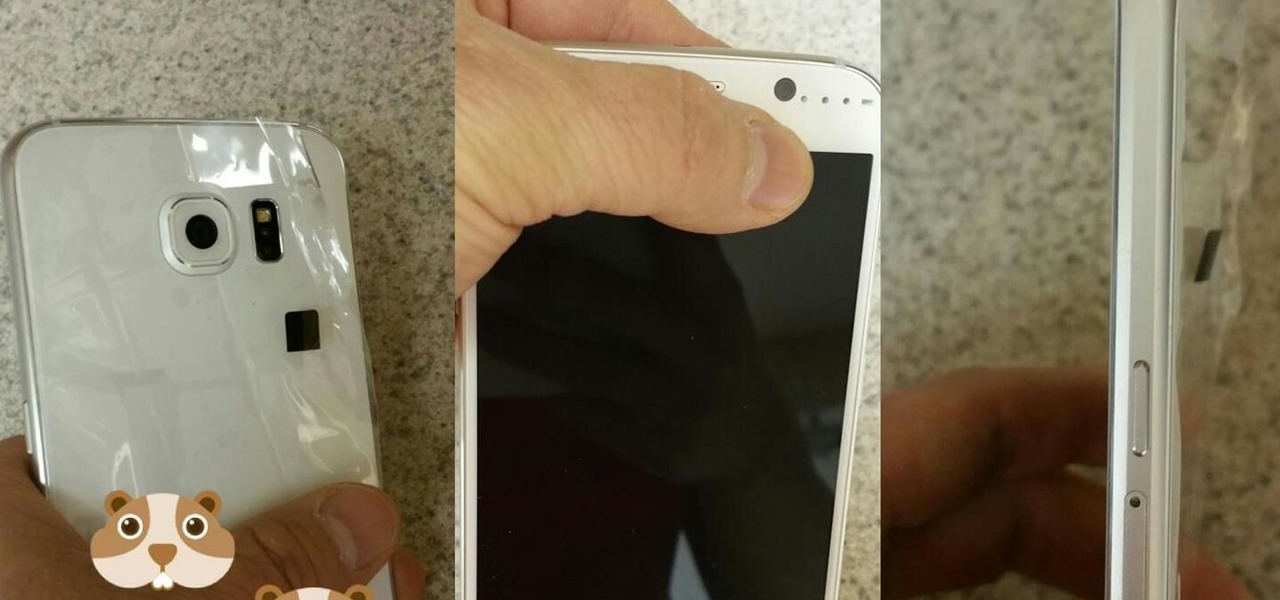
With Mobile World Congress right around the corner, we're all left to patiently await the unveiling of two Android flagship smartphones—HTC's One M9 and Samsung's Galaxy S6.
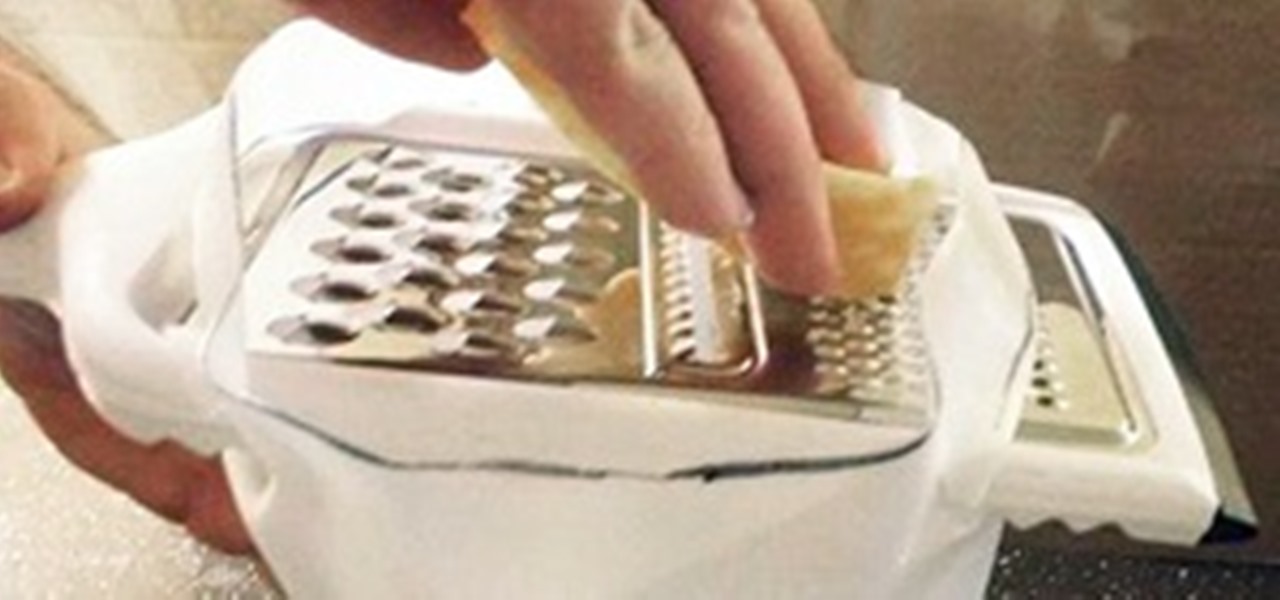
Cheese makes everything better. It's just a fact. Sandwiches, burritos, and even plain bread all get a benefited flavor quotient when cheese is involved.
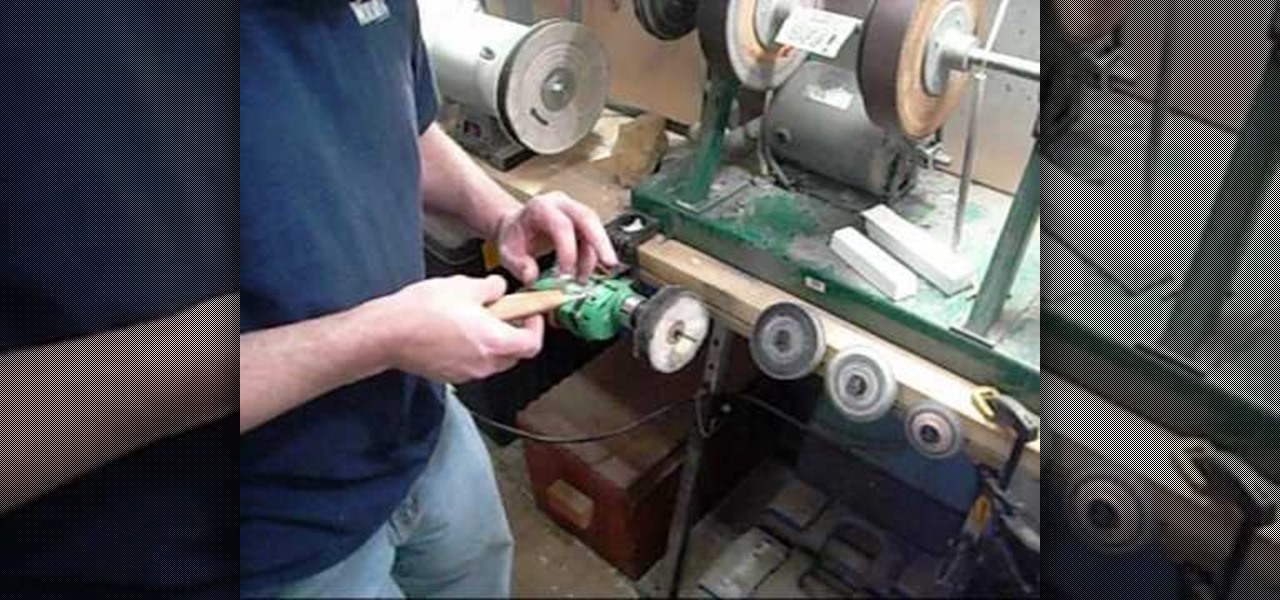
The first step needed to maintain an edge on your woodcarving knife is to test the knife each time before use. One sign of a woodcarving knife becoming dull is for the cuts to come off in small splinters instead of curled shavings. One of the easiest ways to sharpen your knife is to hold it at a 20 degree angle on your sharping belt and push away from your person. You must repeat the rolling motion shown in the video around ten to twelve times before retesting for sharpness. This step can be ...
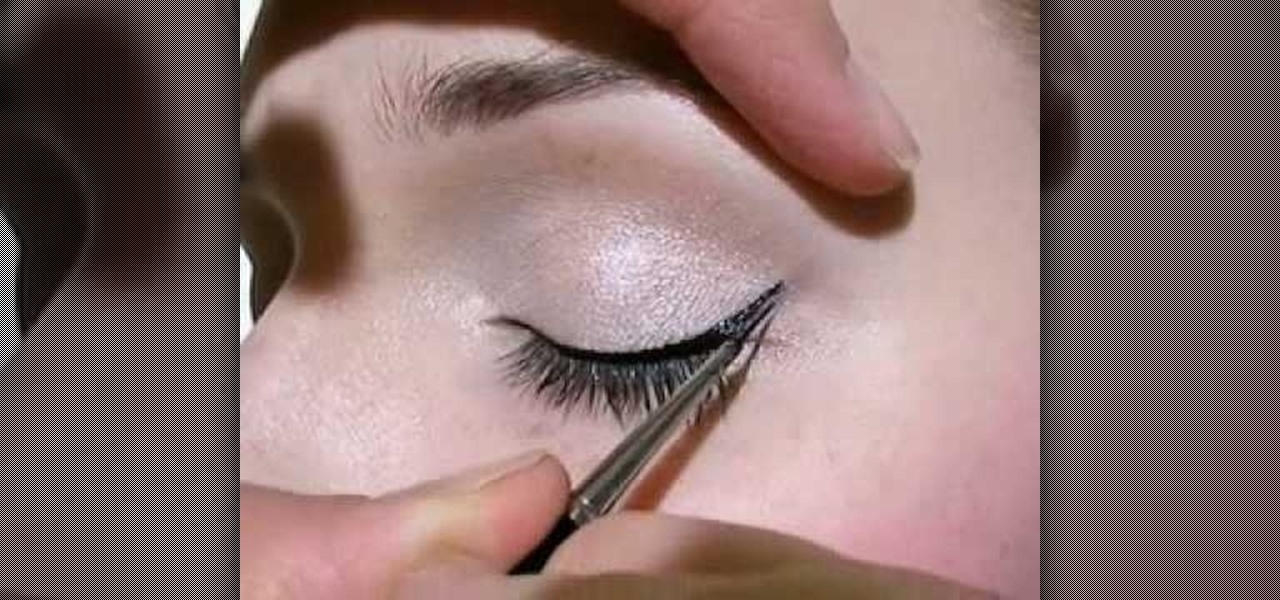
In this tutorial, we learn how to apply hot liquid eyeliner. First, line the eye with a slanted eyeliner brush that has been dipped into the liquid eyeliner. Line from the inside corner to the eye out to the outside of the eye. Pull the lid up gently so you can really push the eyeliner into the lashes to make them look darker and fuller. After this, line the outside corner of the eye and make a light flare if you would like a more dramatic look. This will finish the eyeliner look, have fun wi...
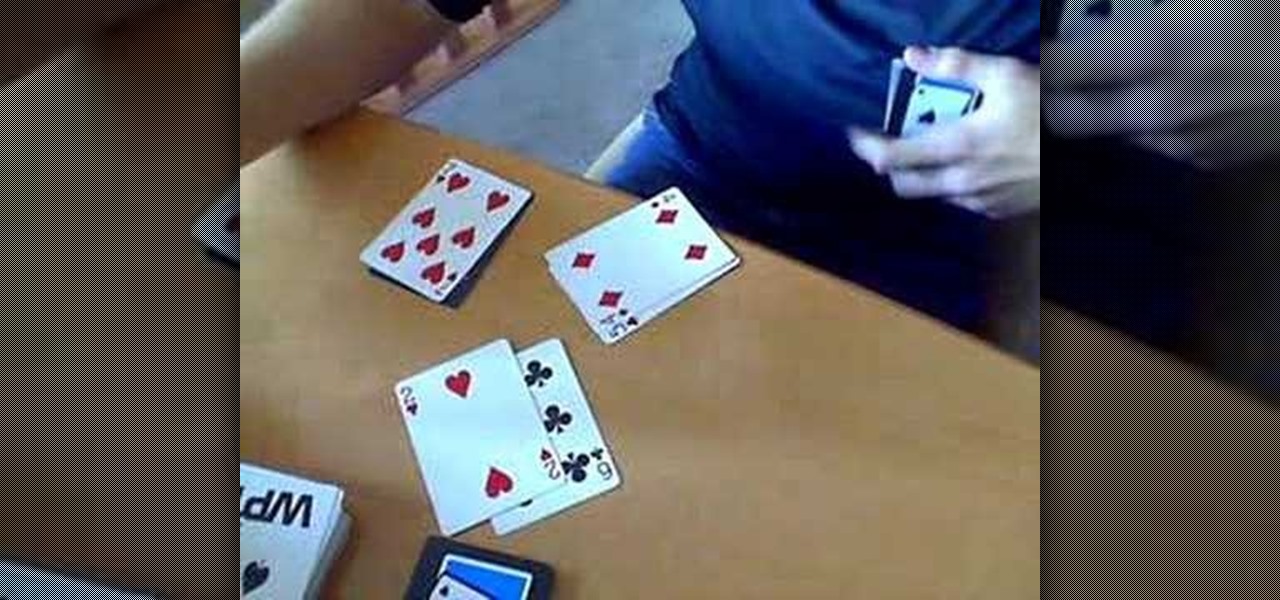
In this video, we learn how to count cards in Blackjack. In blackjack, the cards 2-6 are counted as plus one. Seven through nine are counted as plus 0 and the rest are counted as plus zero. What this means, is if you have two cards, they can cancel each other out depending on what "plus" they are. The counts that are minus one will give the edge to the casino, not to you. You want the edge to be a plus, because this means there are higher cards that are in the deck. Simply look at the counts ...
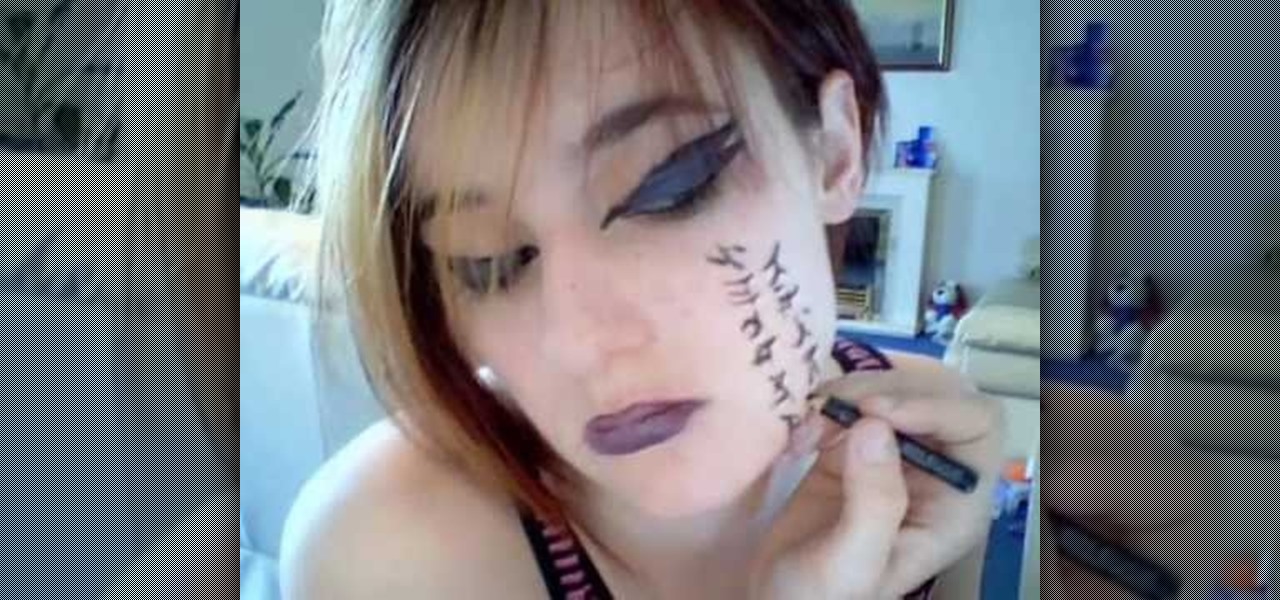
In this video, we learn how to do Visual Kei face theater makeup. First, apply your favorite foundation and blush to your face. Next, add eyeliner to the top and the bottom of the eye and then purple eyeshadow on the top. From here, you will apply a blue eyeliner to the outer corner of the eye and mix it with the purple. Next, apply more blue eyeliner over the lid and then apply black eyeliner from the inside corner of the eye all the way to the top near the eyebrow. Then, create another wing...

In this tutorial, we learn how to pick up stitches along a curved edge. You can see the slope on your fabric that you can work with. If you slip the first stitch you can avoid this. First, slip the first stitch and then bind off the next stitch as usual. This will create a nice curve. To pick up stitches, you will use a circular needle and then poke it through the area in the last row. Find a 'v' shape and then push the needle through this. Pull through just like you are normally knitting and...
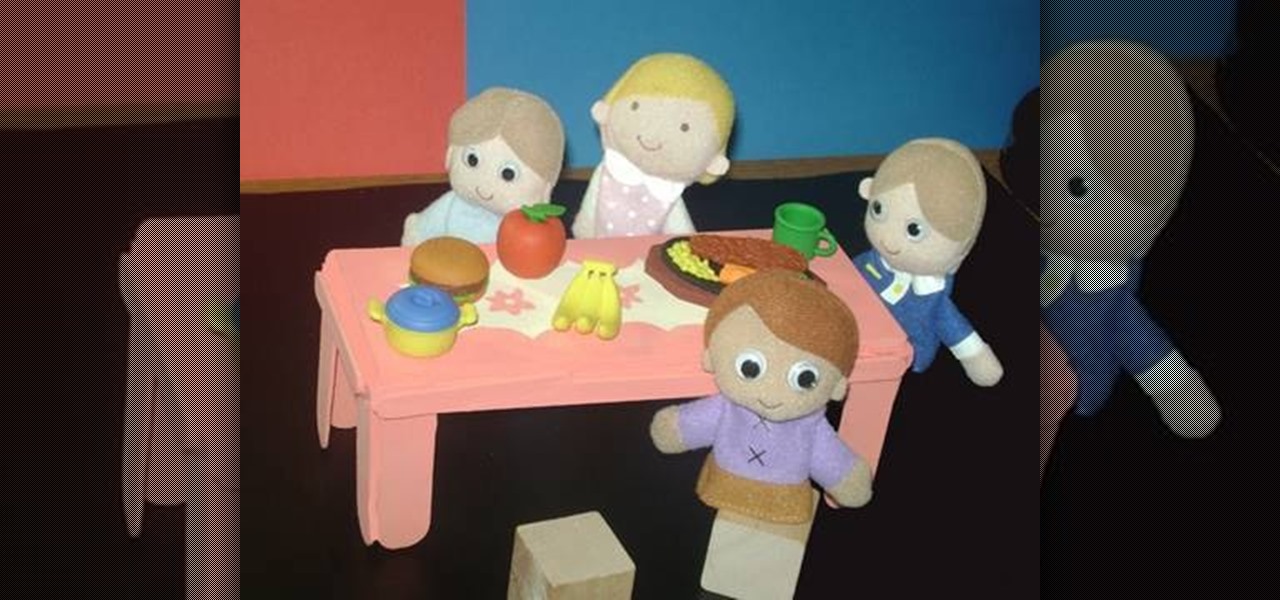
In this tutorial, we learn how to make a miniature table. Materials you will need are: a wood slat, 4 popsicle sticks cut in half, paint, paintbrush, and glue. Heat up your hot glue gun and then grab your popsicle sticks. Glue one stick to the side of every corner of the slat. After this, you should have two on each side of all four corners of the wooden slat. After you're finished placing them on, let the glue cool and then harden. To finish, you can paint this and decorate it and use it ins...
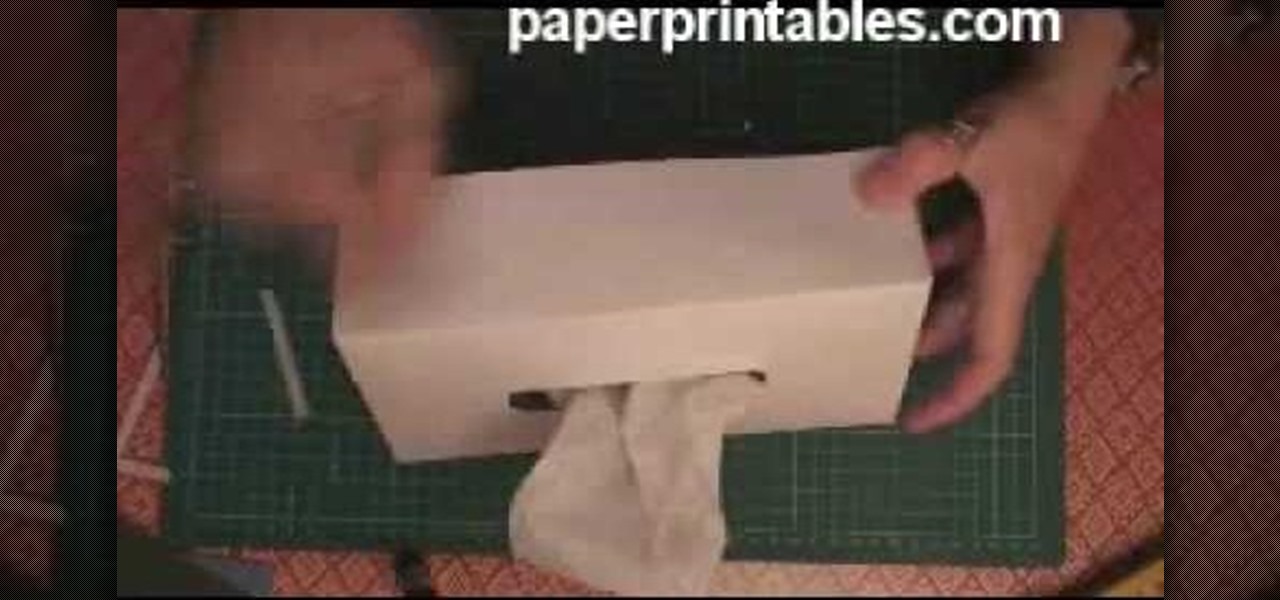
In this video, we learn how to make a decorative tissue box cover. First, you will need to get a piece of paper in your choice of color and set your tissue box on top of it. Use different colors of paper to trace out the edges of the box and then you will tape them all together. Make edges off the paper when you trace them so they fold over. When finished, you will put this onto the tissue box. You can also decorate this with any accessories that you would like to add a personal touch to the ...

In this tutorial, we learn how to scribe break an acrylic sheet. You just need a Stanley knife and a straight edge to do this to any acrylic sheet. First, put some gloves on and safety glasses. From here, level out the area you want to cut on your sheet, then clamp the angle while laying down. Next, use your knife to cut along the edge, going over the same spot several times. Press down hard to ensure it's completely cut. To finish, all you have to do is to bend the excess piece down and it s...

In this tutorial, we learn how to install a zipper into your knit. The first way you can do this is to take it to a tailor and they will do it for around $15. To do this by hand, grab your piece that needs a zipper and then steam the edges. After this, take a sewing needle and start to sew the zipper underneath both sides of the edges of the piece. You can also use pins to place into these so it stays in place. Do a backstitch also, to help make the zipper more sturdy and stay on longer.
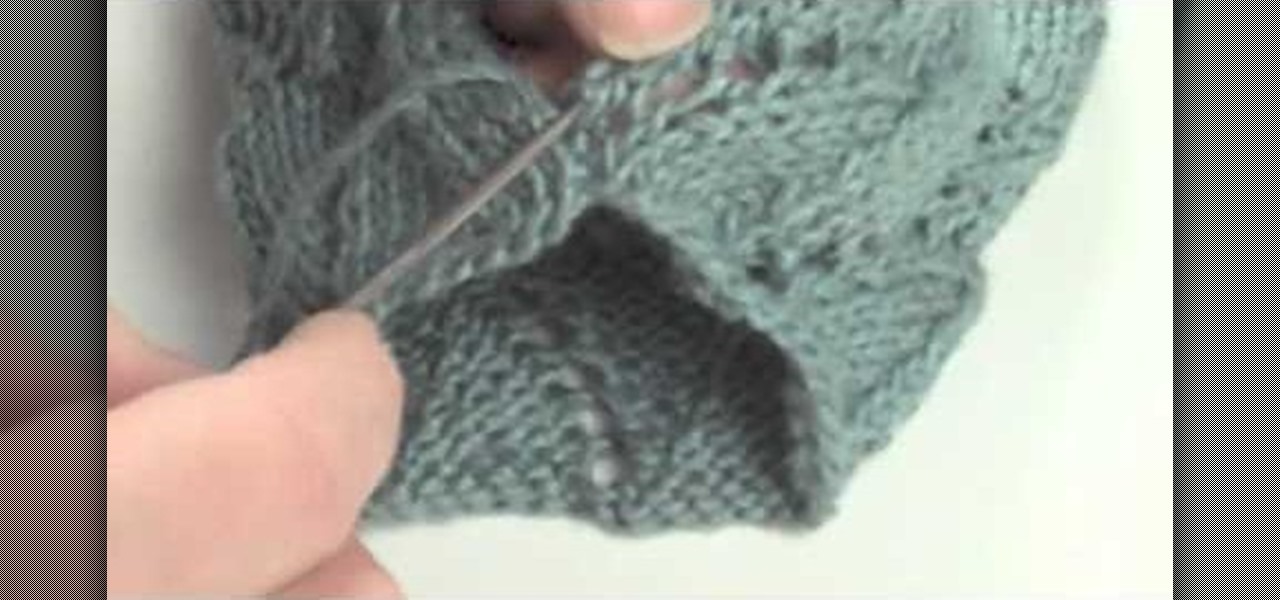
In this tutorial, we learn how to do the mattress stitch. First, lay the pieces flat and thread yarn tail onto the needle. Next, you will anchor the yarn to the bottom edge of the opposite piece. Then, go back through the side and find the tunnel of horizontal bars, one stitch in from the edge. Continue to do this around the stitches to combine them together. Keep alternating sides and just do one bar at a time to get the best results. You can do two bars at a time if you are comfortable with...
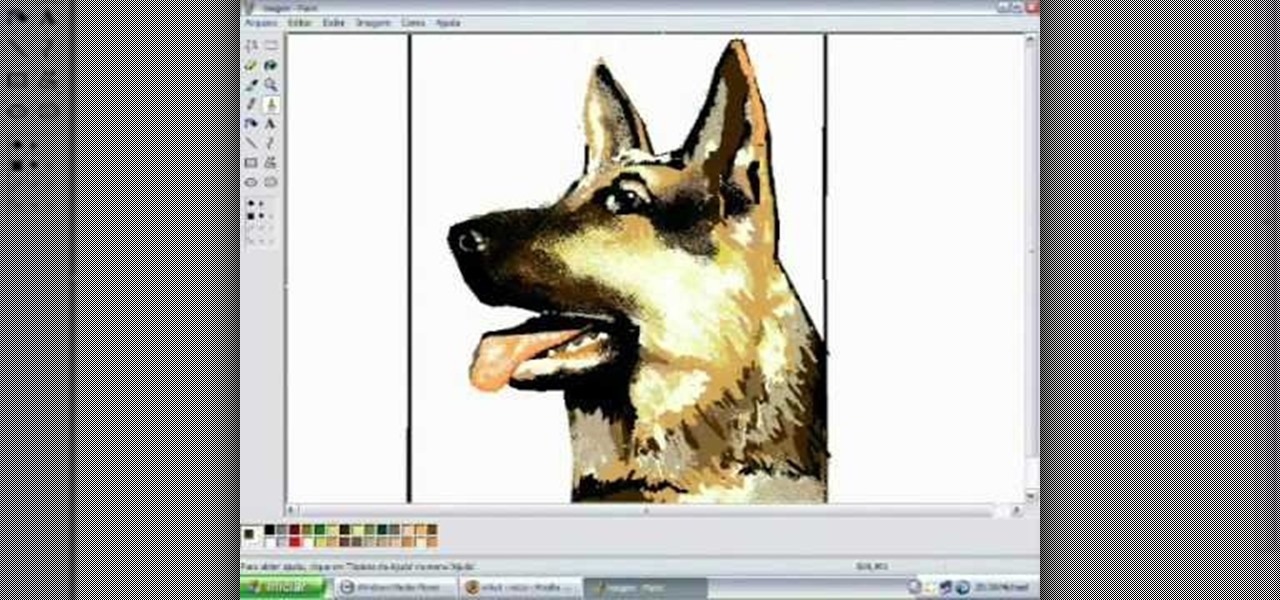
In this tutorial, we learn how to draw a dog in MS Paint. You will do this by using Paint and your mouse, not using a tablet or a pen on the PC. Start out by drawing the outline of the dog in the middle of the page. Next, fill in the nose, mouth, and eyes with black. Then, color the tongue and draw on the ridges of the teeth in the mouth. From here, you will spray paint the color of the dog onto the edges. Spray brown around the edges, then add in white, tan, black, and other colors to make t...
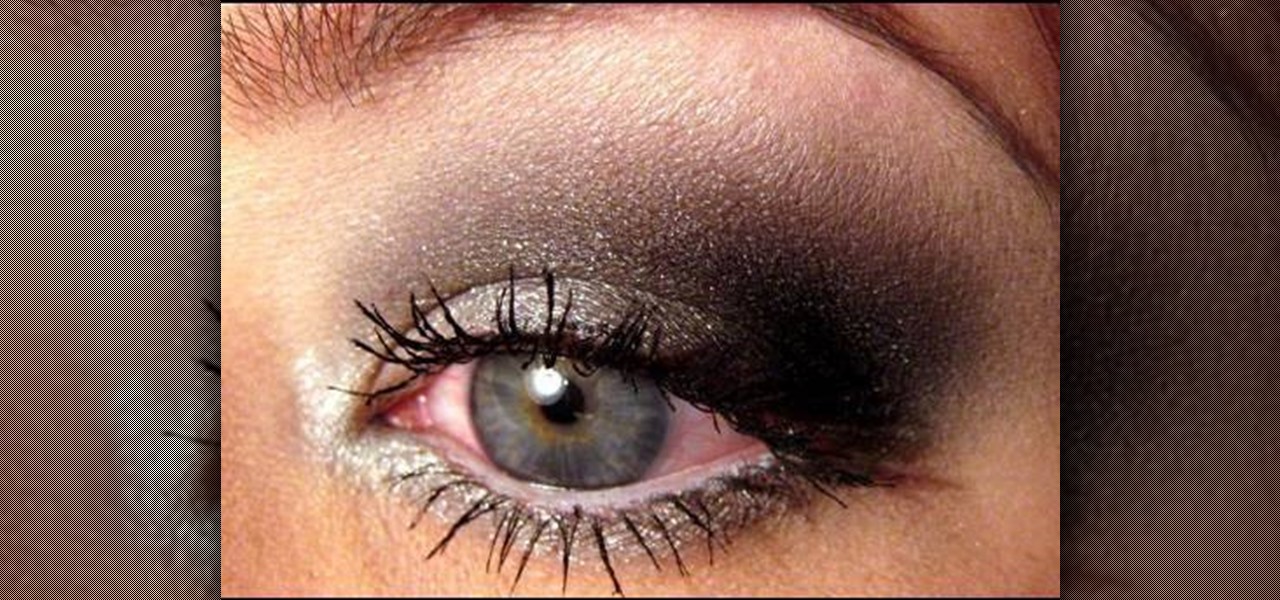
In this tutorial, we learn how to apply a silver smoky makeup look for a hooded eye. Start out with a silver color brushed all over the eyelid. After this, brush a darker color in the crease of the eye, blending in the outer corner of the eye. From here, blend this up towards the brow bone. Place black on the outer corner of the eye to deepen the area, then blend out. After this, apply a light shimmer underneath the brow for a highlight and blend with the bottom colors. Apply the silver color...

In this video we learn how to make a decorative paper rose. First, take a piece of paper and cut several heart shapes out of it, making them different sizes. Once these are cut out, curl the edge over with a toothpick, pencil, or by hand. Set these aside, then use a grab a green sheet of paper. Roll the edge of the paper up and then cut the rest of the paper from it. Create a leaf in this and then tape it all around. Now, twist this tightly and place the curled ends of the heart shapes away f...
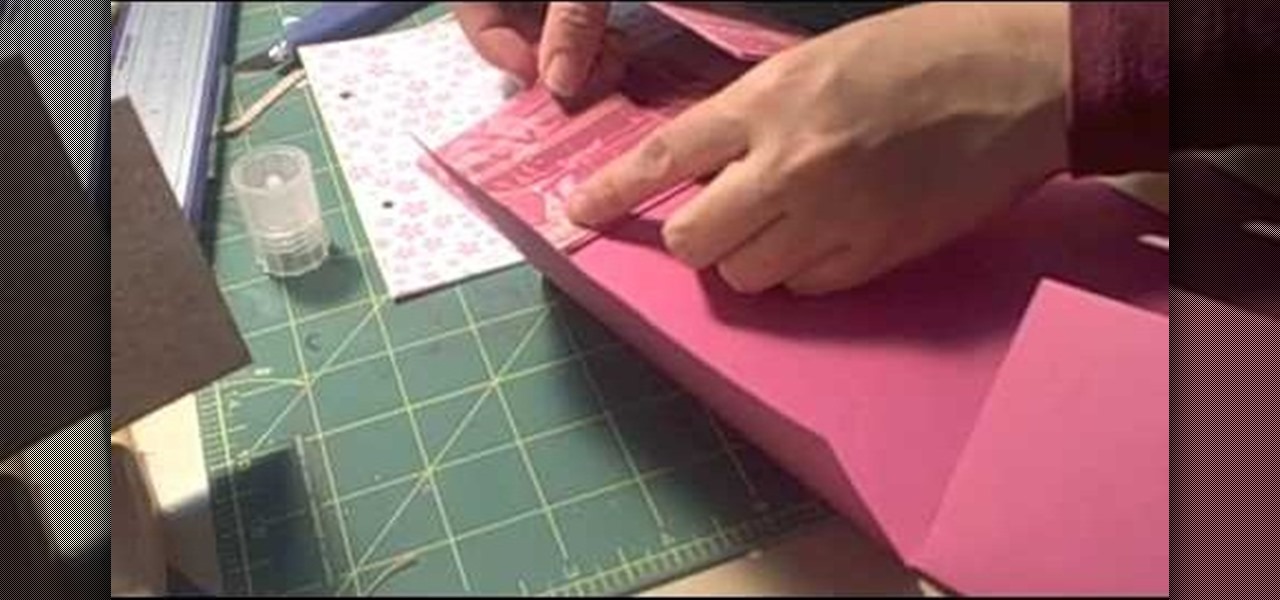
This video tutorial is in the Arts & Crafts category which will show you how to make a flip square album. Take a 12 x 12 inches square cardstock and make a score line at 3 inches on all 4 sides of the paper. Now cut along the score line at the top and bottom of the paper up to the 3 inch line. Next you fold along all the score lines inwards and you have all the flaps ready. Then mark along the edge of the center part of the sheet and punch two holes for tying the album as shown in the video. ...
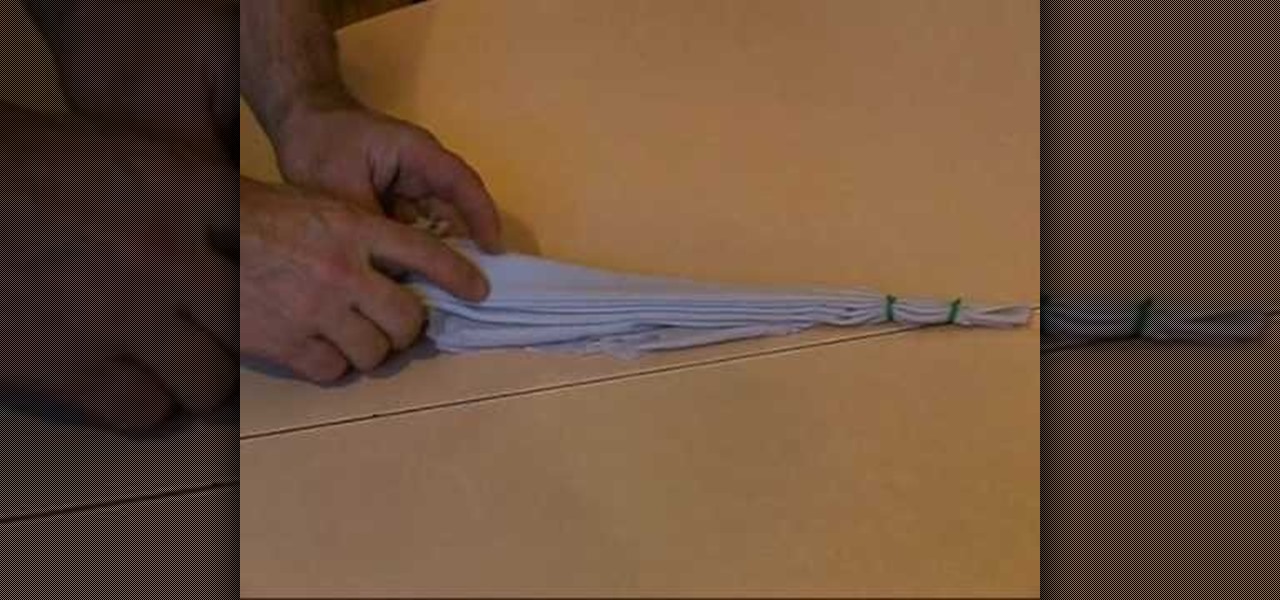
In this tutorial, we learn how to tie dye an oval style shape. Start with a square piece of a shirt that is damp, then fold it in half. Then fold it in half again, then in half again. After this, fold the shirt accordion style, paying attention to where the main corner of the shirt is. Once finished folding, tie two knots in the bottom, then fold the fabric up until you reach the ties. Now, tie or secure this bundle tightly with rubber bands. Apply your favorite colors of die on the shirt, ge...

In this tutorial, we learn how to draw bat/demon wings. Start out using a light pencil marking to make the outline of the wings. You will want to draw wispy lines and make them light to create a light effect on the ends. Once you have the outline finished, use a hard pencil mark to draw over it. Create large wings with hard edges and mark in lines along the middle and the edges of the wings. After you have done this, make sure there is another wing on the side of the wings and then shade to f...
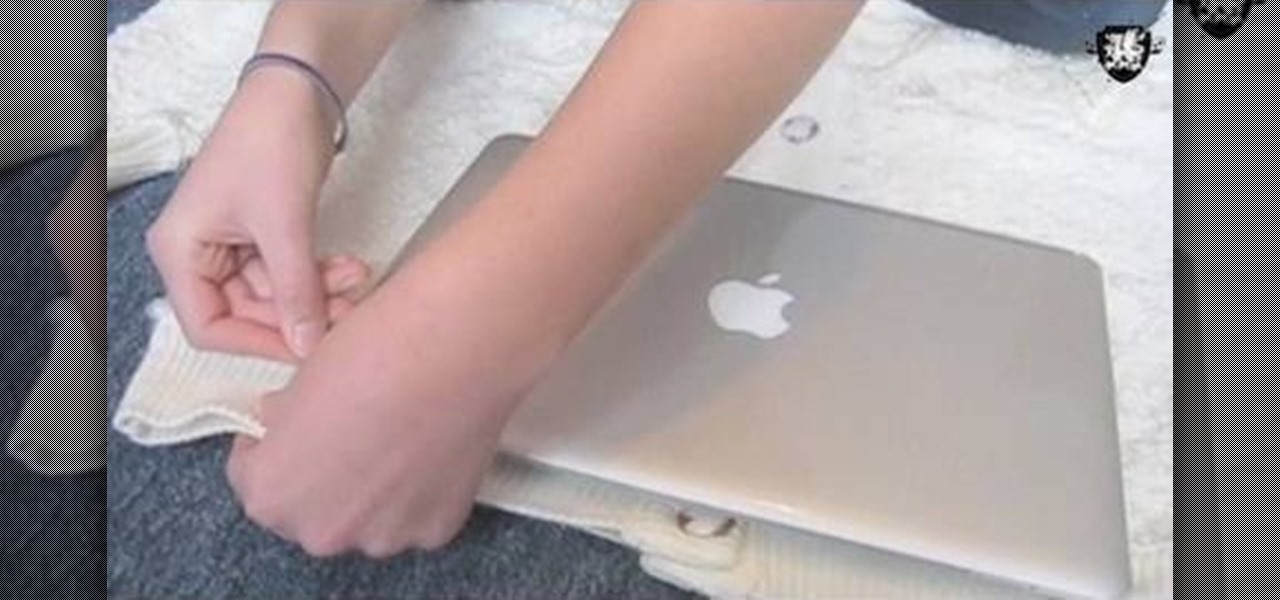
In this tutorial, we learn how to make a sweater for your laptop. First, grab an old large sweater and cut it out to the same size as your laptop. After this, set the rest of our sweater to the side and put the right sides of the sweater together. Then, pin and sew the three cut edges, but do not sew them closed. Sew with a zigzag stitch on the edge of the fabric. After you're finished sewing, use this on your laptop and use the rest of the fabric you have left over to make additional sweater...