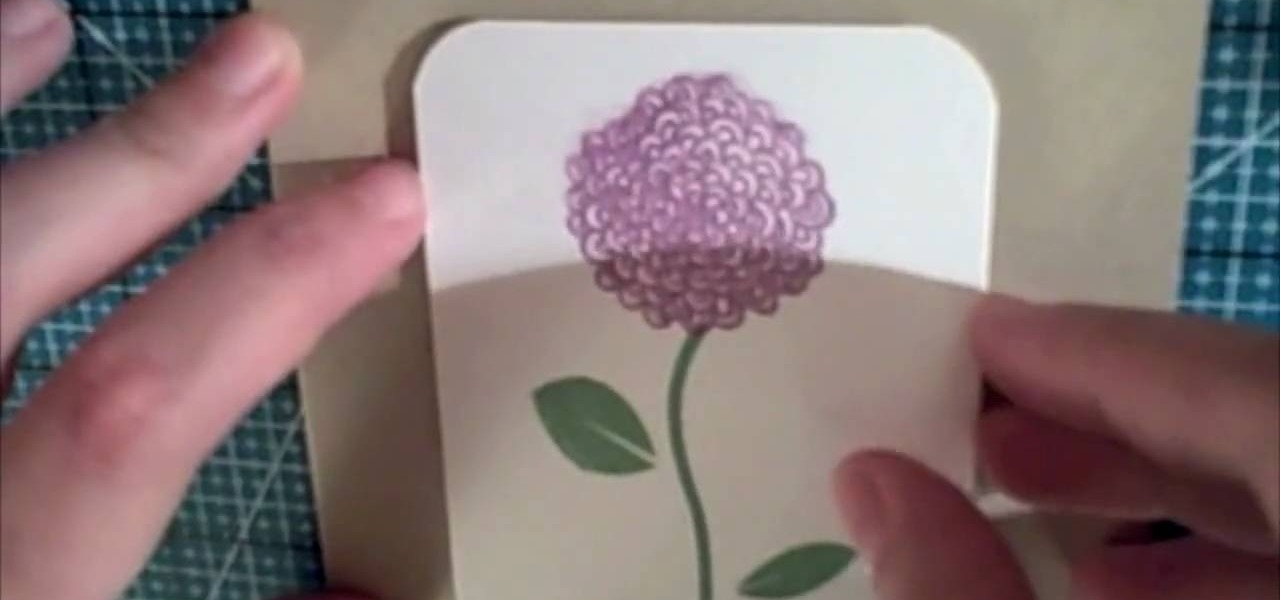
In this video, we learn how to finish a crochet never ending granny square. There is a spiral effect happening in this, because there is no place that is stopping, it's going in a continual circle. To finish one of these, you will see that the corners should be perfect. But, you will need to choose one corner to finish it off at. Go across, then choose a side to stop at. Then, chain over and double crochet in. When you come across with another color, you can weave in the end so that you can't...
In this tutorial, we learn how to paint with basic latex painting techniques with Lowe's. First, you will need to determine how much paint you need by figuring out the room size. Next, you will need to paint the ceiling and apply blue painter's tape to all the areas you don't want paint to touch. Make sure to stir the paint before you use it and open up windows and fans to circulate the air. Cut the edges by painting around 2" inside first. Once finished with the ceiling, start cutting the ed...

Learn how to corner pin a video onto an iPod, mobile phone, TV or monitor with the Mocha 3D tracking tool in Adobe After Effects CS4 or CS5. Whether you're new to Adobe's popular motion graphics and compositing software or a seasoned video professional just looking to better acquaint yourself with the program and its various features and filters, you're sure to be well served by this video tutorial. For more information, including detailed, step-by-step instructions, watch this free video guide.

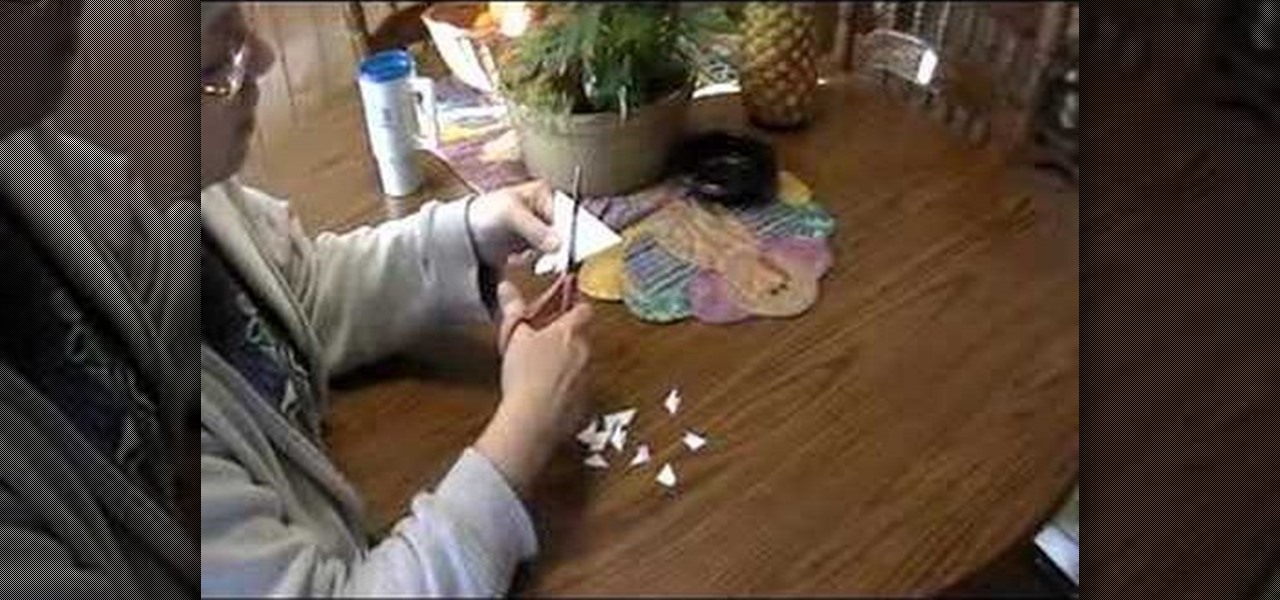
In this video, we learn how to quickly make an origami kusudama. This only requires six pieces of paper to make. First, fold one piece of paper into a triangle, then open it up and fold it in a triangle on the opposite side. Open this back up then flip over. Bend in the edges to make a new triangle, then press down the creases on the side. Bend the middle of the triangle up to the point on both sides. Bend these back down, then fold over the side and make a crease. Open up the bottoms where y...
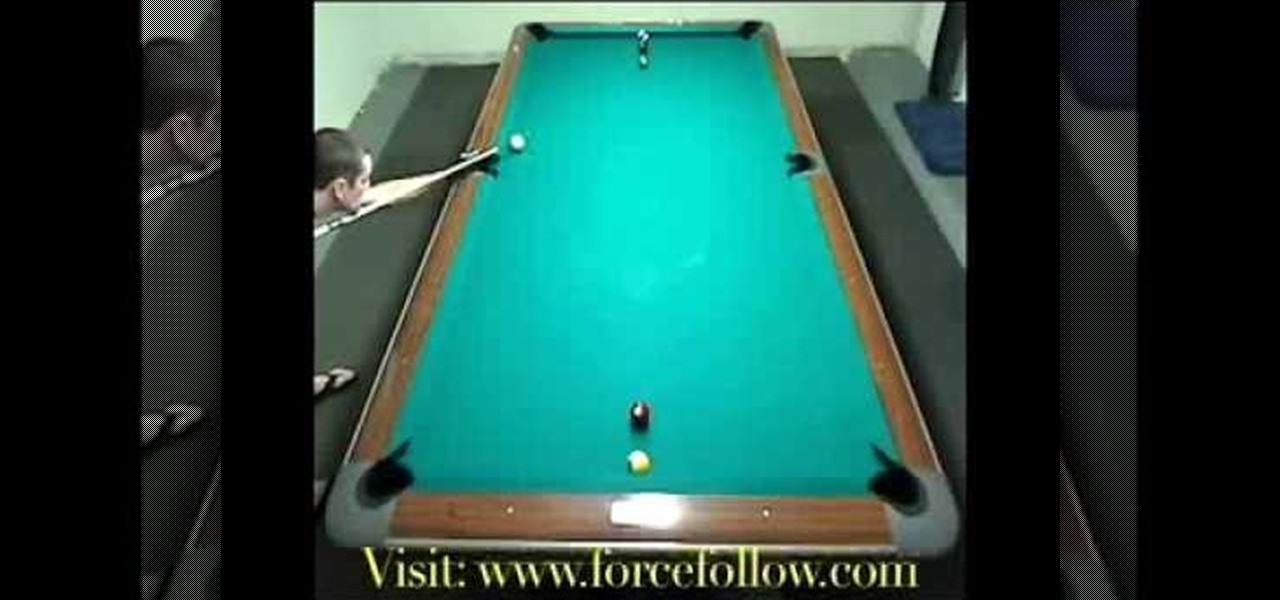
In this video, we learn how to play pool doing the spot drill. You will run balls in rotational order without missing or touching another object balls. First, you will place the cute ball diagonally to the ball and then shoot the ball into the corner pocket diagonal to it. There are several ways to go through this pattern. You can also stand on the opposite side of the table and shoot into the corner pocket from farther away. Make sure the cue ball doesn't get stuck to the rail, which will ma...

In this video, we learn how to build a bionicle switchblade. Start with the piece of the blade that has holes inside of it. Then, start to connect the edges and the other pieces that go inside of it. Grab the piece for the blade, then lock it into place by attaching the elbow pieces that connect around it. Once you have connected these together, you will have one entire piece with the blade on the very edge of it. The end of it should be bendy, so grab a rubber band that is thick and wrap it ...

In this video, we learn how to wear smoky royal blue eyes with glasses. First, find the dark circles of your eyes and apply concealer to them to cover it up. Next, apply concealer to the face and define your eyebrows. After this, apply a silver shadow to the eyes, followed by a blue to the crease of the eye and on the inner corner. Apply a gray shadow to the crease of the eye, then take a bright blue shadow and blend it into the eyelid, avoiding the middle of the lid. Next, apply a black shad...

In this tutorial, we learn how to perform a turning open second leap. Start with a high shinnay on one and two, then a low shinnay on three and four. Stop with the right leg and ninety degrees to the left corner, then do a deep plea. Push off with your left foot and then take the right leg to the other corner. Hit and open second jump after this, making sure the left and right leg match each other. Rolling out of the jump, tuck the left leg and go to the front, then step up. When finished, yo...

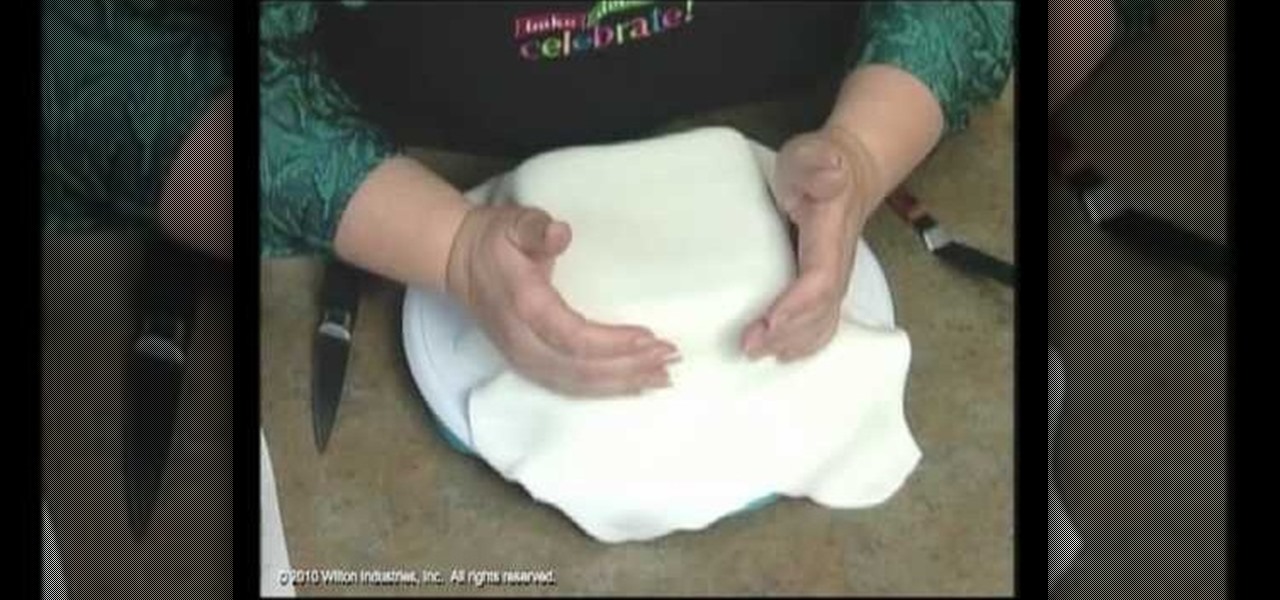
Fondant is an indispensible tool for pastry chefs, and not because they're good at satisfying a sweet tooth. Smooth in consistency and rolling out just like dough, fondant is often used to cover professional cakes and to make miniature cake decorations.

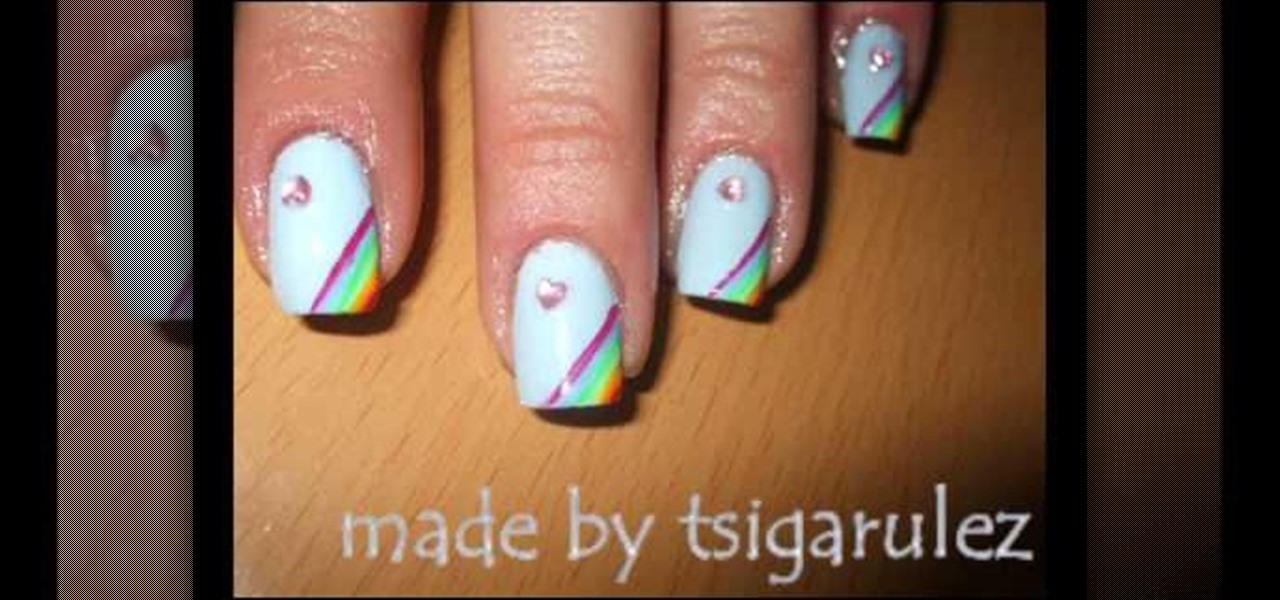
In this tutorial, we learn how to paint rainbow nails with rhinestones. First, paint the nails light blue and let them dry. After this, grab several other colors, enough so that you have the colors of the rainbow. Now, paint lines onto the left hand corner going diagonally across the nail, making each line next to one another. After you get to the very tip of the nail, let the colors dry completely. Next, paint on a clear coat on top, then apply a pink heart rhinestone on the bottom corner of...

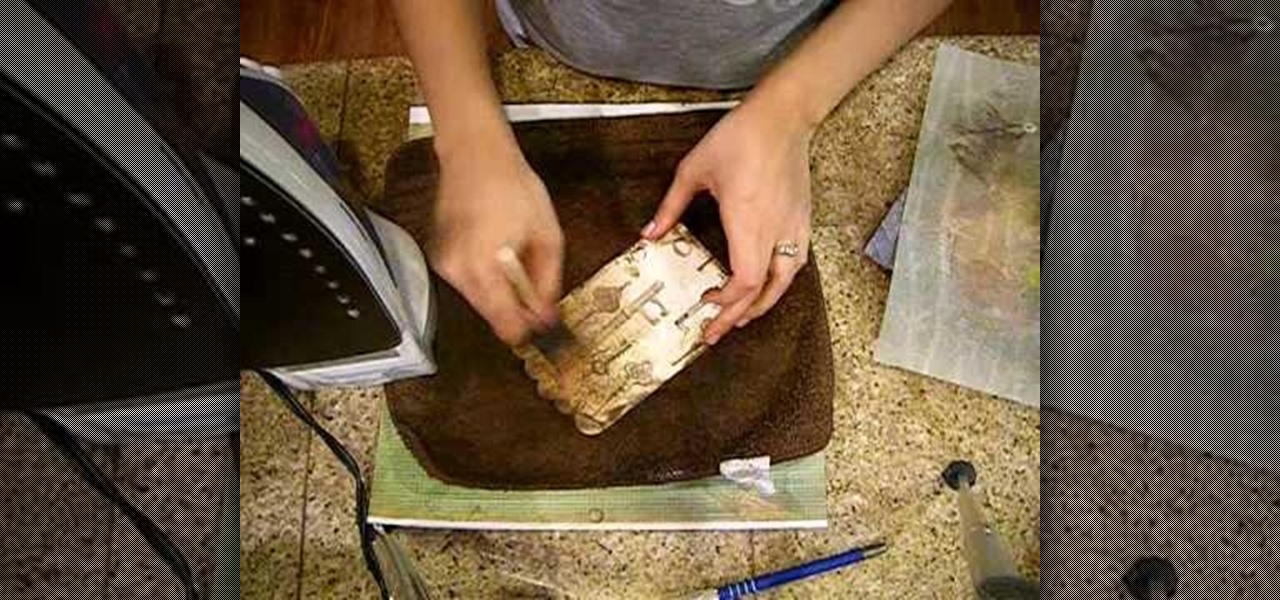
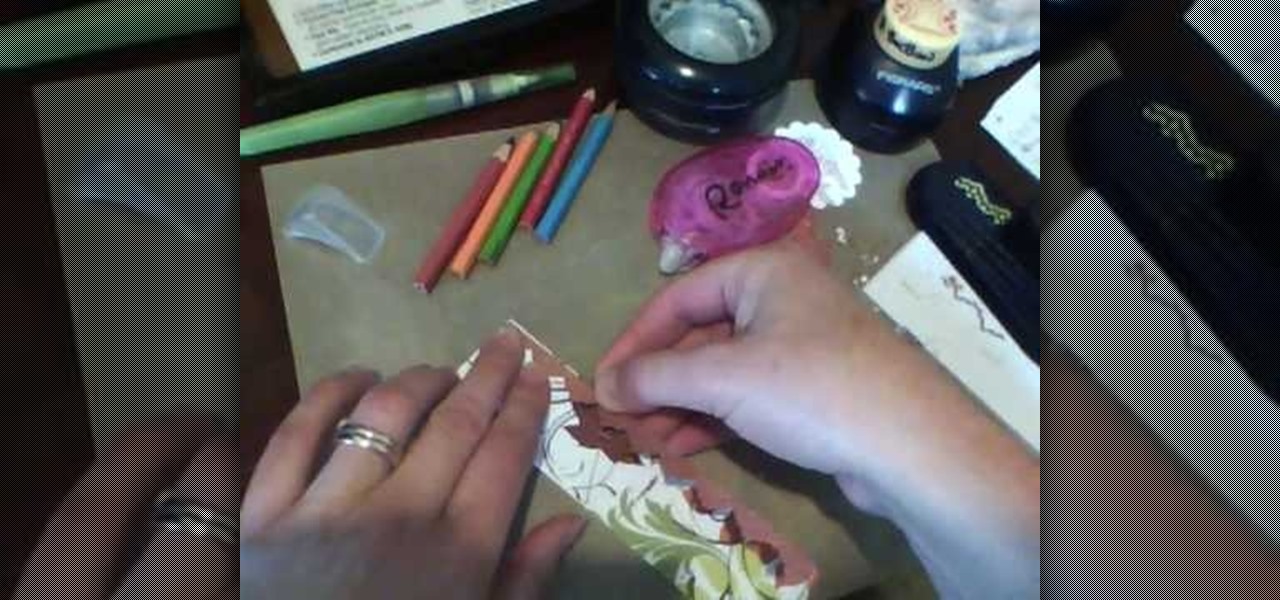
Crinkle top part and go over it with distress ink. Do edges front and back. Put extra ink on scallops. Spray with mustard seed and tattered jewels, olive vine and pine cone to add color. Place paper on pocket and iron on both sides. Spray with iridescent gold. Use brush to spread out. Iron again on both sides. This process makes it look aged. Take a film strip and spray with tattered leather. You want to use an iron when spraying grunge board with tattered jewels because it will make it seep ...

In this tutorial, we learn how to use Fiskars Decorative Edge scrapbook layout. First, you will need to pick out the templates, pictures, and paper that you want to use for this project. Now, place the stencil over the card stock and cut out the stencil shapes you want, stars work best if you are doing a fun child theme. Now, apply these to your base card stock, and arrange a frame over the background. Now, apply the picture to the page and add on the stencils you just cut out. Add in quotes ...

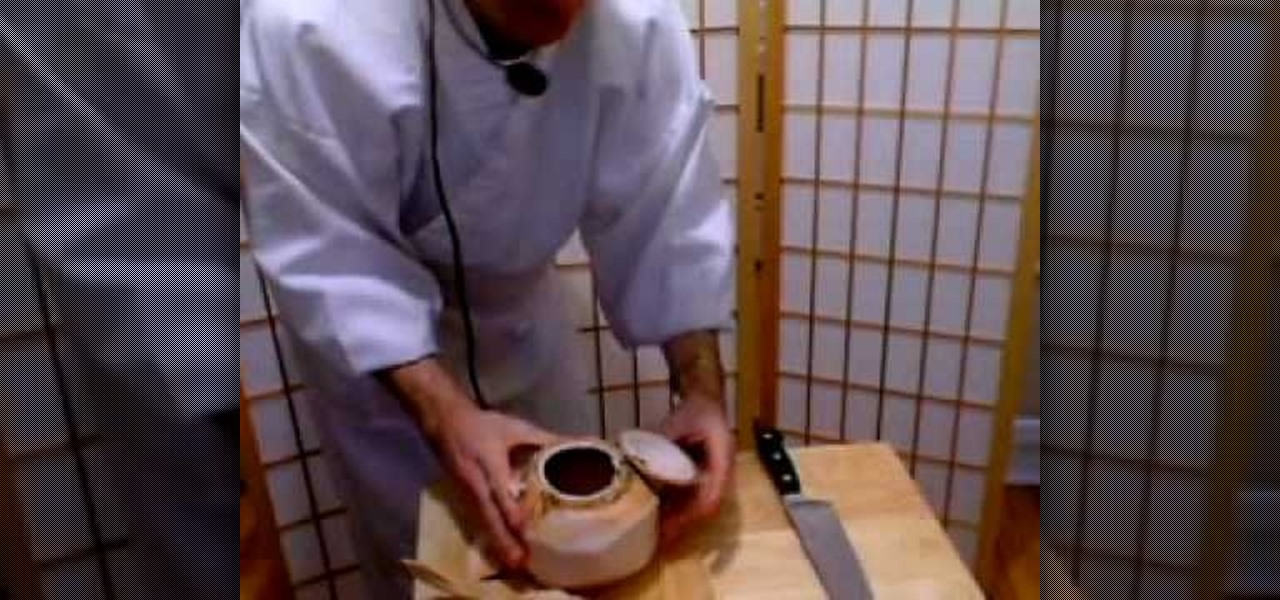
In this tutorial, we learn how to open a fresh young coconut. First, you want to grab a sharp and large knife, then go around the coconut cutting the husk off. After you have done this, you should be down to the nut of the coconut. Some areas of the husk will be thicker than the others. Next, use the corner of the knife to knock the top corner of the coconut. After this, take the knife and stick it into the hole that you made. Wedge it in there slowly, then turn the knife towards you and cut ...

In this tutorial, we learn how to do changing spot combo pirouettes. First, prepare for the turn facing the front left corner. Do a triple pirouette, then forte the leg around and change your spot to the right front corner. After this, land behind. Do this in counts of eight, then plea and land. This may be difficult to understand at first, if you have no experience doing dance moves. Just keep practicing, and pretty soon you will have these moves down! Changing spots is an easy move to get d...

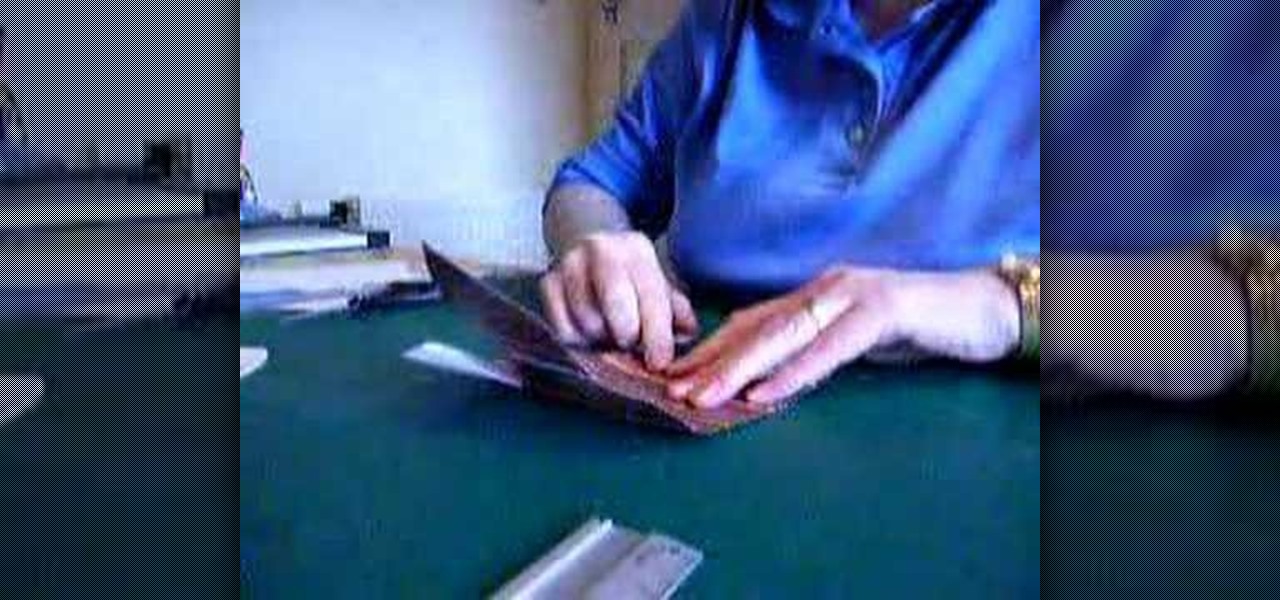
In this video, we learn how to make a box. First, fold the piece of paper into a triangle, then another triangle. Now, unfold the paper and fold all the sides into each other, making a square. After this, fold in the sides once more, making sharp creases on the edges. Now, open up the paper and do this again on the other sides, opening up again when finished. Now, fold the sides of the paper and turn it upside down. Follow the creases that you just made to fold the box up into a secure box. M...

Clinton Kelly teaches us how to prepare an easy radish appetizer in this tutorial. First, take a radish and cut off both ends. Next, scoop out a little bit of the center of the radish going in a circular motion with a pairing knife. Now, take softened butter and place it into a plastic bag and push into the corner. Snip off the corner of the bag, then fill the middle of the radish with butter and sprinkle with kosher salt. Next, place this on a platter with a bed of kosher salt on the bottom ...

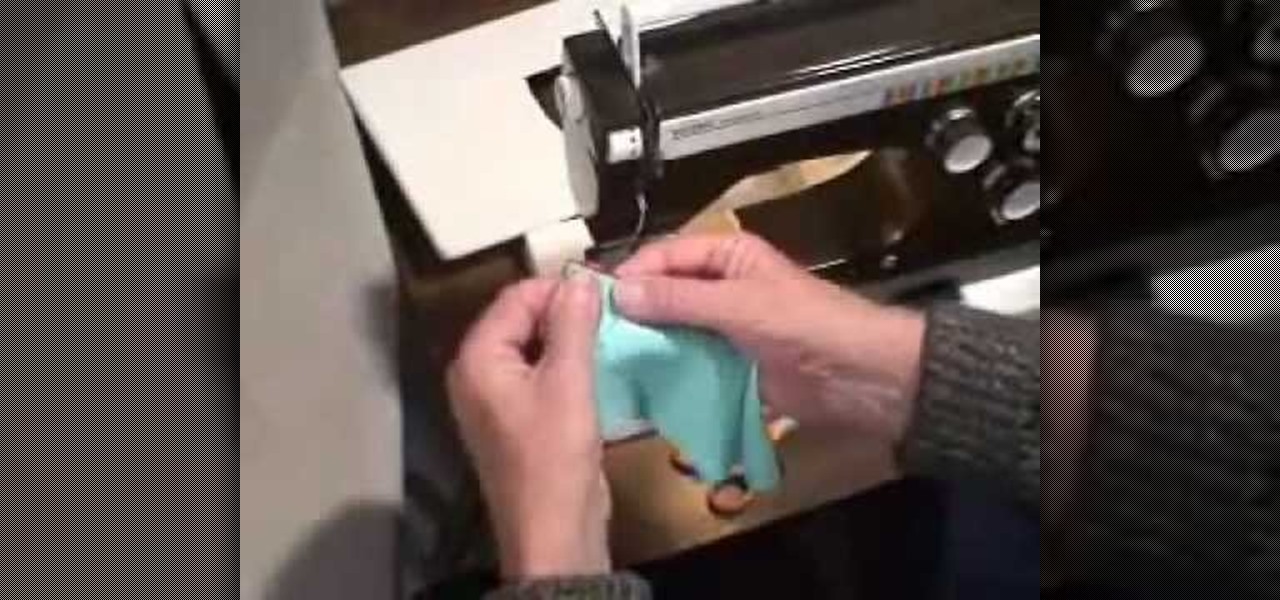
In this tutorial, we learn how to edge finish with lingerie elastic. First, grab your elastic and place it onto your fabric. Line up the elastic so it matches in perfectly with the fabric. Use a sewing machine to sew the elastic onto the fabric. Go slowly while you are doing this and lift the elastic in your hand as you continue to sew it on the fabric. When you get to the end of the fabric, the elastic will be sewn on, and you will be able to wear it! This only takes a few minutes, just make...

In this video, we learn how to make a bow out of a Starburst wrapper. Now, place clear tape of the wrapper and fold down the edges. Now, fold the wrapper in half and then in half once more. Make it so you have an accordion design with three different peaks on the wrapper. Now, cut a small strip of tape out of the piece of tape and wrap it around the middle of the bow. After you do this, flare out the edges to make it look more like it has a bow shape. Now, take a bobby pin to the bottom of th...

In this video tutorial, viewers learn how to fold a paper airplane. Begin by folding the paper vertically in half. Then open the fold and fold the 2 top corners to the center crease to form a triangle. Now fold the top point down so the it tucks underneath the fold to form a envelope shape. Then fold the 2 top corners to the center crease to form a triangle once again. Now fold it vertically in half and fold the wings down so that they are aligned with the bottom of the plane. This video will...

In this tutorial, we learn how to use a stud finder to locate your wall studs. First, you will use your stud finder tool and place it against a wall. It will go off when it has found the edge of a stud. Place the finder against the wall then slowly move it until the red light on the top beeps. Move it around to make sure you know exactly where the stud would be located. The finder will go off wherever the edges of the studs are to help you pinpoint exactly where the stud is. You could get wro...

In this tutorial, we learn how to make mini paper square boxes. First, grab a piece of paper and fold two ends in so they touch in the middle. After this, fold the bottom up so it covers the triangles and they meet at the middle. Crease the edges, then cut down the edges on both sides where the crease is. Next, fold the sides in so you have a shape that looks like a sword. After this, fold the sides up, then fold the other sides in. When finished, push the creases in and you will form a box, ...

In this tutorial, we learn how to mix purple & silver for a dramatic makeup look. First, apply primer to your entire eye lid. After this, use purple paint and brush it onto the outer edge of the eye and the crease on top. Next, paint the purple under the brow bone, and then paint a darker purple underneath the first purple. Use light blue on the inner edge of the eye, then paint purple underneath and add eyeliner to both the top and bottom of the eyes. Use a small black brush to outline where...

In this video tutorial, viewers learn how to burn a CD using iTunes. Begin by opening iTunes and create a playlist. To create a playlist, click on the + sign at the bottom left corner and name it. Then drag the desired song(s) into the playlist. Now insert a blank CD into the computer hard drive and click on Burn Disc at the bottom right corner. When a small window pops up, select the preferred speed, gap between songs and CD information. When finished, click on Burn. his video will benefit t...

This video tutorial is in the Home & Garden category where you will learn how to install an interior door set on a pre-bored door. For this you will need a tube latch, straight plates, door plates, two knobs, two sets of ring guides and a spindle. You will also need a tape measure, ruler, screwdrivers, a drill and safety glasses. A pre-bored door has a face and an edge bore. First install the tube latch through the edge bore ensuring that the angle side of the tube face is towards the door ja...

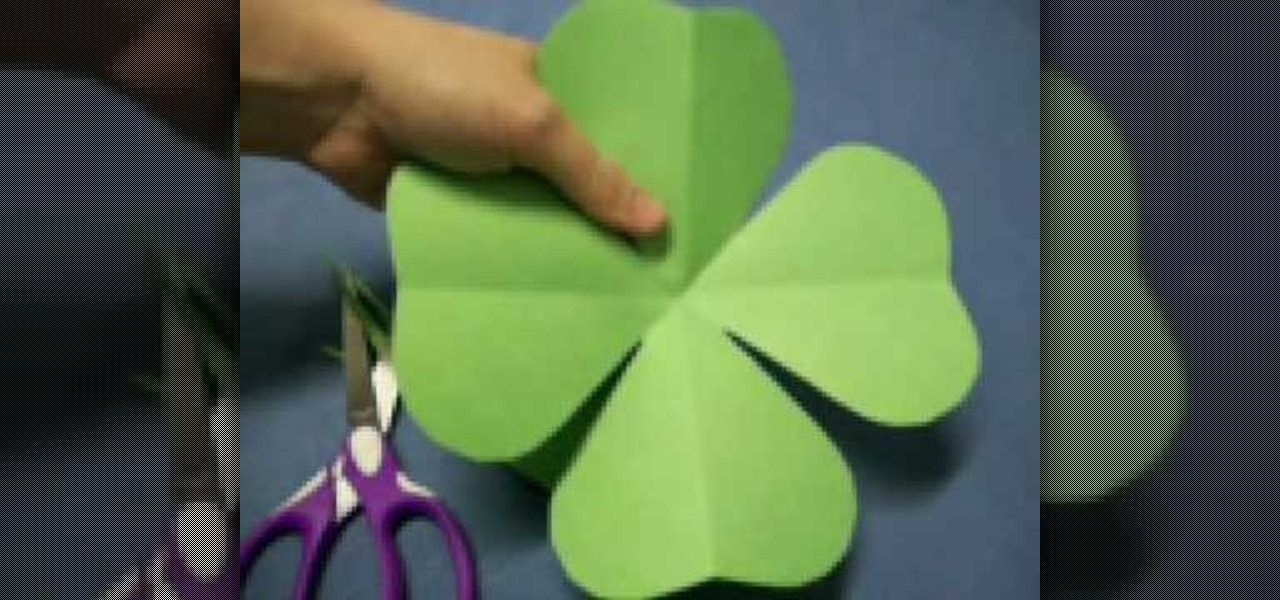
In this tutorial, we learn how to make a four leaf clover pattern. First, fold your paper in half, then fold it in half in the other direction. Next, fold the edges making a point and then cut a half an inch along the edge, making a cone shape. end the shape on the right side, making a heart shape. When you unfold, you will have a four leaf clover! You can use any size of paper to make this, just make sure you use green paper to keep the theme Irish. This is a great project for kids to learn ...

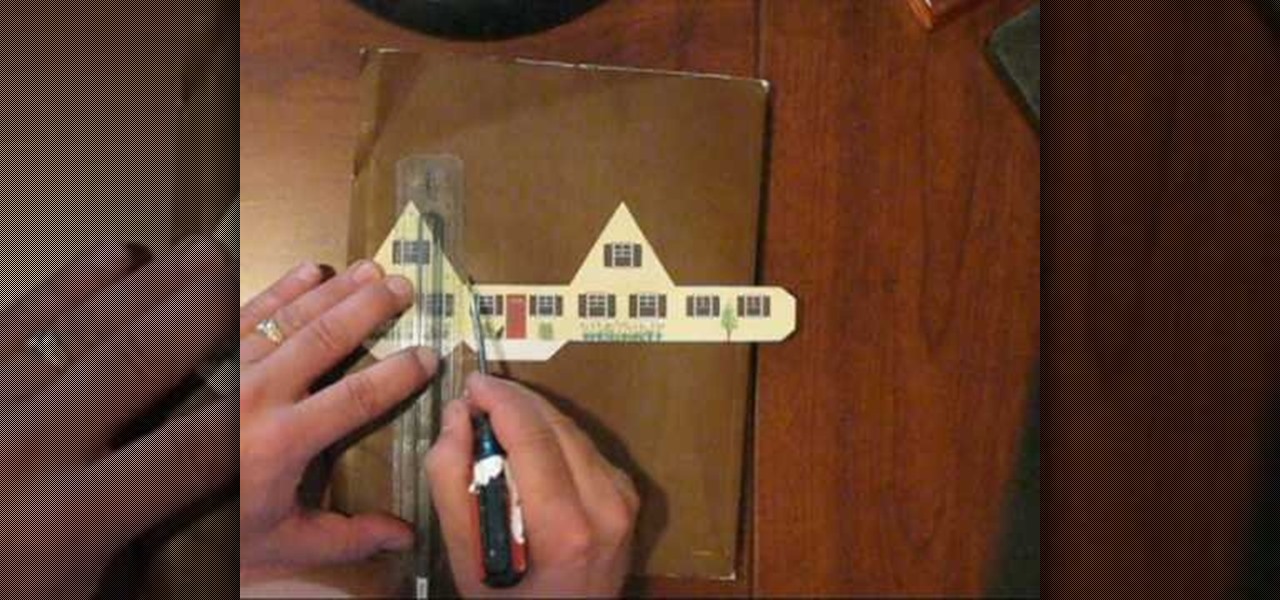
To make a Cottage Pop-Up Card, you will need the following: the printable pattern available at Victoria Norman Home , scissors, a ruler, cardstock, glue, and a flat head screwdriver.

In this tutorial, we learn how to fold a Christmas tree. First, start with a square paper and fold it in half, then open it and fold it corner to corner. Open the paper again, the turn it over and fold it side to side. Open it once more and fold again side to side. The paper will not automatically fall into the shaped creases and you will have four flaps. Take your finger inside and flatten all the flaps. You should have four flaps on each side and then you can cut the bottom to form a trunk ...

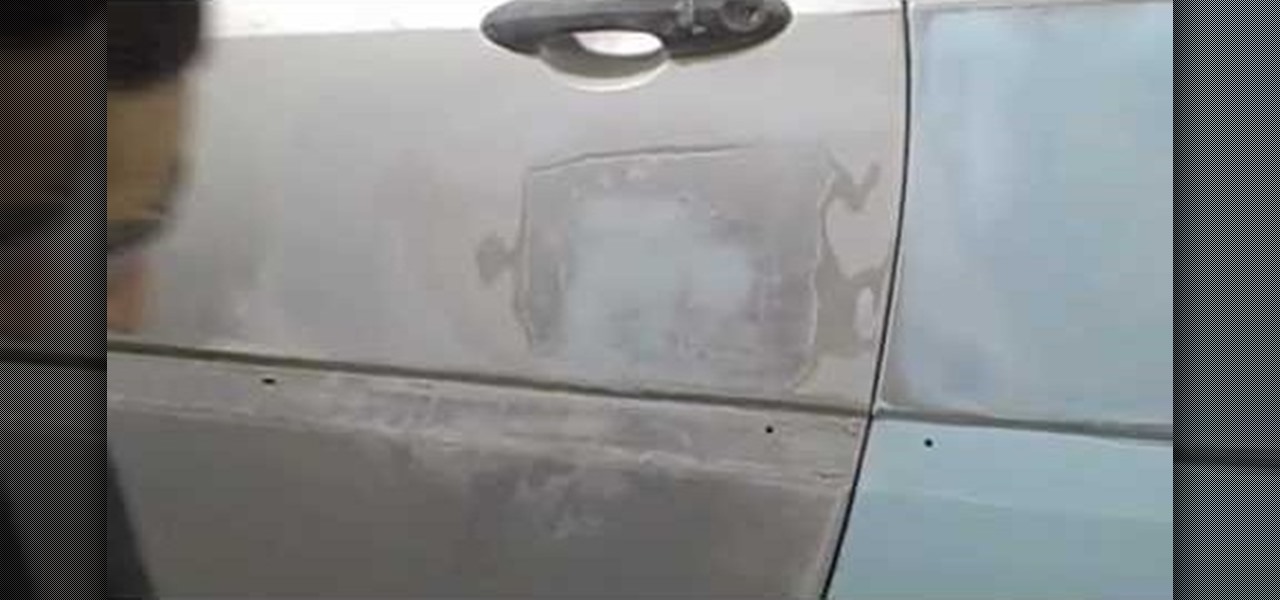
To apply glaze putty to your car, after it has been damaged, you will need the following: 80 grit sandpaper, goggles, respiration mask, putty

In this video tutorial, viewers learn how to make a paper rose with a napkin, Begin by orienting the napkin lengthwise. Then pinch the napkin corner with your right index and middle fingers. Now wrap it around the fingers. With your left hand, squeeze to create the size of the rose flower. Then hold the flower with your left hand and twist the stem. Now hold the end of the stem twist and pull the corner upward to create a rose leaf. Pinch the leaf into place and pull the excess napkin downwar...

Mirror's Edge was an okay game, but the demo was one of the best ever made. It would have made a worthwhile budget game purchase by itself! If you, like many, got the demo but not the full game, this video will show you how to extend the life of said demo by teaching you how to escape the confines of the map using a glitch. A lot of the fun of this game is exploration, and now you can do more of it!

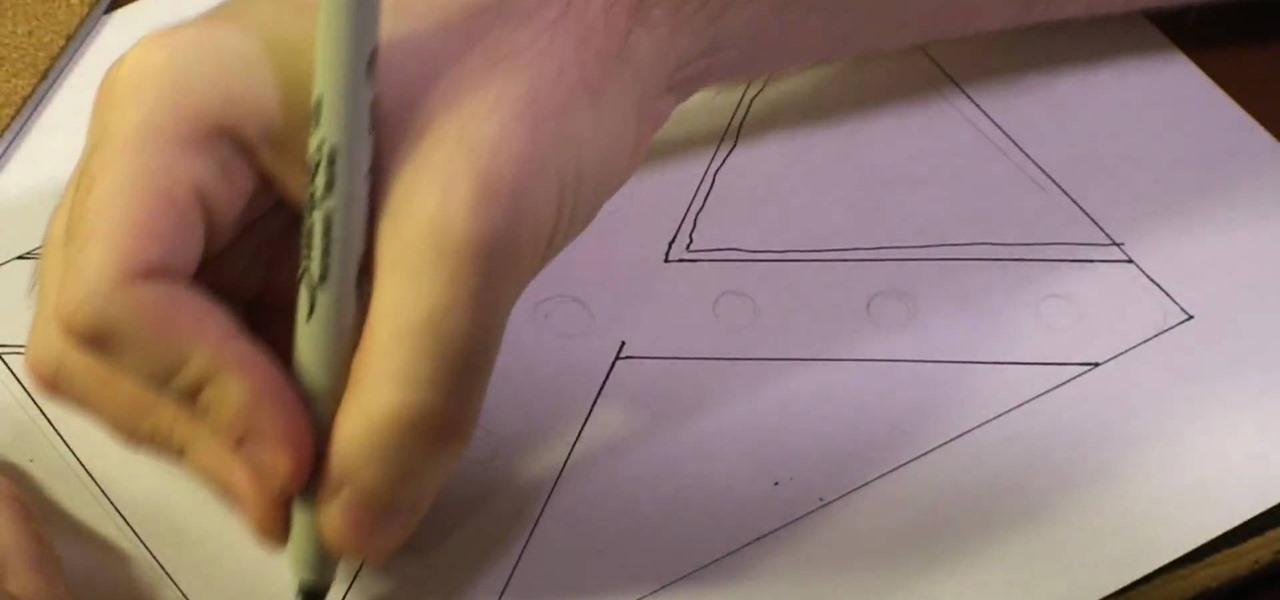
In this video tutorial, viewers learn how to draw a rebel flag. The materials needed are a ruler, sheet of paper and drawing utensil. Begin by using the ruler to draw a rectangle for the flag. Then draw an X in the center of the flag, going diagonally from the top corners to the bottom corners. Now draw outer lines on the X. Then draw the 13 stars on the flag, The first star is in the center of the X and add 3 stars on each side. This video will benefit those viewers who enjoy drawing, and wo...

This is a demonstration of how to throw the frisbee the correct way.The idea of frisbee developed in a college campus in 1920 where students use to throw empty pie tins after eating the pie made by Frisbee Pie Company.Frisbees are available in the retail market for about $3.00.The convex side of the frisbee has ribs and edge is rounded.The frisbee is held in the palm with the thumb on top,over the ribbed portion,the index finger is kept along the edge and rest three fingers below into the con...

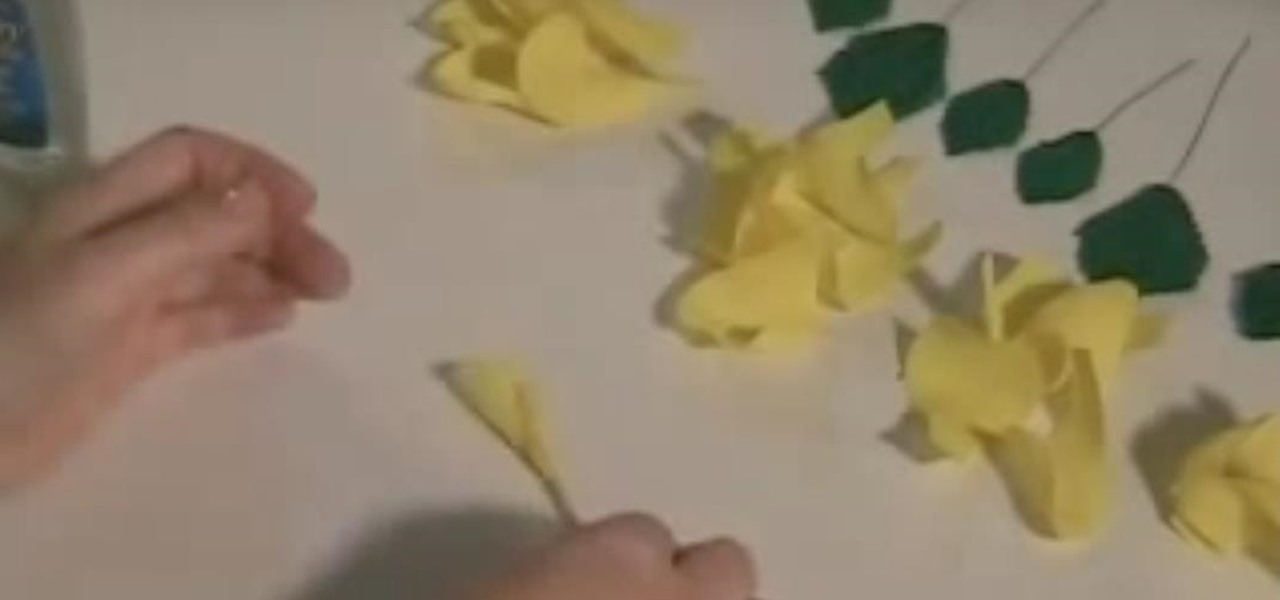
This video shows us how to make paper flower with ease. Here are the following steps: Step 1: Gather paper, glue, scissors.

In this Arts & Crafts video tutorial you will learn how to fold a hexagonal, six-point paper star with origami. Take a hexagonal sheet of paper and fold in half from all corners. Then fold each side inward up to the center point. Open up all the folds. Now fold one side up to the center point. Then fold one corner back over itself and fold the next side of the paper up to the center point. Continue like this for all sides and you will now have a smaller folded hexagon. Then lift up each flap ...

In this Arts & Crafts video tutorial you will learn how to make a lily flower from folded paper with origami. For this, you need a square sheet of paper. First you fold it in half and then fold it in half in the other direction. Next you fold it diagonally across to form a triangle. Then fold it again across the other diagonal. Open up the paper and push the diagonal folds inwards slightly so that the center point is pointing upwards. Then press the folds in to form a triangle. Take one of th...

In this Arts & Crafts video tutorial you will learn how to make a vertical Easter greeting card. Take a 6x6 yellow card and fold it in half. Using the Valentrio Fiskars corner punch, you can punch one corner. Cut a 2 1/2” wide metallic cardstock, a 1” wide paper strip, stamp a picture or a design and punch it with Fiskars punch. Punch the 1” wide strip with the Fiskars border punch and glue both the pieces above and below the metallic card stock. Glue the metallic card stock and the pic...

In this Arts & Crafts video tutorial you will learn how to make a folded paper ostrich with origami. For this project, you need a square sheet of paper. First you fold it diagonally across to form a triangle and cut it off in two. Then take one piece, fold it in half to form a smaller triangle, open and fold down along the centerline from the top of the triangle. Open it up and again fold along the centerline from the base of the triangle. Now fold from one of the corners up to the intersecti...

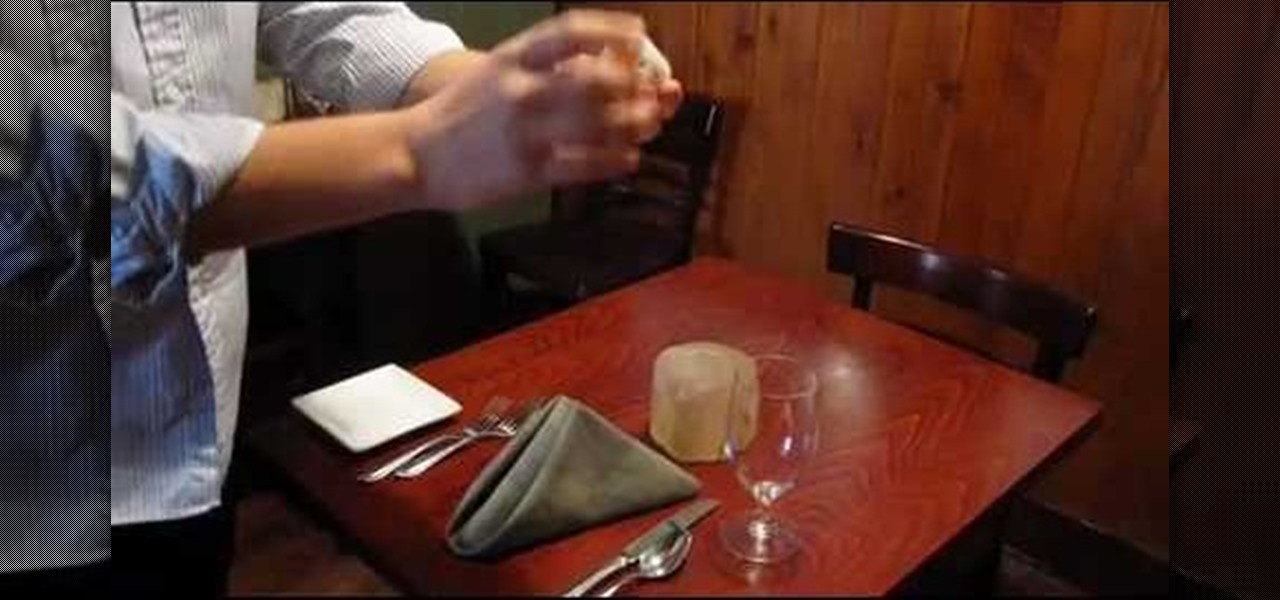
This video is a tutorial on how to set a table in a restaurant. The table should first be wiped thoroughly with a product called Thieves, a mixture of organic oils that contains no chemicals. Be sure it is dry before people are seated.

In this Arts & Crafts video tutorial you will learn how to use clear stamps & make a card. You will need acrylic stamps for this project. The products used in the video are from papertrayink.com. The stamps are clear and have a sticky back with which you can attach them to an acrylic base to make the stamp block. Then ink the stamp and stamp it on the paper. Since, it is clear, you can ass and align it properly on the paper. The other cool thing about acrylic stamps is that you can take more ...

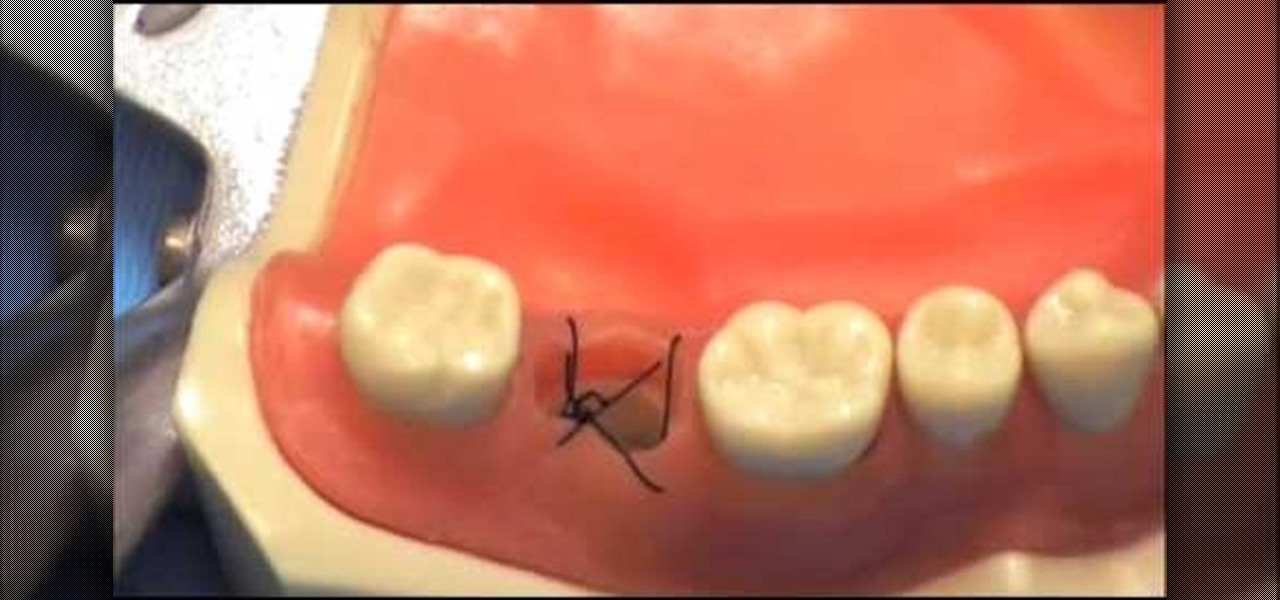
This how-to video shows you how to tie a figure eight suture. This is useful for finishing up oral surgery dealing with things such as tooth extraction. First, pull the string through one side of the gum with your tools. Next, take the end and pull it through on the other side. Once this is done, pull the string through the gum on the opposite corner. Once this is done, pull the string through the gum on the opposite of the corner. From here, you have formed a basic figure eight suture. This ...


