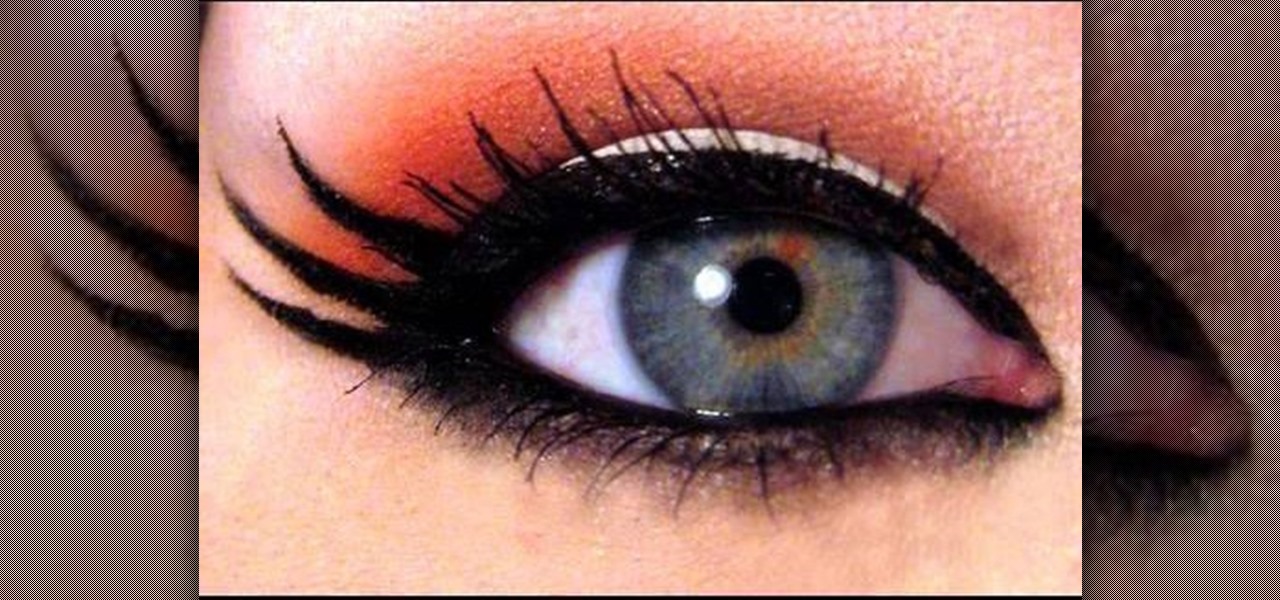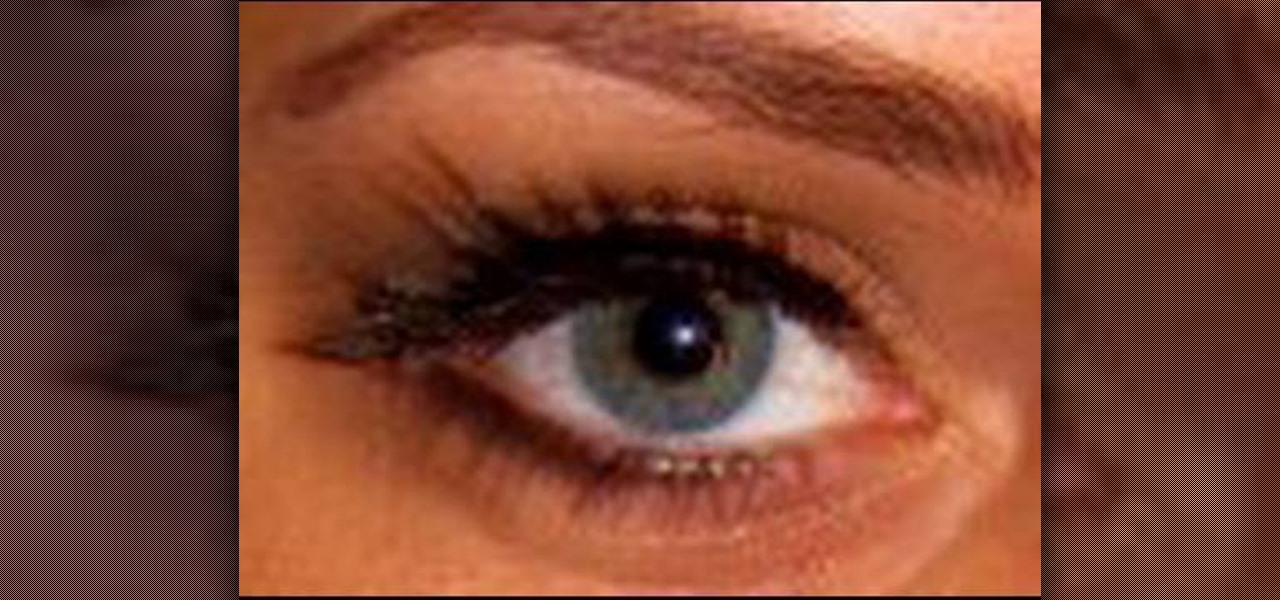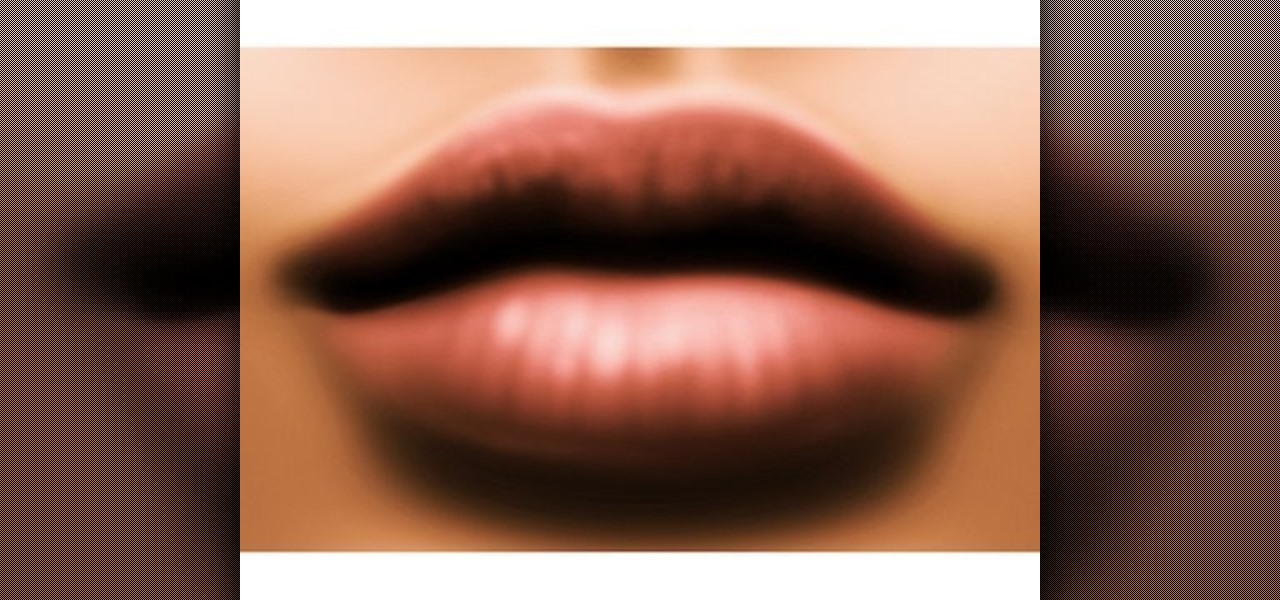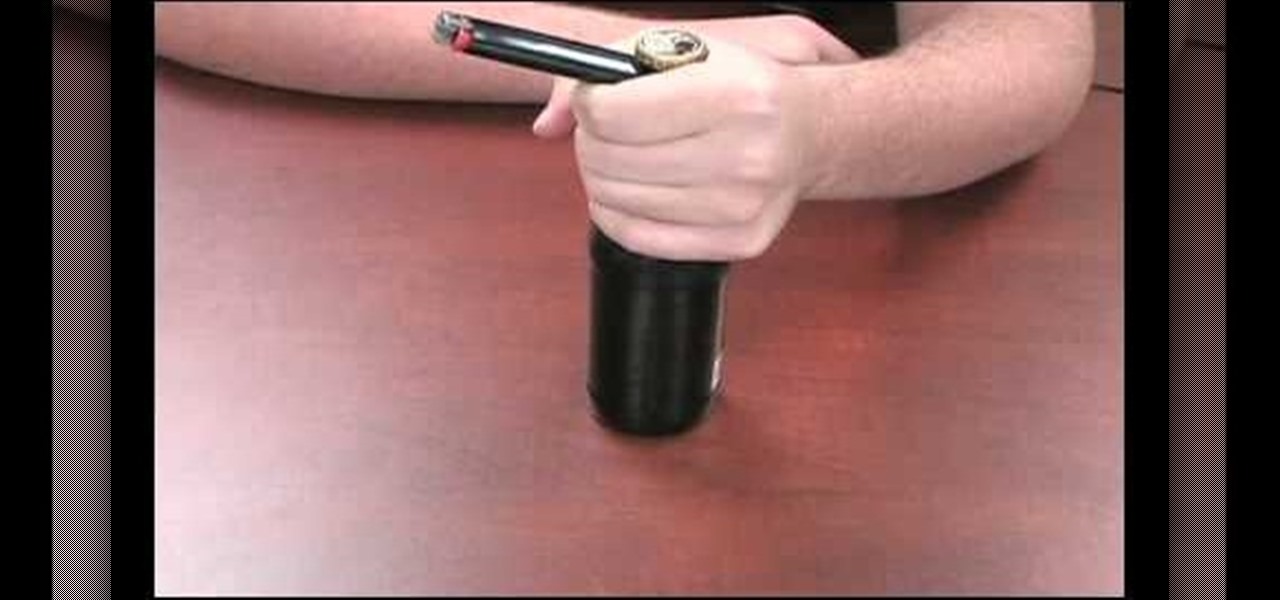
Tut Teacher shows that if you're going to edit alot of pictures, learning to change your eye color in Photoshop is helpful.Go to Photoshop and open "human eye", zoom in and it gives more room to work with. First, go to your lasso tool, hold down and click. You can click and drag or click along the outside edge. Set to 6 pixels, more or less depending on the image. Make sure you don't click on scanner..it'll make the image go crazy. Keep clicking along the edge there'll be a symbol on the circ...

Save some money on your energy bills by making an attic stairway box. For less than twenty five dollars, all you need is caulk, UL181 masking tape, insulated sheathing, and rubber foam sticky tape. Measure the width, the length, and the depth of the attic stairway opening. Lay the insulated sheathing down on the floor and get a straight edge. Take those measurements and create a rectangular box. Mark out six pieces to create the parts of the box – two large top pieces, and four shorter side p...

In this video, Karen shows us how to decorate cupcakes in different ways. You can use McCormick frosting in a bowl, add neon green food coloring and mix this together. Put some frosting on the cupcake and smooth it out onto the cupcake. Another great thing is to put frosting into a small plastic sandwich bag, cut the corner of the bag and you now have your own icing bag! You can use this to make any design you'd like on your cupcakes. Make the clip on the corner bigger or smaller, depending o...
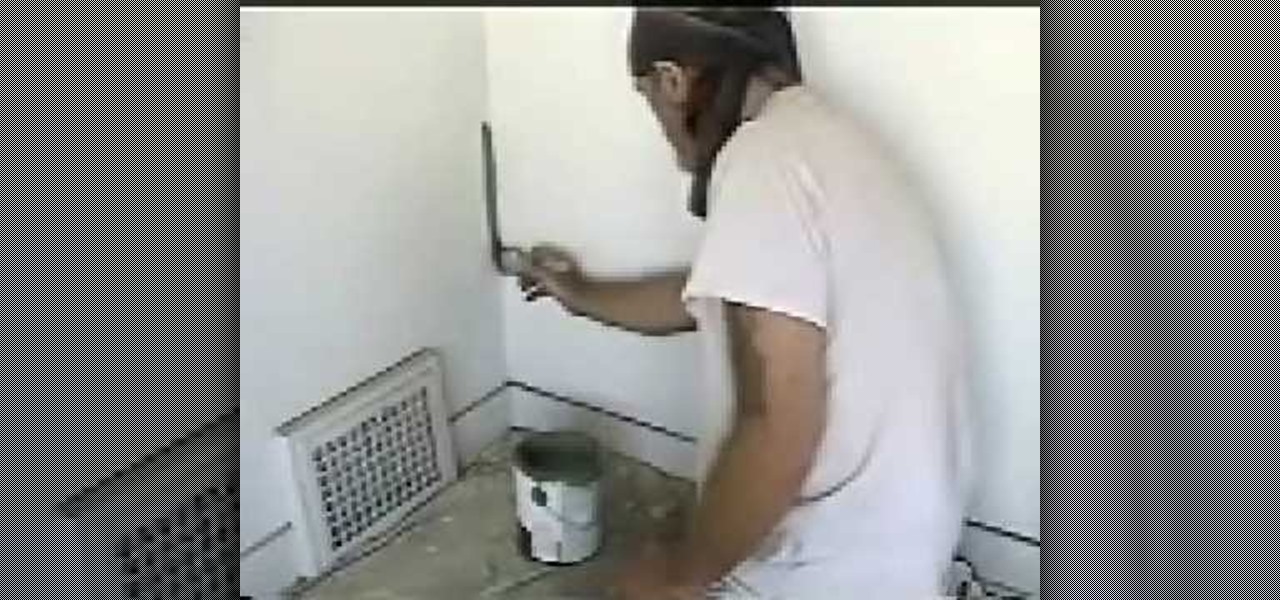
In this video, we learn how to cut a line using paint onto your walls. To do this you will need walls, a paint brush and your choice of paint. Make sure you get just the right amount of paint onto your brush and place the bristles against the wall right next to the corner of the wall. Slide it down making the line as straight as possible. Keep going until you have a line all the way down the corner, making it very straight and neat. Do this on both of the walls and you will a have professiona...

In this instructional video, the host will give you detailed instructions on how to sharpen your blades primarily using coarse, medium, and fine Arkansas sharpening stones. How to oil your stones, how many strokes on either side, and the different angles that can be used are just some of the helpful hints included in this short tutorial. The instructor also includes information on how to sharpen your knives in a pinch using any leather belt, how to align your blade's edge using a steel, and h...
In this video Pro Rider Matt Crowhurst talks about the wake jumps and what needs to be done to execute them. At the beginning of the video Matt says that in order to execute them one has to mater the perfect riding position, being in ease with moving left and right, inside and hillside edge, crossing and execute smooth turns. For executing wake jumps one has to concentrate on three major areas-1. Starting out wide, cruising along and a flat board.2.A progressive edge3.Holding that edge and po...

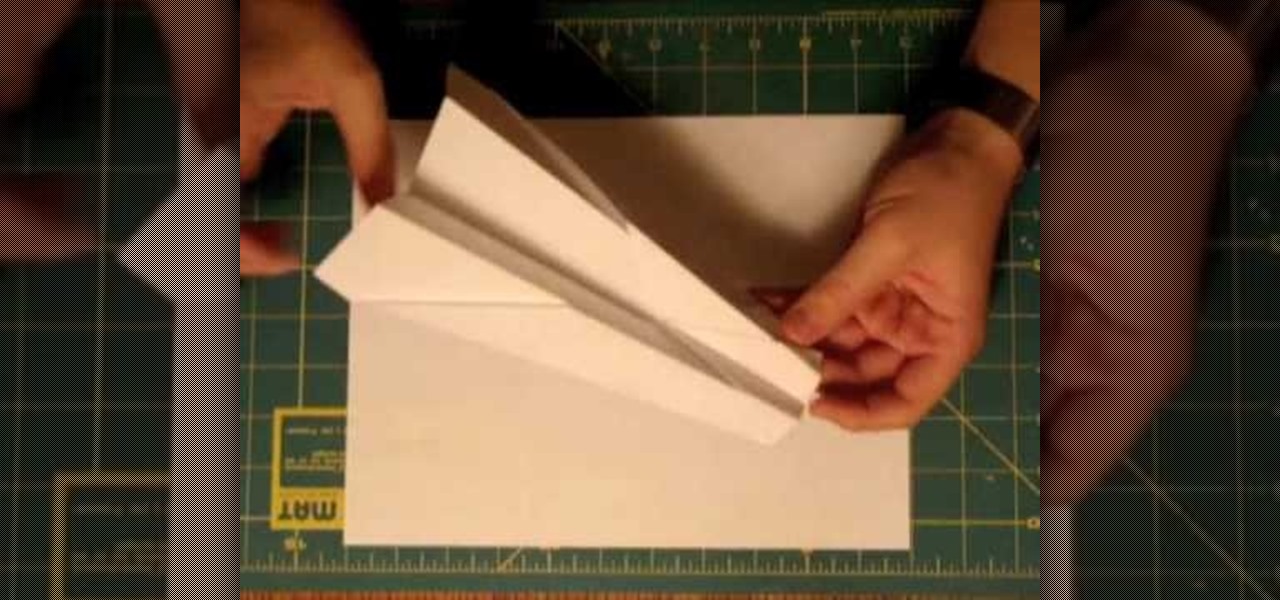
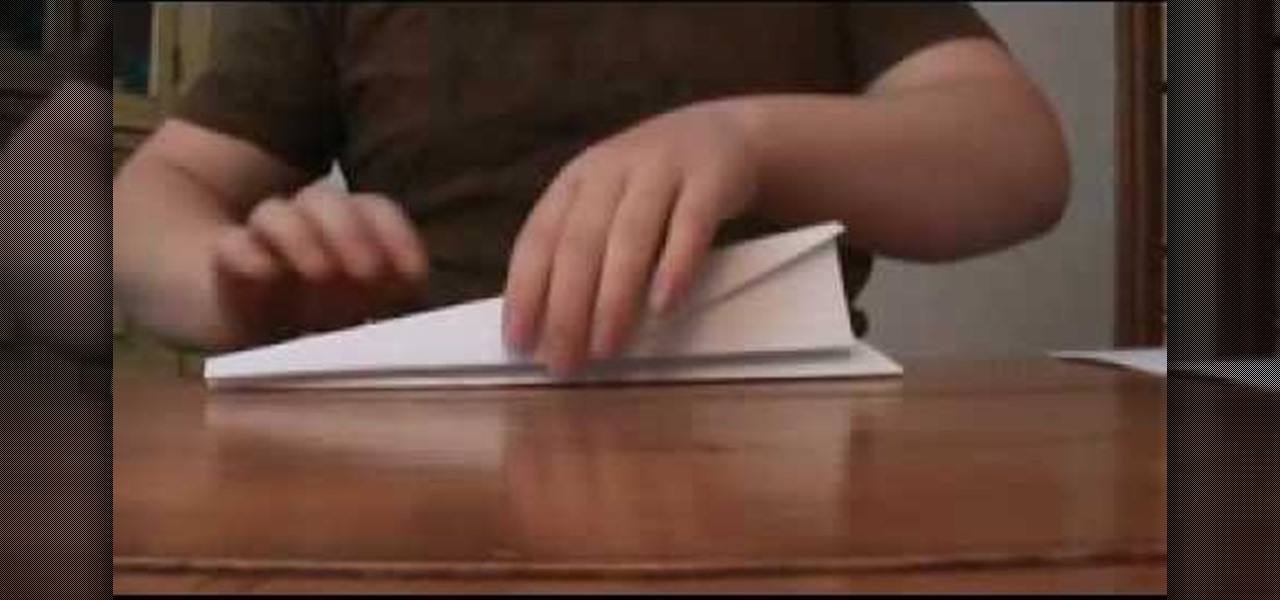
This video shows you how to make a very good paper airplane, that will fly in the air for about 10 seconds before it falls. Start by folding your paper in half length-wise, and then at one end fold triangles from the corners into the middle. Then flip your paper over, and fold the same corners in again, so that your paper looks like a taller point. Take the last 3 inches of the point and bend it into the middle of the paper, creating an X out of the folds. Then fold it all in half so that you...

When measuring for borders on your quilt, begin by spreading your quilt out on your work surface making sure that it is laying flat but not pulled tight. With a tape measure, measure from one edge to the opposite edge across the length of the quilt. You should measure along two or three different seam lines and cut the border material to correspond with your longest measurement.If you would like a two-inch wide finished border then you should cut your border material two-and-a-half inches wid...

This video illustrate how to fold a paper frog. Here are the following steps.Step 1: First of all take a sheet of paper and fold it into half diagonally forming a triangle.Step 2: Now roll back the paper and fold this triangle it into half so that a smaller triangle is formed..step 3: Now fold back the triangle and make it into two equal halves.Step 4: Now take the corners and fold them all to the center and open it from the center to the joined line.step 5: Hold back the triangles out of the...

This is a USA fire and Rescue's favorite recipes segment. To make this quiche you begin by preheating the oven to 350 degrees Fahrenheit. After that you combine cheese, and flour (the thickener) in a mixing bowl and toss them until the cheese is lightly coated. Next, add beaten egg, and pepper. Mix again. Now you need to add cooked and drained broccoli, and drained mushrooms. Mix again. Pour into a pie shell and cook for about an hour, or until it sets. A good tip is to cover the edges with t...

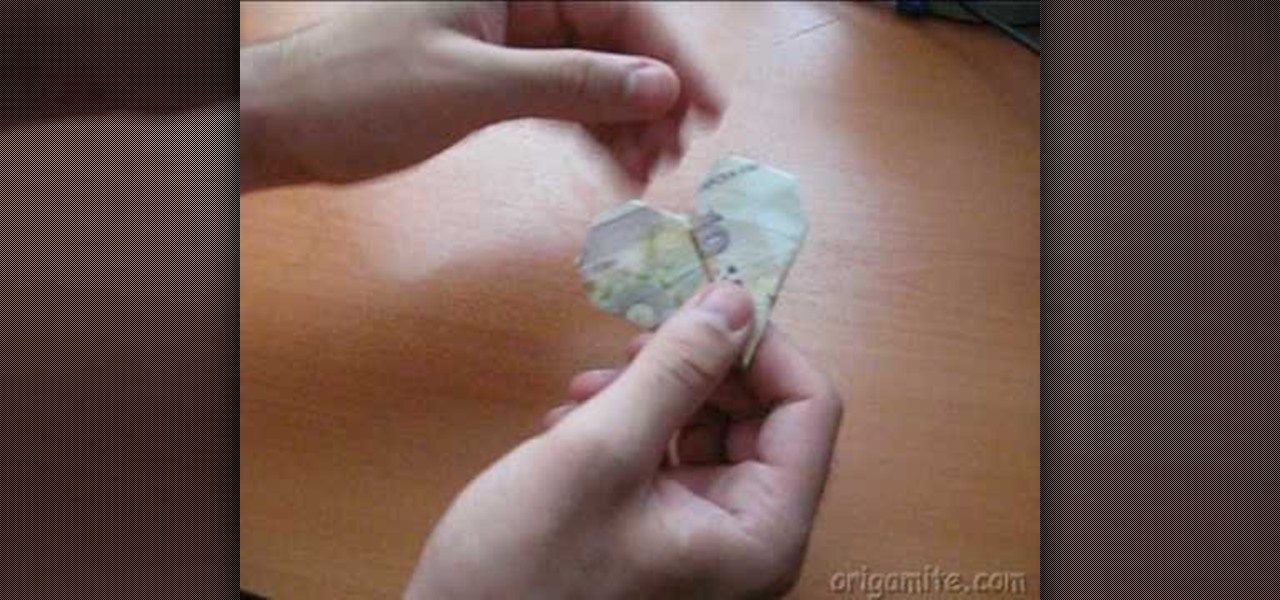
We learn an easy and fun way to make an origami heart out of a dollar bill. No supplies needed. Just the dollar bill and two capable hands. First fold up the bottom of the bill. Then fold it in half. Fold both sides into triangles bringing them to the middle. Turn over in. Fold in inside corners. Then the outside corners, rounding into a heart. Make sure the creases on the sides are well done. Flatten the paper out with palm to make it completely flat. And there in your hands you have a paper...

How to caulk the baseboards in your home

Fyeo shows a cool way to fold a bandanna. Naturally you start with a bandanna. Lay it out flat and fold it so you get a nice big triangle. Then, fold it one more time so you get a smaller triangle. You then fold it again. Not so the corners meet, but so that just a little is hanging off. Then you take the corner and fold it in and under. Take about five inches up and fold it under so that a tail is hanging out of your back pocket. Once you've completed this, place the bandanna in your pocket....

Making a paper airplane that will fly far is useful for throwing in a competition. If you want to know how to do that you should watch this. 1. Roll the right corner toward the middle of the rectangular paper and then flatten it. Do it on the left corner. 2. Fold the paper in half (lengthwise). You should have two big wings now. 3. Fold the left wing into half (lengthwise). Do it also on the right wing. You're done. After following these simple steps, you can now challenge your friends.

This tutorial will focus on how to use the fit image function within Adobe Photoshop. You will utilize this function when you want the pixel width to match between different sized photos in portrait and landscape. First you will select all the photos (you must create a batch action in Photoshop). Next select the fit image option in the file menu under automate. You will need to put the same number into length and width to constrain the proportions of your landscape and portrait photos have th...

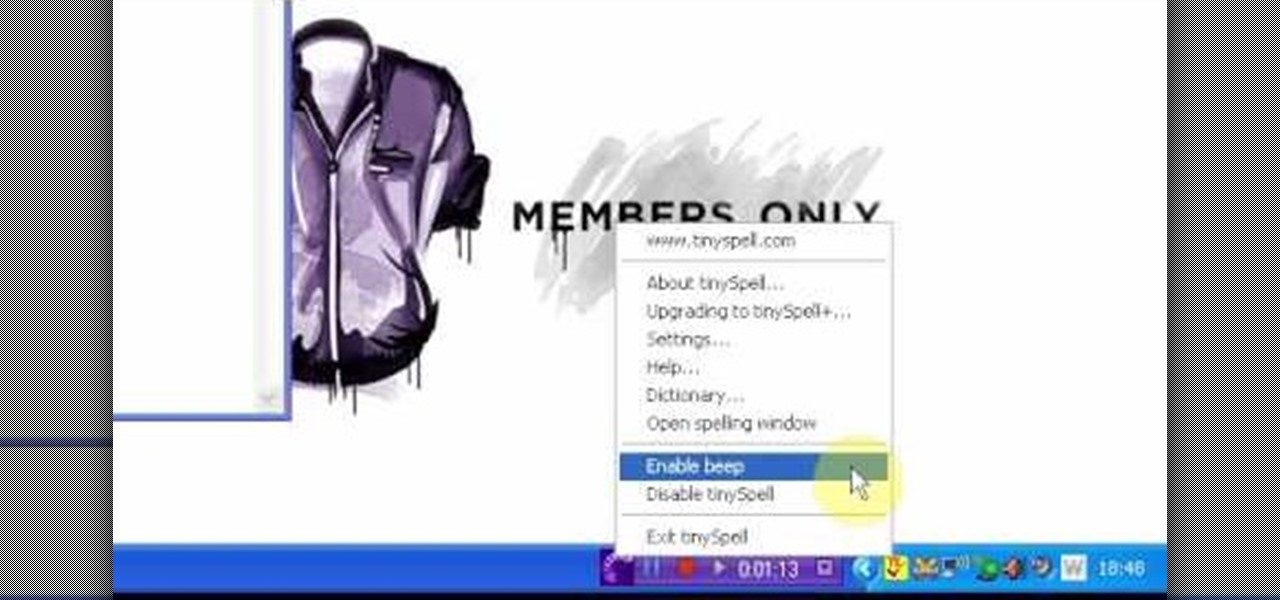
TinySpell is a handy program to correct your spelling automatically. Download and install TinySpell. TinySpell is a little handy program for your typing. Just open notepad for example. Then make a mistake like: Hello theree. When you look in the bottom right corner of your screen, you'll see the TinySpell icon. Right click on it and click on Open spelling window, it will tell you what you've done wrong. In the window you'll see theree turned red. Click on the button next to "theree" and selec...

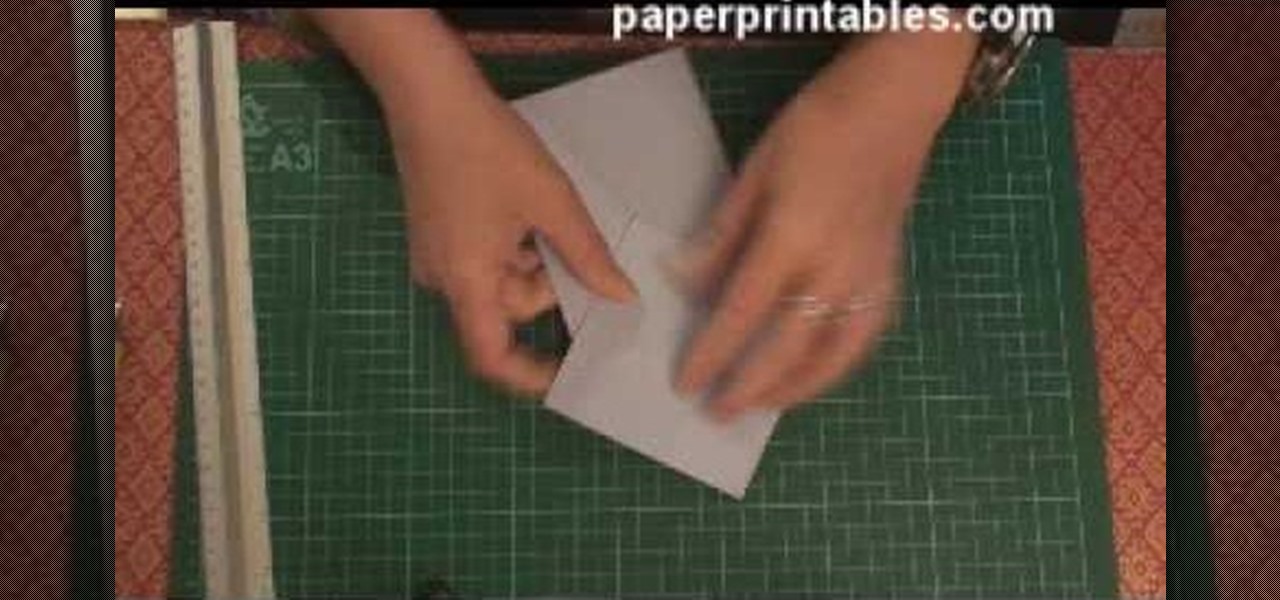
Watch this video to learn how to make a stunning diamond topped 3d card from a single sheet of A4 paper! 1. You'll need one A4 sheet of paper and some printed papers to decorate. 2. Score at 10. 5cm across length and 10. 5cm from one end. 3. Crease both scores in the same direction (mountain folds). 4. Turn card over mark 13cm from top on centre line an 17. 5cm from top on both edges. 5. Score from central 13cm mark to 17. 5cm mark on each edge. All printed papers used in this tutorial are av...

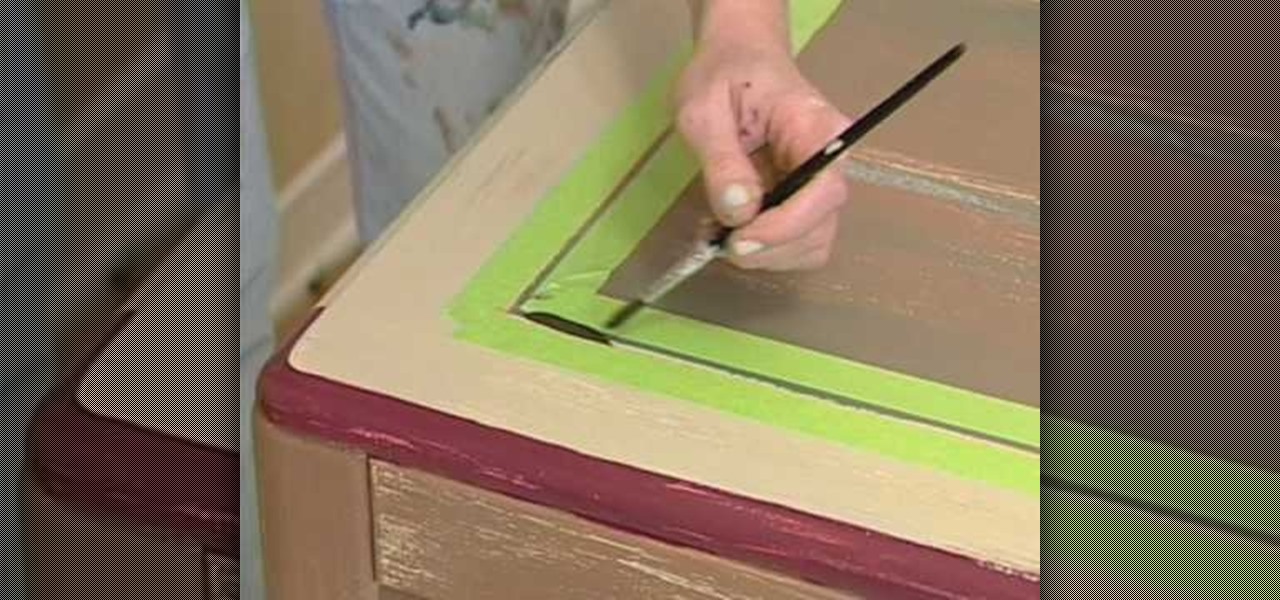
Using an antique distressing paint finish technique on furniture is a good way to revive a piece of furniture that other wise might just be discarded. This video is part of a series of videos taking viewers through the process of distressing furniture and focuses on accent technique. You’ll want to accent the select parts of the furniture you want to accentuate that distressed look. Our expert recommends painting the edges of this table. You’ll want to pick a complimentary color and when you ...

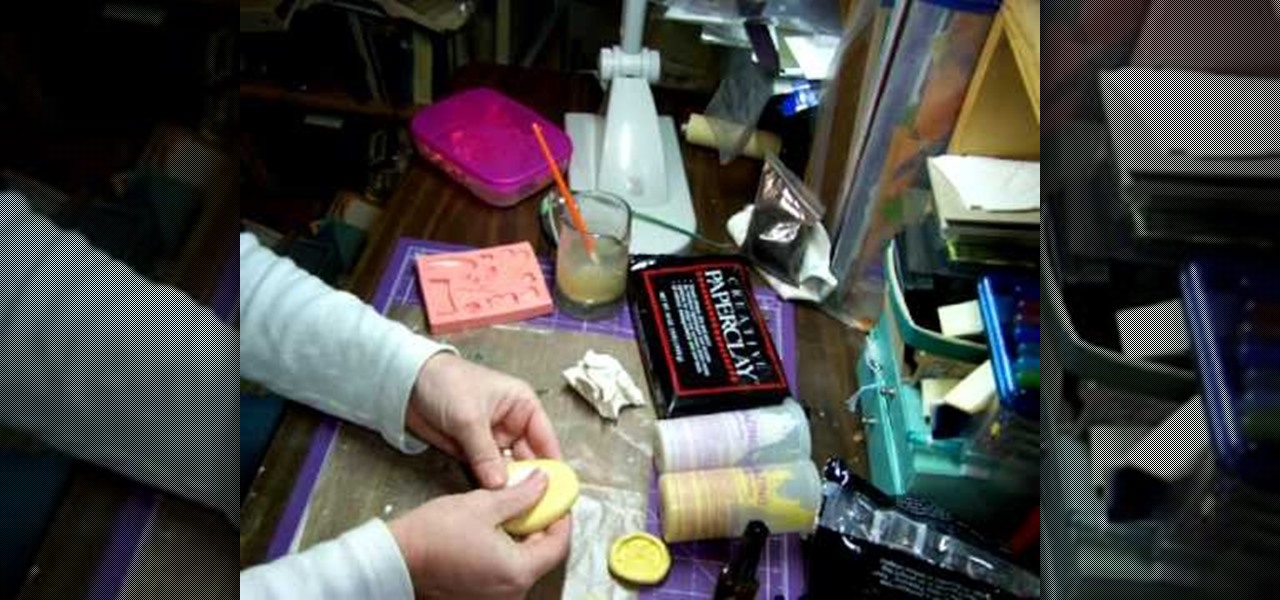
Terri Sproul shows you how to Work with Paperclay and Molds. Make a ball of paperclay and push it firmly into the center of the home-made or ready-made Mold. Make the surface of the Paperclay level with the surface of the Mold, adding more Paperclay if necessary, and removing any excess with your fingers. The molding putty that the Mold is made from is flexible, so hold the edges of the mold with your fingers and gently push the center of the Mold with your thumbs, this will push the molded P...

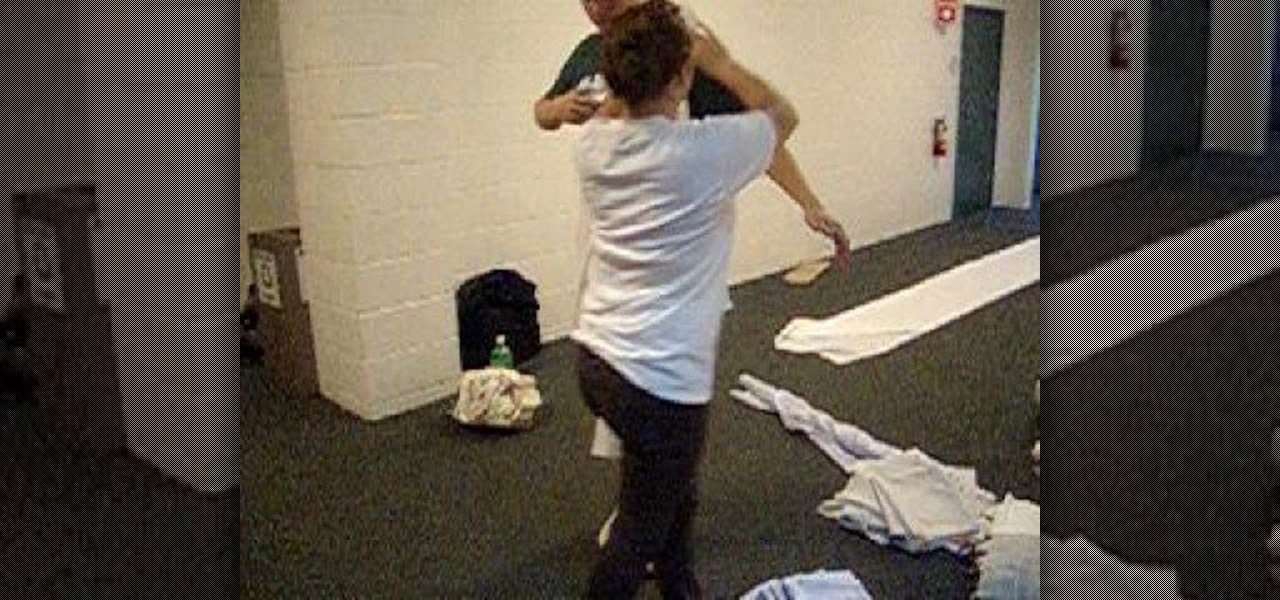
This video is a must-see for all those freshman pledges headed to toga parties down on fraternity row. Or better yet, the girlfriends that are dressing those guys! She begins by wrapping the sheet around the back of the male model. One end is at the chest while the other end is wrapped over the opposing shoulder after making the entire loop around his body. She pins one corner at the left shoulder blade, pulling the loose excess to the back. She pulls the other corner underneath his arm and t...

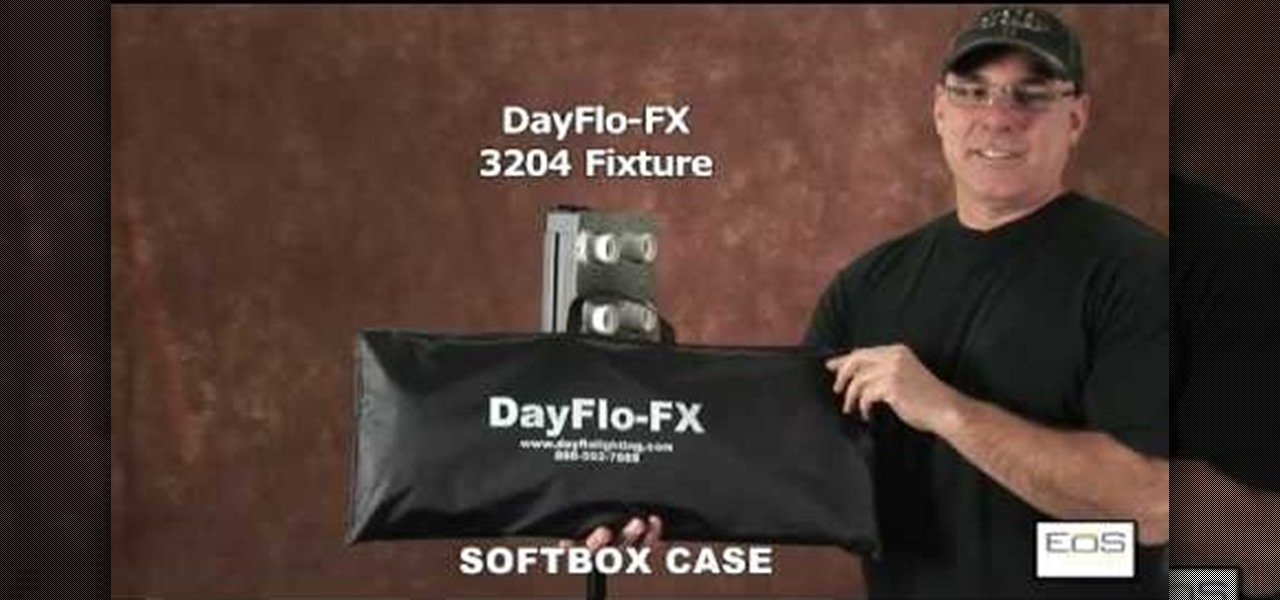
This video is a tutorial on how to assemble a DayFlo-FX 3204 Softbox. The instructor begins the video by showing what the DayFlo case looks like before assembly. The first part installed are the diffuser panels, it is also noted that you must remove the protective film from the front panel. The instructor notes that there are holes drilled into each side of the fixture. The next step is to insert the fat tipped ends of the rod into the corner holes and install the rods into the top two corner...

StampinMama1 demonstrates how to add ink texture effects to your scrapbook projects. When creating backgrounds for your scrapbook pages, you can use ink to both create texture and create interesting effects on the layout. Press the ink on the paper to use a direct to paper ink application technique. You can create cool effects like waves using this technique. Don't swipe the pad around or smudge it onto the paper. Instead, drag the ink pad in a motion of waves across the page. Start at one ed...

Scott Todd demonstrates waxing a snowboard, which is basic maintenance that assures good speed for a snowboarder. He starts by applying a thick, even layer of wax on the base of the snowboard using an old iron to melt it down. He sweeps the board with the iron to spread out the wax.

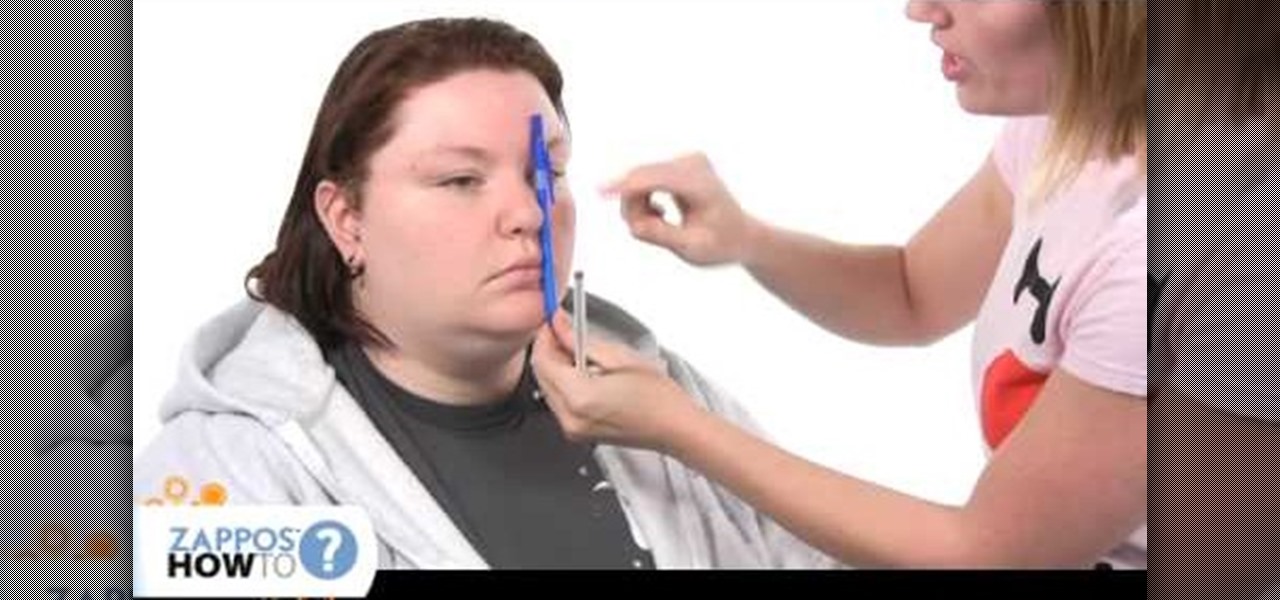
In this video tutorial, viewers learn how to pluck the eyebrows. Users will need a pair of tweezers and manicure scissors. To reduce the pain, users can use an ice cube to numb the area, use a dental numbing gel or use a hot towel to open up the pores. The eyebrow should begin at the corner of the eye and nostril. For your arch, it should line up with the nostril and pupil. The length of the eyebrow should begin at the outer corner of the eye and nostril. This video will benefit those viewers...

In this how-to video, you will learn how to make and decorate cookie pops and bright bouquet cookies. First, you must have your cookie already baked and ready for decoration. Take a star tip and decorate the cookie in a zig zag formation with the icing. Go around the edge until it is entirely complete. You can do a straight star if you want instead. Once that is done, fill in the inside for the center with another color. Fill in the empty area with the icing used for the edges in spots. Conti...

Goldiestarling teaches you how to apply a modern gothic Valentine pin-up makeup look. Start with a milky white pencil that you apply on the eyelid. Use a small haired brush with red powder and apply on the edges of the eye. Use a liquid eyeliner to do the outer eye part. Also use the eyeliner to make a contour around the red edges of the eye. Use a black pencil for the inside of the eye and also add mascara for the eyelashes. Finally, use a pink lip liner and a bright red lipstick to finish t...

Elizabeth Chamberlain with Space Lift demonstrates how to attract more business with feng shui. To attract more business you need helpful people to hire you or to spread the word about your goods and services. The travel of information is also important in business. Your house should address these areas. First, find the focus room on your energy map by laying the energy map on top of your home floor plan. The travel and helpful people area is in the lower right corner of your home, standing i...

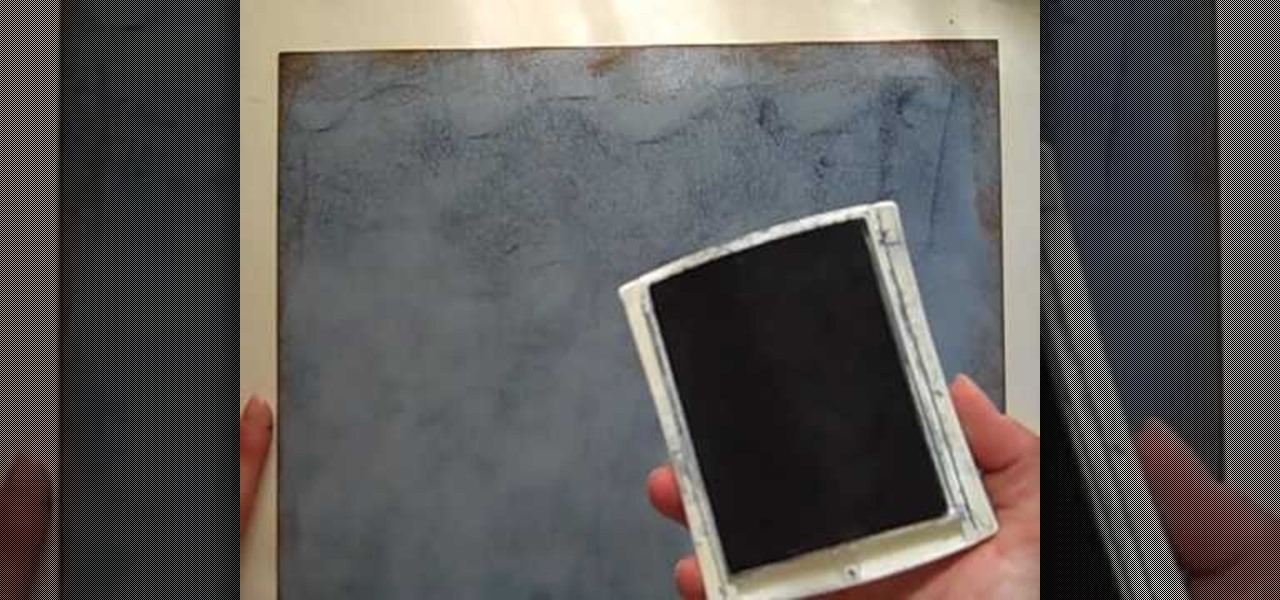
In this video tutorial, viewers learn how to shade and color the background of an image. This video explains all the materials required to shade and color the background of an image. The materials required are: a stamped image, a spoon dauber and an ink pad. Start by inking the sponge dauber and rub the edge of the cardstock. Continue to color the edge. Add more ink if you want the color to be darker. Color the background with the sponge dauber. Add link to the sponge dauber. Dab and rub the ...

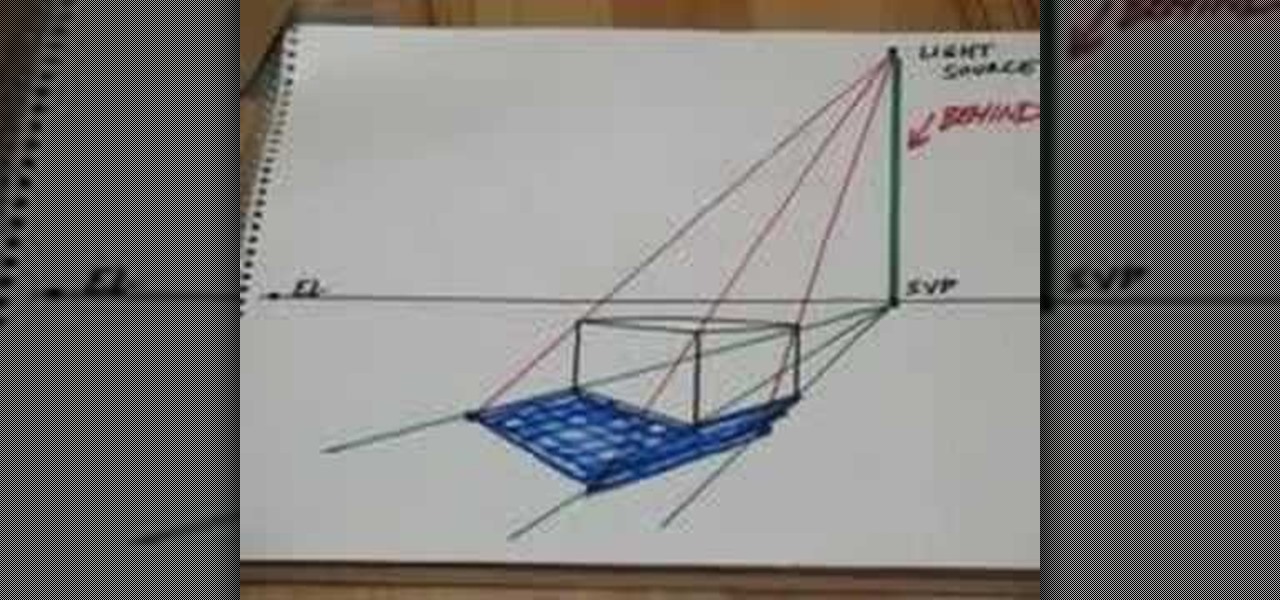
This video demonstrates the process for drawing prospective shadows using a light source. Start with the shadow vanishing point which is directly below the light source on the horizon line. Draw lines from the shadow vanishing point to the front three corners of your box. Next draw lines from your light source to the top three corners of your box. Where the shadow lines intersect, that area defines the shadow area and can be filled in for shadows. The shadows, of course, will line up with you...

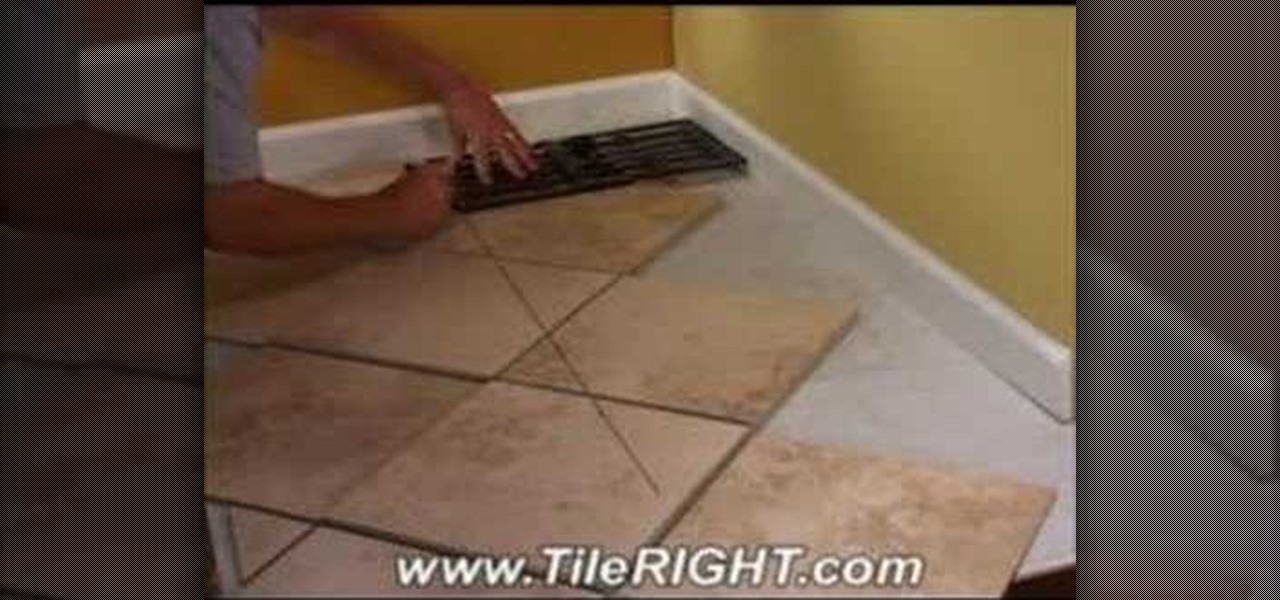
Tile RIGHT demonstrates how to tile a diagonally cut tile. First set the Measure Right Pro to the appropriate setting, extending it from corner to corner along your tile. Account for your grout line and the space up against the wall. Then, lock the tool. Next, place the tiles you're going to use on top of your set tiles. Slide the Measure Right Pro along the wall and mark the tiles. Place the sections in the appropriate place. Then, cut your tiles. Lay the tiles where you've previously marked...

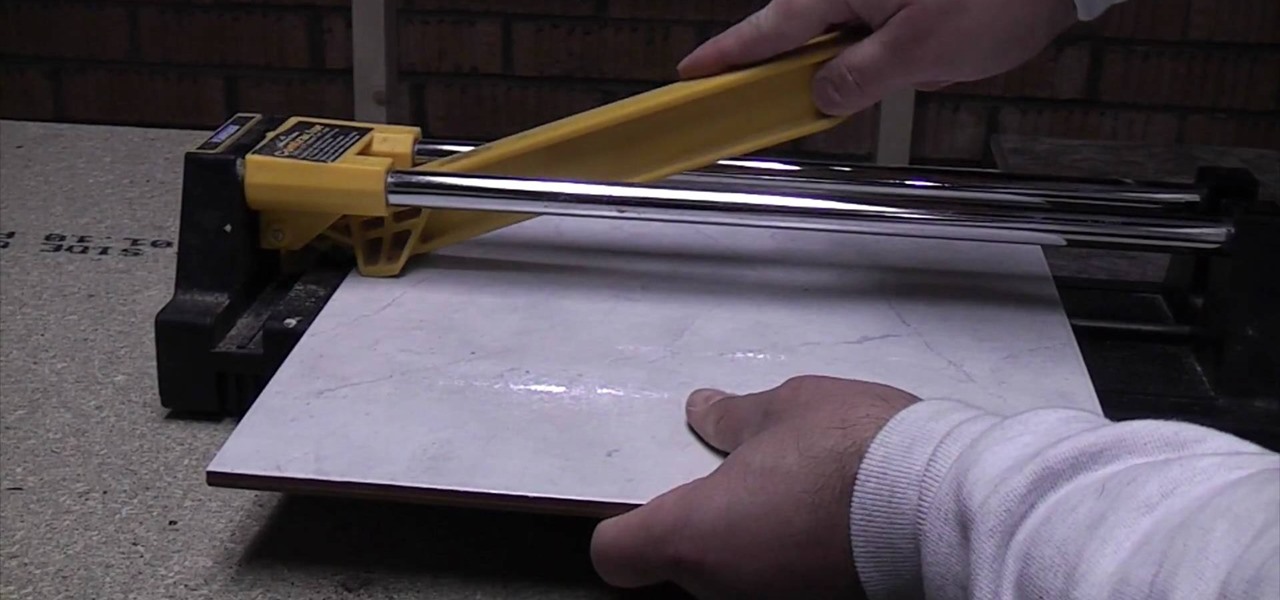
A standard tile cutter will cut ceramic and porcelain tiles but not natural stone tiles. To use the standard tile cutter adjust and lock the guide. Then, slide your tile into position in the tile cutter. Next, position your cutter on the edge of the tile. Push down on the cutter while sliding the cutter across the tile. When the cutter gets to the end of the tile, press down. The tile should then break into two smooth, clean pieces. Run a tile file over the edge of the tile to reduce the shar...

Judy teaches the secrets of creating a smoky bronze country girl look in simple steps. First apply the primer, then apply a light brown color to your lids. Now apply a bronze color over your lids and to the inner corners apply a ivory color. For the outer corner apply a darker brown and use black color to deepen the crease. Apply a black eyeliner to your upper lashes, then a dark brown to your lower lashes and add some false lashes. Now blush your cheeks using gingerly and apply some lip glos...

Follow this video to learn how to make your own paper airplane that can really fly. Acquire a sheet of A4 paper and fold it in half. Afterwards fold two of the edges towards the center line set out when folding. These should be folded in the form of two triangles. After doing so fold them downwards, towards the center line lower down. Fold another two triangles towards the center, one from each side. At this point a small edge will be formed at the tip of the two folds. Simply fold it upwards...

Are you interested painting in 3D mode? Let's try the human mouth first. First, get the basic shade of the lips with a single color. Then, fade out the top side of the upper lip part and give it a less sharp edge. Then paint the depth area above the lips. Edge out the top lip and add more shades on the bottom one. Then add those small vertical lines with low opacity. Add a gradient map over it and another pink layer(color burn).The lips are ready and it will help you in your painting skills.

This video shows us how to open a glass bottle with your lighter. To open a bottle using a lighter: Hold around the top of the bottle using your left hand. The key is that the index finger must be around the top of the bottle. Hold the lighter with your right hand and place the blunt end of the lighter solidly between your lowest knuckle and the edge of the bottle cap. Hold the lighter perpendicular to the bottle. Tuck the lighter so that the edge is under the teeth of the bottle cap. Squeeze...

Cardcrazy09 teaches you how to create a popsicle birthday card using Cricut. You'll need the Doodlecharms cartridge for this. Start with a white piece of card stock, then apply an orange piece on top, slightly smaller than the one below. On top of that add a smaller piece of card stock with circles on it. This is the base for the card, you are ready to move on to the next pieces. You cut a small piece of orange card stock and then on top of that glue a smaller piece with the text message. Glu...

Two cousins teach how to make the perfect origami rose Obtain a square sheet of paper, preferentially origami paper. 6X6 is the best size for the paper, but 15X15 will also be fine. If the paper is not square, measure the sides and cut the paper to make it a square. Fold in the square sheet of paper diagonally, corner to corner and make a crease. Unfold the paper. Fold the paper diagonally the other way and make another crease. Fold in the two flaps of one side in to get a triangle shape. The...

This video is about creating a CD case by using Origami, the art of folding paper. This video, which lacks any audio, starts by using a CD in the center of a piece of paper. The paper's edges are folded over the CD to get the correct width. Then, the presenter starts on the edges of the case, which are folded similarly to wrapping a present. The presenter finishes one side and places the CD in the case. Then he proceeds to the final side which folds down over the CD and tucks into the first s...

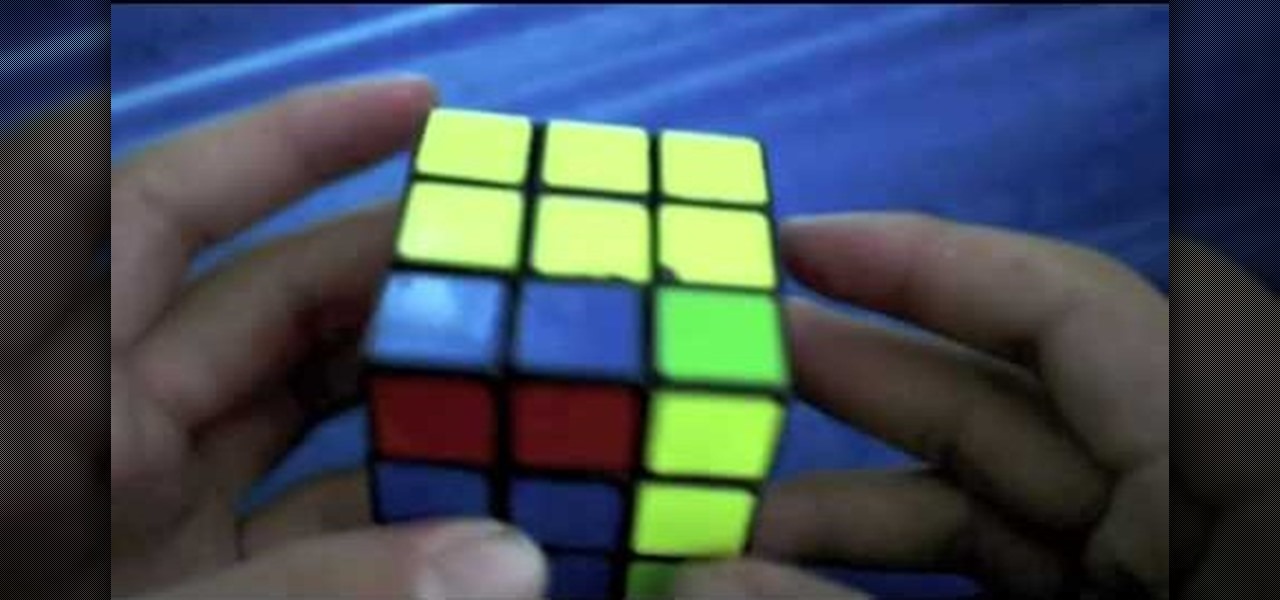
The video shows a unique method of solving a Rubik's cube. The method is called F2LL or 'winter variation'. There is very little information about this method on the internet. It deals with Corner Orientation. The person in the video is a skilled cube handler. There are 27 algorithms and their mirrors in the F2LL method. While you form an F2LL pair, you need to orient the corners at the same time. This method makes cube solving all the more easy.

Gamer Dude 5000 Arts and Crafts Demonstrator offers a short tutorial with a single sheet of 8 1/2" X 11" paper and pair of scissors. First you fold the corner of your paper out till the top half of your paper and the side of your paper is flush. You cut off excess paper with a pair of scissors. When you open the paper back up, you will have a square sheet of paper that you can fold. You fold all the corners of your square in to the center. Then you flip it over to the back and repeat. Once do...


