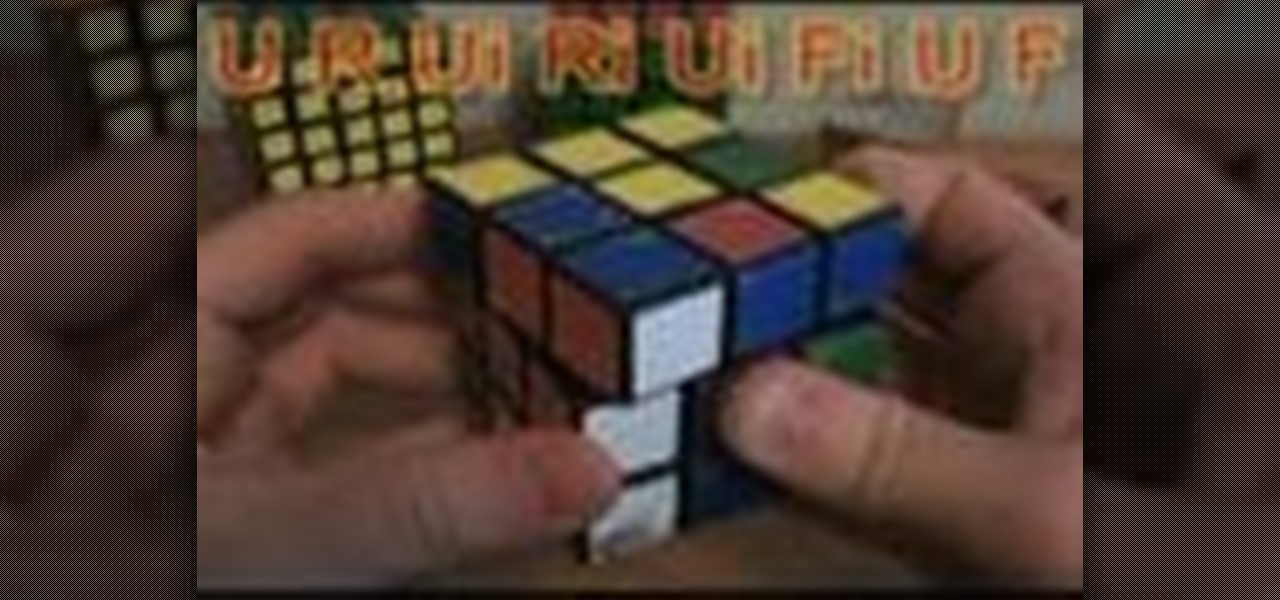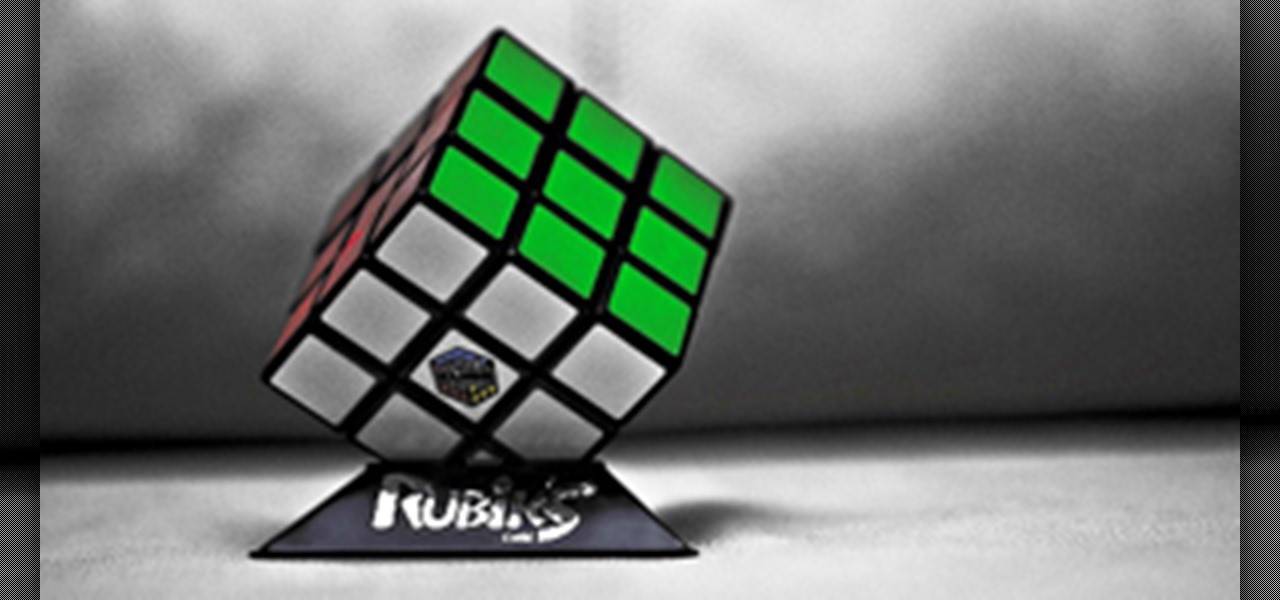
Tyson Mao is a renowned world competitor in solving the Rubik's Cube. Not only did this Californian become a world class solver, but he also formed the Rubik's Cube Association with fellow speed solver Ron van Bruchem, which holds competitive events for the Rubik's Cube. If you want to learn how to solve the colorful and mighty puzzle, then who better than to learn from then Tyson Mao?
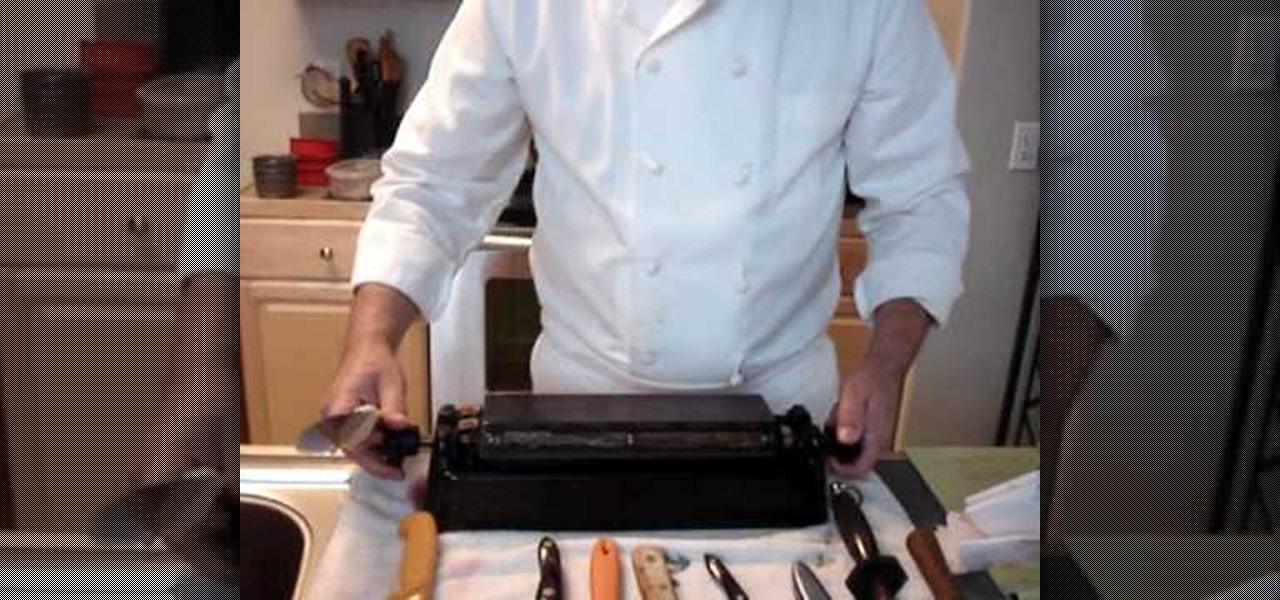
sumaps2 describes how to sharpen a knife using a triple oil stone. The stone itself consists of three stones: a coarse stone, a medium coarse stone, and a fine stone. First, you must place the stone in a reservoir which has been filled with oil. In this example, transmission fluid is used because of its ability to keep metal from binding to the stone. However, you must be extra careful in washing the knives afterwards. All your knives can be sharpened with the triple oil stone, from your pari...
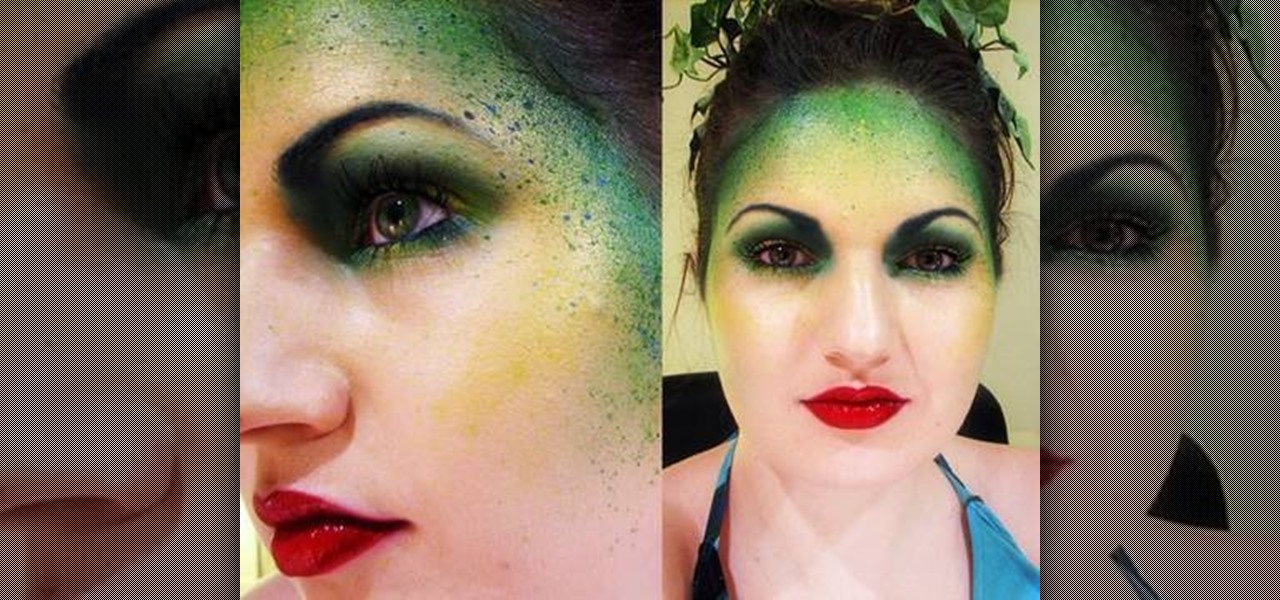
This makeup palette is the Forest Fairy Sprite Wood Nymph created by MissChievious. Begin with regular foundation. Get a little dark gold and golden cream eyeshadow with a knife & mix it into foundation. Take a large makeup blush type brush & put green shadow around top & sides of forehead blending it up into hairline & around the sides of face, continuing slightly onto the cheek hollows as you might do a light contouring. Take golden cream & dark gold & mix them before applying to center of ...

In this short demonstration, see how a Gmask is made for a cell phone. A Gmask is a DIY skin for your gadget (such as a cell phone or iPod), that could last and protect your electronic device for up to 7 years if made correctly. The Gmask at times covers your gadget's corners, edges, screen and even keypad in some cases.
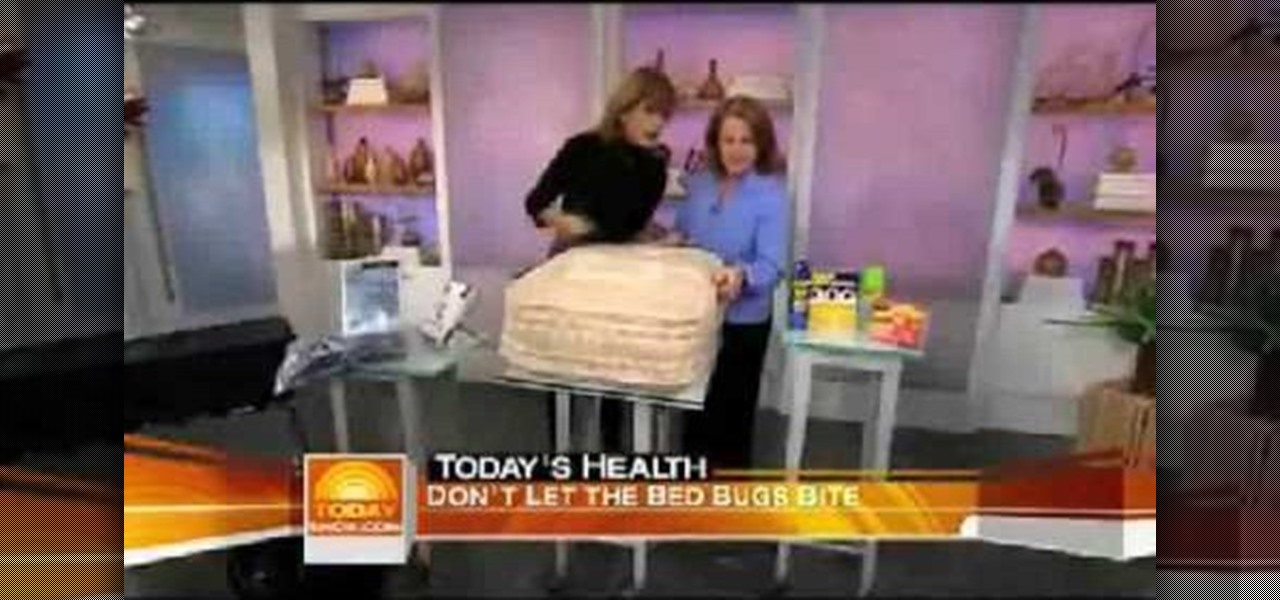
In this video, we learn how to protect yourself and your mattress from bed bugs. These bugs live in your bed and hide anywhere in your home and even hotels. To see if you have them, you will see blood stains on your mattress and look on your skin for any bites you may have. If you suspect you have them, you should call a professional to help take care of the problem. Check the edges and corners of your bed to see if you have been infested with bed bugs, and look at the label as well. Be caref...
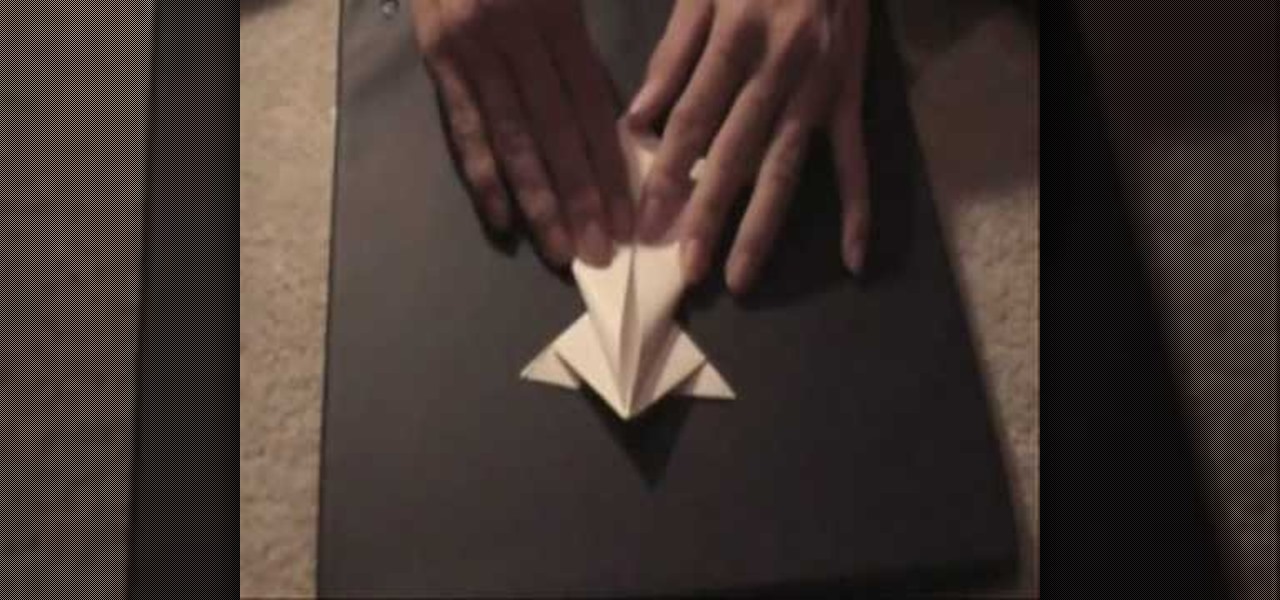
Kevin demonstrates how to make a paper frog. Take a regular sheet of construction paper. Fold the outer ends towards the center forming a triangle. Fold a crease at the base of the triangle and cut it out. Open the folds and you can observe two creases. Create two X-shaped creases by bending the opposite corners. Hold the triangles on the side of the X and squash it down such that the other two triangles meet. Repeat the process on the other side. This forms a square with a diagonal cut conta...

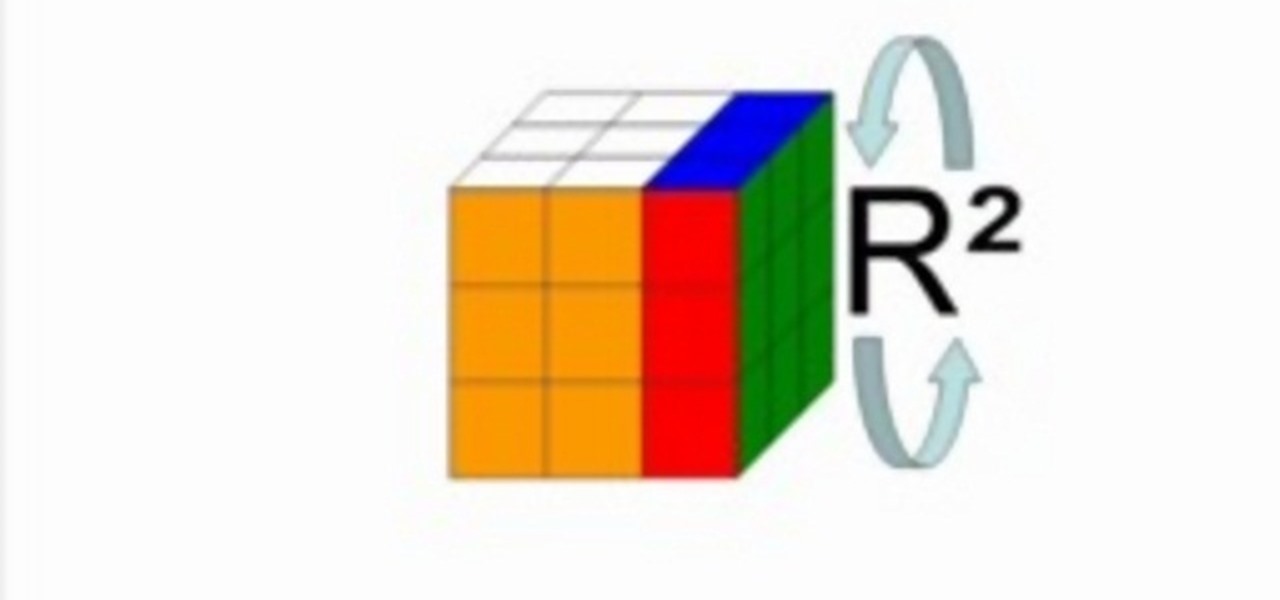
Since its invention in 1974, the Rubik's Cube has become a favorite pastime among geeks, puzzle lovers, and other similarly unique individuals. It is currently available in four basic flavors; Rubik's Mini, Rubik's Cube, Rubiks Revenge, and Professor's Cube. This video tutorial will cover the basic terminology and notation used in solutions for each.

The Rubik's Cube, originally called the "Magic Cube," is a mechanical puzzle invented in 1974 by Hungarian sculptor and professor of architecture, Erno Rubik.

The big question is do you tape or scrape those window frames? If you want to tape. Put two pieces of tape that are longer than the length of each pain. Put them on the top and bottom of the pain. Use your putty knife to hold the tape in place and tear it off a little bit short of the edge. Then put two strips length ways on the pain that is also longer than you need. Take your putty knife and put it in the top corner to hold the tape and tear it off flush to the window frame. Then you paint,...

Moving is such a hassle! Packing is a big job but this video shows and easy way to pack out pots and pans. You will need 4-5 cubit foot cartons. You can get these from your mover or you can purchase them from a moving company. You will also want to get clean newsprint, packing tape, a moving blanket, and a permanent ink marker. Prepare your 4-5 foot carton by putting crushed paper on the bottom. This will act as a cushion for the pots and pans. Put the moving blanket or a protected pad on the...

This video demonstrates how to emboss a button and then use it as an emblishment on a card. Start by covering your stamp with clear VersaMark Ink. Holding your button with pliers, carefully press your button onto the stamp. Next, take your embossing powder and sprinkle it on to the button. Then apply heat to the button. You are now ready to make your card. Ink your bird stamp using chestnut chalk ink. Place it at the bottom of your card stock. Using a blender pen, color in the bird and any ac...

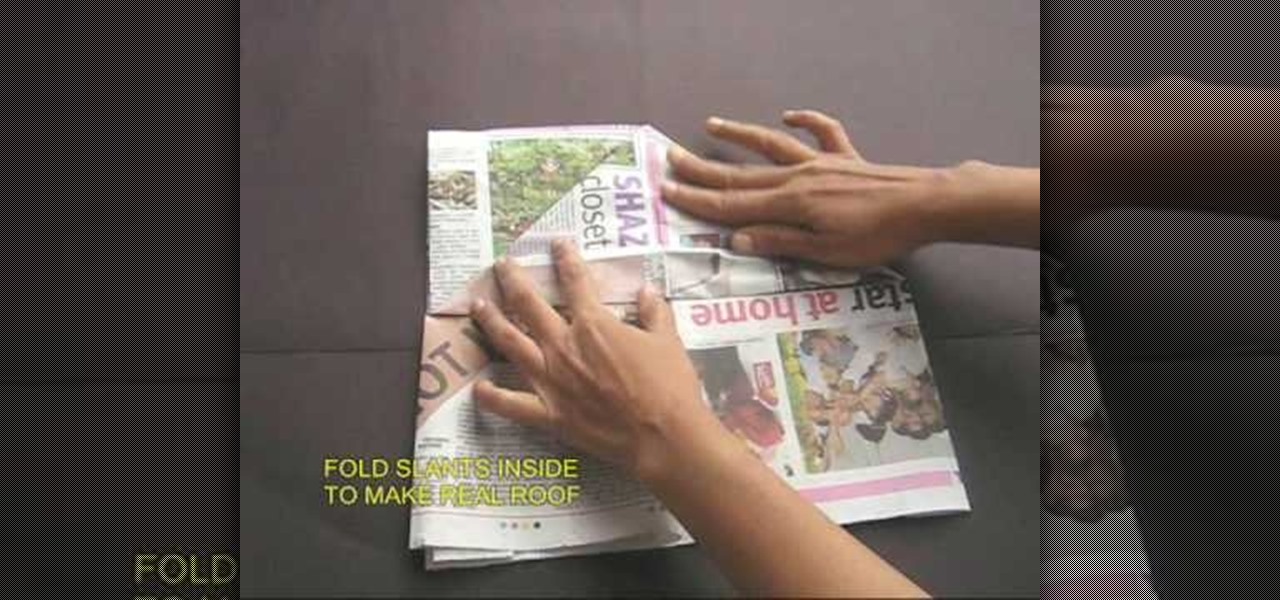
The man on the video explain how to make a cricket cap from just a half sheet of newspaper. You start off with a half sheet of news paper, and fold the sheet in half, and then fold it again into a quarter. Then it shows you to fold down the two tops sides as if you were making a "roof". Then you are to fold the roof to the mid point of the base. You are then told to open the whole sheet of newspaper again, fold in both of the long edges to about 4 cm. You are then to fold the sheet in half wi...

This video shows a demonstration of how to make crepe paper rosettes. The materials used are four strips of paper, two small paper circles, and double sided tape. First put double sided tape on one of the circles and trim the edges. Put a corner of one strip of paper onto the sticky edge of the circle. Fold and crease the paper as you go around paper circle, forming fan-like folds in the crepe paper. Put a tiny piece of double sided tape to hold the end. Trim the edges with scissor to make a ...

Start with a totally bare eyelid to create the base for the winged eye. It's important to go for a gel eyeliner. This allows you more precision than liquid eyeliners. Pull the skin taut at the outer eye, look down & using a flat brush, apply liner into lash line itself on top eyelid, in between root of lashes. Taking the line from the inner corner of the eye, put color in lash line all the way to outer corner of eye. Close eye; pull lid towards ear so skin is taut. Repeat base step; this time...

Windows 10 is officially here, and frankly, there's a ton of new features in Microsoft's latest operating system. From the return of the Start menu to the new Edge browser, Windows 10 can take some getting used to.

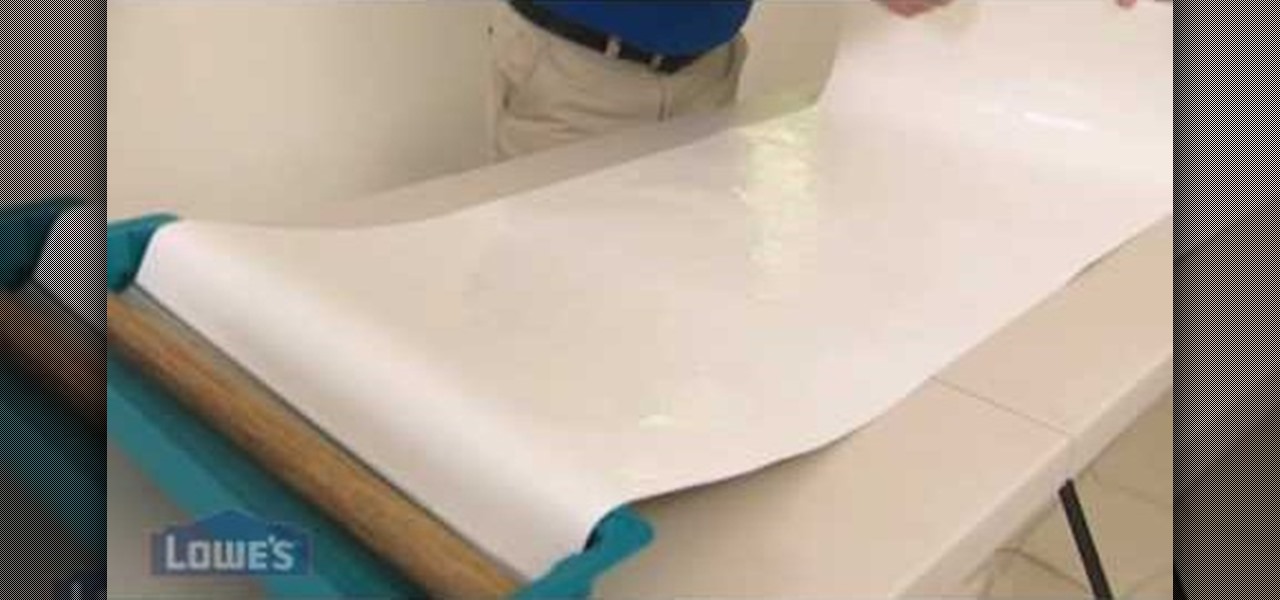
In this tutorial, Lowe's teaches us how to hang wallpaper. Wallpaper can update a room and give it personality. Make sure you prep and measure your wall before you begin to hang. Now, cut out your paper to the appropriate size for your wall, then draw a line on the wall from the corner to a few inches out of the wall. After this, apply a clear adhesive to the wallpaper if it isn't already adhesive. Now, dump them into a water box and fold the water together and let set. After this, apply the ...

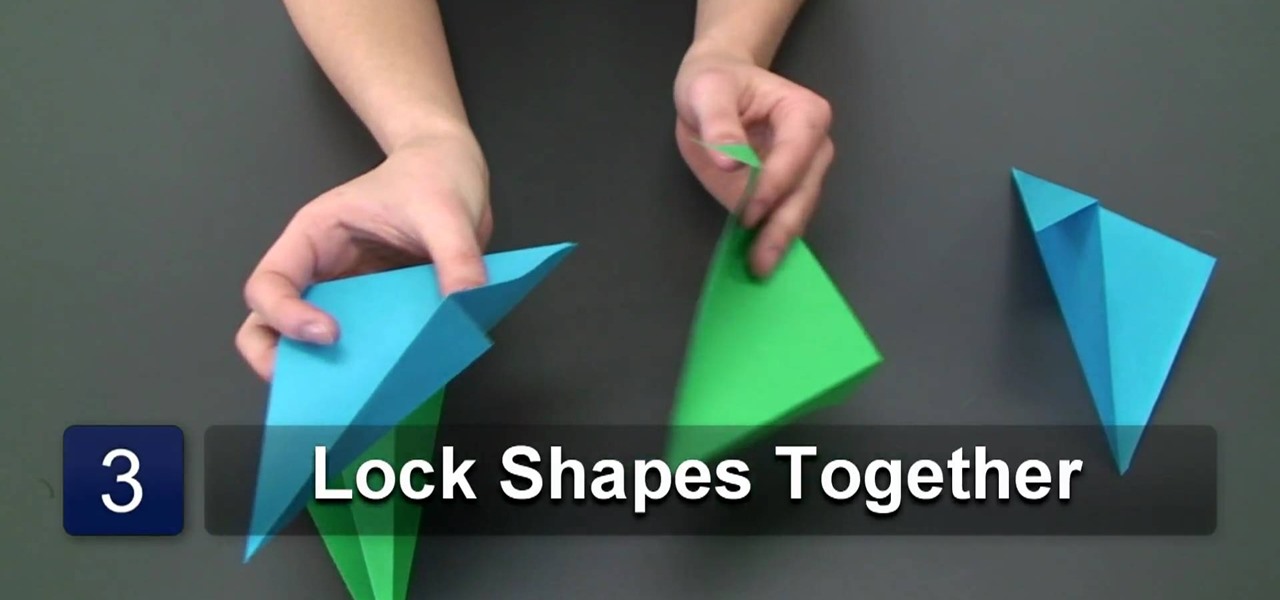
In this Arts & Crafts video tutorial you will learn how to fold a hanging origami ornament from Ana Maria, an Origami artist. You will need four sheets of rectangular paper of two different colors. Take one sheet and fold it diagonally. Flip the paper over and fold back along the same diagonal again. Now fold both the protruding corners back to match the edge of the paper. Repeat these steps with the other three sheets of paper. Then you got to lock the four folded sheets as shown in the vide...

Fold an origami praying mantis! You need two sheets of paper to join to first sheet on square base. Start folding after making rectangle, after folding the rectangle again from the other direction grebe than on fold. Make a triangle than fold on other direction to make a triangle. Neat into square shape take a bottom edge folds to increase both the same on the other side. Now take this top corner folded on guide line backup. To push the paper up folded down to same on the other side. Bottom e...

Need a little help solving the last part of the Rubik's Cube puzzle? Permutating the last layer could be tricky, and could get you back to square one if you don't know what you are doing, but don't worry, you'll be able to solve that Cube in every possible PLL situation.

The Google Assistant is a core part of Android — Google even made it possible to launch the Assistant by long-pressing the home button. But with Android 10's new gesture controls, there isn't a home button to long-press, so Google created a new gesture to replace it.

Say what you want about Samsung's TouchWiz UI being cluttered or overbearing, but one thing you can never complain about is a lack of features. In fact, it's been almost 8 months since I first took my Galaxy S6 Edge out of its box, but I'm still discovering features to this day.

A demonstration on how to make a lucky star from folded paper with origami is shown in this video. For this you need to get a strip of paper. Attractive papers are available at the stores for this. First to start up take an end of the strip of paper and tie a knot, flatten it and bring it as close together as you can. Then with the small free end fold it in, flip it over fold the long free end in such a way as it gets a pentagon shape. Next flip the free end over the edges. Continue to turn i...

This video tutorial from TutVid shows how to create a simple movie poster text effect in Adobe Photoshop CS4.

In this video, Linnea Rose teaches us how to paint in a Norwegian folk style called "rosemaling". With this, you will double load your brush and do the strokes in the correct way. To double load your brush, first dip one corner into a color, then dip another color into the other color. After this, stroke again in between the two colors. Next, go to your canvas and simply stroke a looped shake on the paper. Firmly press down with your brush and as your curve around you lift it up to the chisel...

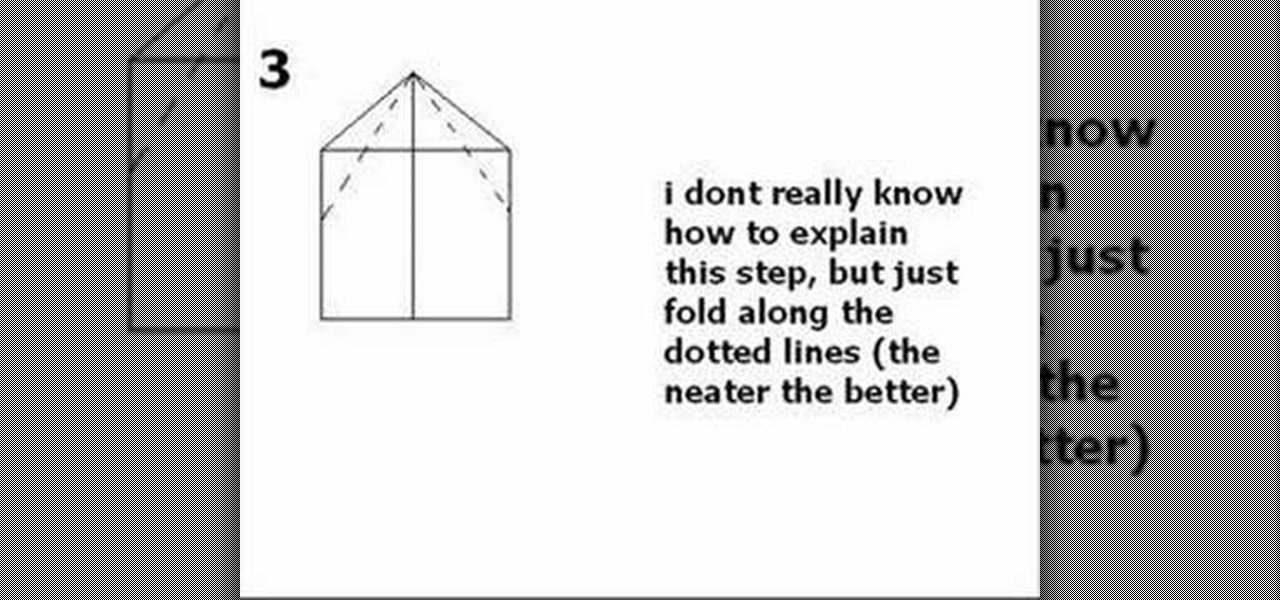
In this video we learn how to make a speedy paper airplane. First, fold the paper in half and make a crease in the middle. Next, fold the corners down on the top. After this, fold these into another triangle going half way down the paper. Then, fold the tip all the way down so it rests on the opposite side of where it started. Do one more fold like the ones you did in the second and third steps. Make sure you are making crisp creases in the folds that you make. After this, fold the tip to the...

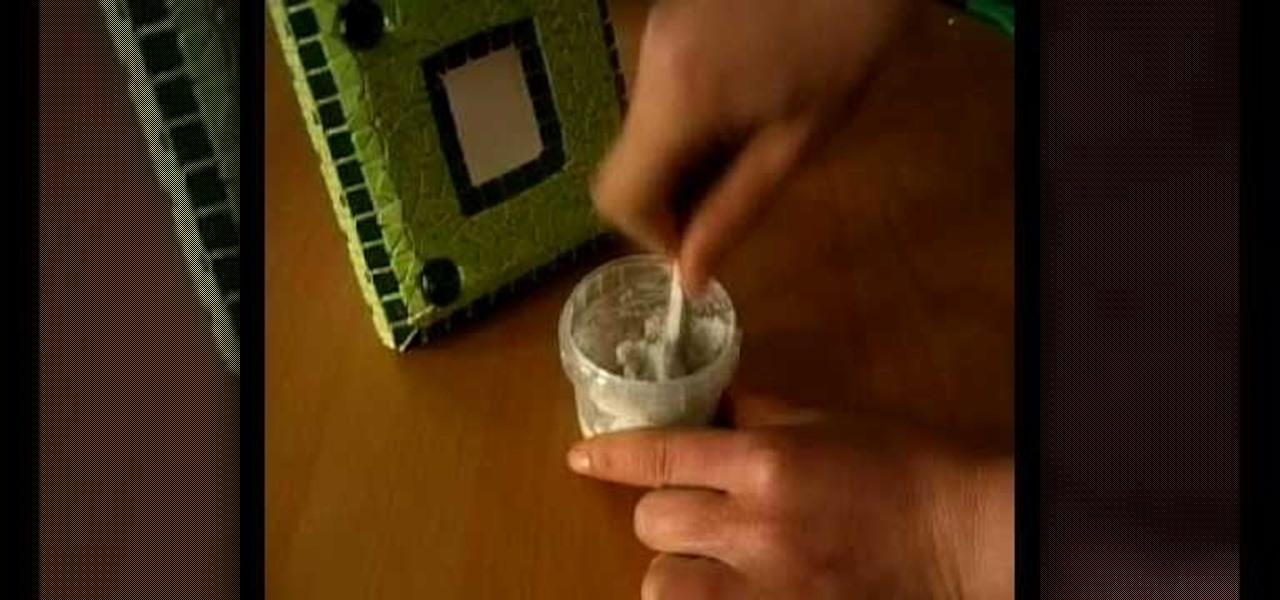
In this video, we learn how to make a mosaic picture frame with ceramic micro tiles. First, glue on the four gemstones. These will go on all four corners of the frame. Next, place the square mosaics onto the base. You will place these around the edges of the frame that are perfectly square. After this, cut the other squares in half and glue them onto the entire frame in the middle of the squares on the frame. Next, let the frame dry for two hours, then mix the powder together with water and r...

In this Arts & Crafts video tutorial, Ana Maria, Origami artist, will show you how to fold an origami paper pyramid. For this you will need a square piece of paper; preferably colored. Fold the paper in half, open it up and fold in half in the other direction. Open up and fold all corners to the center point of the paper. Now fold it in half in both directions. Open up the last fold and fold one of the edges inwards. Open up again, unfold the adjacent flap and lock the flap down as shown in t...

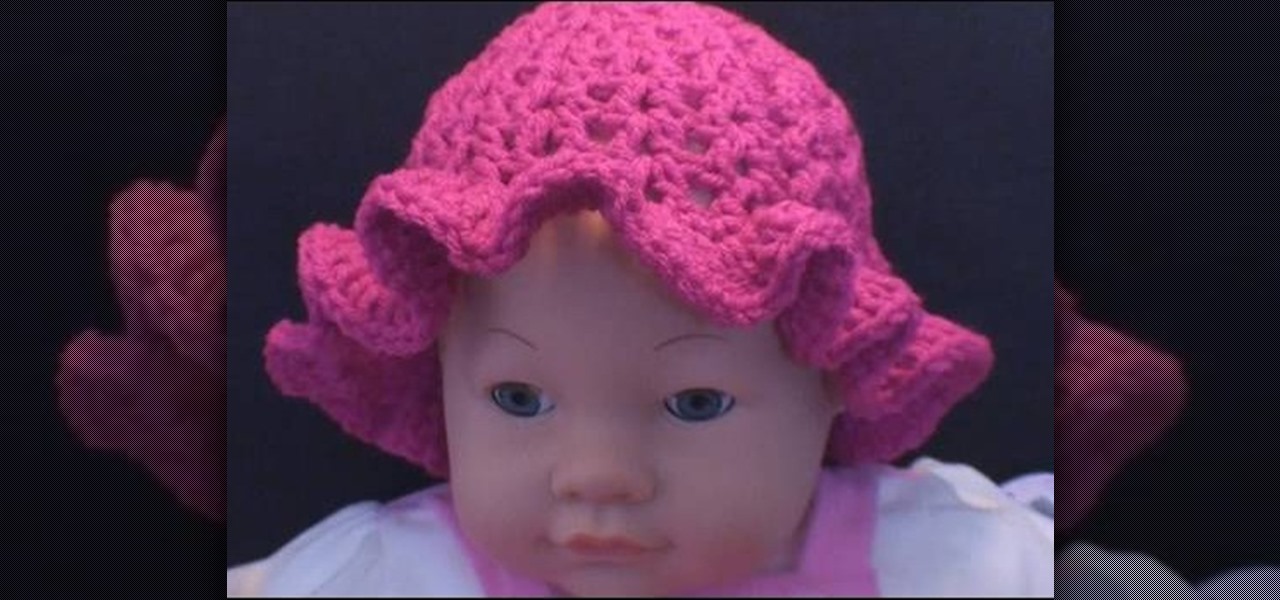
Summer is just around the corner, and though many of us are going to dash out of our schools in relief and joy and then head straight out the pool in our skimpy bikinis, we should be covering up with sunblock and hats to prevent noxious nasties like cancer.

What's a national holiday without a sheet cake featuring Old Glory? Luckily, it's simple to make….And delicious too!

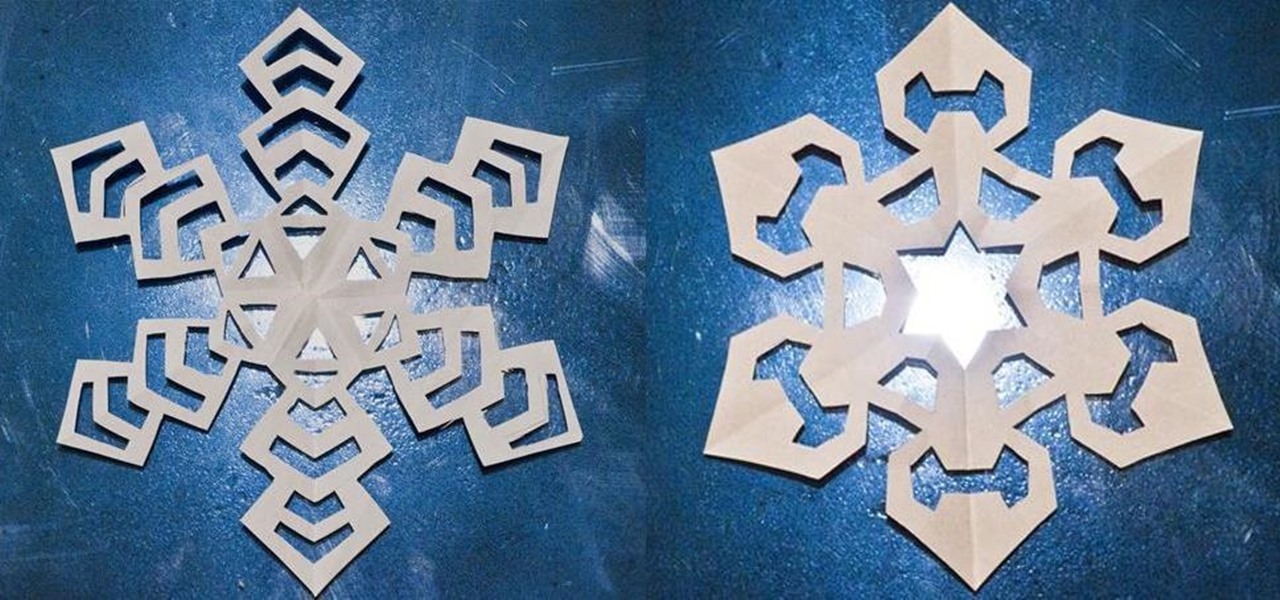
We've all made them. I remember making hundreds of paper snowflakes when I was in elementary school. You take a piece of paper and fold it in half, then fold it in half again. You now have a piece that is one fourth the size of the original. Now you fold it in half diagonally. You then cut slices out of the edges of the paper, and unfold to find that you have created a snowflake. The resulting snowflake has four lines of symmetry and looks something like this: If you fold it in half diagonall...

This video is a crash course presented by Murphy, Sam and Jodi on how to fold a fitted sheet for neater storage. The guy presenting the video picks up a fitted sheet and shows you how your fitted sheet usually ends up - like a ball in your closet. He then takes you through the steps to fold it neatly. First you have to take the long side of the sheet and put your hands inside the cover on the sheet edges. Next, stretch your hands with the plain side of the sheet facing outside. When you have ...

This is a simple Photoshop Elements tutorial on how to make rounded photo corners for quick and tidy effect. See how to make photos with one, two, or opposing rounded corners. This could be turned into an overlay, too! This is a great, detailed Photoshop tutorial on rounding your picture corners. Easy to learn.

In this tutorial, we learn how to make a paper cup cake/muffin basket. First, take a piece of paper and fold it in half. After this, curl the edges up from each of the corners until you end up with a small square in the middle of the paper. Use scissors to create slits where you will make the tabs to construct the box. After all the tabs are cut, push them together so you have a small basket with a neat line. To finish this up, add a handle to the top and push into the sides. Then, draw on an...

In this tutorial, we learn how to make a Deadpool sword. To do this, you will need: a marker, scissors, hard plastic, cardboard, silver spray paint, duct tape, saw, electrical tape, sandpaper, and hot glue gun. First, cut the plastic into three thin knife shapes. Then, use sandpaper to smooth edges. Then, use the cardboard to create three layers of a rectangle. Make the corners round and then tape around them with duct tape. Put a hole in the middle and then put it into the plastic. Now, glue...

In this video, we learn how to draw wolf eyes. Start out by drawing the outline for the wolf head. Then you will draw the eyes in an almond shape dragging downward on the nose. After this, zoom in on the eyes with the computer and then fill in darker lines around the eyes. Draw in the pupils on the eyes and add in the details for the corners of the eyes as well. If you want to draw wolf eyes from a side view, draw the outline of the head to give you reference, then draw the shape of one of th...

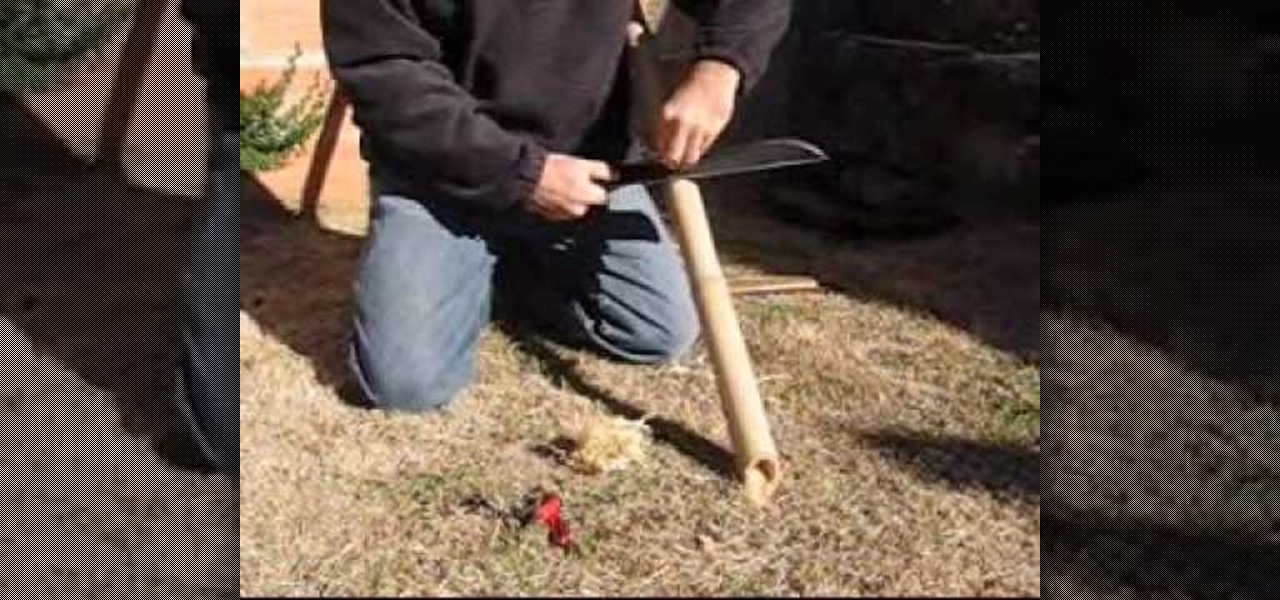
In this video, we learn how to modify your machete for the bush. First, you can sharpen your blade on a piece of wood. You will produce wood shavings that will produce fire as well. Push down on the sides of the knife as well as base and on the tip and middle. Make sure you slightly sharpen the back as well so you can use it to open up coconuts. Once you do this, you will have five useful edges on your machete that you can use for many different purposes while you are out traveling. You can a...

In this tutorial, we learn how to do an Evan Rachel Wood True Blood inspired makeup look. First, apply white shadow onto the lid on the inner corner and on the lower lash line. Next, apply a light pale color to the rest of the lid, then apply a brown shadow onto the eye in the crease. Brush a light white color underneath the brow to create a highlight, then line the eyes with a brown pencil on the lower lash line. Liquid eyeliner will now be applied to the top of the eyes, making it wing out ...

In this tutorial, we learn how to do an Arabian peacock makeup look. First, add primer to the eyes, then apply yellow shadow on the inner crease of the eye. Then, take a lime green color and apply it next to the yellow, blending in on the edge. After this, apply a turquoise eyeshadow and pack it in to eliminate fall out. Blend this outward, blending with the other colors. Apply a piece of tape on the outer corner of the eye to create a cat eye. After this, apply a dark purple to the crease of...

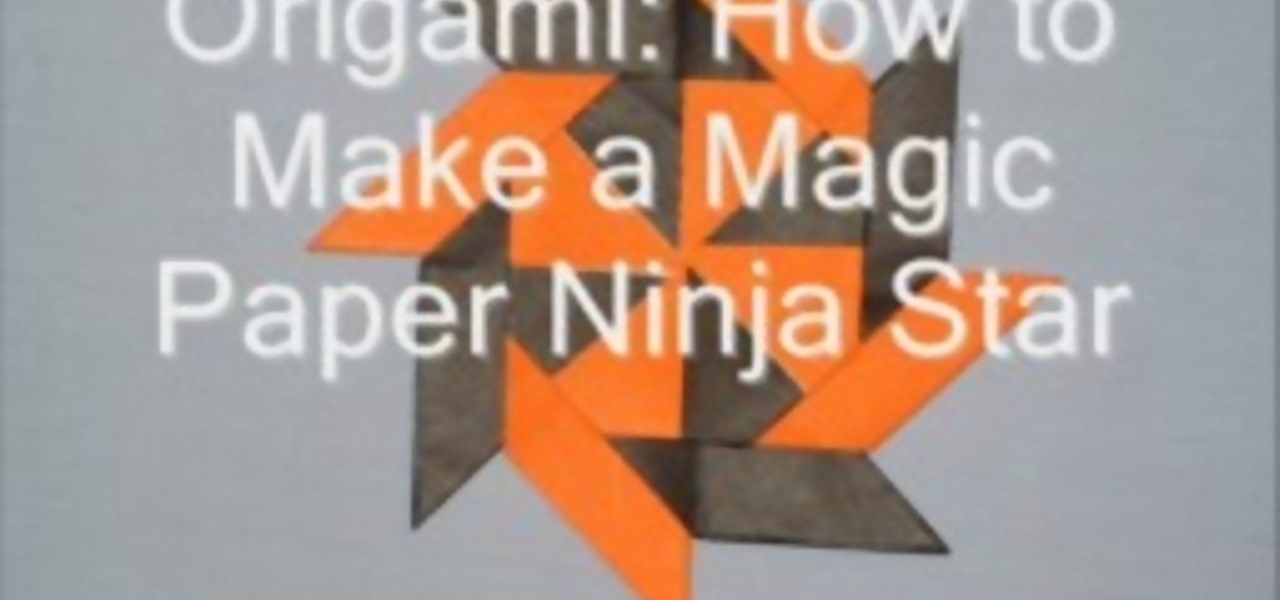
This video tutorial is in the Arts & Crafts category where you will learn how to make a magic paper ninja star. For this you will need 8 sheets of square paper, all of the same size. Fold one sheet in half, open it up and fold both corners of one edge inwards along the centerline. Now fold the whole sheet in half inwards. Then fold the lower part in a triangular pattern, make a crease and open up the sheet. Fold the lower part inwards from the center and collapse the sheet over the fold. Do t...

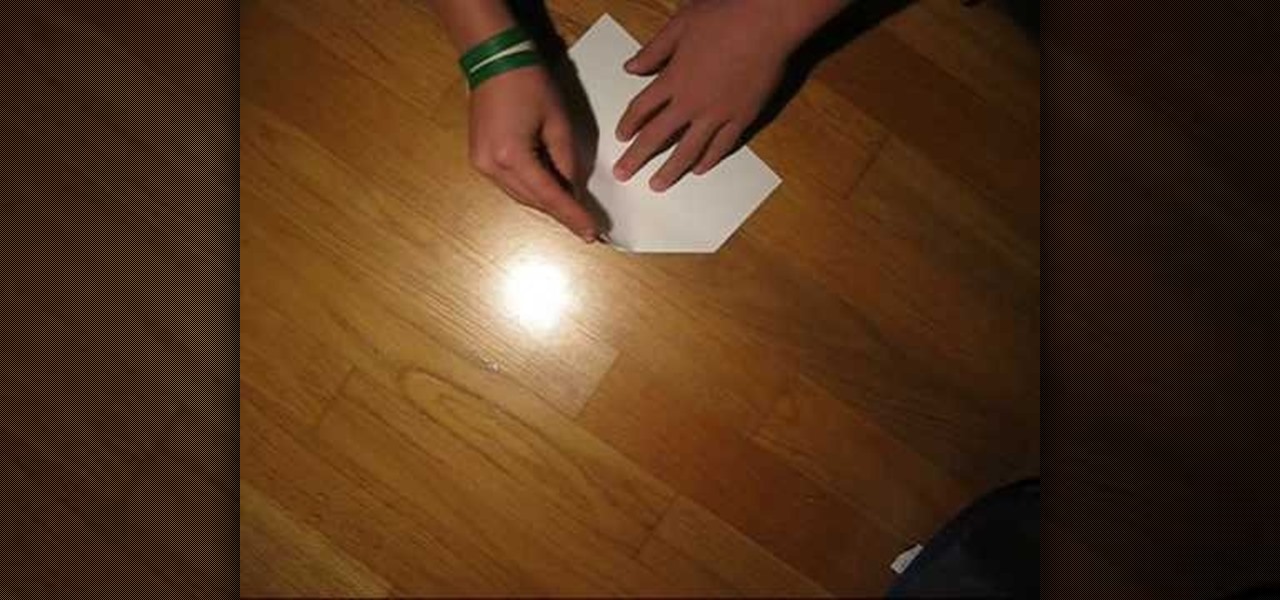
This video shows viewers how to make a paper airplane. You should begin with an 8.5 x 11 piece of paper and fold one corner to the opposite side, making a triangle. This should be repeated on the other side, so that a cross is formed on your paper. Folding down opposite sides of the creases, you should have a triangular flap on your paper. Fold both sides of the flap upwards and then flip the paper over. You should then take the tip of the paper and fold backwards. Fold the paper in half so t...


