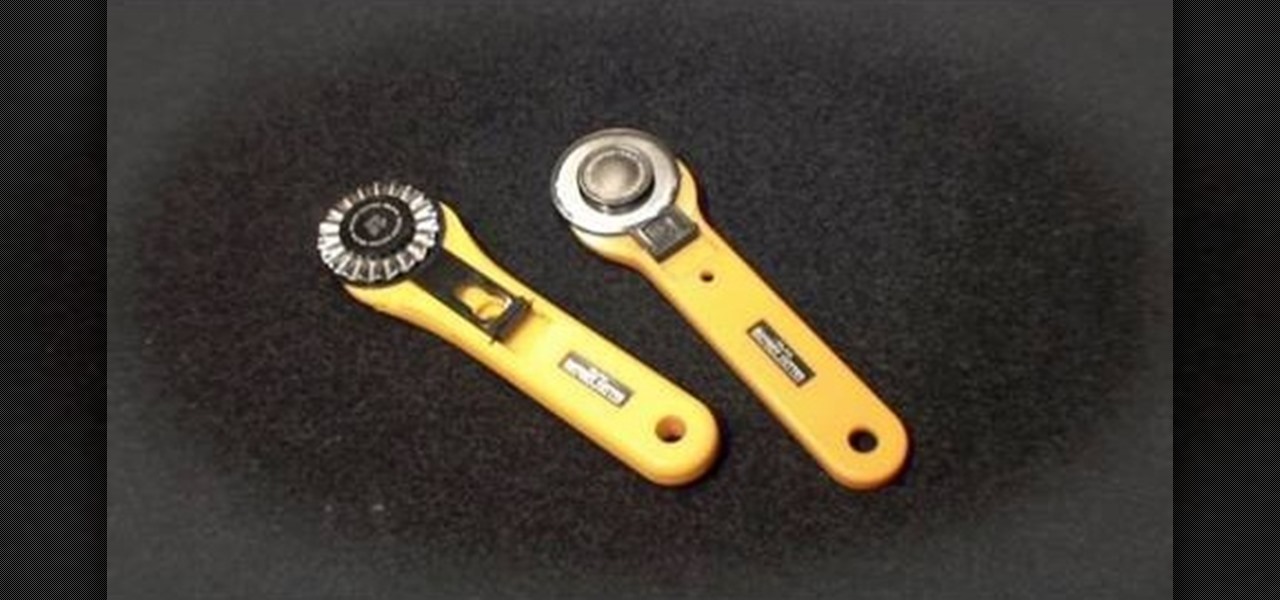
In this video, we learn how to use a rotary cutter with Kenneth D King. Before you begin, make sure to use a cutting mat so you don't damage the top of your surface. To cut your item, you simply place the rotary cutter on the bottom of the item, then run it through until you have reached the top, or the desired area you want to cut. If you want to cute with a different shape, then you can purchase different cutters that will create shaped edges on what you are cutting. After this, place your ...
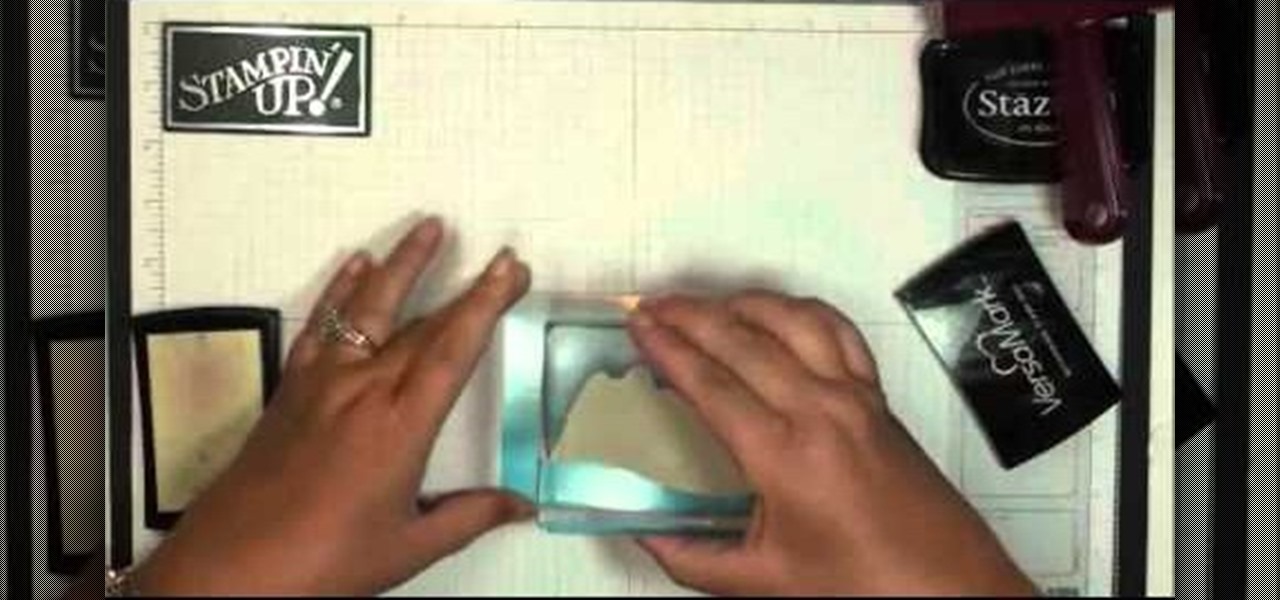
Quite honestly we're sick of getting storebought Christmas cards. Not that we don't appreciate them - many are pretty and well-written, it's just that we have received copycats in the past and they're too mass-produced to maintain any sort of special quality.
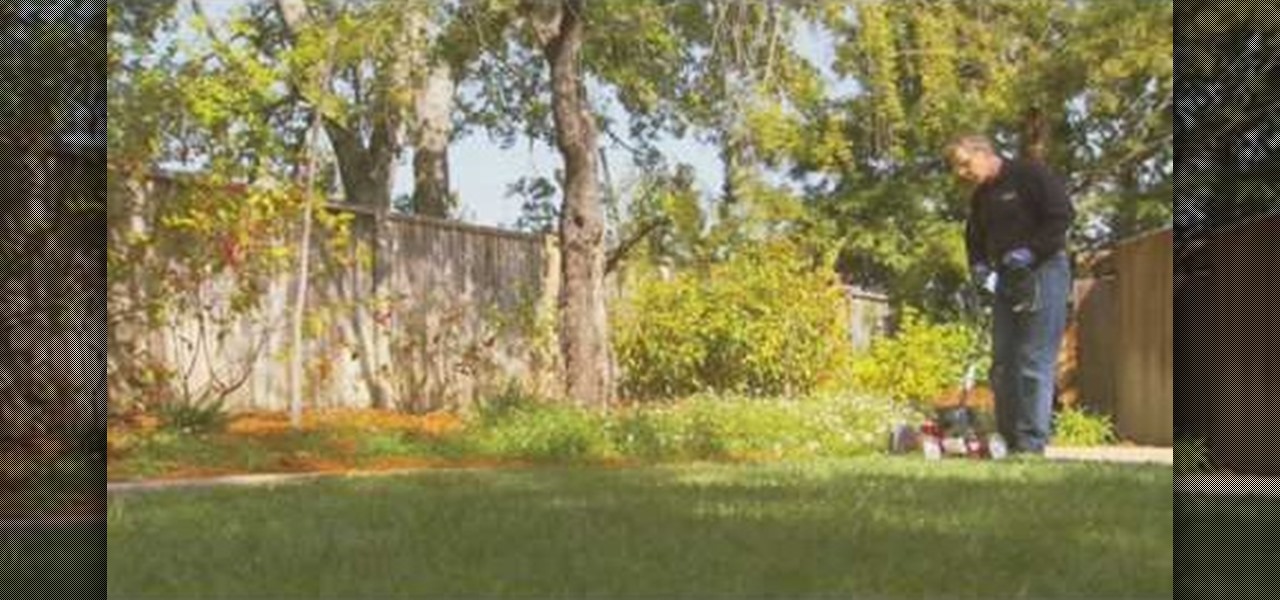
A gas-powered edger will give your lawn a finished professional look with a well-manicured appearance, without taking a lot of time or effort. An edger helps cut away weeds and grass that grows over sidewalks, patios, driveways and curbs. Plus it can get nice sharp looking edges for garden beds, pathways and roads to give your lawn a professional look. Lowe's home improvement expert, Mike Kraft, gives helpful tips on how to use a power edger.
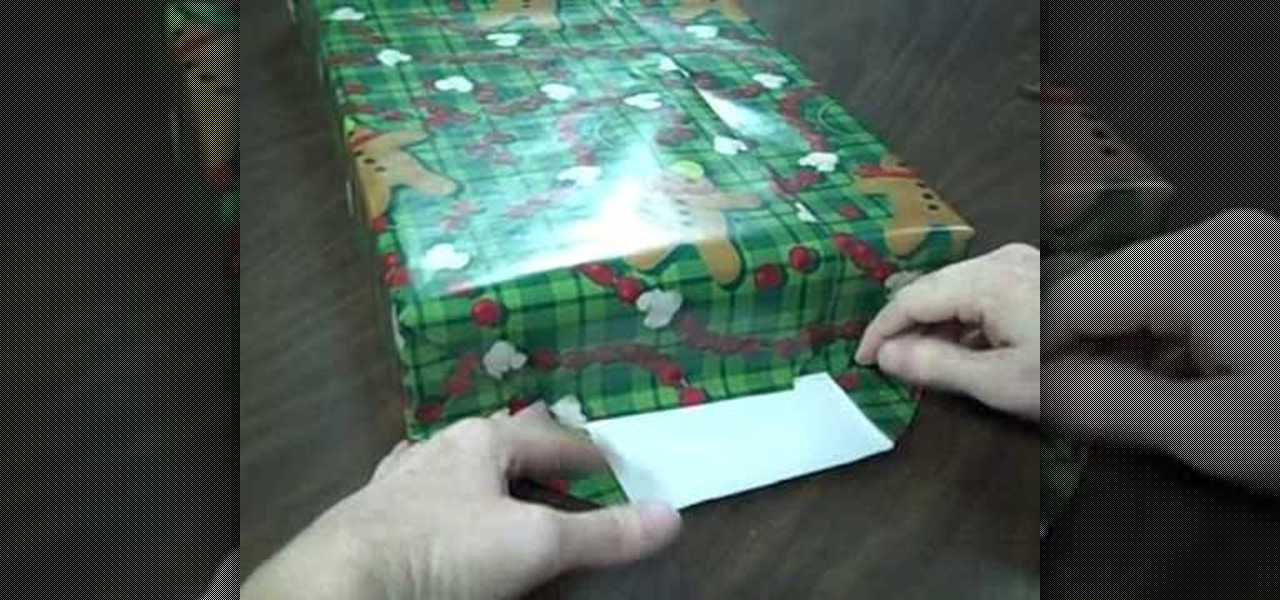
In this tutorial, we learn how to wrap a present. First, lay the wrapping paper on a flat surface and cut it so it's wide enough to fit the gift. After this, place the present in the middle of the paper and fold one side out to the edge, then make a crease and tape it. Now, take the other side and fold it up the side, then make a crease and tape that. After this, you will bring the sides up and fold the creases on the bottom and on the top. Next, make creases on the side of the box and then t...
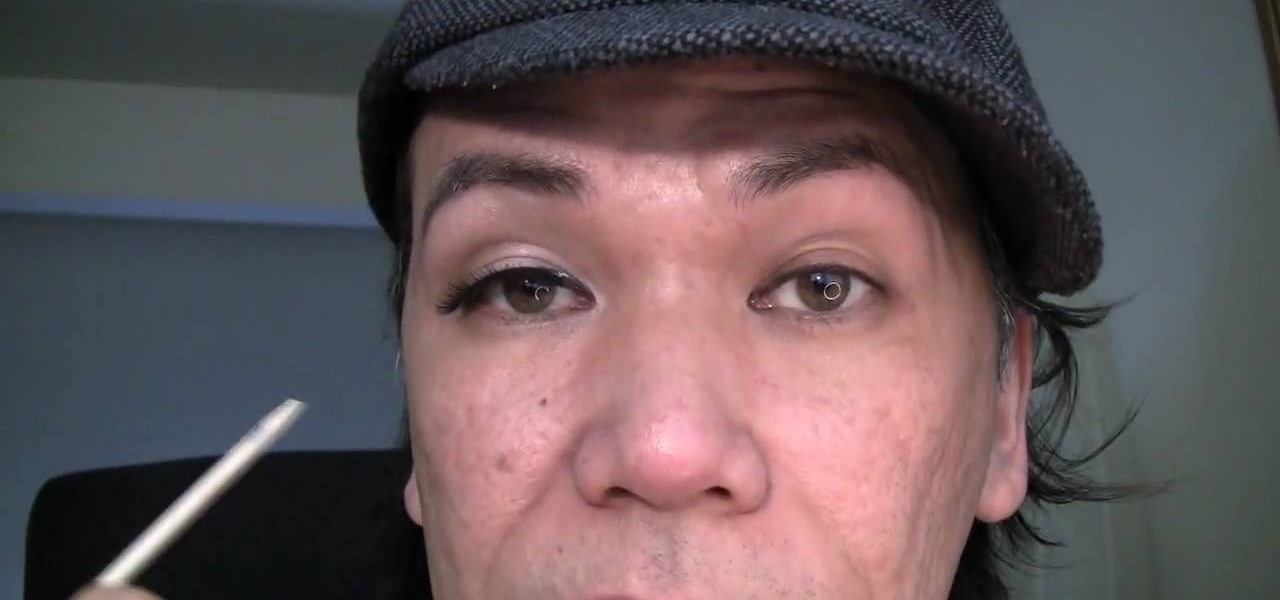
In this tutorial, we learn how to fix false lashes when the ends detach. First, when you are applying glue to the lashes, make sure you get the end corners so you can prevent them detaching. If this does happen, use a small stick from a beauty supply store and place some eyelash glue onto the tip. After this, place the glue onto the part that has become detached. Push it down so it sticks onto the skin securely, then use some black eyeliner to cover up any glue marks that you may have made. T...
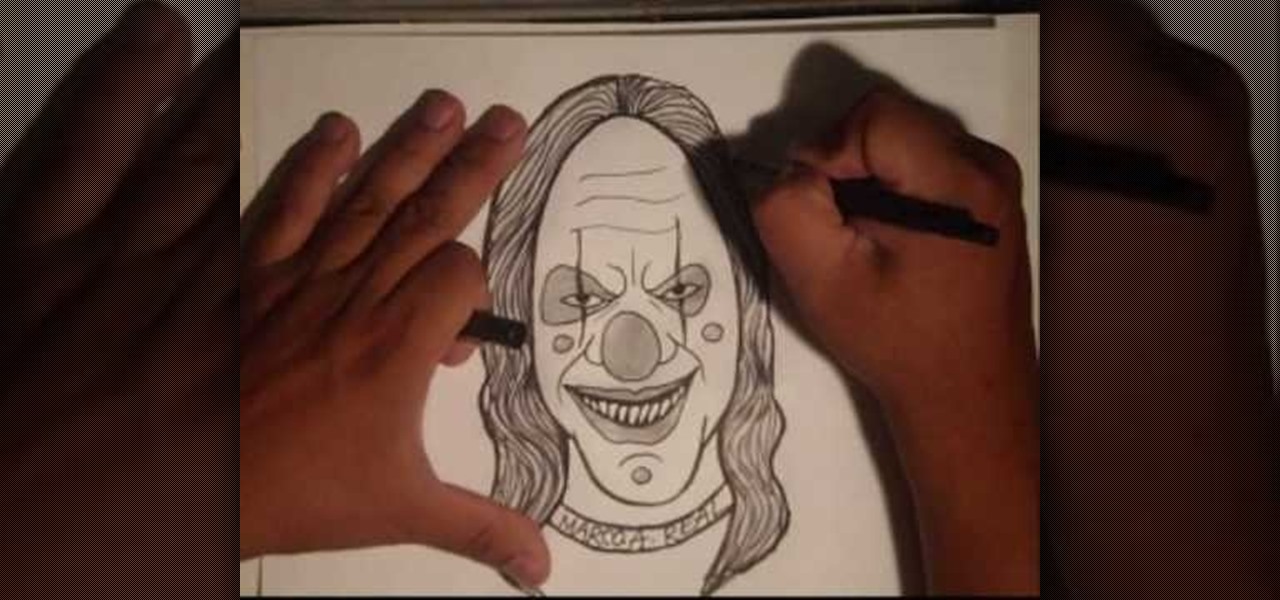
Clowns are the stuff of the most horrible nightmares for us, but if you're one of the few who either find them funny or find them entertaining in a really creepy way, then this is the perfect drawing tutorial for you.

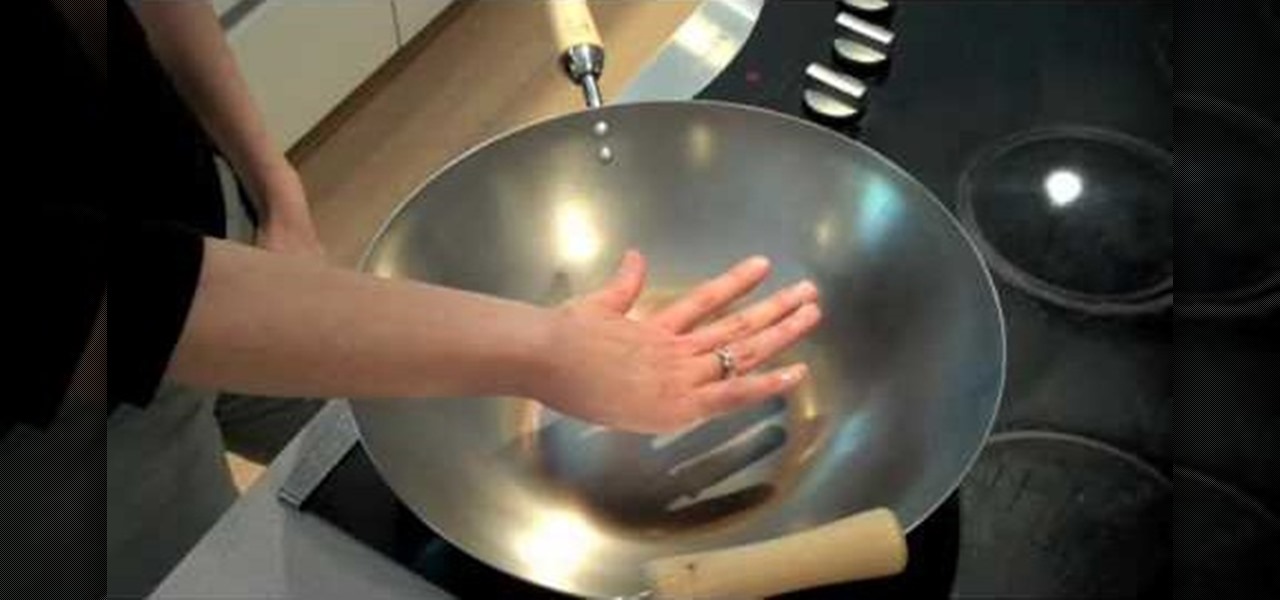
Did you know that any time you trot home with a new wok you must season it? While you might think, um, but why would you season a wok? Don't you usually season the food instead? Well, seasoning a wok is not what you think it is (and doesn't involve salt and pepper at all).

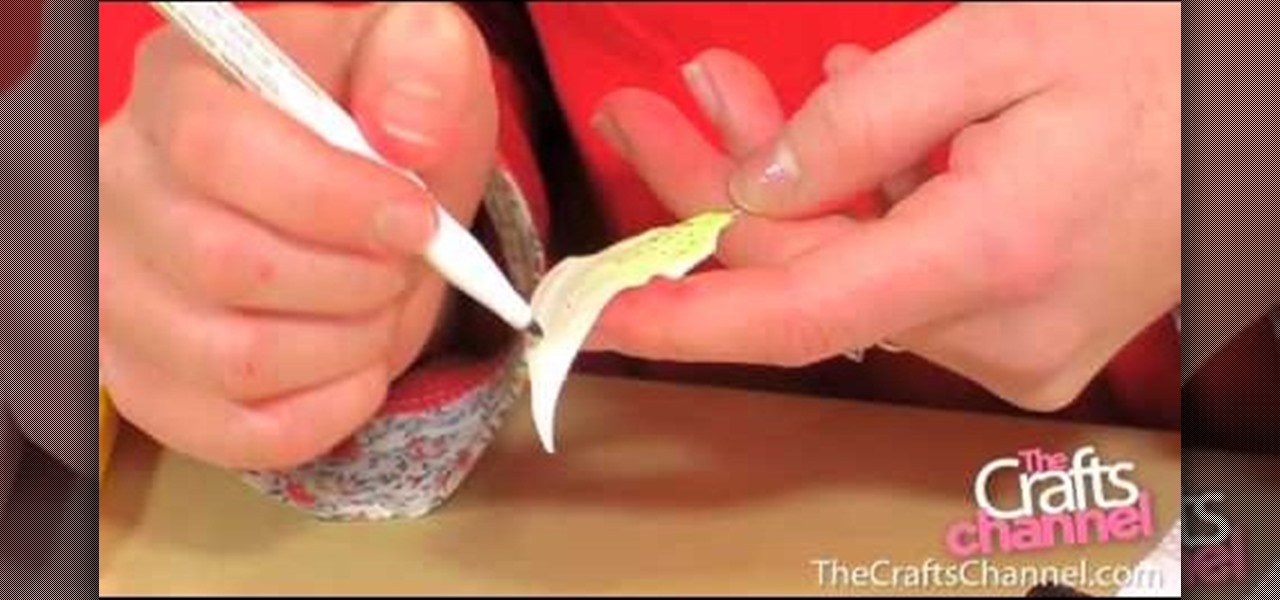
In this tutorial, we learn how to create lily petals. First, cut out a petal and then insert a small wire half way down into the petal. Ease it through so you don't damage the fondant. This can go into the center of the main lily flower. Use corn flower if it's stick. Press it into the molding for the lily petal, and then curl the edges out so it looks like a realistic petal. After this, let it dry, then color it with an ivory shimmer. After this, paint it with green food paint and any other ...

In this tutorial, we learn how to transform into Sailor Moon for Halloween. First, apply matte makeup onto the entire face, and white eyeliner on the bottom of the eye. When finished, place hair back into pins and apply Sailor Moon wig onto your head. Next, use liquid black eyeliner to draw a dramatic line from the crease of your eye line to the outer edge on the face. Next, draw a thin line underneath the white eyeliner on the bottom of the eye, drawing small lashes onto the bottom of the ey...

In this video, we learn how to create a stormy eyes makeup look. First, apply a blue paint eyeshadow to the entire eyelid and on the outer corner of the eye. After this, use a hot pink eyeshadow to paint in the crease and on the inner crease of the eye. Next, use a silver eyeshadow on the inside crease of the eye and then paint a dark blue eyeshadow over the entire eyelid and over the pink. Now, blend all of the colors together with a blending brush. Apply a black gel eyeliner on the top of t...

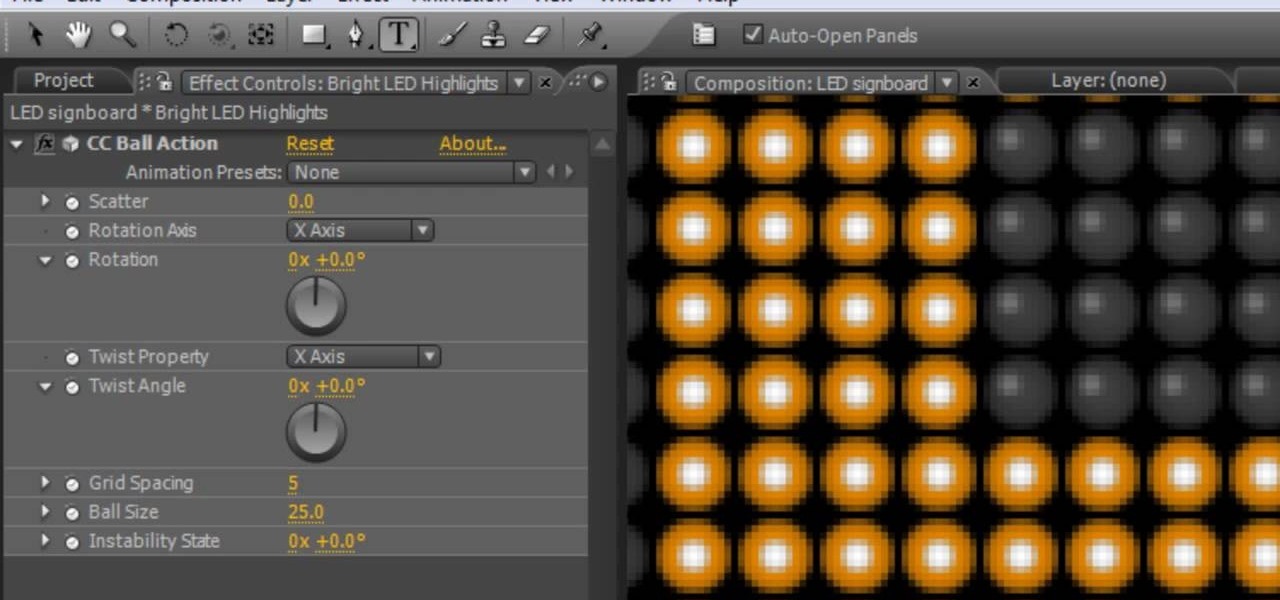
This simple After Effects tutorial from Laurence Grayson will show you how to use CC Ball Action effect in AE to create a realistic scrolling LED signboard effect, like the ones you see at conference centers and football stadiums. Then end result can be altered to suit your project, and corner-pinned into a scene. There are no plug-ins required, and this method uses the standard toolset in CS3, CS4, and CS5.

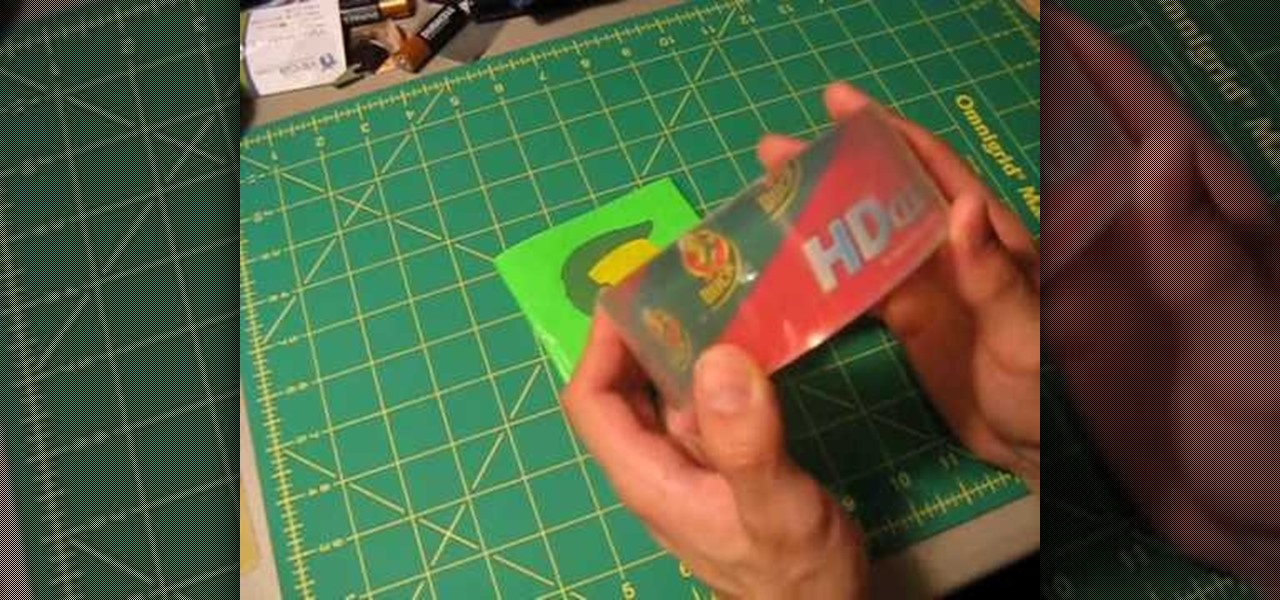
If you've ever sewn or worked with fabric, you know what no matter how great that shirt turns out it must be hemmed (raw edges sealed with a stitch) in order for your work to last. The same principle goes for delicate duct tape art.

In order to sand and repair drywall, you will need the following: 100 grit sanding sponge. After you have applied mud to the walls evenly, you will need to sand the walls until they are smooth. Hopefully, you minimized or mitigated most of the need for sanding in the application of the mud, by using feathering and thin layering. When the mud is completely dry, you will need to choose a good sander. It is recommended that you use a 100 grit sanding sponge. Place the sponge against the wall, an...

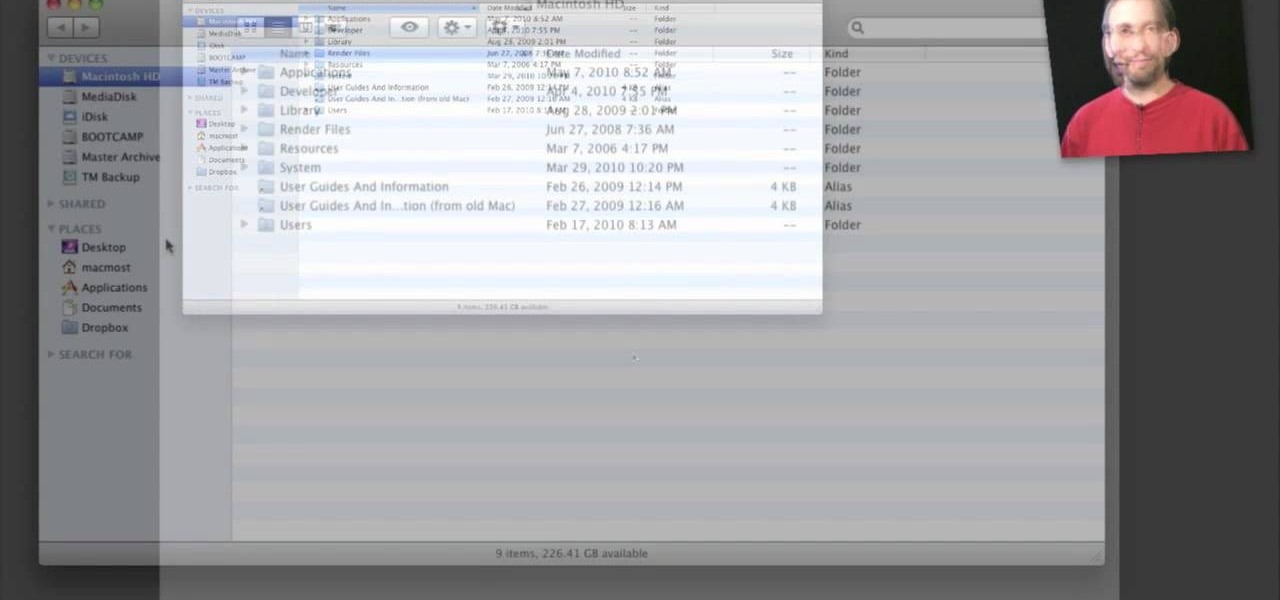
In this video tutorial, viewers learn how to use Spotlight to find files in Mac OS X. To activate Spotlight, click on the blue magnifying glass icon in the top right corner. Then type in the term to search. Spotlight will display all the documents and files that match your search. If you click on Show All, you will have more options in Spotlight. In the Spotlight Preferences, users are able to select the categories for Spotlight to search in or not search in. This video will benefit those vie...

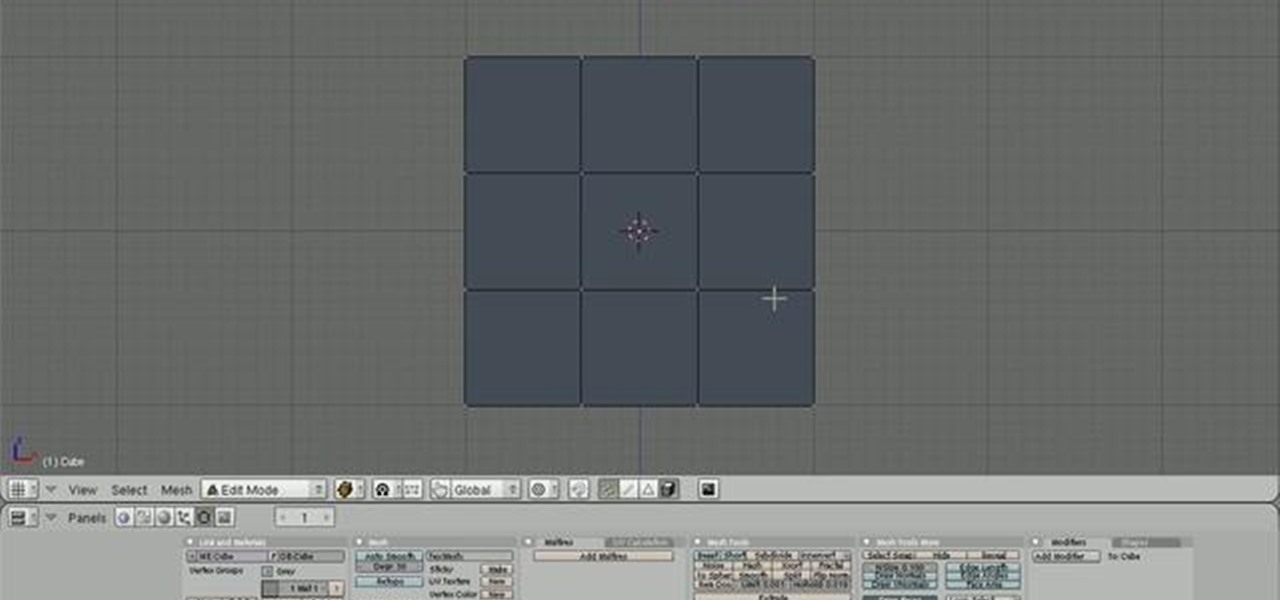
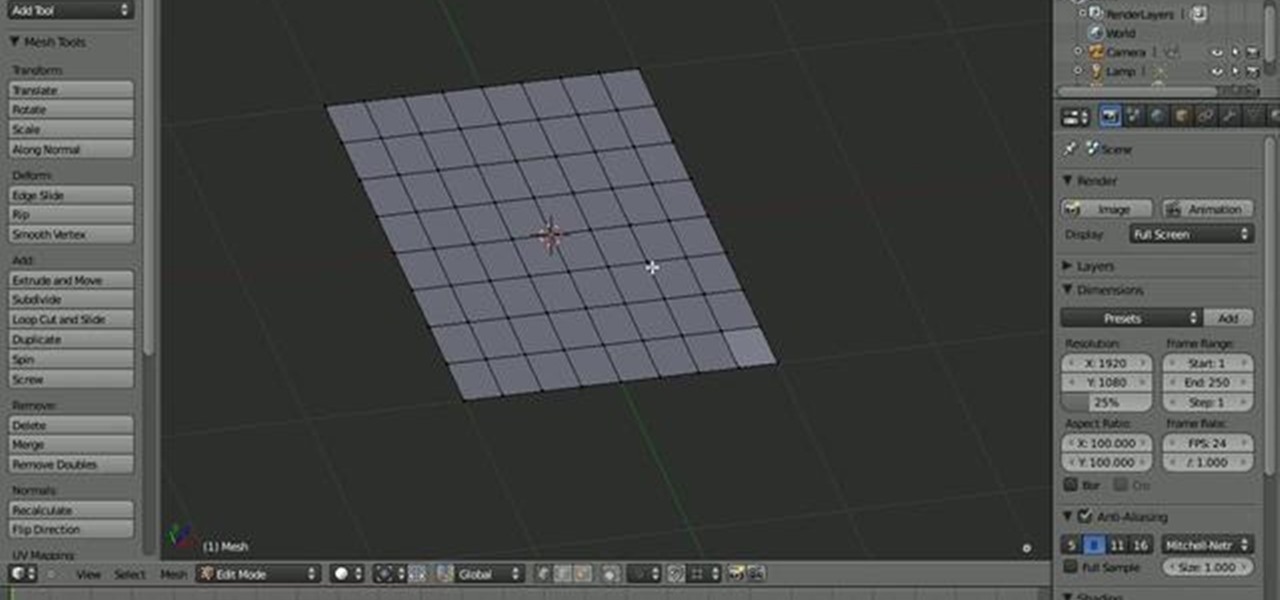
The snapping tool in Blender allows you to snap your mesh selection to any other vertice, edge, face, or volume. This is a very handy technique for precision modeling. Whether you're new to the Blender Foundation's popular open-source 3D computer graphics application or are a seasoned digital artist merely on the lookout for new tips and tricks, you're sure to be well served by this free video software tutorial from the folks at CG Cookie. For more information, including step-by-step instruct...

When working with a high density mesh in Blender, maintainig a firm grip on topology is essential. This quick video demonstrates a few tips for increasing/decreasing your topology in a given area and for redirecting the flow of your topology. Whether you're new to the Blender Foundation's popular open-source 3D computer graphics application or are a seasoned digital artist merely on the lookout for new tips and tricks, you're sure to be well served by this free video software tutorial from th...

The window on a Mac computer can be confusing if you are used to using a Windows computer. You will learn how to resize your window by clicking and dragging the lower right side corner. Clicking on the green button will not completely maximize the window it will only make it as wide and tall as you need so there are no scroll bars. You will learn many more basics on a standard window so that you can navigate like a pro.

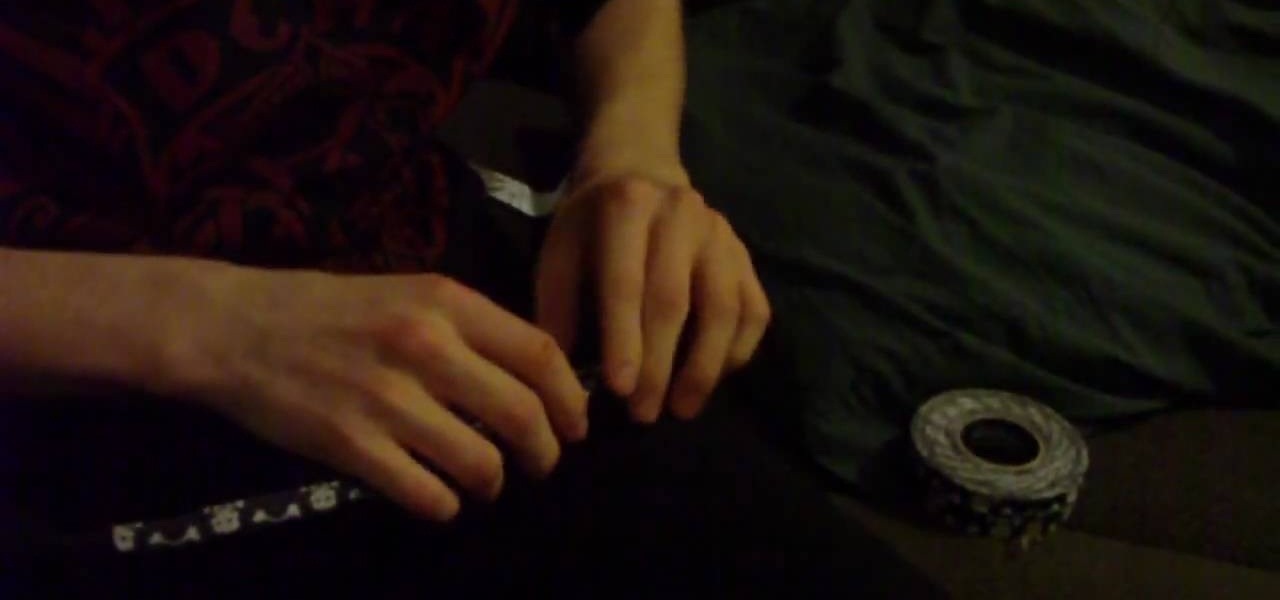
Before beginning to tape your hockey stick, take your desired cloth grip tape and score it in half with a knife making sure to not cut through the cardboard core. The purpose of this is to make thinner strips of tape. To begin the taping process, start at the top of the stick and go down the stick in a diagonal for about six inches. Then, back at the top of the stick, wrap with white (shin guard) tape around and around to make a knob. Now, we focus attention on the blade end. Run a thin strip...

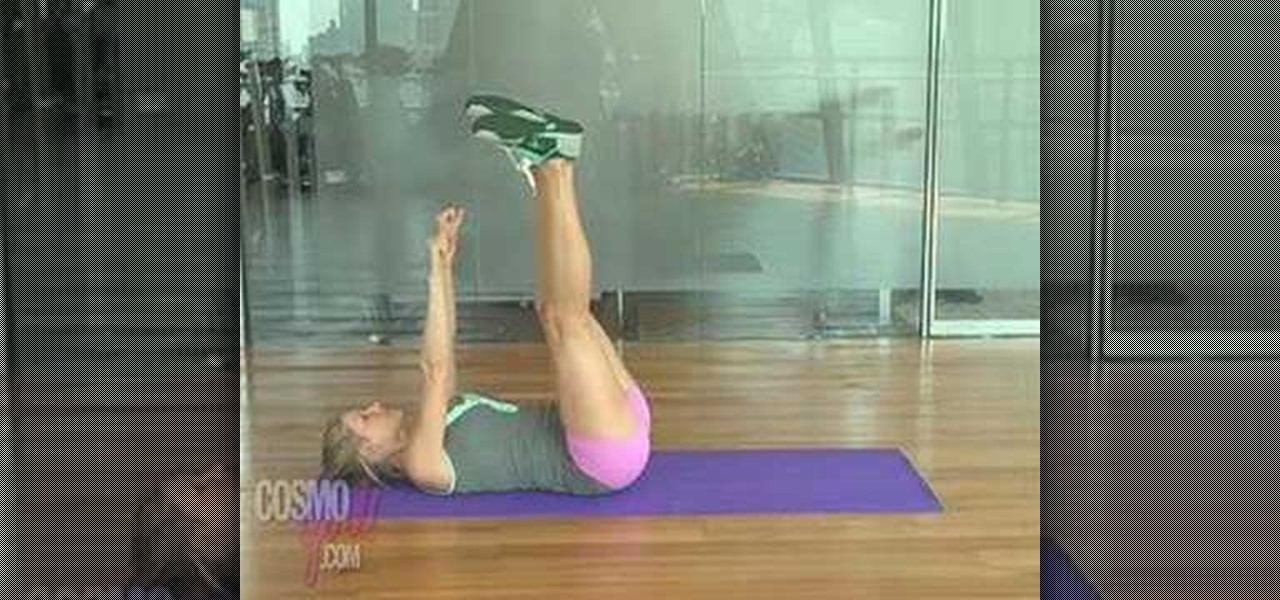
Tone your arms for summer with help from this video hosted by magazine, Cosmo Girl! Get the arms you want with help from this step-by-step instructional on how to do the bench dip.

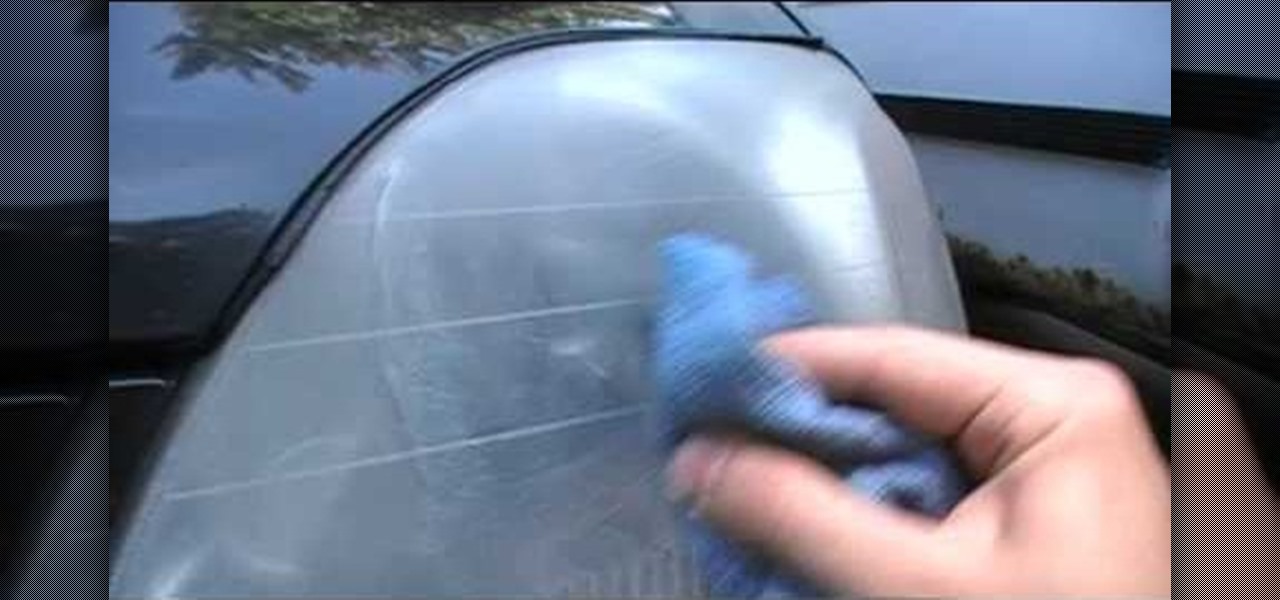
First of all check for the yellow haze on the headlights by scratching it. Now take toothpaste and then apply some of it on to the headlight. Now you need a dry towel to clean the headlight. Start by rubbing the toothpaste over the headlight with this towel. You have to rub it hard so that the toothpaste cleans out the yellow haze. Start from the middle and make circular motions with the towel. Then start to spread out towards the corners of the headlight. Keep on doing it and you may even fe...

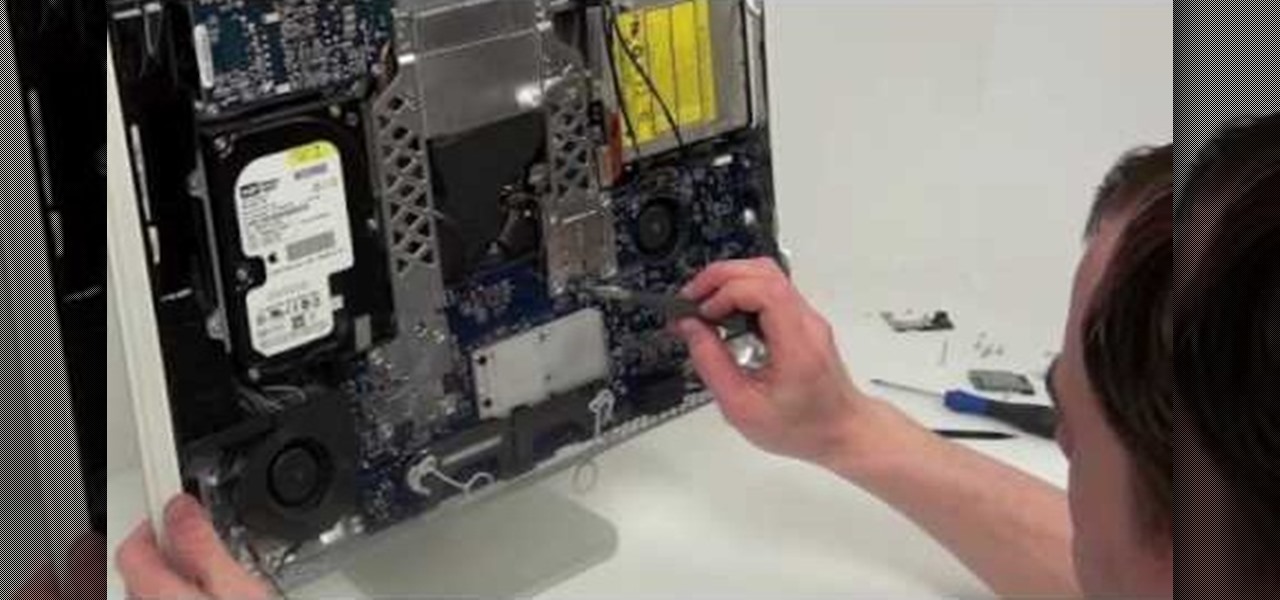
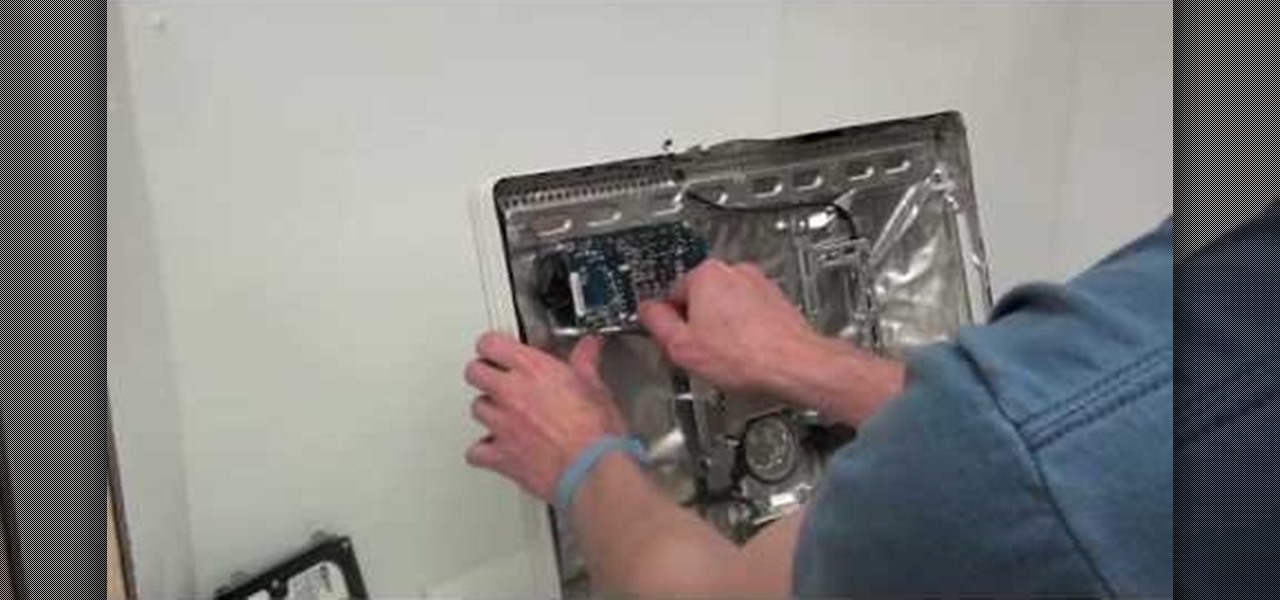
In this how to video, you will how to remove the logic board from the iMac G5. First, get the t6 screw driver and remove the screws in the corner. Unplug the airport card. Now, unplug all the cables connecting to the logic board. Now, unscrew the torx screws located on the logic board. Unplug the optical drive cable by unscrewing the 2 torx screws holding it. Next, unscrew the torx screws located near the center top of the board. You can now remove the logic board. However, there is a hard dr...

Removing the power supply from the iMac G5 is a two step process. First, see where the power supply is located. Then begin the process of removing it. You can do using a very easy way described in this video. First unscrew the 4 torx screws that are located around the edges of the power supply. Be careful not to be too rough while doing so. Once you have unscrewed them, then gently lift or remove the power supply. However, we still have to unplug it from the iMac. Therefore, carefully unplug ...

This video shows us how to draw an electric eel even if we are not professionals. We start by drawing a flag shape (like two cylinders connected) as this being the body. After this we can draw the eyes, one fully visible and the other only little because is in the back. Now we draw an open mouth and here we can let our imagination go wild an could put there some fangs, a tongue but do not forget to draw some shadows in there to be more realistic. For shadows you can use the edge of your penci...

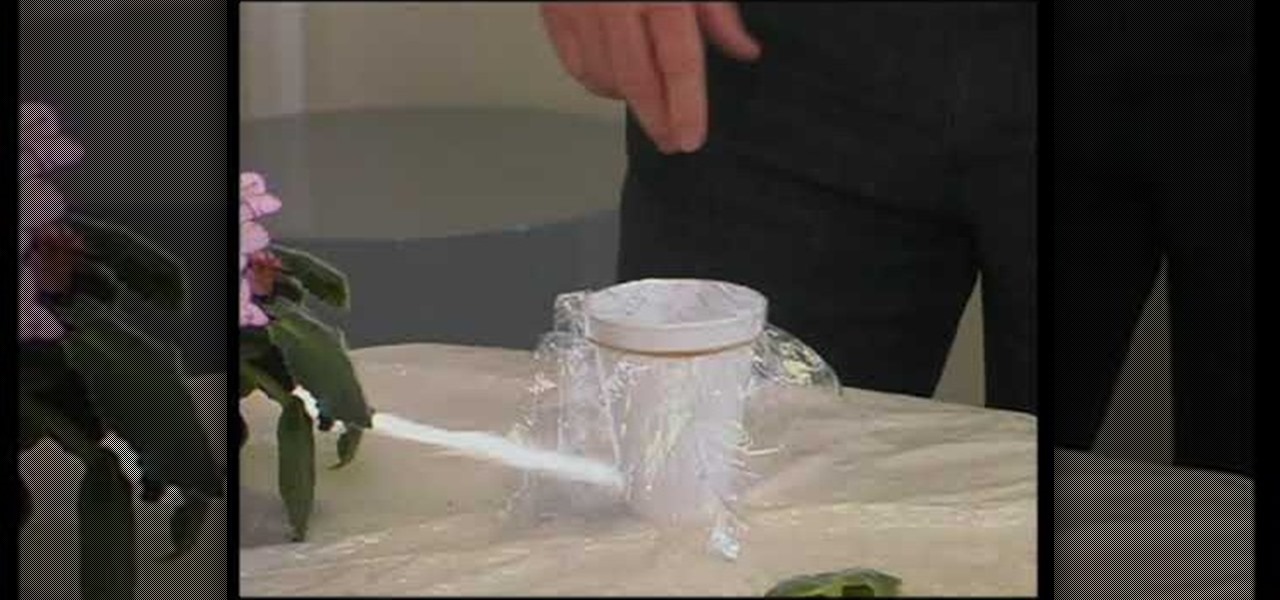
to transfer ice plants, take a Styrofoam cup with holes in bottom and sides for drainage. fill cup with potting soil. place cuttings of ice plants into pot, about 2-3 cuttings per cup. keep moist. for African violets, snap off an entire leaf including the stem. fill a Styrofoam cup with water. cover with saran wrap with a rubber band around the edge to keep it tight. cover completely with aluminum foil to keep inside of cup dark. place hole in center of plastic/aluminum foil with a pencil. pl...

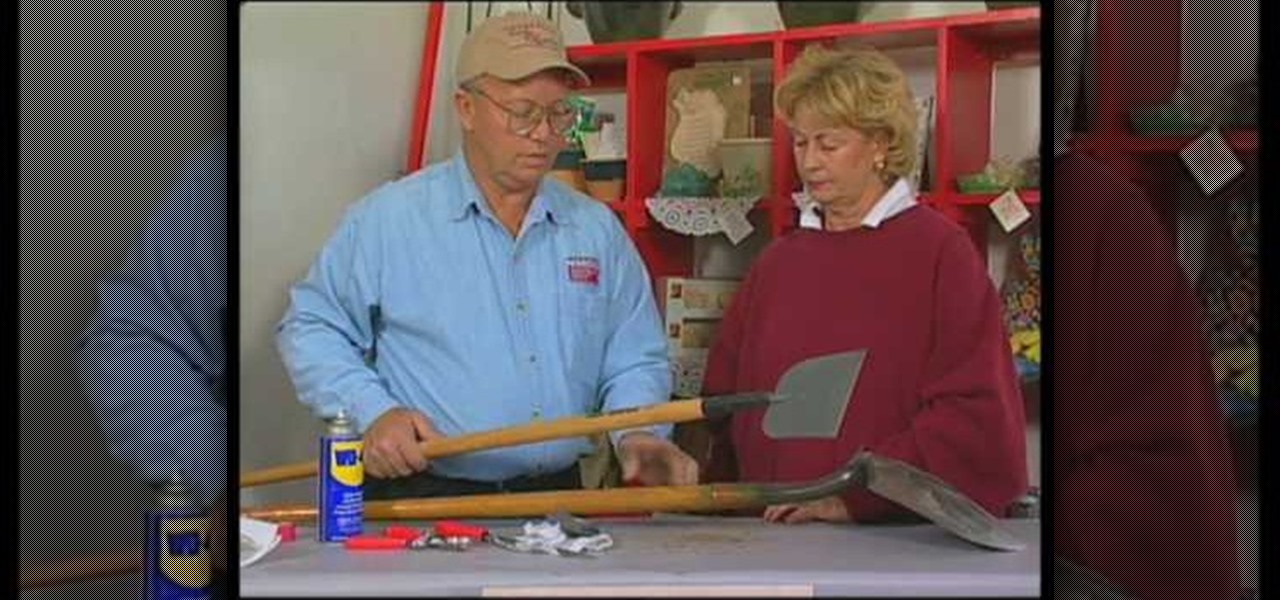
John White shows how to clean and sharpen your tools by using a file and WD40. He also advises to repair the wooden handles of your tools to prevent injury. Run the file along the back and sides of the shovel. Leave the front part smooth. Make sure you remove any mud to prevent corrosion. Use steel wool to achieve this as well as WD40. Use the file to sharpen the edges of your hoe and again clean with steel wool and WD40. The file is also useful for sharpening trimmers. Clean all the dried pl...

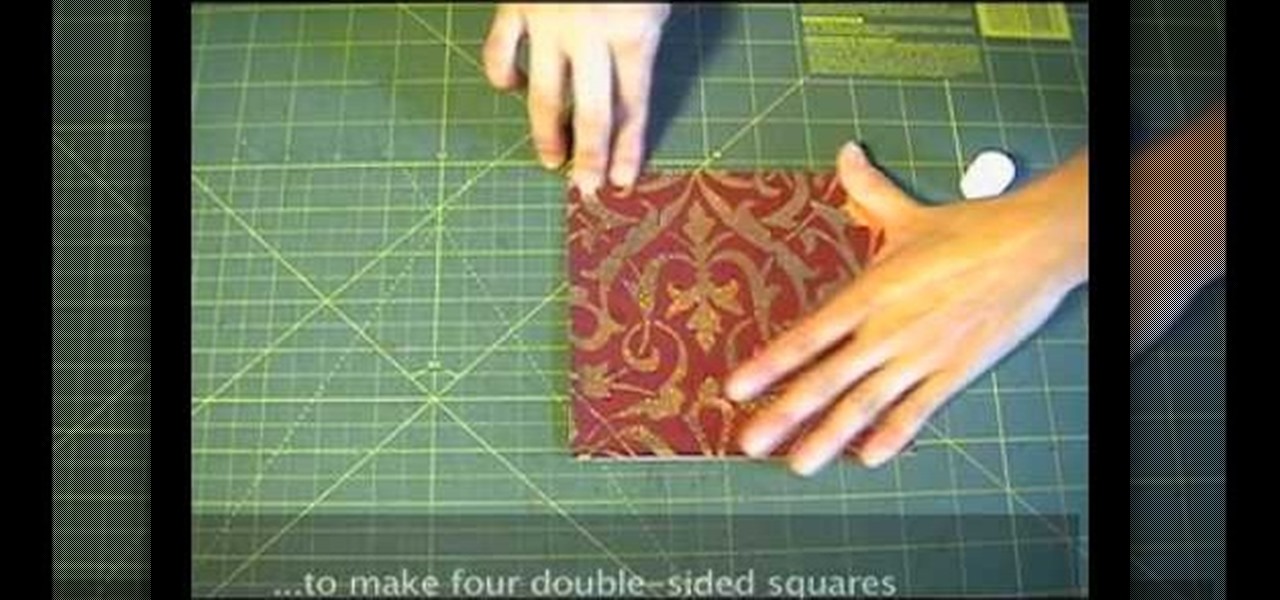
Shiho Masuda Teaches you to make 3-D origami star using recycled materials. The materials required are leftover wrapping paper, ribbons, two 3. 25" cardboard squares, ruler, scissors, glue, double sided tape and an X-acto knife. She cuts out 8 6"x6" squares from paper and glues them back to back to make four double sided squares. The four pieces are folded into 3"x 3" squares and stuck together with double sided tape. The 2 cardboard pieces are covered with paper and 12" ribbons are taped to ...

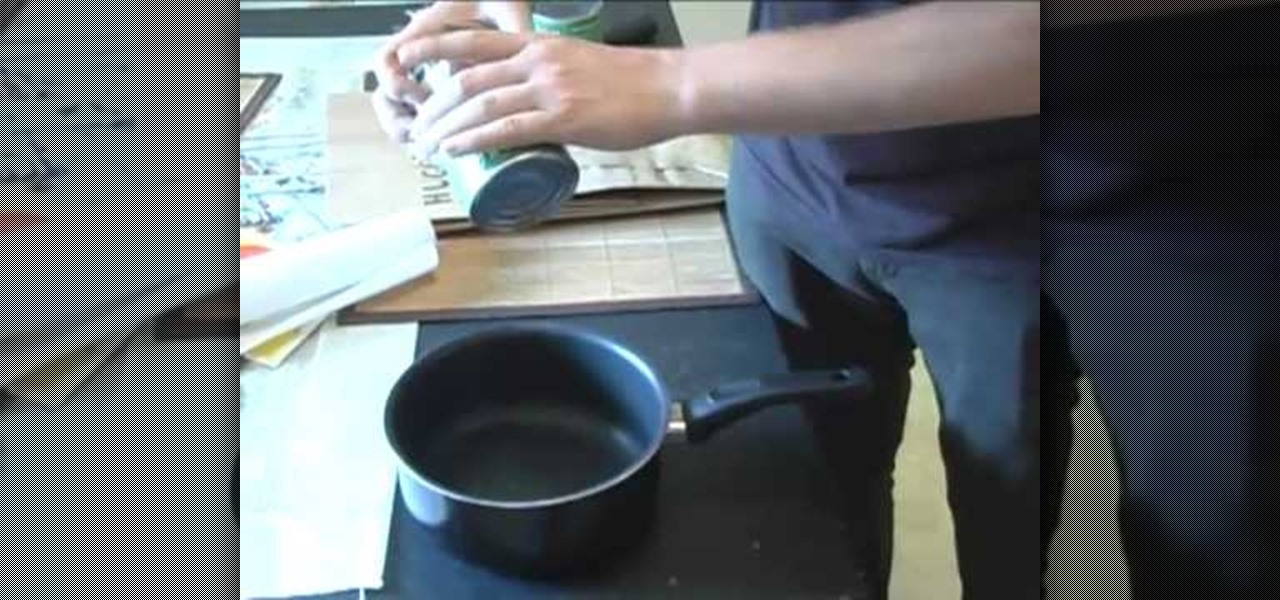
Have you ever been caught with nothing to eat but canned soup or tuna fish and no can opener in sight? In this video, AJ Conover demonstrates how to open a can with a hammer and nail. First make sure the hammer and nail are very clean. Use the hammer to lightly pound the nail into the can's lid creating holes. Be careful not to pound too hard and drop the nail into the food inside the can. Hammer enough holes to make an opening around the edge of the can's lid and then pry the lid up and open...

Diane Morgan shows us the right way to cook a nice fluffy omelet. Break the eggs into a bowl and beat them with a fork until they are fluffy, adding a small amount of milk and some salt and pepper. Add a little butter to a non-stick omelet pan; let it melt on low heat and drop in the eggs. When the skin starts to form, begin tilting the pan as you scoop the cooked parts of the egg into the center with a spatula. When all of the egg is cooked you can start adding the fillings over the top. To ...

This video instructs you how to use the "Finder" Button if you own a Mac on OS X. The "Finder" window shows the Mac user the contents of the hard drive. It describes functions of the Finder folder: i.e., adding an untitled new folder in the Finder file. It also discusses how you can view the "Finder" in a variety of layouts: grids, lists, etc. The video shows you how to use the buttons on the upper left hand corner of the "Finder" screen to maximize, minimize, or close the window. It also dis...

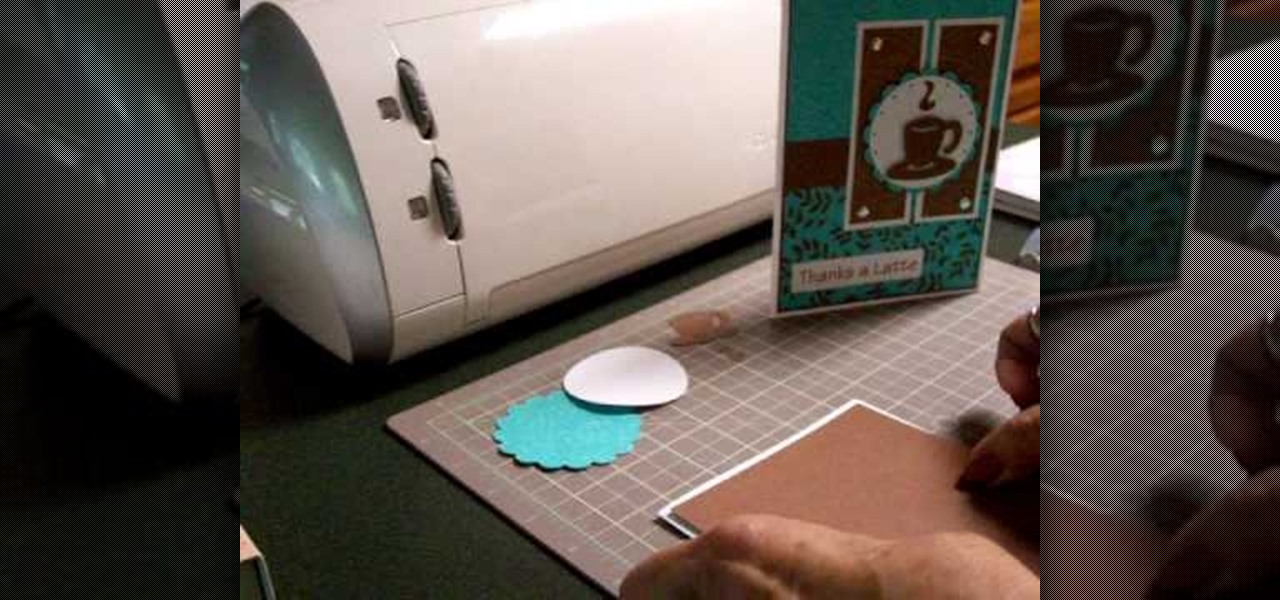
cardcrazy09 teaches you how to make a Cricut latte-themed thank you card. You start with a brown piece of cardboard as a bottom. Then add two pieces of blue card stock. Add a small brown card slice in the middle and the background is done. You will print the message on a card stock and cut it out. Stick it in the lower left corner of the card. For the background of the coffee cup you will need two more slices of brown cardboard with thumb tacks at the top and bottom. On top of those stick a b...

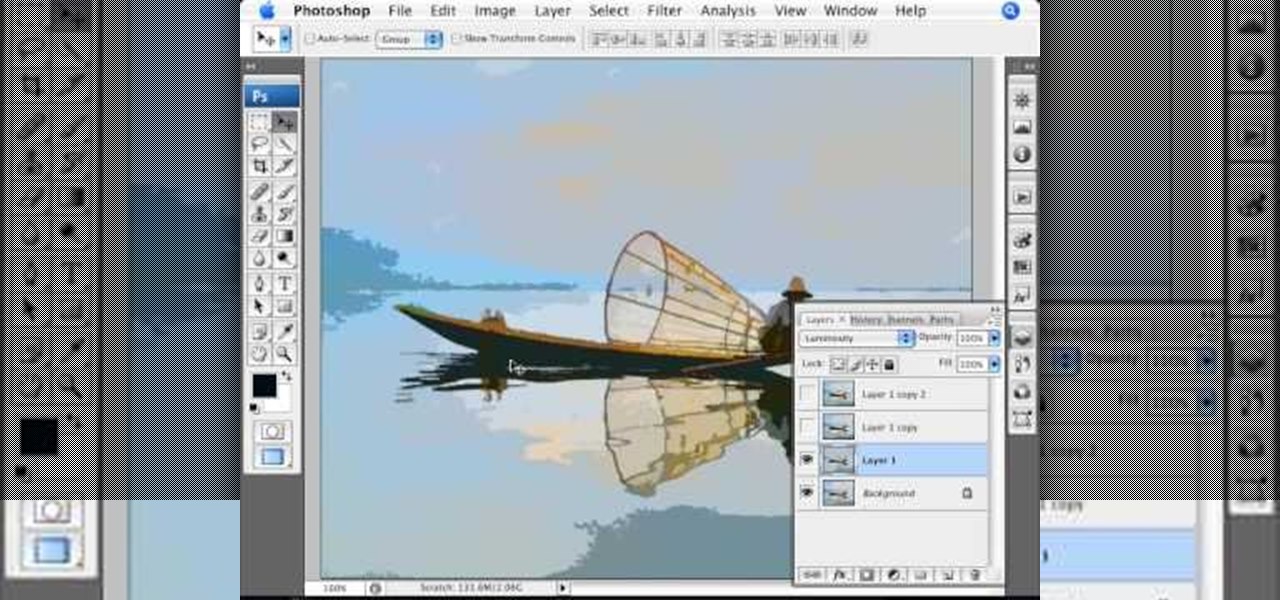
Photoshopuniverse shows you how to simulate a watercolor painting on Photoshop. With this you can take any photo and make it look like it was a water color painting. Take any photo and then duplicate the layer 3 times including original. Focus on the first layer go to cut out. You want a high edge fidelity, and add the number of levels no more than 5. Add some simplicity and the change mode too luminosity. Go to the second copy layer do a dry brush increase size to maximum. add just a little ...

This video tutorial by photoshopuniverse shows you how to create a postage stamp in Photoshop. First take a suitable image and decide the shape of the stamp. Corp the image to suit the shape of the stamp by selecting the area and choosing corp and increase the canvas size as shown in order to create the perforated cutout. Transform the image into a regular layer and once again increase the canvas size to create a back ground with an appropriate color as shown. Add a layer mask, chose the brus...

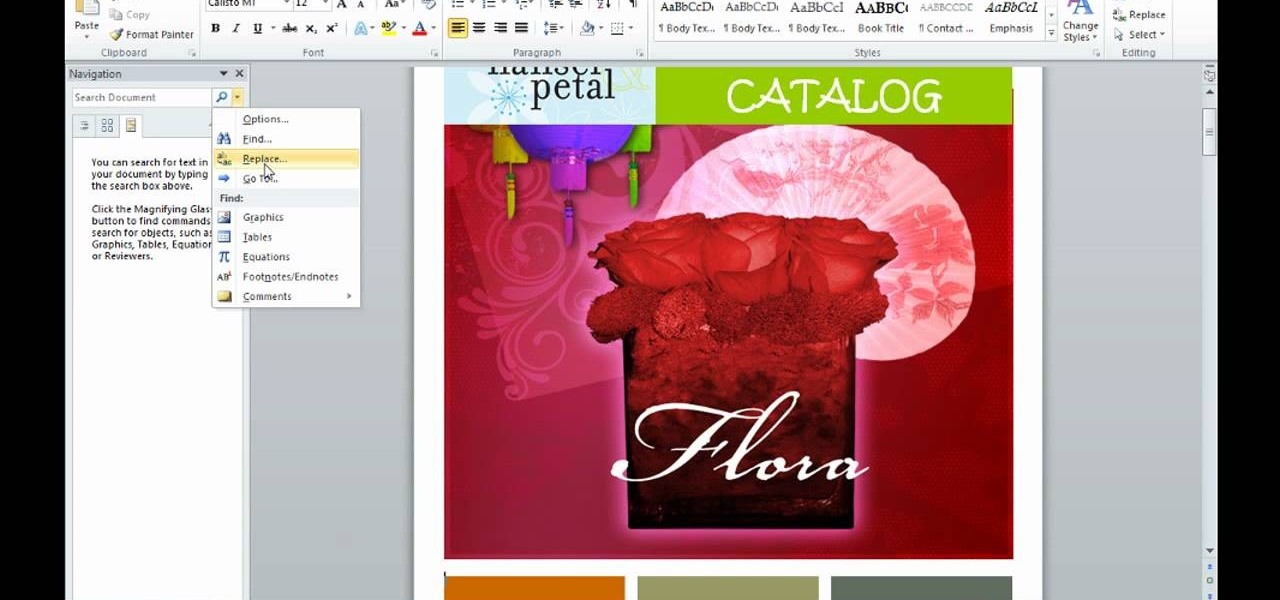
This is an informative video tutorial on how to search graphics, tables and charts using MS Word 2010. The author informs that the earlier MS Word editions had fast and easy search options, but the same feature built into the 2010 edition is vastly improved. One simply has to click the ‘Find’ option at the top right-hand corner and a navigation pane opens on the left-hand side. In the search box, the keyword is typed in and all the instances of that word in the document are highlighted, while...

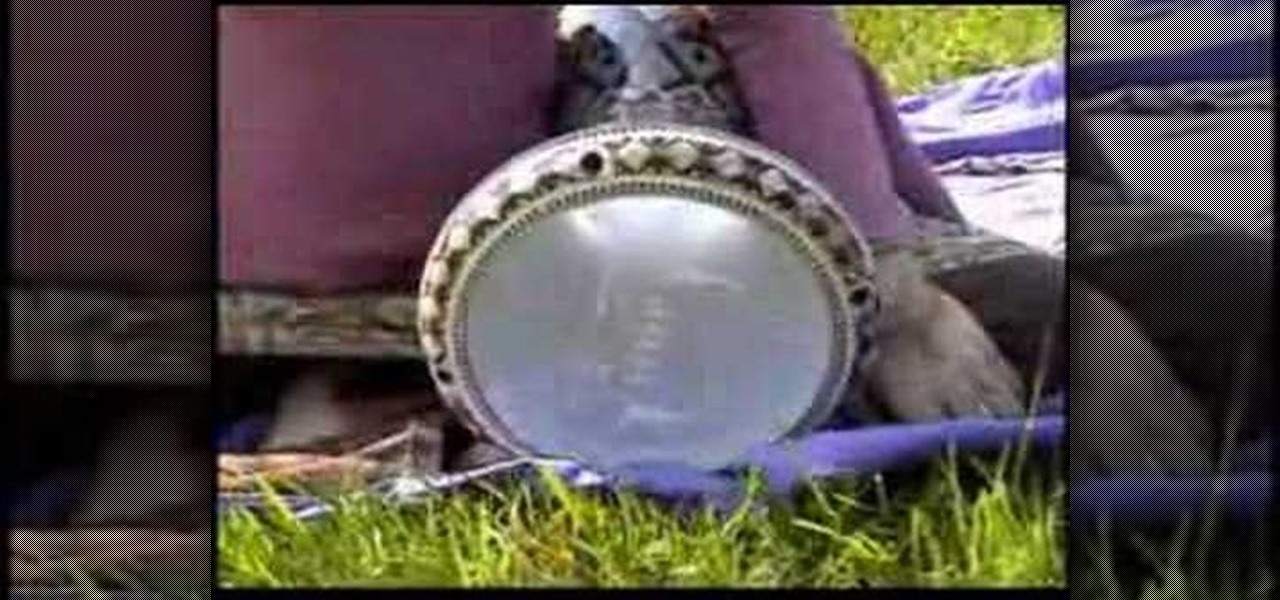
Drum artist Raquy Danziger teaches the basics of playing a Turkish double dumbek. Raquy demonstrates how the index and ring fingers of the drumming hand should move in counter-harmony to each other, as the first step. Next she shows how to accent every third beat while drumming. Then, the other hand is used to add a third sound to the two being produced by the first hand in the up-down movement. The next step involves producing two different sounds with the second hand, by alternately hitting...

Radford Education teaches you how to create a website using Google Sites. You need to have a Gmail account for this. Go to Google and click More - Sites. After the login, click Create new site in the upper left corner. Complete all the fields, starting with the name of your site. You can also select your site theme below. Hit the Create Site button at the bottom, when you're done. You will then be taken to your brand new site.

Tutorial of how to quickly make and Origami Magic Ball! Get a piece of 20x40cm paper. Fold along side in 32 equal parts, by repeatedly folding the paper in half - using genderless folds. Fold the short side in 8 equal parts- using valley folds. Turn the sheet over and start diagonal folds - using valley folds into 32 parts. Roll paper out flat, and fold it zigzag following previously made genderless folds. At corner of paper, create a "water bomb" by pressing together previously made folds fo...

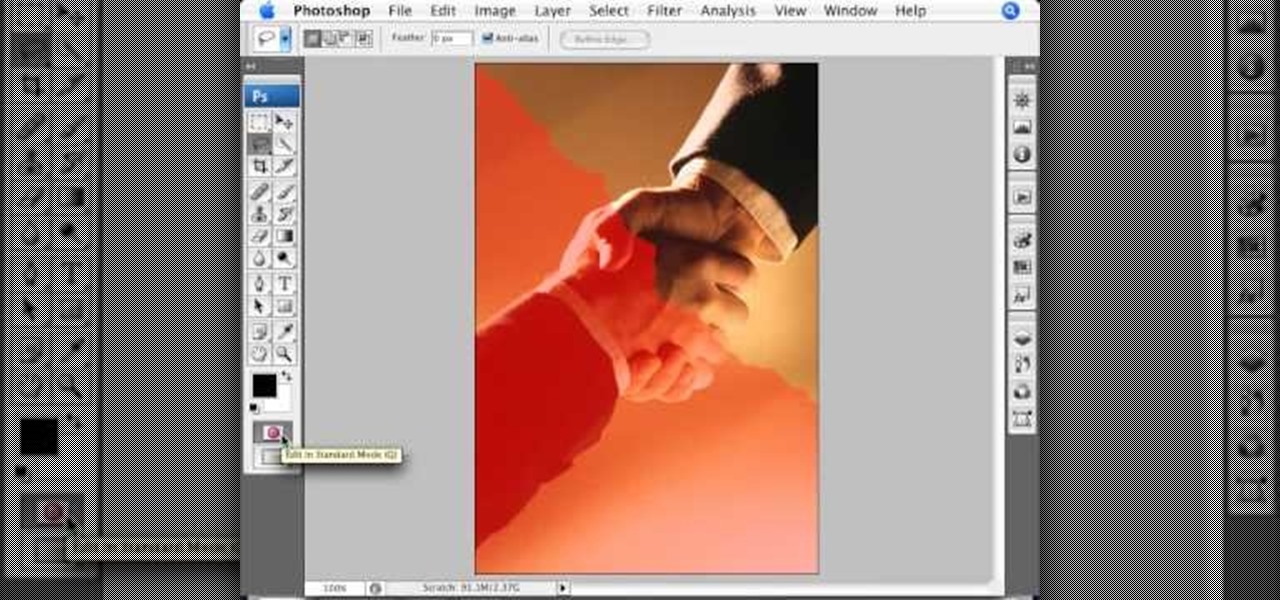
In this video we learn how to make it seem like your photo is torn in half using Adobe Photoshop. The first step is to decide how you would like to have your photo "torn" up. The second step is to select the lasso tool and draw the tear line through the photo. The third step is to select the rest of the image you want to keep. The fourth step is to go into Quick Mask mode and select Filter, Brush Strokes, then Splatter. This creates the jagged edge torn effect. Finally select a smoothness bet...

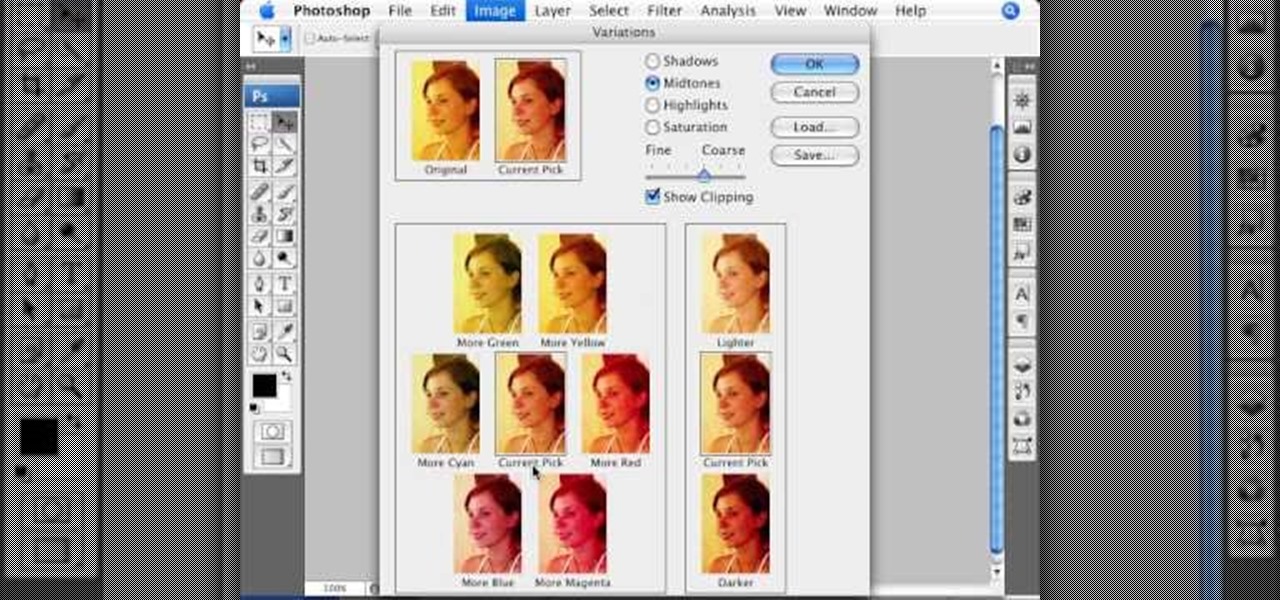
This informative video tells you how to use the variations panel in Adobe Photoshop to correct color issues in your photo. Too much yellow in your picture? Learn how to use the variations setting to instantly fix this with the corresponding opposite color. With simple clicks and easy preview-able pictures, you can correct color over-exposures with a click of the mouse. First go to the Images drop down and select the variations option. The original photo on the top can be clicked to revert you...

This video teaches about adding any of your photos to a billboard. Now copy into the computer memory back into the original billboard image to create another layer this is the layer place in our image. We can do this correctly, respective into this filter which is called vanishing point. Clicking at the four edges make this little bit bigger in image area. Now we can paste in that image control and change the promotional image. It fits sign of the billboard area and resize after the slight li...

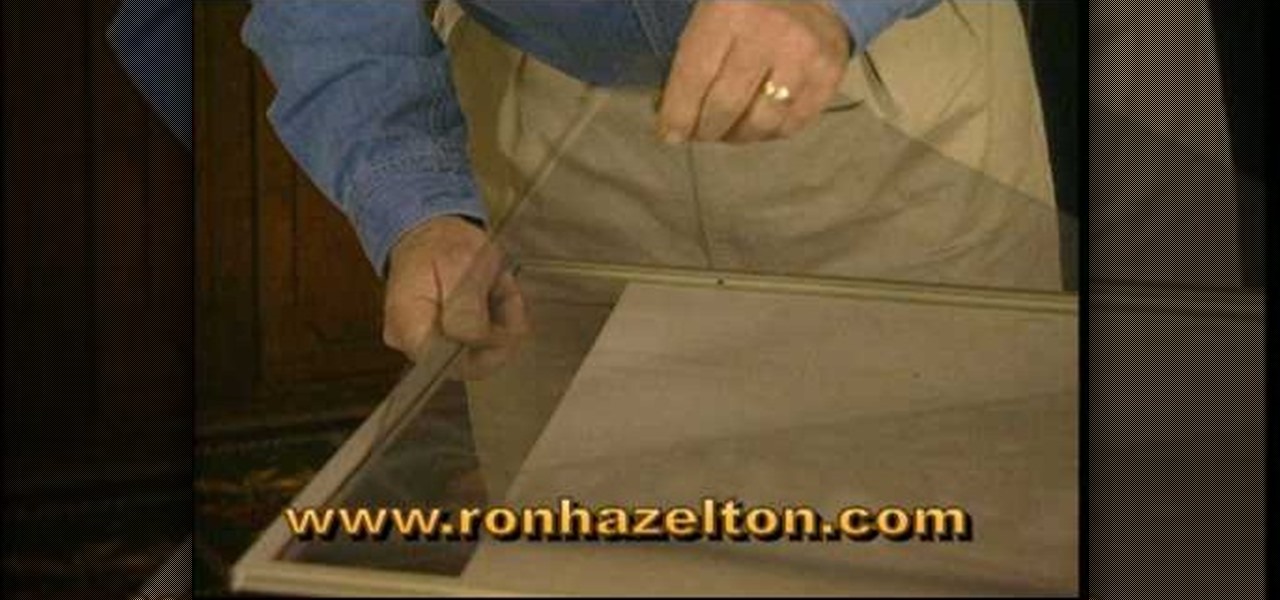
Ron Hazelton describes how to replace a screen in a door or window. The screen is held in the frame by a vinyl cord that can be removed with a knife. Lift the old screen out of the frame. With the new screen on a flat surface, using the frame as a template, cut the new screen a half-inch larger than the frame all around. Cut 45-degree notches in the screen at each corner. Place the screen evenly on the frame. Press the cord back into the groove on the sides first, then the top and bottom. Fin...


