You can overlay your videos in Sony Vegas Movie Studio. First drag the picture of TV set in the timeline and drag it to the whole timeline and then place your video above it as showing in the video. Now click on the pan/crop icon and select the picture of TV set. Now resize your window and set your video in the TV set as showing in the video. Now you can play your video but it pops up as the video plays so to fade in your video, you just need to do is to drag the corner of your video as showi...
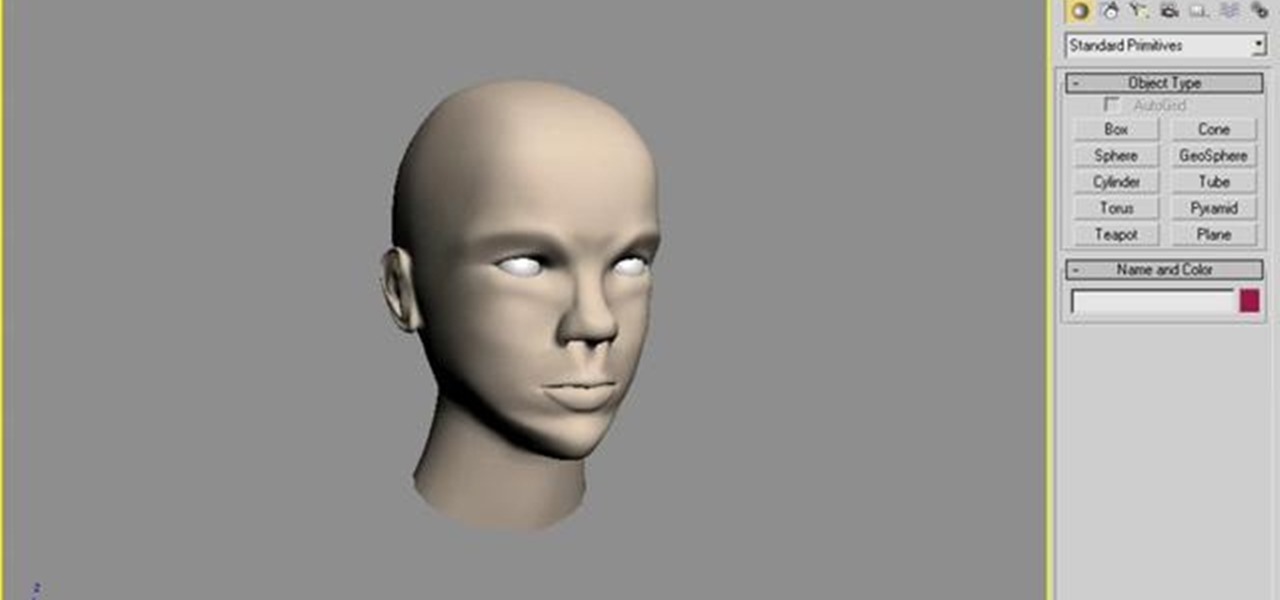
A polymodel head is being mapped. Keep the turbo smooth active to smooth out edges and seams. Use the relax tool to help even out the mesh and areas around the mouth, the ears and the neck as work proceeds. Use the stitch modifier to attach and combine the top and bottom of the head. To get all the seams and areas to match they must be moved, rotated and scaled. Use the weld tool on all the vertices and use the relax tool to get all the seams to match. Use the pelt map for the ears. Use the s...
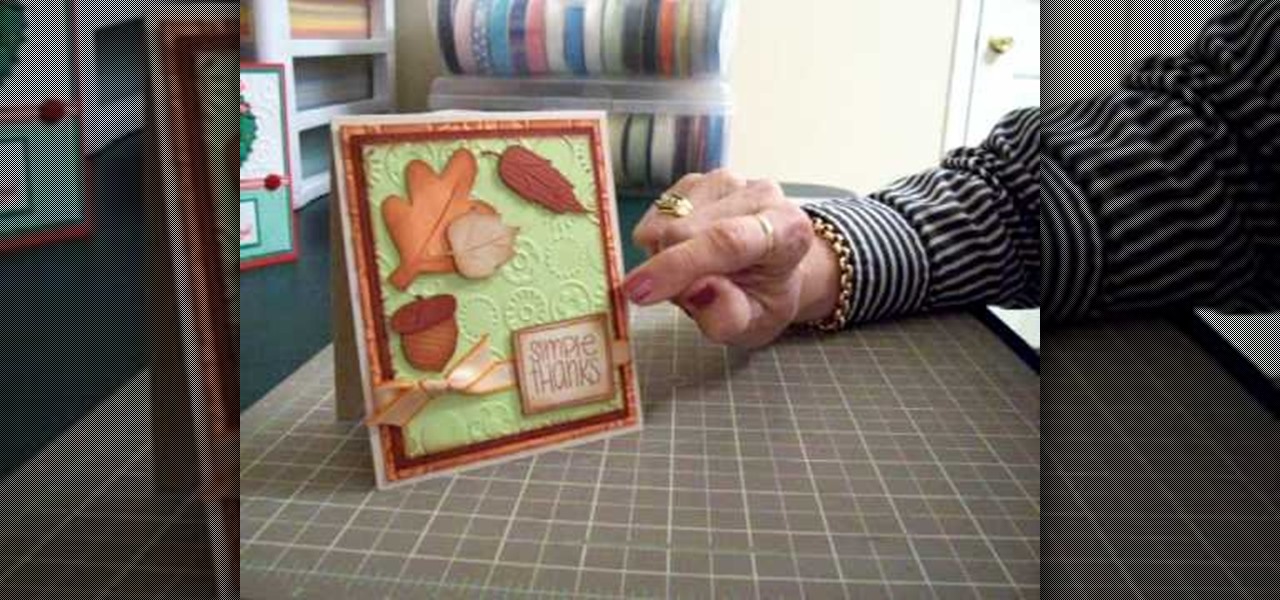
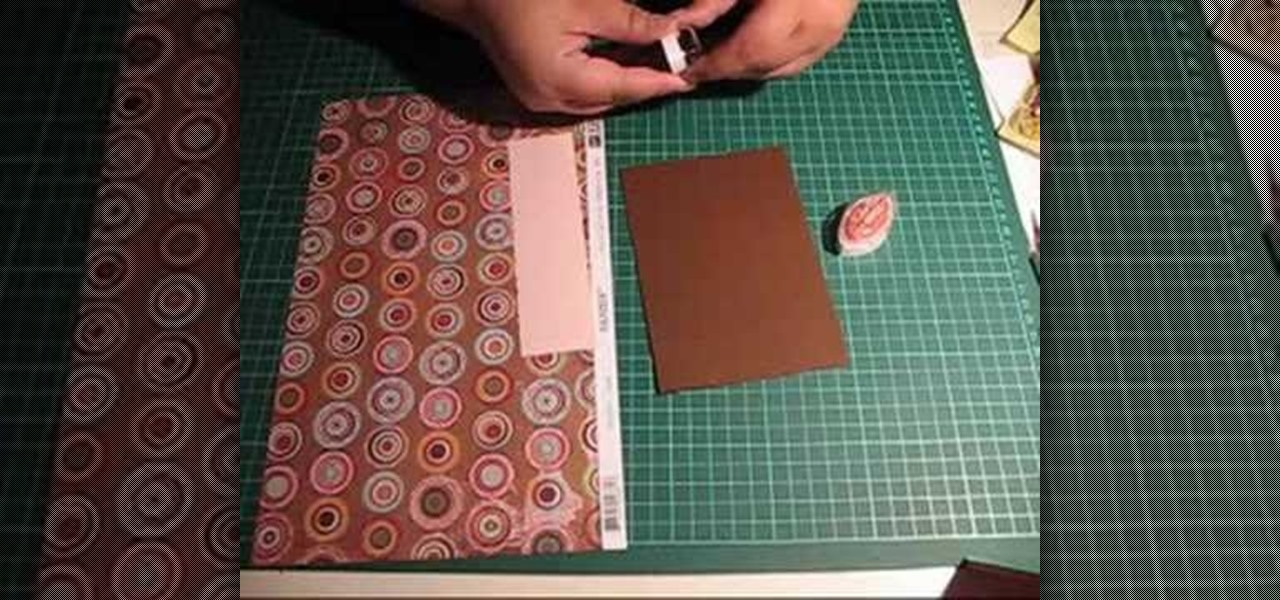
In this video, we learn how to make a thank you card using Cricut Doodle Charms and SYI. The card can be the size you choose. Layer orange, green, and brown mats, running the green and orange through the Cuttlebug using blue dots to give it texture. After this, ink around the edges with brown so the embossing shows up. Use the Cricut to cut the leaves and an acorn, using the Doodle Charms cartridge for one of the leaves cut at 2 1/4". You can also use the Stretch Your Imagination cartridge fo...
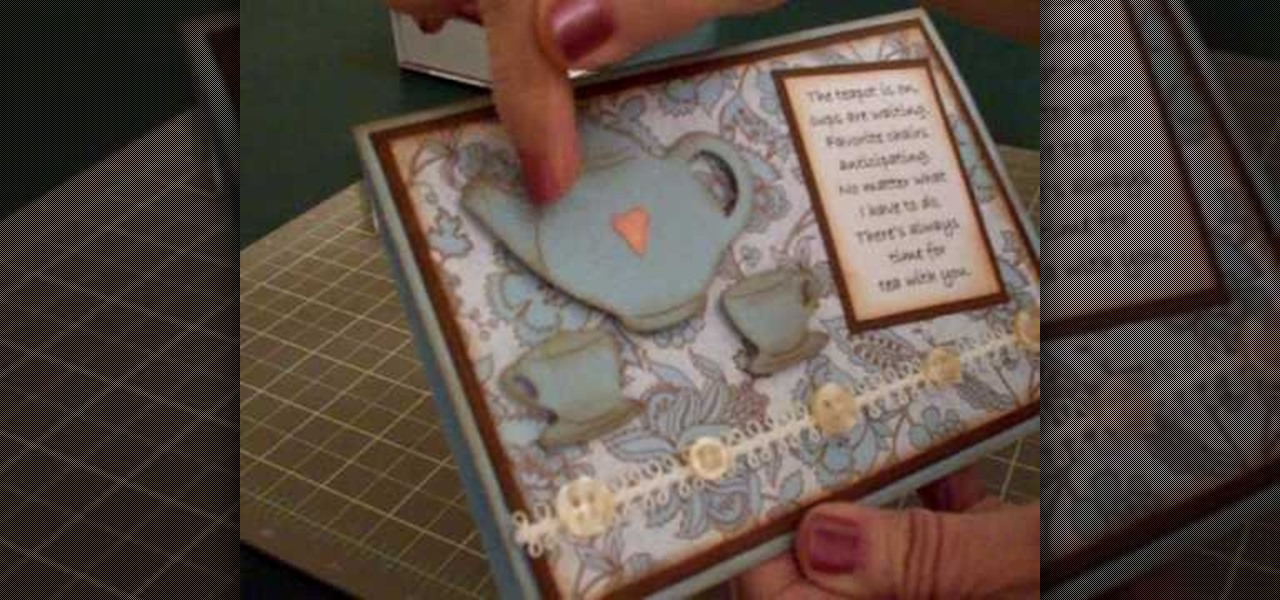
In this video, Mary shows us how to make a teapot card using Cricut everyday paper dolls. First, print out a sentiment that has to do with teapots and fade the edges of the paper. After this, cut out a teapot and cup from the everyday paper dolls on page 43. Cut the teapot and cut twice, then chop them so you can see the details of them. Place this on a paisley or flower background for the card, along with old buttons on the bottom of the paper. Make the card the size you would like, using yo...

This video tutorial is in the Arts & Crafts category which will show you how to make crumpled flowers for scrapbooking. Cut out three circles of 2", 1 1/2" and 1" diameter out of a sheet of paper. Then wet the pieces of paper lightly with water or colored ink and crumple them one by one as shown in the video. Then place the three pieces together and pin them up with a split pin. Now crumple the edges of the paper further to give them the look of a flower. Allow it to dry and your flower is re...
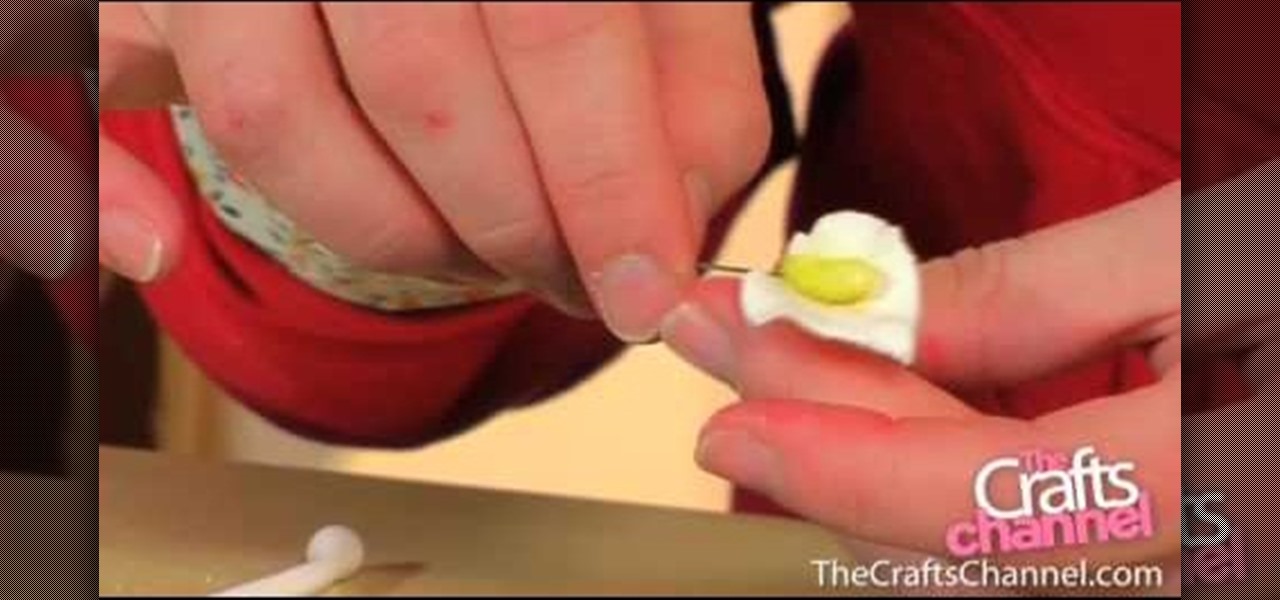
In this tutorial, we learn how to color a sugar crafted lily petal. Insert your paste onto a green wire, then cover the paste with clear edible glue. Then, place the piece into yellow sugar sprinkles. After this, create your petals out of gum paste and push down on the edges to create a petal shape and feeling. Next, apply the glue onto the center of the flower and add this onto the piece that you just made, wrapping it around. After this, wait for it to dry and you will have a beautiful lily...

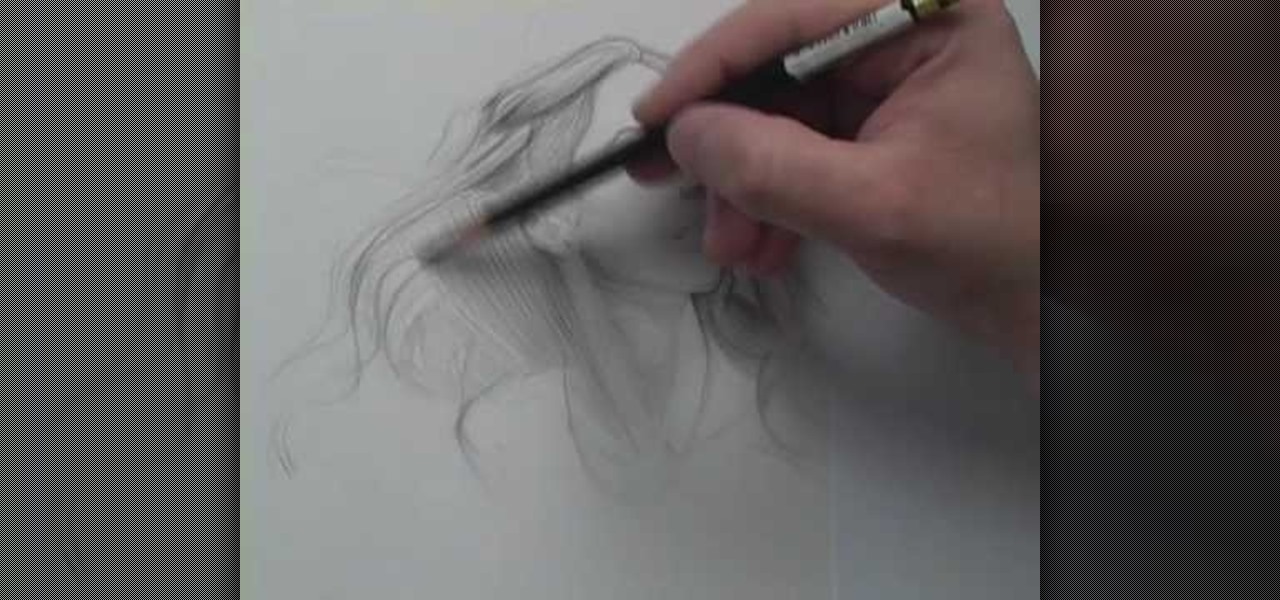
In this tutorial, we learn how to draw wispy hair with Matthew Archambault. When drawing these, you will first start off with a light pencil to make the hair look soft. After this, you will want to make the shapes of the strands look unique, then work from light to dark with the different strands. Use a harder pencil mark when you draw the outline of the hair. Make sure you don't do hard edges at all, everything needs to be soft. make sure you are drawing the hair outwards to make it look lik...

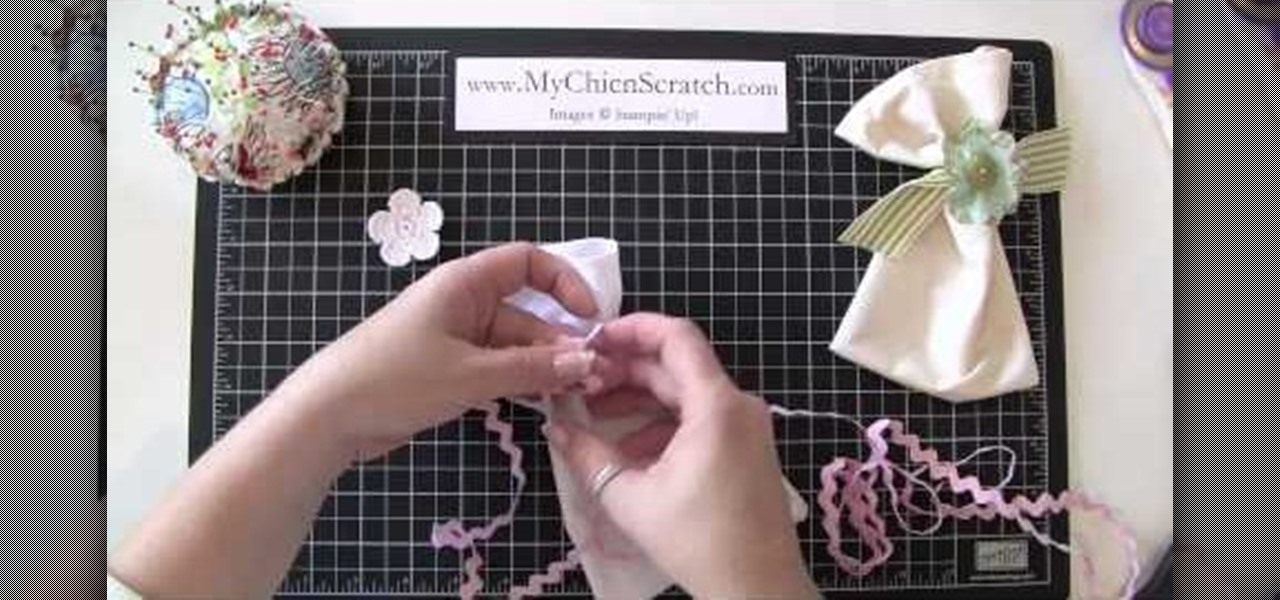
In this tutorial, we learn how to make a fabric gift bag for any occasion. First, you will need to grab any type of fabric with any design that you want the bag to be in. Next, you will fold in the edges of the fabric so it has a hemmed look, then sew them down. After you do this, sew the two sides of the bag together, then sew the bottom. Next, grab a piece of ribbon that you don't want and wrap it around the bag. Top it off with a felt flower and sew a button into the middle of it. Glue thi...

In this video, we learn how to quickly copy and paste data in Microsoft Excel. First, if you have two columns that you want to add up, you will highlight the columns and then copy and paste them into the other cells. Another way is to select the cell and go to the bottom right hand corner, then drag it down. This will fill your formula in to every cell below it! This will save you a lot of time instead of having to type in formulas for the columns that you are trying to do equations with! Thi...

In this tutorial, we learn how to create Tyra's makeup look from "Ru Paul's Drag Race". First, apply eyeliner onto the eye, going from the inner crease out to the brow bone and making a rectangle around the crease of the eye. Next, make this line darker and smudge out the edges of it. Now, get gold sparkly eyeshadow and brush it onto the eyelid underneath the crease where the black liner is placed. After this, paint on silver shadow underneath the brow and then blend the black and silver toge...

In this video tutorial, viewers learn how to suture. Begin by lifting up the skin on the far side of the laceration with the tissue forceps and insert the needle with some distance far away from the wounded edge. Then lift up the skin with the near side laceration and mirror the course of the needle. Now move somewhat to the right of the subsection of this stitch, parallel to the incision line. Place the second subsection of the horizontal macro-suture like the first part. But this time from ...

In this video, we learn how to write the letter "r" in calligraphy copperplate. Start out by dipping your calligraphy pen into ink, then creating a curved line with a dot at the end of it. Next, fill in the line so it is smooth and there are not ragged edges. Next, draw a large swirl on the left side next to the curved line, then draw it over to make the initial loop on the "r". After this, create a loop in the middle, then draw it back down to make the end hump of the "r". After this, draw i...

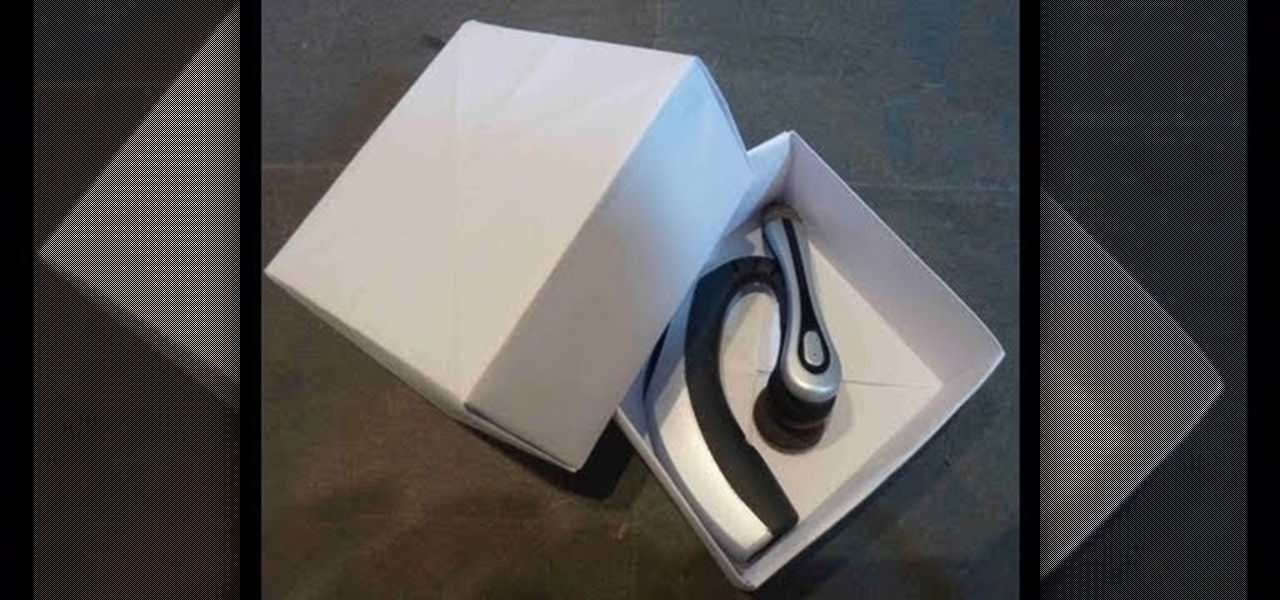
Don't get us wrong: We adore gift boxes, as they let us both conceal a gift and make the gift look more appealing by wrapping up the box in pretty wrapping paper and smacking a bow on top, but there's one big gripe we have about them. They either come in Small, Medium, or Large. So if your gift doesn't exactly fit one of those predesignated sizes, then the box is either too small in areas or too large, which is a pain.

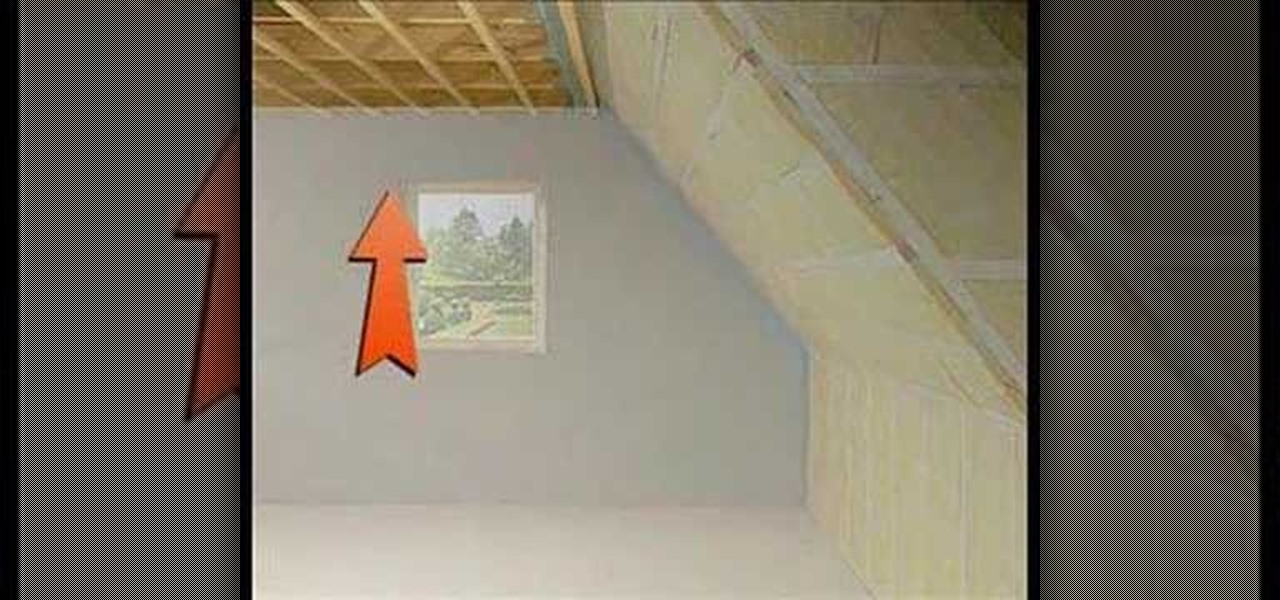
In this tutorial, we learn how to drywall your attic & loft with Fermacell. First, you need to consider the nature of your build and how much you will need to drywall. It is recommended that you install a film to ensure air tightness. You can place this down with a staple gun and tape it down as well. Large holes should be properly sealed as well, to enforce building regulations. Once you do this, you can add the boards on top of what has already been installed. Insulation will be now place o...

In order to stump drunk people with a cork trick, you will need the following: 2 corks per person. Tuck the cork between the thumbs and forefingers. The rules are that you have to switch out the corks without using any other fingers, besides the thumbs and forefingers, and the exchange must be simultaneous.

In this tutorial, we learn how to make a small folding box for Easter. First, cut a shimmery white piece of card stock to 6" x 8 1/4". After this, score the paper at 2 and 3/8". Then score again at 2 and 7/8", flip it over and do again on the other side. After this, cut the four corners with score lines off, then fold the score lines that are left. Now, grab an Easter stamp and stamp the inside of the box underneath the top flap. Place a candy inside of the box, then fold it up and place an E...

This video tutorial belongs to the Film & Theater category which is going to show you how to build a light diffuser to improve your film lighting. Joe Richardson explains how to do this. You will need four pieces of pine wood 1" x 2" x 8 feet long, framing nails, duct tape and light cloth material. Cut the wood at the edges at a 45 degree angle and lay them out on ground to make the frame and hammer in the framing nails. Now spread the cloth over the frame and start stapling it. Pull the clot...

In this tutorial, we learn how to create "viva la diva" lip art. First, prime your lips and blend it out with clean fingers. Next, take your favorite type of lipstick and then use lip liner on the edges. Blot the lipstick on the back of your hand, then apply the lipstick again. Next, grab rhinestones and apply them on your lips using a q-tip and Duo glue. When you are done with this, apply a clear lip gloss to the top of your lips. This will give you a glam look with beautiful rhinestones on ...

This video tutorial is in the Arts & Crafts category where you will learn how to make a mini Big Shot Box with Stampin' Up! For this you got to use the Bigz Die Box #2. Cut a Whisper white card stock at 6" x 11", place it on the die box and run it through the machine to get the box template. Cut off one edge of the template along the score line with scissors. This will be the top part of the open box. Now fold the bottom part of the box along the score line. Take a strip of cottage wall desig...

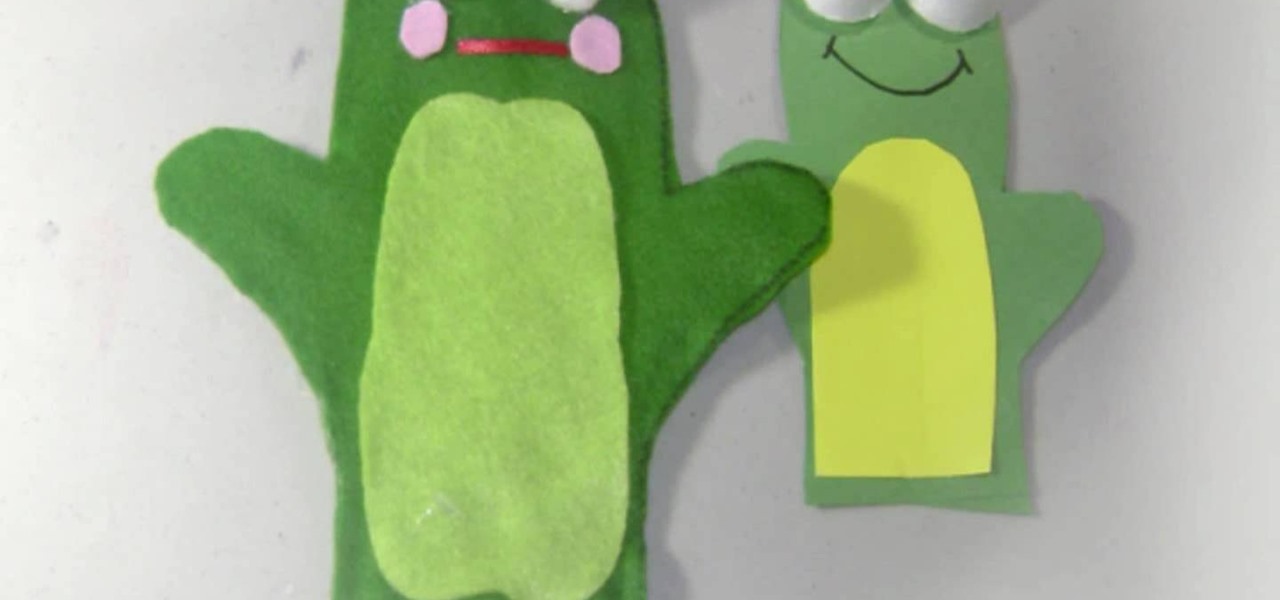
In this Family video tutorial you will learn how to craft felt frog puppets with your kids. The materials you will need for this are felt (pink, dark and light green), a piece of red lace, 2 large white pompoms, 2 small black pompoms, scissors, glue and marker. Take two layers of dark green felt and draw out the outline of half of the left palm. Fold the felts in half and cut out the outline. Stick the two pieces along the edges to make a glove. Next cut a rectangular piece out of the light g...

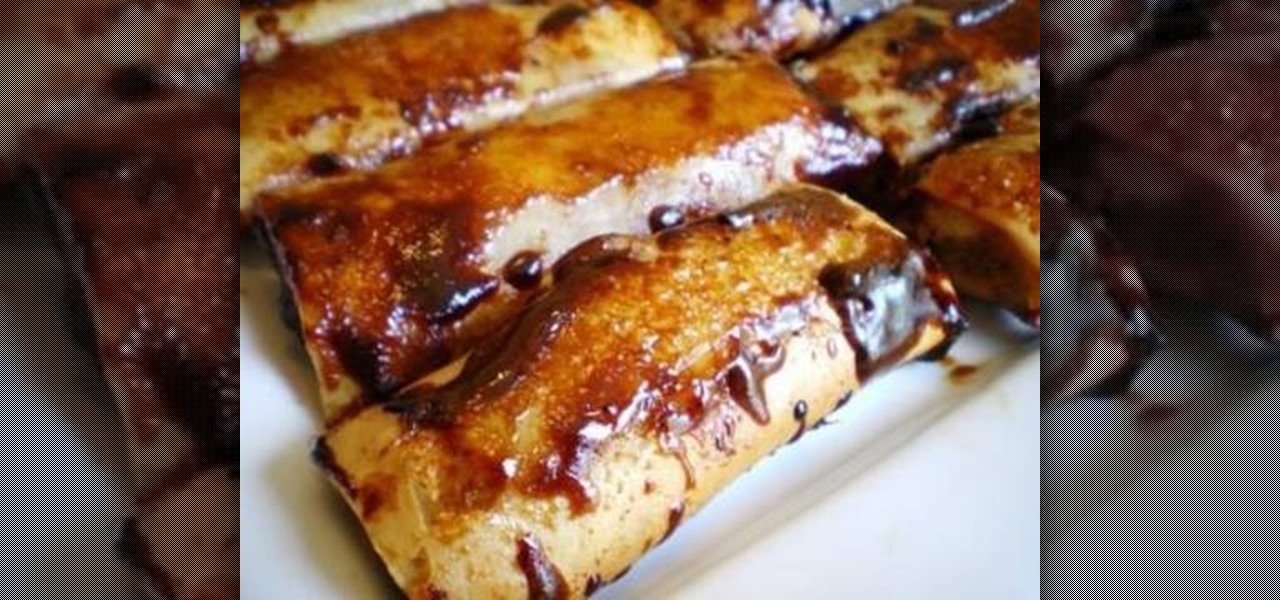
In this tutorial, we learn how to make Filipino turon. Ingredients you will need include: A bag of whole steamed Saba bananas, spring roll pastry, and brown sugar. First, take your bananas and cover them completely with brown sugar and place onto a plate. After this, roll the banana into the spring roll tightly so nothing falls out. Place water on the outer edge of the spring roll before finishing, to make it stick together. Repeat this step for all of the bananas, then fry them in a skillet ...

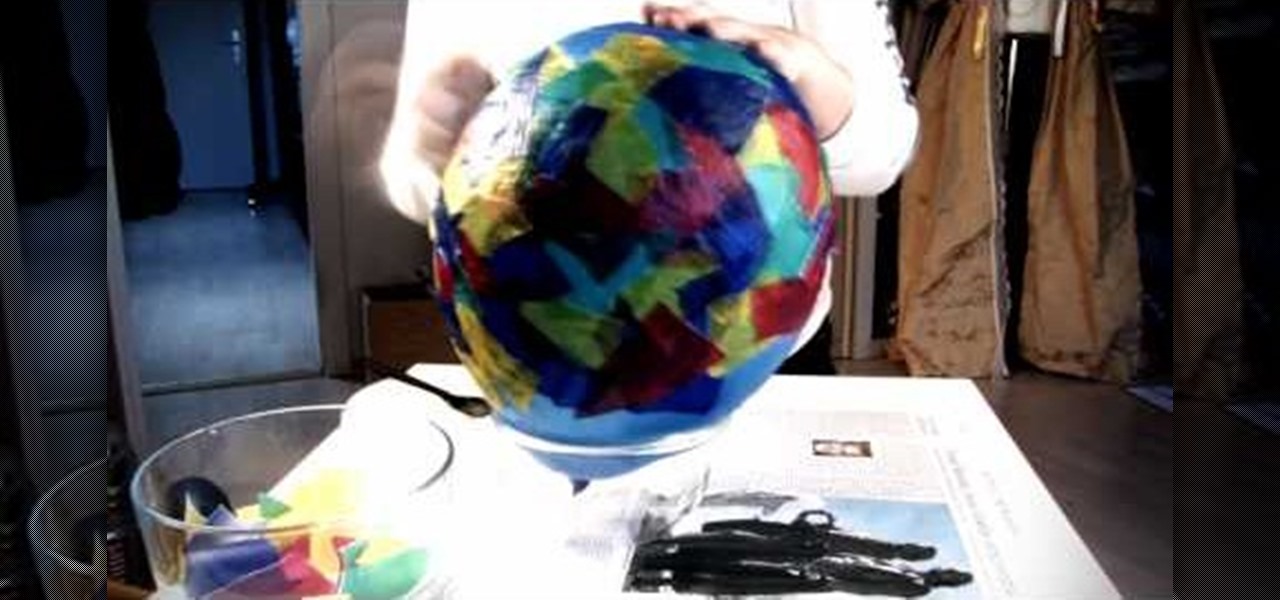
In this video tutorial, viewers learn how to make a balloon lantern. The materials required for this project are: balloons, lantern paper, wallpaper paste, bowl and scissors. Begin by ripping the paper into small pieces and place it into the bowl. Then shake the bowl and blow up a balloon. Now put some paste onto the balloon and layer it with the lantern paper pieces. Then let the paste dry and pop the balloon. Remove the balloon and cut off the lantern edges. Finish by hanging it and add a c...

This video tutorial is in the Computers & Programming category which will show you how to use the online discussion site Voice Thread. Voice thread enables you to create an online discussion with your students. In this video you will learn how to open an account, how to open a thread and how to post a comment on it. Go to the site. On the right hand top corner you will find a coffee cup. If you click on that, it will ask you for a username, password and email for opening an account. After you...

In this Fine Art video tutorial you will learn how to draw with basic shapes and apply them. The four basic shapes are spheres, cubes, cylinders and cones. A sphere is a three dimensional circle. On paper it will look flat without shading. Make sure you practice all kinds of circles. A cube is a three dimensional square. You can make a basic cube by drawing two squares and then join the corners. Cylinders are tubes or pipes. Draw two ellipses and join them by lines. If you are just starting o...

In this Autos, Motorcycles & Planes video tutorial you will learn how to inspect hail weather car damage. Paint loss dent repair is the most common method used for this purpose. The first thing to do is to count the number of dents based on half dollar, quarter, dime and nickel size. All you need to do is to place the coins over the dents and count how many dents are there of various sizes. Once you have this information, you are on your way to handle the hail loss assessment correctly. If th...

In order to make an accordion envelope, you will need the following: 6 envelopes, 4 pieces of 6x4 1/8 card stock, double sided tape, chalk, a square punch, and glue.

Want your bum to look as perky as it did twenty years ago in a bikini? Unfortunately there's no way to cut corners when you want to tone your glutes and thighs (lipo is an alternative, but that just gets rid of fat and doesn't actually help you tone or increase muscle).

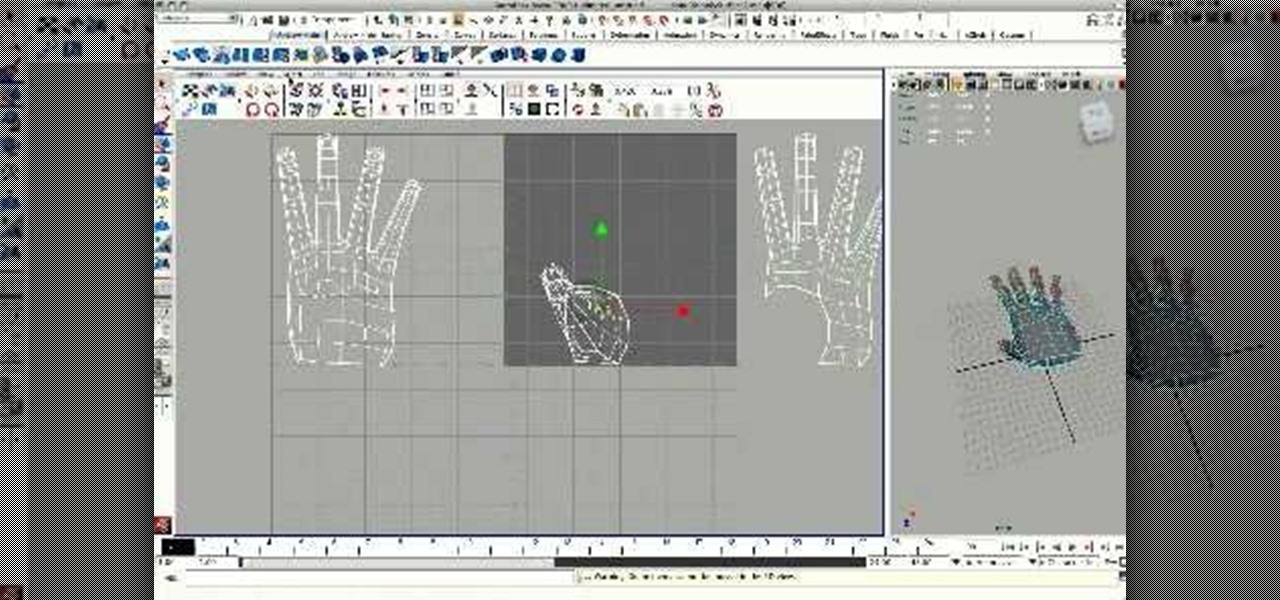
Maya 2009 introduced a lot of cool new UV tools to the already-powerful Maya 3D modeling software. This two-part video will teach you how to use some of these features to cut apart a 3D model of a hand by its UV edges. This technique is perfect for very fast organic UV unwraps, and should improve your skills and speed of modeling dramatically.

In this Arts & Crafts video tutorial you will learn how to sew a blind hem. Use a blind hem stitch when sewing the bottom hem of your Roman shade. It is very easy to do. For this you will need a sewing machine that has blind hem stitch already programmed in to it and a blind hem foot. Hem your fabric and pin it. Make sure the pointed ends of the pins are pointing outwards. Lay your fabric with the hemmed side facing up and the hemmed side towards the pressure foot. Then flip the hem upside so...

Facebook has added (yet another) brand new feature to their ever-expanding website. This new tool is called "social plugin" and it actually works all over the web. Now, Facebook will follow you wherever you go online. If you are on a completely different site (a news site for instance or a blog) you will see a little Facebook widget in the corner. You can then "Like" what you are reading or see if your friends "liked" it before you. This will then be published to your profile on Facebook for ...

In this Software video tutorial you will learn how to create a vector RSS icon in Illustrator. Open illustrator and open a new document. Select the ‘rounded rectangle tool’ from the rectangle menu. Click and drag to draw a rounded square. Select the gradient fill on the left side and change the color to orange on the right side and make it dark to light from top to bottom. Next grab the corner and turn it around 180 degrees. Move the picture to one side and select the ellipse tool. Draw a...

Take a square piece of paper and fold in half. Open the paper crease from the other side and mark it as previously.

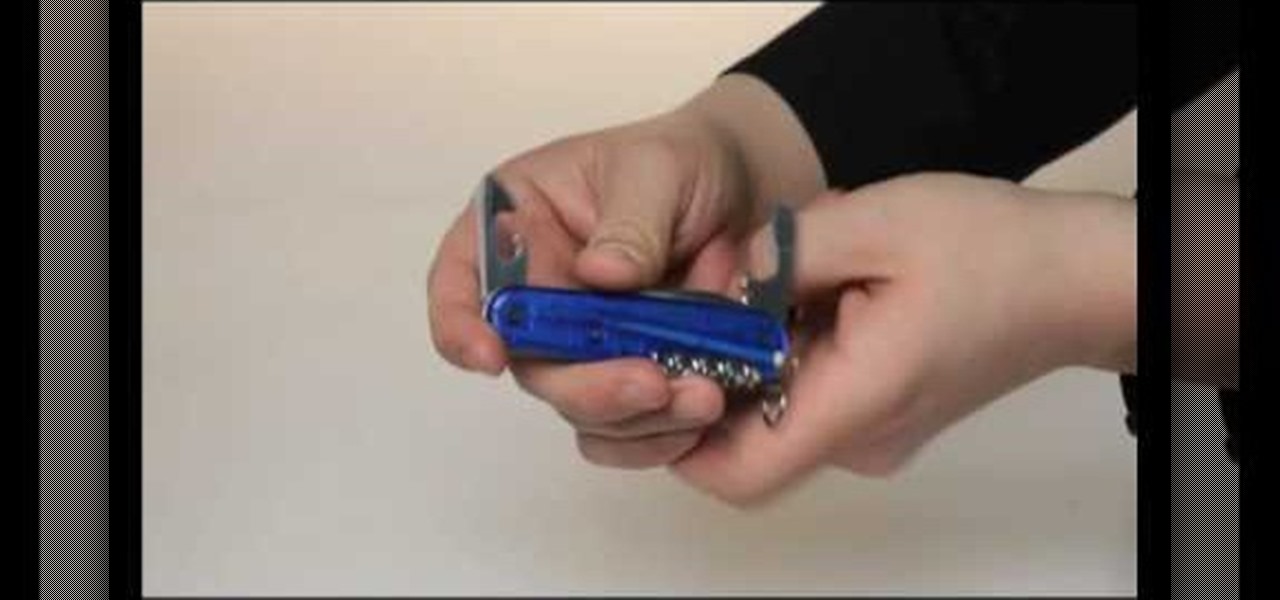
The Swiss army knife has a lifetime warranty and is the brand that MacGuyver used in his series so you know that it's good. The keychain side of the knife contains a bottle opener while the other side contains a can opener with a sharp cutting edge. The bottle opener has a flathead screwdriver on its top. You can use it to open bottles of ale when traveling through Europe by using a leverage technique. The top should then easily come off of your desired bottled beverage.

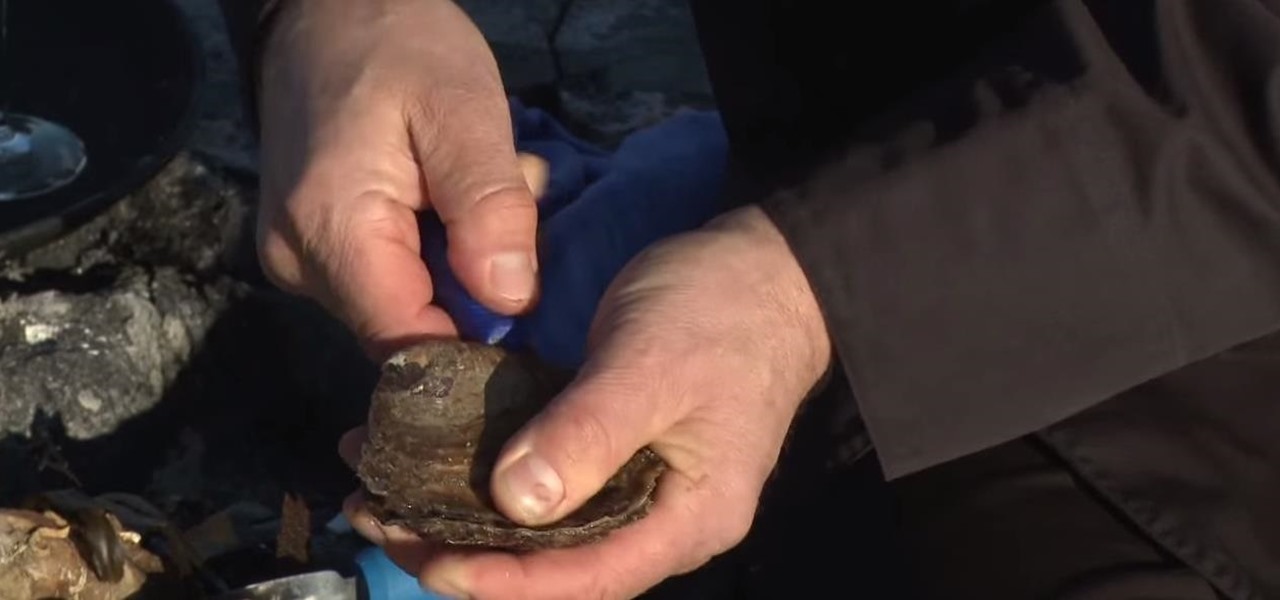
Following are the steps to describe how-to open and shuck the oyster properly: All you need is a good sharp knife to open the oyster.

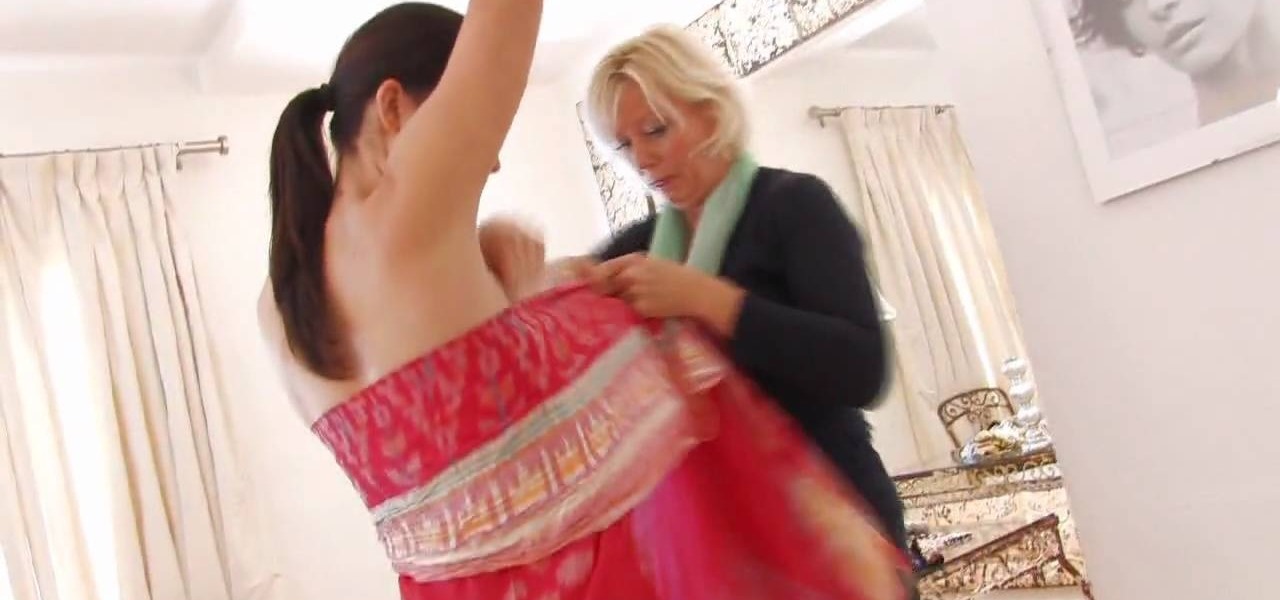
Fashion designer Cate Adair demonstrates dressing with a sarong for Modern Mom. She also discusses how to buy or extend a sarong when the one you find isn’t long enough. One important consideration for beginners is finding a sarong that can wrap around the body twice for security. One way she wraps is to simply wrap under the armpits twice and tie a flower or ornament with the corner. Another way is to put the full sarong on from the front, wrap each end backward and then over the shoulders...

The first thing to do is open a new document with Adobe Illustrator. Inside the document, make a box, width 200 pt, height 20 pt. Click the bottom right corner with your mouse and hit delete. Then hold down the top right with shift, and tap the down arrow once. Then, click bottom left point, hold shift, join the objects by half. Go to brushes pallet and create a new brush. Click the spiral tool. Use the up and down with the mouse to select range you would like. Select the art brush, and click...

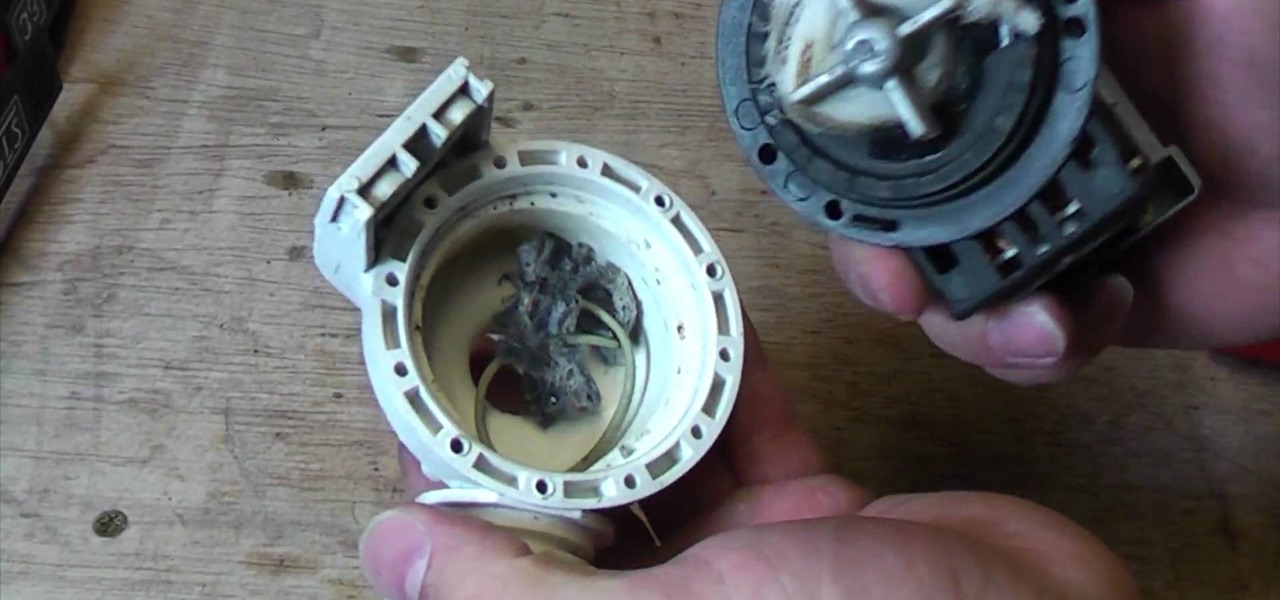
Ultimate Handyman demonstrates how to check a washing machine pump for blockages. First, disconnect the washing machine from the electricity source and remove the pump. The water sucks through the inlet and is pumped out of the outlet. Check to make sure that the pump doesn't have any open circuits by attaching the leads to the multimeter. Remove the screws to look inside the pump. Remove any debris that may be clogging the propellor. Make sure the O-ring around the edge creates the seal and ...

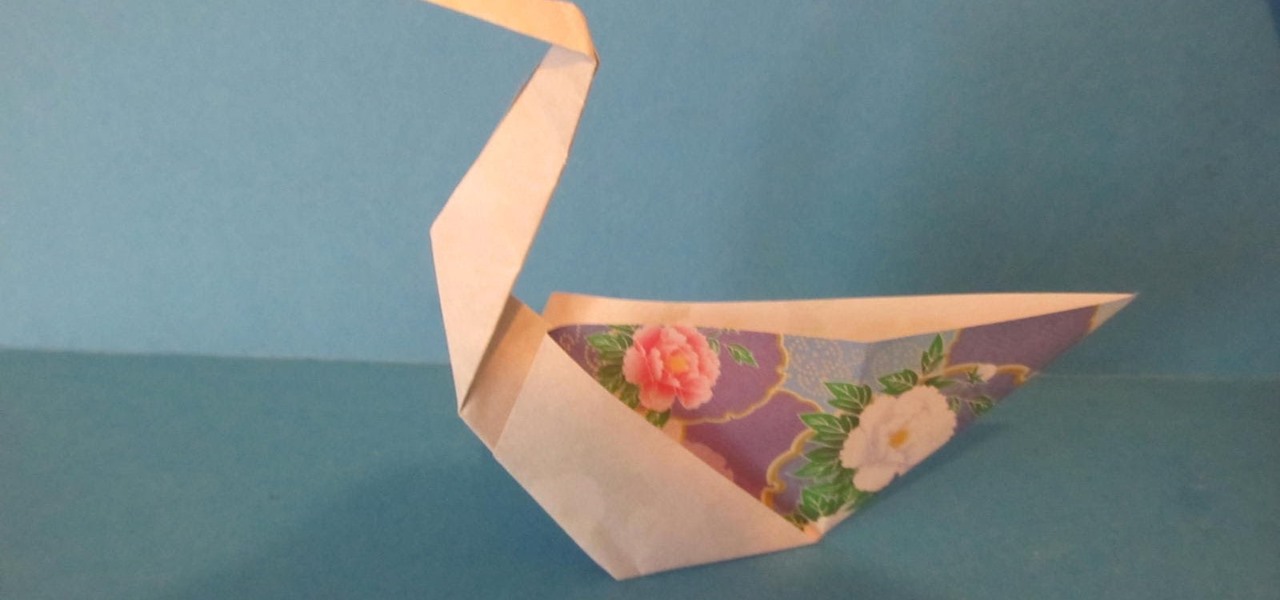
This video shows us how to fold a simple origami swan. Here are the following steps: Step 1: First of all take a paper and then crease it diagonally and then open the crease and then fold the paper on the crease line so that a cone is obtained with a triangle on the top.

To create an apostolic or pentecostal hairstyle, start with a poof in the front of the hair. It can be ratted behind for stability. Use two bobby pins to secure the back corner of the poof. Squirt the hair with hairspray before moving on. Then create a low ponytail in the back of the hair, pulling the top up and out slightly while forming the ponytail so it creates another poof in the back of the head. Spray the ponytail with hairspray then smooth out the hair on the top of the ponytail. Wrap...

In this how-to video, you will learn how to make a rainbow in an image. First, open the program. Make a new layer and go to the gradient tool. Change the style to the one that looks like a rainbow. From here, change the sliders that you have the colors of the rainbow selected. Once this is done, slide the rest of the sliders near the last color, which should be red. Save the gradient and click okay. Now, go to the bottom left hand corner until a plus sign shows. Click and drag until you get t...


