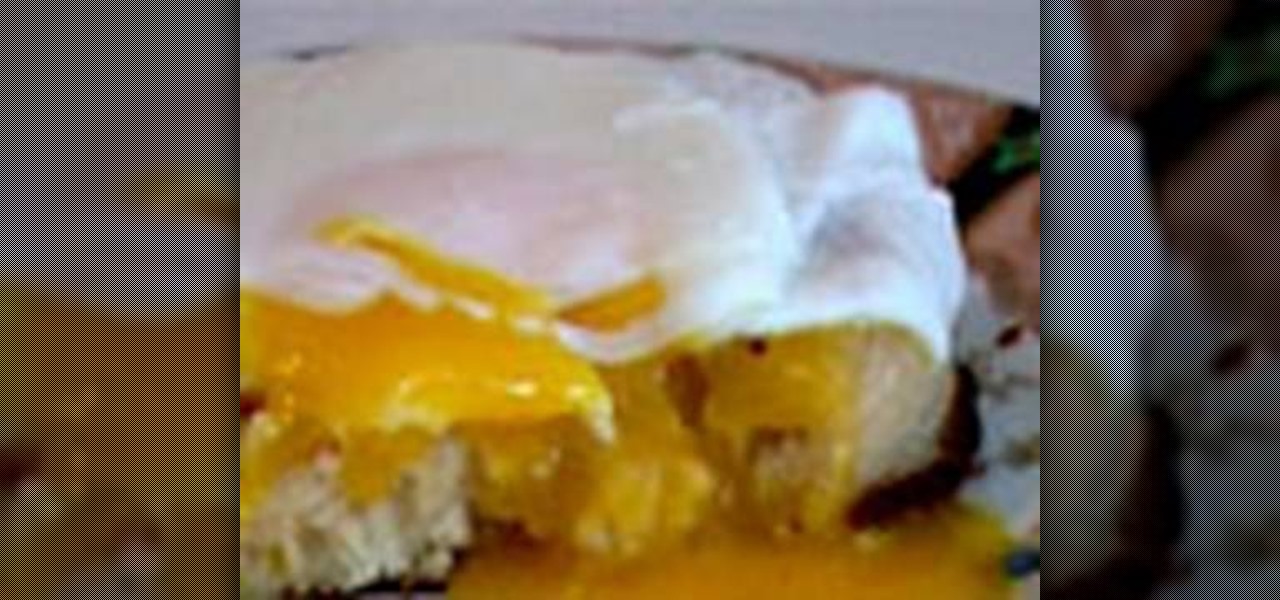
This is a tutorial segment of how to mount poach an egg. It's simple and easy. All you need for this are a large frying pan, a long spoon, vinegar and an egg. First, turn the stove on and heat the pan to medium heat. Fill the pan half-full of water and add a few drops of vinegar. The vinegar helps keep the egg together in water. Wait for small bubbles on the edge of the pan. Drop in your egg. Cook on low heat for 3–4 minutes. The egg will then pull back together towards the top of the pan. Af...

DominickDiy teaches you how to use a wood router. You figure out what and how you will use it for by looking at it and adjusting the blade. Then lock it into place and you're ready to cut. The piece of wood you'll be working on should be on top of a piece of rubber mat, so that the wood doesn't slip. You also don't want the router to slip, as it might injure you or cut a wrong way. You go from a rip to a cross cut, when going from one side to another, via a corner. So one time you will be pus...

This video demonstrates how to show and hide the ruler in Microsoft Word 2007, along with working with page margins. The presenter indicates that if you click the small button above the vertical scroll bar, Microsoft Word will then display Rulers. To work with margins you'll need to click on the Page Layout tab to display the Page Layout ribbon. The video shows the different options located on the Margins menu. There are several built in settings for wide, narrow, normal, moderate, and mirror...

In this video tutorial, viewers learn how to remove and replace vinyl siding. Users will need a siding removal tool (zip tool). Insert this tool beneath the bottom edge of the overlap and pull down while sliding the tool horizontally. Remove the nails underneath and simply pull down the siding. Now measure the length of the siding. With the new siding, connect it on the exterior wall and reinforce it with some nails. This video will help those viewers who need to learn how to replace a vinyl ...
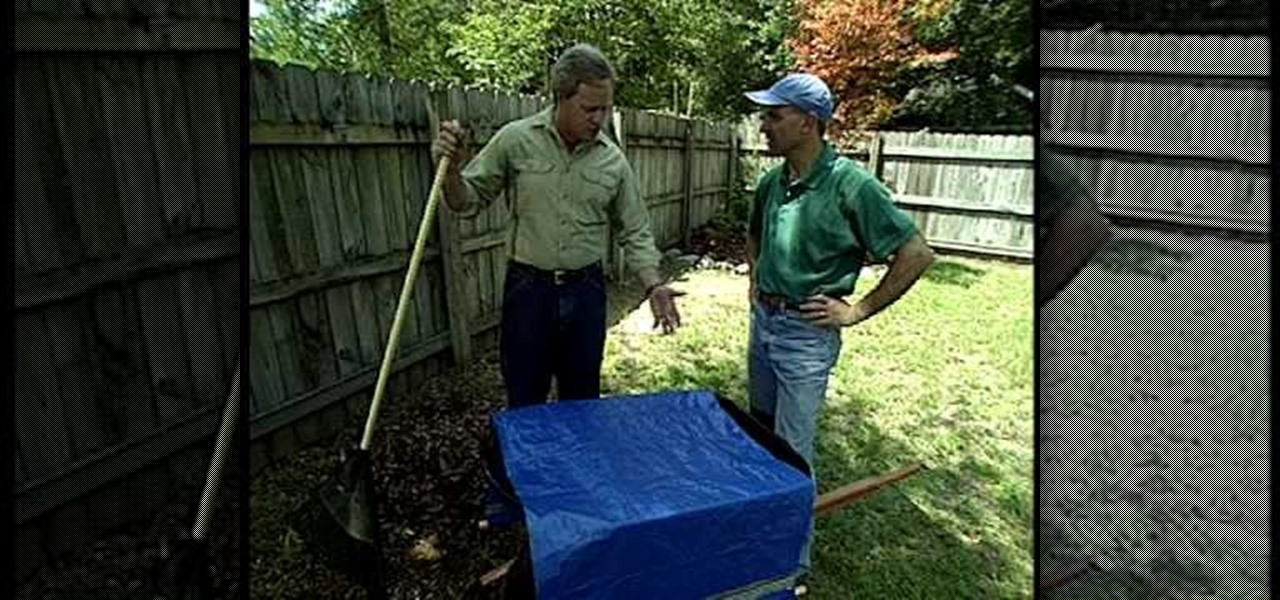
This video from Danny Lipford explains how to make a cover for raked leaves so that the wind won't blow them away. Get a tarp and cut it to the right size. Get two wooden dowel rods and put them along two ends of the tarp. Turn the tarp edge over the dowel rods and tape them down with duct tape. The cover can be used to cover leaves that are in a wheelbarrow or on the ground. You can also lay the tarp on the ground, rake the leaves into the tarp, drag them where you want them and pick up the ...

This video tells you how to save files in Microsoft Word using different file types. If you are trying to save a file as the old Microsoft Word 97-03, the process is easy. This video takes you through a visual tutorial on how to save files under different documents. If you click the circle in the upper left corner and scroll down to save as, it will give you several different options to save under. Then, you can choose which document you want to save it under, and save the file under a new na...

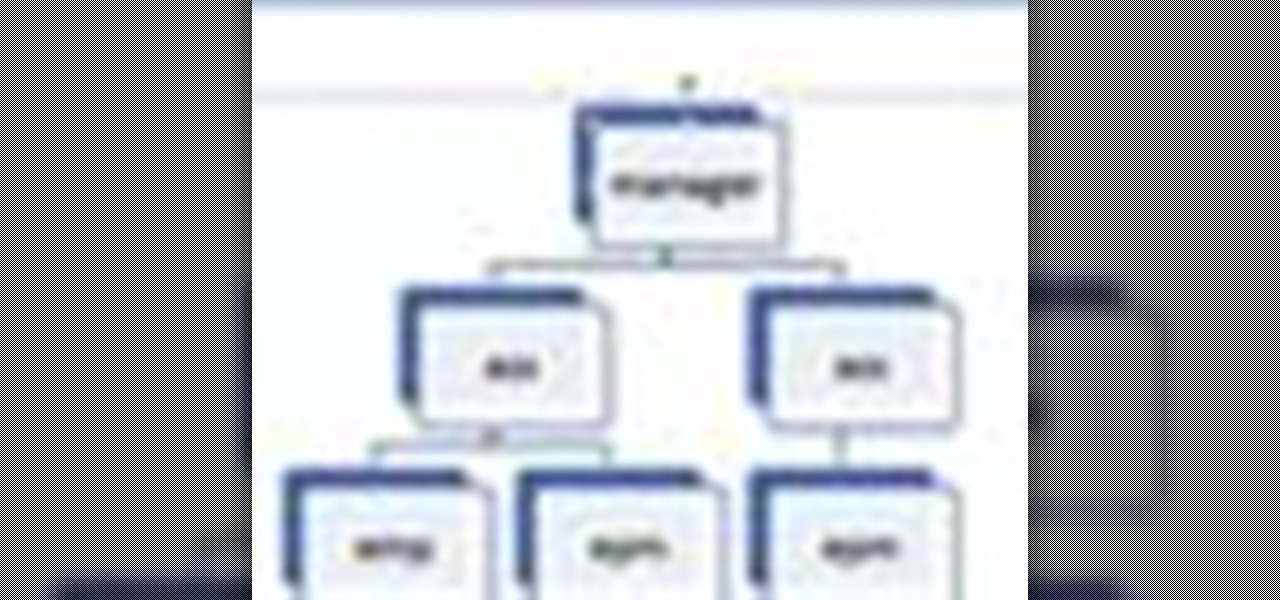
This video will show you how to create a flow chart in MS Word 2007. First click on the Insert tab. You can see the smart art option, click on it. A "Smart Art Graphic" window will appear.

This video teaches the secrets of opening an XBox 360 without a case tool in simple steps. First remove the hard drive and then remove the face plate from the bottom. Now insert the pin through the holes on the sides and push it out where the side pieces are locked in. Now remove the four clips present on the face and open it as shown in the video. Remove the back holding it from the side, use a flat head screw driver and push it in as shown. With a T 12 driver remove the screws on the corner...

This is an instructional video on how to fold an octahedron with Post-It notes. Use 3 different colors of Post-It notes. Take 2 Post-It notes in the same color, fold it horizontally and diagonally to make four squares. Fold diagonally the sticky side, you will end up with a cross or a star. Put the tight corner between the gap, alternating the color. That's it! You will end with an octahedron Watch this video and make an octahedron using Post-It notes by yourself.

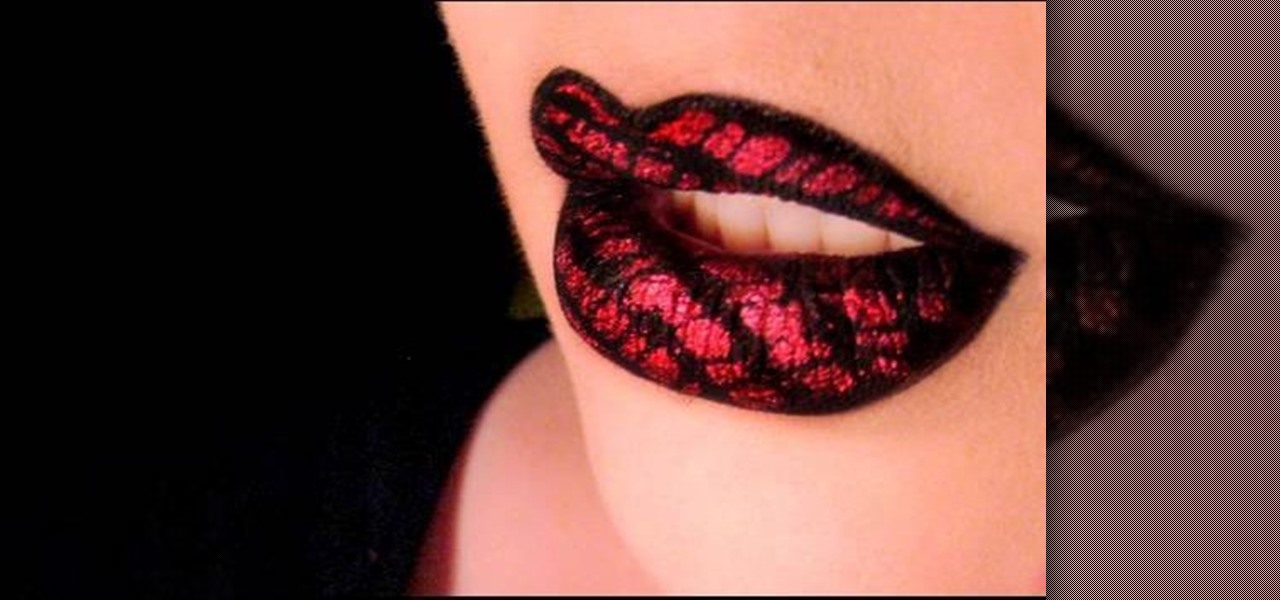
Learn from this video how to apply fishnet printed lips in simple steps. First use a black eyeliner to fill it in your lips and apply any sealer to the edges of your lips. Apply a little bit of powder over the sealer. Take any red pigment in a brush, place a clean fishnet over your lips and pat the brush over the net. Finally repeat the same process to your upper lips to finish.

Learn how to make plastic costume chain mail for all your LARPing and Halloween needs. 1 Purchase enough 12" silver binding coil from the displayed suppliers for your project. 2 Using needle nose pliers, cut the rings as shown in the video. Make sure that there is plenty of overlap so the rings will stay closed. 3 Flatten the edge of the cut rings with your pliers. 4 Start to combine the rings together using the European 4 in 1 weave pattern. 5 Build squares of chain mail following this patte...

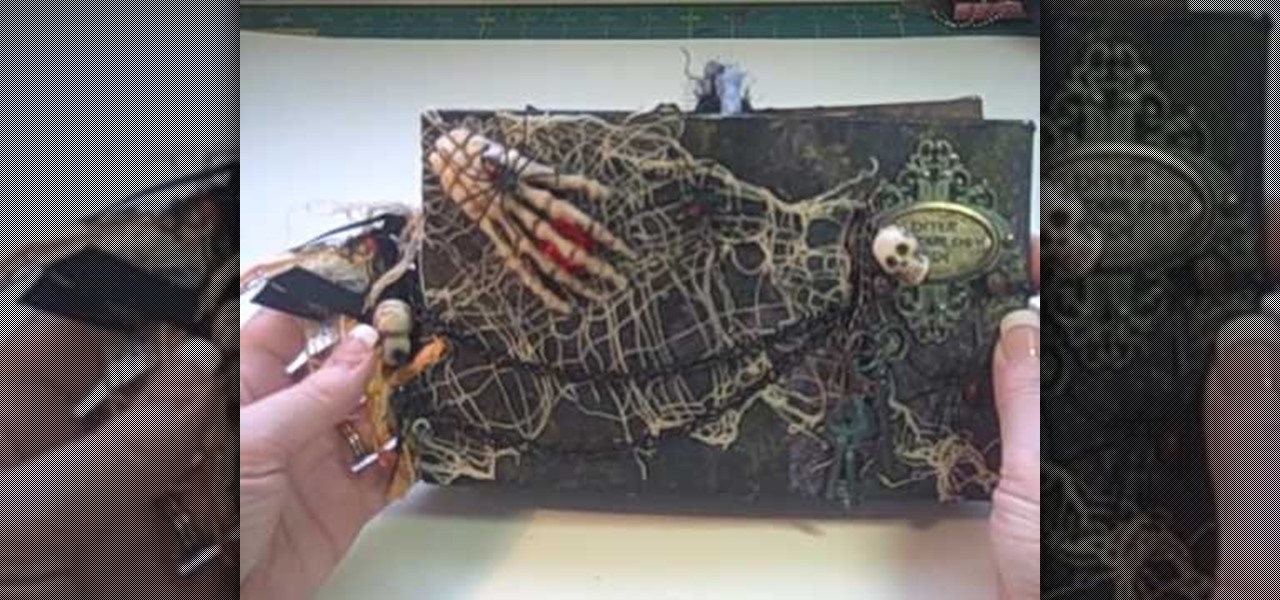
Halloween is just around the corner and this spooky paper bag album you can really create a masterpiece. If you love scrap booking this project would be a blast for you. All items were bought for less than a dollar at the local dollar store and the detailing is quite manageable from intermediate to advanced scrap booking. So if you have time and patience to make this then get ready to create an album ready for any Halloween adventure. In this video you will learn how to make a spooky Hallowee...

Dawn5377 teaches you how to make a twist box. Start with a piece of designer paper and fold it according to video specifications. Once done you will fold all the score lines, which are both horizontal and vertical. For the Xs you will fold in once one way and then the other. You will also crease the tiny line to the edge of the paper, using a sort of pinch motion. You punch three holes on each side - top and bottom. Fold the paper horizontally and glue it. Push the two ends opposite of each o...

The linked video shows how an elderly woman named Clara makes pizza from scratch. The first thing she does is flatten out the dough using a roller and then she places it on a pan as she continues to flatten out the dough with her hands, and she suggests that you use extra virgin olive oil on the dough. She then puts her homemade sauce, anchovies and both powdered and small pieces of block cheese onto the pizza. Clara then cooked the pizza at 350 de...

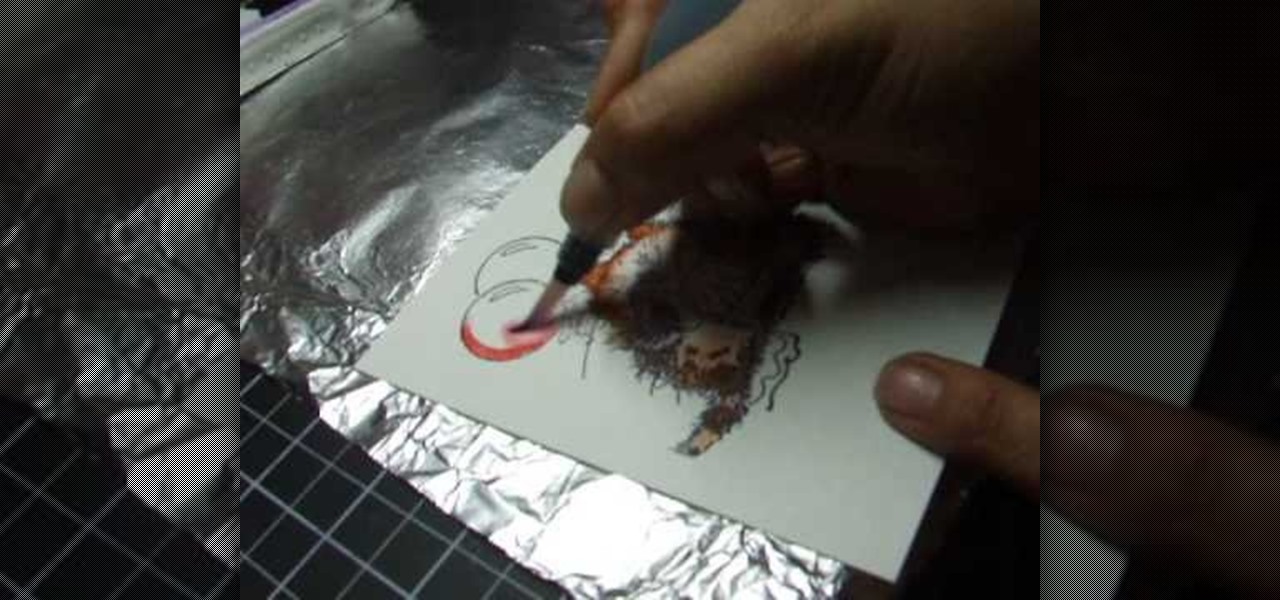
Maria Bell demonstrates to create the watercolor project, add color to the watercolor paper by first outlining the image or the shape with the SU marker. Then, distribute the color from the edge of the image or shape to the center of the image or shape with an aqua painter or watercolor brush. Fill in the images with shading details as desired. The technique produces gradient shading and a quick spread of colors without the use of watercolor pencils or crayon. Painting watercolors with SU mar...

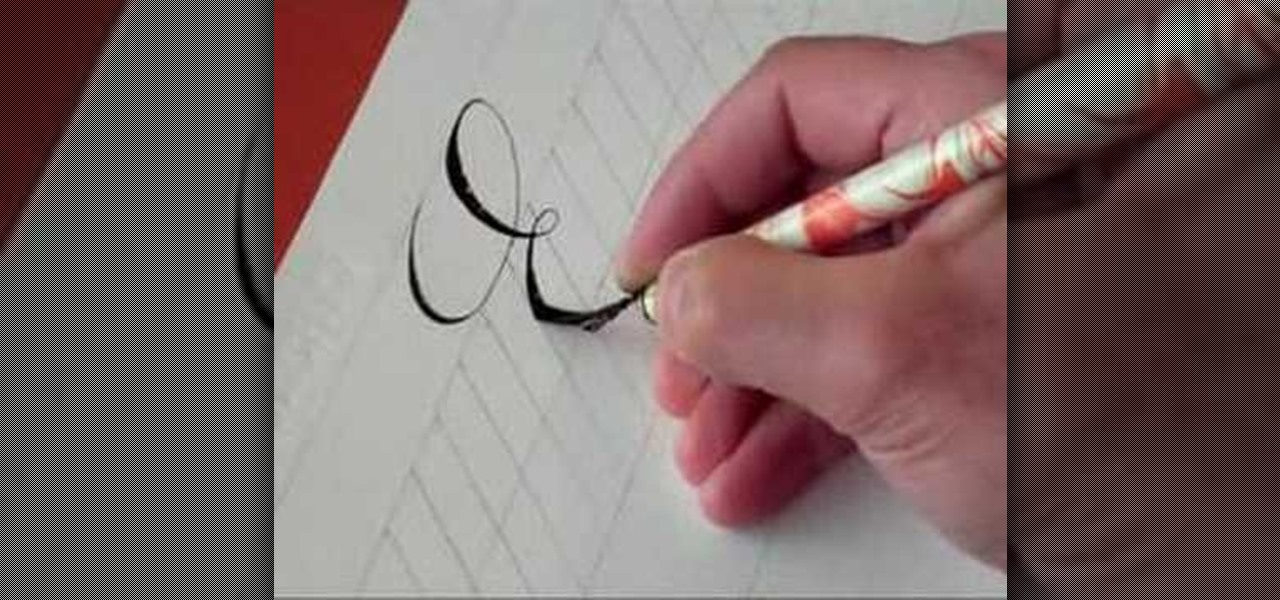
How should you write in copperplate? Hamid will show us how write E and e in copperplate. First we need a book and a pen specially to write in copperplate. This type of font has letters with narrow edges and it gets broader in the middle. For capital 'E', it will be in curved form with the font's unique style of thickness. The small 'e' more looks like a 'c' with a closed loop. It will help in improving your handwriting style and add some grace.

Cardcrazy09 teaches us how to make a graduation card. You take a piece of black card stock paper and stick thin white paper edges on each side, like a window. You then use the Cricut to make a star and the word Congrats. This will go on the left, on top of some black printed moxie paper. The right side of the card also features a piece of moxie paper, with graduation hats pattern. There are also nail heads stuck on top. The last idea is to also include money to your son/niece.

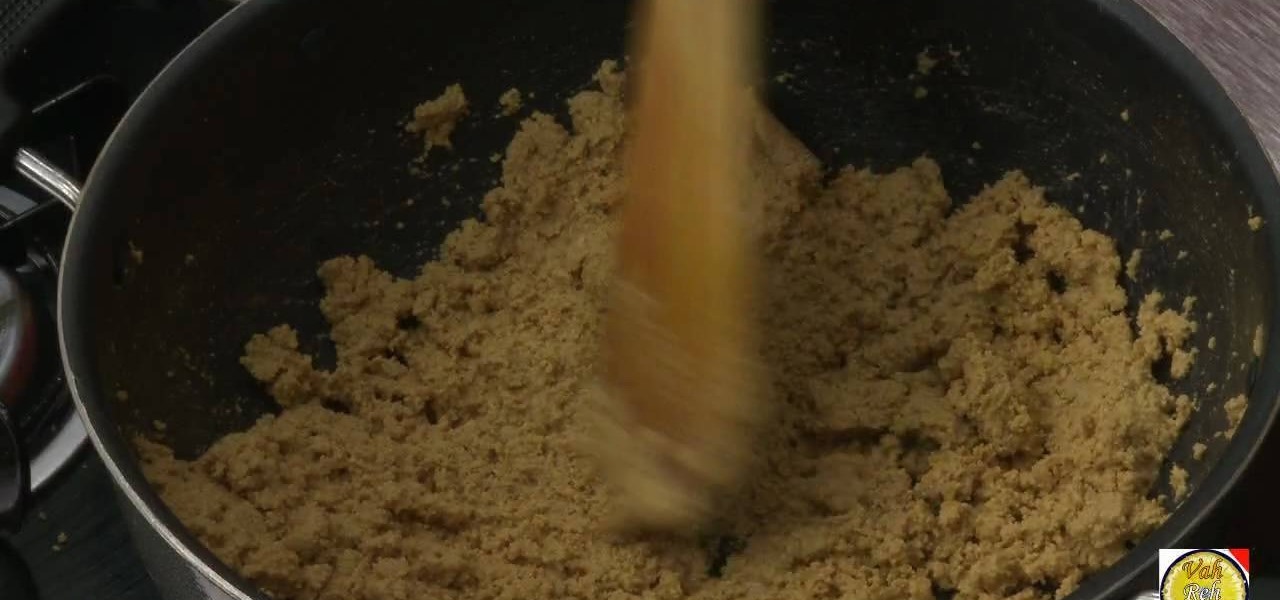
Chef Sanjay Thumma from VahRehVah teaches how to make Besan Ladoo. Ingredients: 1 tsp. pistachio powder, 1 tsp. cardamom powder, 250 grams flour (besan), 100 grams ghee, 250 grams powdered sugar. Put ghee in a sauce pan. Bring it to boil. Add the besan flour. Mix. Add sugar. Mix. Add the cardamom powder. Mix well. Cool the mixture and form into small balls. Dip one edge of ladoo in ghee and dip it in the pistachio mixture. Serve. Follow these steps and enjoy a delicious Indian besan ladoo.

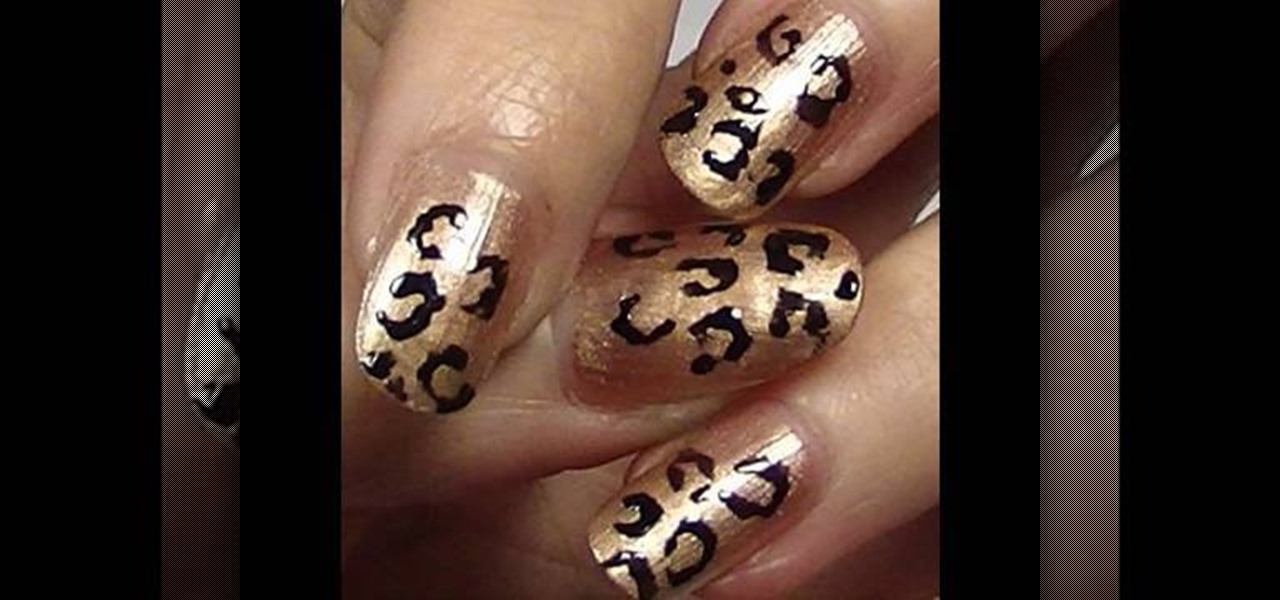
Pixie Litt, from Mama Do Nails helps us learn how to get a leopard printed nails. Firstly, using a E.L.F nail varnish in 'Blush', give a gentle coat on the nails starting from the tip of the nails go down to as close to the cuticle as possible leaving some edge space. Now, for the second coat use the brush in the same way but here you will be going down just half way so that it gives a more prominent look for the nails. Now for the leopard print, just use an ordinary black color nail polish f...

You first want to start with doing the outlines of the arm. Basic shapes like tubes are given structure with cross sections. This is to know if your knee is bending or is it straight. To do a gesture properly is to use landmarks. You start from the toes positioning and work your way up from here. Your feet, knee, and torso are your three landmarks. Erasing sharp edges helps to give the effect of a more soft drawing and the limbs seem more realistic. Today we learned that drawing is more about...

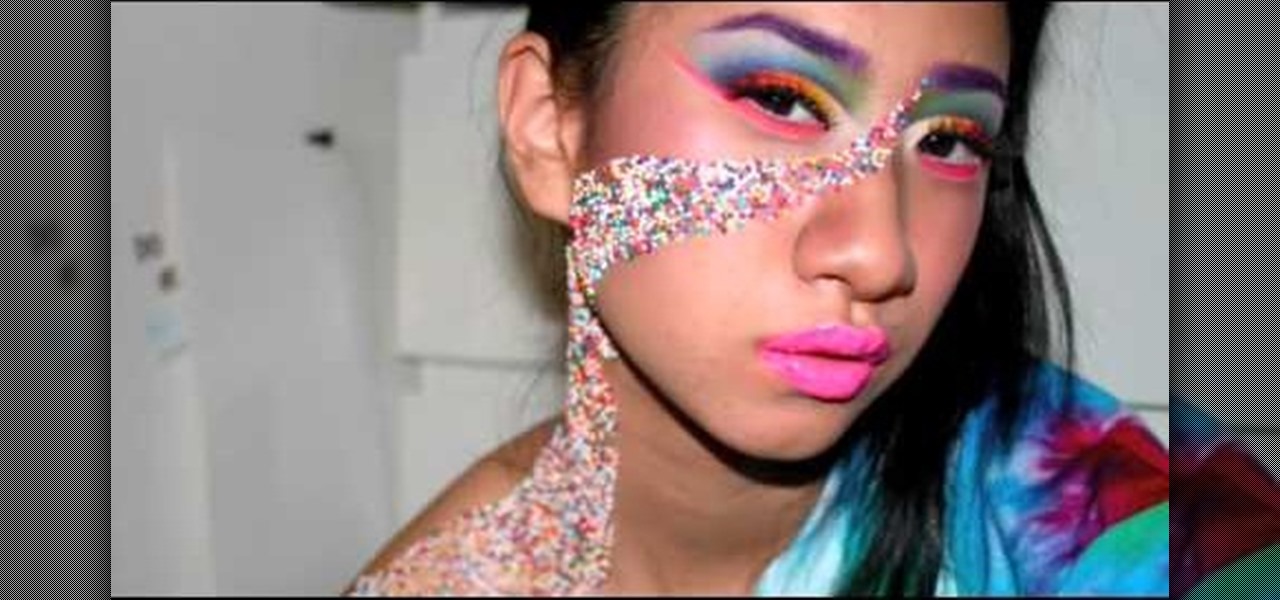
Aspiring makeup artist demonstrates how to apply nonpareil sprinkles to achieve a candy-inspired look Purchase rainbow-colored nonpareils (tiny round sprinkles). These can be found in the baking aisle at your local grocery store. Apply sprinkles using a clear sticky lip-gloss. Create unique patterns, such as this swirl from the corner of the eye to the collar bone. Pair with candy-inspired jewelry and a chunky bun positioned high on the head to finish the look. Follow these suggestions to tur...

After watching this video you will have a better understanding of this sport and how to ride your bike in the best way possible. Balance is key to solid bike riding. The girls go over fore and aft movement, side-to-side lateral movement, and up/down movement which is used for better pressure control used for better weight control on the wheels. You can see how your body should be positioned for better control and stability taking corners or riding over rocks in this short discussion of the ba...

Ron Hazelton shows how to rip cut a very long piece of wood using a circular saw instead of a table saw. First, place sawhorses approximately every 4 feet under the wood. Choose the correct blade for the wood. Affix the circular saw with an edge guide. Set the blade depth so that the blade barely goes past the wood. Put scrap pieces of lumber on the sawhorses under the wood. Then the long rip cut can be a zip.

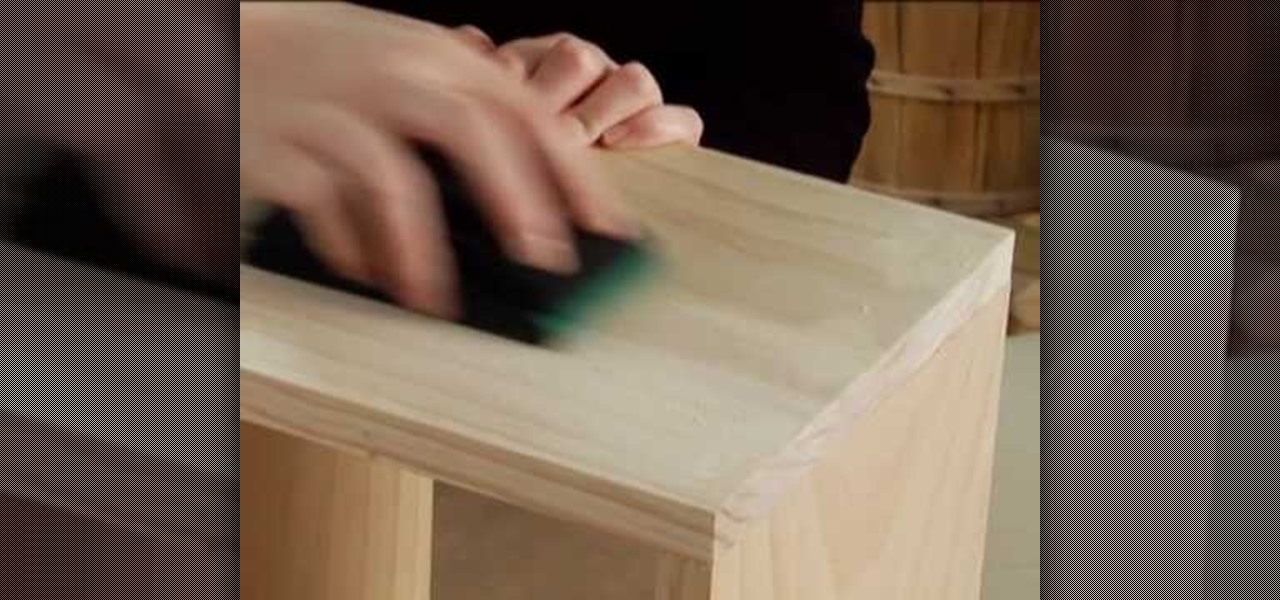
This video describes how to improve one's skill when performing home based projects with wood which is a useful skill if one wants to build a table, chair or even a box. In this video one will learn how to sink a nail, cover the hole and leave a sanded finish. For example it is important to drive all nails 1/8 an inch into the surface of the wood so the filler can cover the hole properly and avoid leaving sharp edges or uneven surfaces. Overall this video is simple, easy to follow and useful ...

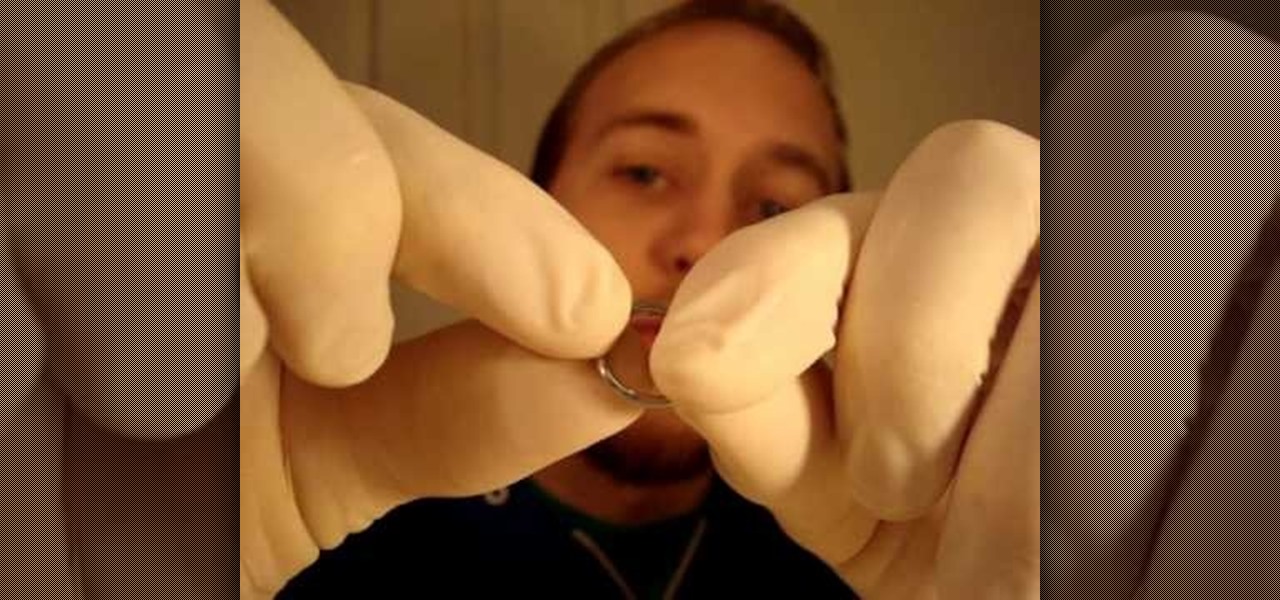
These rings are so frustrating. This video is a great tutorial showing you to put it on different places on your body.

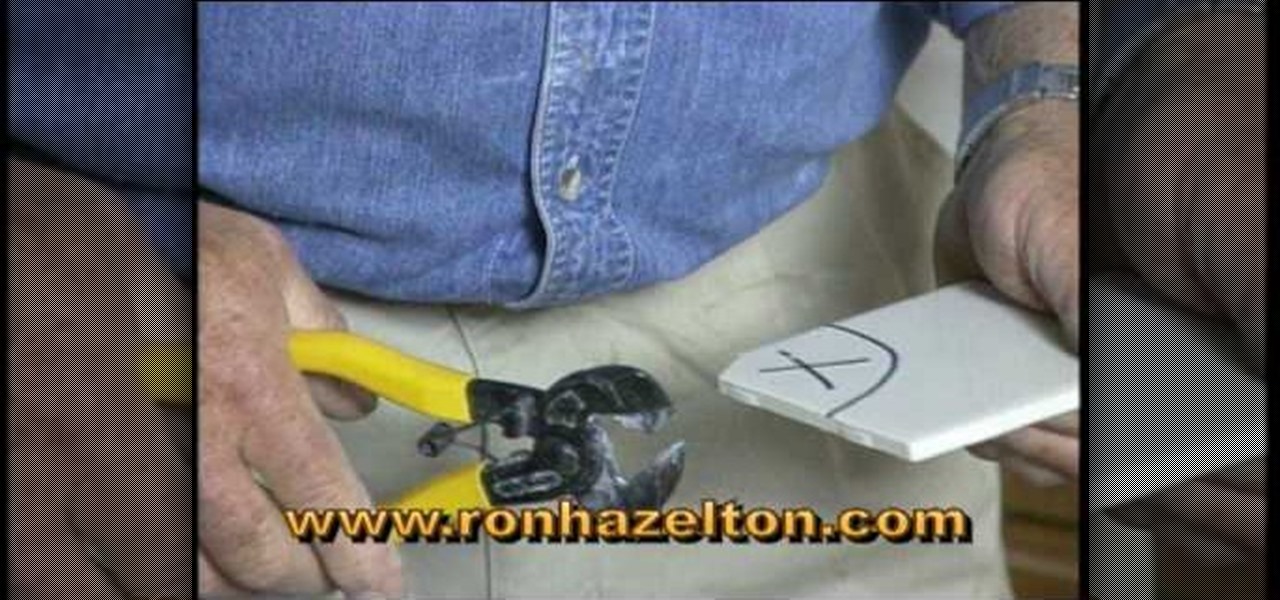
If you lay tile it is rare to do a job and not have to cut a curved piece of tile. If you do have to cut a curved piece there are two ways to do it. First, you have to draw outline of the cut that you need to make on the tile itself and mark the part you are going to remove with an X. The low tech method involves using a pair of tile nippers. You nip away pieces of the tile until you have nipped away the whole area until you have a circular cut out. For a more polished cut you can use a spira...

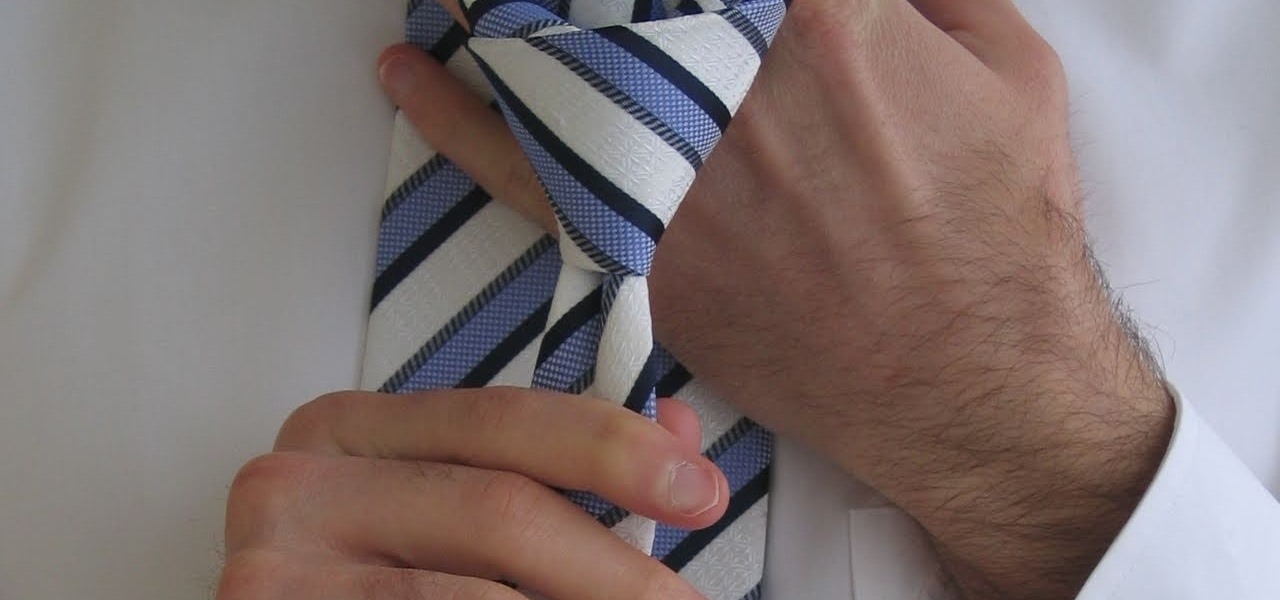
Tying a tie is a very useful skill, in this video, we are shown how to tie a Double Windsor knot, a very popular knot due to its symmetry. After placing the tie around your neck, if you are a right-handed person, make the thicker side the longer side on your right and pass this longer piece over the other one. Place the tie behind the other end and pull it through the hole and down, forming a small knot. Twisting the tie around itself backwards, pull the longer edge through on the other side ...

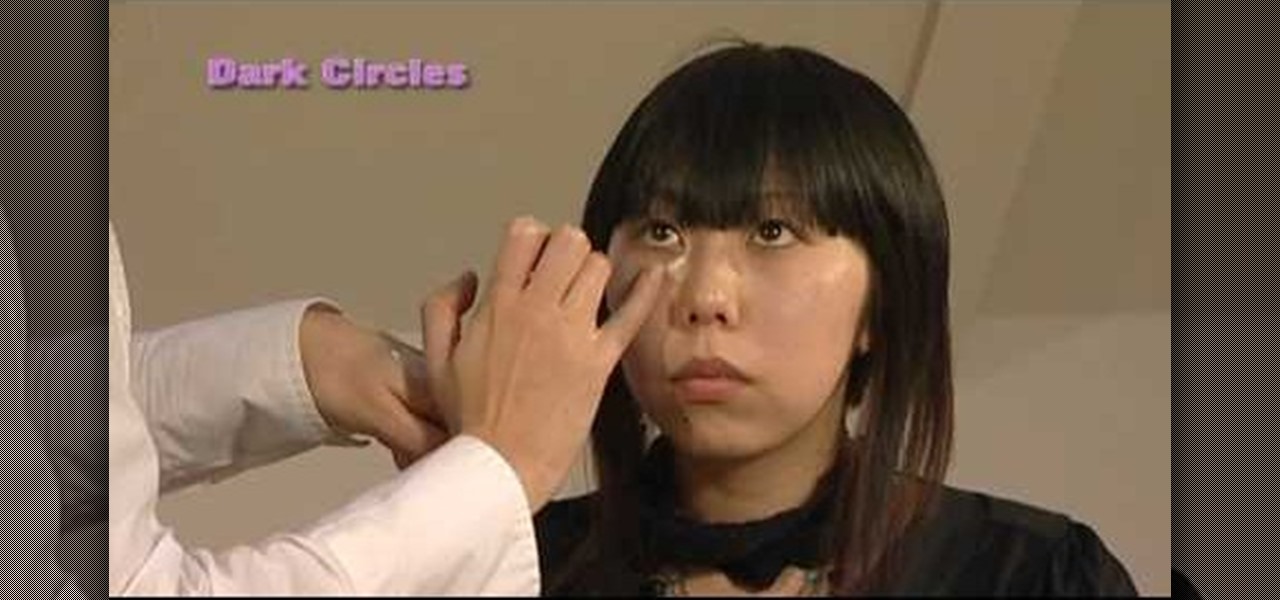
To cover up those dark eye circles invest in a good concealer that is lightweight and of premium texture. You will want to look for a shade that is peachy or pink in tone. Take some of the concealer and dot it onto the dark line only and then blend it in with your finger. Most people also have a red patch at the outer corner of the eye. Covering this with concealer will give the eyes an immediate lift. Applying some concealer is much better than applying a lot of makeup.

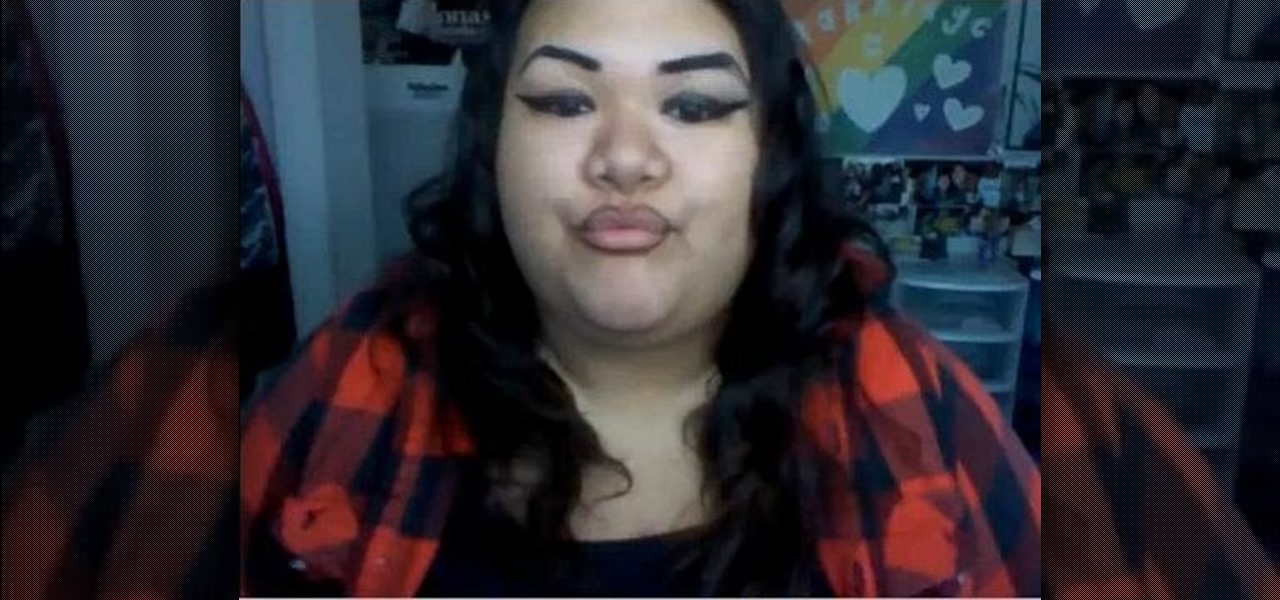
Learn how to get a chola look with your makeup. - Once your hair is wet, shake your hair.

Making a fruit salad is easy with just a few simple steps. First, peel, core and cut some pineapple. Next, peel and cut up some mango. After that, remove the pulp and juice the orange and grapefruit. Add all the fruit to the serving dish. Place the raspberries around the edge of the dish for appearance. Now add the red currants and chopped basil. Drizzle with lemon oil and sprinkle with sugar to complete the dish.

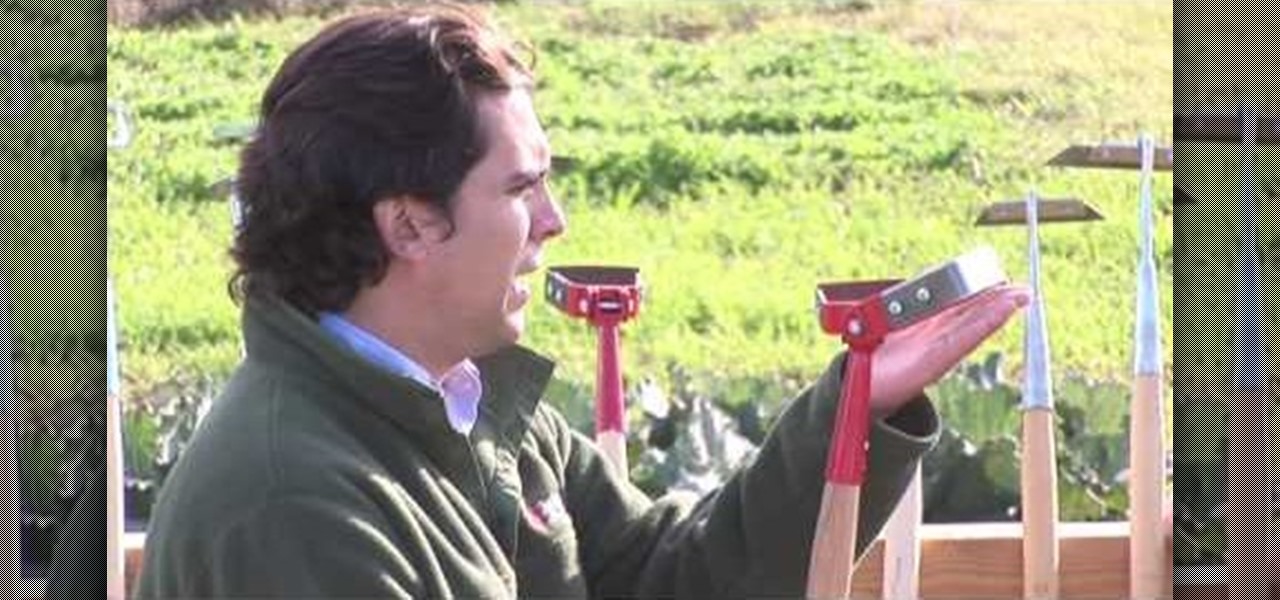
One of the most challenging, arduous parts of gardening is weeding vegetables that are close to the ground. Cabbage, for instance, leafs out near the earth and can be fiendishly tricky to weed. In this Growing Wisdom gardening tutorial, you'll learn about some of the tools that can help you weed those hard-to-reach spots without breaking your back in the process.

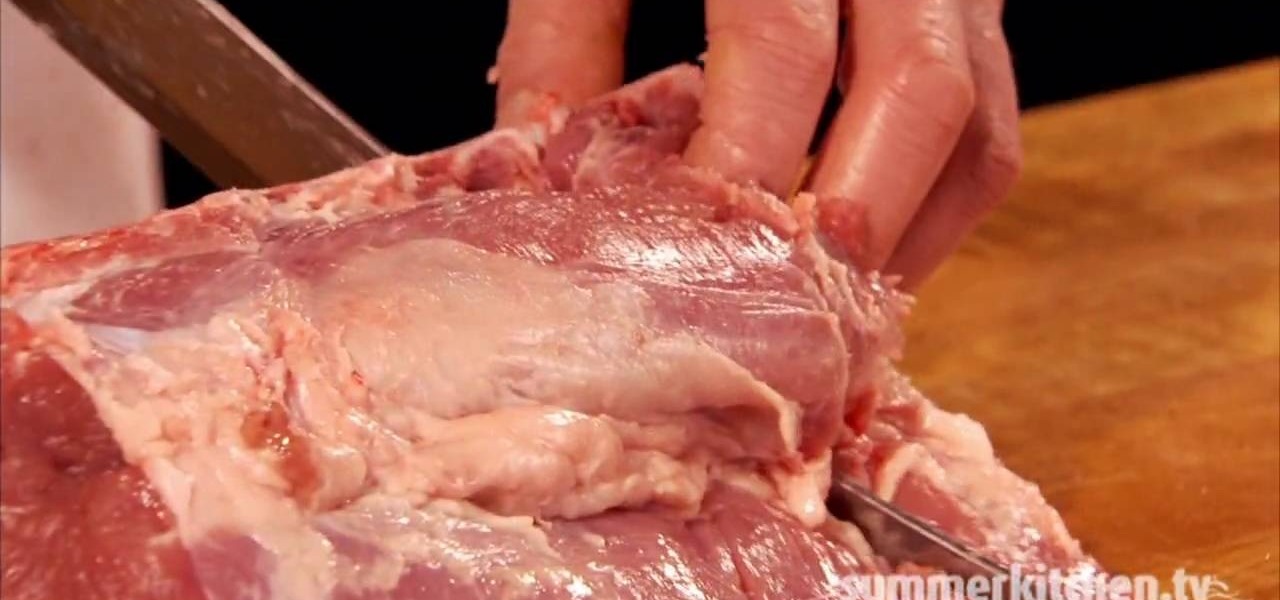
A pork chop is just a pork chop, right? Well, actually not. In fact, there are three different cuts of chops; the rib chop, the loin chop, and the sirloin chop. Each of the three cuts comes from the pork loin, which is the tender strip of meat that runs from the shoulder butt back to its leg (hip).

Are you a Combat Arms fanatic? Does CA keep you up at nights? Maybe, maybe not. But one things for sure... everyone could use a little help playing this popular computer video game.

Go beyond the traditional 3D workflow to an immersive creative experience with the software Modo, created by Luxology. Modo is the next evolution of 3D modeling, painting and rendering for Mac and PC. Modo includes 3D sculpting tools, animation and network rendering, and advanced features such as n-gons and edge weighting.

Go beyond the traditional 3D workflow to an immersive creative experience with the software Modo, created by Luxology. Modo is the next evolution of 3D modeling, painting and rendering for Mac and PC. Modo includes 3D sculpting tools, animation and network rendering, and advanced features such as n-gons and edge weighting.

Go beyond the traditional 3D workflow to an immersive creative experience with the software Modo, created by Luxology. Modo is the next evolution of 3D modeling, painting and rendering for Mac and PC. Modo includes 3D sculpting tools, animation and network rendering, and advanced features such as n-gons and edge weighting.

Go beyond the traditional 3D workflow to an immersive creative experience with the software Modo, created by Luxology. Modo is the next evolution of 3D modeling, painting and rendering for Mac and PC. Modo includes 3D sculpting tools, animation and network rendering, and advanced features such as n-gons and edge weighting.

Go beyond the traditional 3D workflow to an immersive creative experience with the software Modo, created by Luxology. Modo is the next evolution of 3D modeling, painting and rendering for Mac and PC. Modo includes 3D sculpting tools, animation and network rendering, and advanced features such as n-gons and edge weighting.

Go beyond the traditional 3D workflow to an immersive creative experience with the software Modo, created by Luxology. Modo is the next evolution of 3D modeling, painting and rendering for Mac and PC. Modo includes 3D sculpting tools, animation and network rendering, and advanced features such as n-gons and edge weighting.

This Australian bush guide teaches the ways of the Boomerang. How to throw the Aussie weapon. Boomerangs are like airplane wings. Have the curved side with the beveled edge facing you. The more you flick your wrist when throwing the boomerang the more rotation your boomerang will have. Throw the boomerang at a 45 degree angle to the wind. Don't throw the boomerang into the wind. Throw it at a 1 o'clock angle, not 12 o clock or six. It's not to be thrown like a baseball or a frisbee. If you th...


