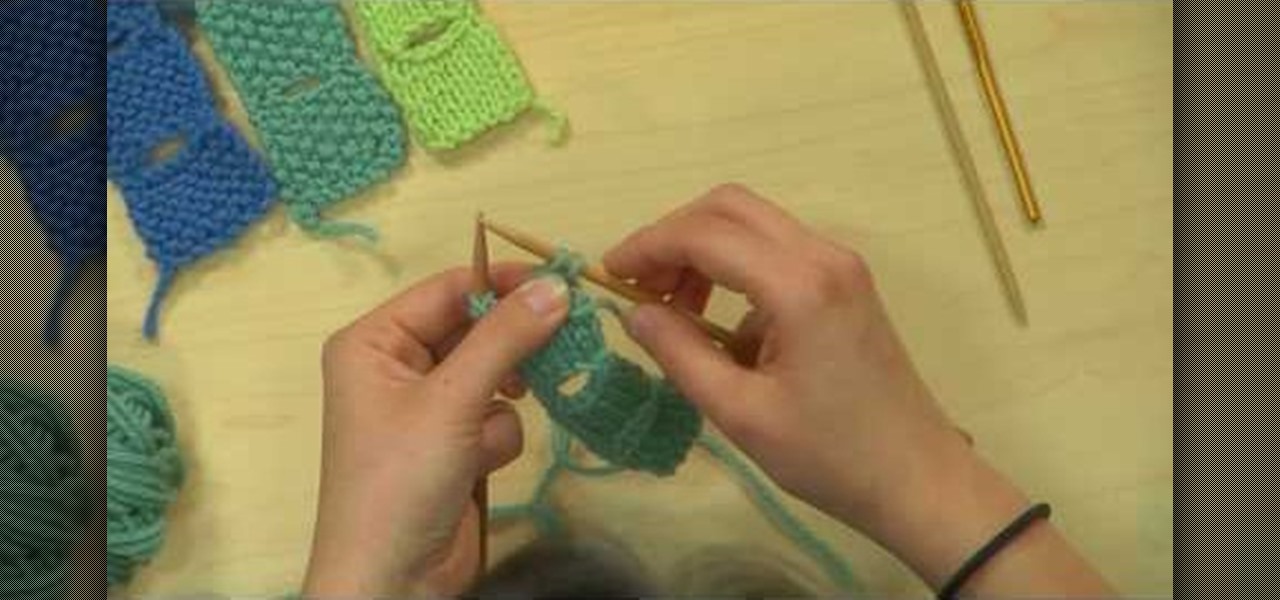
These tulip buttonholes are both pretty and all-purpose, usable for just about any knitting project that requires buttonholes. Composed of a petal-shaped hole rimmed at the edges with a briaded knit, this tulip buttonhold project is simple and great for knitting beginners.
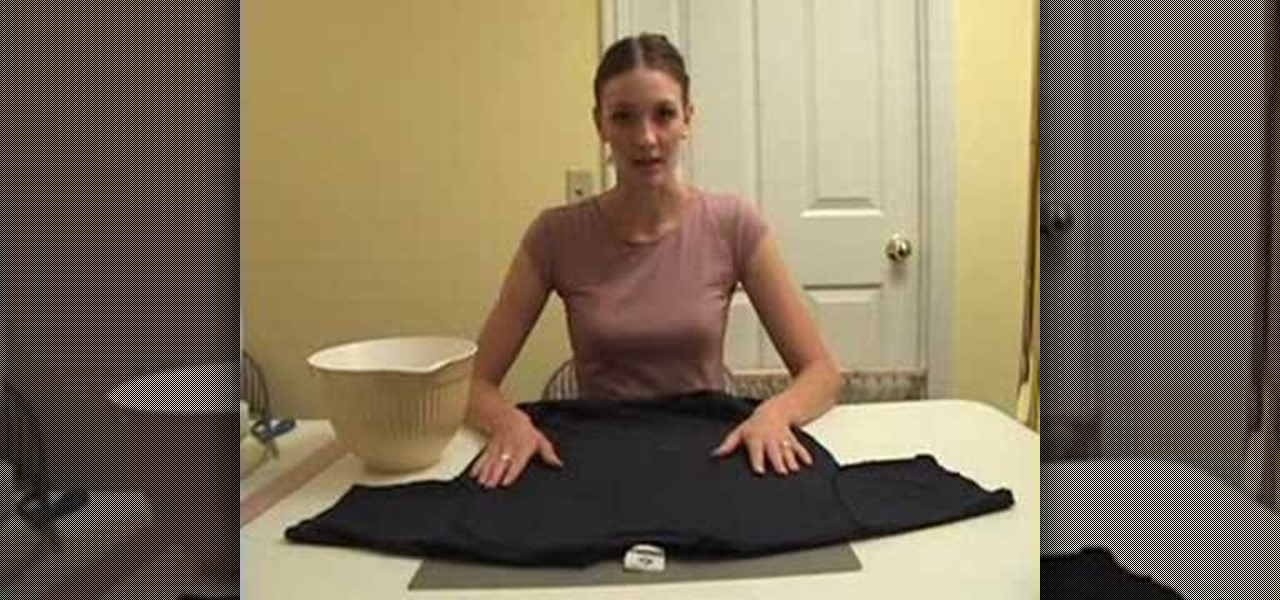
Got a pile of old clothes collecting dust in the corner of your closet? Before you get the incentive to finally donate that lump to the Salvation Army, consider reusing some of those seemingly "useles" clothing.
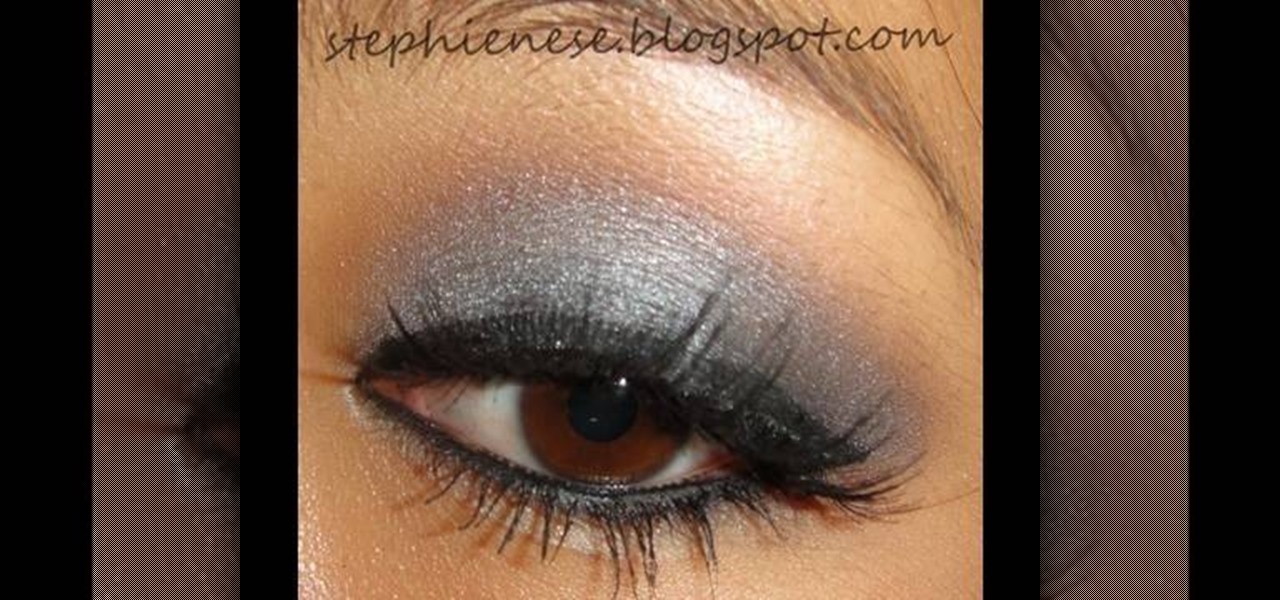
In this tutorial, we learn how to apply a smoky eye look with pink lip gloss. To begin, apply a primer underneath your eye and throughout your entire eyelid. After this, apply a blue shimmer eyeshadow to the entire eyelid over your primer coat. After this, blend a pink color onto the crease of the eye and around the upper lid. Next, apply a light blue eyeshadow to the inner crease of the eye, blending it out towards the outer corner. When finished, use a brush to blend a dark blue on the outs...
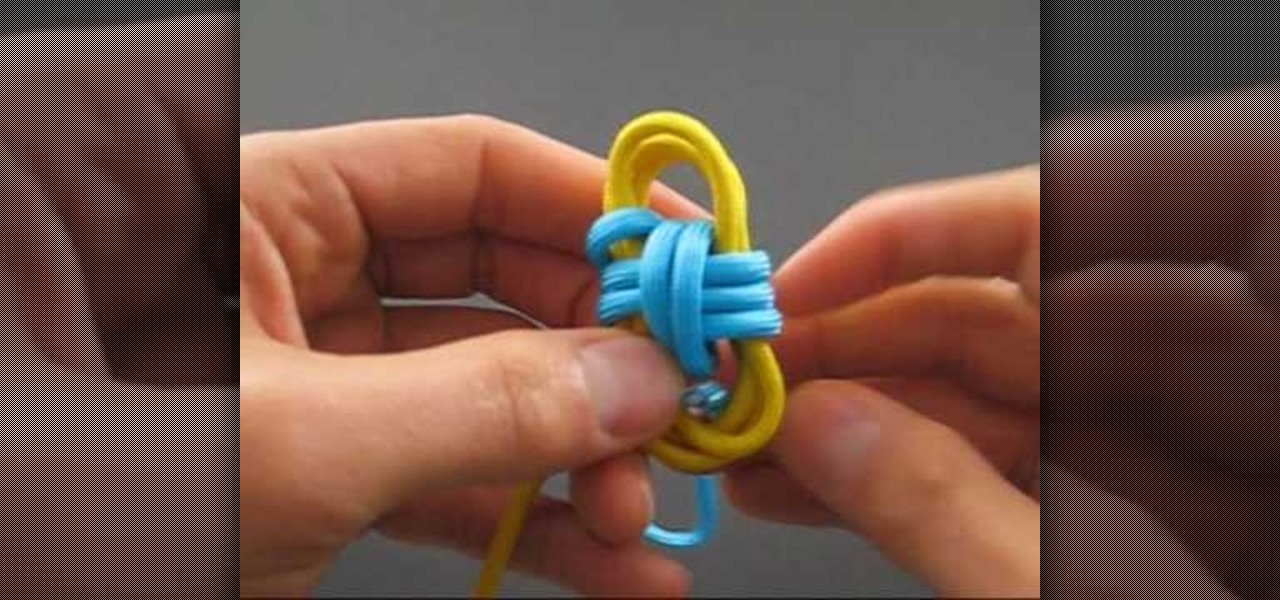
In this tutorial, we learn how to tie the two color monkey's fist knot. First, make a double overhand knot, and snip the edges off. Next, create the monkey's fist by taking one of the ropes and looping it around the fingers several times. After you do this, push the knot through the fingers and tie the other string around the entire loop several times. Push the string through the loop, then continue to tie on the opposite side around itself. To finish this up, Pull the two outside strings tog...
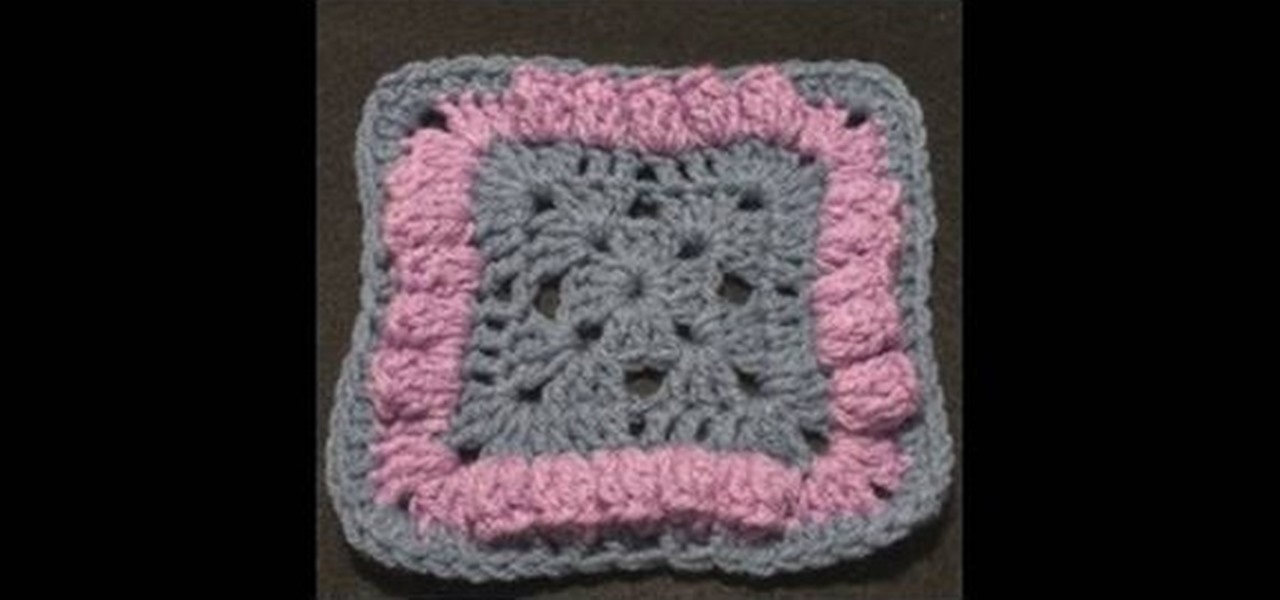
In this tutorial, we learn how to crochet a Bellevue granny square. Start by adding the slipknot to the crochet hook. Work a chain of four and join with the beginning chain. The first two rounds are going to be a traditional granny square. Chain, pull up, then work three double crochets. Continue doing this for all of them. Chain two, then work three more double crochets. Work the last three double crochets and you will have the base of the granny square complete. Continue doing this, but end...
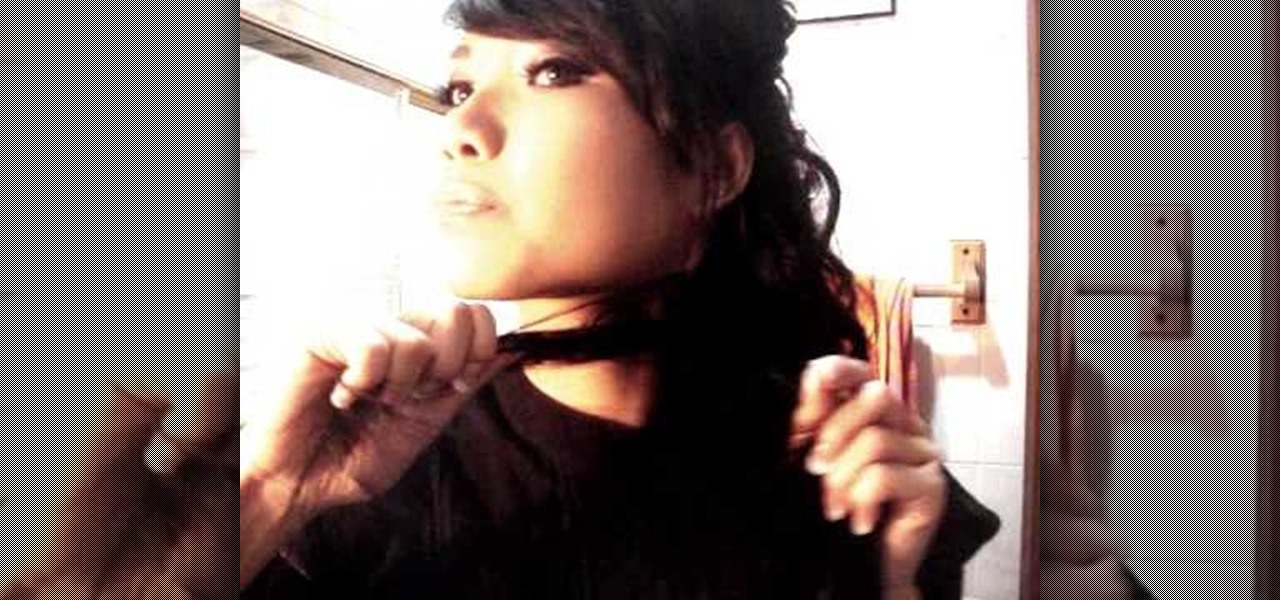
In this tutorial, we learn how to do a messy fishtail braid. First separate your hair so the bottom layer is exposed, then place on volumizing mousse and hair spray to this layer. Now, expose the rest of the hair and add the mousse and hair spray to this layer. Next, curl your hair with a 3/4" to curl the hair away from your face. When finished, section your hair so the upper half is in the back of your head, then clip this securely. Next, start doing a fishtail braid by braiding the outer si...

In this tutorial, we learn how to remove a scar in Photoshop. First, select the magnifying glass to zoom in on the area you are working on. Next, select the paperclip icon, the select the second brush. Now, come to the edge of the scar and drag across the around the entire scar. Come back around, then the scar will be highlighted. Now click down and hold the image highlighted, and you can smooth out the skin and it will disappear. Next, do this on the other side of the face to remove the rest...

In this tutorial, we learn how to set up the L drill in pool. To do this, you will place all of your balls in an "l" shape on the pool table starting from the middle of one side of the table. Place the balls about two inches apart, then star to make the horizontal line for the balls. Place these two inches apart as well. After this, you can place your shooting ball next to the balls and hit each of them into the same corner pocket as the last one. This is a great way to practice hitting balls...

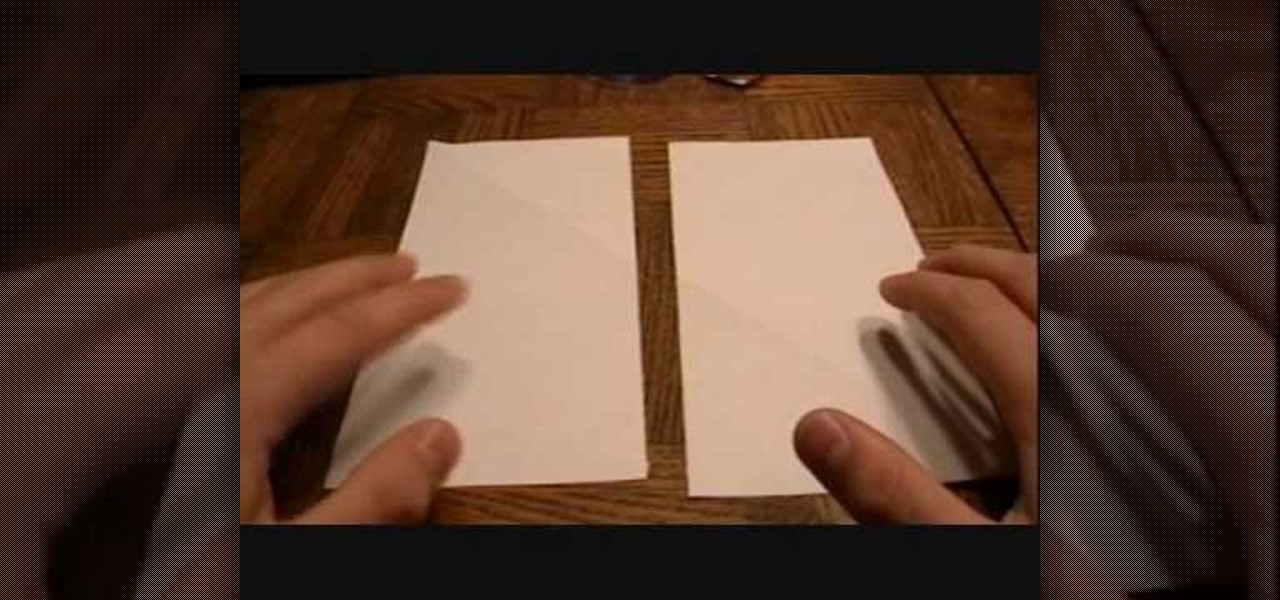
In this tutorial, we learn how to make a paper flower pot. First, fold your paper into a triangle then crease and unfold. Next, fold the paper in half to make a rectangle, then crease and unfold. Do this on the other directions, making creases for each. Now, flip the paper over and make a triangle, then crease and unfold. As you unfold, push the sides in, the squish down to make a square piece. Fold the open end of the square base to the opposite corner, then fold a triangle from the top in t...

In this Arts & Crafts video tutorial you are going to learn how to fold an origami ninja star. Take a normal paper. Fold it diagonally from one corner and cut off the extra portion to make a square. Fold it in half and cut into 2 rectangles. Fold each piece in half along the length. Fold both ends of each piece in opposite directions to make a triangle. Now fold the ends again to make a bigger triangle at both ends of each piece of paper. Each sheet will form a 'Z' shape. Now place one sheet ...

In this tutorial, we learn how to draw a simple cartoon dinosaur. Start by drawing a rectangle and give it eyes on the upper right hand corner, then nostrils. Start drawing a body that has a jelly bean shape. Now, create small arms on the side of the body, that are smaller than the rest of the body. These arms should have a cylinder kind of shape to them. Now, draw some legs onto the bottom, using large cylinder shapes and little pointy toes. There should be adequate space in between each of ...

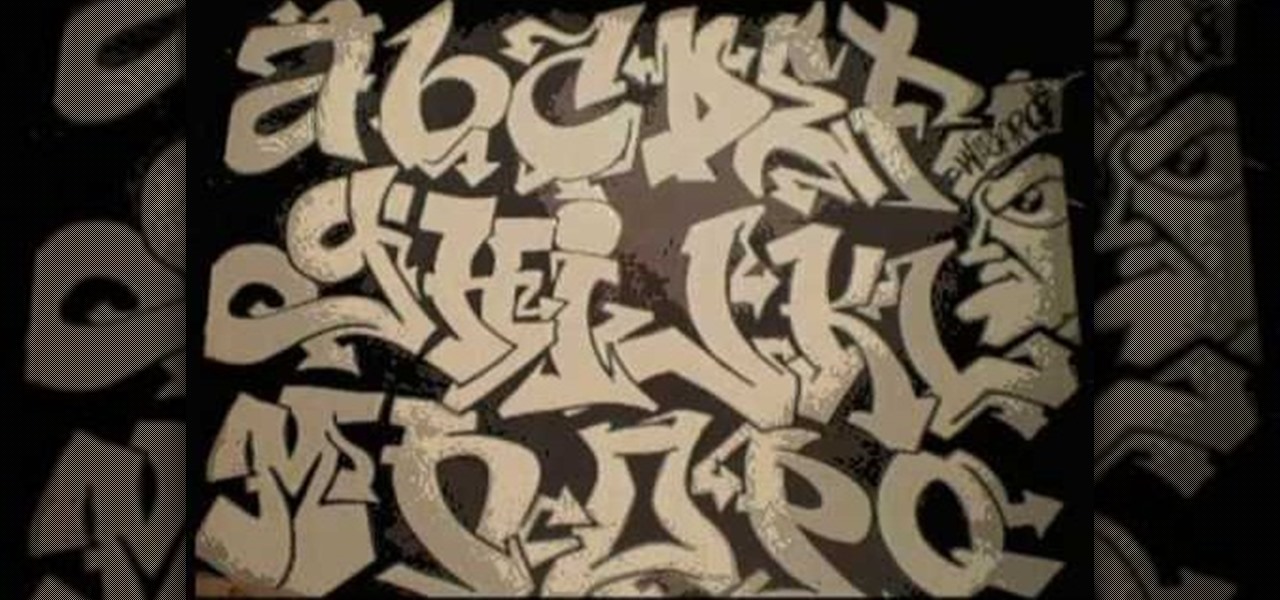
In this tutorial we learn how to draw a graffiti alphabet for beginners. To draw the graffiti letters, you will first need to have a visual to look at while you are drawing them. Each of the different letters have a different look to them. They may be hard to read at first, but they each have a unique look. You will make the letters bubble letters, but have an edge to the bottom and top of each of them. To practice this further, you can trace along different letters to get a feel for how the ...

In this video, we learn how to make a triangular Japanese box for paper clips. You will need: 3 square pieces of paper and 1 glue stick. First, fold the square into a smaller square by making three triangles. Open up into a large triangle and fold the top down, then make a crease and open back up. Do this for all the pieces of paper, then apply the glue stick to the inside of one corner of the first square. After this, stick the next piece of paper onto this, then fold the bottom paper over t...

In this tutorial, we learn how to make a lily out of paper and pipe cleaner. First, lay your hand flat on a piece of copy paper. Next, trace your hand with a pen or pencil, then cut it out with scissors. Now use a pencil or pen to curl the ends of the fingers you just cut out. After this, combine two pieces of gold pipe cleaner together and bend in half. Then, place a green pipe cleaner in the middle and make a twist to keep in place. To finish, wrap your paper hand cut out around the gold pi...

In this tutorial, we learn how to do the Brazilian high kick. First, stretch out your body before you do this so you don't pull a muscle. You want to stand on one leg when you do this and bring the other leg straight up. The leg on the ground will turn to the side while your other leg and knee will be brought to the front of the body. Step in with your foot to the side, then bring the other leg up and to the side, then bring the foot down to the corner next to you. Do this quickly to make it ...

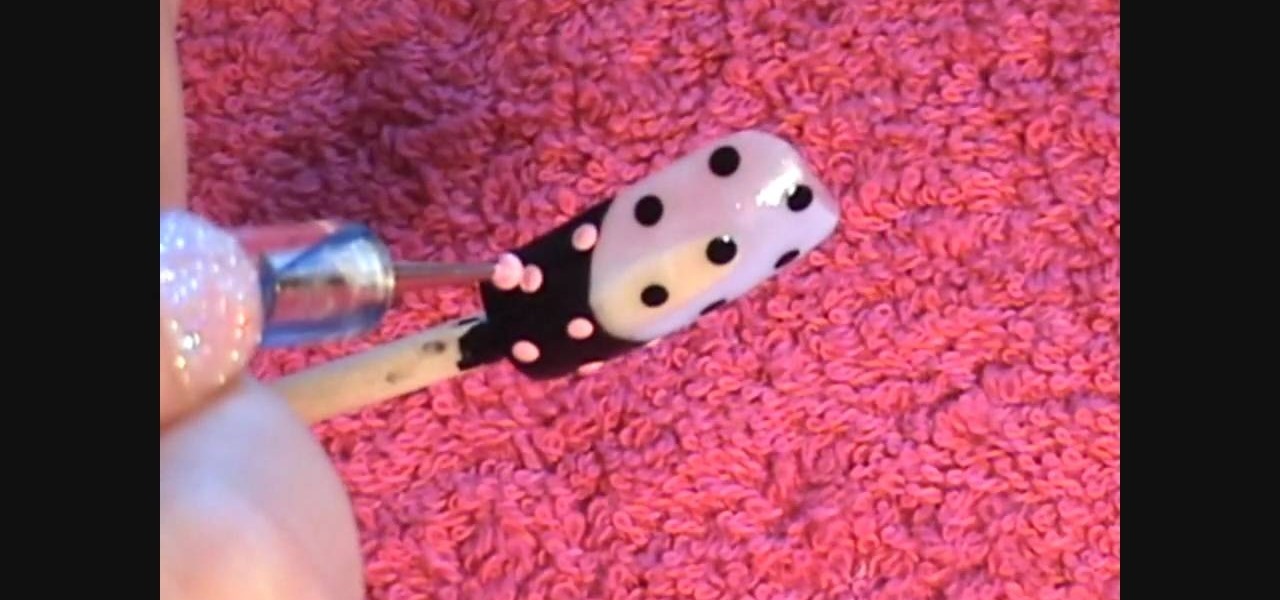
In this Beauty & Style video tutorial you will learn how to create cute polka dot acrylic nails. For this you will need acrylic paint and acrylic nails. First paint the lower part of the nail with black paint in a curved manner. Then you put three black polka dots in the unpainted area along the centerline of the nail. Now put two more black dots on either edges of the nail. Then you put light pink dots over the painted area in line with the black dots. Paint the smile line and the bow with l...

In this tutorial, we learn how to make a left-hand crochet Valentine's puffy heart. You will need: a size G crochet hook and yarn. Start by working a chain of three then forming a loop and doing a chain one. After this, work 9 single crochets through the center of the ring. Next, do 18 single crochets making the first stitch on a single crochet. Keep doing 18 single crochets around the circle you have created. After this, make one single crochet for a total of 18. The edges will start to curl...

Kandee shows us how to apply a glamorous makeup look for your wedding in this video tutorial. To begin, apply foundation to your entire face, followed by a blush on the apples of the cheeks. After this, fill in your eyebrows to the appropriate color that matches your hair. Next, you will want to apply a silver eyeshadow along the brow bone and on the entire eyelid. Next, apply eyeliner to your top and bottom lashes. Now you will apply a black eyeshadow to the outer edge of your eye and into t...

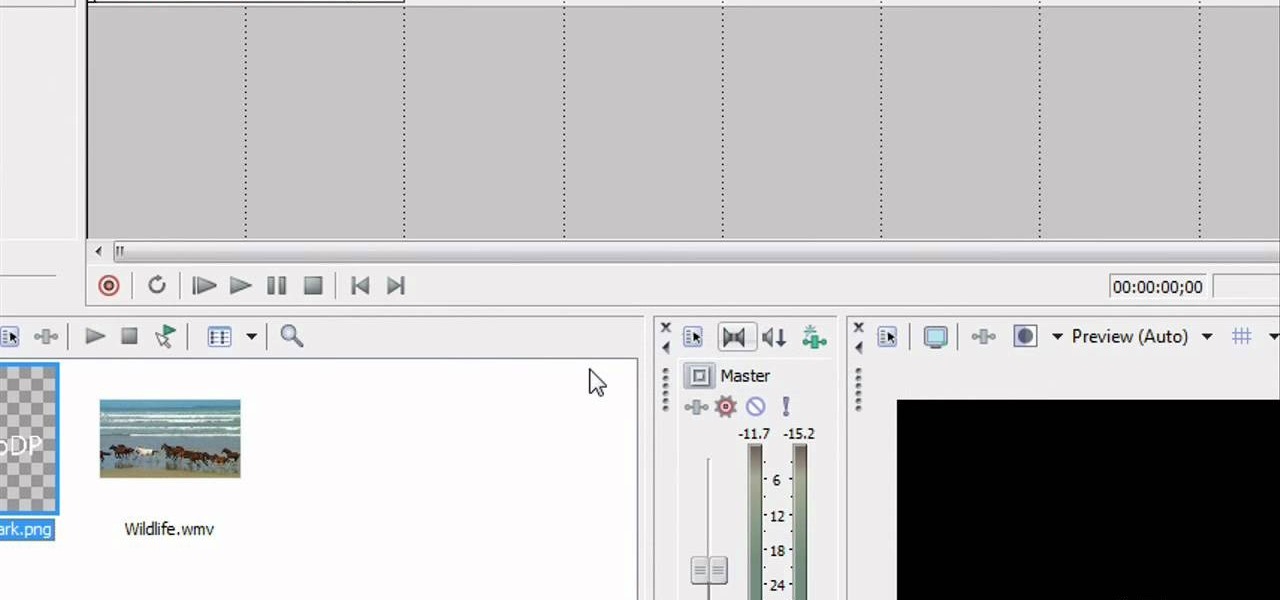
In this video tutorial, viewers learn how to add watermarks to videos in Sony Vegas. Users will need to begin by creating the watermark image in a photo editing software. Once created, make the image into a transparent background and save it as .PNG format. Now load the video into Sony Vegas and place it into the time-line. Then open the image in Sony Vegas and add it into the video time-line. Finish by panning the watermark image to a smaller size in the corner and extend the play time. This...

In this tutorial, we learn how to make a paper football for 1 dollar. First, grab your paper and fold it in half length wise. Next, make sure the crease is nice and clean, then fold it length wise once more. Now, fold one of the corners up into a triangle shape, marking the crease exact. Fold this up again and keep doing this until you get to the end. Once you reach the end, fold the other end in twice into the pocket you see. Crease this, then stand it upright and flick it with your other fi...

In this video tutorial, viewers learn how to perform an Ollie on a skateboard. An Ollie is a basic trick for getting off the ground and allows users to perform other tricks once learned. Place your back foot on the edge of the board's tail and front foot placed behind the front board bolts. Then pop down the tail with the back foot, bend the front foot, flick the board in midair and land on the board with both feet. This video will benefit those viewers who are interested in skateboarding, an...

This video tutorial is in the Arts & Crafts category which will show you how to fold a circular teabag paper. This is a simple process and doesn't take much time to do. First fold the circular paper in half to get a semi-circle and then fold it in half again in to a quarter. Unfold the last fold and fold one quarter back to the halfway mark. Then turn the paper over and fold the bigger side of the paper along the fold line exactly matching the edge as shown in the video. Now you get a little ...

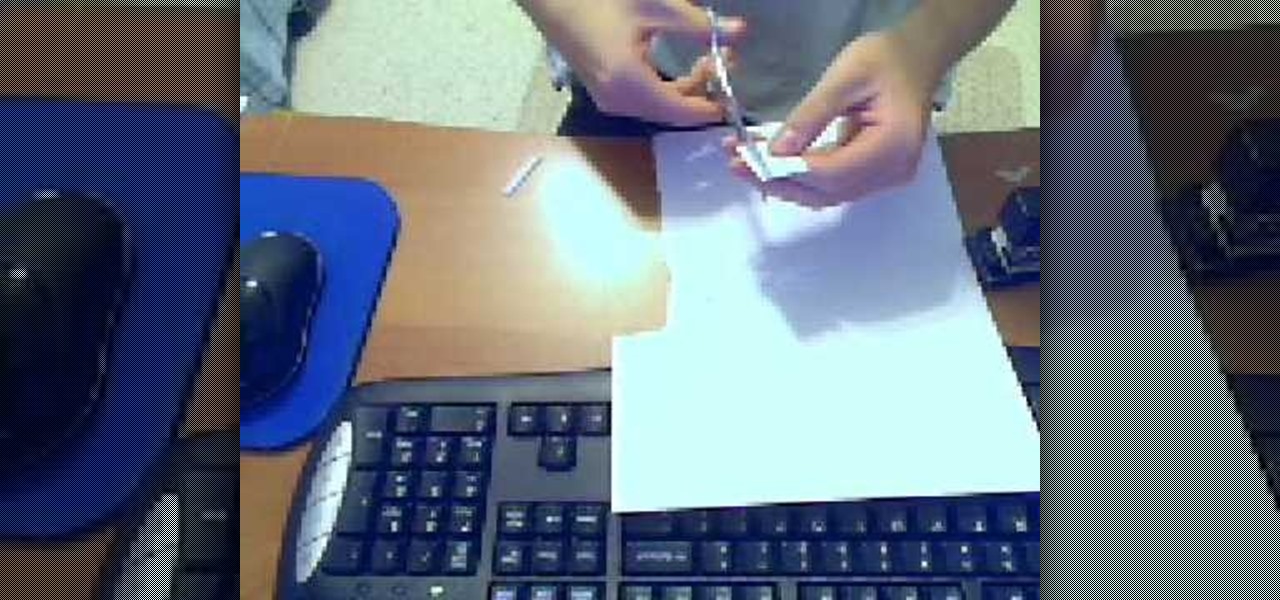
In this tutorial, we learn how to cheat on a test with a small paper. To make this, you will need printer paper, scissors, and a stapler. To start, cut a strip of paper out of the sheet, then fold it up into a small booklet and staple it together at the top. Cut off any edges to make it fit into the palm of your hand. After this, you will have a booklet that pulls apart and you can write inside of. Write answers to tests in this, then to hide it, place it in the palm of your hand between your...

In this video tutorial, viewers learn how to make paper footballs. Begin by cutting a straight strip of paper. The wider the width, the larger the football will be. Then fold the edge into a right triangle shape and continue folding the strip in the right triangle pattern. Once you have reached the end of the strip, tear off the end at an angle and tuck it in the side of the football. This video also shows viewers how to play a game with the paper football. This video will benefit those viewe...

In order to set up a tent, for a camping trip, you'll need to lay out all of the parts of the tent. Place the poles at the end of the tent. Work on opposite sides. Inserting the pole on both sides. It may be easier with two people. Once you insert the pole, then you'll need to snap it, fastening all the snaps. After you have completed this step, lay the fly over the tent. Snap it in place, in all four corners. Make sure that sides are below the mesh. Now, you can stake the tent. Staking the t...

In this tutorial, we learn how to do hair and makeup for going out. Begin by applying your favorite foundation, along with bronzer and blush. Next, apply eyeliner to both the top and bottom lashes. After this, brush on a layer of dark eyeshadow onto your eyelid, going up to the crease. Next, use a white eyeshadow to brush on the inside crease of the eyelid. When finished with this, use a black eyeshadow on the outer edge of the eye, then blend all the colors together. To finish the makeup, ap...

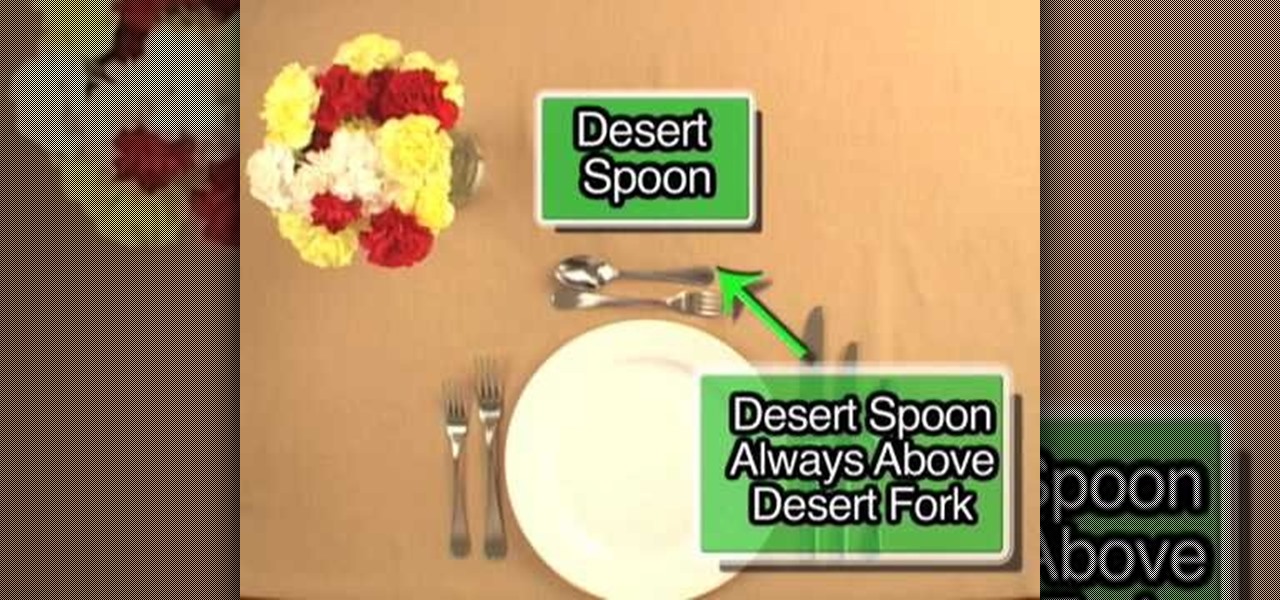
A great dinner party is great because of presentation, and you know that everything has its place on the table, but where exactly does everything go? Learn about the placement of everything, from silverware to glassware.

In this tutorial, we learn how to make a paper flower using paper scraps. To make this, you will need: 3 pieces of small pink scrap paper, 1 piece of small green scrap paper, 1/16" brad, adhesive, hole punch, ink, and a sponge. First, you will draw one different size circle on the 3 sheets of pink paper. Next, draw leaves onto the green scrap paper. Now, start tearing the shapes out of the paper leaving no pencil showing. Crumple the paper up several times, then get your ink and put it on you...

This tutorial teaches us how to touch up eyes while using Photoshop. First, open up Photoshop and zoom into the eyes on a picture you want to touch up the eyes on. First, select the adjustment layer icon and brighten the image. Next, invert the mass and select the "v" key, then pain the eyes on both sides. Next, click "filter" and then click "blur" so you will soften the edges so the picture doesn't look fake. Now, you can click on "before and after" to see what the picture results look like....

In order to wash your American Girl Doll's hair, if she has short hair, you will need the following: Scotch tape, cotton balls, a towel, and Johnson and Johnson baby shampoo or wig shampoo.

This video tutorial is in the Fine Art category which will show you how to draw a deer from a triangle. First you draw an inverted triangle which will make up the face of the deer. Then you draw two small curves starting at the two top corners of the triangle to make the horns of the deer. You can also draw more short curves or straight lines starting from these curves to make up the complete horns. Then you draw the ears starting just below the horns. Draw the eyes and color in the ears and ...

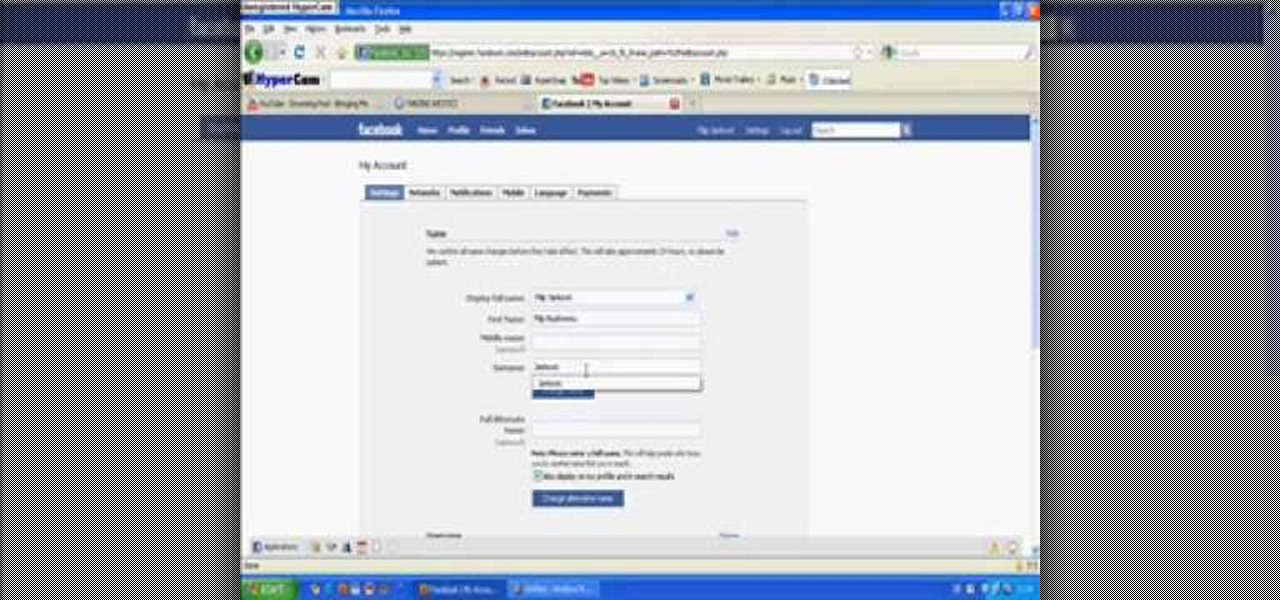
In this video tutorial, viewers learn how to replace their name on Facebook. Begin by going to the Facebook website and logging into your account. Then click on Settings, located at the top right corner of the page. Under the Name headline, click on Change. Now under First Name, type in your new name. Users may also choose to change their middle and/or surname. Finish by clicking on Save Changes, and click on Confirm request to conform your name changing. This video will benefit those viewers...

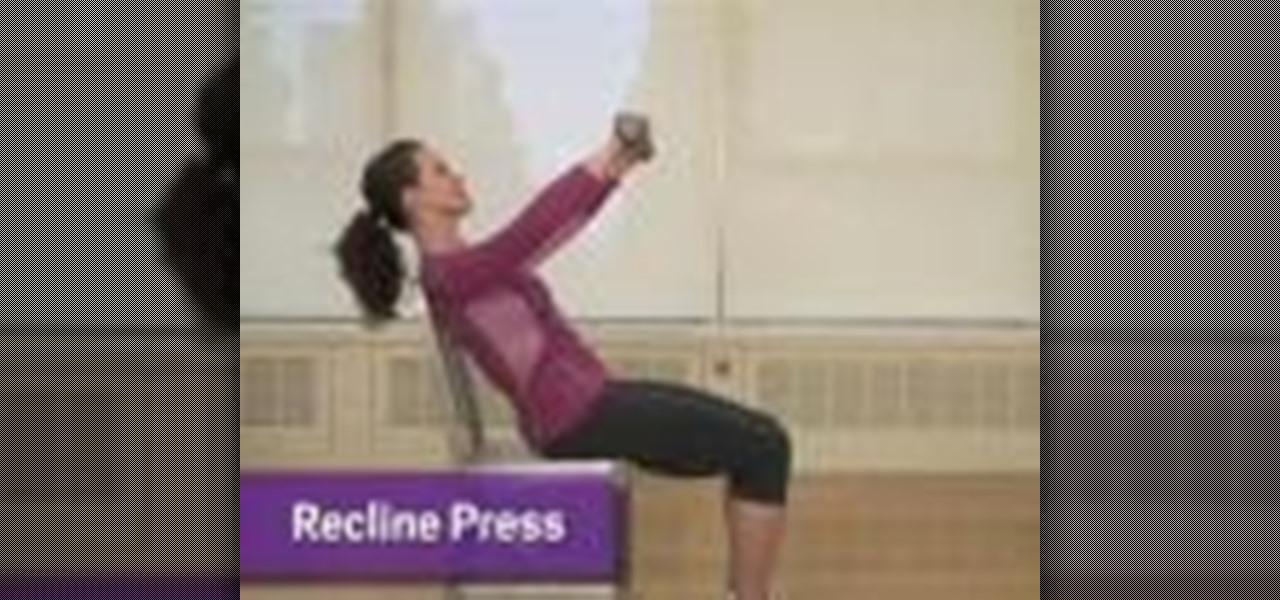
In this video, we learn how to firm your upper body while sitting down. This will tone your chest shoulders and arms. Sit on the edge of the chair with your shoulders resting against the chair back. Now, grab your weights and bend both arms pushing the elbows back. Next, straighten your arms, pushing the weights up and forward on a diagonal. Slowly, lower your arms back to the starting position and continue to do this for as many counts as you can. To do the raised blank, place your forearms ...

In this video tutorial, viewers learn how to make a sawed0off shotgun. The materials required for this project are: hot glue gun, duct tape, cardboard, utility knife, black marker, spray paint and 2 paper towel rolls. Begin by tracing a shotgun outline onto the cardboard. Make 6 layers and glue all the layers together. Then smooth the edges with sandpaper and tape the outside with some duct tape. Now tape the 2 paper towel rolls together and tape it on top of the shotgun. Finish by painting t...

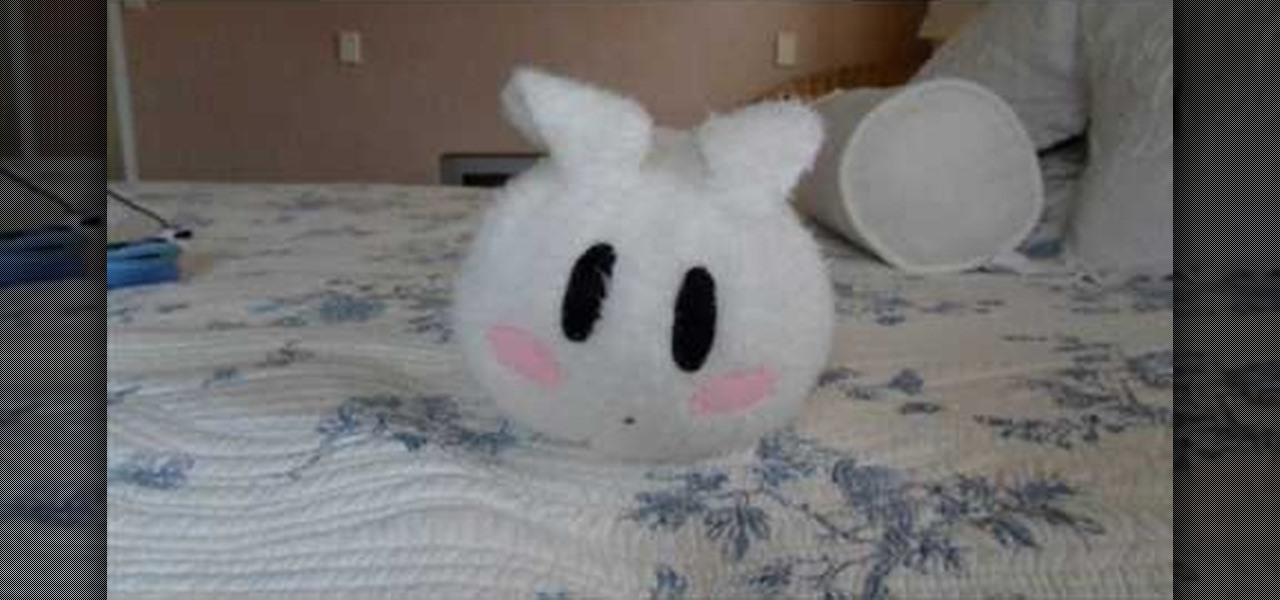
Want to know how to make the most adorable pillow in the world? Then you've stumbled upon the right tutorial. This video will guide you through how to sew together a blasphemously cute round rabbit pillow with eyes done in the anime style.

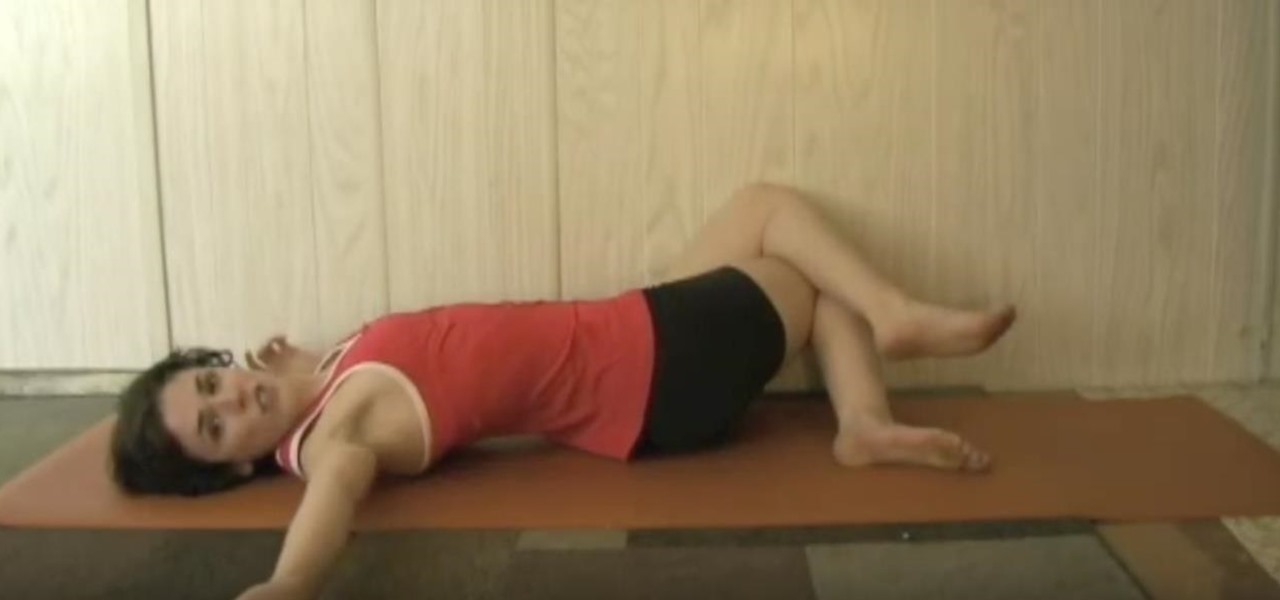
Doing a low back relief exercise can make your body feel more relaxed, and stretch out your muscles. First, lay down on your back with your arms at a T, and cross your right leg over your left. Deep inhale and when you exhale, let your knees drop to your right. As you are doing this, turn your left pinky finger to the wall behind you. When you inhale, go back to your regular position. The left shoulder should stay down and the outer edge of the left foot should go up to the ceiling. Keep repe...

In this tutorial, we learn how to make tough meat tender. To do this, you will need: a frying pan, salt, pepper, soy sauce, pork, and a slow cooker. You will want to first season your pork with the salt, pepper, and soy sauce. Next, brown your meat on all sides in the pan until it has a crispy brown edge and then place the pork into a slow cooker with no water and leave on high. Leave the pork in the slow cooker for 4 hours, then when it's finished, the pork will be fall of the bone tender, a...

In this video, we learn how to cut a piece of glass with scissors, water, and a lighter. First, you will need to grab a lighter and place it under the piece of glass that you want to cut to heat it up. Next, you will place your piece of glass into a sink full of water and cut your desired piece. Make sure to cut carefully, as you can get hurt very easily when dealing with sharp edges of glass. Make sure you are keeping the piece of glass you are using completely submerged in the water, along ...

In this video tutorial, viewers learn how to paint sand. Users will need a palette knife and paint brush. The colors needed for the sand are: iron oxide, pure white, burnt umber and burnt salmon. Collect all 4 colors on the palette knife and apply it lightly onto the canvas. If it is too dark, add some more white paint. Then use a paint brush to smooth out the edges and blend the sand together. This video will benefit those viewers who are interested in art and painting, and would like to lea...

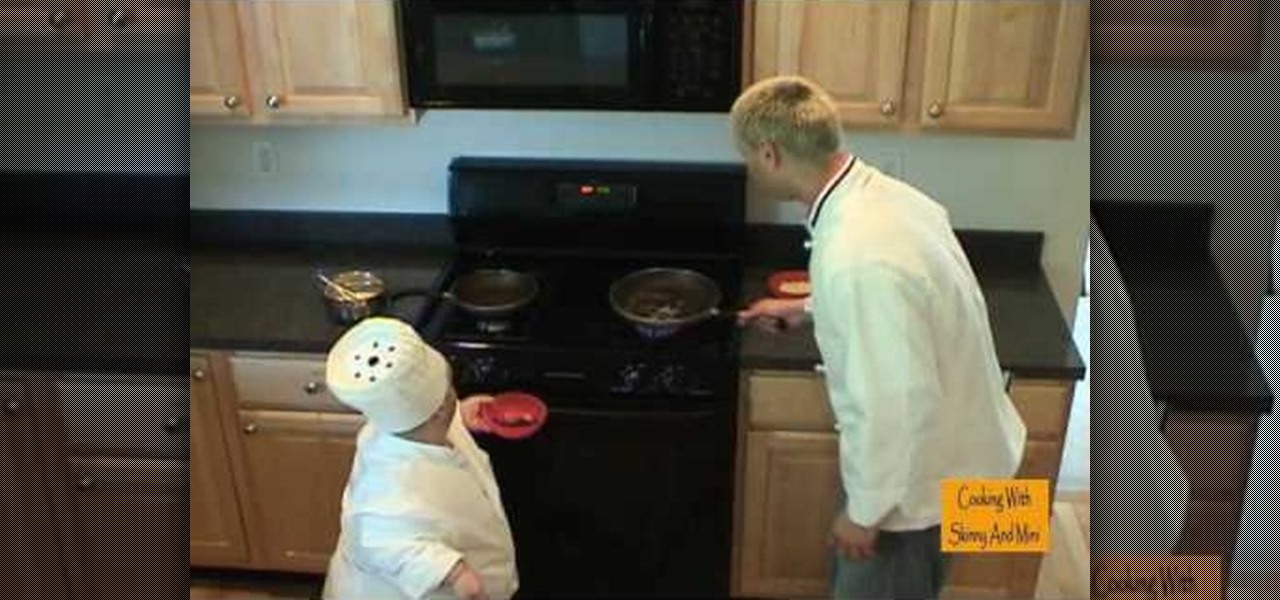
In this tutorial, Skinny and Mini teach us how to make beef jerky omelettes. The ingredients you will need are: 2 tablespoon finely chopped beef jerky, 3 eggs, 1 tablespoon butter, and 1 handful of shredded mozzarella. First, you will heat up your pan over medium heat and let the butter melt inside the pan. Next, sautŽ your finely chopped beef jerky inside of the butter until it's hot. After this, add in your eggs and cook on high until you can scrape the edges and the egg, then add in your m...


