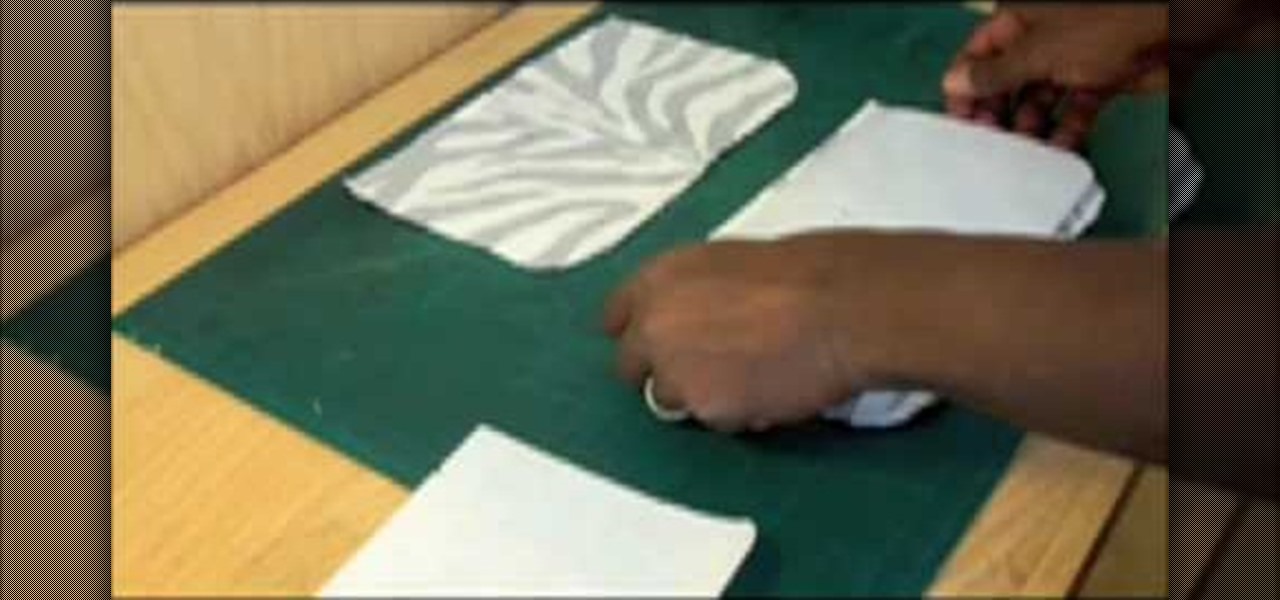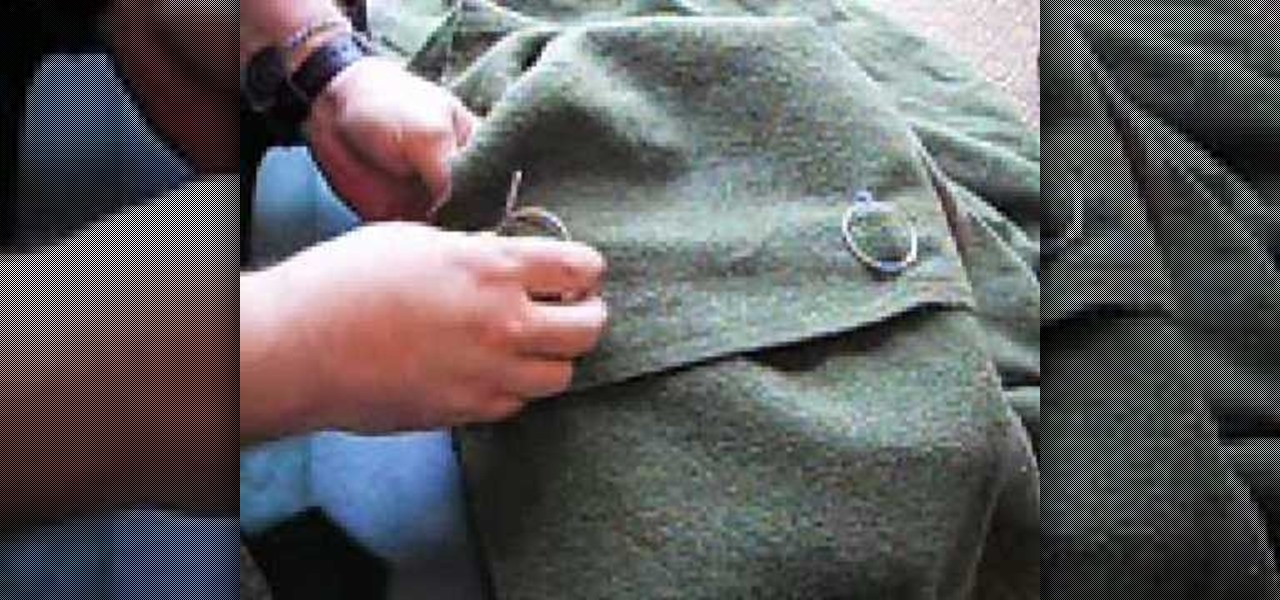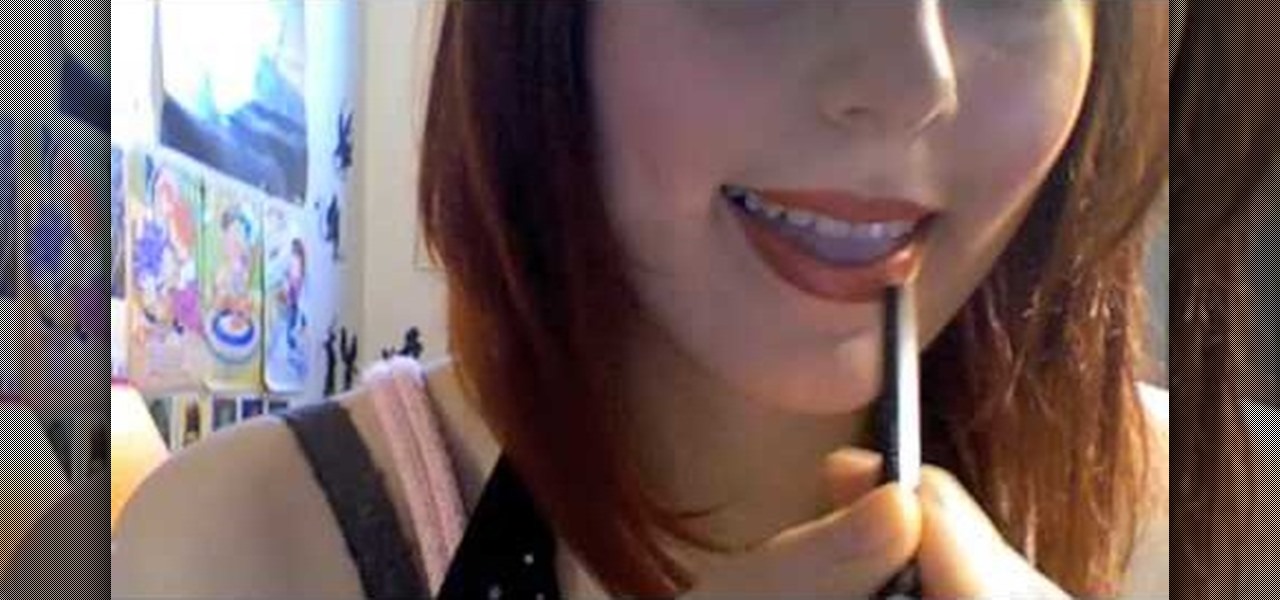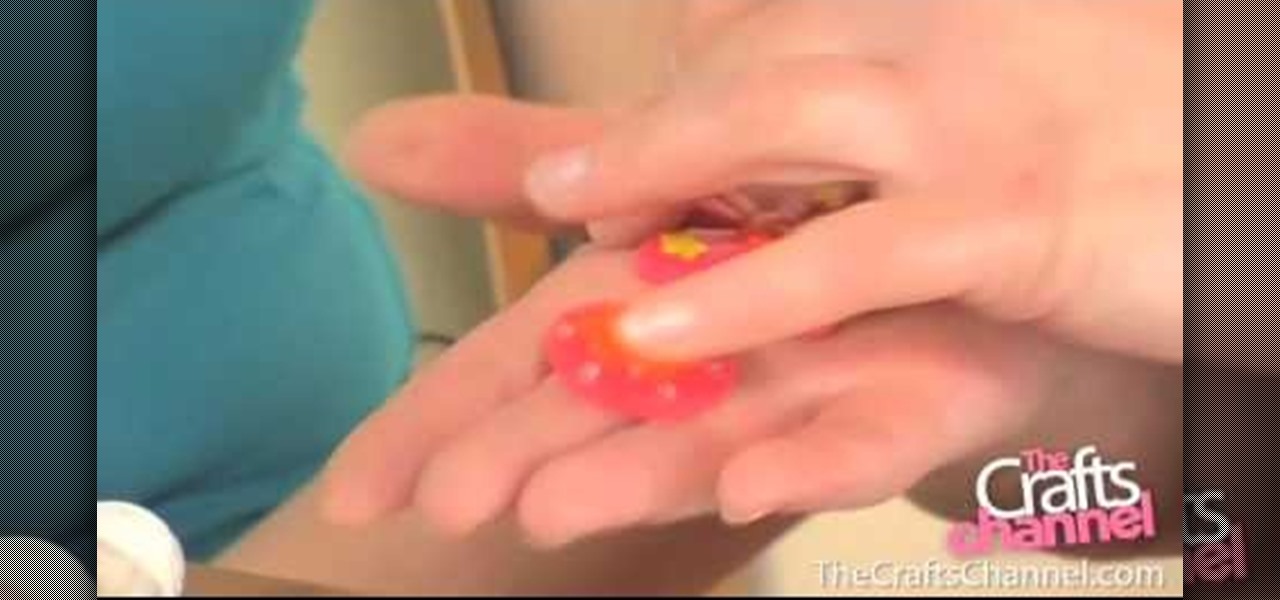
First of all take a small fimo punch. You can also use decorative buttons because the smaller cutters are not easily available. Now you need to take the sheets that have thickness less than one millimeter. You have to check them because the larger size shall not fit. Pop in the inlet just like a paper and try to fit. If not then use a roller to roll them to reduce their thickness. Now lift it with a ruler and then insert it into the inlet. The best way to do is to drop them in. Once it fits e...

This video is a Microsoft Word 2007 tutorial on working with pictures. To insert a picture in your document, click on Insert and select Picture, then find the picture, select and insert it. To resize the picture without distorting it, click and hold on the corner circles. You can adjust Brightness and Contrast by using the various choices within these settings. The Recolor setting gives you a number of options for changing the coloring of the picture, such as sepia, black and white, or graysc...
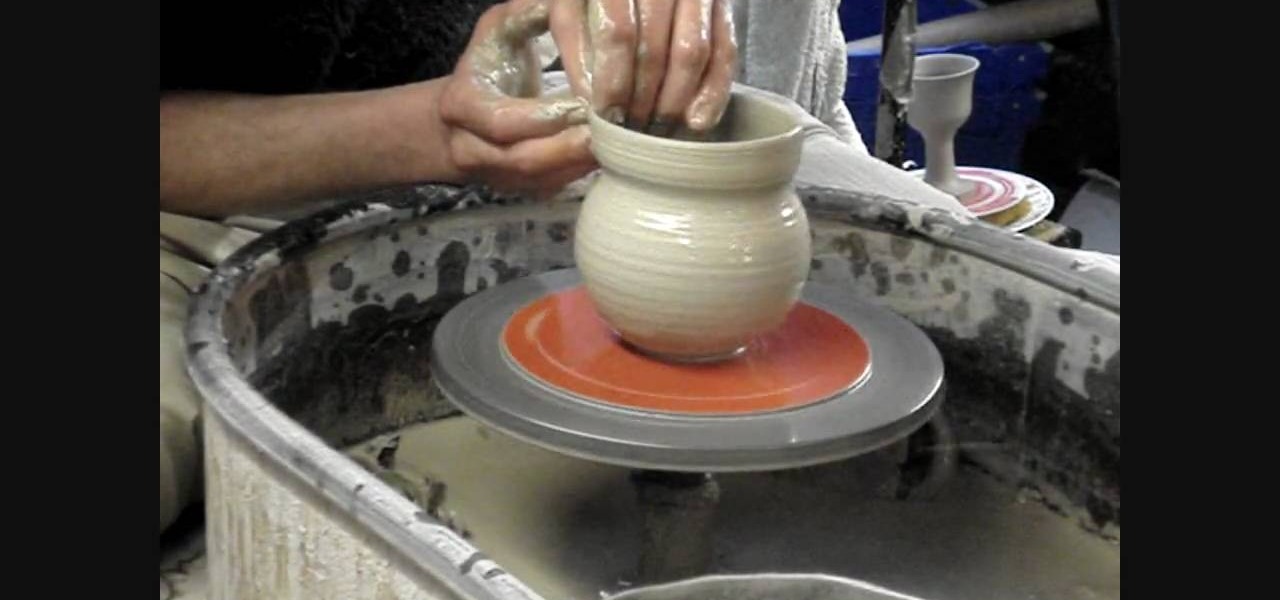
This video demonstrates how to throw a simple clay pot: a flattened salt holder. In order to throw this simple clay pottery piece, you will need: clay, a pottery wheel, and water.

In this how-to video, you will learn how to do a front flip using a wake board. The goal is to take it big and take it out to the flats. Do not cut out as far as you can. Take the handle locked in the same position, comfortably towards the chest. This is held in the same position throughout the flip. As for the body position, notice that the rider is in a comfortable knees bent position. Slowly ride off the edge as you approach the wake. This will lessen the pull of the rope at takeoff. This ...
How to stop a dog from digging holes in a yard

Decorate a Cardboard Sun Mirror- Acrylic Painting Project- Art and Craft

First you must take inventory of all items in order to be able to create your bag. Make sure all labels are in the correct order. Lining should be ready before attempting to begin construction. The stay should be 10in long and 4in wide. Pocket the stays and glue the stays to the outside fabric. Use the notches to line everything up. Take the magnetic snap and attach it to the front and back. Take a knife and cut holes for the magnetic snap. The magnetic snap comes with a washer. Use cardboard...

This video from Educational Art Institute shows us how to repurpose old CDs for use as Christmas ornaments. There are many different ways to do this. One idea is to use glue applied onto the CD in any pattern or design and add one or more colors of glitter. If you don't like the mess of glitter, then glitter glue is a great alternative. They come in many different colors and are easy to apply. In both of the above cases you can also add sequins for more decoration. If you are going to decorat...

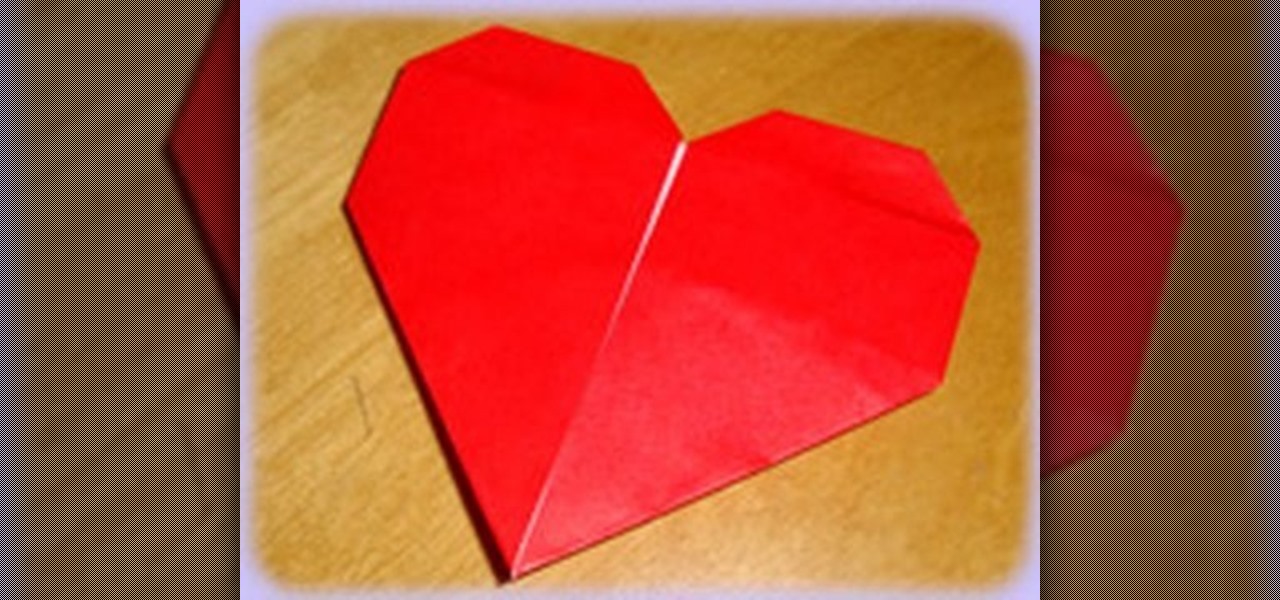
This video shows us how to fold a simple origami heart. Firstly a piece of paper is taken and is cut in the form of a square and then it is folded into half to form a rectangle. Then it is properly creased and then using a knife it is cut into two halves. Then one of the pieces which are in the form of a square is taken and is folded vertically to form a thinner rectangle. It is creased and then unfolded and then the paper is folded horizontally to form a square and it is creased and then unf...

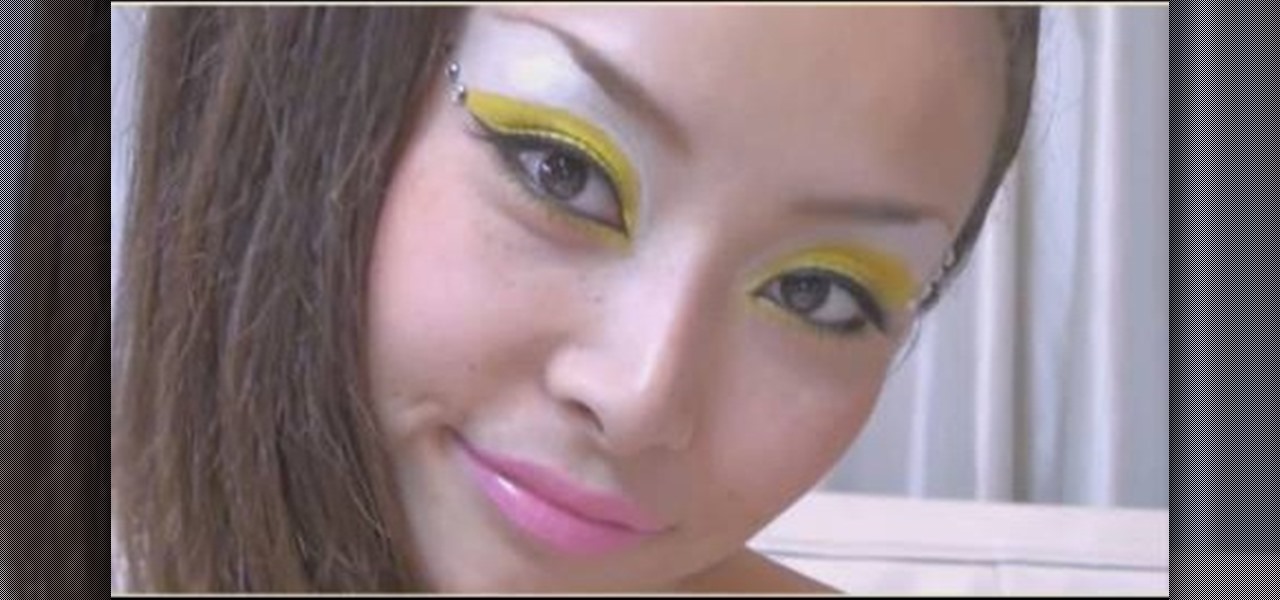
Man Woman Film demonstrates how to apply yellow eyeshadow to achieve a crystal clear look. First, define and extend the eyebrows with an eyebrow pencil. Then, use a white makeup stick to highlight under the brow arch. Next, use a liquid yellow eyeshadow to paint on yellow eyeshadow to the lids. Use scotch tape to mask off a defining slant on the outer edge of the eye. Apply powdered makeup over the liquid eyeshadow above and below the eye. Apply silver eyeshadow underneath the brow arch. Outl...

In this how-to video, you will learn how to sew a cape. The pattern is made of three pieces. The main part is made of a circle with a hole in the center. There is a cut made from the center to the edge of the circle. The diameter is about 145 centimeters. The hood is two half circle pieces, with a diameter of about 62 centimeters. The two parts will be sewn together along the green marks shown. Fold the rest fabric above the seam and sew it to the fabric next to the seam. Next, sew at where t...

In this how-to video, you will learn how to paint on your ceramic dinner plates. You will need a ceramic paint kit, a soft pencil, masking tape, a porcelain painter pen, scrap paper, scissors, scrap paper, tracing paper, Celtic patterns, and a jar of water. Place the tracing paper over the copy of the Celtic patterns. Tape both down to the surface with the tape. Trace the pattern onto the tracing paper using the pencil. Clean the plate and stick tracing paper over the plate. Trace over the pa...

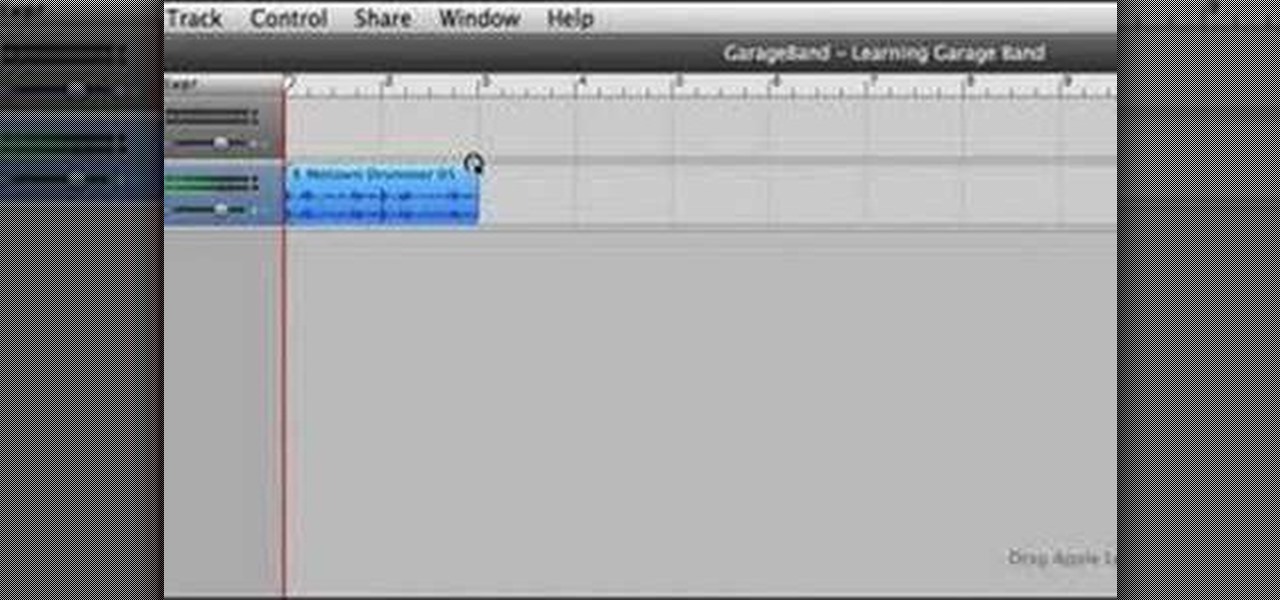
Elliott Berring shows us how to create songs in GarageBand using Loops. First, launch GarageBand and create a new music project. Keep the default tempo, time signature, and key. Click on the Show Loops browser, indicated by the Eye icon in the bottom left of the window. In this example, he starts with a drum beat by choosing All Drums, then Rock/Blues. Find a beat you like, then drag it into the timeline. Position your cursor over the top right hand corner of the blue bar of the beat you just...

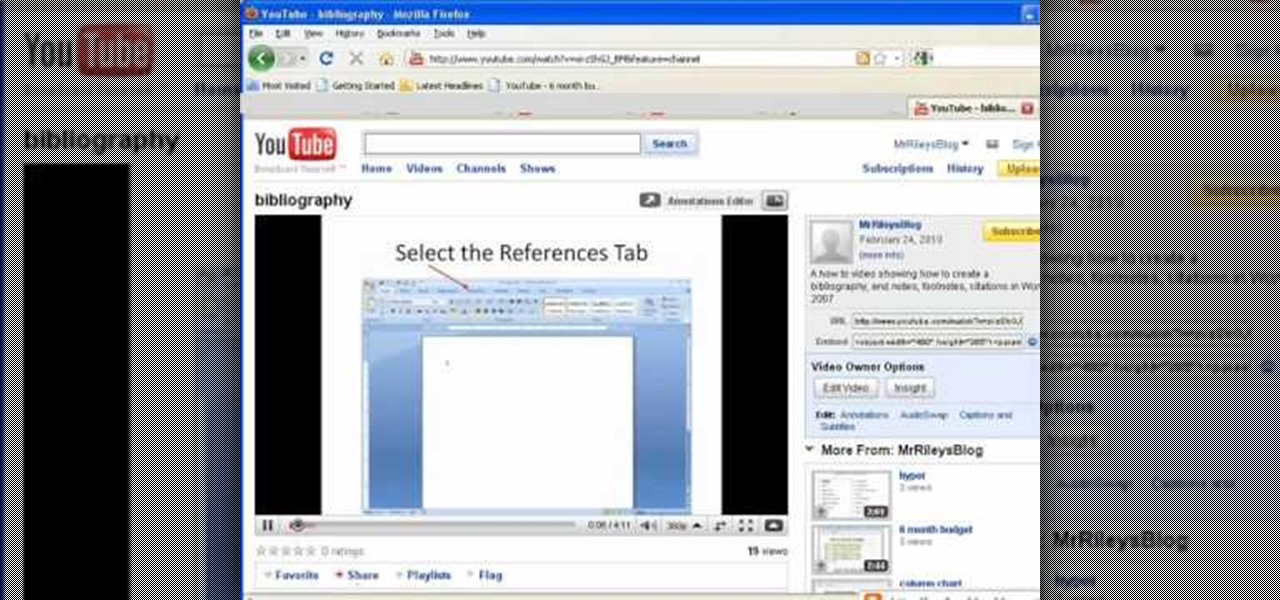
This video shows you how to embed a YouTube video inside your PowerPoint presentation. Once you have the link for the video that you hope to embed in your presentation, open your PowerPoint. Click on the circular icon in the upper left hand corner. Go to PowerPoint “options”. Check the box for “Show Developer Tab in the Ribbon”.

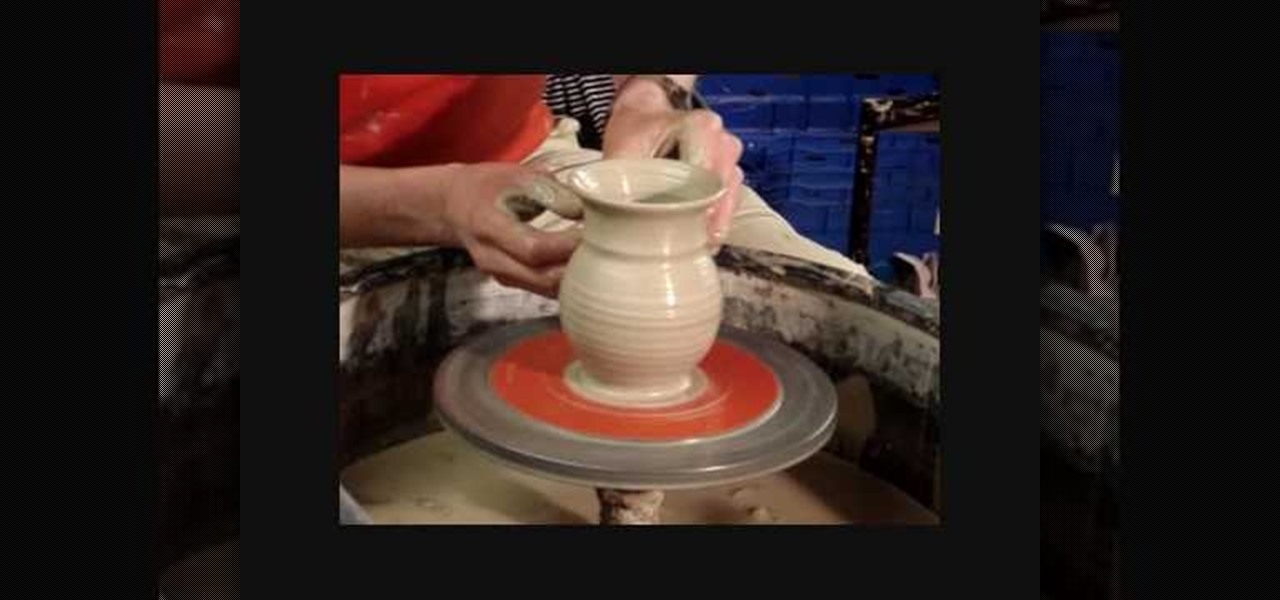
In this how-to video, you will learn how to make a small jug with a handle using a wheel. Place the clay onto the wheel and start spinning it. Grasp it with your hands as it spins and make a vertical shape. Use your thumbs to make the interior bowl shape. Now, use your hands to make the clay more vertical. Keep doing this until you get the desired height. Now, insert your hand into the interior to widen the shape. Make the top more narrow with your fingers. Make the edge stick out as well wit...

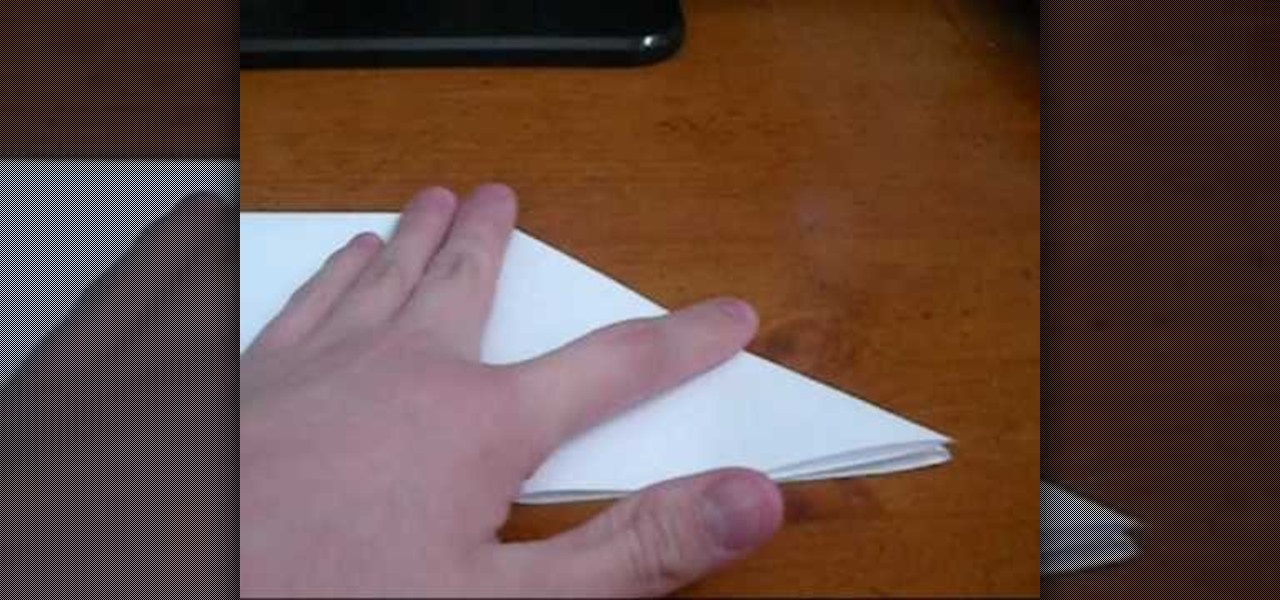
Learn how to make a ‘Paper Balloon/Water Bomb’ by watching this tutorial. Take a square piece of paper. Fold the paper diagonally to make a triangle. Open the paper to reveal a diagonal crease. Repeat the same with the other end, to make a crease which is perpendicular to the first one. Open the paper to reveal an ‘X’. Now fold the paper at the center, to make a rectangle. Next, push the edge along the central crease to the middle at both ends and crease well, as shown. This makes a triangle ...

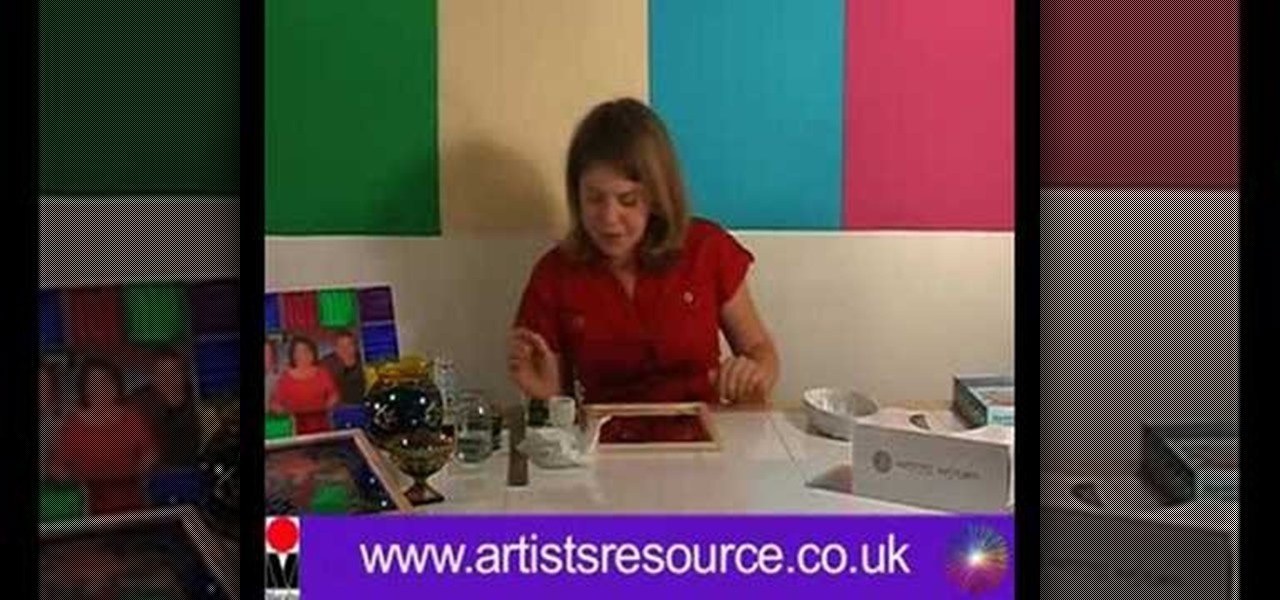
In this Arts & Crafts video tutorial you will learn how to make a stained glass mirror. This video is from Artists Resource. You will need a Marabu GlasArt kit, some spirit, a china graph pencil, scissors, a ruler, masking tape, a container to mix your paint, an object to draw an oval shape, Marabu outliner paint, a mirror and peel off dolphin stickers. Take a few dolphin peel offs and stick them on the face of the mirror; on the edges, to form a design. Place the oval shape object in the cen...

Garden of Imagination demonstrates how to make a miniature polymer clay cup cake. First, roll a ball of brown clay into a circle. Squish it a little on its side. Use a toothpick to create edges on the cupcake. Make the top more pointed. Flip the cupcake over so that it sits flat. Bake the base for a few minutes to make it hard so you don't lose your texture. Roll your clay icing color into a long, thin rope. Wrap the icing in a conical circle on top of the cupcake base. Next, use tiny glass s...

In this video, Tony Reale describes some cinematography tips for video lighting. He focuses mainly on different ways to capture the look of video. The lighting style he's using in this video is a 2-light setup. One light is reflecting off a foam core and is placed at the right side of the room. The second light is acting as background light and is smaller and placed in the back, right corner of the room. This is a very simple setup and, with a cost of $100-$200, it is an inexpensive, effectiv...

Artful Paper Doll demonstrates how to make a mini paper corset for a paper doll. Take two rectangular piece of hard paper which is of measure 4 by 5 centimeters. Cut the edges of the breadth part make it round. Cut the length part inward to make it into shape of a waist. Take a pattern cloth and paste it to shapes. Now take a lace with one end trimmed. Fold it in zigzag way. This should be pasted beautifully to the bottom of the corset. Now take a thin lace and paste it over the zigzag lace i...

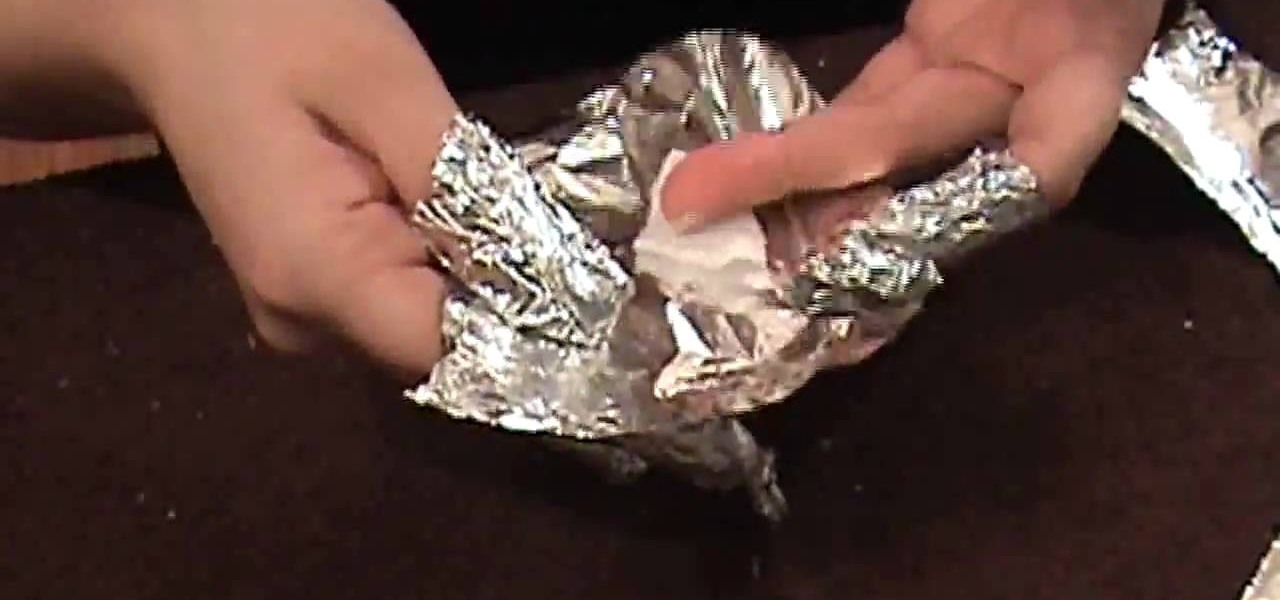
The first step in removing acrylic from nails is to cut nails down with clippers. Next file off gel sealer and seventy percent of acrylic with file or nail dimmer. The demonstrator then cut ten squares of foil, one for each nail. After the foil is completed cut cotton rounds into four pieces. You will only need two and a half cotton rounds. Using one hundred percent acetone saturate each cotton piece that you cut. Place saturated cotton pieces on each finger and then wrap securely with foil. ...

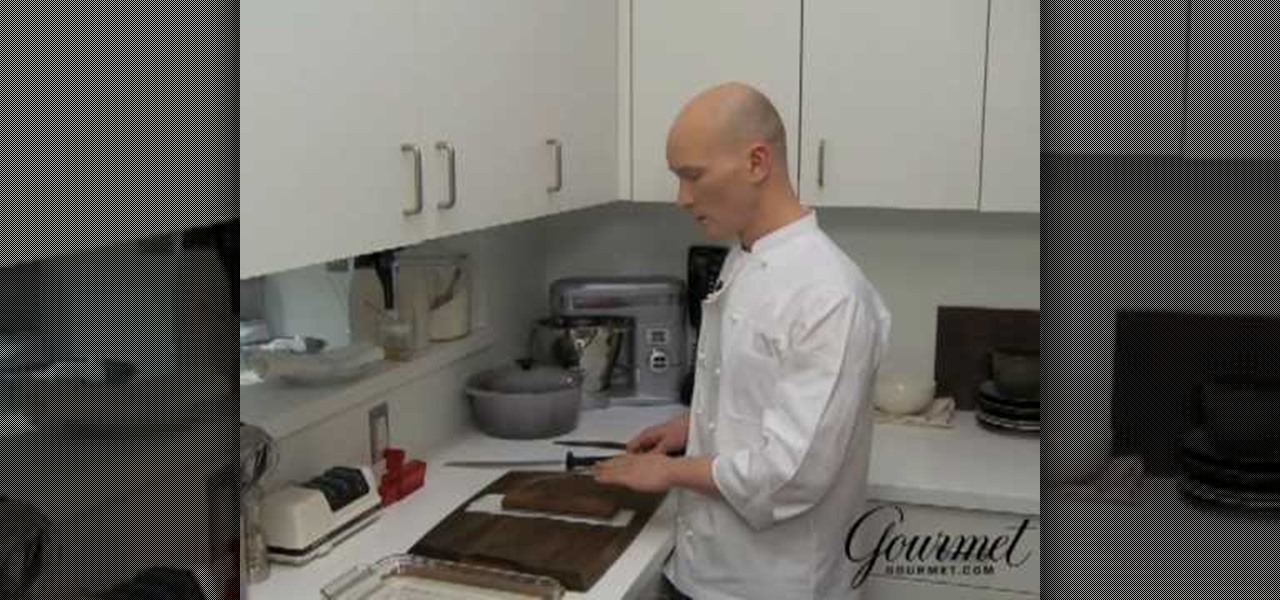
Food editor Ian Knauer demonstrates a simple method for using a whetstone and a steel to keep your blades sharp. Just follow along and learn how.

This video shows how to make paper roses. Start with several die cut flowers, preferably with six petals. Take one and slit it so that you can fold one of the petals over the other one and glue them so that they are overlapping. Take another die cut flower and cut one petal completely out, again folding the two edge petals and gluing them together so that they are overlapping. Do another flower the same way but cutting out two petals. In the final product each of these will overlap each other...

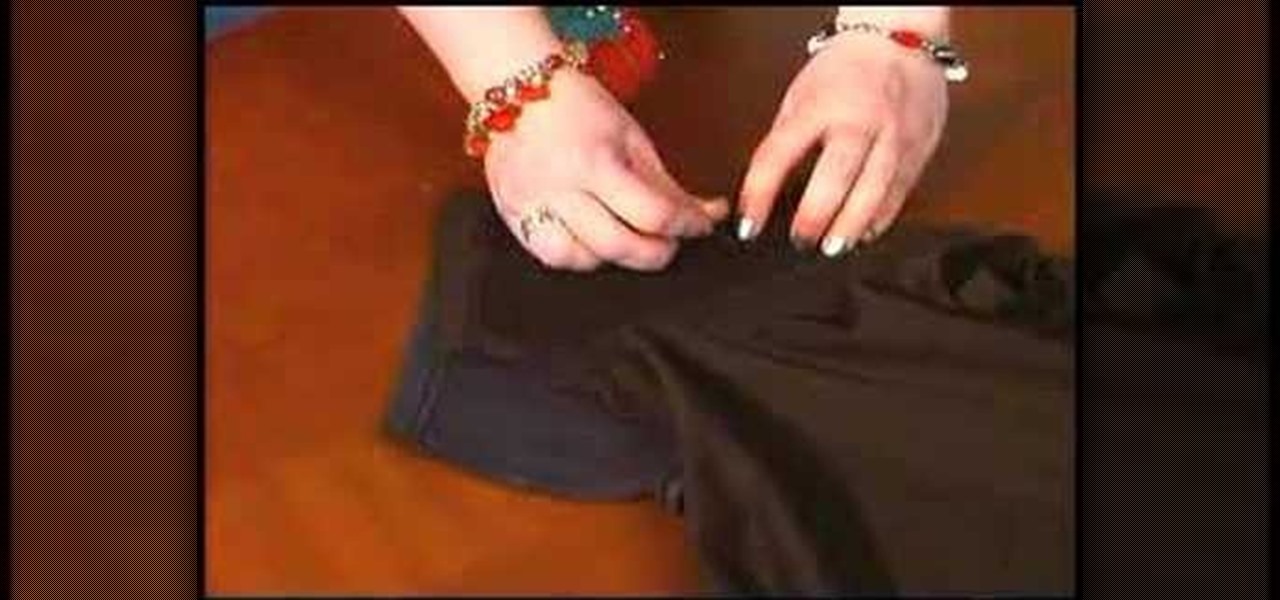
If you've ever wondered how to resize a T-Shirt to a smaller perfect fit, then follow these simple steps presented by Stacey from Sewing Republic. To shrink down your T-Shirt, follow theses steps: You will need an oversized shirt, a smaller shirt to use as a pattern and your sewing machine. 1. Turn both shirts inside out, and lay the fitted shirt on top. 2. Fold the sleeves back and pin the shirts together. 3. Trace around the fitted shirt with a fabric marking pen. Add 1/2 inch for your seam...

In this video we learn how to make a poppet. A poppet is generally used to give protection, healing to the ones we love. It may be our cat, aunt, home, or whatever we like to do it for. Here in this video we make a poppet for an animal. So the requirements are color shields, scissors, lavender and roots (for protection), citrine. Citrine helps in cleansing. Draw the shape of the animal we require on a cloth of two stacks and cut it using scissors. Use the thread to attach the edges. Leave a s...

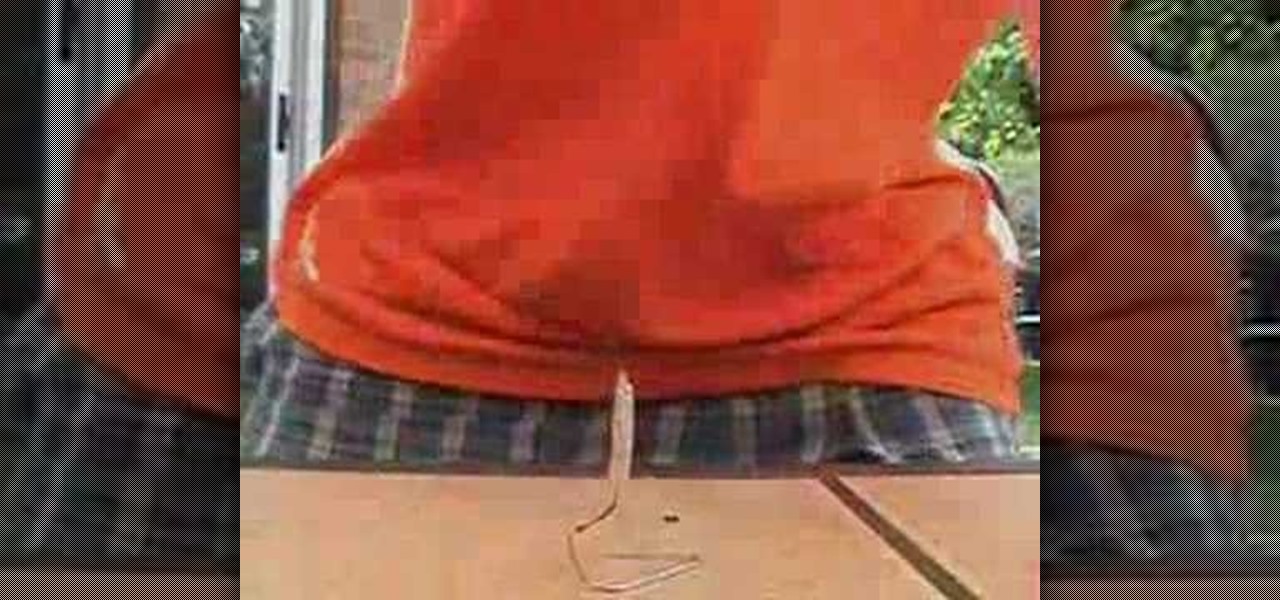
In this video we are shown how to make a match rocket. You will need a lighter, a paper clip, a pair of scissors, tinfoil and some matches. Start with two matches and with the scissors cut the heads off. Using the stick of the match measure a square of tinfoil. Place the stick on one edge of tinfoil and roll a little lip around it. Remove the stick and place the heads in the lip that you just rolled. Place the stick in the lip behind the heads so that it is halfway off of your tinfoil. Now be...

Watch this video to learn how to draw a rose in just seconds. • To draw a rose, you need a paper and three sketch pens of light green, dark green and red colors.

This video shows how to embed a YouTube video in a PowerPoint presentation in Microsoft Office PowerPoint 2007. First you want to copy the URL of the YouTube video that you want to embed in your PowerPoint. Then, open PowerPoint 2007 and click the office button in the top left corner (circular button with office logo). Then click "PowerPoint options" and check "show developer tab in ribbon". Then click "OK". Click on the developer tab, and click on "more controls". Then scroll down to "Shockw...

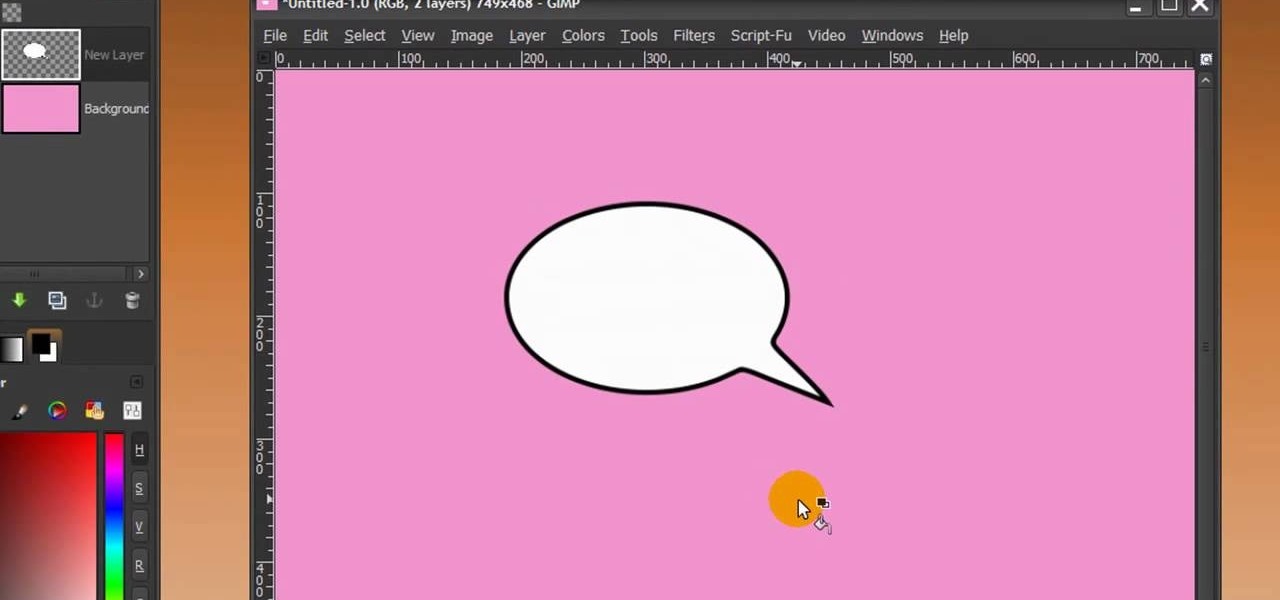
First of all open any image and create a new ‘layer’ and add it to your image. Click on the transparency and then click ‘ok’. Now from the right menu bar choose the ‘elliptical’ icon to make a round balloon. Now select the 'free select tool' and select ‘mode’ to 'add to current selection' and then draw a triangle with the base inside the previous balloon and the pointed end outside the balloon. Now select the 'bucket fill' tool and make sure your ‘background’ color is selected as white and th...

In this video, Meg will show you how to make your own wreaths. You’ll be creating two scenes on your wreaths : a woodland and an aromatic one. You’ll need 2 cardboard rings (one slightly smaller) cut in wreath forms, green moss, a hot glue gun, a knife, some pretty fabric, and a handful of old corks.

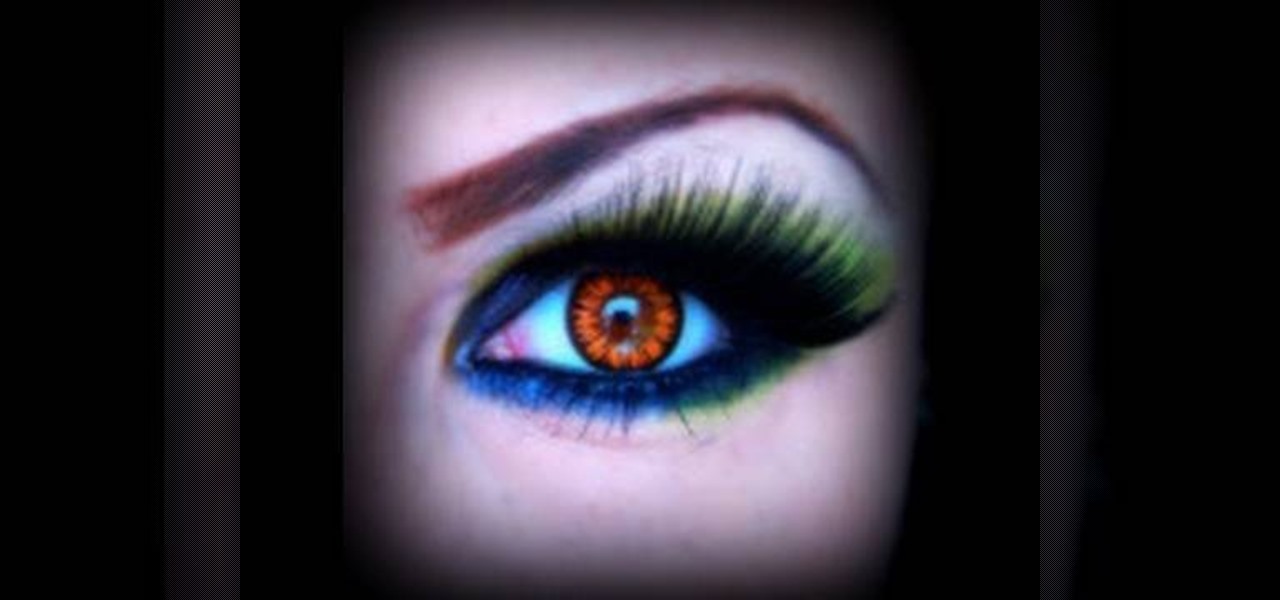
In this beauty tutorial, learn how to get the dramatic eye synonymous with Ed Hardy-Inspired makeup. The first thing you will need to do is apply a foundation over your entire eye area. Because so much makeup is being used, you really want to make sure there is a foundation in place to keep all of the color in place. Then, with a no. 217 brush, sweep a dark navy blue color over your entire lid as well as the crease. Line your lower lash line with a dark blue cream eye shadow and also fill in ...

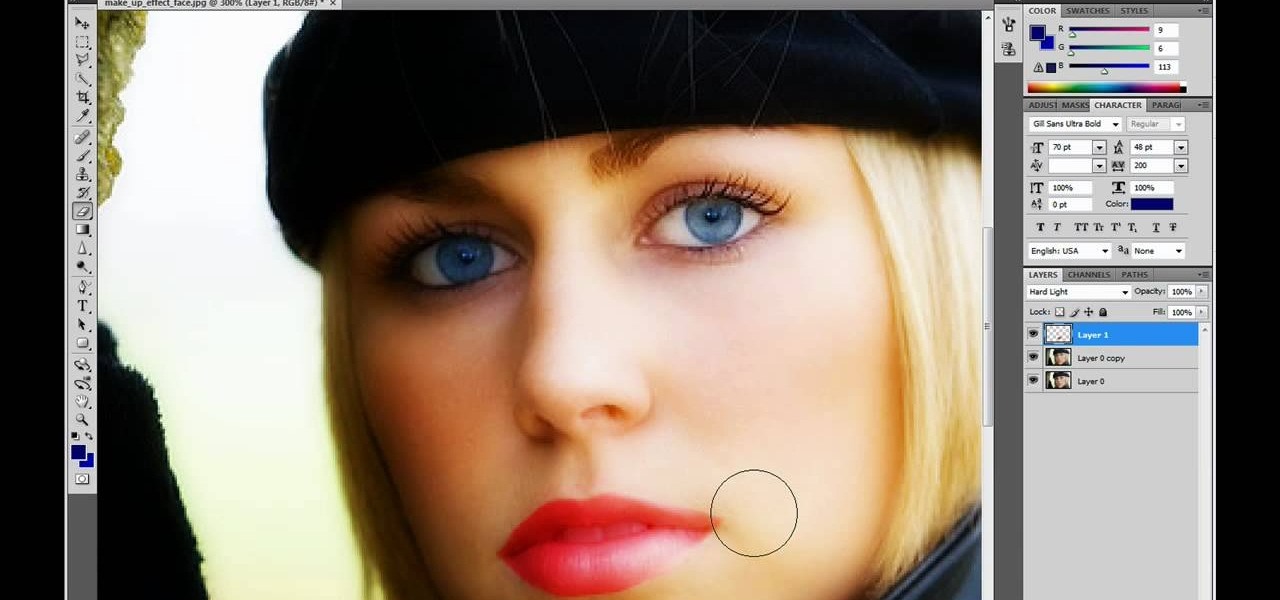
This video is describing how to retouch a photograph by using Photoshop CS4. The first step is to get a photo that you would like to edit, preferably of a person's face. Then make a new layer that duplicates the background, go to Gaussian blur, then go to hard light for your layer blending. Then draw lipstick on the model by using the polygon lasso tool and the hue/saturation tool. Then chase the hue and saturation to the correct color, then erase the edges that you accidently missed with you...

This video is about making a mummy type sleeping bag or an over bag for a hammock with a woolen blanket. The first task is to make coat rings and hooks. Take a piece of flexible wire and bend it into a ring of diameter 1 3/4 inch or 2 inches with a overlap of about 1 1/2 inches make 6 or 7 rings. Now take a small straight wire and make a hook of 1 or 1 1/2 inch, make the tips of the wire pointed so that it can penetrate. Overlap the edges of the blanket by 2to3 inches. Fix the rings with the ...

In this video from kandeejohnson we learn how to tweeze, shape, and groom eyebrows. Must have tools for this are tweezer, a curved pair of cuticle scissors, an eyebrow brush, and mini razors. First find the dimensions of your eyebrow. Take the eyebrow brush and using the stick part of it and place it on the side of your nose and go straight upwards. Right where it goes straight up is where your eyebrow should begin. So tweeze everything between there. To find the arch, go from side of the nos...

Ronnie from Hollywood makeup secrets shows older women (Specifically 60 years and up) how to apply makeup and look young. She starts off with the tip that woman need to moisturize the face before applying foundation. She uses a liquid foundation that is used to moisturize and smooth out wrinkles in the face. The foundation is also applied to the eyelids to smooth out the veins on the eyelids. She then applies concealer that was warmed on her hand to the inner corner under the eyes. After appl...

This is a Computers & Programming video tutorial where you will learn how to take screenshots on Mac OS 10. 5. Andrew Grant says there are several ways of doing this. The easiest way is to hold down the Command and Shift key and press 3. You will get a screenshot of the entire desktop. To take a screenshot of a selected area, hold down the Command and Shift key and press 4. The cursor now changes into a target. The figures next to it are the values of the pixels from the left hand top corner....

Sarah long teaches viewers how to contour their lips. First, you will need lip balm. It should be simply used just to moisturize your lips. Now, take a piece of sandpaper and lightly roll it over your lips. This will exfoliate the lips. You shouldn't do this all the time! (maybe only once or twice a week). Now, take Kiss Me Coral Revlon and apply it to your lips with a lip brush. Carefully and evenly place this on your upper and bottom lip. Take tissue or Kleenex and blot your lips. You will ...

To begin take a 28 gauge copper sheet and cut out a pattern that you wish your earrings to be. Your pattern can be any shape that you wish. Cut out both earrings. Next sand your two earrings so that a texture will begin to arise on the copper sheet. Then you can color the copper with colored pencils to add the colors that you would like. Now with a break machine feed the copper sheet into the break in order to form the texture on the earrings. Then take a pair of pliers and exaggerate your pa...

One of the key fundamentals to playing a successful game of golf is to master your grip on the club. Stand in front of the club with your hands relaxed at your sides and let the club fall into your hands. Next, bring the club around front and set it down. When you position the club to hit the ball you will see two to three knuckles of your left hand. Your right hand will be hanging relaxed at your side. Bring your hand up like you are shaking hands with somebody. When you look down, the V sha...

Anna Saccone, from The Style Diet, teaches you how to wear a boyfriend cardigan. Since the boyfriend cardigan is loose and big, you should wear them in a casual or slouchy style. You can also pair a boyfriend cardigan with boyfriend jeans that fit loose too for the full effect. Also, rolling the jeans or wearing ripped worn jeans will add to the full effect. You can wear a simple plain white tank top under the cardigan for simplicity and for a relaxed look. You can also accessorize with brace...


