Take a look at this instructional video and learn how to use the eraser tool in Google SketchUp. Keep in mind that the eraser tool only works for edges in SketchUp, and you won't be able to erase surfaces with the eraser tool. This tutorial covers how to erase single or multiple edges easily and how to soften or hide edges with the eraser.

Take a look at this instructional video and learn how to use the freehand tool in Google SketchUp. This tutorial covers how to use freehand to draw free form edges. To do this, simply click and hold the mouse button to draw with the freehand tool. Like other drawing tools, be careful not to cross over edges while drawing, and draw to and from existing edges to properly break surfaces.
This is a short Blender tutorial that illustrates how to move a vertex along an arbitrary edge of an object no matter how the edge is rotated in 3D space. This 3D tutorial is from Stage6 so check it out and learn how to control the vertices on your Blender models.

Add some pizzazz to your yard with some decorative edging. Watch this video tutorial to learn about the various garden fencing/edging options from Nature's Garden Magazine's editor James Baggett.

Improve you crocheting skills by learning different edging techniques. This how to video is a tutorial that will show you how to crochet a single crochet edging. Watch, learn and create your own decorative crochet edgings.
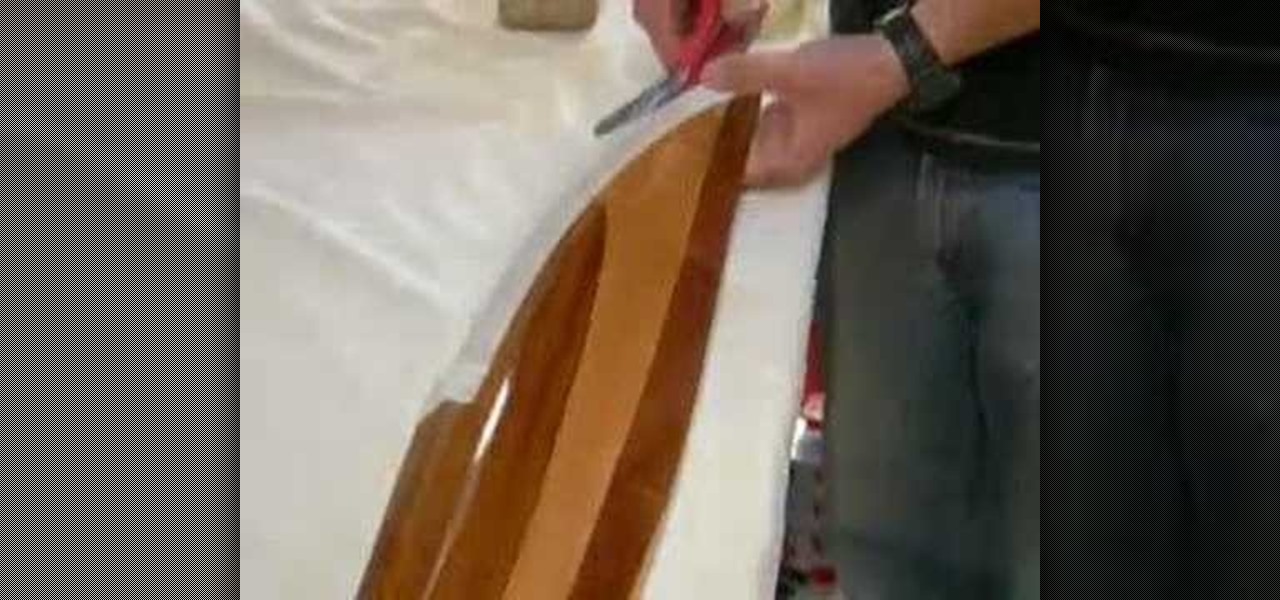
This video will show you two different methods of repairing the leading edge of a wooden aircraft propeller. Learn how to properly apply epoxy, clean the area of the repair, and make the edge look like it was never damaged!

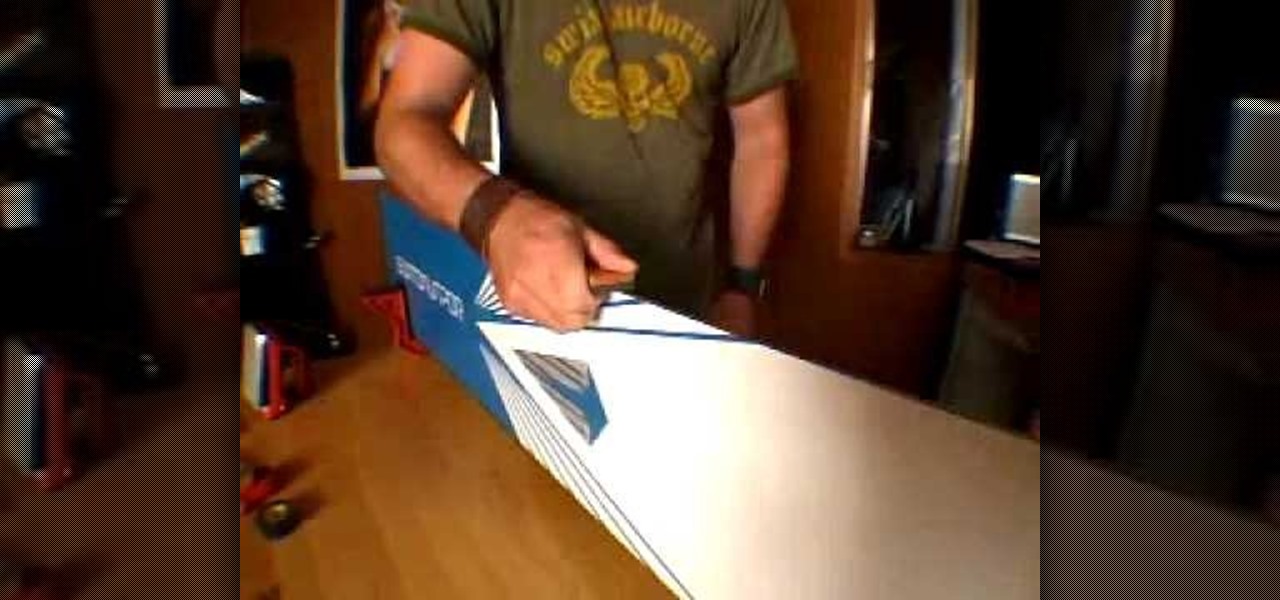
Frank Crow talks about keeping the edges of your snowboard in shape. Edge maintenance is crucial to preserving your ride.

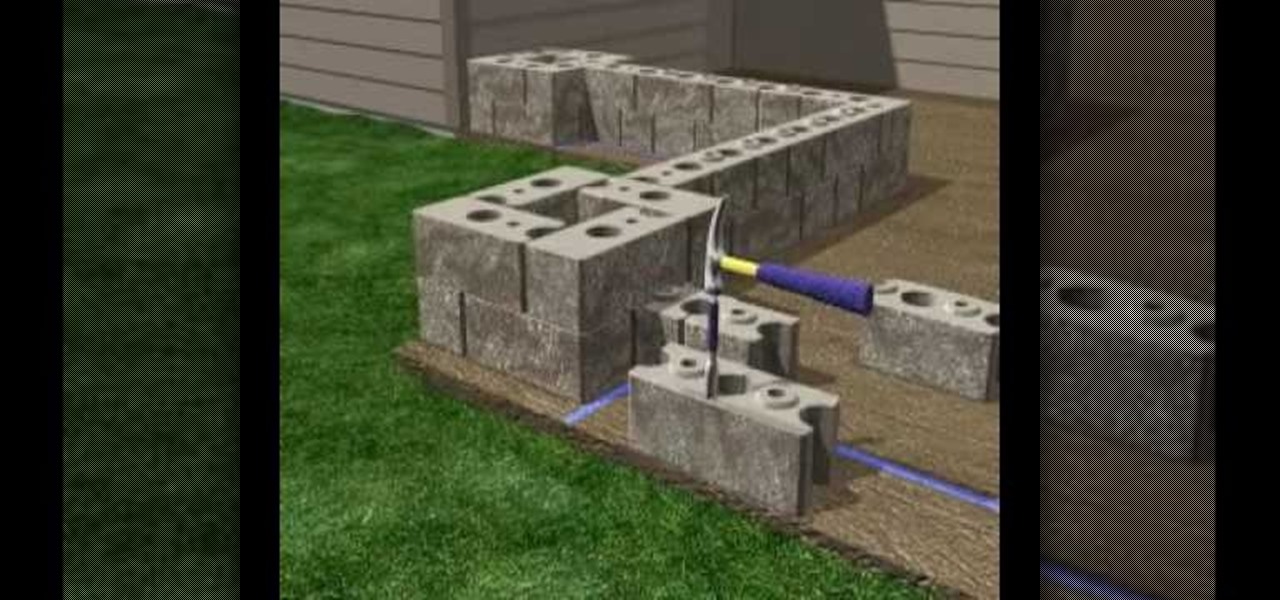
In this how to video, you will learn how to build a patio enclosure with seating walls. You will need measuring tape, a level, a dead blow hammer, a square, masking tape, safety glasses, and work gloves. You will need the courtyard collection as well. First, draw out a plan for the enclosure. Mark the locations of the posts and panels with tape. Openings should be three to four feet wide. Start building walls at posts. Adjustments must be made at corners. Start by placing four corner blocks. ...

Missa shows how to ‘Distress Jeans’ in this video. She lays a pair of jeans to be distressed on a table. Next, the creases near the top, which are formed by bending the leg portion of the jean, are marked with a white pencil or chalk. A hard rock is then placed inside the jean, near the knee area. That portion of the jean is graded using sand paper to make holes. The pocket areas are graded next, using a nail file. A pair of scissors is scraped along the edges of the pockets to make cuts. (Al...

Picture-in-picture mode on Chromebooks is almost identical to the one found on Android phones. Once activated, it transforms your video into a small window so you can do other things while watching. But the Chrome OS version is actually a bit better thanks to the addition of an Android 11 feature.

Now that we've had significant time with Samsung's Oreo Beta for the Galaxy S8, many interesting features have come to light. As we continue using the new software, we have uncovered more subtle changes. The home screen already received a few new customization features, it's only fitting that the edge screen get some love, too.

Snapchat has built upon the photo-sharing service it once was to become a money-sending, commercial-shelling, video-messaging giant. They improved their user experience by adding Stories, Geofilters, and even the rarely-used Snapcash feature, but why isn't there something as simple as color filters? Yes, they have filters for black and white, saturated, and sepia, but that's it as far as color goes.

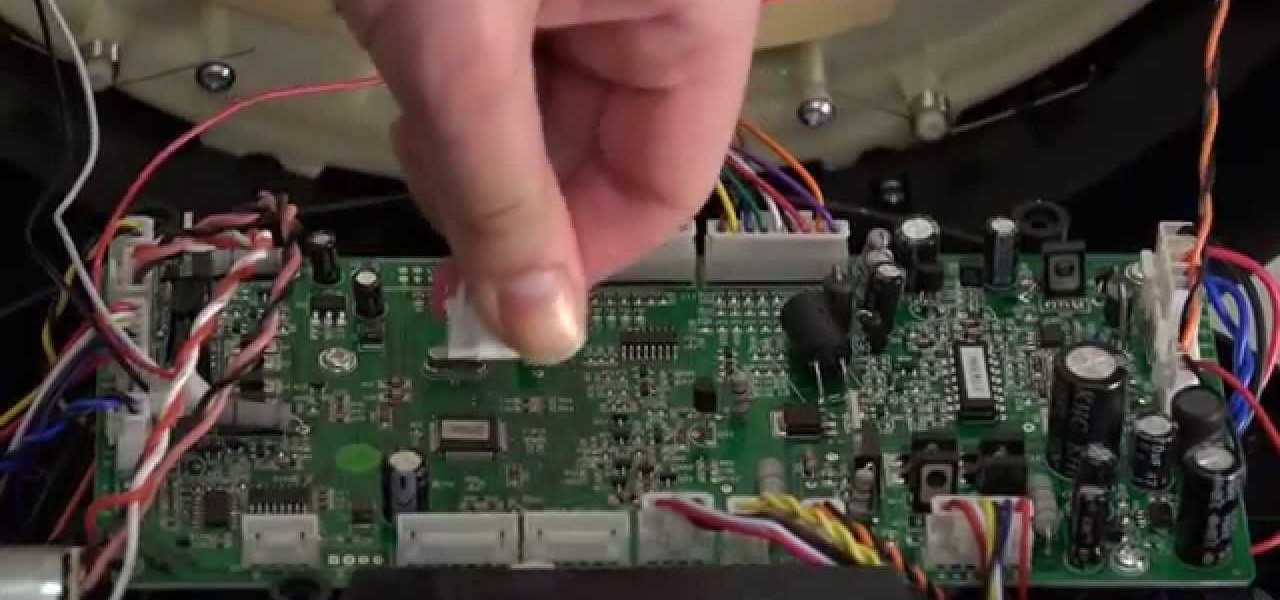
The bumper for bObsweep Pethair and Standard are installed the same way. It holds the sensors that allow Bob to see any obstacles in his path. If a repair of the wall detection sensors is needed, the steps for replacing the whole bumper are the same when working on either bObsweep model.

Whether I'm writing up something online, playing games in Chrome, or just browsing the annals of the Internet, I always like to keep a tab open for YouTube so I can listen to interviews, trailers, and music videos at the same time. But a tab can get lost, and it's not easy to "watch" if I don't have a second display to utilize—even with snapping windows.

Today was a big day for Samsung at IFA 2014, with announcements of two new devices as successors to the Galaxy Note 3: the Galaxy Note 4 and Note Edge.

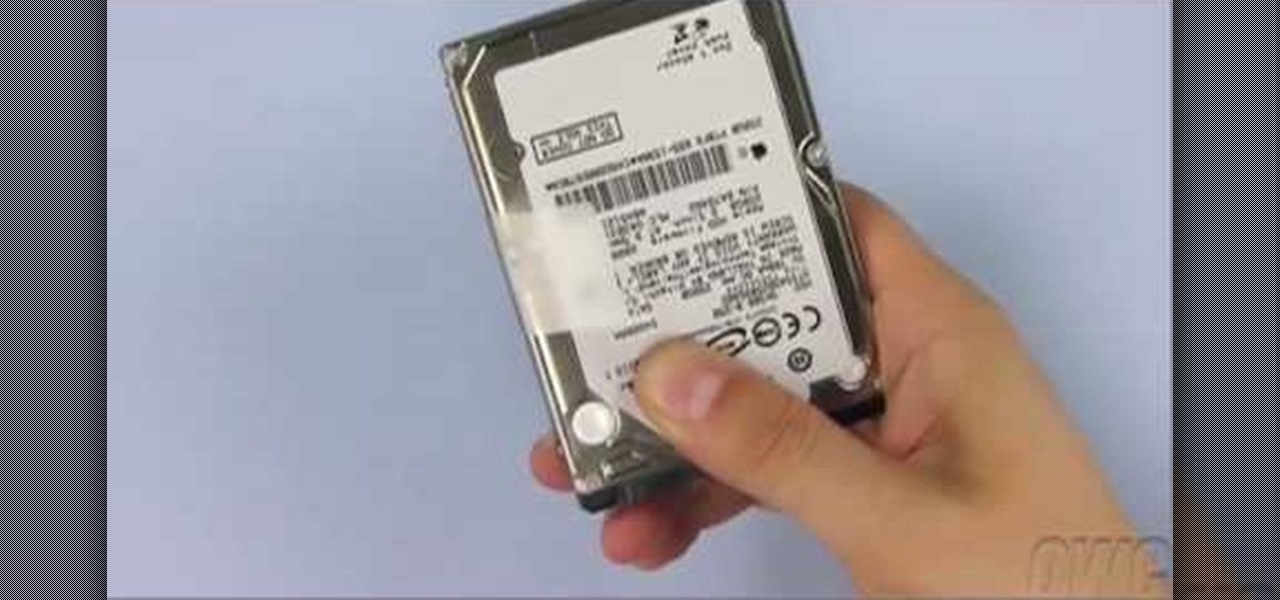
In this video from MacOSG we learn how to install a hard drive in a 15" Macbook Pro from around 2009. For this you need a #00 Phillips head screwdriver and a T6 Torx screwdriver. Make sure you use proper anti-static precautions with this. Transfer your data to the new drive before installing. To remove the hard drive, flip over your Macbook. Use your Phillips to remove the 10 screws. Remove the 3 at the right which are longer than the other screws. Then remove the left most screw which is the...

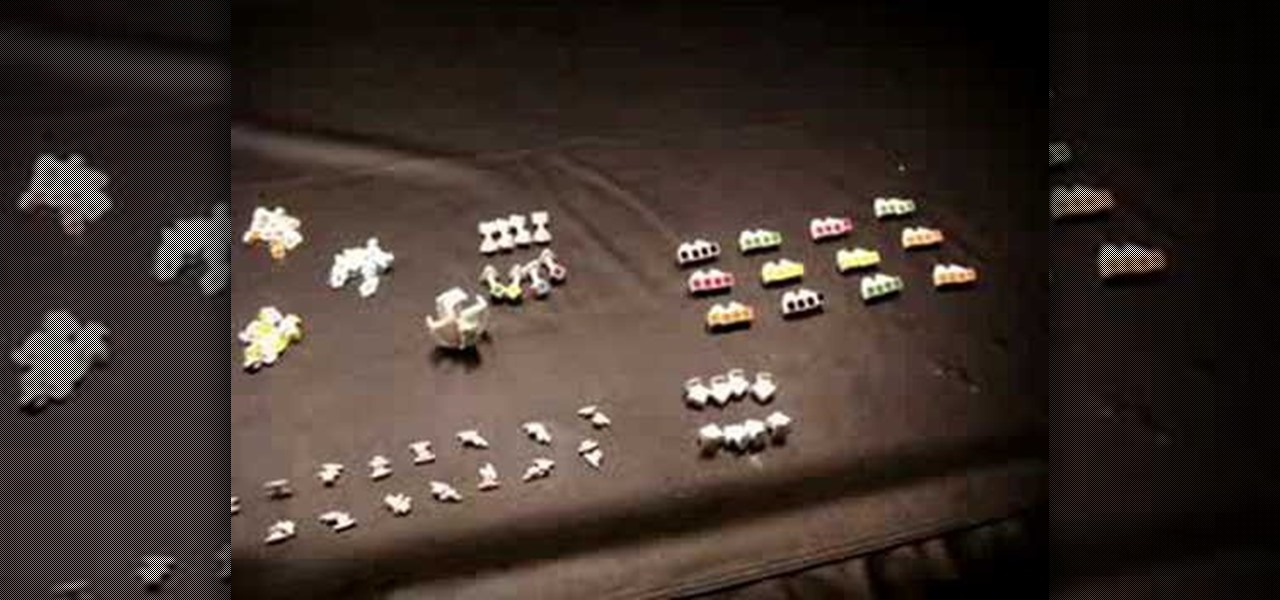
The V-Cube 6 puzzle is a uniquely designed and constructed skill game. V-Cube 6 is a multi-colored, multiple-layered cube, rotating smoothly on based axes. The player is required to discover a strategy to achieve uniform color sides on her or his V-Cube, but in this process, the Rubik's Cube-like puzzle may break, especially if you're in the process of speedsolving.

In this video we learn how to knit a scalloped edge. This forms a shell along one edge! First, attach your needle to the yarn on the right edge. Then, make a slip stitch and yarn over. Then, stick then needle through the fabric and yarn over again so you have three on the hook. Then, yarn over and pull through the first two loops in the hook. Then yarn over and go into the fabric and over again. Pull through a loop and then yarn over through all the loops on the hook. Now, do another one foll...

This is a video tutorial in the Home & Garden category where you are going to learn how to recycle an old can to make a candle votive. Take an old can and cut it vertically along the side without cutting off the edges. Now cut along the top and bottom edges starting at the vertical cut and going outwards on each side. Cut up to about half of the circumference of the can. Now pull out the cut halves and you have the basic stand for the votive candle. Now you got to straighten out the jagged ed...

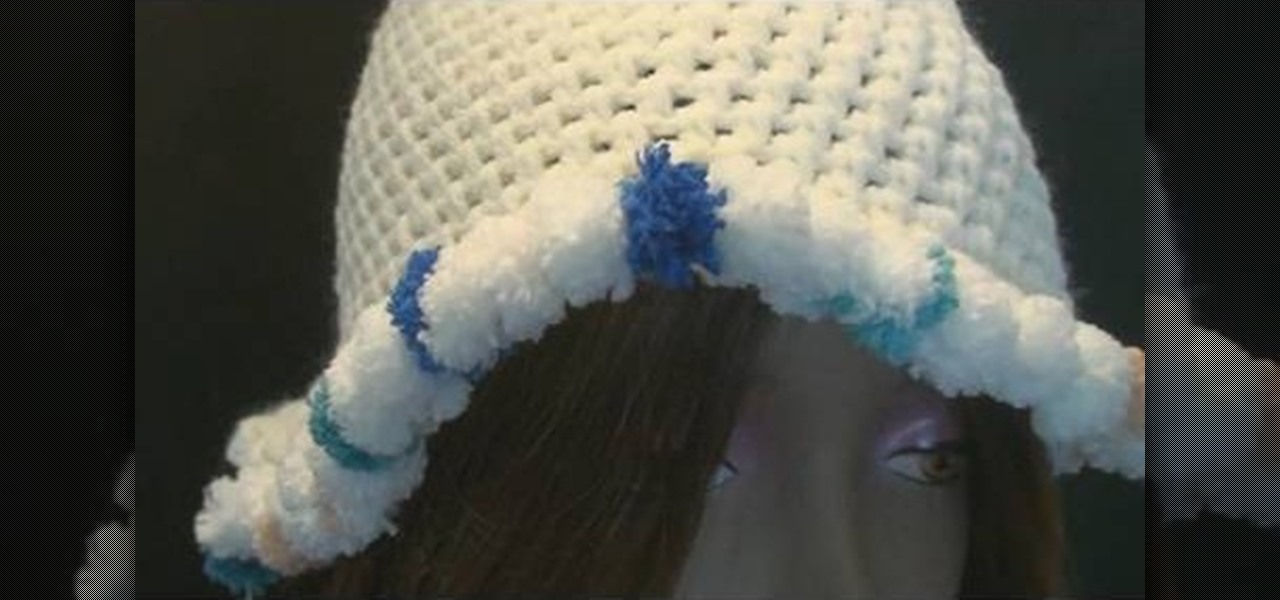
Despite what you may believe, making a crochet cap doesn't end at the last knitting row. In fact, crochet caps can be embellished in a number of different ways, including this Pomp-A-Doodle trim.

Making a round clay vase on a wheel that will hang properly in a corner may sound like a challenge, but with Simon Leach to teach you, even an amateur at-home potter should be able to complete this ceramics project. If you want to avoid griping like he does throughout this video, make sure not to use a plastic bat!

In this how to video, you will learn how to do a T drill in Pool. This is called a T drill because the balls are arranged in a T shape on the table. The point is to take the cue ball and try to run the balls in numerical order without allowing the balls to touch another. You also must be able to make the shots with each ball. Try moving the cue ball so that it lands far away from the balls. The hardest part is shooting 3, 4, 5, and 6 into the pockets. Try shooting 3 and 4 in the same corner. ...

In order to mud and tape the corners with new drywall you, you will need spackle, a sturdy ladder, and a putty knife. Scoop out a dollop of spackle (i.e. mud) with your putty knife. Place your putty knife where the ceiling and the wall meat. Spread the putty evenly, as you extend your arm left to right or right to left. Make sure that you apply putty all the way up to the corner.

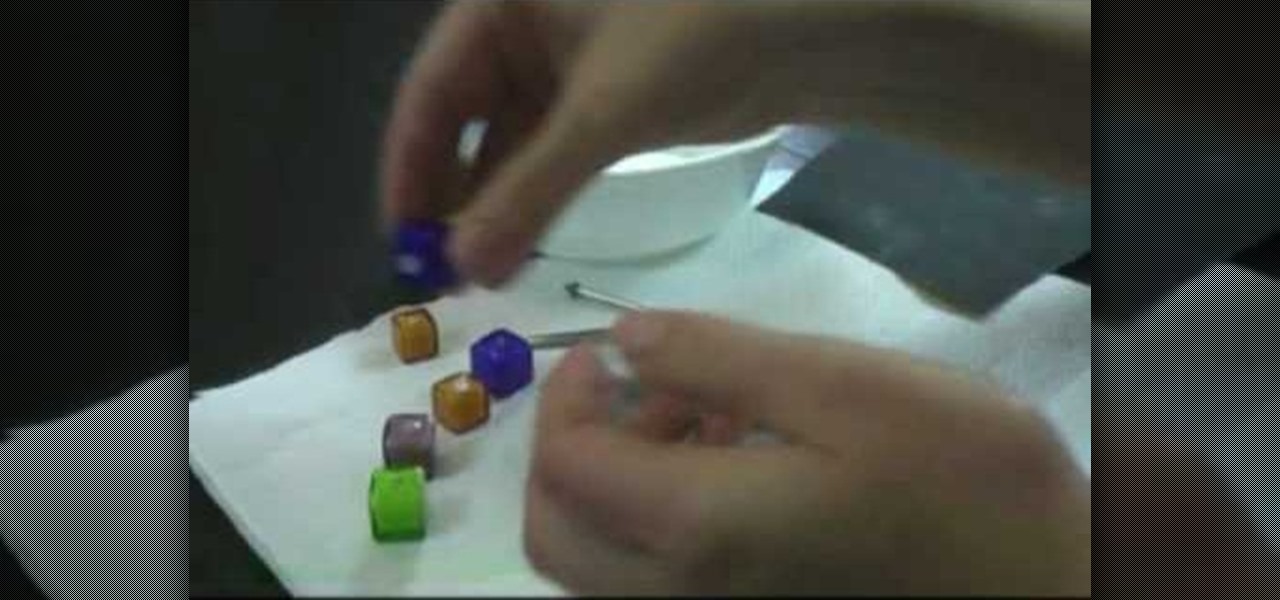
This video teaches us to use a bead reamer to smoothen sharp edges on a bead. You need a reamer, some water and the reaming tips. We need the large tip for enlarging and smoothening the holes and a 45 degree edging point for smoothening the edges of the hole. Twist the handle of the reamer and insert the tip in it. Take the bead and the reamer with the large tip & dip it into water periodically during the procedure so that the water acts as a lubricant. Begin filing the inside of the bead hol...

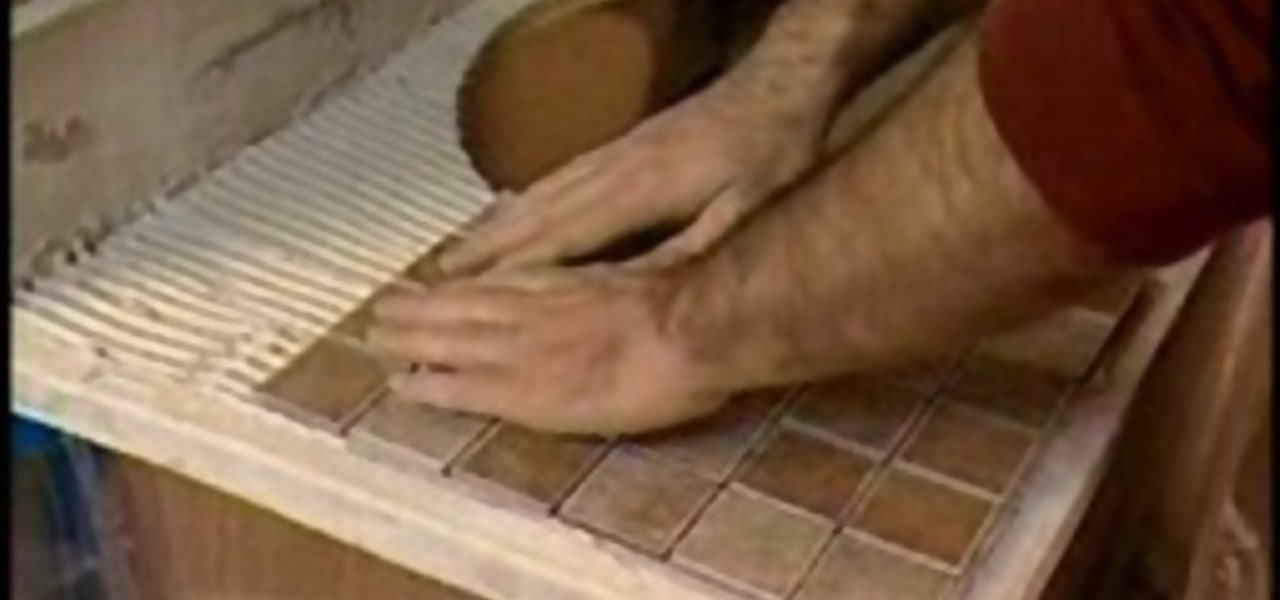
In this Home and Garden video you will see how to install mosaic tiles in your bathroom vanity using mesh pack sheets of 1 inch mosaic tiles and cap edge tiles. Hold a cap tile against the edge of the vanity and draw a line along the edge of the vanity. This will be the first joint line. Lay off the mesh pack mosaic sheets over the vanity top. The edges should be aligned with the line you drew. Mark the line near the joint on the last full sheet near the back splash. Also draw reference lines...

The video is about Wiccan Runes and to use it for prediction. Runes are small gems or stone with certain markings used for prediction. Firstly sit in a place where you can sit and meditate in peace. Place a clean cloth napkin in front of you where you can place the runes as per the natural elements. Sit and meditate on your questions and try to draw the divine power into yourself. Now pull out the runes one by one from the cloth bag. Place the first rune in the earth corner which is on the ri...

Watch this step by step tutorial to learn how to make a paper bird. Fold your paper in half so that it forms a long rectangle. Ensure you really fold down the crease--run your finger or a pencil along the top of the crease. Unfold the paper, turn it 90 degrees and repeat the fold. Your square should be divided into four squares by the creases. Flip the paper over to the other side and fold it into a triangle. Again, make your creases tight. Turn the paper 90 degree and fold again. You should ...

1) Create a rectangular sheet of paper by folding the left side in, like a book, about 1-inch and remove this excess paper. 2) Fold the rectangle in half, bottom to top like a newspaper, and then unfold and lay flat. Now take the bottom edge and fold it up (again like a newspaper) to meet the center crease that you made with your first fold. Unfold again. You will now have two creases in the bottom half of your paper. 3) Lift the bottom fold (bottom forth of the rectangle) up and line it up w...

When you use your knife, you want it to be sharp. When you first buy your knife it has a factory edge, which is the sharpest it will ever be. To maintain a sharp edge on the knife you are going to need to invest in a sharpening steel. To sharpen the knife, take the sharpening steel in one hand and the knife in the other. Pull the knife toward you on the bottom and the top with gentle strokes. After you have gently pulled it across the steel a few times apply some pressure and speed up a littl...

Not sure what bottle of wine to get your wine-loving friend for their birthday? Don't sweat it. Get them a wine bag, and save money by making it yourself from old clothes!! Why spend money on wine gift bags when you can craft your own from stuff you already have in your closet?

Find out a new way to solve the Rubik's Cube made famous by Erno Rubik, master puzzle maker. Try to get the edge pieces on the last layer using a new method called partial edge control. Just watch this video tutorial to see how to solve with partial edge control on a Rubik's Cube.

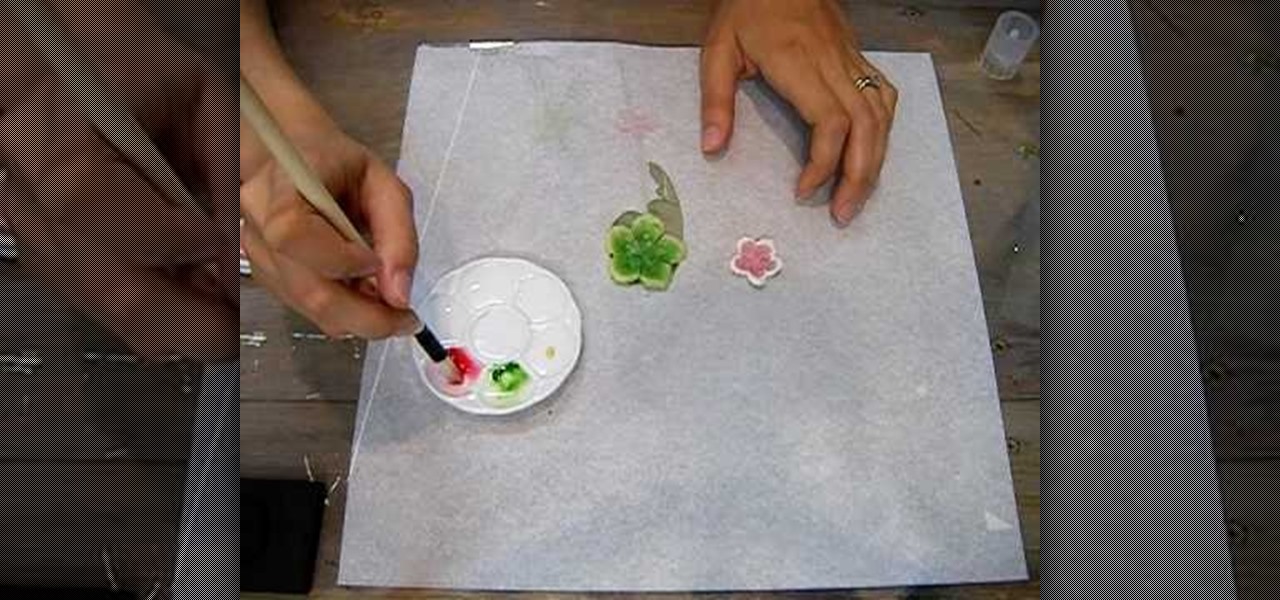
Supplies needed1. flower cut outs (you can buy them from A Piece of Craft)2. Water colors3. paint brushes4. clean water5. heat gun5. Water color pallet

Turn that dusty old tome into something you will actually use – a sneaky stash for your best stuff. You Will Need

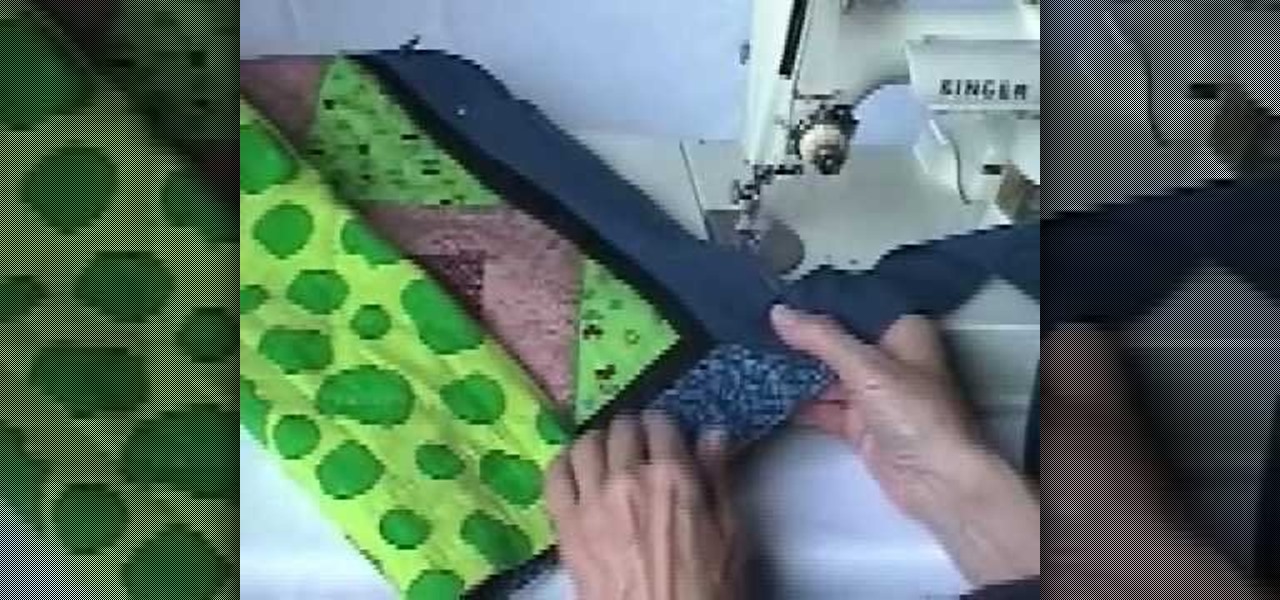
Watch an experienced quilter show a quick and easy way to miter the corner on the binding of a quilt. Quilting is a precise craft, but a mitered corner works best with a some accurate estimation. Follow this two step process to sew a neat and sturdy corner on quilt binding.

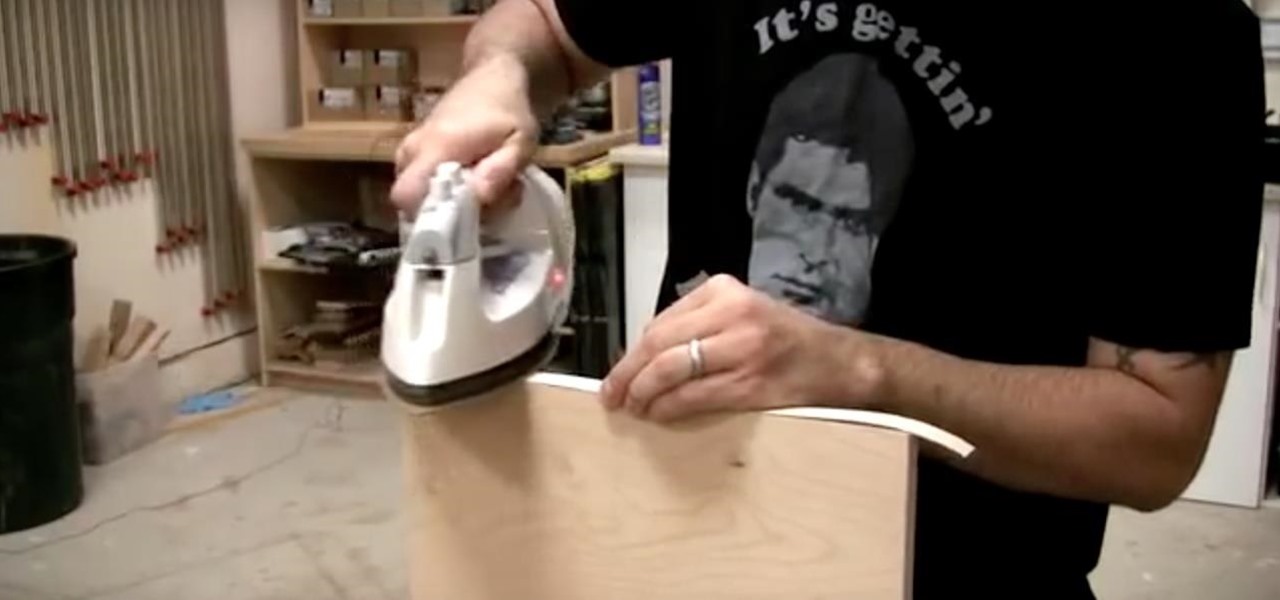
Plywood is flat, stable, and comes in lots of varieties. You can even use your plywood as a base for exotic veneers. But there is a consistent problem with plywood: how to treat the edges. This how-to video teaches you how to apply edge banding so it will hold up to wear and tear. All you need is iron edge banding, roller, sandpaper and an utility knife.

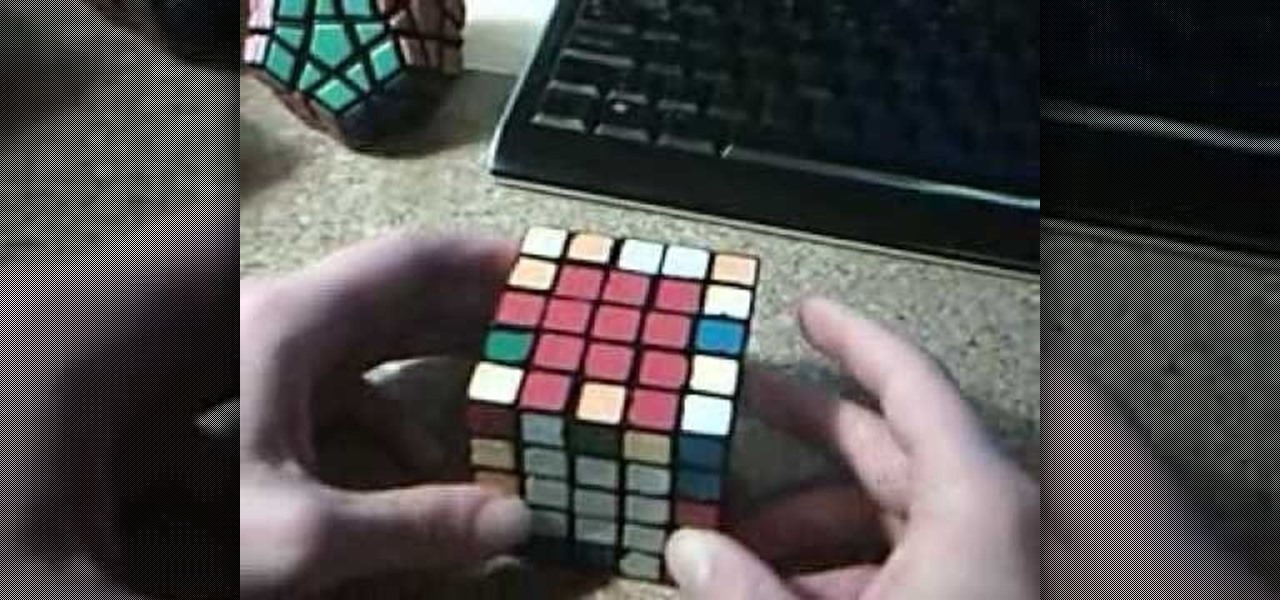
See how to pair the edges of the Olympicube (V-cube), the Rubik's Cube of all Rubik's Cubes! Watch this two-parter to help you on your way to brilliance, because you know you can't get there yourself.

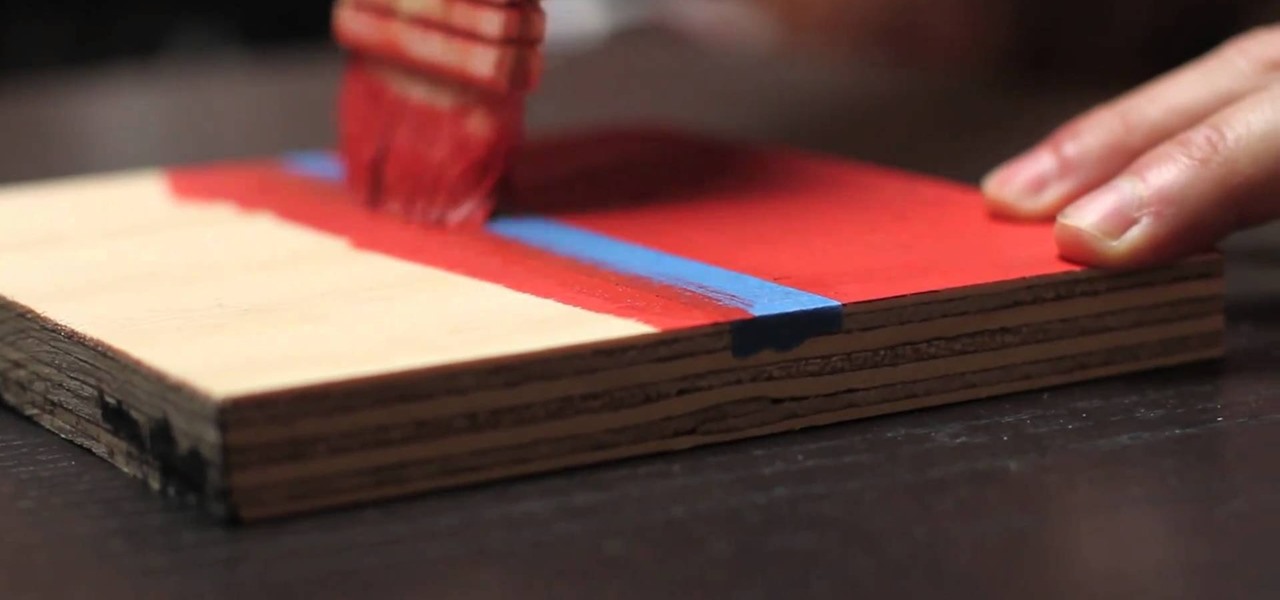
Most home interior painters, professional and ameteur alike, rely on painter's tape to get around edges without splattering paint everywhere. But painter's tape allows for little air bubbles to form, meaning paint can easily seep below and ruin your work.

In this tutorial, we learn how to make a Lace Cardigan with the Sewing Studio. First, you will need to gather all of your tools and the material. Now, cut out a piece of fabric into a large rectangle. Now, draw and cut out the pattern from the diagram you see in the video. After this, finish up the raw edges with stitching, then line up the two lower edges and sew along the edges. This will be the seam on the center back of the cardigan. Next, attach the triangle to the top of the neckline an...

Merrill offers up some of this best tips for making your works of art more realistic. There's three very important strategies for improving your the lifelike quality of your drawings and paintings, and in this video, he demonstrates them for you.

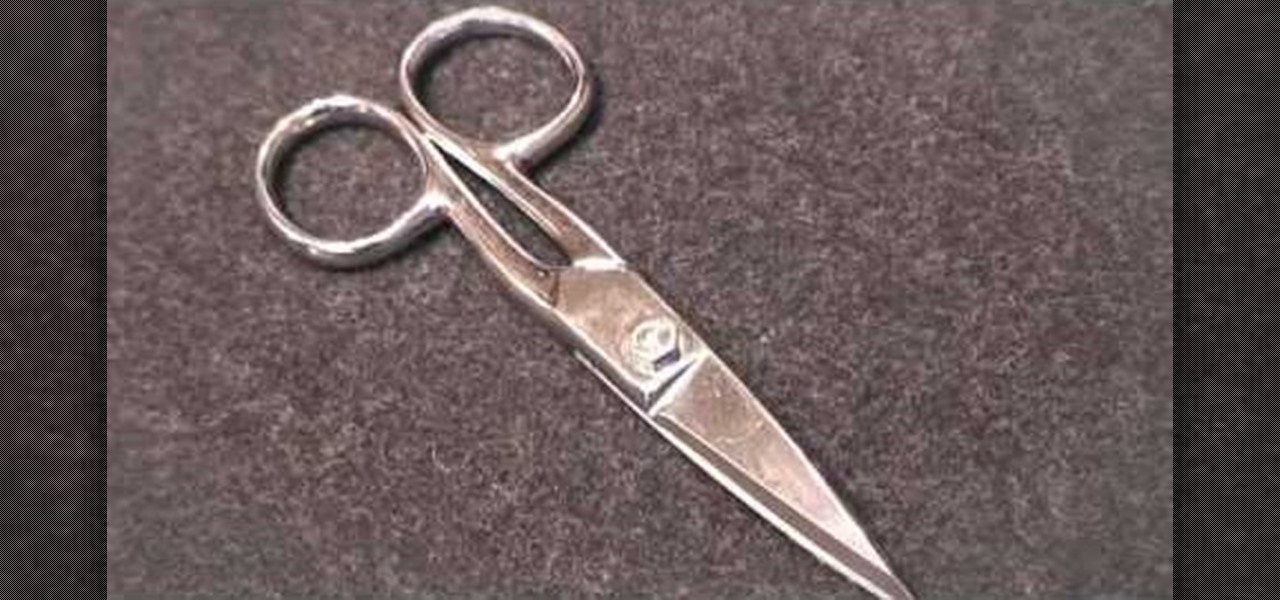
In this video tutorial, viewers learn how to use tailor point scissors. These scissors are short, have a broad spine on the blades and contains both a knife and bevel edge. The knife edge allows the scissors to go through the fabric and the bevel edge allows users to cut in layers without cutting what's underneath. The broad spine prevents the separation of the blade points. The short blades allow better control and easily movable. This video will benefit those viewers who enjoy stitching and...


