Apple ProRAW, the new RAW shooting format available on the iPhone 12 Pro and 12 Pro Max, is now available in iOS 14.3. But you won't find a switch for it in the Camera app after updating your iPhone, and that's because it's an opt-in feature you have to unlock.
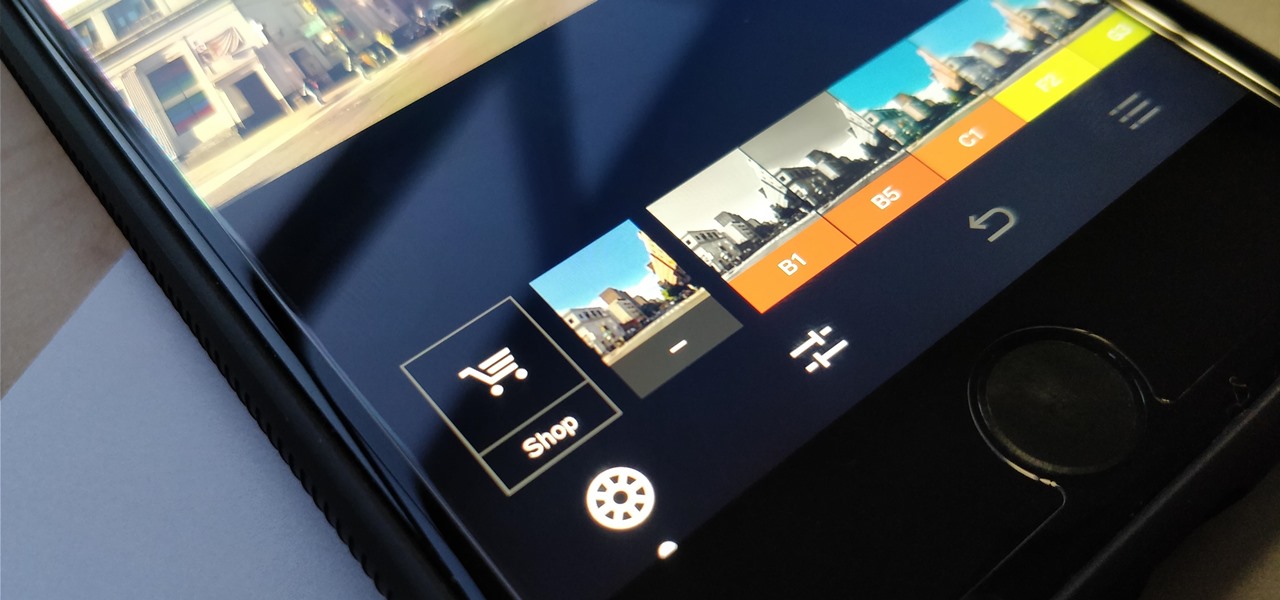
One of the best features VSCO has to offer is its presets, also known as filters — they reduce the labor it takes to make your images look better by applying unique preset edits to each. Presets can make your photo look like it came from a professional studio or a black and white camera from the '70s. Sounds great, right? So, how do you get started?

A fairly hidden feature in iOS 10 let you turn websites and documents into PDFs, but thanks to the new Markup function in iOS 11, this process has become a lot more streamlined.

Keystroke injection attacks are popular because they exploit the trust computers have in human interface devices (HIDs). One of the most popular and easily accessible keystroke injection tools is the USB Rubber Ducky from Hack5, which has a huge range of uses beyond simple HID attacks. The USB Rubber Ducky can be used to attack any unlocked computer in seconds or to automate processes and save time.
Managing hard drives in Linux is crucial to understanding your system and its operation as well as understanding the system you are exploiting or conducting a forensic analysis on. Linux has numerous commands that can provide us with information, control, and management of hard drives, and in this tutorial, we will examine a number of the most important ones.

In 1987, two brothers, Thomas and John Kroll, began work on an image editing software, which was eventually acquired in 1988 and released to the world in 1990 by Adobe. That software was Photoshop 1.0, initially exclusive for the Macintosh platform. Over the years, Photoshop became a great wizard of image editing and gained application rockstar status.

Since the days of Android Jelly Bean, Samsung has implemented an energy preservation feature known as dynamic voltage and frequency scaling, or DVFS for short. What this essentially does is limit or adjust the frequency of the microprocessor to conserve power and prevent excessive heat from being generated.
At last, what you all finally waited for! Hi! Fire Crackers,
The vague 90-day release window for CyanogenMod 12 has done nothing to stop my craving for Lollipop on my OnePlus One. Luckily, there are other "unofficial" means of getting my hands on it. Since CyanogenMod still gives users a way of building their own variants of their ROM, we can install user-compiled versions of CM 12 pretty easily.
Getting things done isn't easy when you're bombarded with alert sounds and notifications all day long on your Mac. Here's how you can quickly remove those distractions with just a single click.
CyanogenMod is one of, if not the most popular, third-party operating system for Android devices. It's so popular in fact, that it is the standard, out-of-the-box operating system on the recently released OnePlus One. CM is a lightweight ROM built on top of AOSP (Android Open Source Project), which is the base for all Android builds.
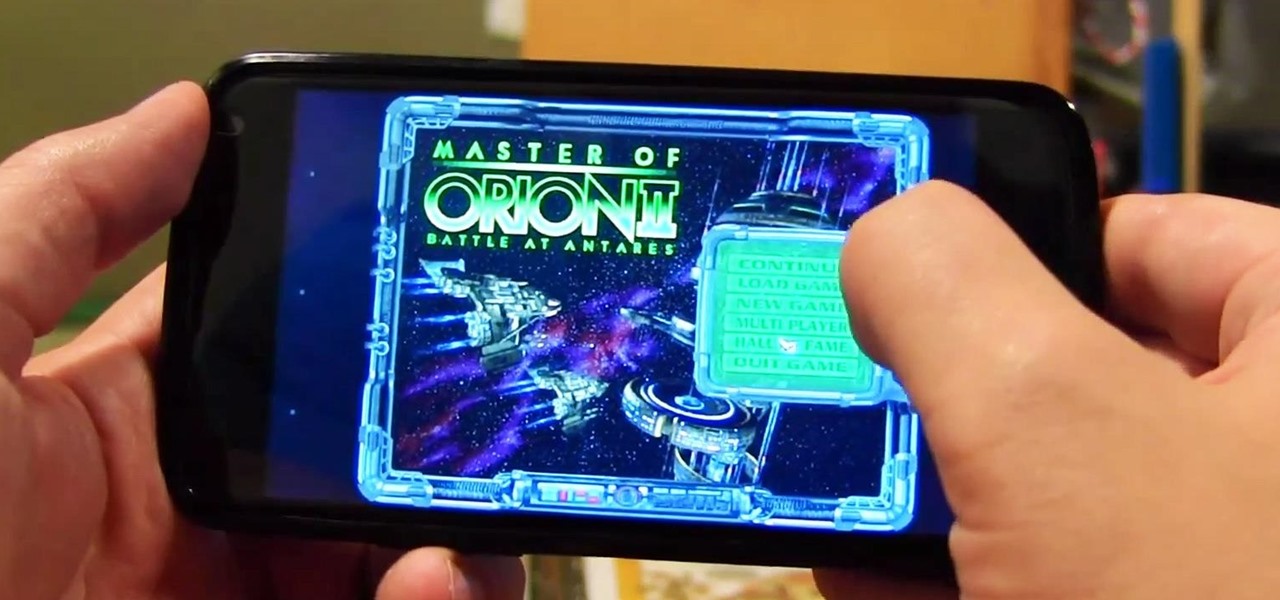
If hearing the names of classic PC games like Commander Keen, Fallout, Master of Orion, and Wolfenstein 3D send you into a fit of nostalgia, then DosBox Turbo is the perfect app for your Android device.
Learn how to splice together short videos on YouTube using the video editing tool. This video will show you how easy and simple to use this tool is. It's a fast and easy way to create a long video from a group of short ones.
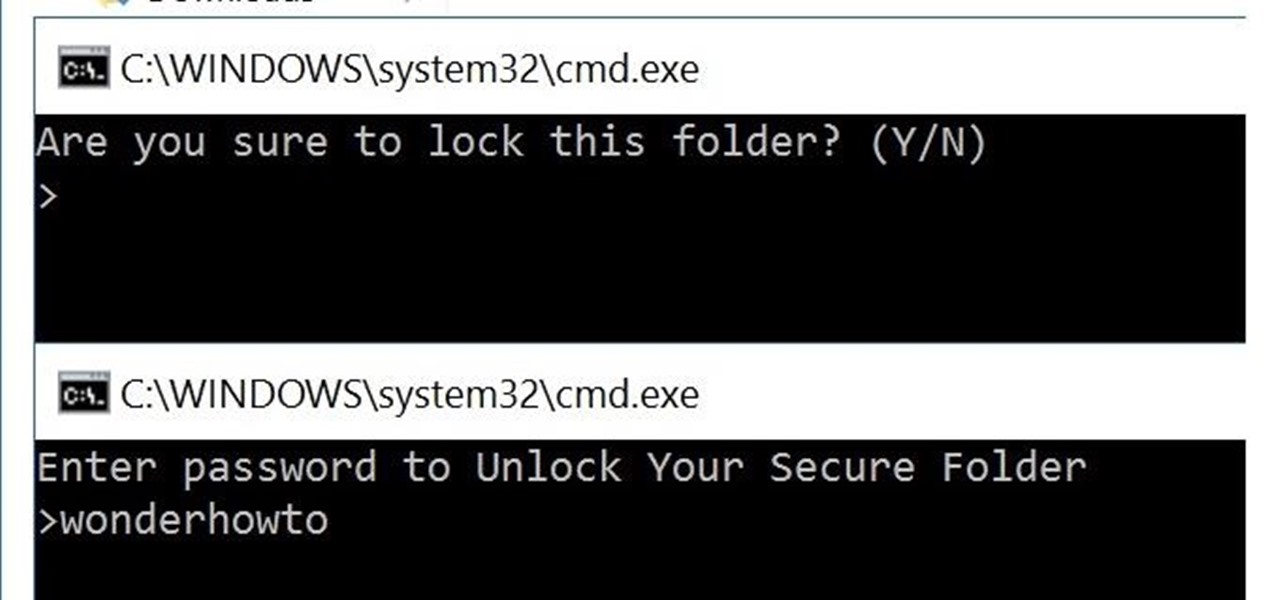
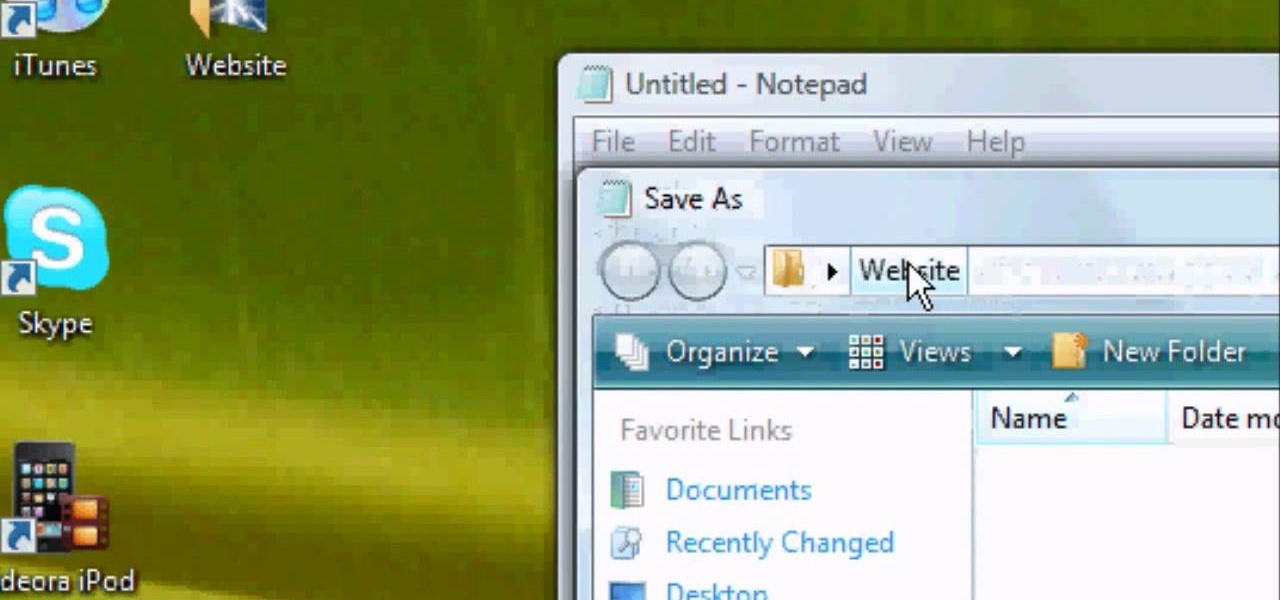
You can easily lock any folder on your Windows computer with a simple Notepad hack. By creating a batch file, you can hide a folder and require a password be entered before it becomes visible and accessible. This is a great tool for locking sensitive information, like pictures, financial statements, and a lot more.
Tutorial for creating web design photo gallery. This Xara Web Designer Tutorial will give an overview of editing things such as but not limited to: captions, photos, pop-up properties, titles and so on. If you need assistance using Xara Web Designer let us know and we will do our best to create web design tutorials to help you.
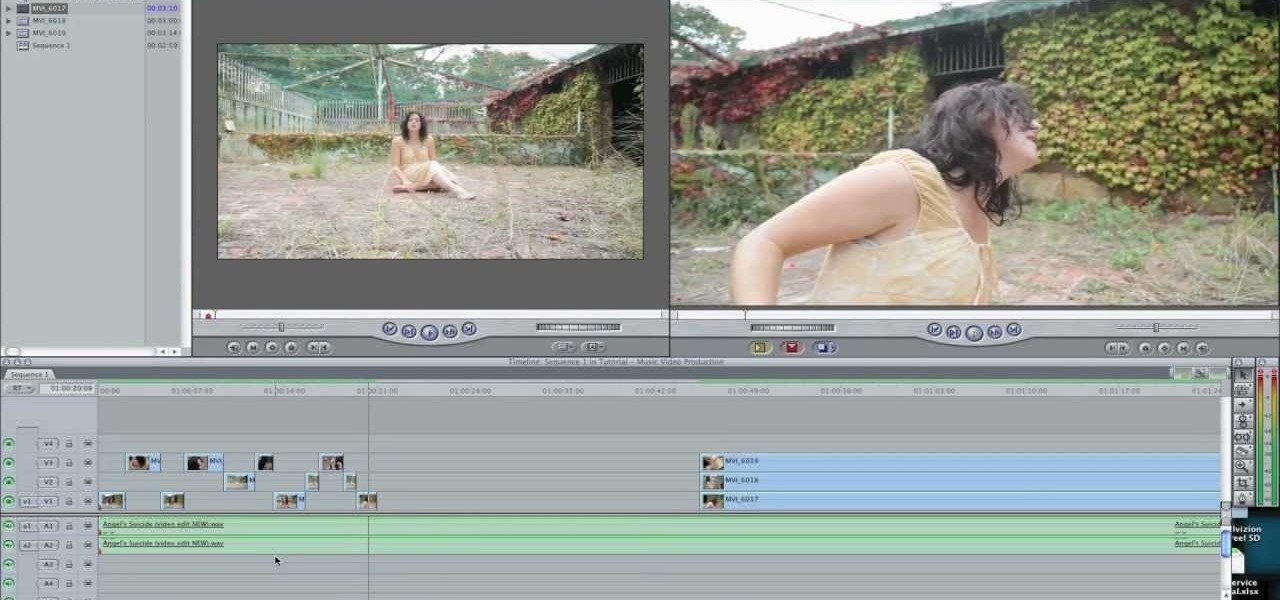
Heya Everybody, I have a brand new tutorial online - this time covering the topic of Music Video Editing and basic workflow processes like converting footage from a Canon 5D.
Before you do any shooting on the Red One Camera, you must set up your project settings and format your media with the settings you plan on shooting with. 2K, 3K, or 4K and your FPS must be set or face bad consequences when you go to edit this footage.
First of all you have to open the 'notepad'. Now you have to type in "<html>" in first line. Write "<head> in second line. Write "<title>this website contains text wrapped around images</title>". In the fourth line you have to type '<body bgcolor="#999999">'. This shall add a light orange color. Now find out the name of the image. Here the name of the file is 'image.png'. Then in the next line you have to type in "<img src="image.png">this text should hopefully wrap around the outside of the ...
This was a video on IMovie08 a movie editing program. Inside the IMovie08 program to get started you have to import a video. Once you have imported and opened the video you can begin to edit it. You can easily switch between your event library and the Project library. To play your video just click the spacebar. To create a project just click on new project and name it, once you have it named, pick your aspect ratio. Then click on create. Next you have to choose a video, by right clicking on t...
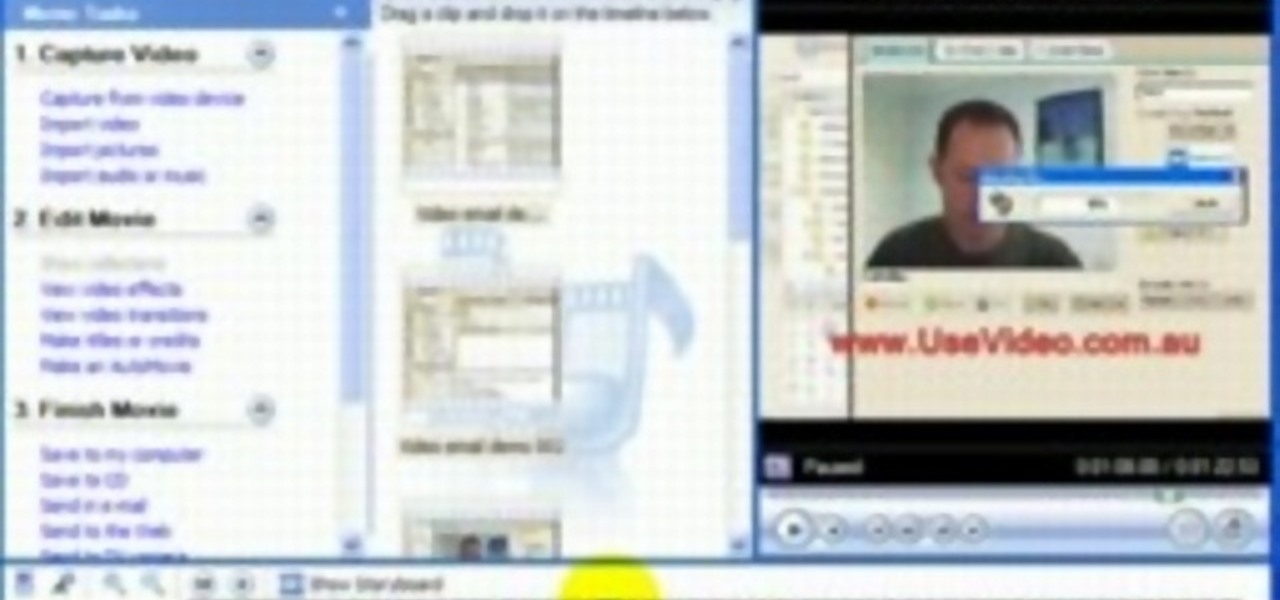
John Gregory shows just how simple it is to make and edit videos using Windows Movie Maker. In you movie maker window, Just click on “Import Video” and import a video that you want to edit. Here, John takes up a video he has already created. You can see the different slides in the video. Select all the slides and drag them to the time-line and paste it there. Now you can view the slides on time-line. Next, is giving a title to the video. Here, the title used is “how to send a video mail”. Joh...
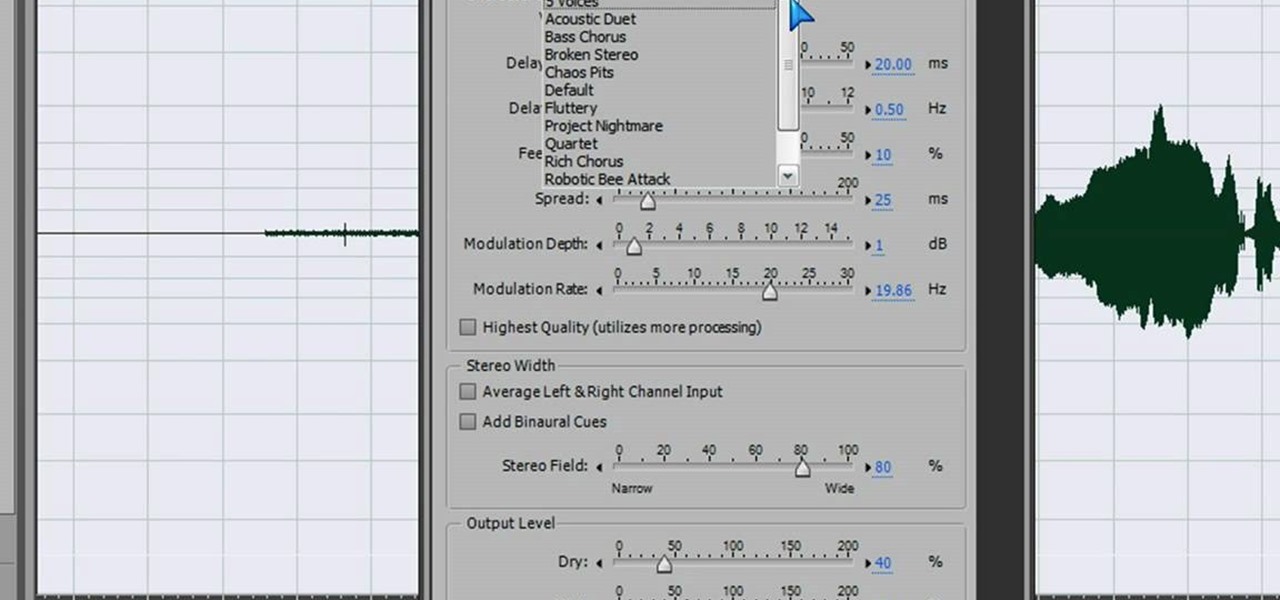
In this video we learn how to make a scary voice effect on Adobe Audition. First, record an audio that you made and open up Adobe Audition. From here, open up any other audio that you want to hear for the beat. Then, go to "generate" and then "silence. Put this to 1.5 seconds, then go to the end of your sound and do the same thing. This will make a good effect when you are editing and adding in echo. First, reverse the audio by going to "effects" and then "reverse". This will make it a lot ea...
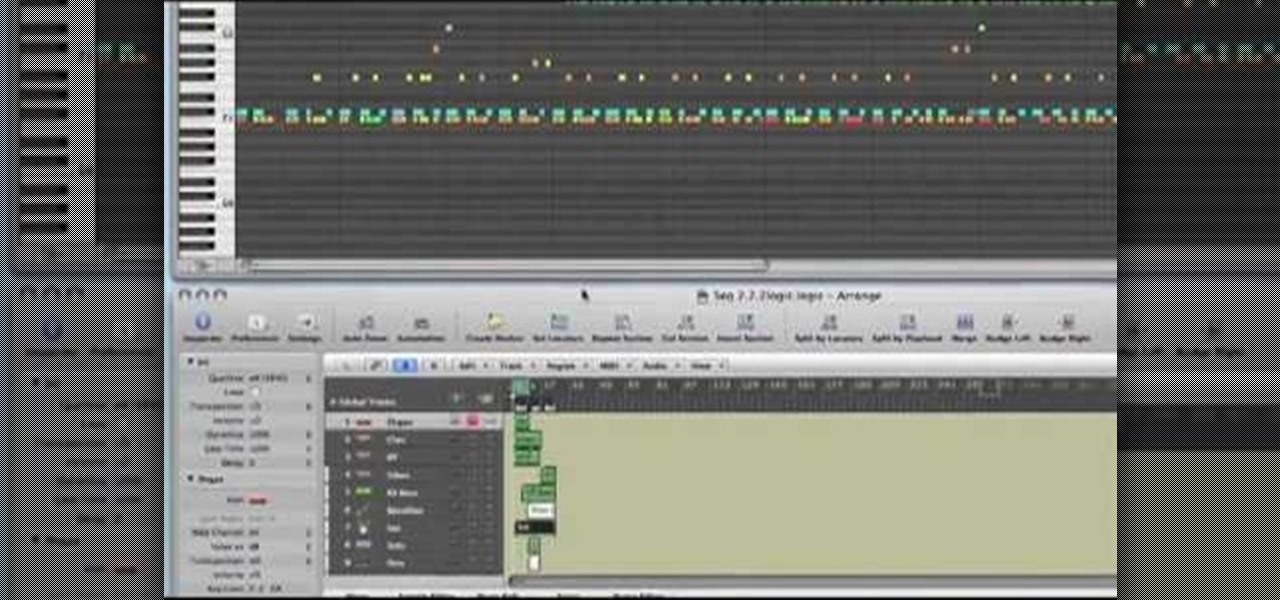
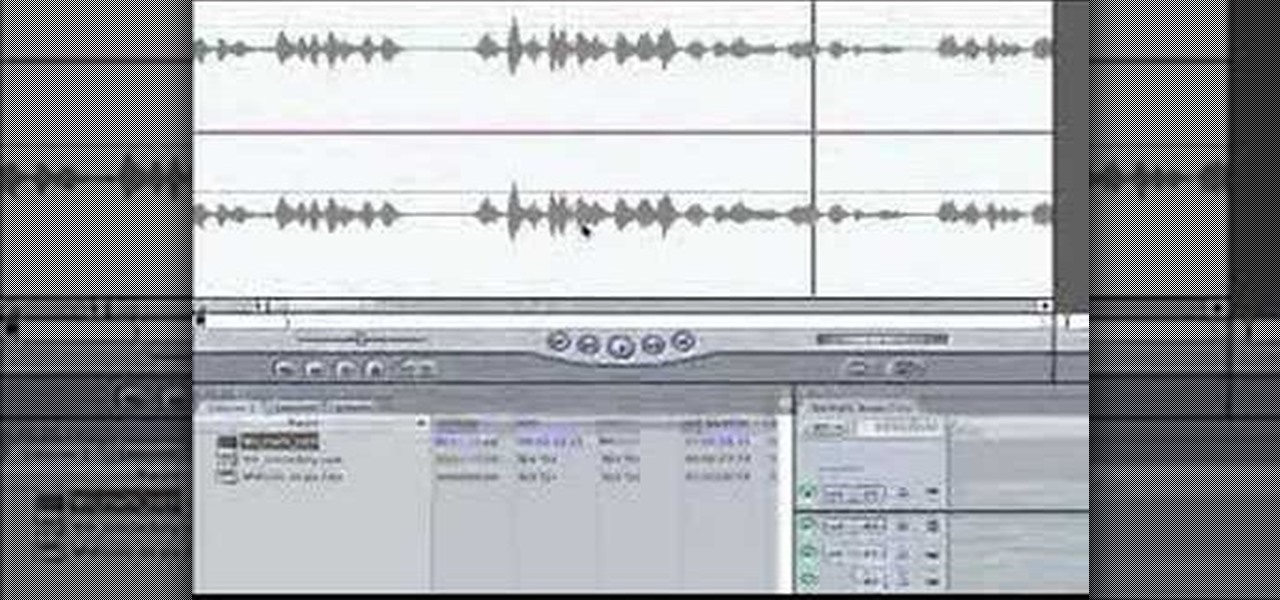
In this tutorial, we learn how to use Logic Pro: Screensets. First, open up the score editor in a separate window to do your editing. Then, open up your arrange menu and edit the piano part of the music. This is a good approach because the windows can both be large, but it can get cluttered quickly. Screen sets allow you to set up windows and save them as a screen set at the top of your screen in the software. When you do this, it will stay locked so those windows always stay the same. Set th...
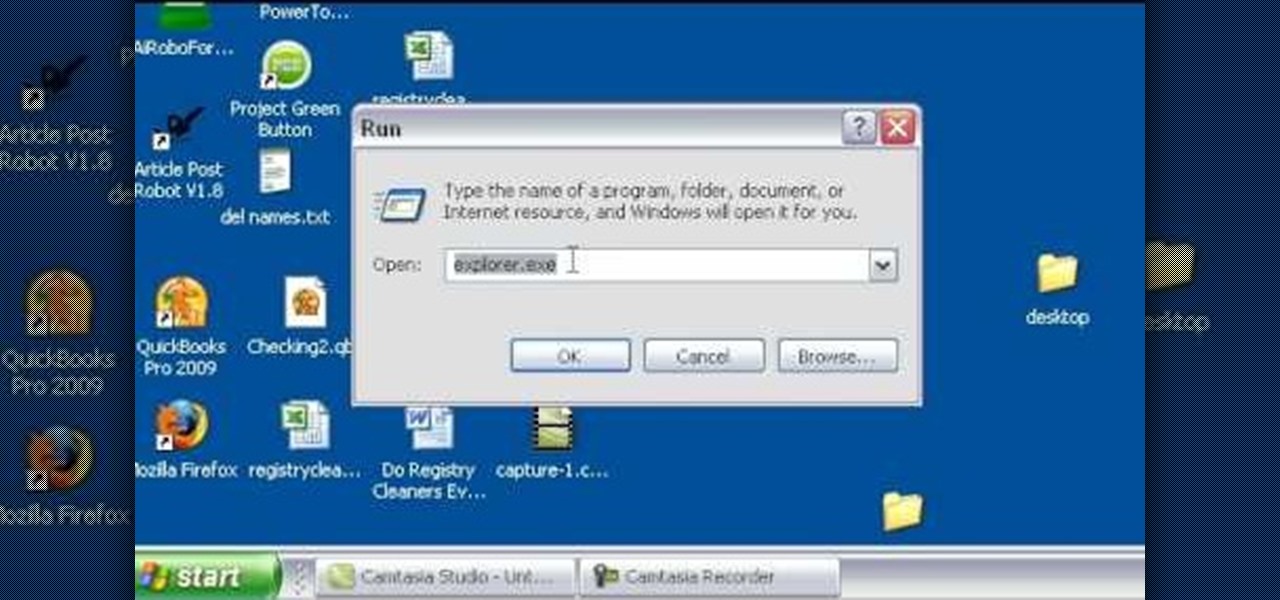
In this tutorial, we learn how to edit the registry on a Windows machine. This is a major part of your computer that will change if you delete something that you shouldn't have deleted. Make sure you back up your computer before you do this, just in case you do something wrong with your computer. Now, go to the run command and type in "regedit". In the new window, you will see the registry editor. From here, find the location of the virus string by using a guide so you know what folder to go ...
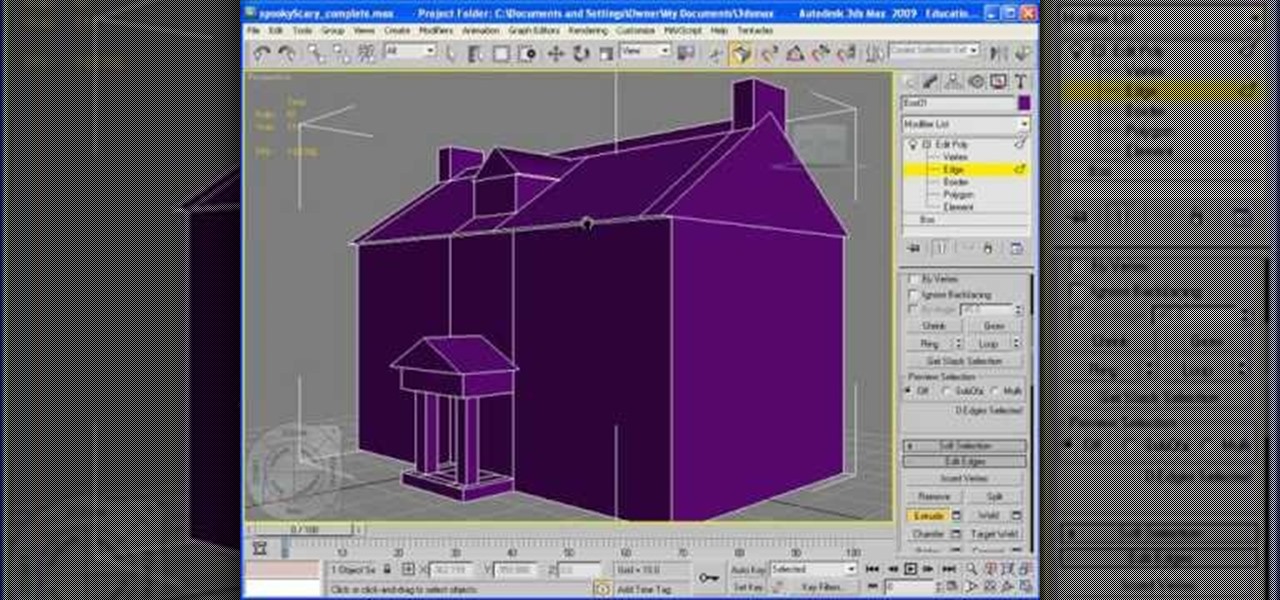
In this video, we learn how to add texture to a model house in 3D Studio Max. After you have created the model, press 7 on your keyboard. This will activate a new menu telling you how many polygons are in your model. Then, edit the edges and remove them so you have less polygons. After this, save the model under a name you want, then select everything on the model. Go to the parameters and click "edit". Now, go to mapping, then flatten mapping. The presets should be fine, then click "ok" and ...
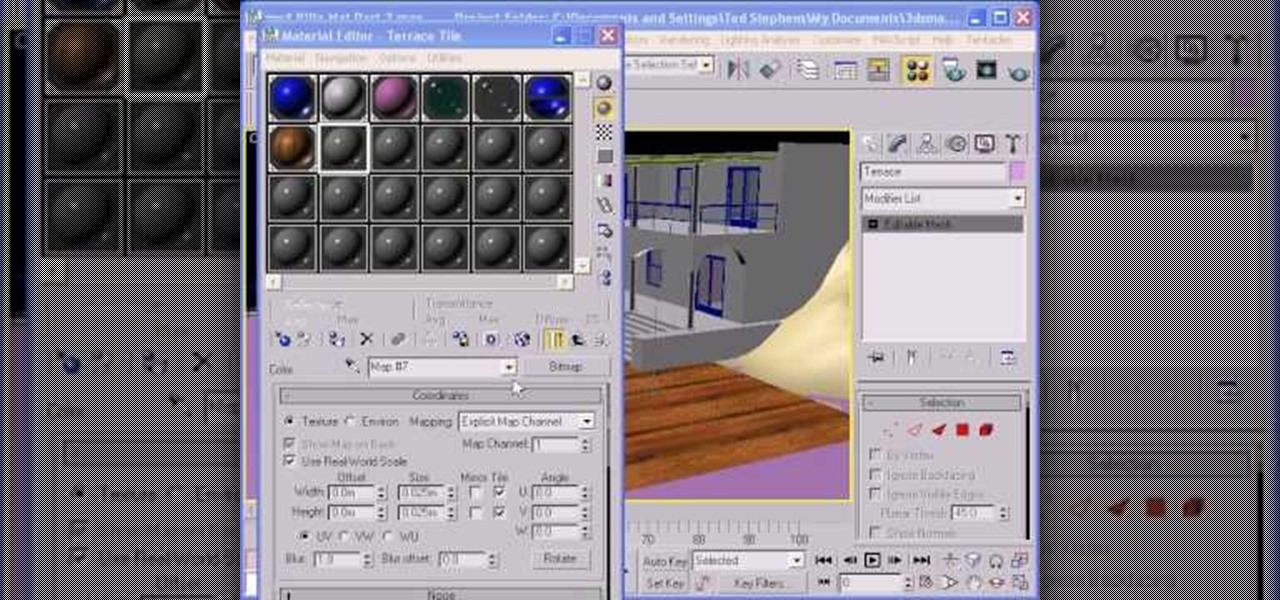
In this video, we learn how to use custom map or UVW map in 3D Studio Max. First, go to the material editor and add a custom map to it using a hardwood deck. Change the material to cedar fence, then change the size as you would like it. As you continue to edit the different surfaces in the picture, it will preview it for you in the main screen. You will be able to see it customized how you would like it to be as you edit it. The material editor can be changed in design and renamed to help you...
In this video tutorial, viewers learn how to use the noise removal tool in Camtasia Studio. Begin by uploading the audio track into the time line. Then select and highlight the region that contains the noise. Now click on Edit and select Audio Enhancements. Under Background noise removal, users are able to select to automatically or manually remove the noise. Once selected, simply click on the Remove Noise button. Users also have the option to adjust the sensitivity. This video will benefit t...
In this tutorial, we learn how to remove pop up screens when Avira Antivirus updates. First, locate the installation folder for Avira, this should be in your computer programs. After this, locate the file "avnotify.exe". Next, right click this and go to the preferences option. Now, go to security, then edit, then click on the system option. Click "deny" on all the boxes in the bottom section, then save these. Now, the next time your Avira updates, you will not get a pop up box that tells you ...
In this video, we learn how to record your screen in OSX Snow Leopard. First, you need to have QuickTime 10 installed on your computer. Now, go to "file", then "screen recording" in QuickTime. After this, you can right click and change the settings that are on it, if you want to use your microphone and if you want the screen to record. When you are ready, click the record button and it will start to record. To stop it, click on the top of the window and press "stop recording". After this, you...
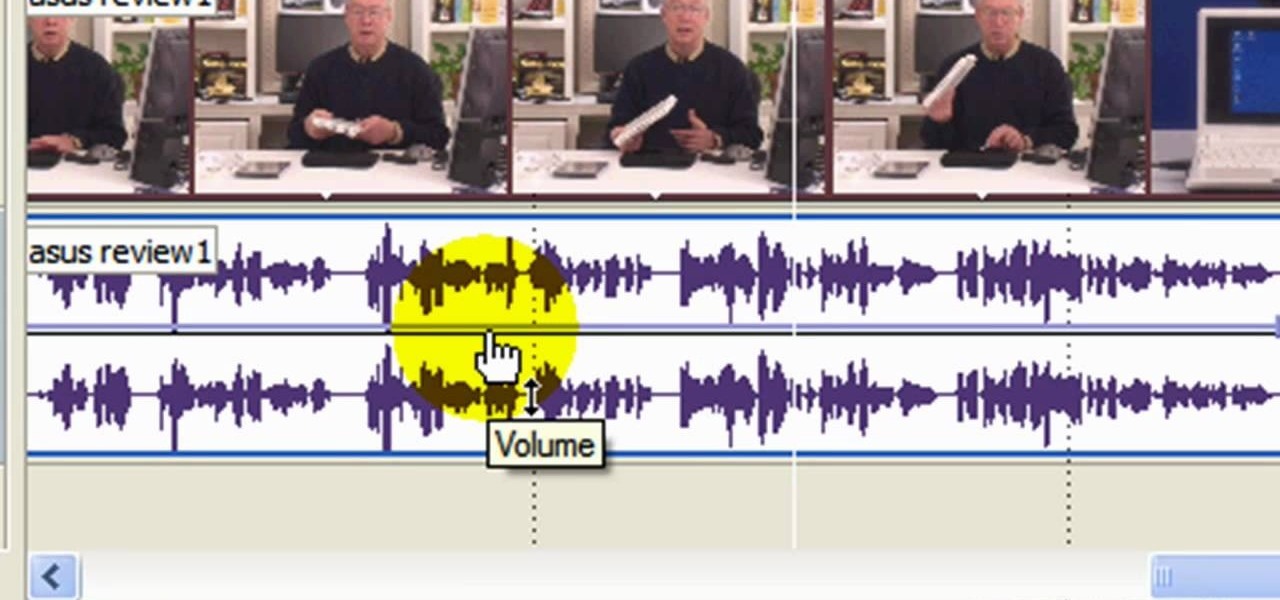
In this video tutorial, viewers learn how to use volume envelopes in Sony Vegas Movie Studio. Begin by importing the audio track into the time line. Then right-click on the audio control panel, go to Insert/Remove Envelope and select Volume. This will place a purple line through the audio track. Users are able to control the volume by moving the line up or down to increase or decrease the volume. Users are also able to select certain points by creating starting and ending points in the audio ...
Need some help tackling your first multi-angle project in Final Cut Pro? This two-part tutorial will teach you what you'll need to know. Whether you're new to Apple's popular motion graphics and compositing software or a seasoned video professional just looking to better acquaint yourself with the program and its various features and filters, you're sure to be well served by this video tutorial. For more information, including detailed, step-by-step instructions, watch this free video guide.
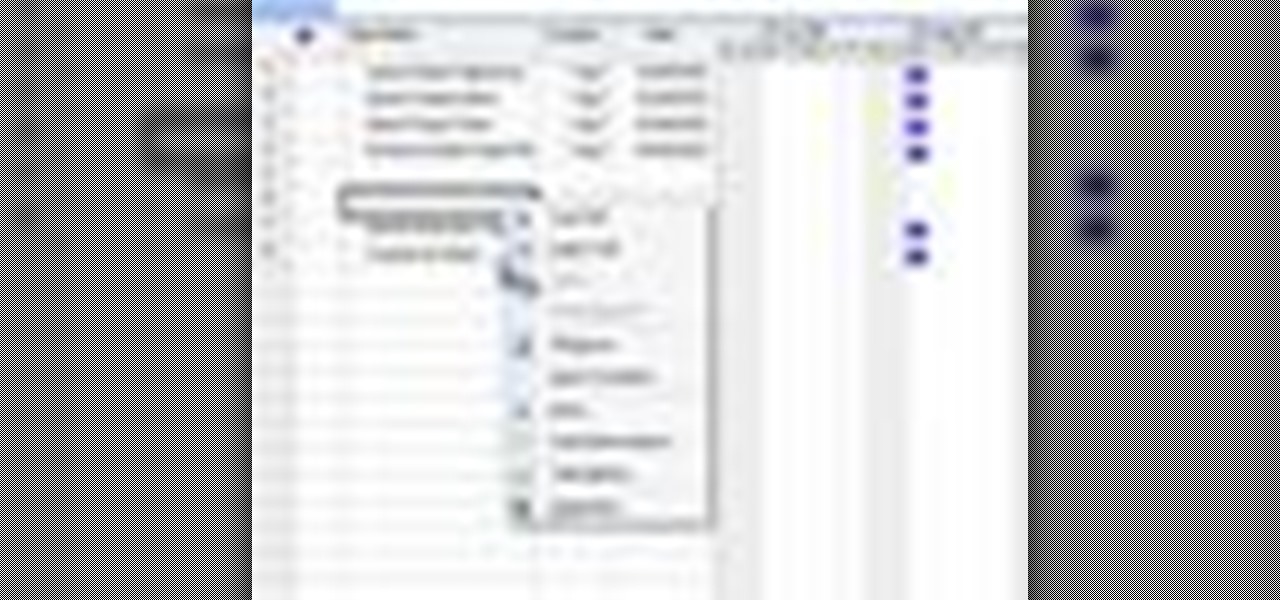
In this tutorial, we learn how to create and edit tasks in MS Project 2007. Before you begin, you need to set the start date by going into project information and changing the start date and end date. After this, type in your first task name, then enter in the information that goes with it. After you have entered this, press the check mark to set it up. After this, enter in the other task names that you need to specify in your project. When you are finished, you will need to save this onto yo...
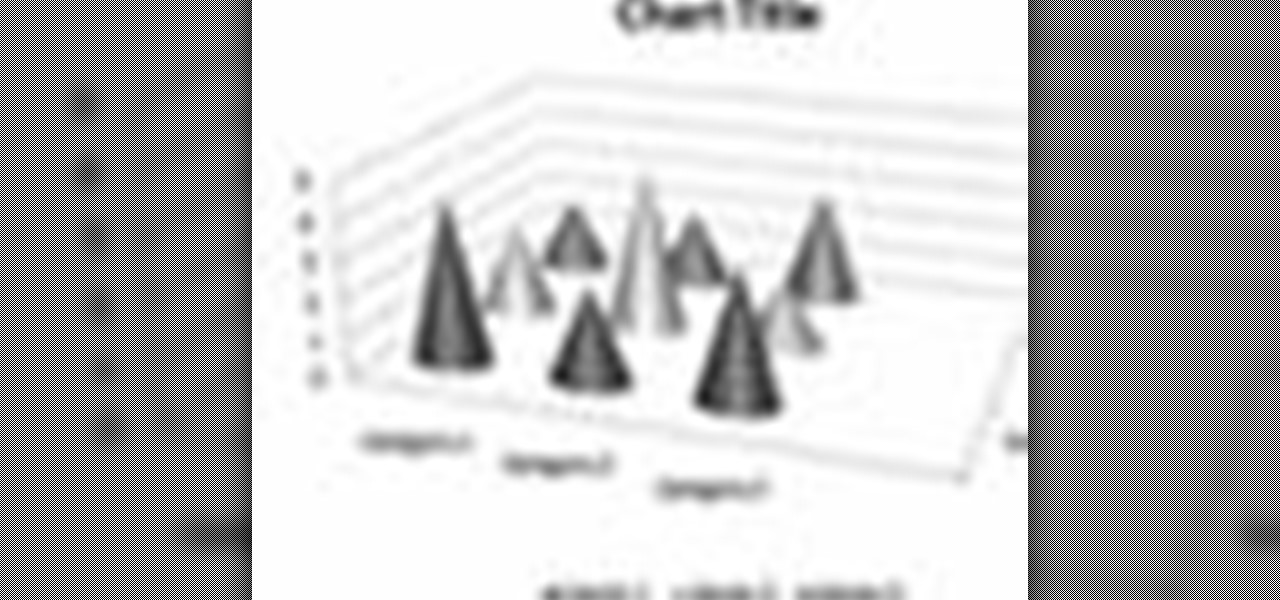
In order to format graphs and charts using Microsoft Word 2007, click on Chart Tools. The tabs at the top of the screen provides you with your options. You can change the type of chart or graph by clicking on Change Chart Type. If there is a particular type of chart that you would like to use again and again, then you can save it as a template via the Save As a Template icon. You can edit the data in your chart of graph by clicking on Edit Data. You can modify the chart layout by clicking on ...
Want to take your digital pictures to the next level? This tutorial demonstrates how to use Photoshop's various touch-up tools to do just that. Whether you're new to Adobe's popular image editing software or simply looking to pick up a few new tips and tricks, you're sure to benefit from this free video tutorial. For more information, including step-by-step instructions on how to retouch your own digital photographs for professional-quality images, watch this digital photographer's guide.
Windows Movie Maker is the PC's answer to iMovie. It is a user friendly, relatively easy way to create and edit movies.
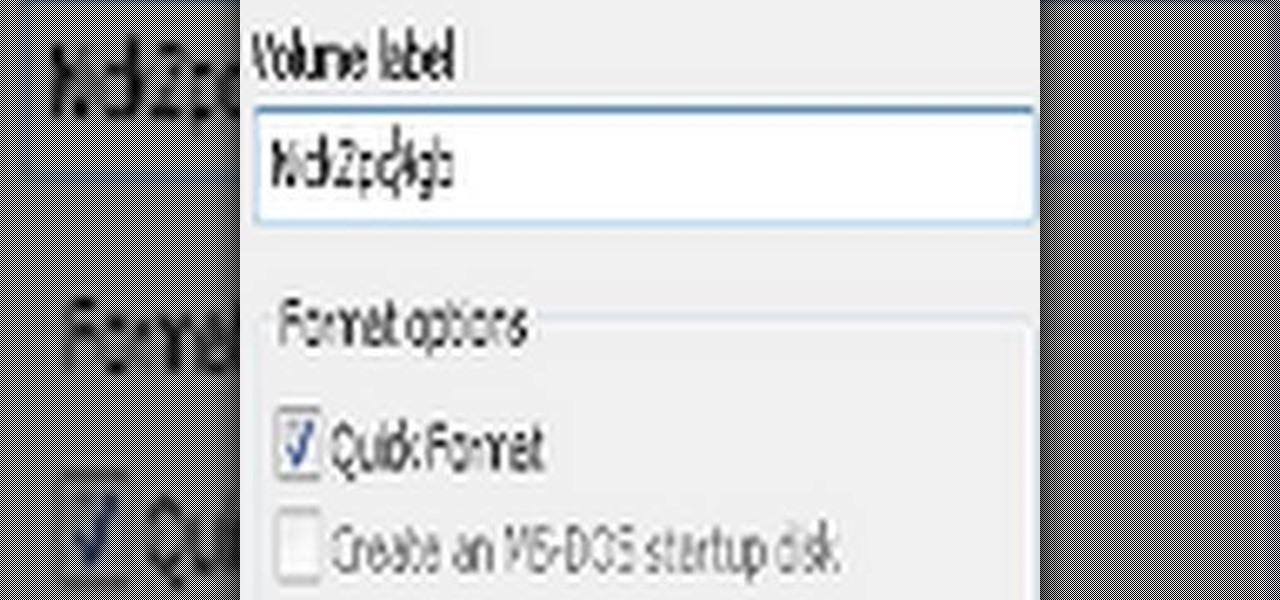
In this how to video, you will learn how to format a USB flash drive to NTFS. First, plug in the USB drive to your computer. Right click on My Computer and select properties. From here, go to the hardware tab and select device manager. Next, click and expand disk drives and right click your USB drive. Select properties and then click the policies tab. Choose optimize for performance and click okay. Edit the device manager and open My Computer. Next, right click the USB device on My Computer a...
This Software video tutorial will show you how to use Windows Live Movie Maker to edit videos. Starting with the store board; here you can drag videos and photos or click to browse them. Click and it will open up a window with all your photos and video. On the left side is the preview window. As you scroll your cursor through the images, they will appear in this window. On top are a row of tabs. Each of the tabs is called the ribbon allowing you to select various tools. Here you can add or de...
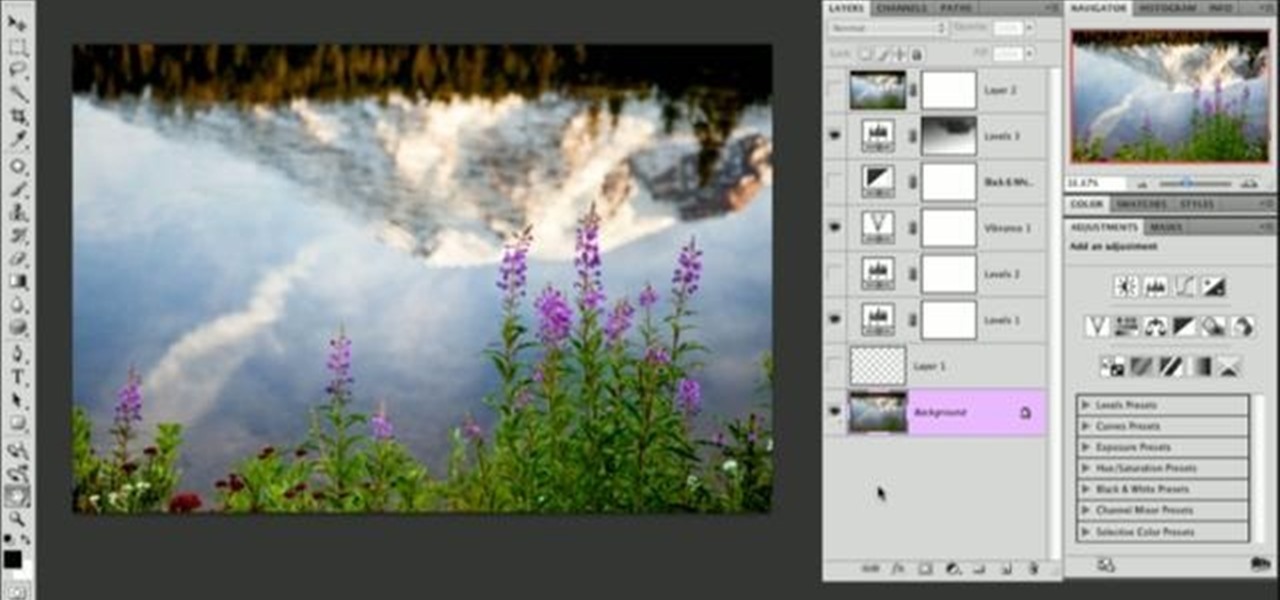
Learn how to toggle layer visibility in Photoshop in this video tutorial. Nocole Young will show you how to do this easily. When you are working on any image in Photoshop, you usually create a number of layers. You would like to see what the image will look like before you start editing the image. You can always toggle the visibility between the layers by clicking the ‘eye-ball’ toggle on the right hand side of the page on the layer panel. Click the ‘eye-ball’ toggle next to a layer and you w...
This video is part of the HelpVids.com series of technology videos. The video describes the process of adding headers and footers in Microsoft Word 2007. The easiest way to edit headers and footers is to double click in the header or foot section of the document. Once you double click it will allow you to edit the text that appears in the header and/or footer. You can also go to the Insert Ribbon and then click Header. This will display many preset styles that will apply to your header. Choos...
In this video tutorial, viewers learn how to make a black and white Hollywood style glamour portrait, using Adobe Photoshop. Adobe Photoshop is a graphics editing program. Viewers learn how to create a vintage, golden age Hollywood headshot look, with just a couple layers. This video provides step-by-step instructions and a visual demonstration for viewers to easily follow along. This video will benefit those viewers who enjoy photo editing and enhancing images to the best of their ability.
Rick teaches the secrets of making a good basic YouTube video in easy steps. Some tips are given below. When creating a YouTube video first assume that your audience has a 10 second attention time. If your introduction takes more than 10 second cut out the part while editing, keep it to 10 seconds only. The second tip is to go for a good lighting, always shoot indoors using your indoor lights itself. If you are using a microphone in the camera to record, always stay very close to the camera. ...