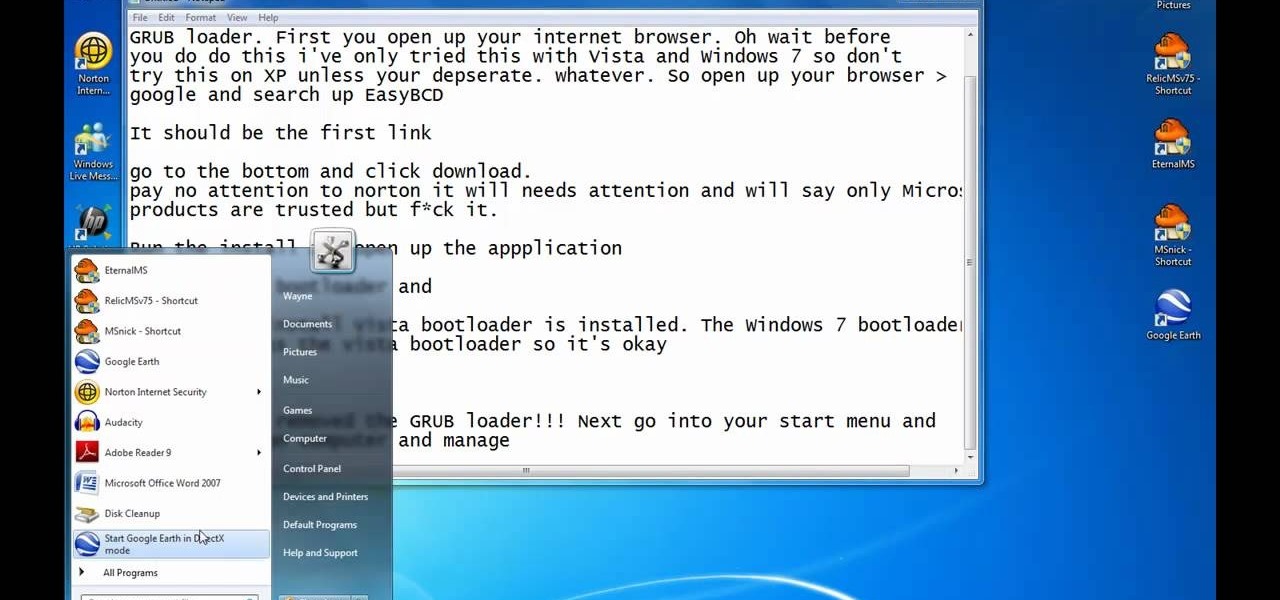
This video illustrates the method of Removing Ubuntu Linux installation and the GRUB Loader. The process is composed of the following steps -Step 1Insert the Ubuntu Linux Live CD. Boot from CD and select the install option.Step 2Click on install button and wait until the next screen appears. Now , you would be presented with two options that would enable to either "Uninstall Ubuntu" or "Install it again".Step 3Choose the Uninstall option and check the Remove GRUB loader option. Also check the...

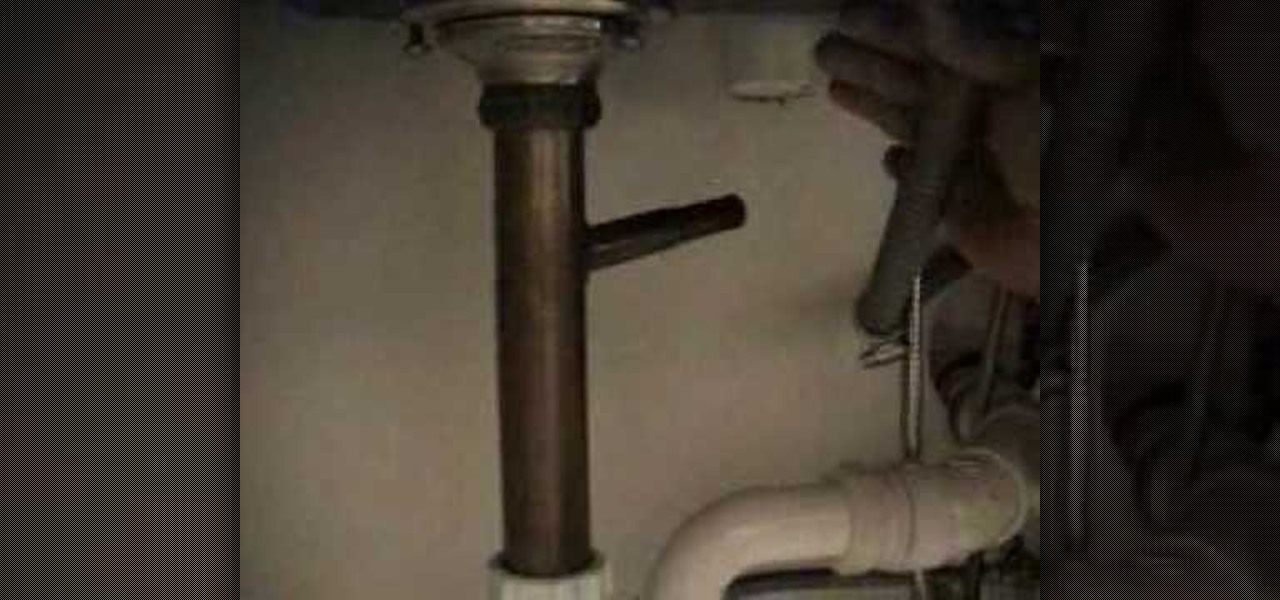
This video details the procedure for unclogging a drain without the use of drain clearing chemicals. This procedure is intended to be used in the event of a drain being clogged with hair. A tool for this task would be a wire hanger, modified to have the bottom removed, and two ends fashioned into hooks. For this example, a drain with an unscrew-able top-cover is used. To begin, unscrew the top cover to reveal the washer and the drain. Remove the rubber washer to fully reveal the drain. Once t...
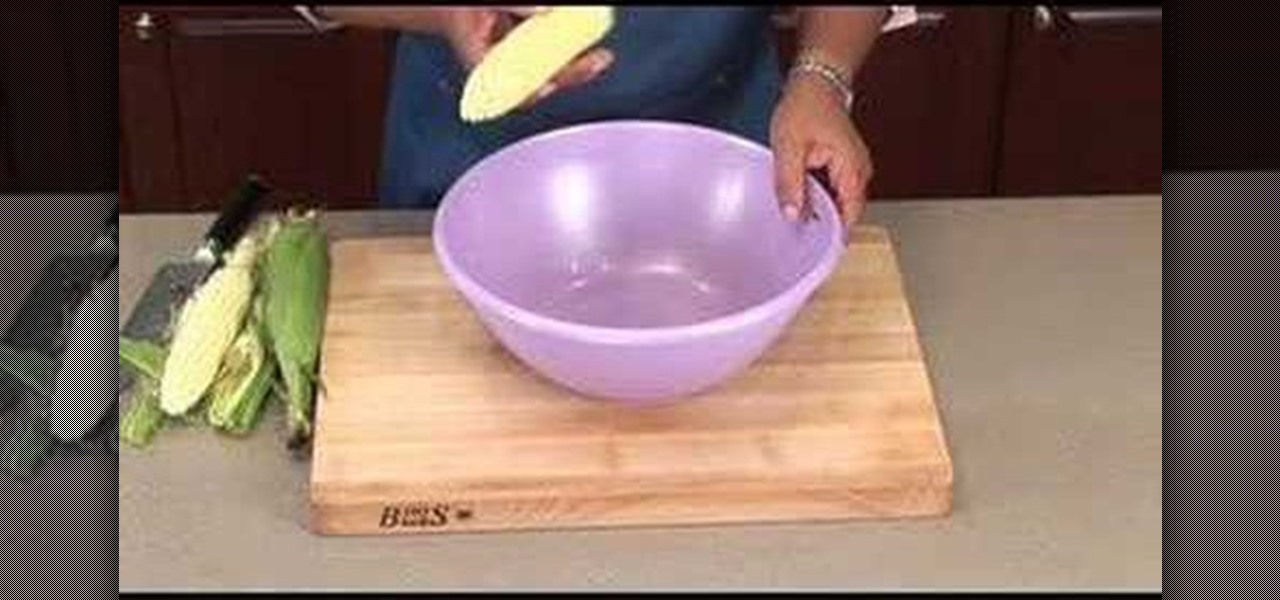
Toni Tanner Scott from Family Digest Magazine demonstrates the process of removing corn from the cob. First, it is recommended that you cut away the pointed tip of the corn. Then carefully remove the husk and all silk from the corn. Hold your shucked corn upright in a large shallow bowl. Using a very sharp knife and remembering to always cut away from yourself, remove the corn kernels by cutting downward as close to the cob as possible about three or four rows of corn at a time. Continue to r...
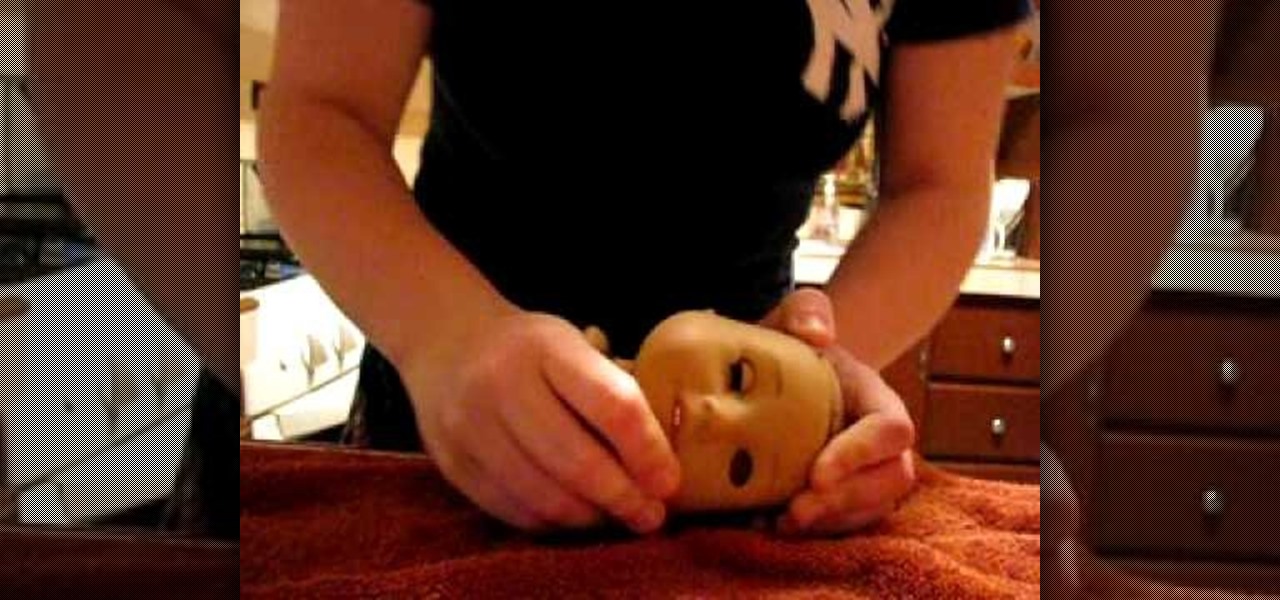
TrollForHire demonstrates how to remove eyes from an American Girl doll. To remove eyes from an American Girl doll, first you must remove the head from the doll body. It would also help if you prepare the head by removing the hair. Once the doll head is bald, stick your thumb into the open neck part of the head and grip the doll by the nose. Place the other hand on the doll's forehead and bend the face part back. With enough strength and force, an eye will pop out of the American Girl doll. R...
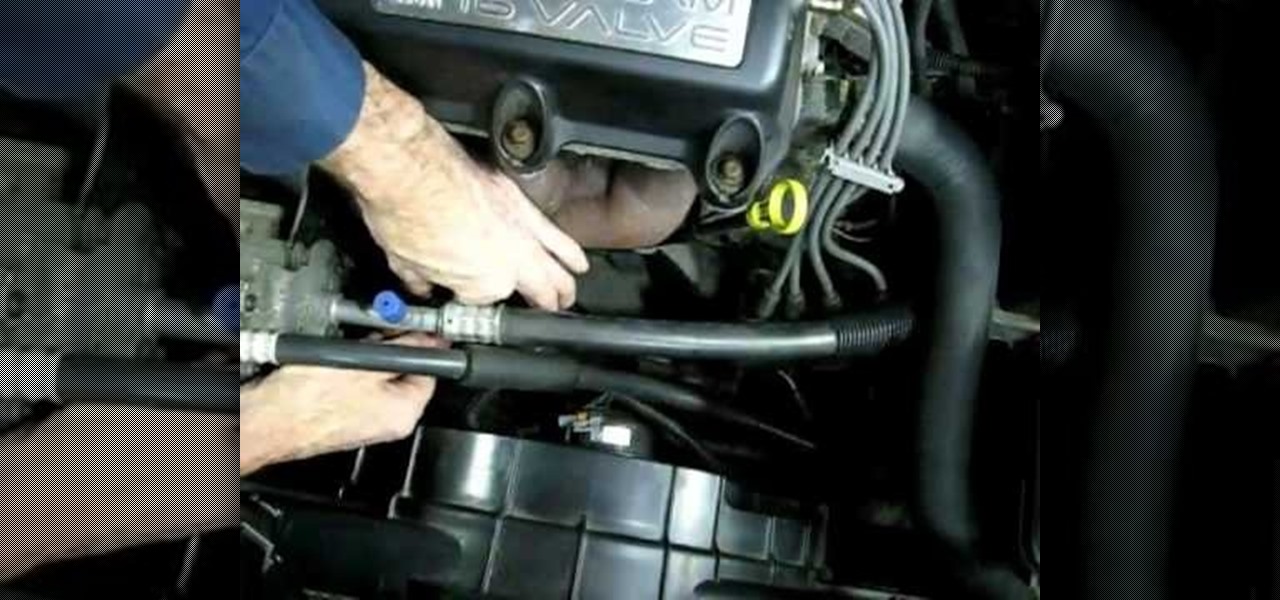
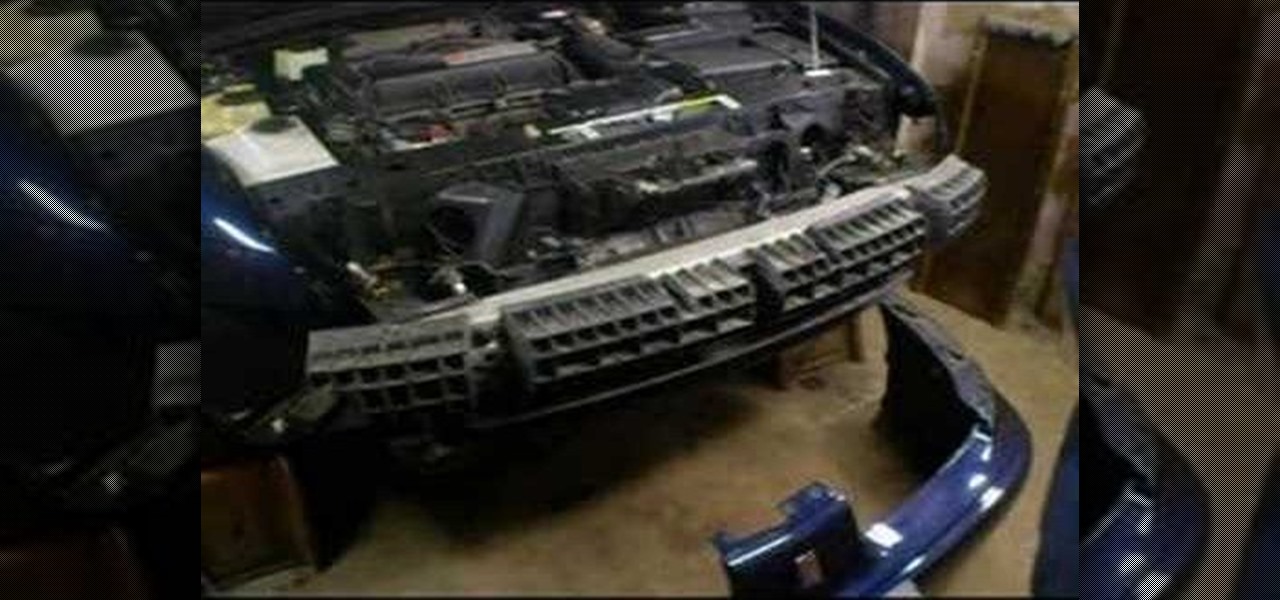
Richpin's Auto Repair takes you through the steps of replacing the front oxygen sensor on a Saturn s-series vehicle. To begin replacing this sensor, you are shown how to remove the resonator box. Once the resonator box is removed you'll be shown a quick tip on how to make the removal of the oxygen sensor a little easier using PB Blaster spray. Next you'll be shown how to remove the electrical connector to the sensor and be given a suggestion on which tools are necessary to remove the sensor f...
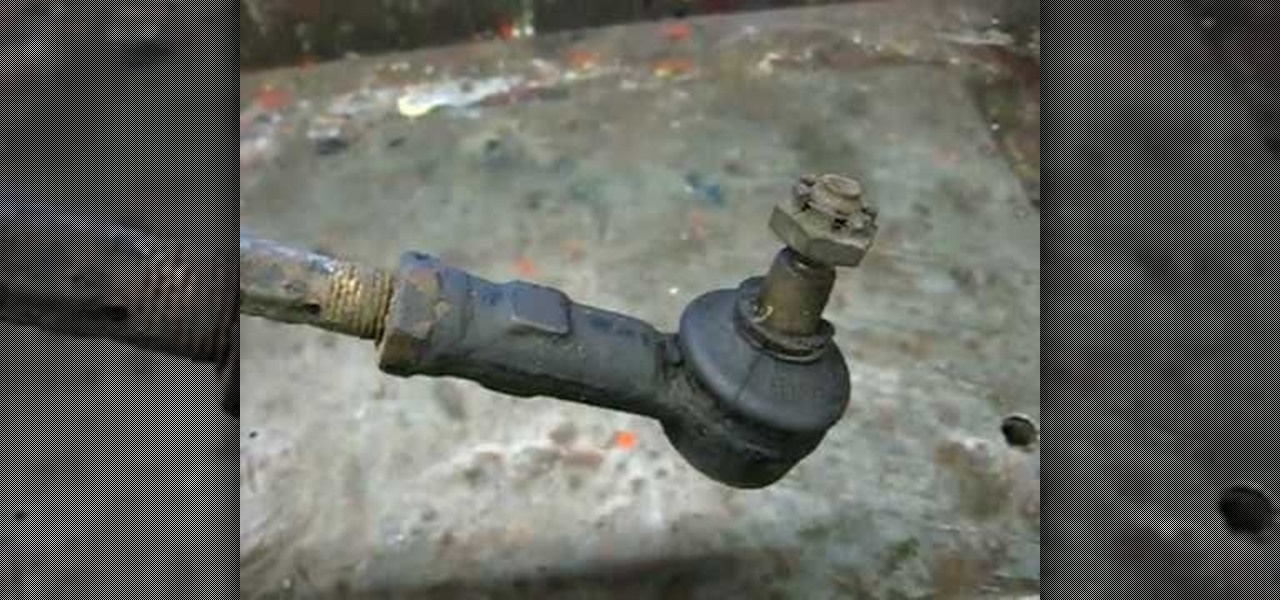
Richpin demonstrates how to remove the inner tie rod end on an automobile. First, get the car up in the air and support it by jack stands. Remove the wheel assembly.

In this video Wally Makowsky from Coin Laundry Association shows you how to remove stains with strong solvents. Drop off laundry services use various strong solvents for cleaning stains but Wally Makowsky gives two recommendations. One is Laundry Wetspo which is an excellent general solvent. It can remove lipstick, paint, shoe polish, inks and regular food stains. The other recommendation is yellow go laundry which removes similar stains. Out of the two recommended methods, Laundry Wetspo is ...

Richpin demonstrates how to clean the throttle body on a Saturn S-series car. First, remove the accelerator cables using a tool like a pen. Next, remove the top hose. Remove the wires from the throttle position sensor. In the back are wires for the idle control valve. Remove them. Remove the 10 millimeter nuts and bolts and brackets by the EGR. Once the hardware is removed, tap the top with a screwdriver and the throttle body will come off. From the throttle body, remove the throttle position...

Disconnect all wires from XBox. Hold power button for 2 minutes to clear electric charges from XBox. Remove hard drives by pulling hard drive button and just straight up. Remove faceplate in XBox by gripping on the sides. Remove the bottom and top panels. Separate them. You'll hear a pop when they release. Complete separation by unhooking the tabs with your fingernail. Use a Tore T10 star screwdriver to remove the 6 screws in the video. You don't need to remove any other screws. Set them asid...

Richpin demonstrates how to remove the inner wheel bearing race on front wheel drive cars. If you have pressed the wheel bearing off the hub and you want to reuse the hub, you need to remove the inner wheel bearing race. Use an air chisel to remove the inner wheel bearing race. First, make sure to wear a pair of safety goggles. Then, place a blunt chisel bit into the recess and remove the race. This can also be accomplished by working a regular chisel back and forth. If the chisel nicks the h...

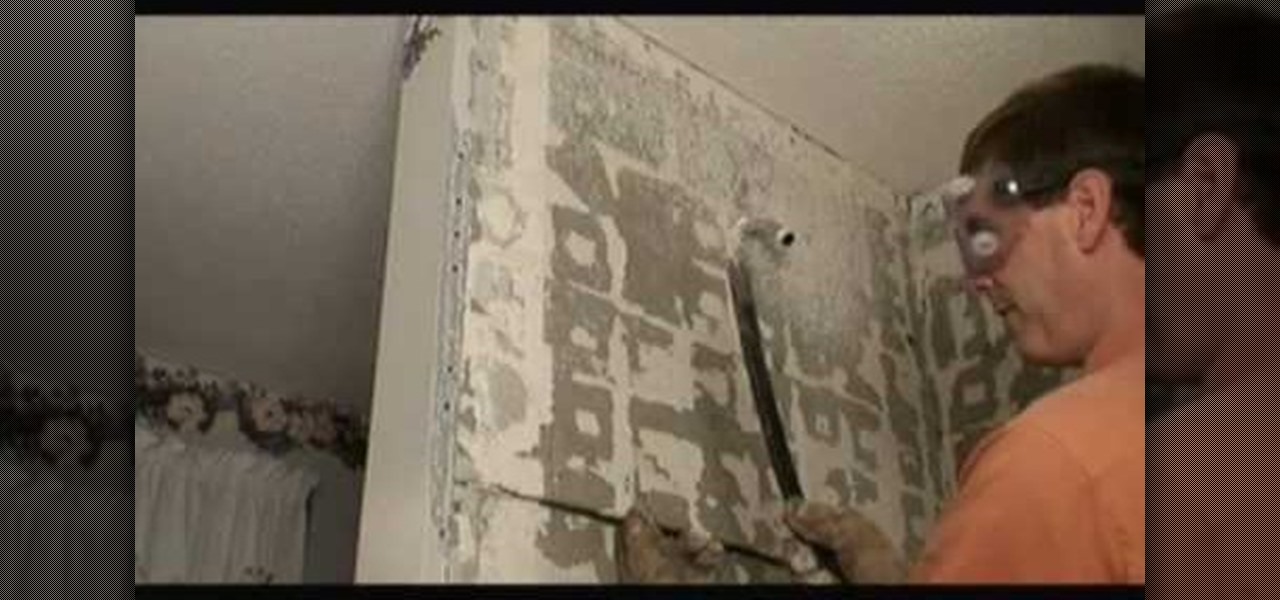
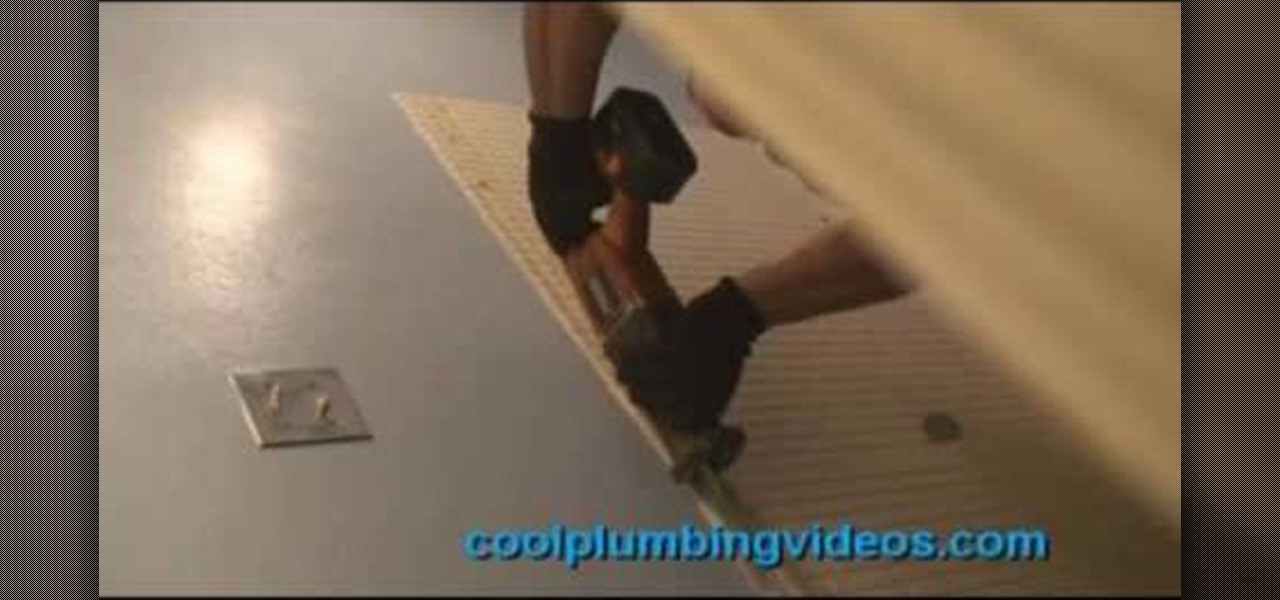
Mark Donovan is remodeling a ceramic tile shower, and shows how to remove the old backer board. First remove the old screws, starting at the bottom of each board and working your way up (leave a few screws so the board doesn't fall). Sometimes screws may be hiding under old mortar. Score the joint between the top board and the ceiling with a utility knife to prevent ceiling damage. Use a pry bar to gently remove the old backer board, being watchful for pipes. Remove the last screws, then the ...

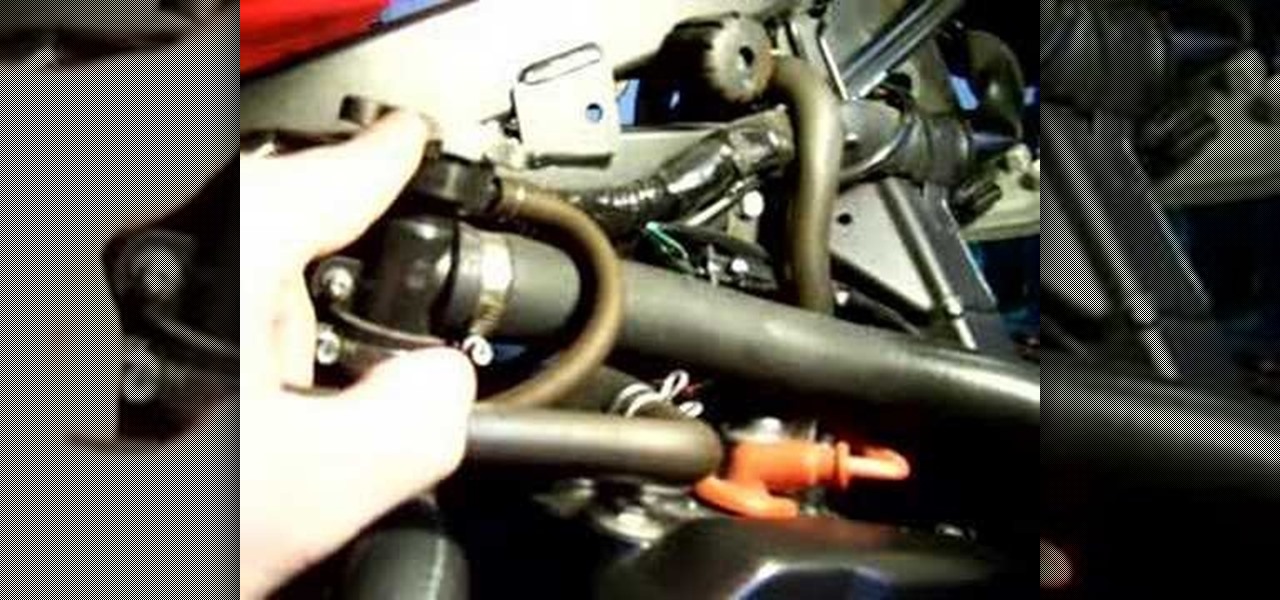
In this automotive repair tutorial you will learn how to replace the coolant lines on a Honda 919/Hornet 900 motorcycle. Learn how to drain the coolant, replace the existing hoses with new ones (in this case braided stainless steels ones) and refill the coolant. If you want to upgrade the coolant hoses or just need to replace the existing ones on your Honda 919 motorcycle, this video shows you how it's done.

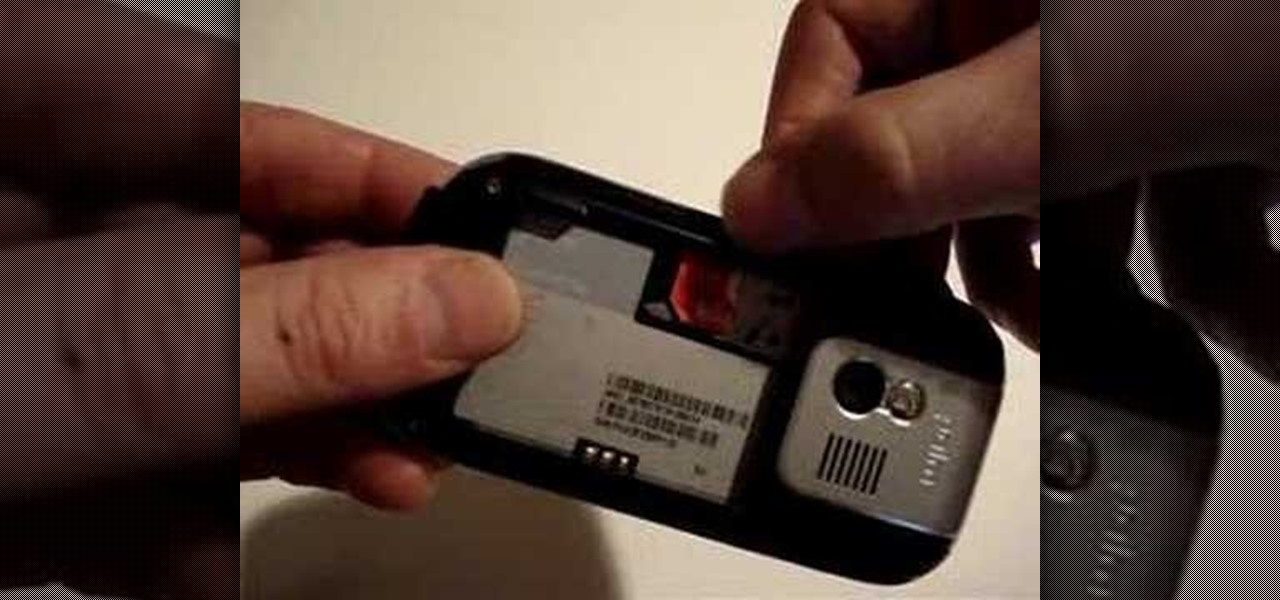
This is a short video tutorial of how to correctly remove the SIM card from the Palm Centro Smartphone. First thing you will have to do is remove the battery cover on your cell phone. Then, take the battery out. Right there is your SIM card access. You will need to remove the Stylus before attempting to remove the SIM card on the Palm Centro Smartphone. Just watch and learn to see how easy it is.

This is an instructional video for surgical residents on how to remove a tubal pregnancy

Remove wrinkles with Photoshop and take away the years!

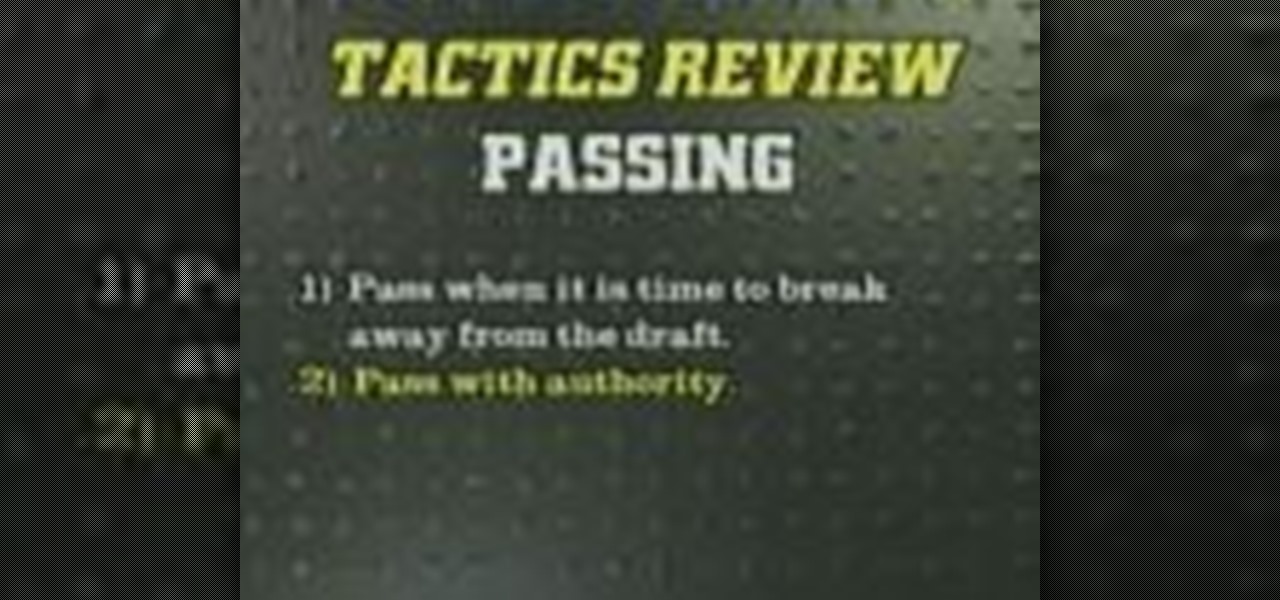
Learn how to break the draft and pass effectively when running in a cross country race.

You can't go scrub-a-dub in the tub - at least not comfortably so - if your shower faucet is leaking, or if your current tub valve is stuck and not letting any shower water come through. If your shower is broken beyond repair then your best plan of action is to take the whole thing out and reinstall your shower stall. We know this big - and potentially disasterous - procedure has been parodied many a time on popular TV sitcoms, but it's actually realizable if you're careful and follow the ste...

Use the Spot Healing Brush Tool in Photoshop Elements 9 to remove power lines, trees, cars, even your Aunt Marge. If it's in the picture and you want it out, this simply tutorial will show you how to do it.

Are you annoyed by the clutter the sidebar adds in Windows Vista? If you absolutely can't stand it, don't worry, there's a simple way to get rid of it. This video will shot you the quick steps to removing the Windows Vista sidebar from starting up every time you turn on your PC. Remove this crowding feature with ease!

In this video, we learn how to remove the dashboard and wheel to replace bulbs. First, remove the negative battery cable, then remove the steering wheel. Next, remove the cluster bezel, with Phillips head screwdrivers for the screws. Pull back on the bezel and remove the clips from the bottom by prying it apart. Remove the cluster next, followed by the top piece of the steering wheel joint. Once this is removed, you will be able to slide the cluster out and squeeze the cables to remove it. Fr...

If you don't have a bearing puller available and need to remove an armature bearing, you're in luck! You can actually use a cheap vise available at any hardware store remove an armature bearing if you don't have the bearing puller or if there is not enough space between the bearing and the armature.

In this how to video, you will learn how to replace the screen on your Blackberry Storm 9530 and 9500. First, remove the battery and sim card from the phone. Lift off the covering over the camera lens with a pry tool. Gently do this, as it has glue. Next, turn the phone over and do the same for the bottom section of the phone. Using a torx screw driver, remove the screws underneath the section you just removed. Turn the phone over and remove the four screws shown. Use the pry tool and run it ...

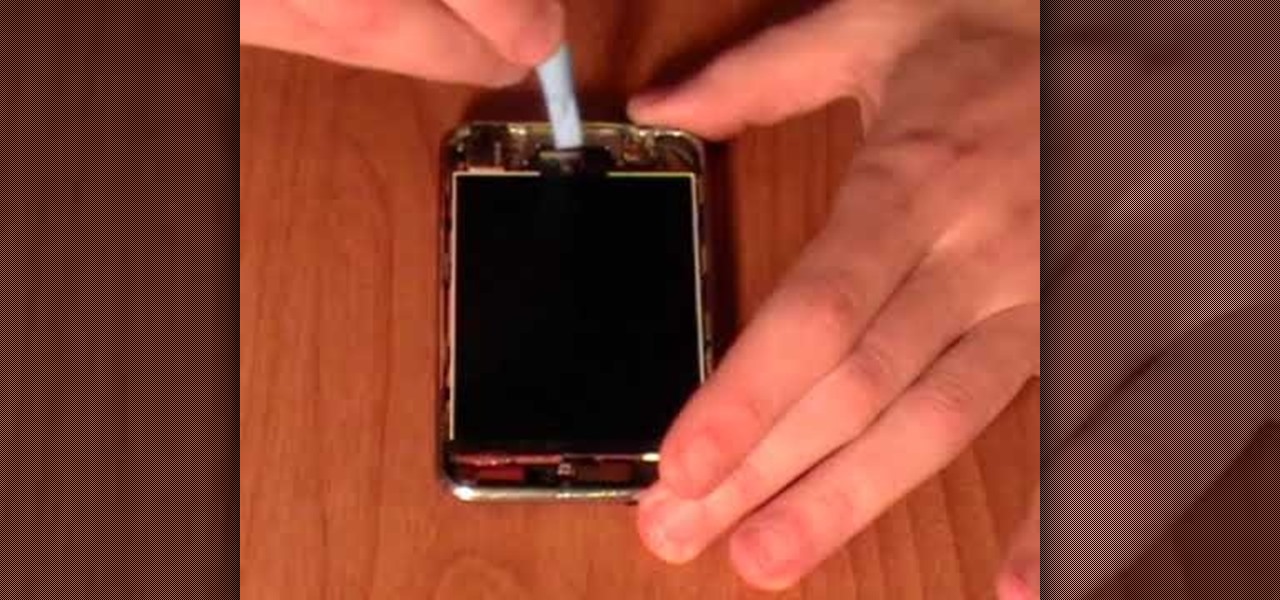
This how to video will show you how to repair an iPod Touch screen. First, take a pry tool and undo the clips of the device's front cover. Now remove the front cover. Use the tool to remove the cable connecting the cover to the main board. Next, remove the screw from the metal frame. Lift up the foil from the top of the screen. Now, remove the LCD screen with the pry tool. Not that it is still connected to the board. Next, remove the screws on the metal board. Release the ribbon to the LCD sc...

Repairs Universe demonstrates how to replace the battery on an Apple 3G iPhone. First, remove the SIM card and remove the two screws from the bottom of the phone. Next, use a safe pry tool and run it along the phone between the bevel and the glass to pop out the screen. Then, slowly lift the glass. It will still be connected to the phone body with three ribbon cables. Popup the connectors on the cables one and two. Pop out the three connector from its jaw connector. Remove the digitizer glass...

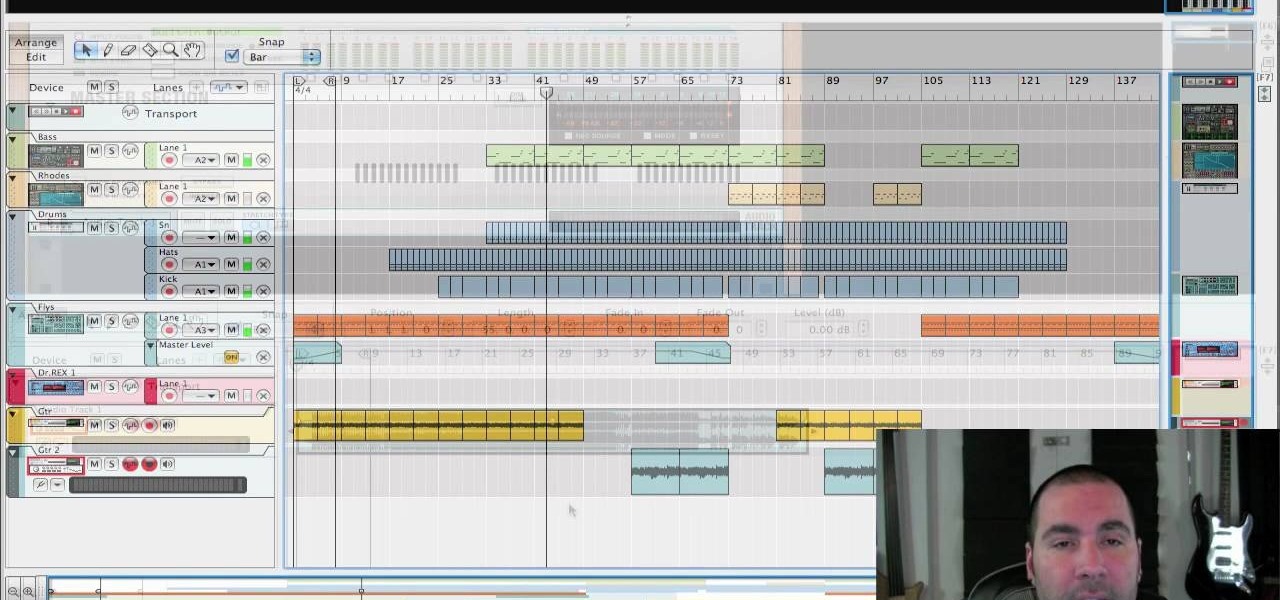
If you've ever wanted to make a homemade collection of karaoke songs or belt out your own version of Britney Spears over her own song, then this video might come in handy. Learn how to remove vocals from a stereo recording in Reason/Record with help from Reason expert, James Bernard.

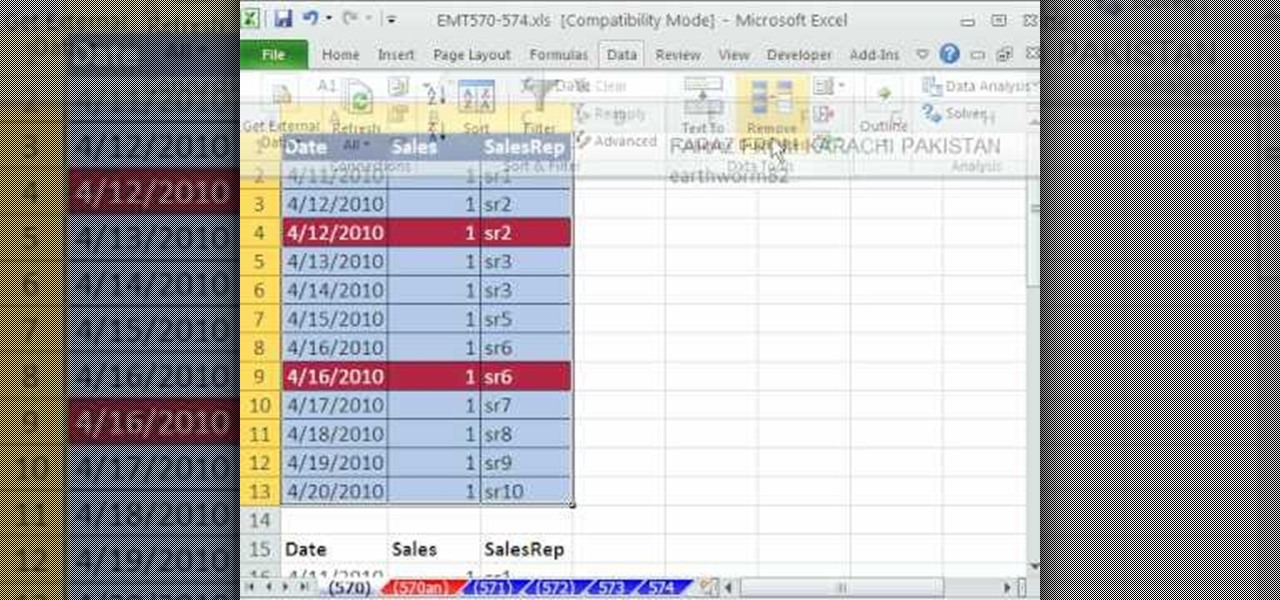
New to Microsoft Excel? Looking for a tip? How about a tip so mind-blowingly useful as to qualify as a magic trick? You're in luck. In this Excel tutorial from ExcelIsFun, the 574th installment in their series of digital spreadsheet magic tricks, you'll learn how to remove duplicate records using the Remove Duplicate feature which was new in Excel 2007.

To take apart a PS3, you will need the following tools: Phillips-head screwdriverPliersTiny Phillips-head screwdriversTiny flat-head screwdrivers

This how-to video is about how to repair a leaky faucet. One of the most common problems with the faucet is the replacement of the rubber washer, which is located on the bottom of the valve unit. First, stop the water supply by turning off the stop valve at the bottom of the sink. Then, turn on the faucet until the water stops flowing. Next, remove the handle. To do this, we first need to remove the decorative cap using a screw driver or sharp pointed knife to expose the screw. Then, remove t...

One day, your car may break down and you won't be able to afford to hire a mechanic, so what do you do... you look on the web for some how-to vehicle repair videos and become your own car mechanic, that's what. You don't need any advanced training to perform repairs and simple maintenance on your automobile, but you may need a few tools. Invest in the basic tools and you'll be prepared for just about any car malfunction you can think of. These tutorials will help get you on your way, as long ...

Big Tony the plumber shows you how to remove a dishwasher. Use an electrical tester you can buy from any home center. Watch and learn how to make sure when it is safe to remove the dishwasher.

Make the magic remover cloth shown in this how-to video which will remove all the scratches on your favorite CDs, your LCD display or just remove some scratches on plastic. You'll need egg whites of and a microfiber cloth. Don't throw away anymore CDs, DVDs, or lose important files. The trick in this video tutorial will rescue scratched CDs so you can still keep using them.

Making cookies is one of the best things in life, especially around the holidays. There is nothing better than getting together with friends and family and bonding by baking cookies.

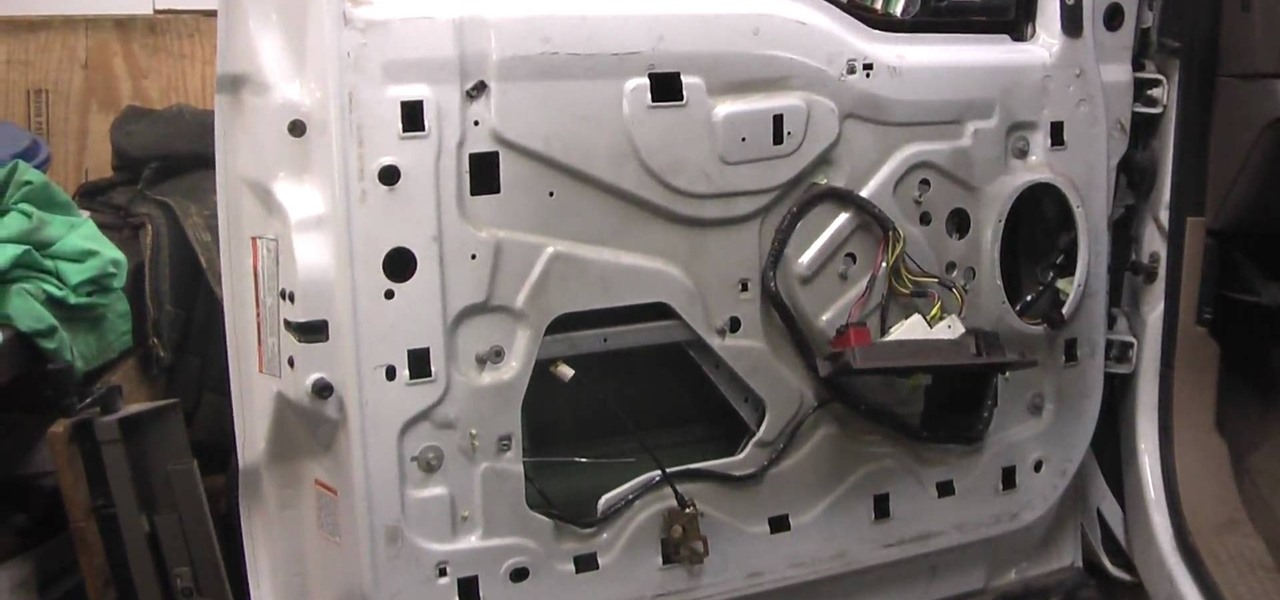
This video tutorial belongs to the Autos, Motorcycles & Planes category which is going to show you how to replace a power lock on a Ford Excursion. This activity is neither easy nor cheap. But, you will save a lot of money if you do it yourself. Before starting you got to remove the side paneling, speakers, outside door handle and insulation. Then you remove the door lock system. Remove the cable connectors and replace the solenoid unit. Now you can check that the power lock is working and th...

In this how to video, you will learn how to remove your hard drive from an iMac G5. First, open the cover of your iMac. There will be torx screws that have to be removed from the left hand side of the hard drive. Once this is done, you will have to unplug the two cables located on the bottom of the drive. From here, remove the hard drive up and out. Unscrew the screws attaching a bracket to the hard drive. Once this is done, you can swap in your old drive for a new one, or make modifications ...

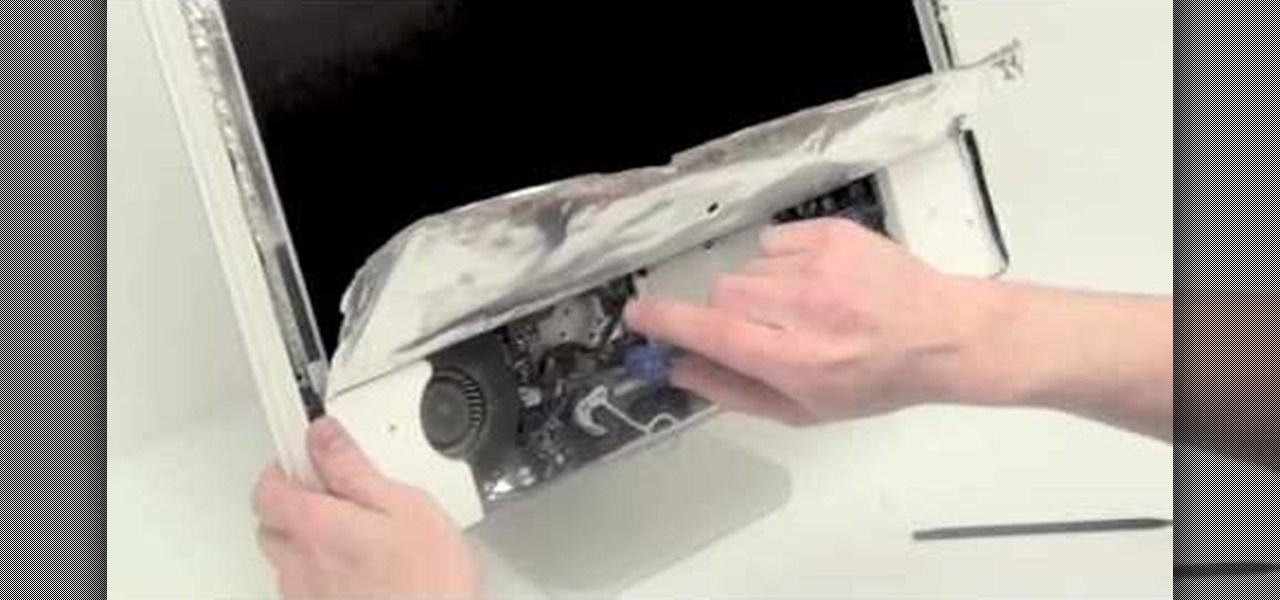
In this Computers & Programming video tutorial you will learn how to remove the LCD display from a G5 iMac. This video is from powerbookmedic.com. First, loosen the rubber band around the display by inserting a pointed object and freeing it slightly with your fingers. On the bottom, free the lower end of the sheet and lift it up. Now remove the two screws and dismantle the part as shown in the video. Then on the top of the display unstuck the two stick pads and remove four screws from the fro...

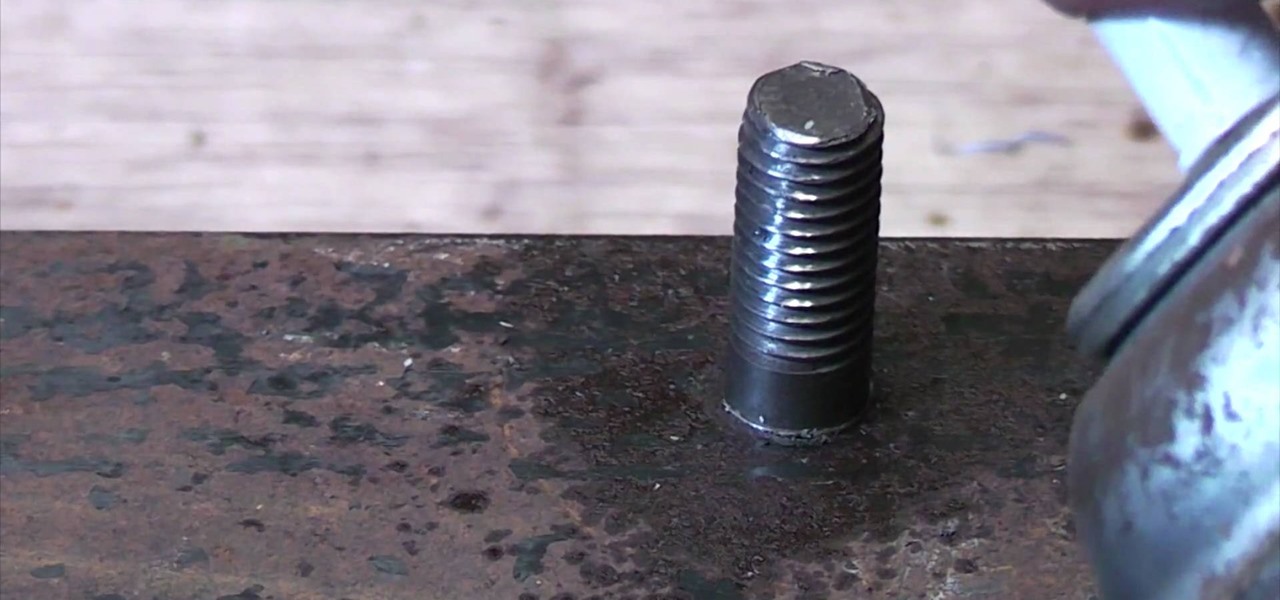
Ultimate Handyman demonstrates how to remove a threaded stud from a threaded hole. You will often find threaded studs when you are doing car repair. First, remove the nut from the stud. Then, spray it with lubricant. Next, screw the nut back on the stud. Screw another nut on top of the first nut. Grip the bottom nut with a wrench while tightening the top nut. Grip the bottom nut and turn it in a counter clockwise direction. The stud should then pull out of the threaded hole. It may be difficu...

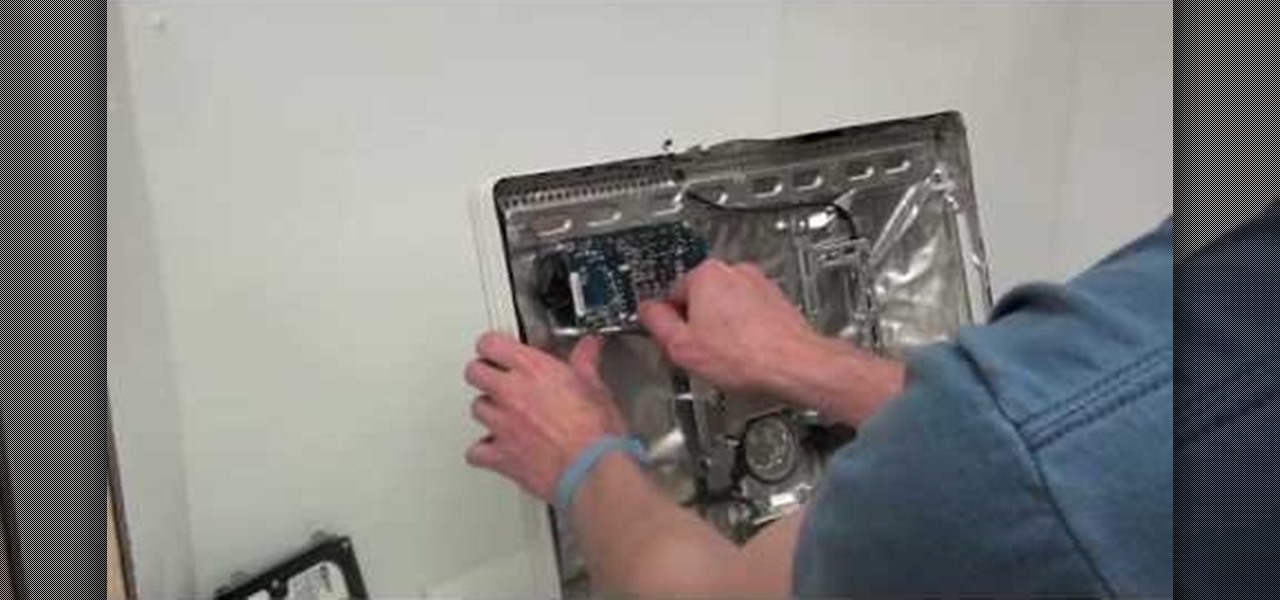
Removing the power supply from the iMac G5 is a two step process. First, see where the power supply is located. Then begin the process of removing it. You can do using a very easy way described in this video. First unscrew the 4 torx screws that are located around the edges of the power supply. Be careful not to be too rough while doing so. Once you have unscrewed them, then gently lift or remove the power supply. However, we still have to unplug it from the iMac. Therefore, carefully unplug ...

One day, your car may break down and you won't be able to afford to hire a mechanic, so what do you do... you look on the web for some how-to vehicle repair videos and become your own car mechanic, that's what. You don't need any advanced training to perform repairs and simple maintenance on your automobile, but you may need a few tools. Invest in the basic tools and you'll be prepared for just about any car malfunction you can think of. These tutorials will help get you on your way, as long ...

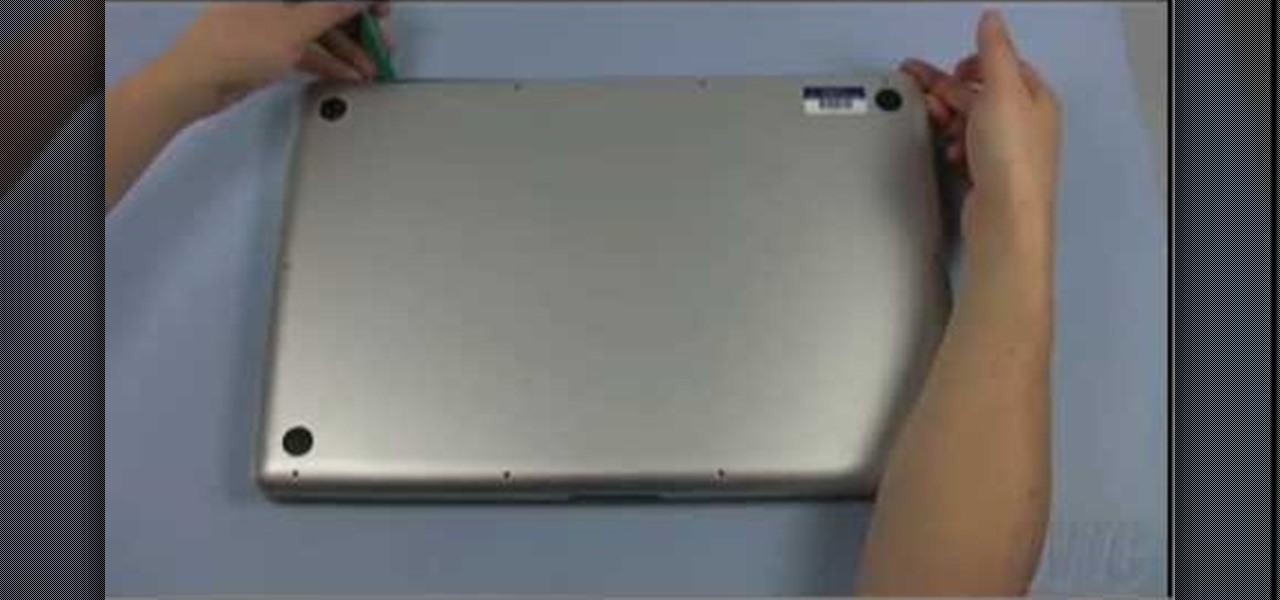
In this how-to video, you will learn how to install a hard drive into a 17" Macbook Pro. Make sure you use the proper anti-static precautions before going on with this procedure. You will need a pry tool, a Phillips screwdriver, and a T6 screwdriver. Make sure you transfer your old data into the new drive before installing. Shut down the computer and flip the laptop over. Unscrew the ten screws around the bottom. Now, remove the cover. You will see the hard drive at the lower right. Loosen th...

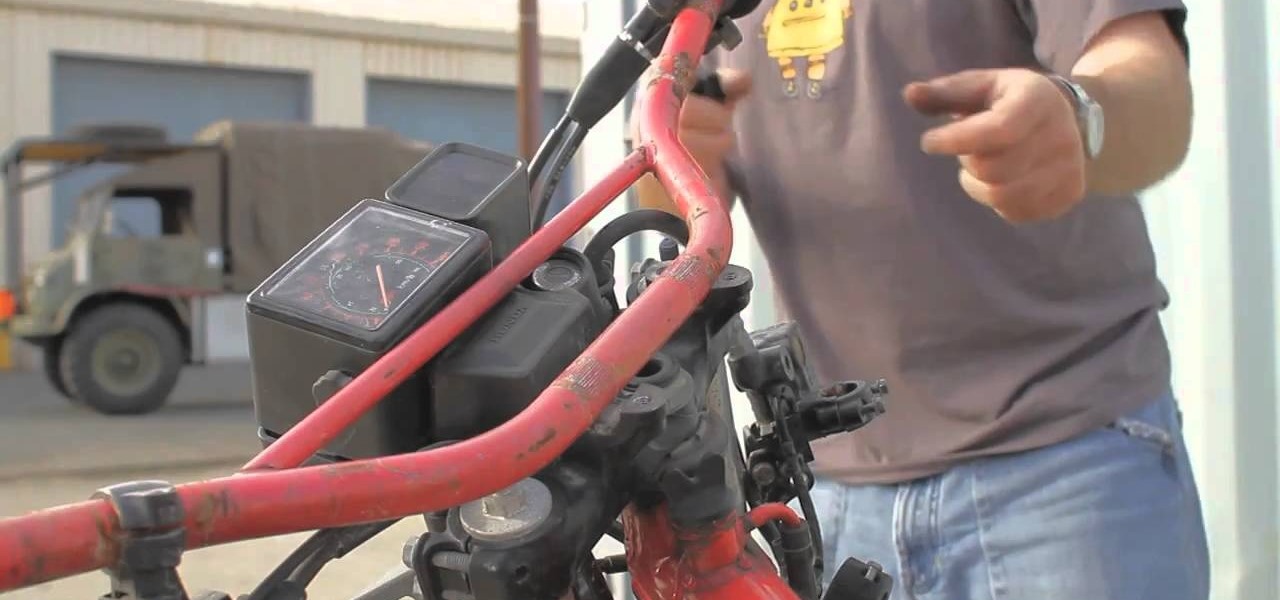
Is your old motorcycle's handlebar looking sadder than Mischa Barton's acting career? Then perhaps it is time to get them replaced. But don't waste your time and money on getting them fixed at a car shop.


