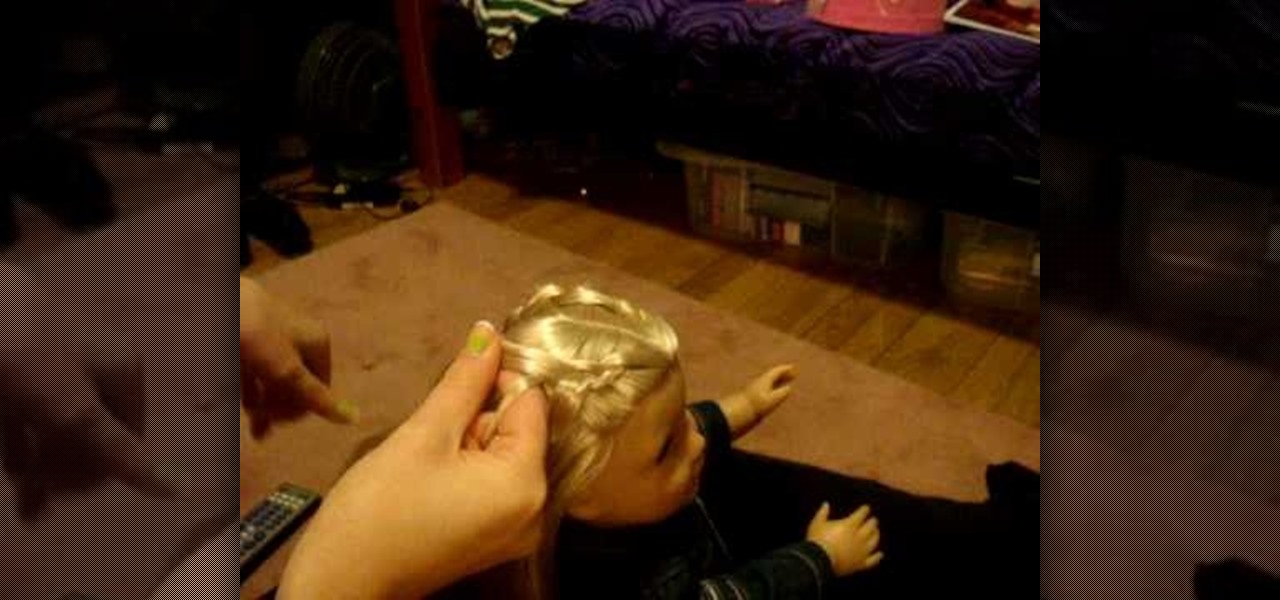
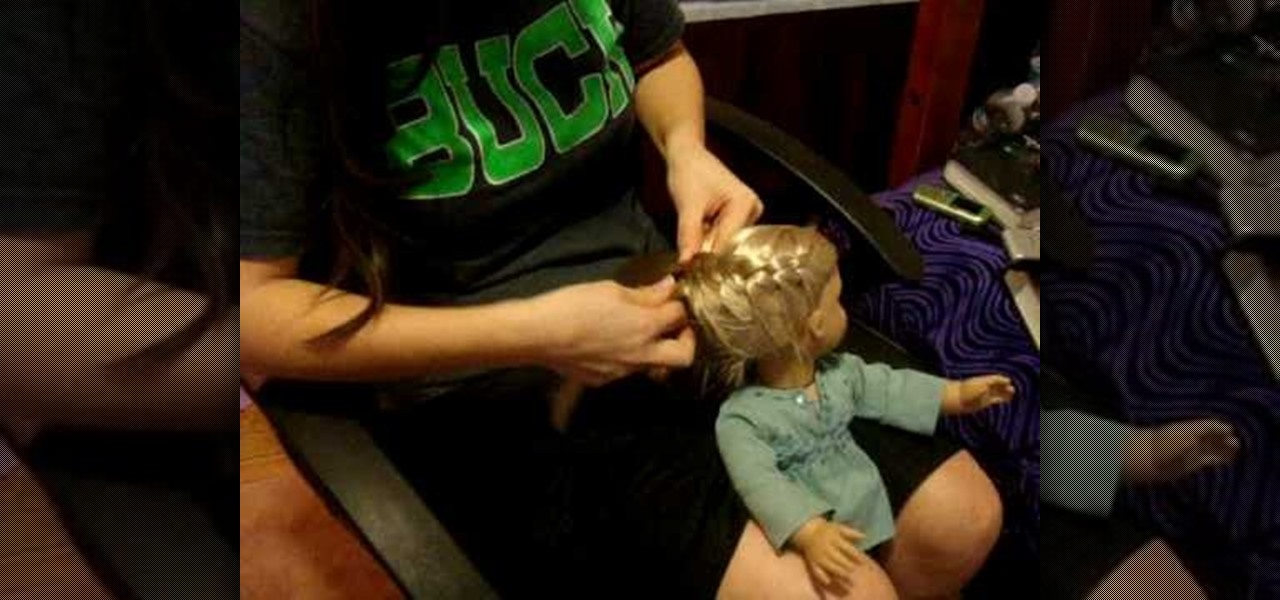
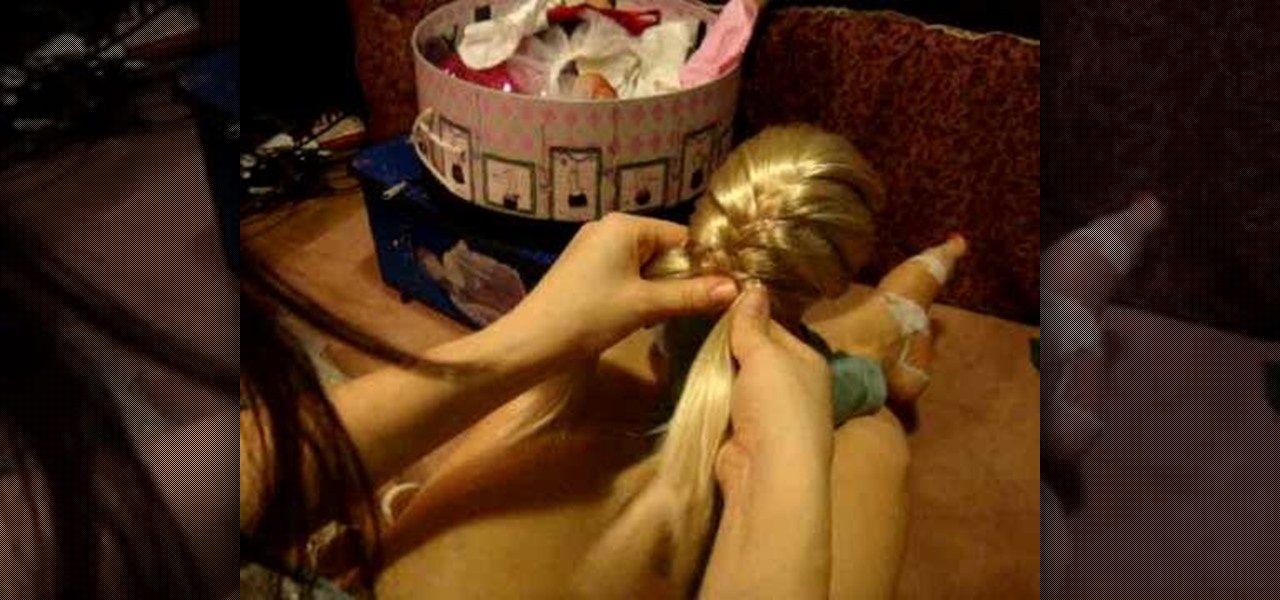
In this video, we learn how to do a cute hairstyle on an American Girl w/ short hair. First, brush the hair and then take a small piece from the front section of the hair. Twist this and then pull through and tighten with a rubber band. Then, part the hair in the middle and start the braid the other side of the hair until you reach half way down. When finished, you will put ribbons on each side of the hair and then brush out the excess hair in the ponytails. This will finish this really cute ...
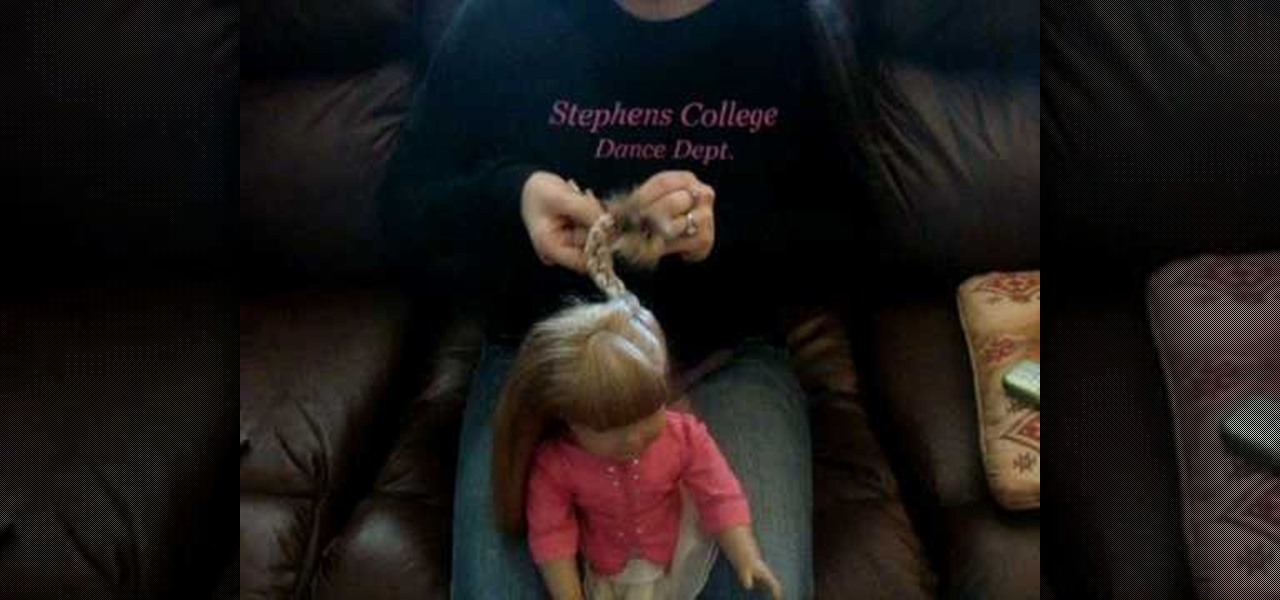
In this video, we learn how to do a French braid wrap around on your American Girl. First, brush the hair out and then grab the section on the right side of the hair. Split this into three sections and then start to braid down four times. After this, you will start to French braid the hair, adding more hair in as you go down. Incorporate the middle strands in and go to the other side as you continue to braid. Pretty soon, you will incorporate all the hair into the braid. Finish this off by ty...

In this tutorial, we learn how to do a ninja sketch. First, you will draw out the outline of the body. Draw in two arms that are crossing and then draw in blades in the hands. From here, draw in the hair, which should be spiked and short. After this, draw in a mask around the face and then start to draw in the clothing. Draw in lines on the clothes for the folds, then create a band around the arm and a skirt around the waist. To finish, you will draw in fishnets around the legs and then woode...
In this video, we learn how to make a decent Naruto headband. First, get a paper plate and figure out how big you want it, draw on the template so you can see it through the paint. Then, apply metallic paint with a paint brush using the template you drew as a guide. Next, you will wait for it to dry and then cut it out. Round the edges like it's a real headband, then draw on the hair band the village insignia. Once finished, glue this to an old sock and wait for it to dry. Then, you can attac...
In this video, we learn how to do a fishtail variation on your American Girl doll. First, brush the hair out so it's smooth and then take a section from the top right side and top left side. Cross these together on the back of the head and then grab another piece of hair. Start to braid these together and push them from side to side. Alternate grabbing pieces of hair from each side of the head, making them as big or little chunks as you want to. As you continue to cross the hair, you will rea...

In this tutorial, we learn how to do a cute Easter updo on your American Girl doll. To do this, you will first take the hair from the top of the head and section it off into smaller pieces. Then, repeat this same step throughout the head of hair until you have a bunch of different ponytails. From here, you will need to braid these together using three of the ponytails. When finished, you will tie the ends with rubber bands. This will complete your cute Easter look for your American Girl Doll!...

In this tutorial, we learn how to scrunch your hair by starting with braids. To start, you will first need to get your hair damp. Then, you will braid your hair one each side of your head so you have two braids. Tie it off with a hair band and then go to sleep and leave the hair like this. When you wake up, take your hair out of the braids. Then, you will spray in hair spray to your hair and scrunch it up with your hands. When finished, you will have beautiful wavy hair perfect for a casual d...
In this video, we learn how to do a reverse French braid on your American Girl doll. First, part the hair in half and put one half to the side. Then, take a piece of the front on one section and split it into three. From here, you will go under the hair instead of over like a regular braid. Then, start to pick up pieces from the sides on the left and right. Put it underneath the whole braid and then go under with it to the other side. Continue to do this until you reach all the way down the h...
In this video, we learn how to do a cute easy hairstyle on your American Girl Doll. To start, brush your doll's hair and then part the hair in the middle. After this, break the side of the hair into three pieces and then start to braid it from top to bottom. After this, repeat the same process on the other side. Tie the bottom with rubber bands and then you will be finished with this hair style! It looks really cut on a doll that has long hair with bangs, but can also work on short or layered...
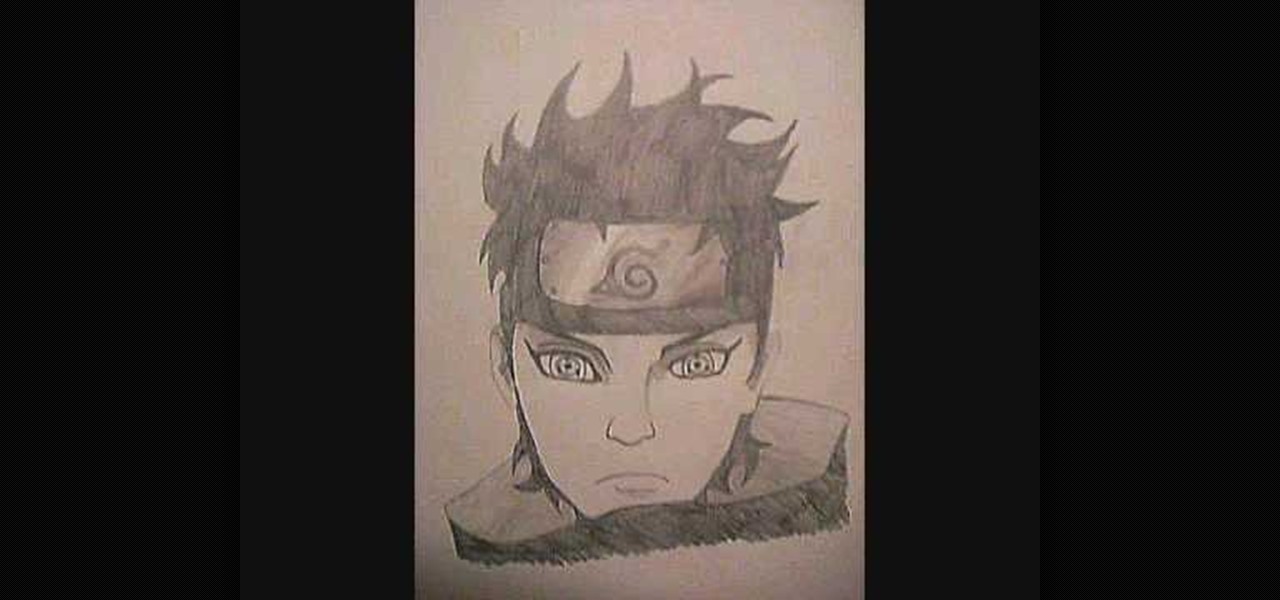
In this tutorial, we learn how to draw Shisui Uchiha. First, draw the outline of the face. After this, draw in the eyes pushing on the pencil harder to make them darker. Then, draw in the band around the forehead and draw in the details of the face as well as the facial features. Add in lines on the face to make it look more realistic and aged. From here, draw in the hair on top of the head, adding a lot of lines to show the strands. From here, draw the shoulders on the body under the head an...
In this tutorial, we learn how to draw the 8-Tails Jinchuuriki, Killerbee. Start out by drawing the outline of the character. You want to make sure you draw reference lines on the head so you know where to place the eyes, nose, and lips. Next, you will start to draw in lines to show wrinkles on the face and then the headband on the top of the head. After this, add some shading into the face to add some depth. From here, you will draw in the hair and the band around the head, giving it more de...
In this video, we learn how to do wrapped pigtails on your American Girl doll. First, separate the hair from side to side. Then, take a small section from the front of the hair and put it aside. After this, you will need to comb the hair back into a ponytail and secure with a rubber band. Secure the other side into a ponytail as well, but put all the hair back into it. After this, you will take the front from the other side and wrap it around the ponytail. Clip it into place and then you will...
In this tutorial, we learn how to do a cute down hair style on your American Girl doll. First, you will need to braid two braids on the doll's hair on each side. Tie it off at the end with a small rubber band. Do five of these around the head, from the top of the hair to the tip of the bottom! Line these up on the top so it looks even and not random. When you're finished, you will have a cute look that only takes minutes to create. If you want, you can tie this into a ponytail for an up-do!
In this tutorial, we learn how to do a Y braid on your American Girl doll. First, brush your doll's hair out and then put the hair in pig tails. From here, you will split the tail in half on both sides. Then, you will combine the two middle pieces and start to braid the hair like normal. Do this all the way down until you reach the bottom of the hair. When finished, tie the end with a rubber band to keep in place. This will finish the Y braid look for your American Girl doll, enjoy! Decorate ...
In this video, Rick show us how to cut monitor feedback with StudioLive 16.4.2. First, assign your microphone to ox 1. Then turn it up and go to the master output of Ox 1 and turn it up until you hear feedback happening. Then, hit the select button on Ox 1 and you can change the compression for any channel. Take out low rumble by putting the low band on and putting it in shelf mode. This will create a high pass filter. Take out frequencies below 130 hertz and then go back to ox 1 master and t...
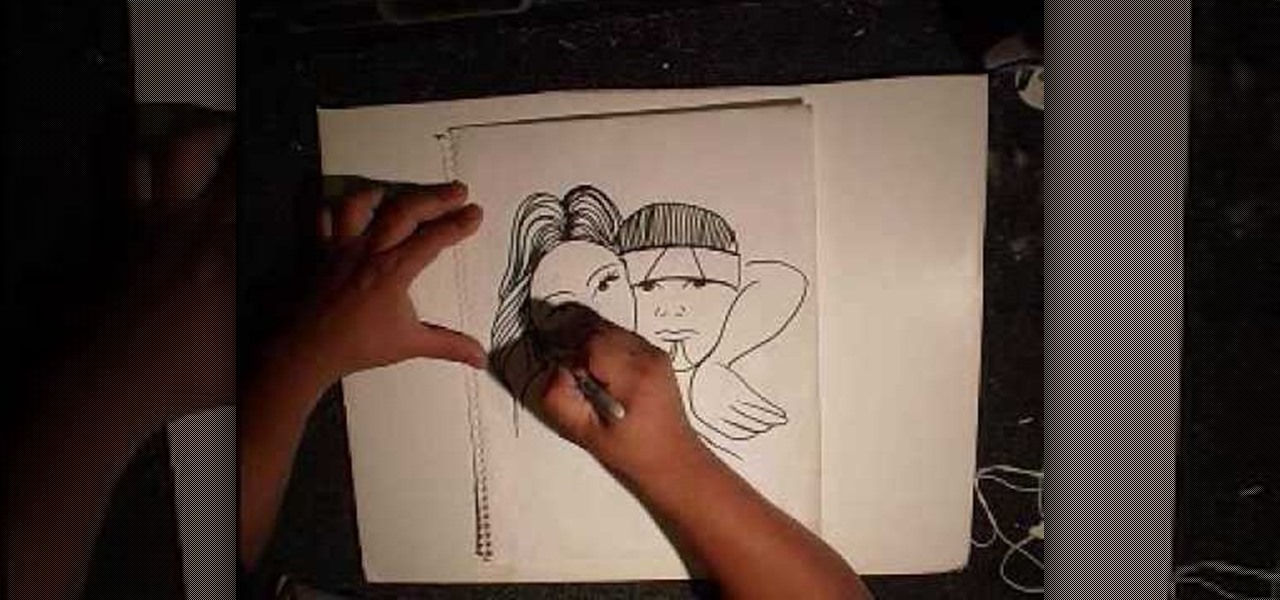
In this tutorial, we learn how to draw a gangster graffiti couple. First, draw in the eyes on the piece of paper. Then, draw in the nose and the mouth, adding in details to make it look more realistic. Draw in the hair for the woman, then draw in the details for the man's face right next to the woman's. Draw in the rest of the face, then add in the hair with a band around the head. Draw an arm coming from the side of the woman and another on the neck of the man to show them hugging. Add in de...
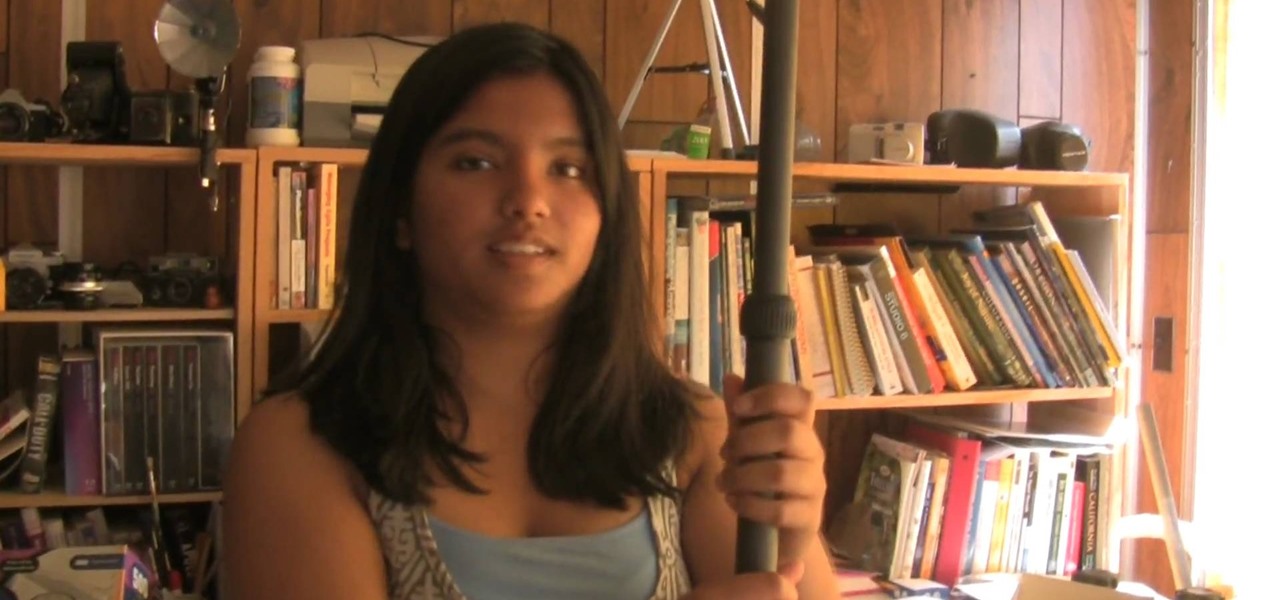
Low angle shots are a great way to evoke a sense of panic in movies, but if you're trying to get good quality shots from ground level with just your hands, then it's not going to work. The video footage will be all shaky, unless that's another look you're wanting to achieve in your film. If you want steady, fast-tracking low angle footage, then Ritwika has a great trick on taking those ground level moving camera shots. You'll need a monopod, water bottle (with water), 2 rubber bands and your ...
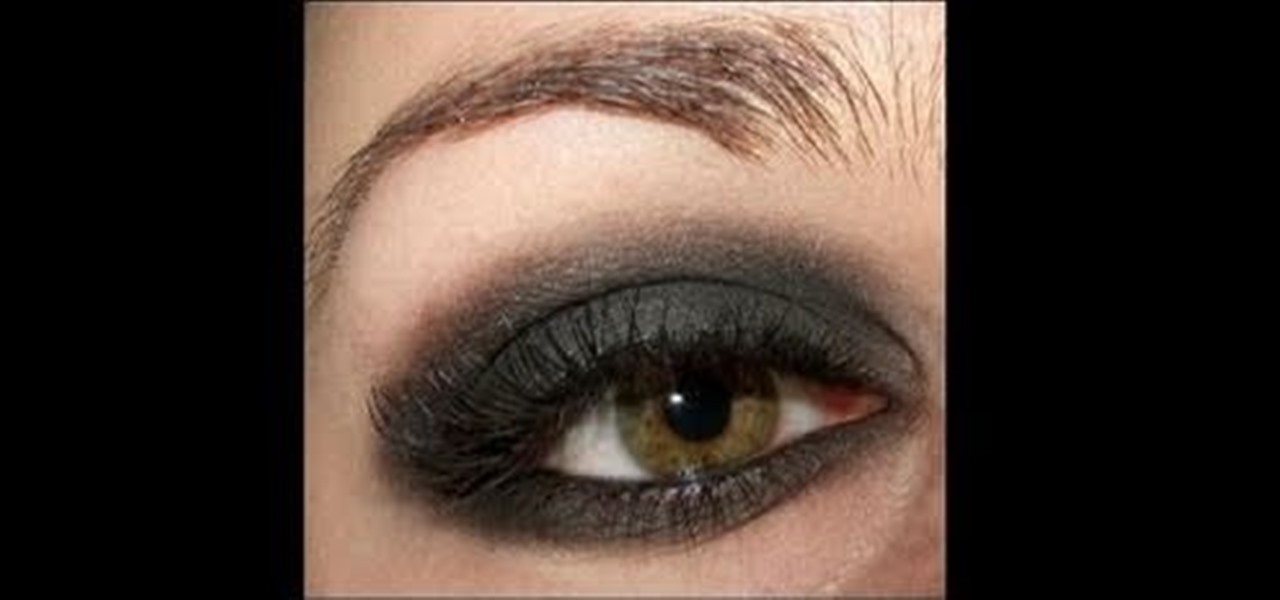
Jenny Humphrey would turn her petite little nose up at Taylor Momsen's dark and punky alter ego. Momsen, who plays Humphrey in "Gossip Girl" but also tours as frontwoman of her band "Pretty Reckless," enjoys caked on black eyeliner and shadow and torn fishnet stockings to Jenny's preppy plaid skirts and headbands.
In this tutorial, we learn how to tie dye an oval style shape. Start with a square piece of a shirt that is damp, then fold it in half. Then fold it in half again, then in half again. After this, fold the shirt accordion style, paying attention to where the main corner of the shirt is. Once finished folding, tie two knots in the bottom, then fold the fabric up until you reach the ties. Now, tie or secure this bundle tightly with rubber bands. Apply your favorite colors of die on the shirt, ge...
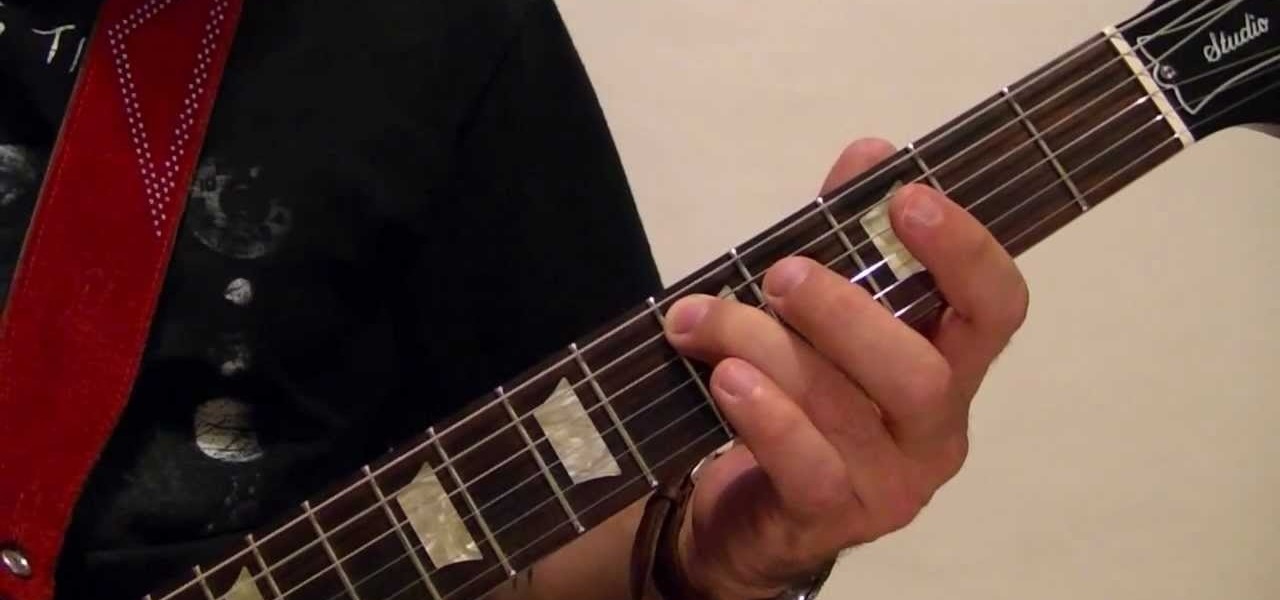
Are the Rolling Stones the longest-running rock band of all time? Probably so. Formed in 1962 (around the time the Beatles were super famous), the Rolling Stones and its four bandmates - Mick Jagger, Keith Richards, Ronnie Wood, and Charlie Watts - are still a pop culture force to be reckoned with.
In this video, we learn how to build a bionicle switchblade. Start with the piece of the blade that has holes inside of it. Then, start to connect the edges and the other pieces that go inside of it. Grab the piece for the blade, then lock it into place by attaching the elbow pieces that connect around it. Once you have connected these together, you will have one entire piece with the blade on the very edge of it. The end of it should be bendy, so grab a rubber band that is thick and wrap it ...
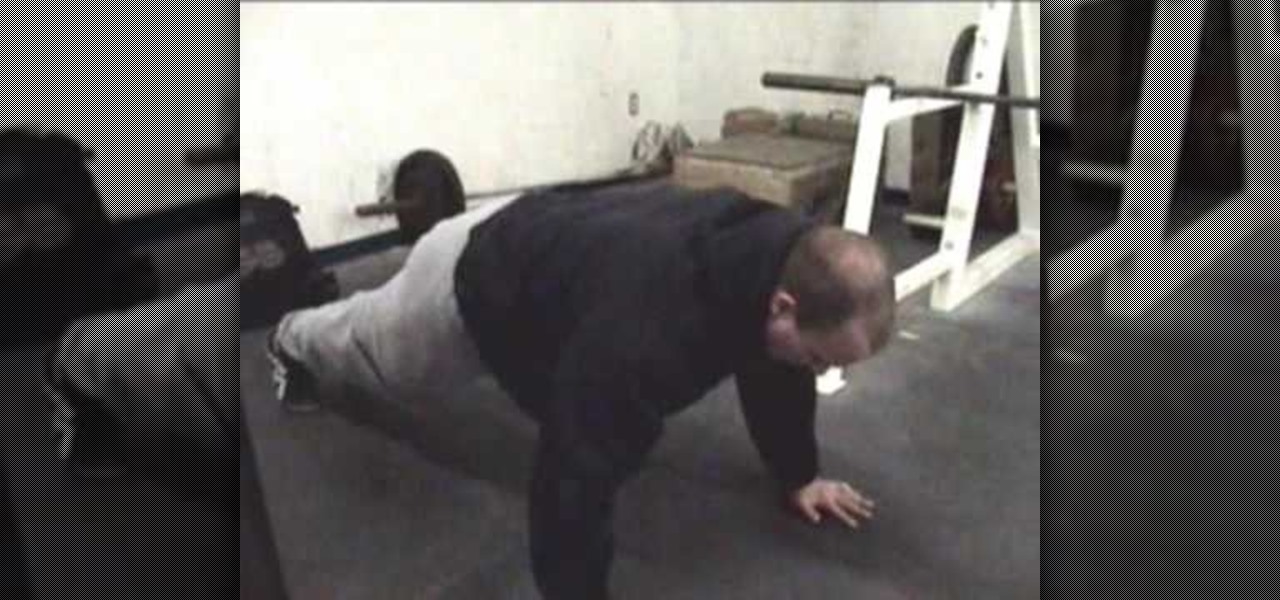
In this video, we learn how to do three fast upper-body warm-ups. The first warm up is jumping rope for three minutes, then doing 30 seconds on a foam roller. After this, use the foam roller against a wall and then again on the ground, working both sides of your body. Now do 10 reps of push ups, followed by five kneeling reaches on both sides of the body. After this, you will use exercise bands to pull weights and do these on both arms. After doing this for as many reps possible, you will be ...
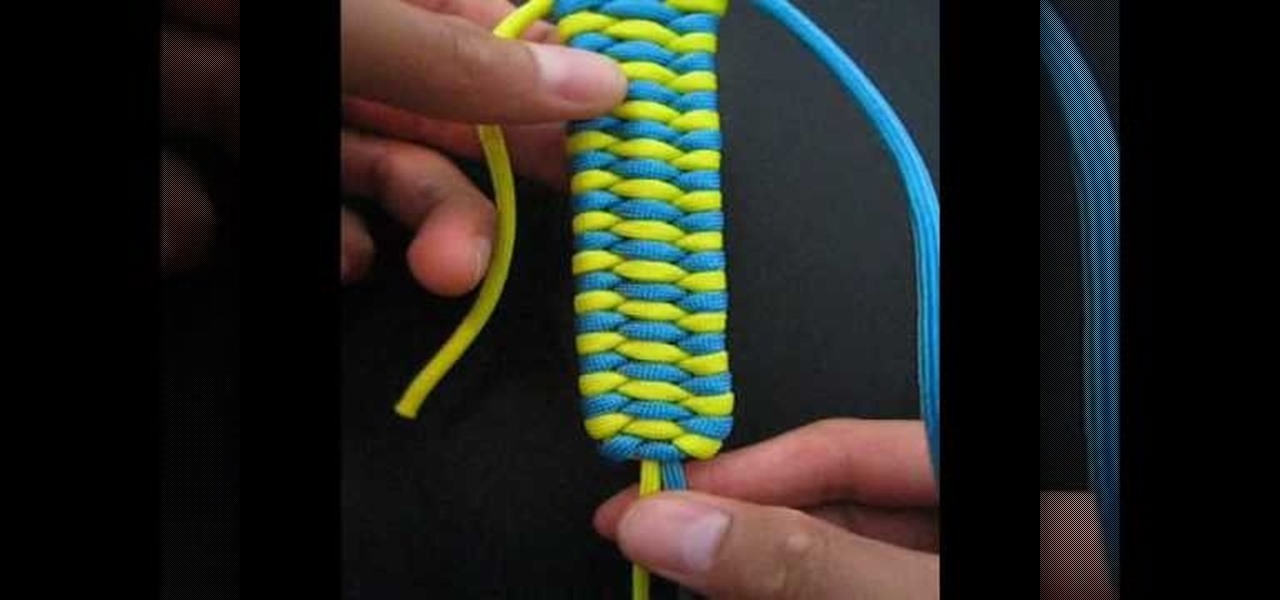
Who knew that knots could be their very own art form? According to TIAT, or Tying It All Together, knots can be sexy, sensual, and beautiful. And we're totally getting that by the looks of this pretty triobite bar.
In this video, we learn how to transplant raspberry bushes. First, you will want to add in soil to your raised bed or garden where you have your other plants. After you get the soil in and have mixed manure in, cut the bands off of your raspberry bushes and put them in a bucket. The bucket should have water and flower food inside of them. After you have placed the flowers into the bucket, you will then be able to place it inside of the soil. Then pour water over your soil and wait for your bu...
In this video, we learn how to draw Naruto. Start out by drawing a circle as the outline. After this, draw the jawline. Next, draw lines in the middle so you know where you are going to draw the eyes and the rest of the facial features. Next, define the features on all the different parts of the face. Start to add in shading to the face, then draw in the hair. Next draw in a hair band at the top of the head, followed by spiked hair coming out of the top and ears on the side of the face. When ...
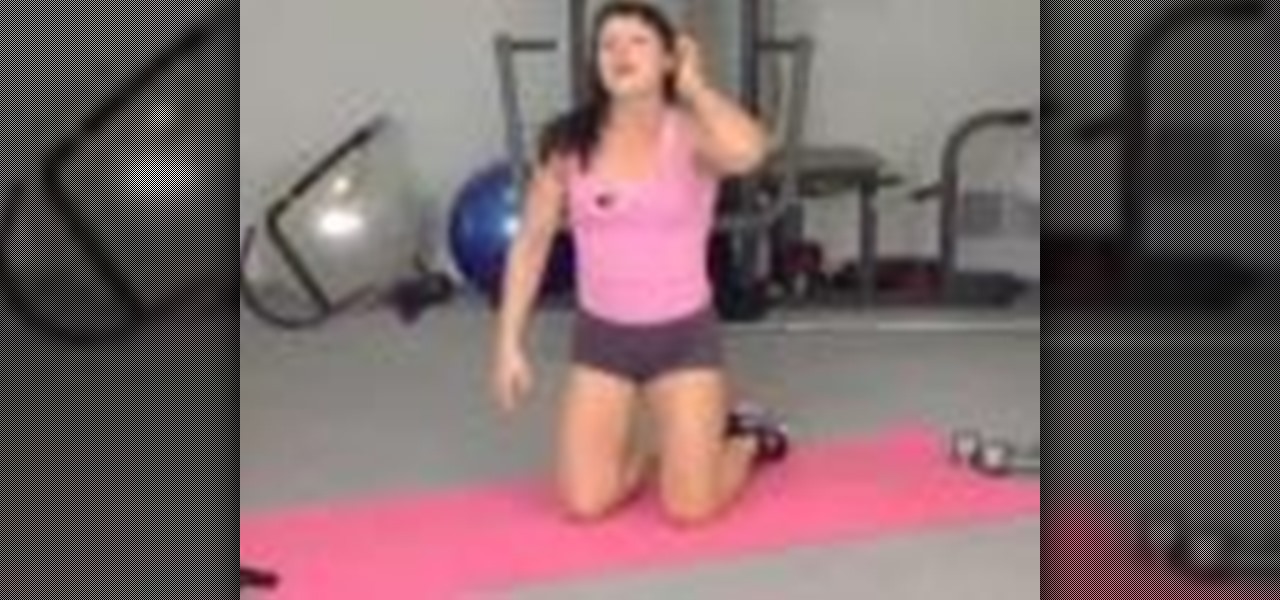
In this tutorial, we learn how to do a quick workout with super sets. First exercise you can do is a squat to cable row. Use a resistance band to do this by placing it around a post or having someone hold it. Back up to build resistance, then plant your feet parallel and hip width apart. Squat down, then bring the elbows back as you go back up. After you do ten of these, immediately switch to a deadlift underhand row. Hold a dumbbell with your hands, then bring the weight down and bring it ba...
A few years back, the movie "Happy Feet" was hands down a favorite of kids everywhere. With masterfully choreographed high school band marching-like dance moves, loads of tapping, catchy songs, and Robin Williams' hilarious impersonation of a Latino penguin, the movie had a lot going for it.
In this tutorial, we learn ten different ways to wear a beret. The first way is to wear the hat with the long side on the forehead going down on the rest of the hair. The next way is to do this same look, except move the hat to the right. Next, place the hat in the middle of the hair with your bands on the side. Next look is in the middle to the left. You can also wear it in the middle with pigtails or to the left or right with pig tails. Wearing with a side pony tail is also another great op...
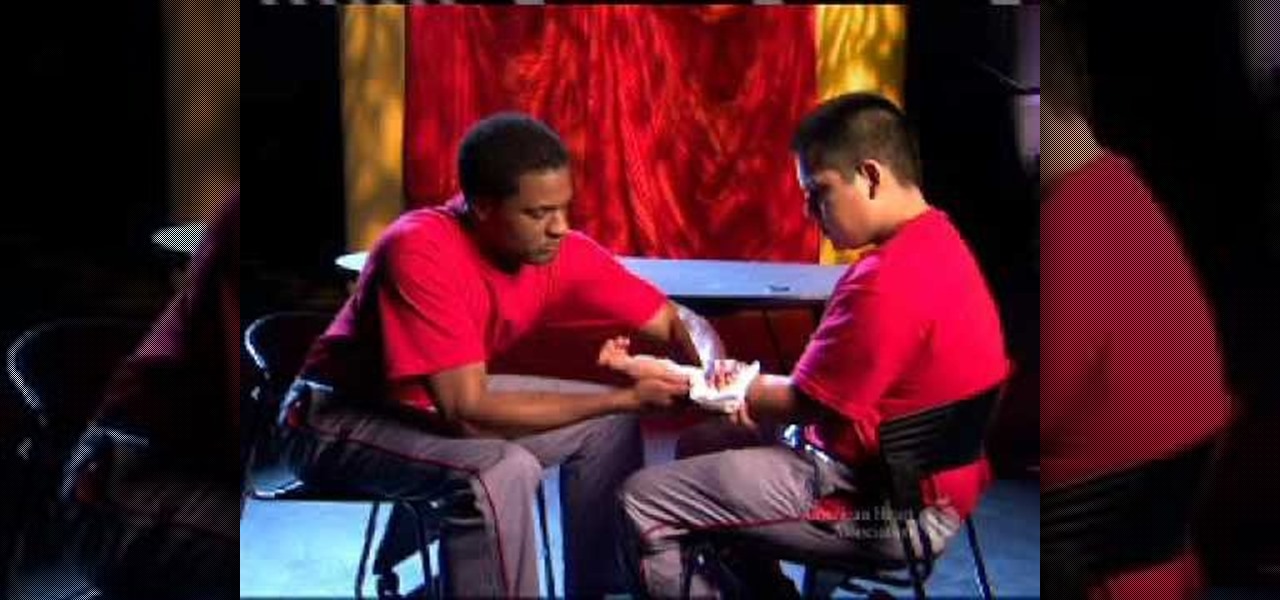
In this tutorial, we learn how to stop bleeding with pressure and gauze. If someone around you gets hurt and is bleeding, the very first thing you will want to do is put pressure on the area that is bleeding. If you don't have gauze, use a shirt or a towel. Do not touch the blood directly, as this can cause disease and other complications. Push down on the area firmly with your entire hand and take the victim to a hospital to get checked out, if the wound is large enough. If it's a smaller cu...
Expand your ITB with this simple Pilates Reformer machine-based exercise routine. With Pilates, as with any physical fitness system, a basic mastery of proper technique is essential for both maximizing the effectiveness of your workouts and avoiding accidental injury. Whether you're looking to slim down or merely tighten up your core, you're sure to be well served by this home fitness how-to from the folks at Balanced Body Pilates. For complete instructions, give this free exercise video a ga...
In this tutorial, we learn how to sharpen your chainsaw with a hand file. First, take the cover off of the chainsaw and jam something into place so the chain stays in place. Put gloves on before you touch the chain, and use a hand file to file down on the chain. Look for the shortest tooth and put the file in, holding it well and giving it two or three strokes. When filing, be consistent on each different tooth you are sharpening. You will be able to feel the blade being taken off. You might ...
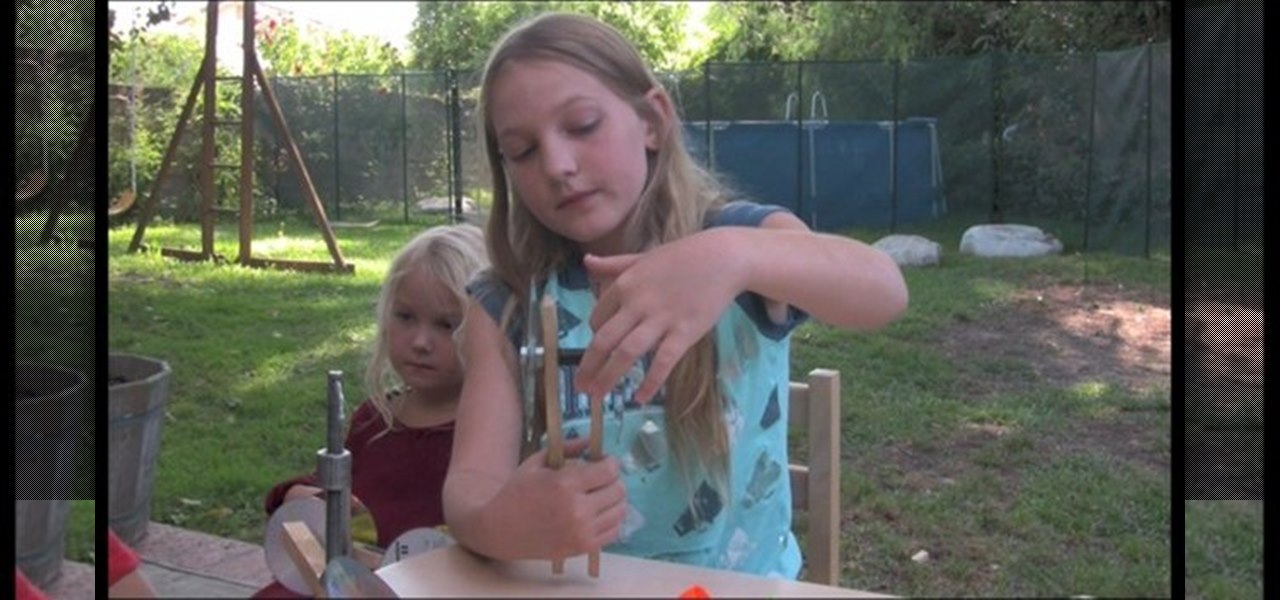
In this video tutorial, viewers learn how to make a toy car with CD wheels. The materials required for this task are: 2 thread spools, long piece of thing wood, 4 CD's, 2 screws, 2 washers and 2 bolts. Begin by drilling a hole in the spools and 2 holes in the wood. Then place a washer on the screw. Now place the CD on the washer. Then add another washer and secure it by screwing on a bolt. Now put the wheel through the first board of wood. Then put it through the spool and other wood board. N...
In this video tutorial, viewers learn how to create a auto-tune, T-Pain effect in the program, Garage Band. This task is easy, fast and simple to do. Begin by opening the program and import the vocal audio. In the time-line under Advanced, increase the Enhance Tuning to 100 and check Limit to Key. Then open the Track Info Pane and go to Details. Now set the Reverb to 30% and Echo to 17%. This video will benefit those viewers who are interested in music editing, and would like to learn how to ...
In this tutorial, we learn how to bleed a Shimano break system. First make sure the reservoir is leveled and then take the cover off. Make sure you use mineral oil to clean the top, then rubber band a hose onto the bag. Now take a Shimano spacer and release the fluid by squeezing the lever. When the fluid level has dropped down, fill it back up. When you bleed remember to completely remove the pads, as recommended by Shimano. Replace the pads with the spacer when you are doing this, then you ...
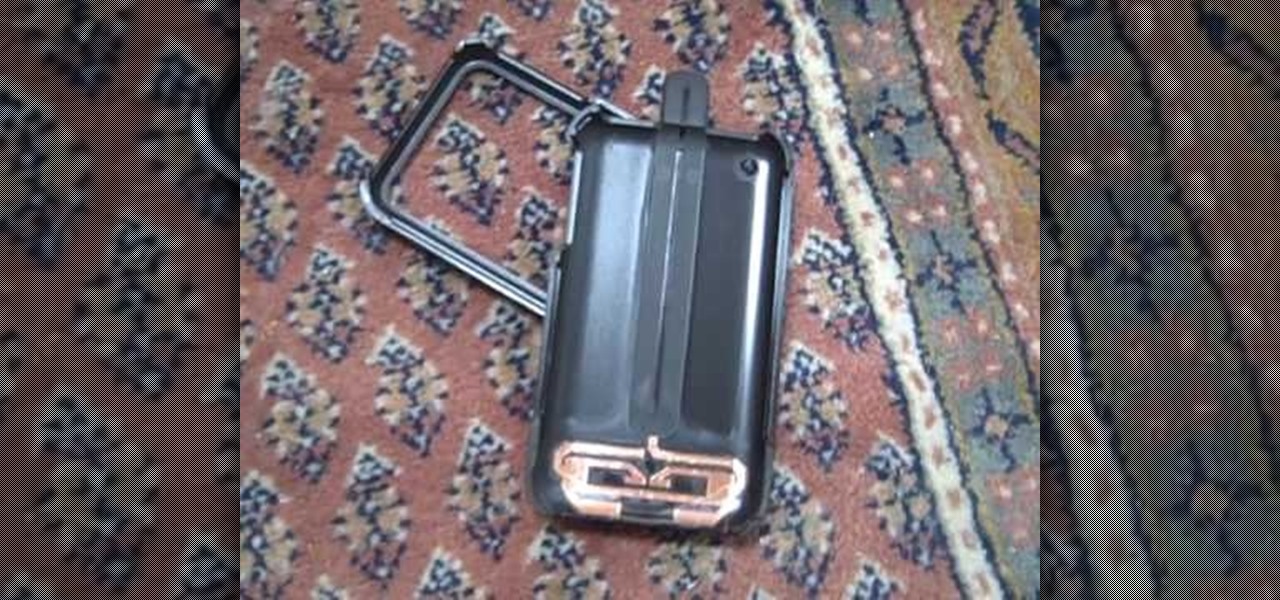
Don't waste money on a bumper cover from Apple to save the reception on your new iPhone. In this clip, learn how to take a simple rubberband and solve all of your dropped call worries! This method is cheap, easy and well worth a shot. Best of all? It seems to work with all models - including iPhone 4, 3G, 3GS and 2G. Check it out!
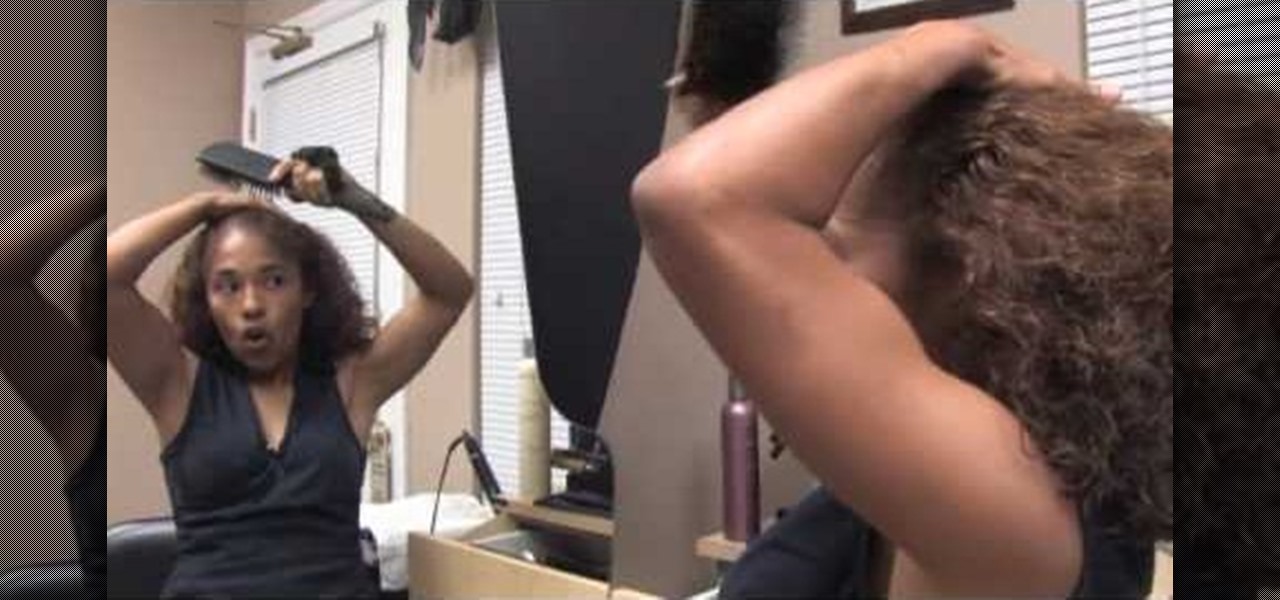
In this tutorial, we learn how to make a high pony tail for curly hair with Liz Muller. First, wet both sides of the hair and put gel into it. Now, push the front of the hair back with a brush, avoiding brushing a lot so you don't have frizz. Make sure it's straight, then push the back of the hair up. Combine all of your hair together until you have it high on your head. If your hair starts to get curly in the front again, just release your hair and try again. You can always add more gel if y...
This video will show viewers how to scream through several tips and practice exercises which will train your voice. First, practice by doing lots of exercises which involve inhaling hard while making sounds through your throat. Next, do low screams by flexing your stomach very hard and focus on pushing out the air from your stomach rather than from your throat in order to do this properly. Try to add accents into your screaming. Next, practice how to scream high, once again focusing on pushin...
If you have more than one audio track that you need to splice together, check out this tutorial. In this video, you will see just how easy it is to combine audio tracks using Audacity. Audacity is similar to Garage Band and is a way to edit and save music and other audio files. This software is widely used for podcasts as well.
In this how-to video, you will learn how to choose a dress that flatters your body type. Jazmin Whitley, the designer for Li Cari, will help you with this. There are three body types in this example: long and lean, curvy, and small and curvy. If you are lean, you should accentuate the waist line. A waist band will help. For a curvy figure, look for an empire waist and materials that have flow. For the last body type, clothes should accentuate the waist line and bring balance at the top. This ...
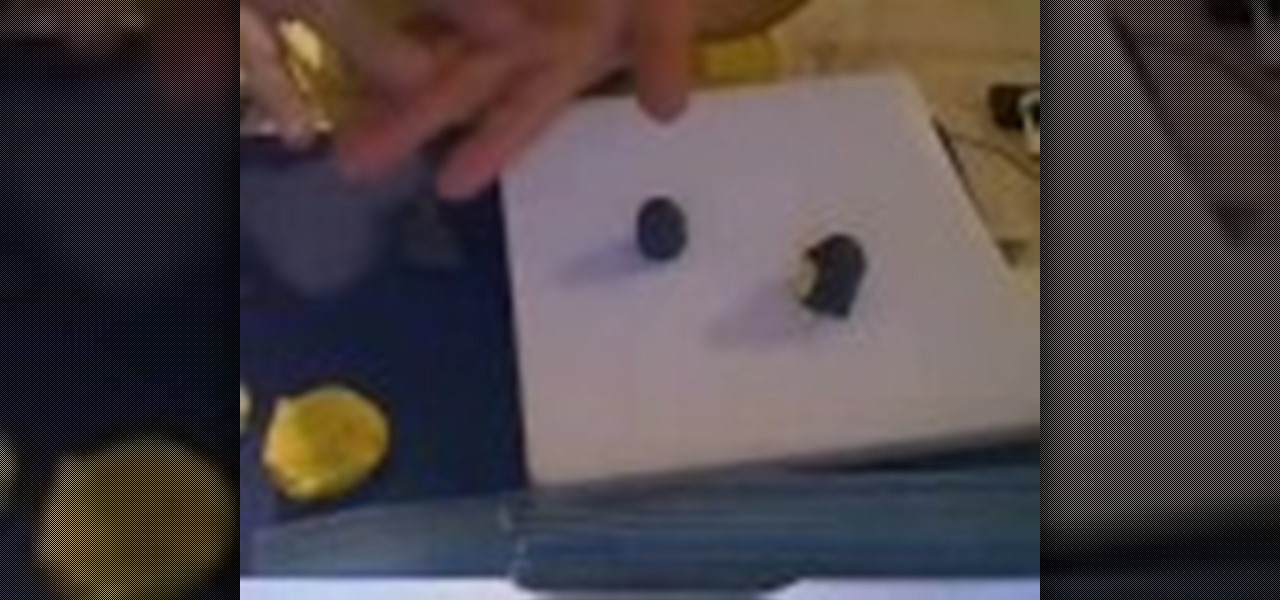
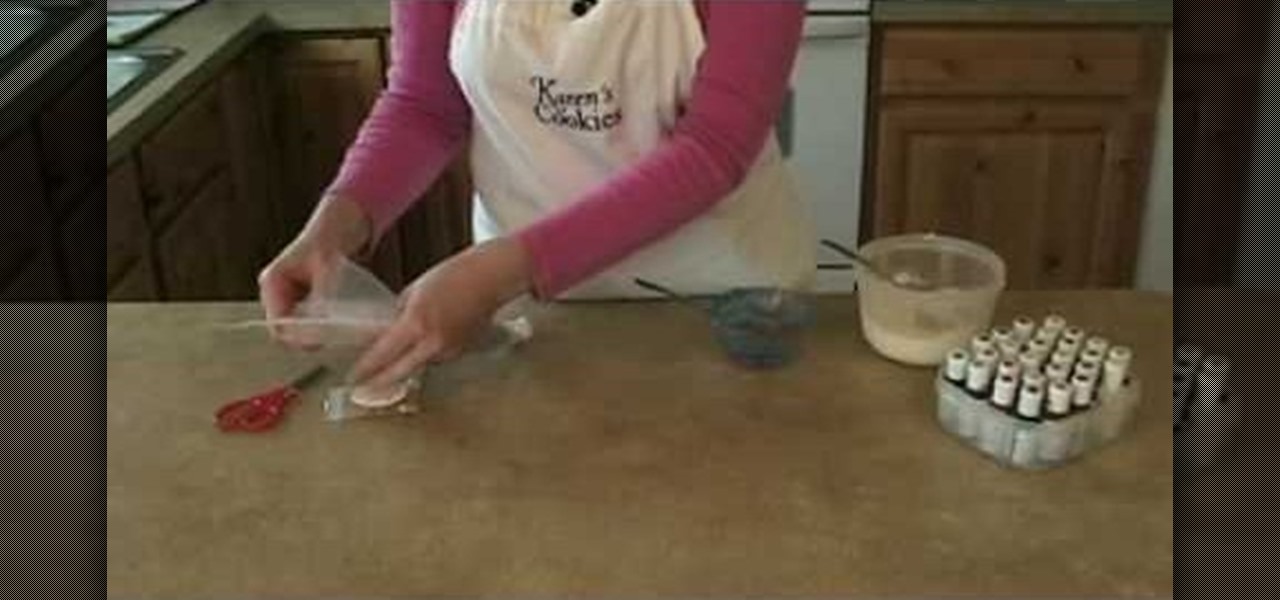
Karen shows you how to mix your colors and fill your bags. This example uses red blue and black. Begin by mixing blue. Start with royal blue coloring and add it to your frosting and mix it well. Dump the colored frosting into the middle of a sheet of plastic wrap. Roll it up in the plastic wrap, twist the edges, and now you have a little pouch with your frosting. Now take a bag with a coupler, and stick the plastic pouch of frosting in it. Pull it tight and rubber band the top of the bag, the...