In this how to video, you will learn how to practice without a Bodhran and make your own tipper. This is useful if you do not have enough money to buy a Bodhran or you want to practice silently. To make a tipper, buy skewers from any place. Take about 14 and put the together. Tie them together with 2 rubber bands. You can get different sounds depending on the distant of the rubber band from the end of the sticks. Next, you must get a practice board. A clip board can be used for one. You can m...
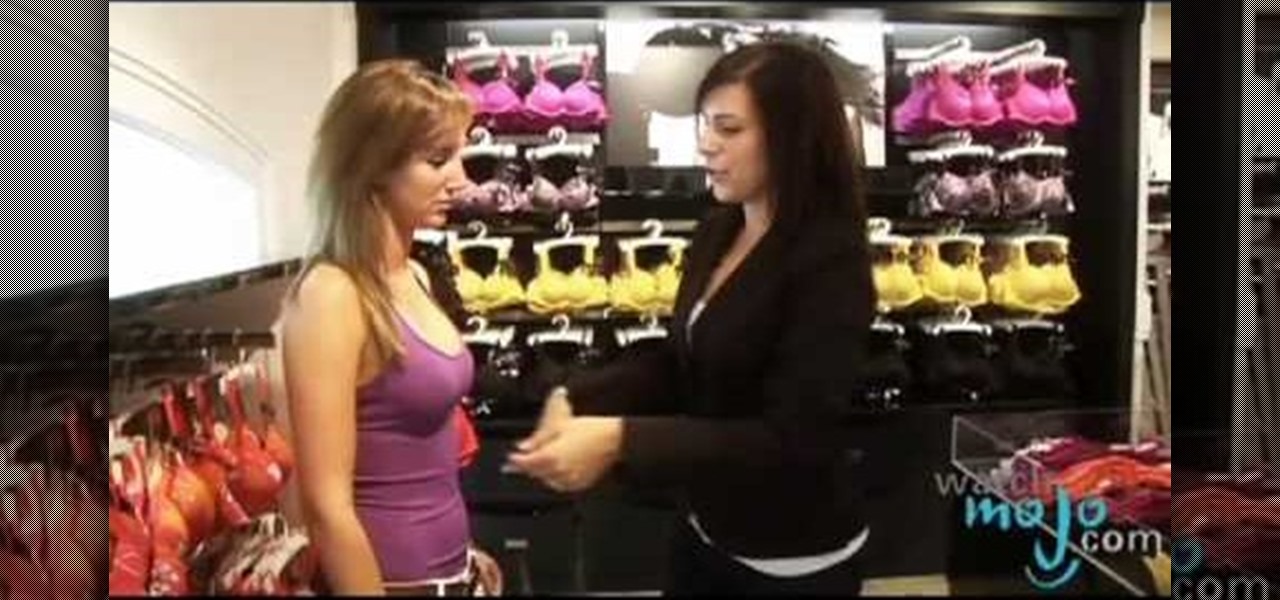
Did you know that almost 85 percent of women wear the wrong bra size? Wearing the wrong size can cause sagging, discomfort and stress on your back. The right bra can be flattering to your outfit, comfortable and fitting and make you feel more confident about yourself. A bra size is composed of two measurements: your band size and your cup size. The band size is important and the bra needs to fit snugly around you, not too tight but not loose. The cup size is important to prevent breast damage...
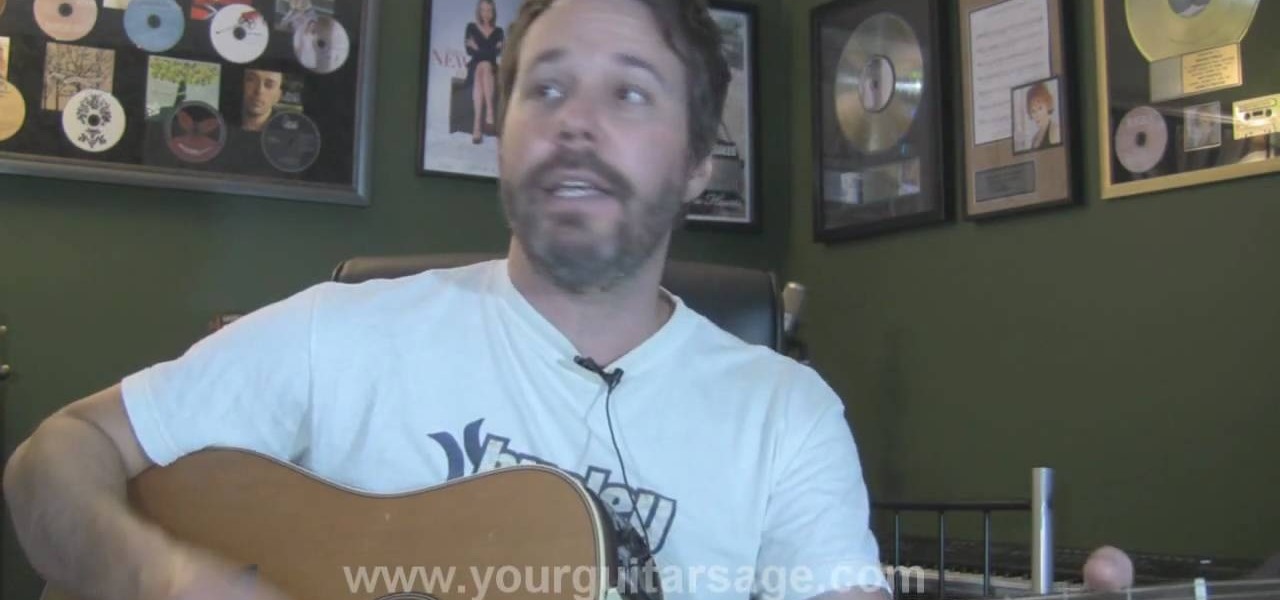
This video is an acoustic guitar lesson from yourguitarsage. In this video, he teaches you how to play the song "Band on the Run" by Wings & Paul McCartney. He begins by playing the song for more advanced players to watch and learn from. Then follows up by showing you which chords you need to know to get started on learning the song, and demonstrates them for users who may be still learning. He then moves on to the progression of the chords through the song, teaching you the intro, verse, bri...

Lay several layers of tissue paper on top of each other. At least 10 You can use different colors to make a colorful flower or one color to make a flower that is one color. Multiple color flowers are great for 4th of July celebrations (red, white and blue). And single color flowers are great for wedding receptions or graduation parties.
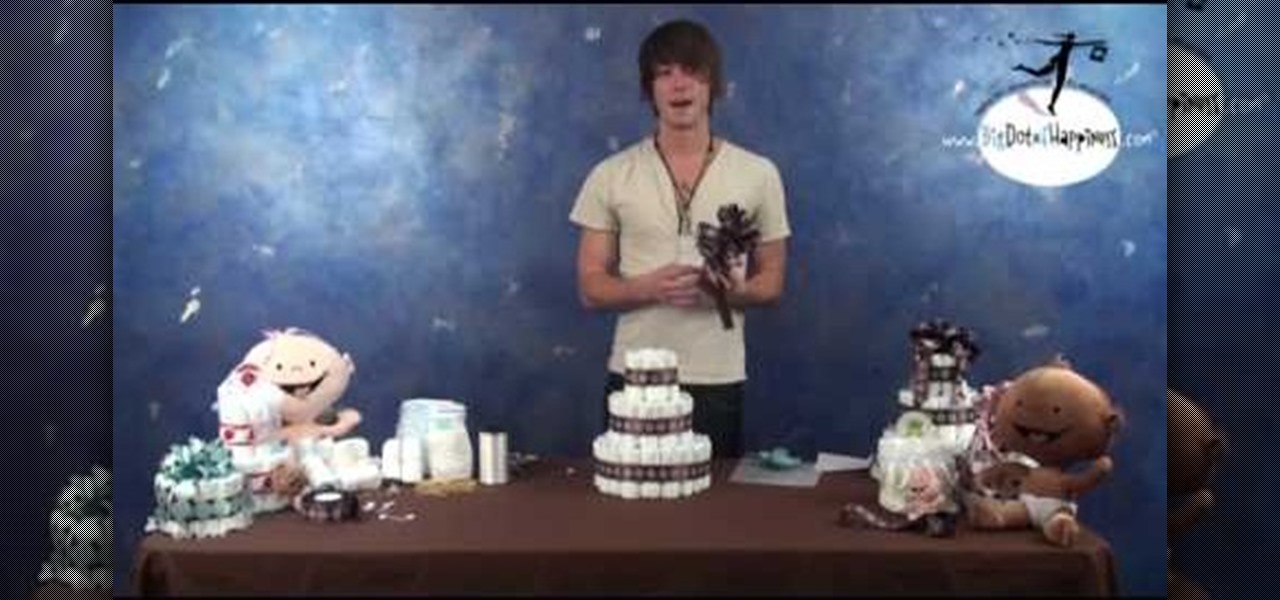
Here is an interesting idea for a baby shower: a diaper cake. Using various materials such as a tube, a glue gun, some safety pins, string, rubber bands, scissors, and 63 diapers, you are on your way to making this bizarre yet interesting cake. After rolling together each individual diaper, holding them together with rubber bands, you are on your way to making this cake. While this cake is not meant to be eaten, it is a very interesting centerpiece or gift for your next baby shower.
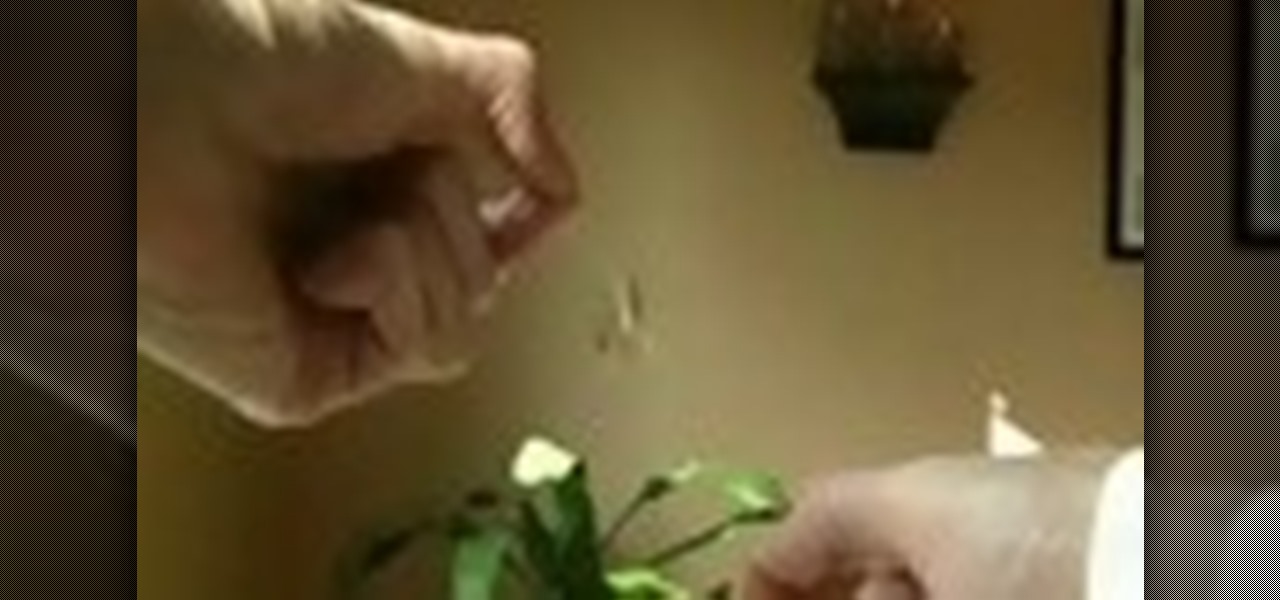
See how to make a ring travel up a rubber band with trickery. Yes, that's right... trickery. Just watch this video tutorial to see how to perform an anti-gravity magic trick. No real magic here, it just looks like it. It's a complete illusion. See for yourself. It's as easy as friction.

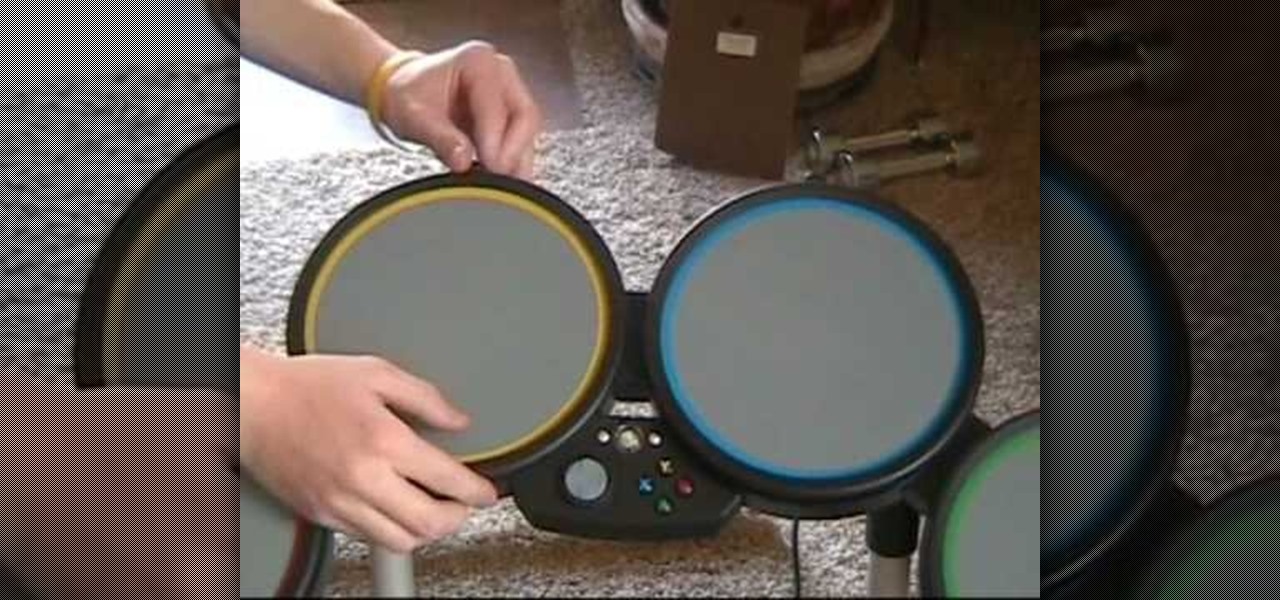
This tutorial adds to the drums and it will probably help your drum kit. All you need is 4-6 nickels and some tape. This will not void your warranty. This is more of a Mod than a repair, but it basically fixes randomly missed notes when you swear you hit it exactly right. Make sure the coins are completely fastened down. Rock Band is the interactive game that allows you to use to play along with music and songs using the controllers of drum kit, microphone and guitars.
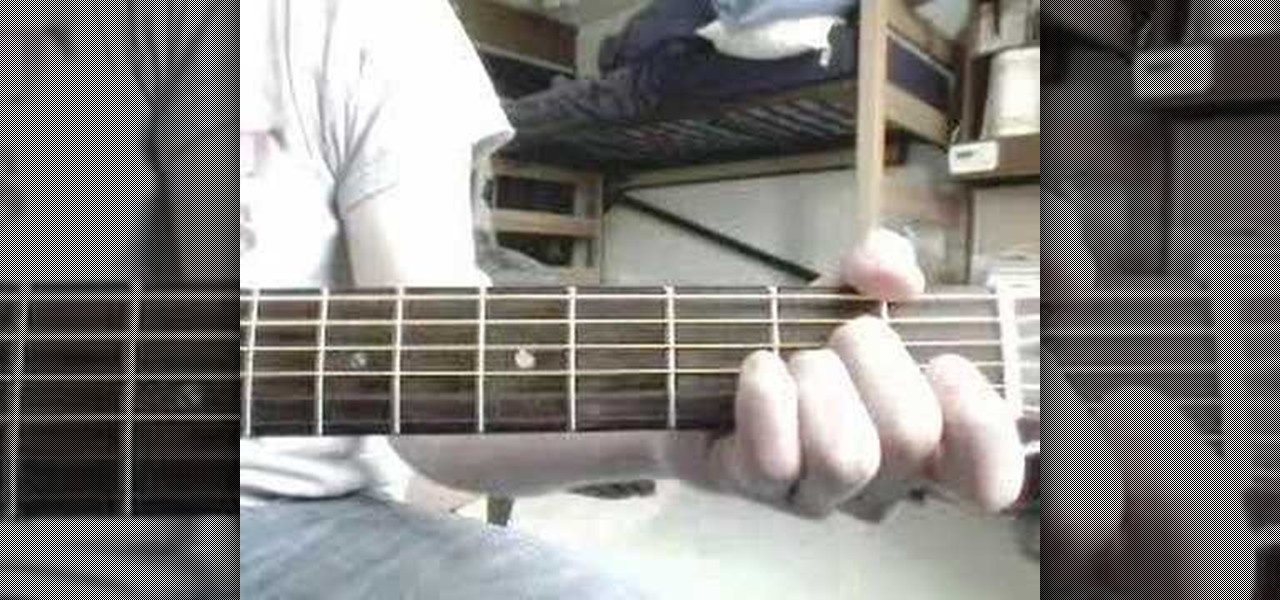
Watch this instructional guitar playing video that shows you how to play the song "Dream Girl" by Dave Matthews Band on the acoustic guitar. This tutorial video was done quickly by ear, and Dave fans are really adamant about getting his guitar part right, but this performer nails it. This is a great instructional video for hardcore DMB fans and acoustic guitar enthusiasts. Practice your guitar skills by learning each chord to the song with this step by step video.
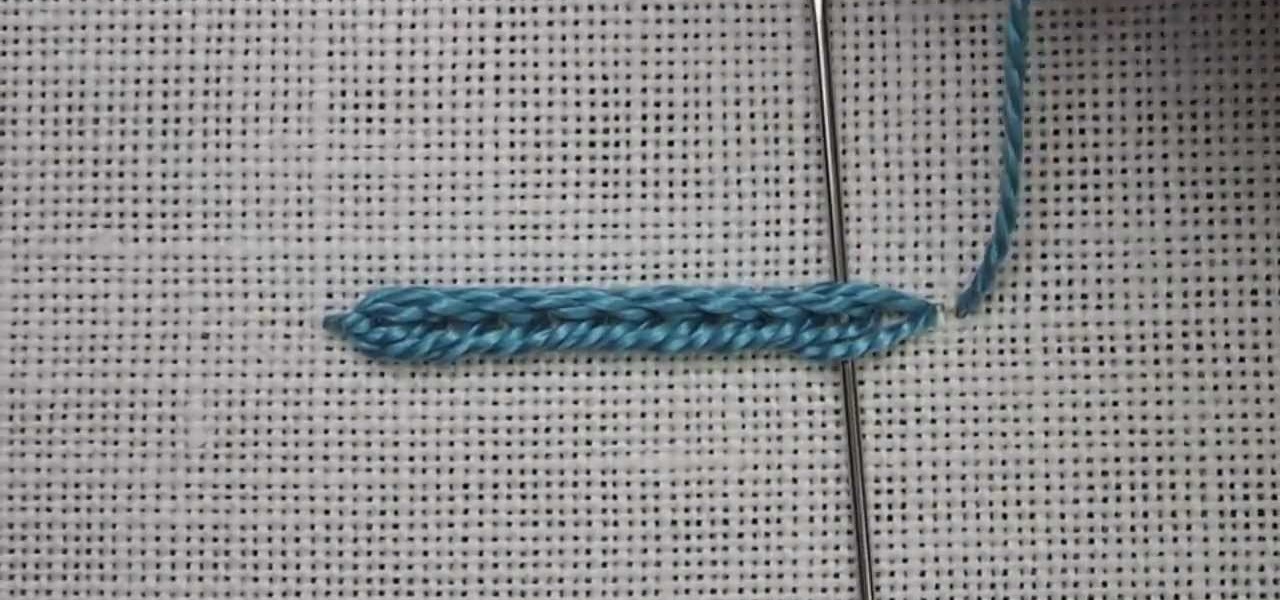
The heavy chain stitch used in hand embroidery is a variation of the regular chain stitch, but it creates a wider, thicker chain stitch band. It's an easy stitch to execute. When you want a bolder line, you can substitute it for the regular chain stitch. This video tutorial will show you the basic concept of creating a heavy chain stitch band. Watch this video from Needle 'n Thread to see how it's done.
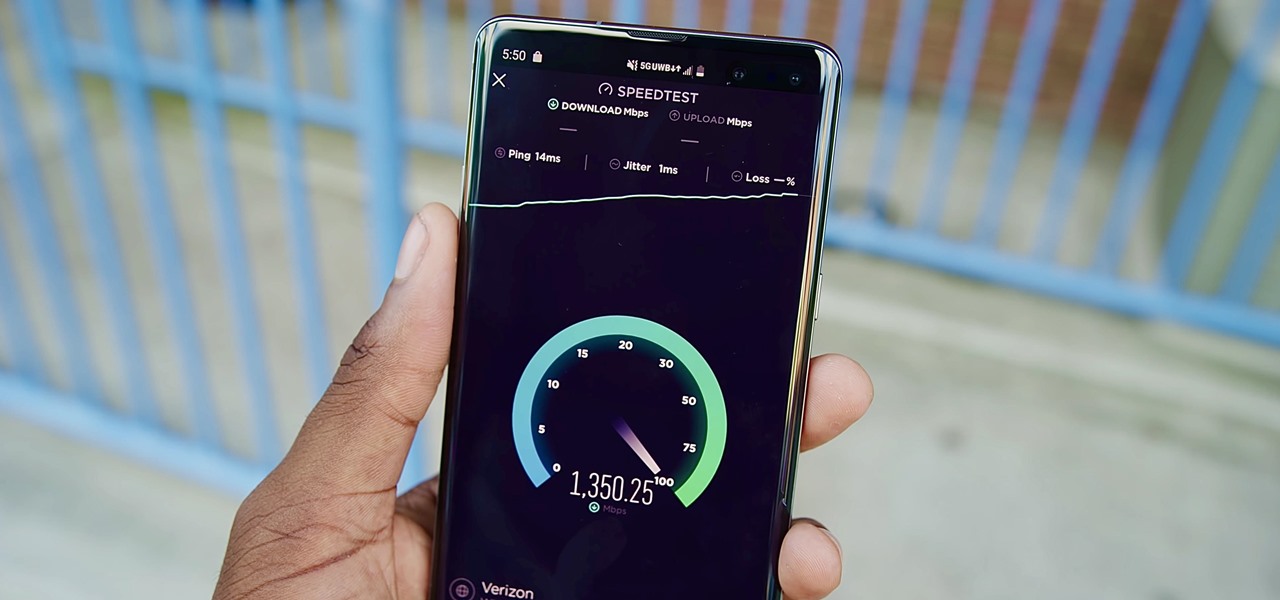
Not all 5G is equal. Even if you dropped the cash on a true 5G phone and you see it's connected to 5G in the status bar, that doesn't mean you're surfing the web, streaming Spotify, and binging Netflix faster than your friends with LTE phones.
How to perform the Rubberband card trick.
The Rolling Stones still tour, against all odds, and their tongue logo might be the coolest any band has ever had. This video will show you how to start it up by making a custom Rolling Stones tongue Call of Duty Black Ops emblem.
HIM (His Infernal Majesty) have ridden the support of Bam Margera to massive fame, and their logo is one of the coolest ever devised for a band. This video will teach you how to make the HIM logo in the Call of Duty Black Ops emblem editor.
In this tutorial, we learn how to style your hair into side spikes. First, you will brush the back of the top of your hair up into the air and then put it into a rubber band. After this, repeat for two more pieces until they are in a line ready for spikes. Then, grab the first section and remove the band from it. Then, spray hair spray in it and tease it until it's standing straight up in the air. Hold it up while you are spraying it so it keeps shape. Repeat this for the other spikes. When f...
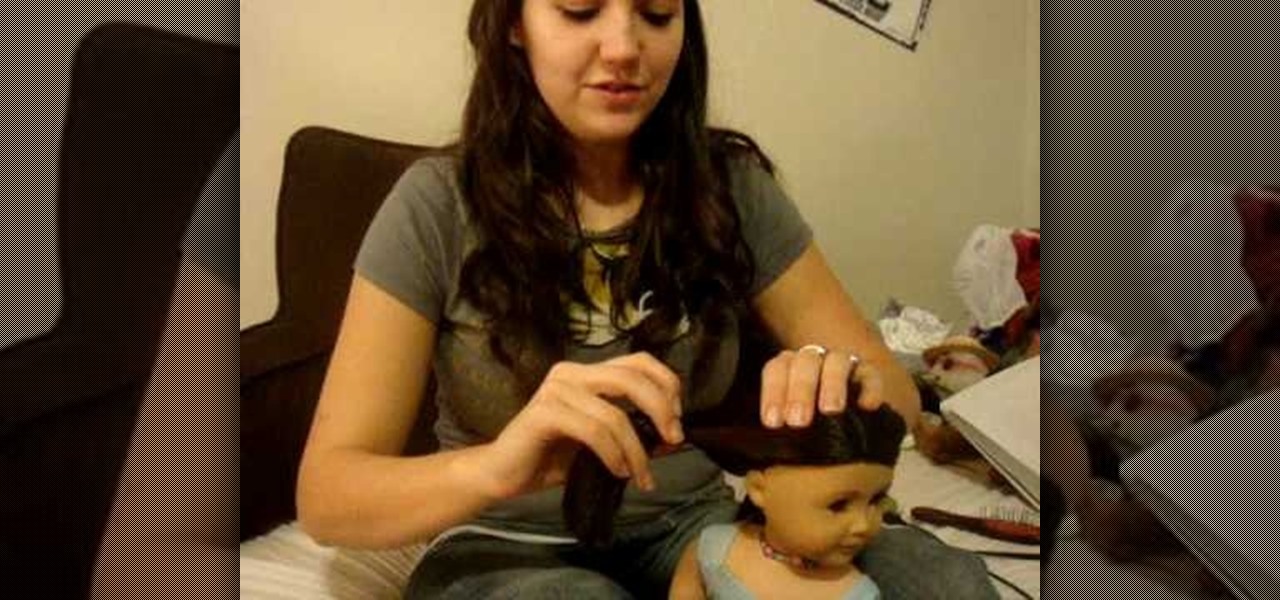
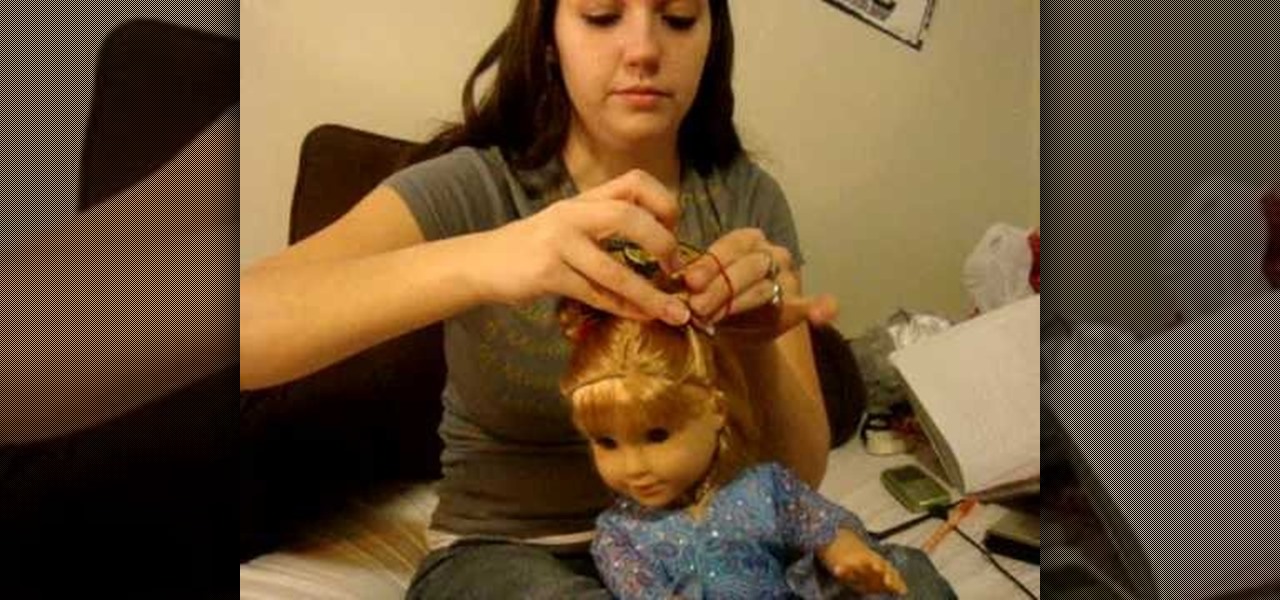
In this video from stephenswodadancer we learn how to do a hairstyle on the American Girl doll Mia. You need a brush, 2 regular sized bobby pins and 2 rubber bands. Start by brushing her hair back from her head and hold it with your hand. Using your finger nail start at about the corner of her eye and go up on each side. Pick up all that hair in the front. Turn her around and brush it out smooth and put the bobby pins in on each side. You can leave it like that or continue on. Part the back o...
Want to play "Centerfold" by the J. Geils Band on baritone ukulele? Learn how with this video tab, which presents a complete breakdown of the song's component sections, chords and strumming & picking patterns. For all of the details, and to get started playing "Centerfold" on your own baritone uke, watch this free video ukulele lesson.
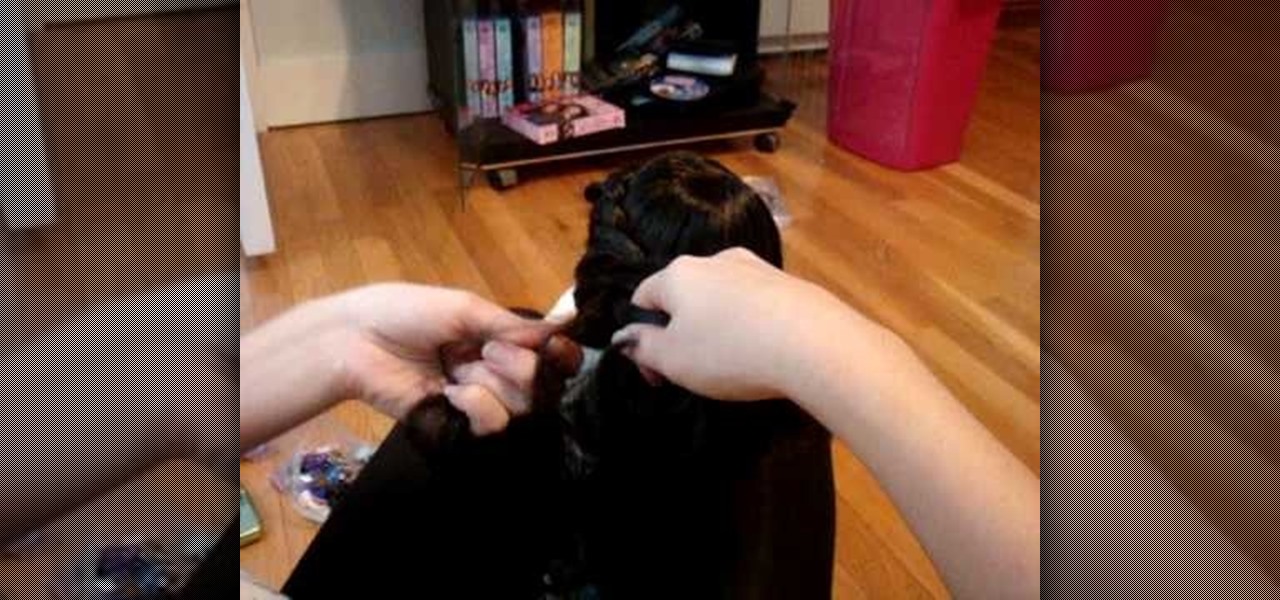
In this tutorial, we learn how to style hair on an American Girl w/ long wavy hair. First, brush the hair out and then grab the top left section of the hair. Split this into three and then twist these together. This will be like a French braid, but you will be twisting it as you braid. Continue this until you reach the bottom of the head, then tie it with a rubber band. After this, do the same thing on the other side of the head. Then, tie it with a rubber band in the back and you're done!
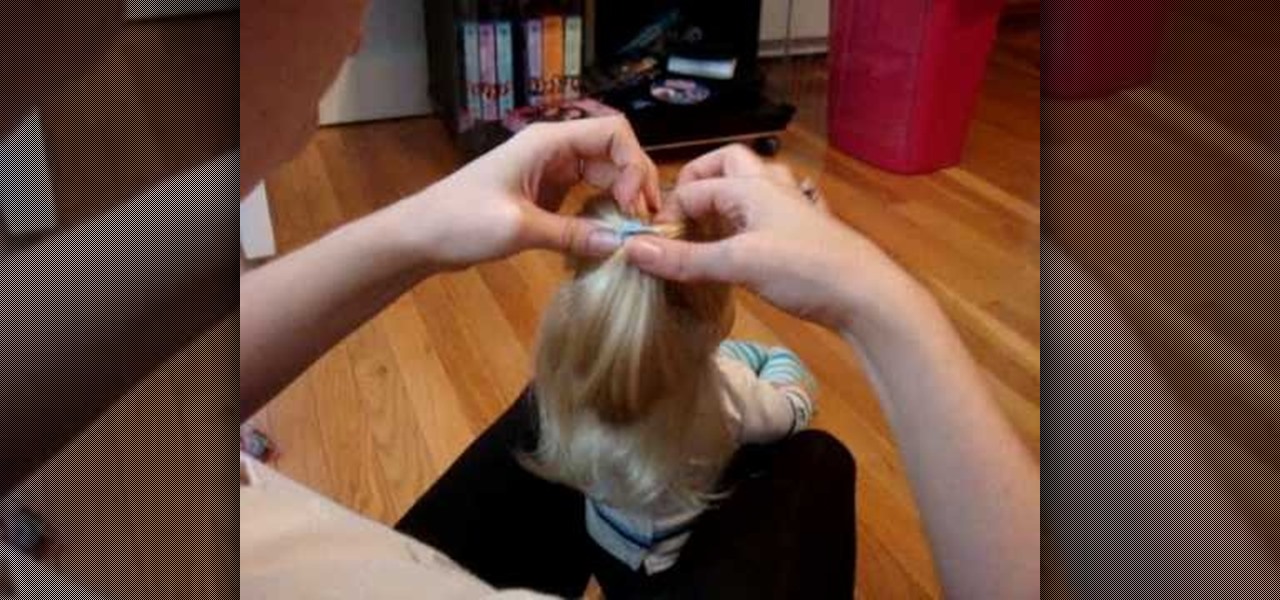
In this video, we learn how to do a double twist flip on your American Girl doll. First, part the hair down the middle and then brush it out. From here, pull out the rubber band one side and then split the middle of the hair in half. Push the rubber band with the hair through this, then tighten it up. Do this on the other side of the hair to make them both even. This will finish the hairstyle on your doll! The great thing is that you can do this on dolls that have short hair or long hair and ...
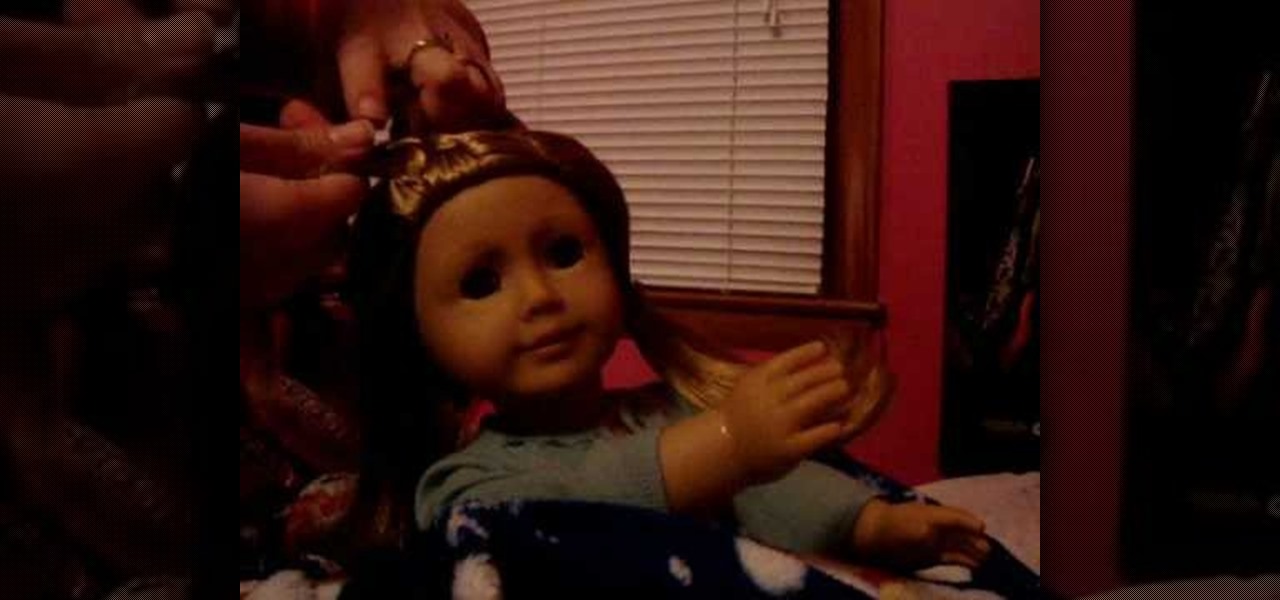
In this tutorial, we learn how to weave ribbon into your American Girl doll's hair. First, grab the hair in the front of the head on just one side. After this, you will tie it with a rubber band. Next, repeat this same process on the other side of the hair. Then, do this again behind the first rubber band on each of the sides two times. Tie these together in the back, then tie in with a ribbon of your choice. Make a bow and then use another piece of ribbon to tie into the hair, finishing at t...
In this video we learn how to do a ponytail veil on your American Girl doll. To start, you will take the top front section of the hair, then brush it back. After this, you will tie it in a rubber band and then repeat these steps on both sides of the head. Then, you will take the hair that's in the ponytail of each one and split it into two. From here, you will tie these with another piece from another side and then tie together with a rubber band. do this once more on the very back and then t...
In this video, we learn how to do an adorable hairstyle on your American Girl doll. You will need: two ribbons and four rubber bands to do this. First, brush her hair all the way out so it's smooth. Then, part the hair into two sections on the left and the right. After this, tie the right side into a high ponytail and then tie the left side the same way. From here, you will shape a bun into the top of the hair band and then let the rest hang down. Next, you will tie a ribbon in each side into...
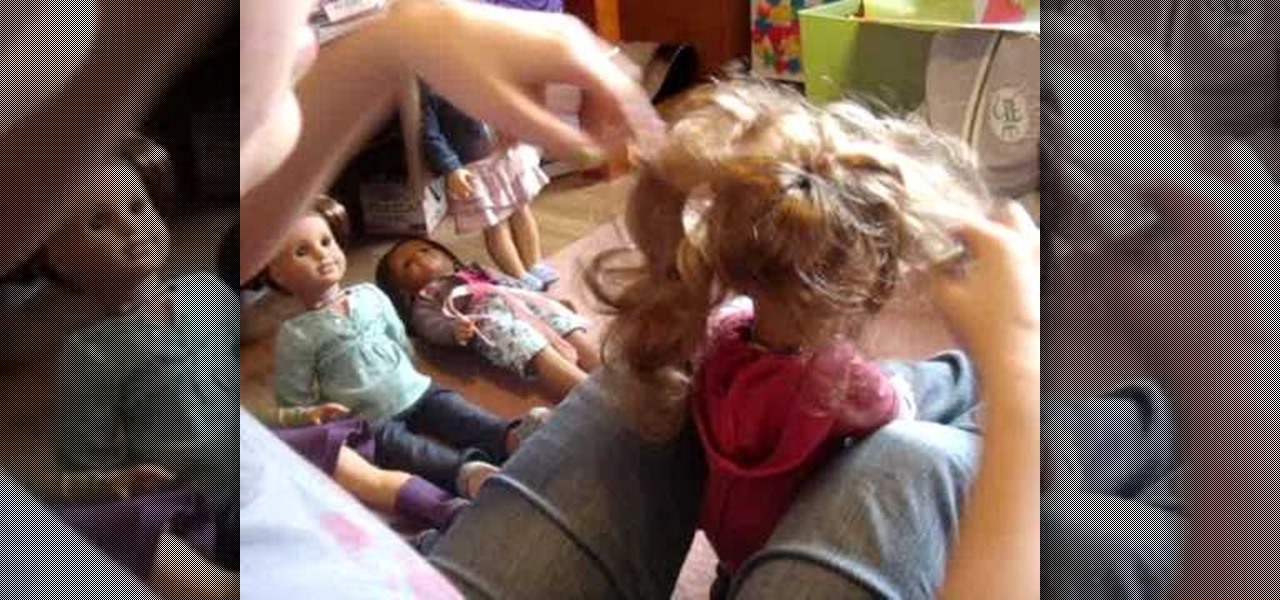
In this video, we learn how to do mini buns on your American Girl doll. Firs, you will grab a section from the top half of one side of the head. Then, you will put a rubber band around the hair. From here, you will twist the hair around the make a bun, then secure it with another rubber band. Repeat this on the other side of the head so there are two buns on the top of the head. This will look cute on the front and the back! If you want, you can keep going and make two more so you have four m...
In this tutorial, we learn how to double French braid your American Girl Doll's hair. First, part the hair right down the middle so you have the left and right side. After this, pull one of the sides into a pigtail. Next, go to the other side and grab a small section from the top. Brush this out and then divide into three pieces. Start it like a regular braid, then start to grab hair from the bottom on each side, crossing it over the middle. Continue to do this until you reach the bottom of t...
In this tutorial, we learn how to do a cute hairstyle on American Girl with medium hair. This is great for a doll that has hair that flips out at the bottom or hair that is curly. First, you will take most of the hair, except for a thin layer of hair on the underneath area. Put a rubber band around this part of the hair, then put a hole with your finger above the band. Flip the hair through this, so the hair is sticking up. Then, curl the hair under and clip it into place on the back to finis...
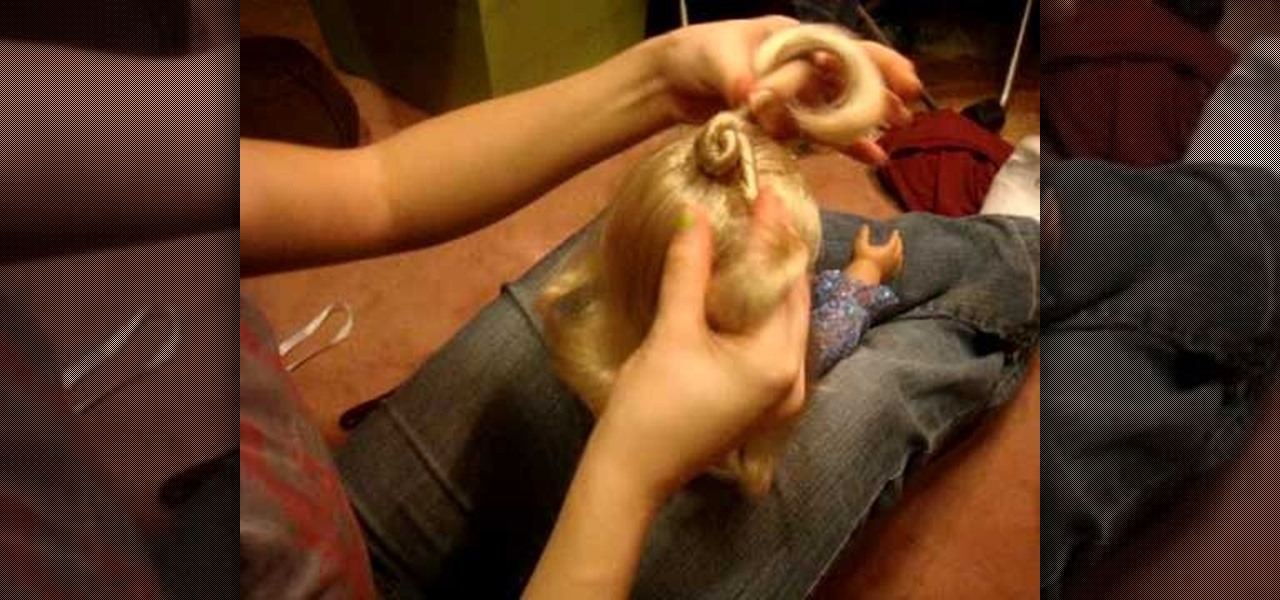
In this video, we learn how to do the triple nifty knots hairstyle on your AG doll. First, comb the doll's hair back and then take the hair from the crown of the head. Put this into a ponytail and then secure with a rubber band. After this, section the tail off into two parts and twist them individually. Then, bring these around each other and create a bun at the top of the doll's head. Secure this with a rubber band. Do this with two other sections of the hair on the left and the right. When...
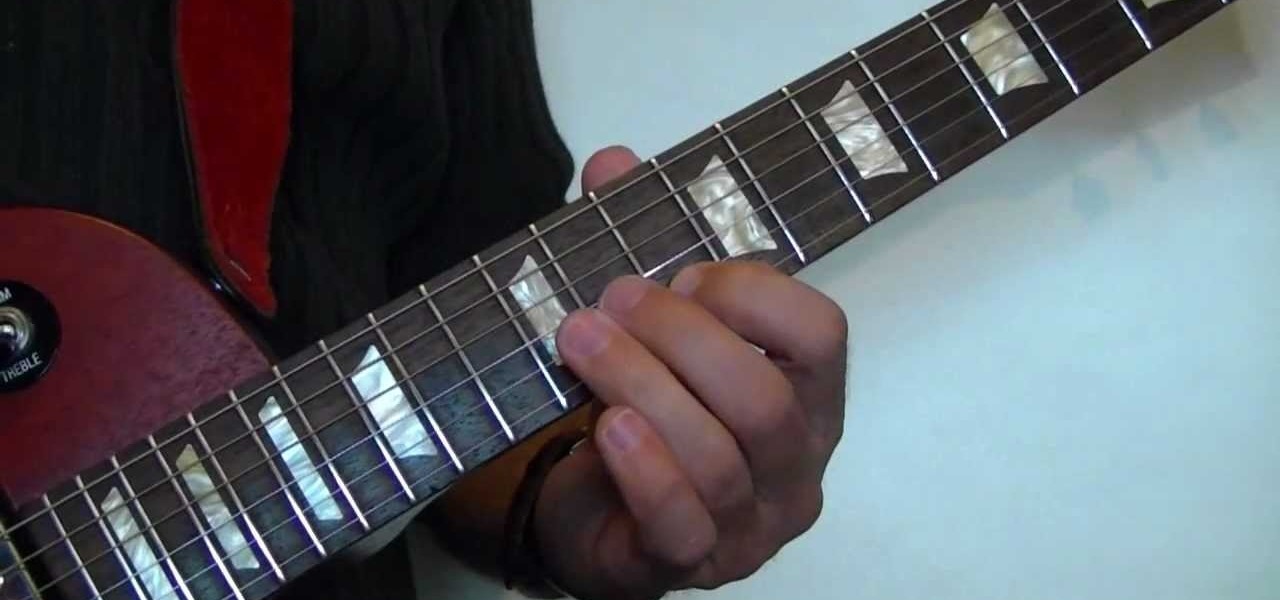
As Guitar players, the goal is to be a member of the band when you have to be, and when it's your time shine, you go for it full force! But during those times that you have to hold back and hang with the rhythm section give the idea of open string power chords on your guitar during your rhythm guitar sections to add a feel that will definitely bring out any section of a song (although you might want to consider waiting until the chorus to open up like this.)
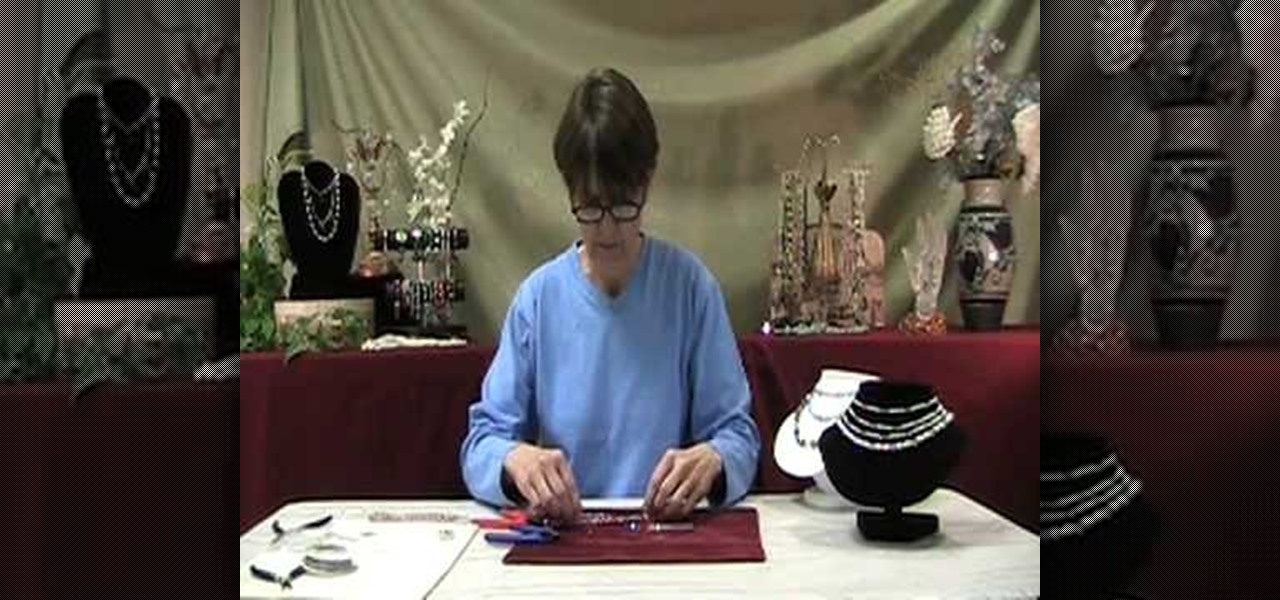
In this tutorial, we learn how to make a interchangeable beaded watch band. First, cut your beading wire to appropriate length, then slide a crimp bead and lobster trigger clasp to one side of the wire. Then, bring the end of the wire back through the crimp bead creating a snug fit. Using the rear notch on your pliers, crimp the bead tightly. Then, add a crimp bead cover using the front notch on the pliers to close the bead tightly. Next, string your chosen beads, then repeat the first steps ...
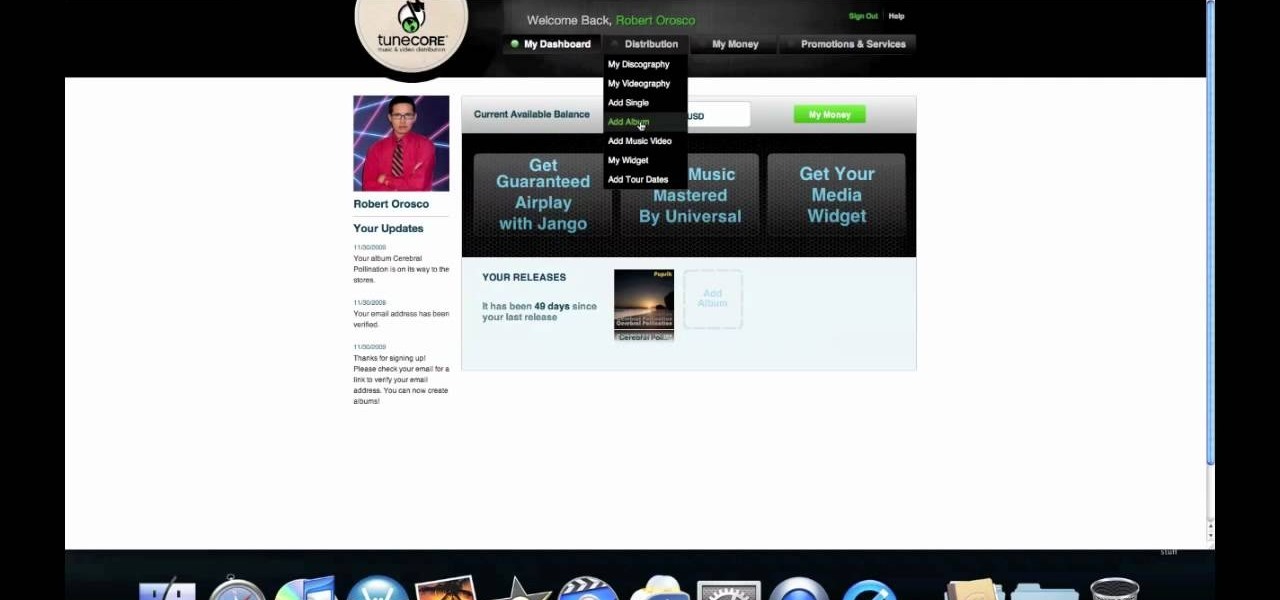
If your band has gotten to the point where you think there is market for your music on iTunes, well done. You're probably wondering how you actually go about selling your music on iTunes. This video will show you one way to submit your music to iTunes using a service called TuneCore.
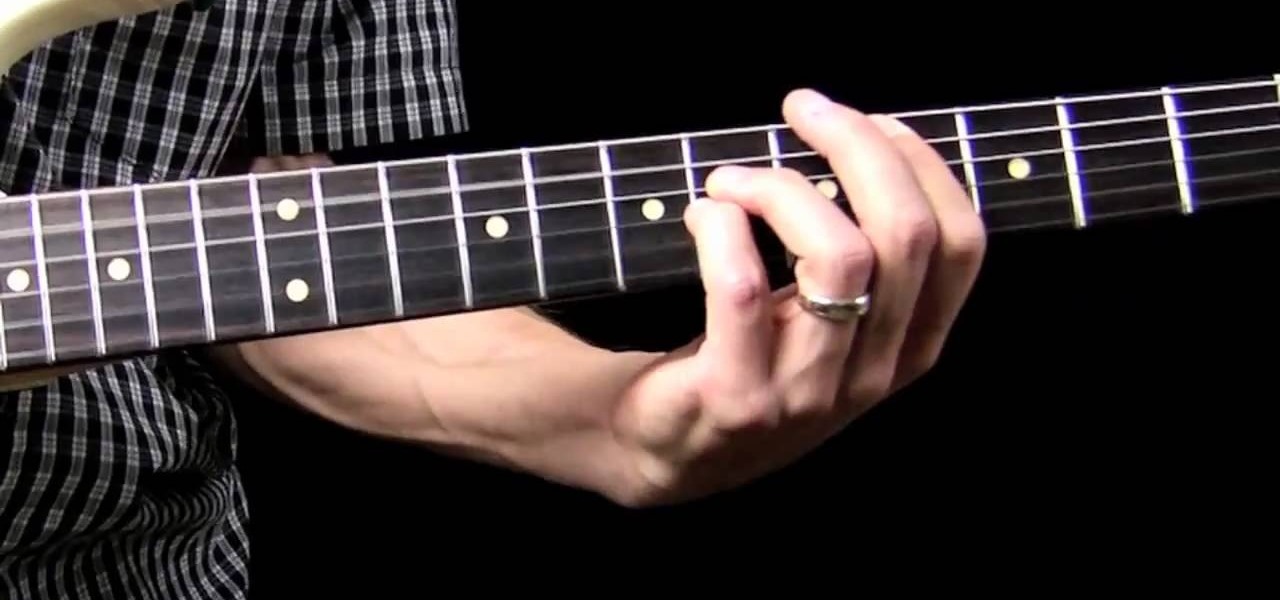
When you're in a band it's important to sound in tune with the rest of your band and to compliment your bandmates rather than stand out too much. And while for the most part that's true, if you're the lead guitarist then there will frequently be times where you'll be spotlighted to play a jammin' guitar riff.
Practice makes perfect, right? And practicing challenging songs will make your bass strumming perfect faster. Take the song "That's the Way I Like It" by KC & The Sunshine Band, for instance. It has a great melody and harmony, and with only two sections is also relatively easy to play.
Avenged Sevenfold has been one of the biggest rock bands in the world for a long time, but their most recent single "Nightmare" might be their biggest hit yet. It's a beautiful, haunting song, and like much of A7X's work it translates well to some furious piano playing. This video will show you how to play the song on piano or keyboard in the simplest terms possible, but it's a hard song if you are new to piano you might want to look elsewhere.
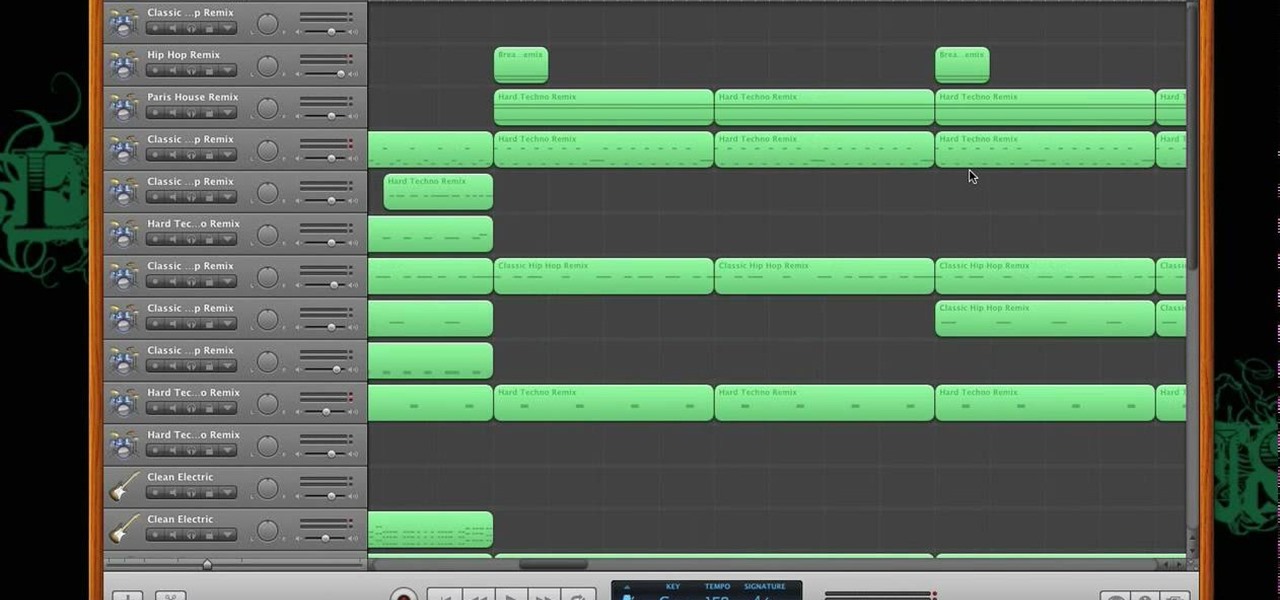
In this tutorial, we learn how to make a beat in Apple Garage Band. First, load Garage Band and then load a beat onto this. After this, you can find a melody by using the different bars on the left, to change the sounds and create different effects with the music. Use the bars on the side if you want to make your own beat, you can use anything from classical to hip hop beats. You can also add in more bass in sections you want to sound differently. Use the side bar to your advantage, so you ca...
In this video, we learn how to create an elegant band look for curly hair with Liz Muller. To start, you will take a comb and brush the front of your hair to flatten it out and make it straight. Push your hair to the back of your head, then take pins to pin the hair back on the head. Make sure it's tight so the hair doesn't become loose. Continue to pin the hair on the bottom, then bring your hair to the front. Do this on the other side of your head, again brushing the bangs back to make them...
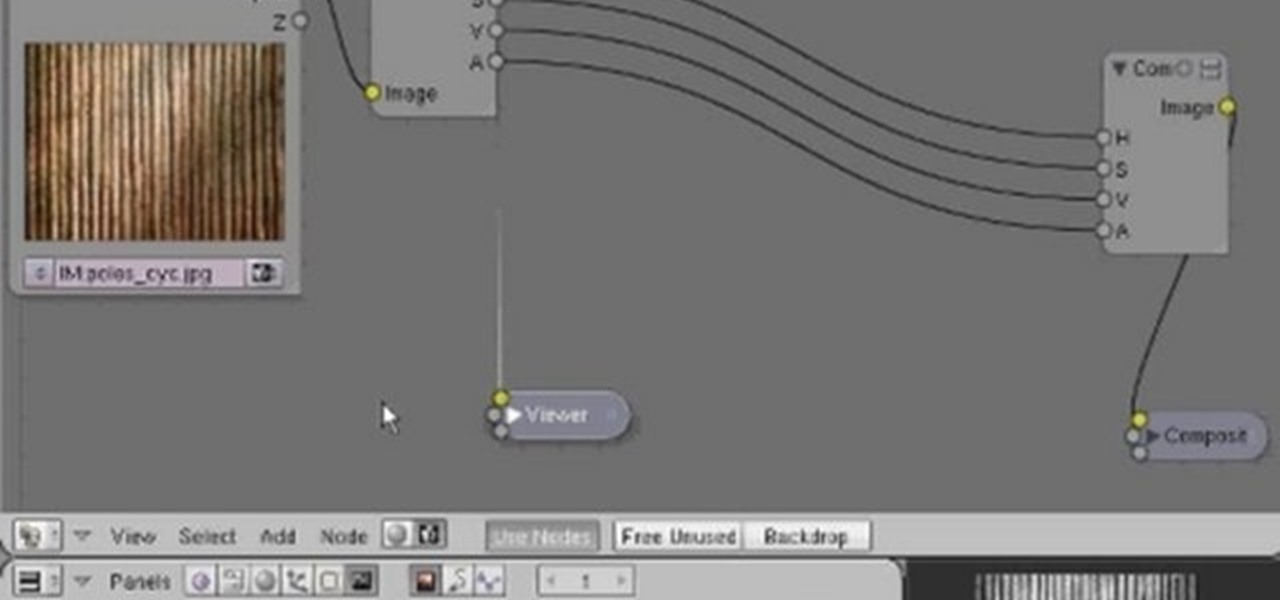
In this clip, you'll see how to construct a pass filter, commonly called a high-gain or band-pass filter. To do this, you'll use the HSV channels to identify what to do, the RGB curve to make an inversion mask, or negative, so that the image is added to itself, thus evening out the contrast and making a very flat image. This image can then be tiled and used as a seamless texture. Whether you're new to the Blender Foundation's popular 3D modeling program or a seasoned graphic artist just inter...
Looking to jazz up your Photoshop creations? Learn how to create 3D wrapping light streaks in Photoshop with help from this video. By starting with a simple 3D object created in Photoshop, "wrap" the object with light, specifically these light zips or bands to create this effect. Not pleased with the look of this effect? Create the path(s) and then tweak and create whatever kind of effect you want!
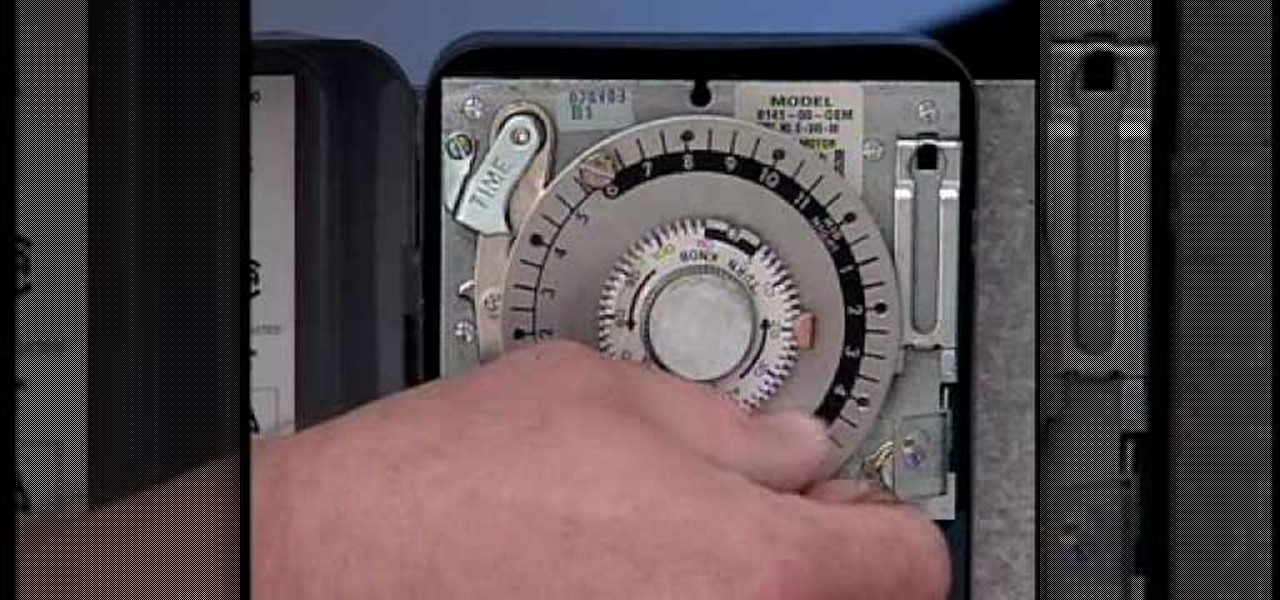
True's Owner Maintenance Video Series shows us how to set the defrost time clock on a True freezer, and also how to cut the shipping band on the compressors of all larger freezers. The time clock is behind the grill at the base of the unit, behind a gray box. There are instructions in the inside of the lid for setting the time clock and for setting the defrost settings, and the video goes through the entire process, as well. Next, the man shows how to remove the shipping band protecting the c...
This video here is about making a messy hair bun. First the hair is drawn into a ponytail. Then, using a thick rubber-band, insert the the middle of the ponytail partially into the rubber-band so as to make a loop. Then spread the hair strands of this loop to make it look messy. Now from this spread loop, take bunches of strands and lift it slightly upwards and fix it using a hairpin. Fix the hairpins firmly so that they stay in the place. Spread out this bun from the middle. Curl up or tuck ...
The instructor talks about a technique called white knuckles. White knuckles means creating tension with your hands. You'll squeeze the bar as hard as you can to create tension, and you'll see white knuckles. To learn how to do this take a jump stretch band and wrap it around your wrists. Now you'll have to spread your hands out and hold the bar as hard as you can so that your hands don't slip on the bar. This will also teach you to pull your hands apart to engage the last. Lie on the bench w...
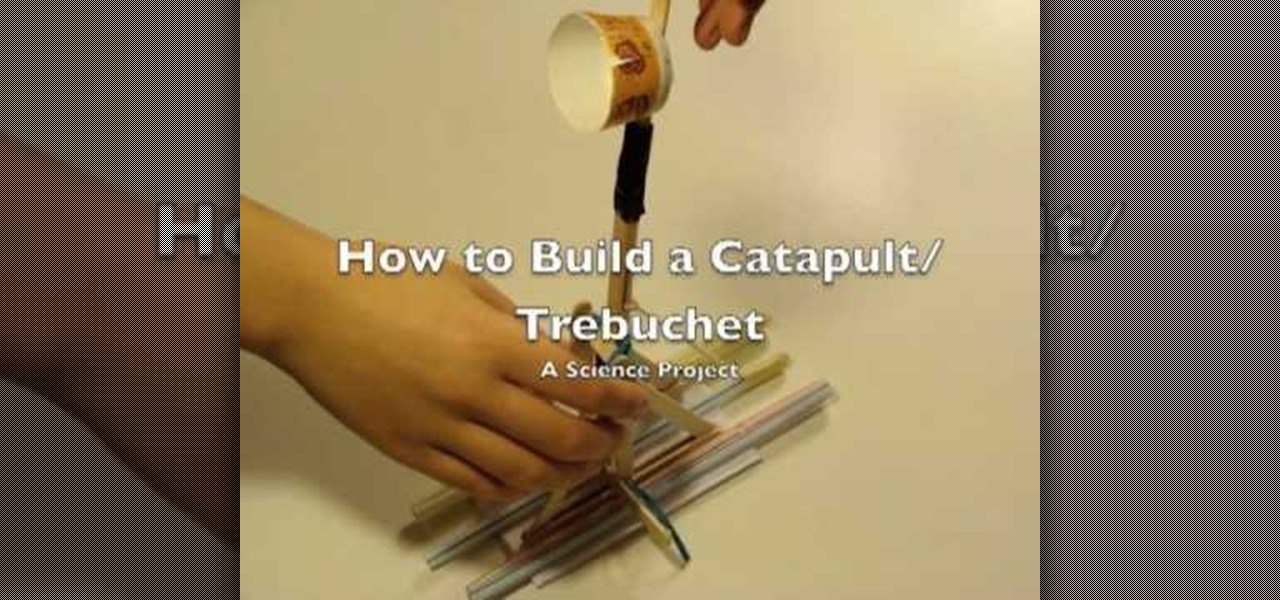
This video demonstrates how to make a catapult out of popsicle sticks. For this project, you will need the following: 7” rubber bands, a box of popsicle sticks, a hot glue gun, a Dixie cup, and tape.
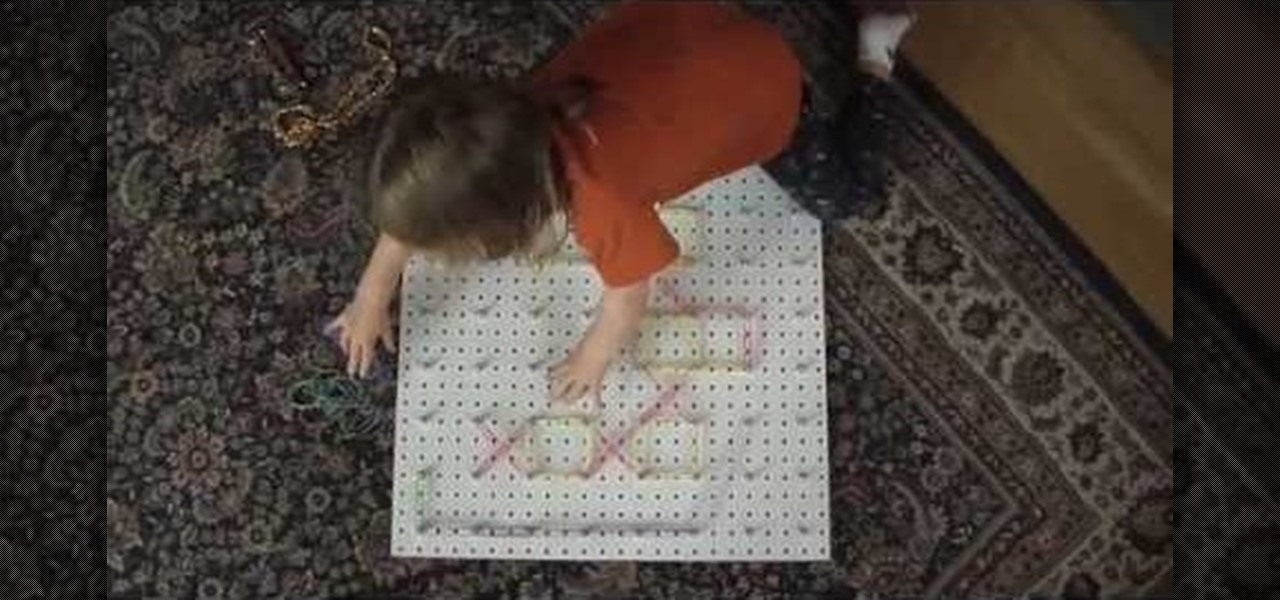
Geoboards are fun tools to teach your child the basic concepts of shapes and how they work in math; any kid would love a gigantic one! Firstly, you need to obtain a pegboard (what they hang merchandise on in hardware and similar stores). They usually come in 4x8' sheets, so you may need to ask an employee to cut one into fourths for you. The fourth piece should have 64 holes in 8 rows of 8, which means you need 64 nuts and bolts to make the board. Assembly is a no-brainer; you and your kids s...