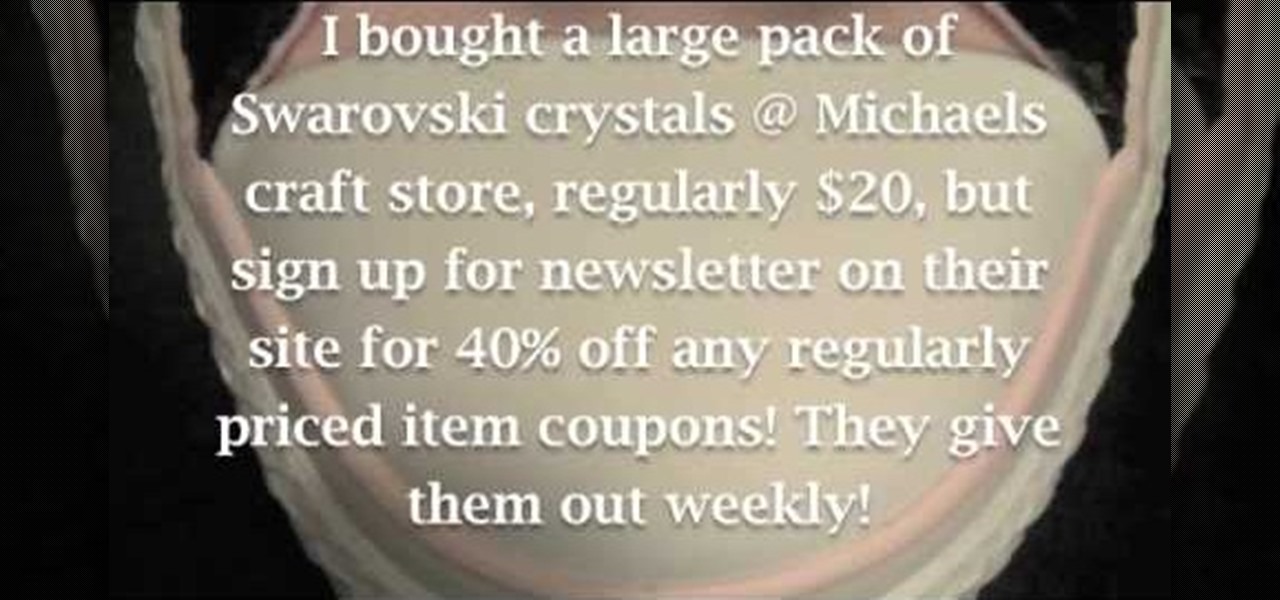
Swarovski crystals don't need to be confined to delicate jewelry pieces and Victoria's Secret Fashion Show bras! These little jewels are expensive than their cheaper plastic rhinestone brothers, but so worth it. Multifaceted, these Swarovski crystals glow like real diamonds and and a gorgeous sheen to any craft project.
Ilysa Bierer and Kira Slye with Polymer Clay TV demonstrate how to embellish wall decals with polymer clay. Wall decals come in a variety of styles. You can embellish wall decals in a variety of ways to make them your own. Take transfer paper and use parts of the design to incorporate into your polymer clay figures. Cookie cutters are handy ways to cut out polymer clay shapes. After you cut out your shapes with the cookie cutter, you can use the piece of clay with the negative space and place...

This is Part 1 in a series from FollowThePaperTrail. In this arts and crafts how to video the host will lead you through the process of preparing the materials necessary to create paper roses, from punched or die cut flower patterns. She teaches you how to soak the materials, once they've been cut, and spray them with starch so that they retain their shape. Following up on that she demonstrates the techniques she uses to form the flower patterns into a more three dimensional shape.
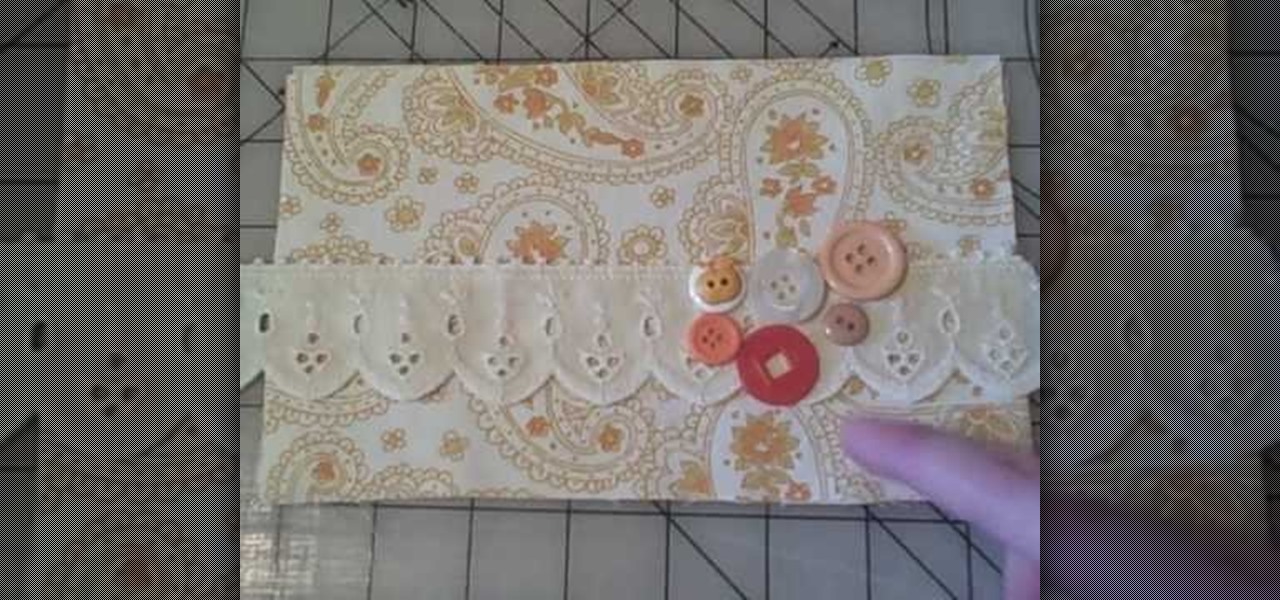
Minimalist accessories are quite in right now, with interest being added by textures, cuts, and sleek designs. But sometimes a girl just wants to have fun with her clothing and accessories! In this episode of "Whitney Sews," Whitney will teach you how she embelishes wallets and other goodies with tiny buttons.

In this instructioanl acoustic guitar video, Marty Schwartz teaches a concept to get out of the open chord rut. Learn how to embellish chords for intermediate acoustic guitarists by practicing the G major pentatonic scale and G D E- A- C etc. Improve your guitar playing skills by practicing chord embellishment.

You can embellish the basic drone sound of the didgeridoo by using your voice. If we liken the basic drone to the canvas for our musical expression, then your voice is the paint you use to colour that sound.

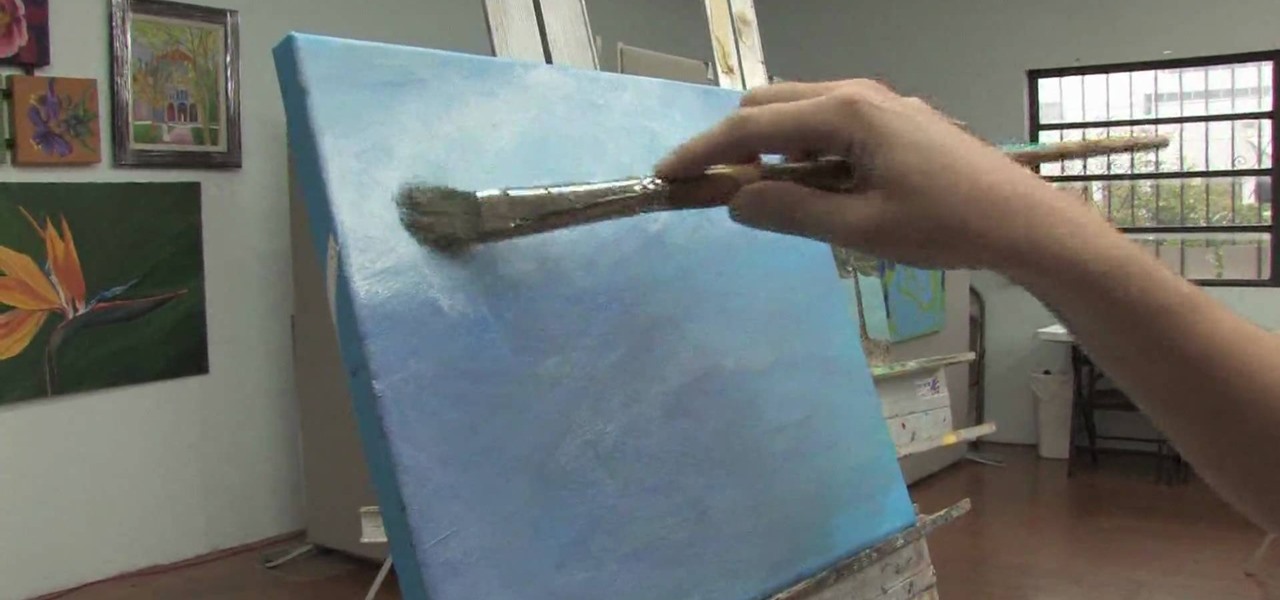
In this video, we learn how to embellish a painted sky. To do this, use white paint and gray paint. Add some clouds with your paint brush and make them loose and puffy in the sky of a painting. Be very loose and let the blue shine through the white like a regular sky. Paint the tops of the clouds more white than the other parts and paint this throughout the entire picture. If you want to take off some of the embellishment, use blue paint to cover up some of the white you have painted on. This...
In this Fine Art video tutorial you will learn how to embellish a sweater by adding a bejeweled collar. This will be a great Christmas gift idea. Take a short sleeve sweater and cut out its neckline on a piece of paper. Take a piece of woolen cloth of matching color, pin the paper cut out to it and cut off the woolen piece. Place the woolen cut out on the neck of the sweater and arrange some jewels on it. Then with a hard glue gun apply hard glue to the back of each jewel and stick it. You ca...
Cake pops are good no matter what kind of embellishment you put on them, but it's extra nice to chomp on a cake pop that's been expertly put together with professional icing and motifs.
Get a plain cardigan at a thrift store or vintage store and then use these few tips to jazz it up a bit! Switch out the buttons and add a few floral embellishemtns you can make out of felted wool.
This tutorial shows you how to take a paper bird cage and add some embellishments and extra decorations. Use this as a hanging ornament, turn it into a home decoration, incorporate it into your next scrapbook project, add it to a colage or anything else you feel inspired to do!
Transform any fabric in minutes by using paint sticks to transfer a surface texture to the cloth. Watch as Laura Murray shows you how to use surface rubbings over a textured surface to create original and creative fashions.
Melissa Watson from DIY Style shows a way to restructure and re-style something that you already have plenty of, a t-shirt, in this how-to video. Add ruffles and rouching to transform a plain tee into something a little more eye-catching. You will need thread, a ruler, elastic, shears, a marking tool, a tissue-knit fabric, straight pins, and a t-shirt. Watch this video design tutorial and learn how to fashion an old t-shirt into something more stylish.
"Big Fancy Fruitbowl" is a threadpainting that needed some embellishment. Using the bar-tack on the sewing machine three decorative techniques are demonstrated.
Watch this two part video series to learn how to flat back a gift box, organza bag, flip flops and a votive.
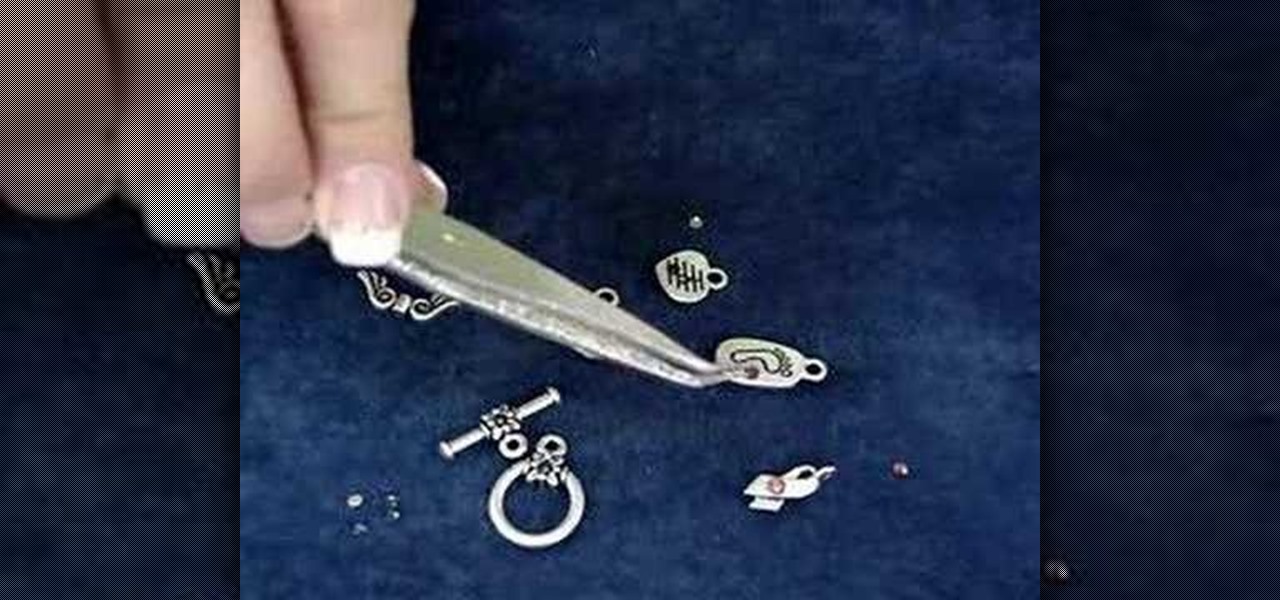
A basic charm or pendant can be easily be decorated or customized. With a little glue and flat back crystal you can add bling to pewter charms and findings. Learn how to revamp existing pieces by watching this video jewelry-making tutorial.
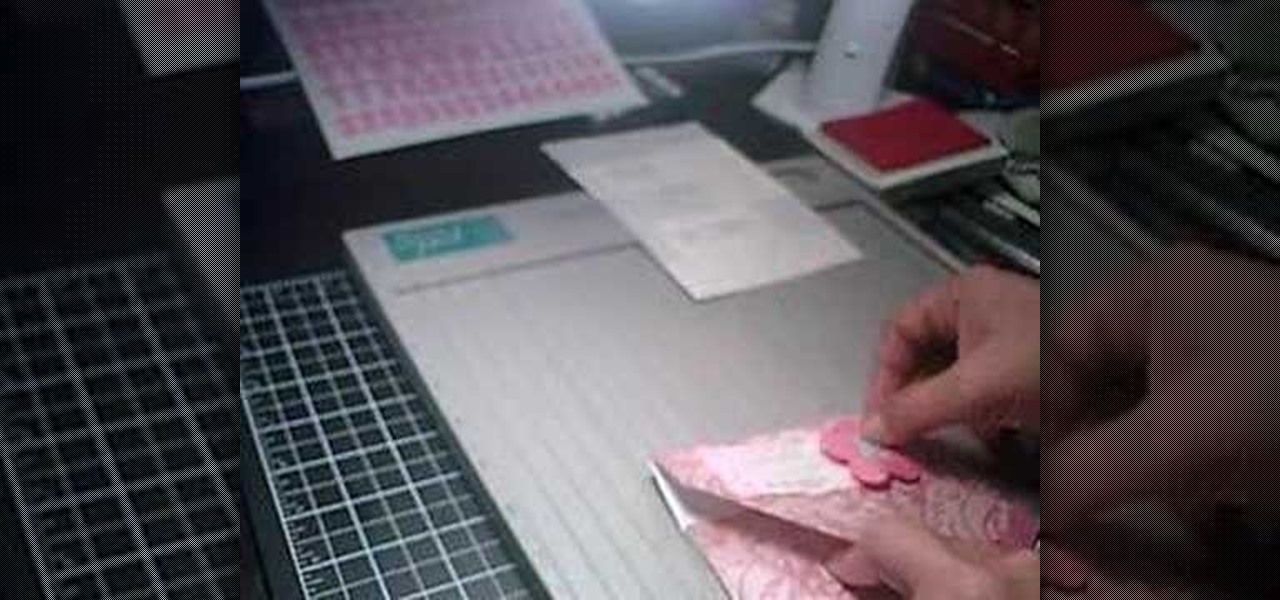
This video shows a simple method of crafting a paper daisy to embellish scrapbooks or cards. You'll need white paper, yellow paper, a flower stencil, scissors, some glue, and a brad. Watch this video scrapbooking tutorial shows how to make an easy paper daisy.
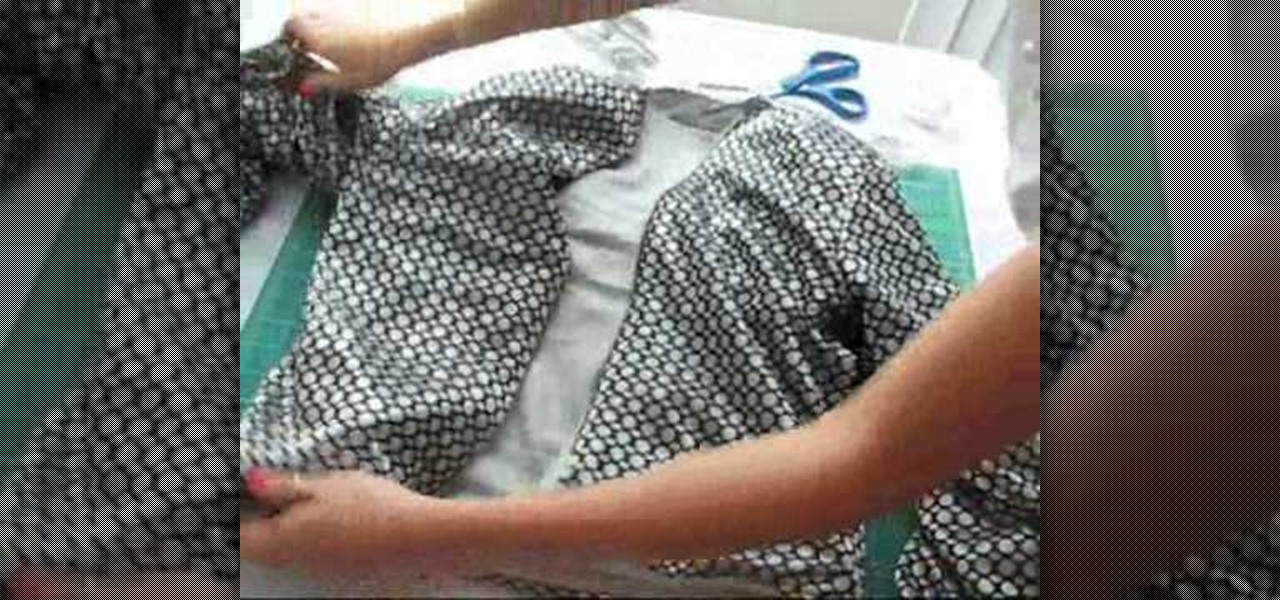
This week Rob and Corinne are headed over to the Compai Compound for a quick summer how to lesson from the DIY Divas of Fashion themselves. So pull out your old tank tops and snagg a pair of scissors because its time embellish. With some scraps of old fabric it's possible to turn a generic t-shirt or tank top into great summer BBQ wear.
In this video series, expert Grace Fraga shows you how to embellish a scrapbook. While embellishing a scrapbook is a very personal project, everybody can use some creative ideas when it comes to decorating your photographs. Embellish a scrapbook - Part 1 of 15.
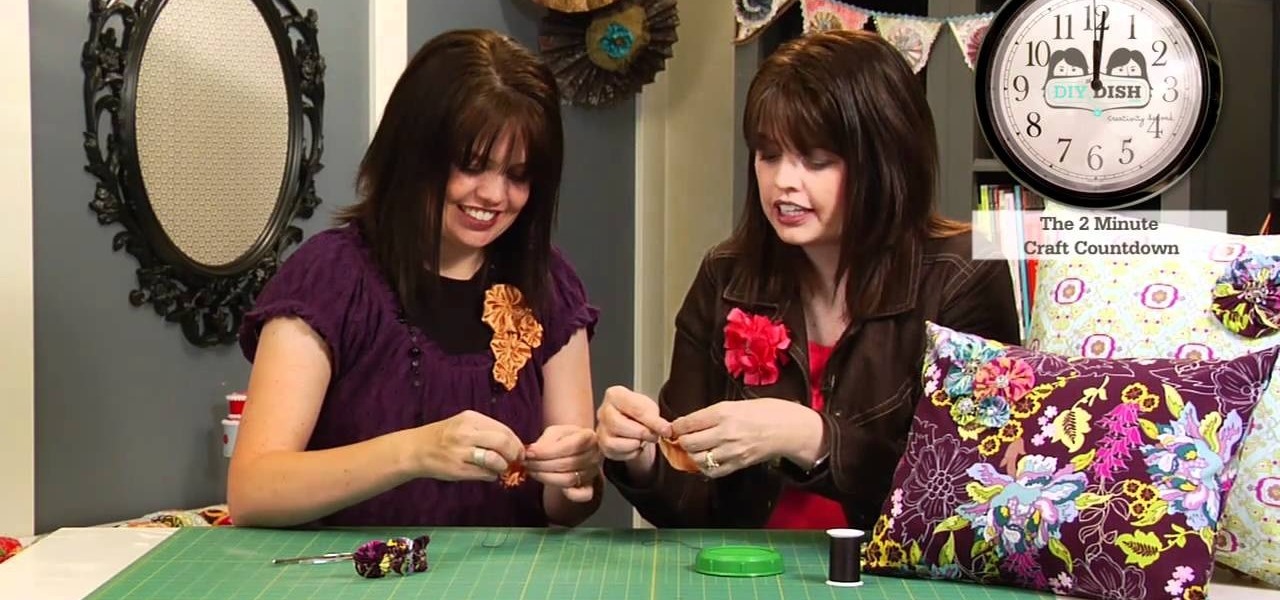
This fabric "yo-yo" is really not a yo-yo at all, but rather a feminine fabric rosette that does (sort of) resemble the beloved childhood play toy. These fabric rosettes are quite lovely and would look great adorning a card or bag.
Plain hoodies are among the most versatile pieces of clothing you can own. But while they're comfortable and chic, plain hoodies can also look a little dull, especially if all you're wearing is sweats or blue jeans with them.
Due to the downturn of the economy, many smart shoppers have turned into smart crafters instead. Whether it's making crafts for your home or for friends, crafting saves money (we're talking a $2 craft versus a $50 present for a friend's birthday present).
Create fabulously fruity motifs using the traditional art of shaded cross stitch. These shaded strawberries bring the craft bang up-to-date. You can embellish all kinds of handmade projects with shaded cross stitch motifs.
Upcycle your old T-shirts into a classy and fashionable corset top! All you need are some basic sewing notions, in addition to eyelets and eyelet pliers. Embellish your corset top with ribbon, appliques, rhinestones or any other accessory you fancy.
There are several different techniques you can use to transfer a pattern onto the fabric you want to embroider, depending on the color and type of the fabric you want to embellish. This video shows you three separate techniques, such as chalk pencils or tracing paper.
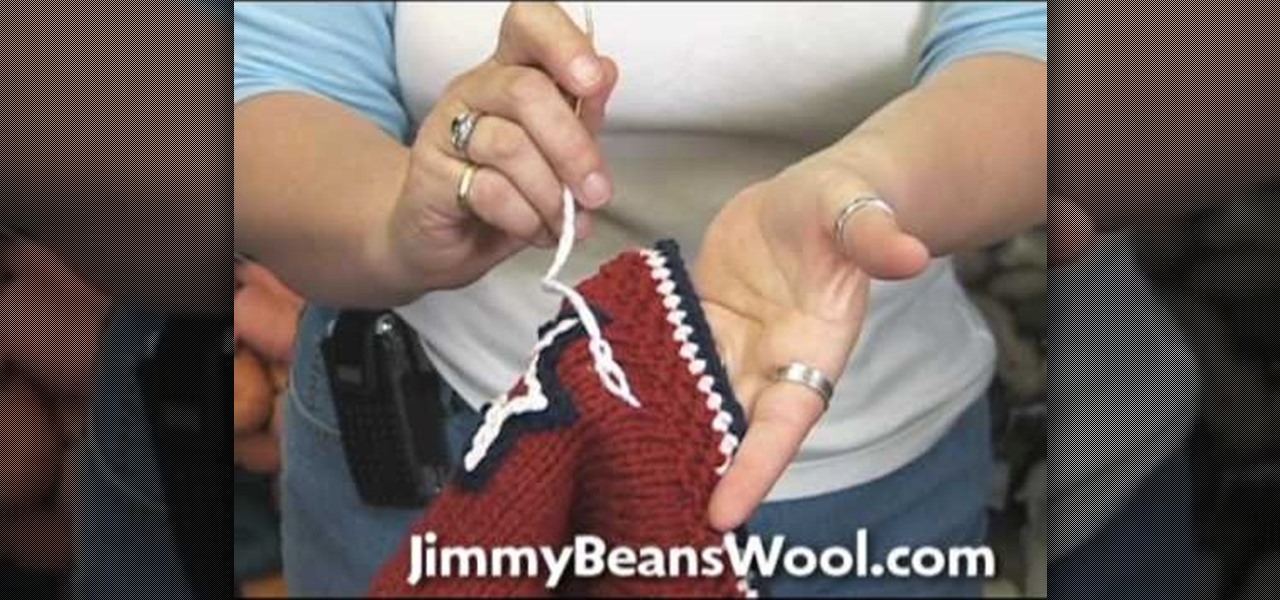
This instructional knitting video shows how to use chain stitch embroidery to embellish knitting and crochet projects. Use a tapestry needle and a piece of yarn to add a special decoration to a hand knit sweater, scarf or pair of socks. It's an easy knitting embroidery trick that renders satisfying results.
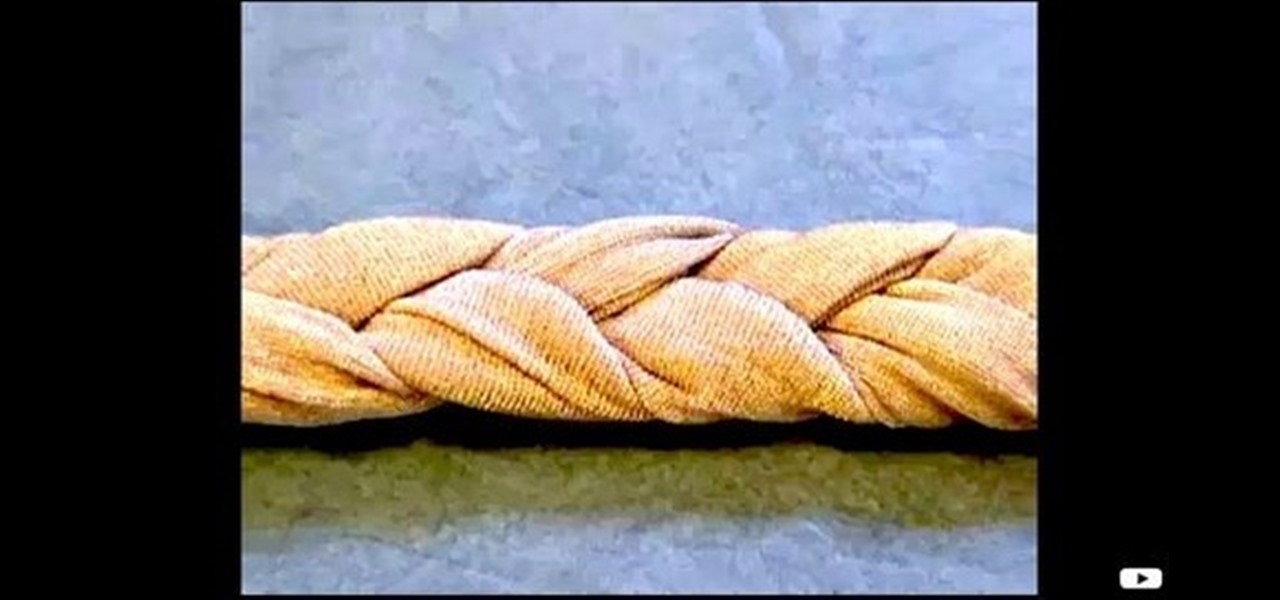
Watch this fashion tutorial video from ThreadBanger to learn how to braid fabric without it fraying. You'll need three strips of fabric, pins, and a sewing machine. You can embellish just about anything with your new braids, and this instructional video will help you braid like a pro.
Embellish sewing projects using various bar-tack stitching techniques on your sewing machine.
In order to face paint flowers and butterflies, you will need the following: metallic white, pin, a sponge, a paintbrush, green paint, glitter, yellow paint, purple paint, and blue paint.
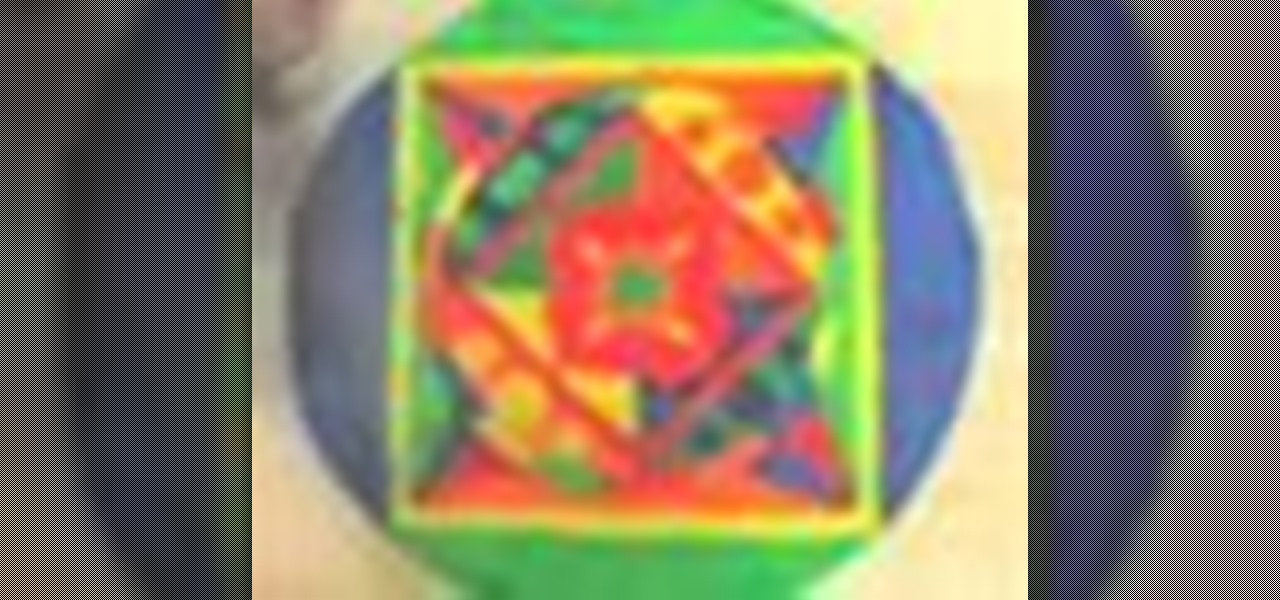
A Mandala is a sacred part of meditation. Instead of searching everywhere to purchase one, this tutorial will show you how to make your own, and feel spiritually closer to your creation.
To make a Spinner Card you need some essential tools like, Paper Cutter, Scissors, Stamps, 1/2" Circle Punch, 2 Pennies, a Stamping Dimensional and any embellishments. Have the card stocks one for the card part and the other for the front of the card. In the first step, take the circle punch, flip it over for easy viewing. Push the paper all the way in and to the farthest left without going out of the paper. Punch your 1st hole here. Do the exact thing on the right side of the 1st hole. It wo...
In order to make a pocket card out of an envelope, you will need the following: a used envelope, printed paper, adhesive, card stock, paper cutter, cuddle bug, an ink pad, stamps, markers, and crystals.
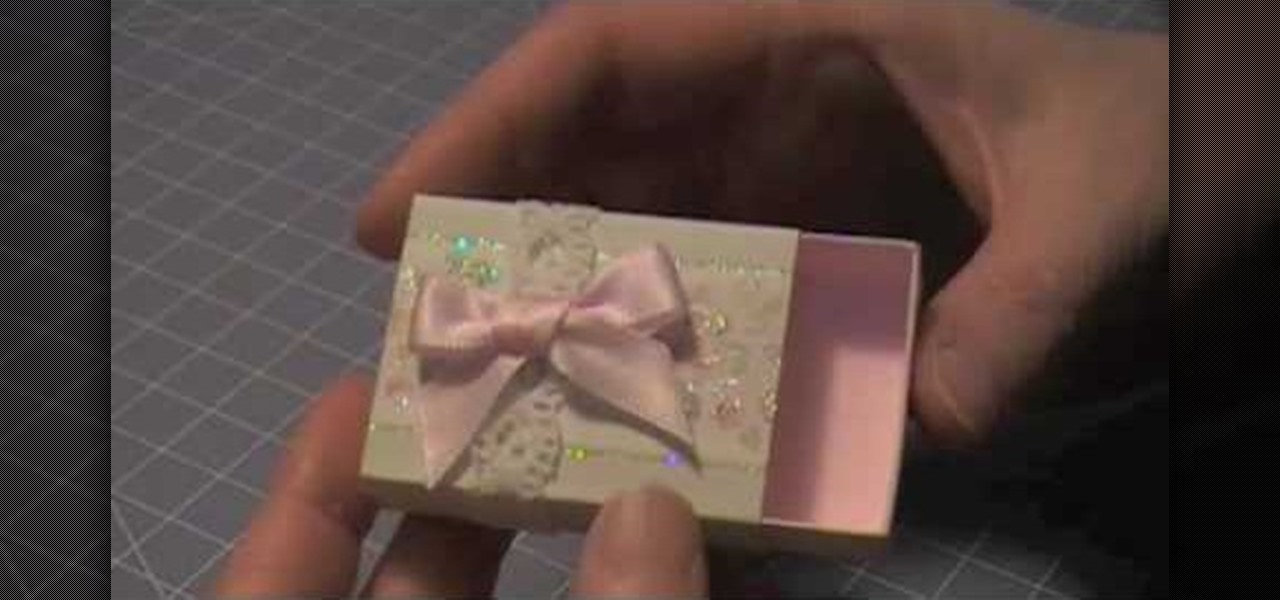
The Artful Paper Doll demonstrates how to make a Marie Antoinette inspired matchbox. Trace the matchbox template onto a piece of decorative paper. Score the template on the creases and then cut the template out of the decorative paper. Fold the creases up. Affix the creases into a square basket shape with dabs of glue to hold the flaps closed. Fold and glue the ends of the box sleeve together. Slide the basket into the sleeve to form the matchbox. Embellish the box as desired. The box can be ...
Beside the frosted cake, you will need some artificial flowers, some pretty ribbon, a ball of Styrofoam and some saran wrap. Start by covering the Styrofoam ball with a piece of saran wrap. Then clip off small pieces of the dried flowers and stick them all around the ball of Styrofoam. If the flowers have wire stems you will need a pair of wire cutters or pliers for this job. When the ball is completely covered with the flowers, set it in place on top of the cake. Next, measure the ribbon the...
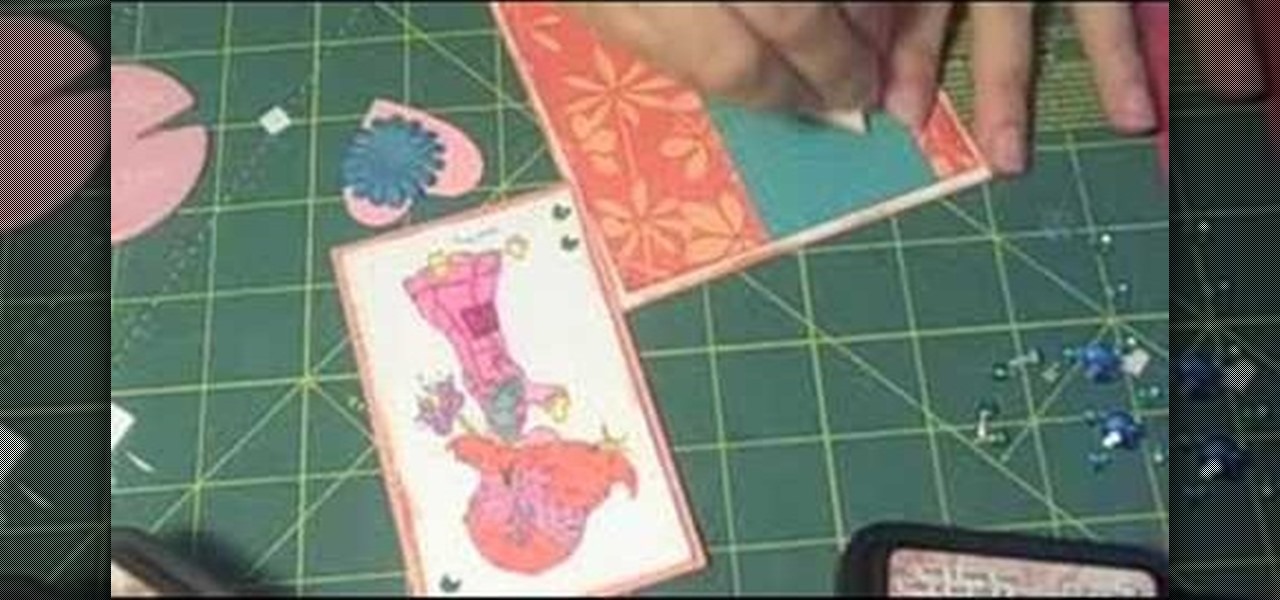
Learn how to make simple tri-fold cards with these instructions. What you will need: -5 1/2" by 11" cardstock paper -Scorer -Scissors and paper cutter -Pencil and Ruler What to do: -Score the cardstock to 3" by 7 1/4" -Using the 3 3/4" flap, from the corner measure 2 1/2" and mark with a pencil. -Repeat on the horizontal side of the cardstock. -Cut the corners using the marks as your guide. -Round the pointed end with your scissors. -Fold the card at the score line. -Embellish your card as de...
Joann of "Paper Crafting" shows you how to create a CD mini album. What it is, is actually a pop up photo album that you create using a CD case. The materials needed are 1) a CD case. 2) various decorations to put on the outside/inside depending on your taste. 3) cardstock type paper that can be folded around 8 times: on each "fold" you will put a photo- preferably the album will have a theme. Then you fold it up and put it in the Cd Case and embellish the front however you like.
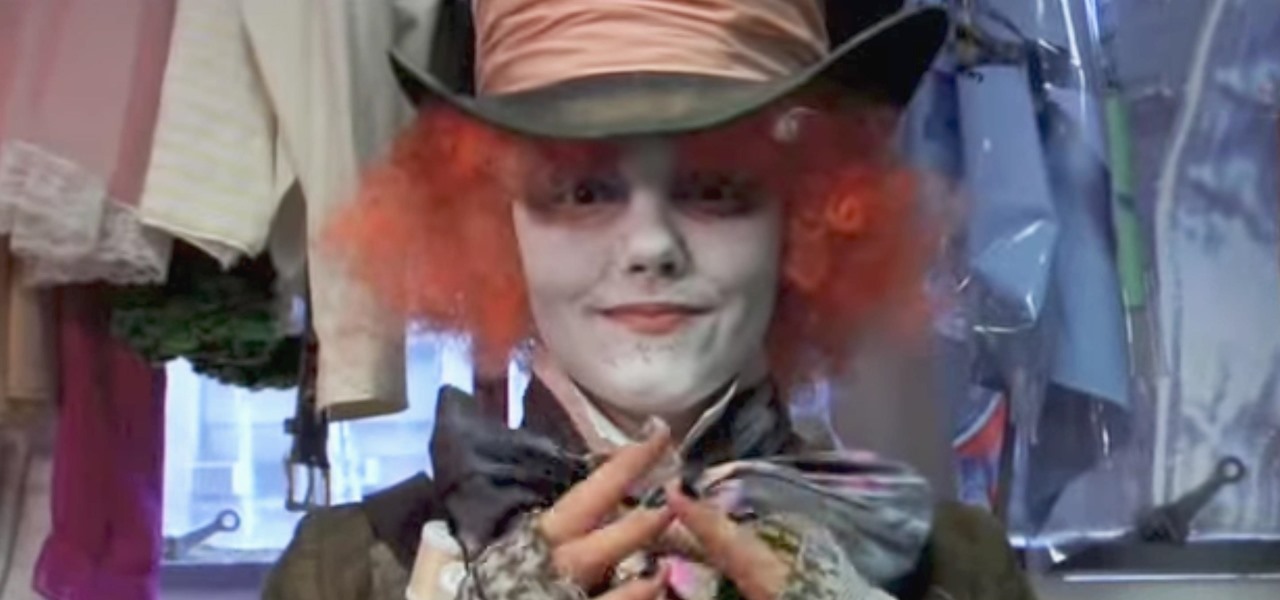
The Mad Hatter from Tim Burton's Alice in Wonderland not only makes a great costume but a great project. The hour-glass shaped hat, the striped pants, the fingerless gloves, and the Hatter's signature scarf are the most important components in this costume. If you're fairly skilled with costuming already, this shouldn't take more than four or so hours.
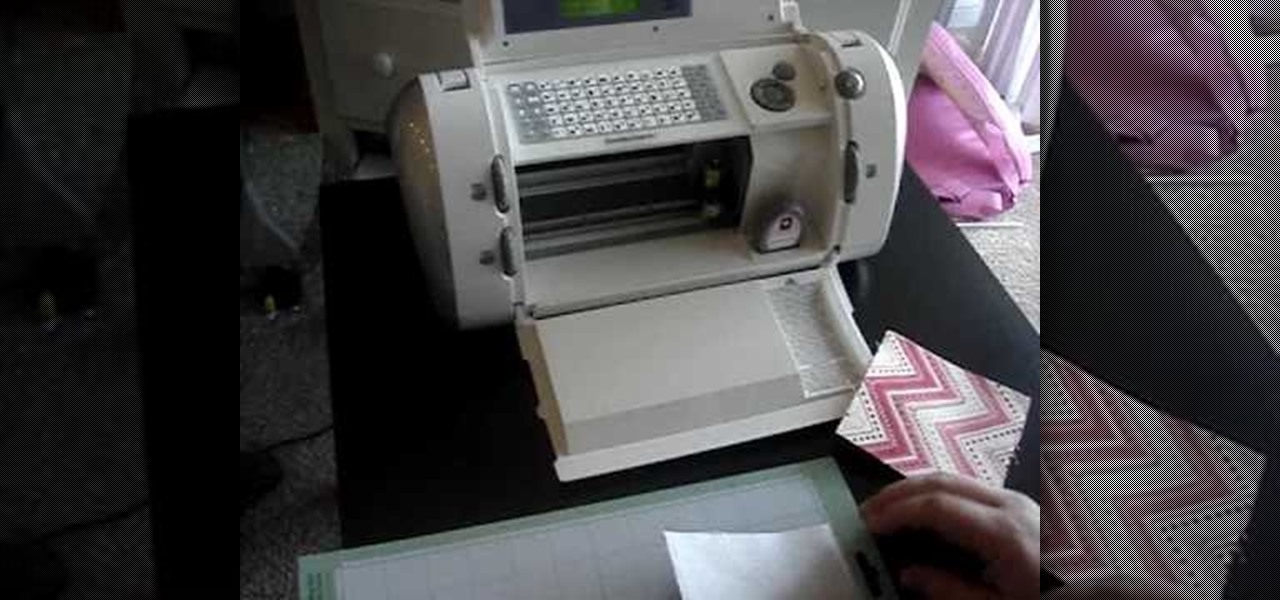
Cricut can be used to cut fabric. In order to cut fabric with your Cricut, you will need the following: Steam A Seam 2 (a double stick fusible web), blue painters tape, iron, and the Cricut with cartridge.
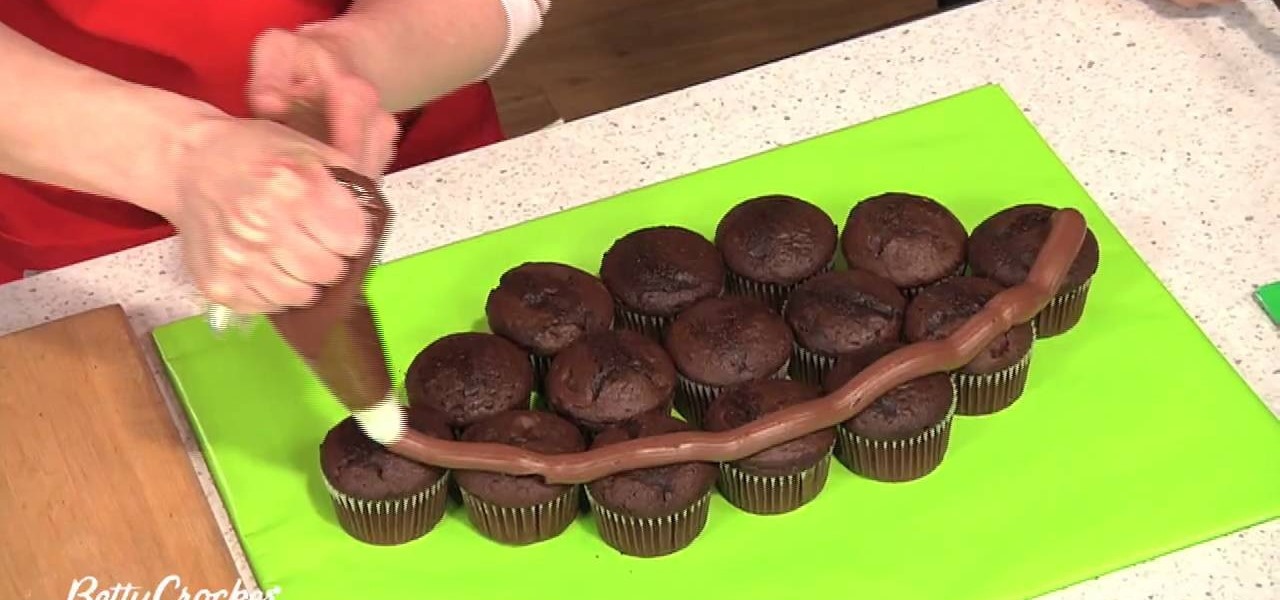
BettyCrockerTV shows viewers how to make pull-apart football cupcakes! First, you should cook cupcakes, and then arrange the cupcakes on the platter. Start with three rows of three cupcakes. Next add two on each side! Then add one on the end to finish this off. Now it should look like a football. Now to frost, you should not frost each cupcake. Instead, pipes frosting on to all of the cupcakes in the shape of a football. It should take 2 cups of frosting. Now, after piping frosting onto the c...
To make a pop-up card follow the instructions below. First fold two pieces of the same size heavy card stock or construction paper in half. Use the first one for your outer card, and the other for your inner cutout card. Cut a 1-1/2 inch strip in the inner card's center and make two slits down from the fold to make the strip. Then, fold the strip inward so that the fold is inside the card and the card has a rectangular hole in the middle of the fold when closed. This will be the base to use w...