In this tutorial, we learn how to tune your car in Photoshop. First, open up the image of your car and then add in a picture of different wheels. Then, place these wheels over the existing ones on the car and blend them in, then change the color as you prefer. Do this for the wheels that you are able to see on the image. After this, lower the car and add in a bumper to the front of the car, importing images in from various sources. Continue to add in parts to the vehicle, using shading and bl...
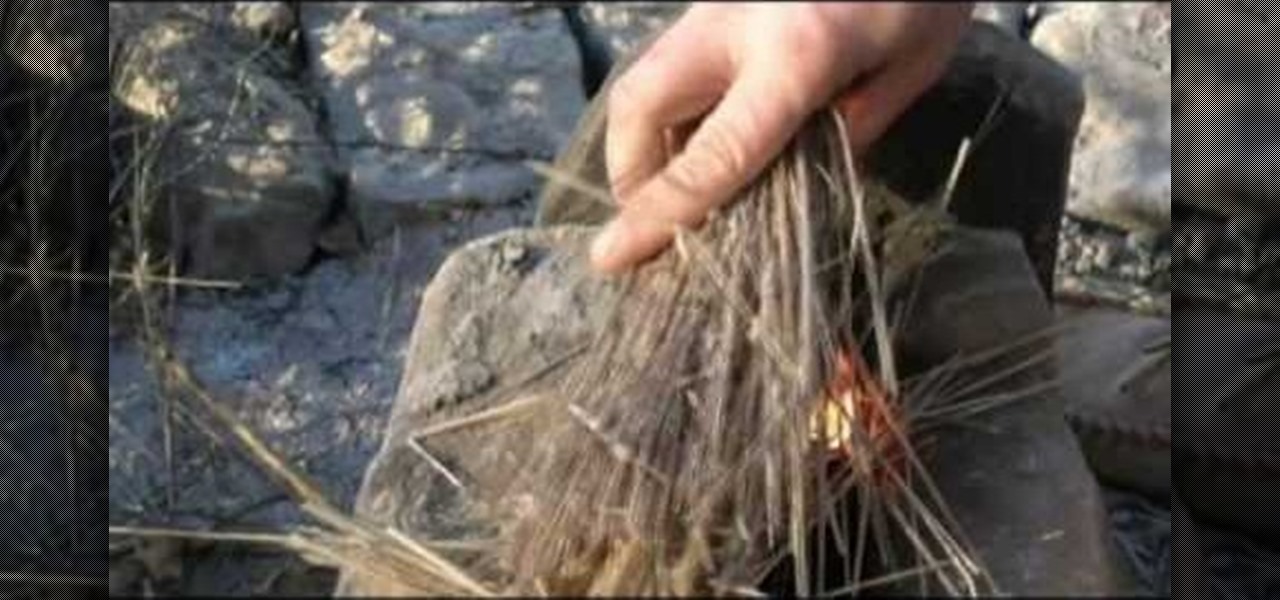
To build a stone rocket stove, you will need the following: stones, wood, a tender pile, and lighter (or something to start a fire)
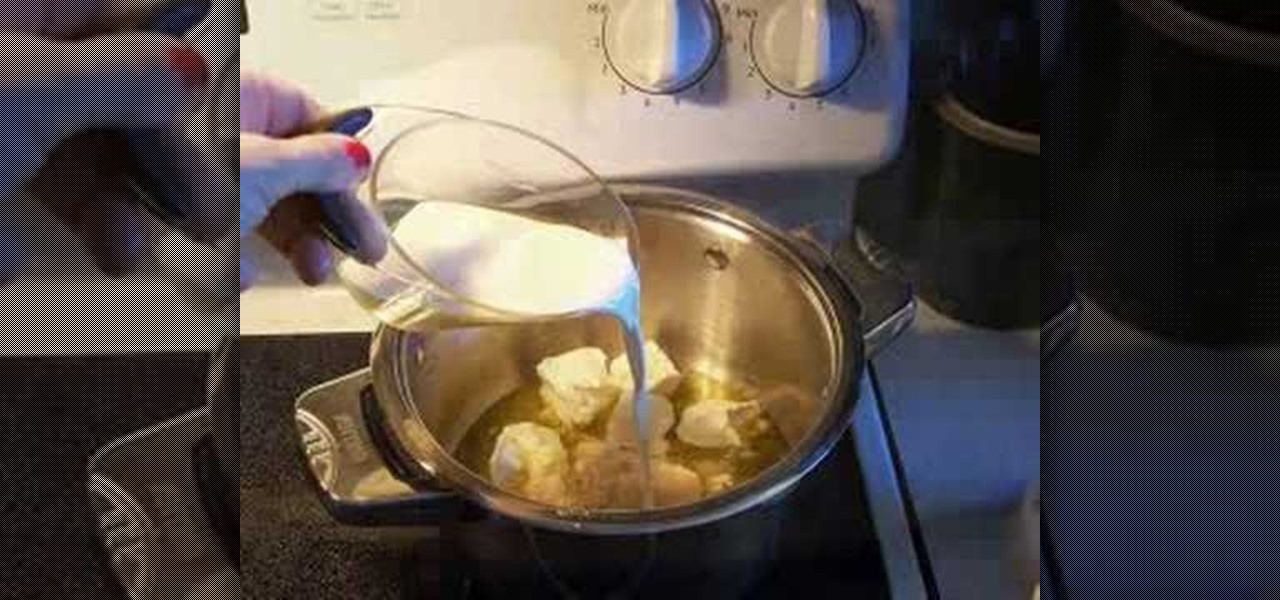
In this tutorial, we learn how to make low-carb alfredo sauce. First, melt a package of cream cheese, then add in 3/4 c parmesan cheese and 1/2 c olive oil. Next, add in 1.5 c cream and mix everything together. After this, add in 1 tsp oregano, 1 tsp pepper, and 1 tbsp minced garlic. Continue to cook this in your pot until everything is melted together. When you are finished, you can serve it over your favorite pasta, or you can serve it over cooked or steamed vegetables. This is great for an...

In this tutorial, we learn how to crochet a beanie hat. First, you must place the yarn around your fingers, then thread through the needle with a slip knot. After you do this, grab the yarn and move the string through the slip knot to make a chain stitch. The next type of stitch you will do is a seam stitch, where you will find a hole and grab the string, then bring the needle through so you have two loops around the needle, then bring it back through the hole. You will continue to do these s...

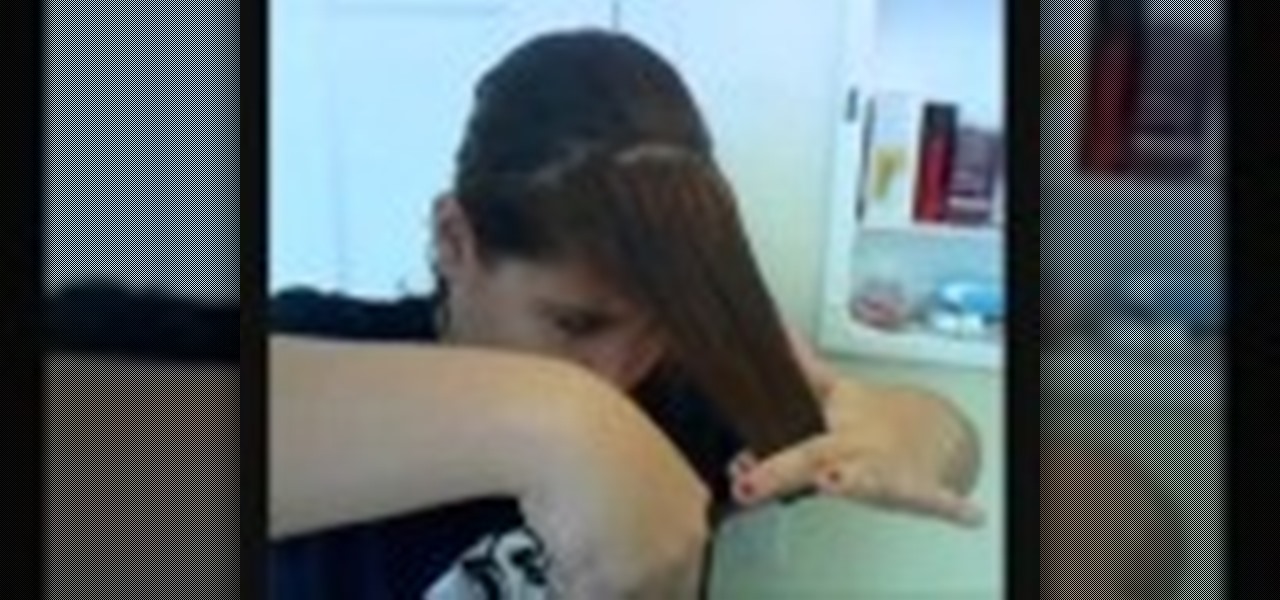
In this tutorial, we learn how to fake side swept bangs. First, straighten and brush your hair. After this, you will take the hair from one side of the head and use a comb and brush it to the opposite side. After this, grab hair spray and spray it onto the bangs. After this, comb the hair again and then work the bangs with your fingers. Next, use more hair spray to make the bangs more firm and stay in place. Continue to do this process until your bangs are completely to the side and they are ...
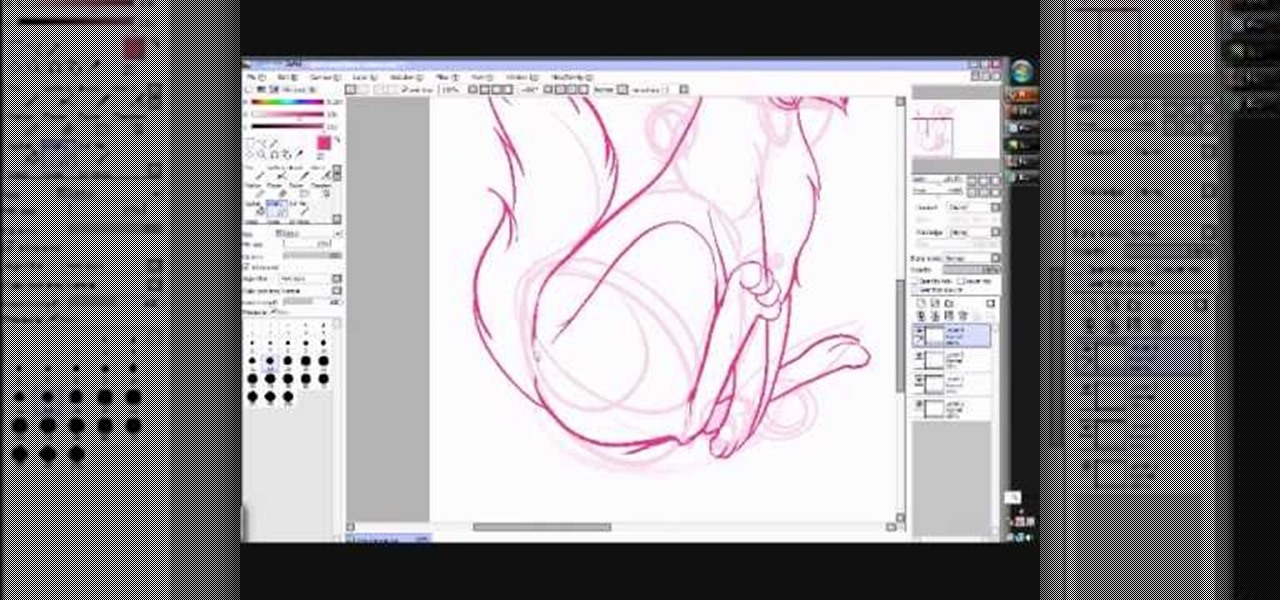
In this tutorial, we learn how to draw Neopet cartoon cats. First, use a small brush to create the outline of each of the cats. Use light strokes to make the outline, then start to add in the details onto the cat with a darker colored brush. Add in the details of the face, including the whiskers, mouth, and eyes. Don't forget to add on the ears as well. Erase and lines that are on the back of the drawing, so all you see is the darker and more exact lines. Continue on drawing the body, making ...

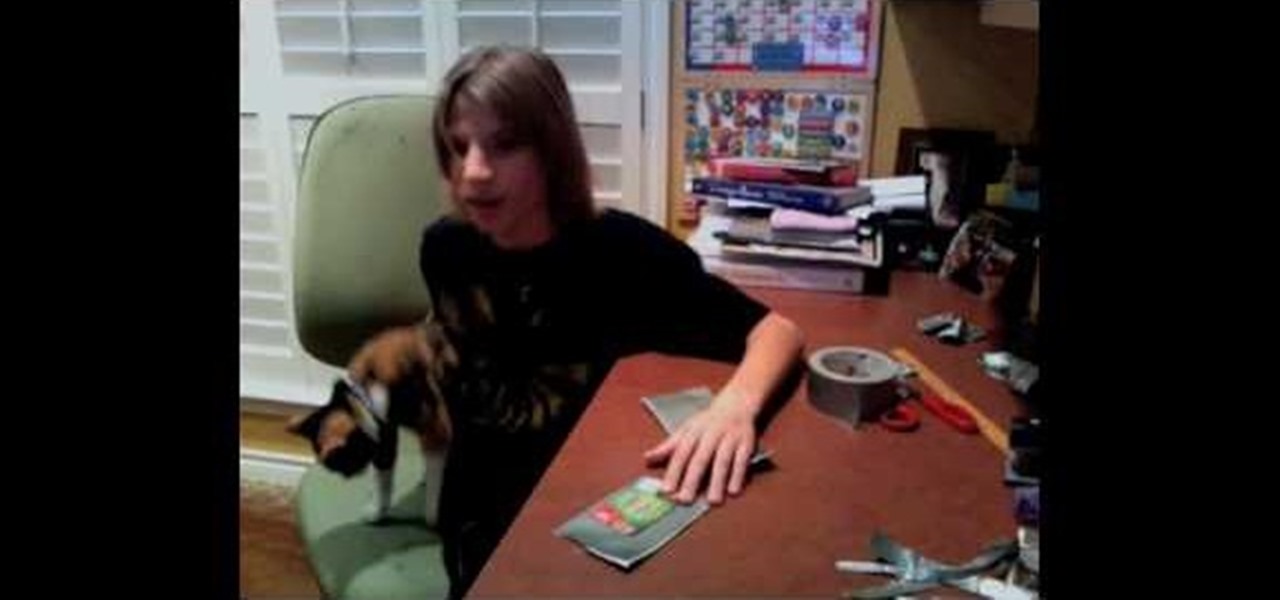
In this tutorial, we learn how to make a wallet with card holders from duct tape. First, you will need to cut out duct tape in several strips to the size you want. You can use any color of duct tape you want. Next, you will start to overlap the duct tape on top of each other so there are no stick sides, then finish it by overlapping the last piece. Continue to do this, then fold it in half to make a wallet shape. Next, you will make card holders. Measure out how large the holders should be by...
In this video, we learn how to draw a cartoon brontosaurus. First, draw a large hump that is a half circle, then draw a line on the other end of this. After this, draw a tail on the other end of the hump and then go down and draw the feet on the bottom. Continue going and draw up the neck and make a circle for the head. Draw in a large eye on the head and make a smile on it. Next, draw soft spikes on the back of the dinosaur and color it in if you prefer, then enjoy your cute drawing!
In this tutorial, we learn how to draw a rose, step by step. start off drawing the petals of the rose, making the inside of the flower first. After this, start to draw in more details and draw around the inside of the flower, making the rose larger and larger. After you have done this, draw on the stem underneath where the petals are, and add leaves onto the stem. Continue to add in any details that you see fit throughout the picture. When you are done drawing, color it if you prefer, then si...
In this tutorial, we learn how to polish your boots to ROTC standards. You will need: Kiwi black shoe polish, scissors, and an old t-shirt or cloth. First, take your scissors and cut out a section of the t-shirt to make it the size of a wash cloth. Next, rub some shoe polish onto the cloth after flattening it and wrapping it around your index finger. Now, place your shoe on the table next to you and start to shine it over the entire shoe. Make sure you dip the cloth in water before and after ...
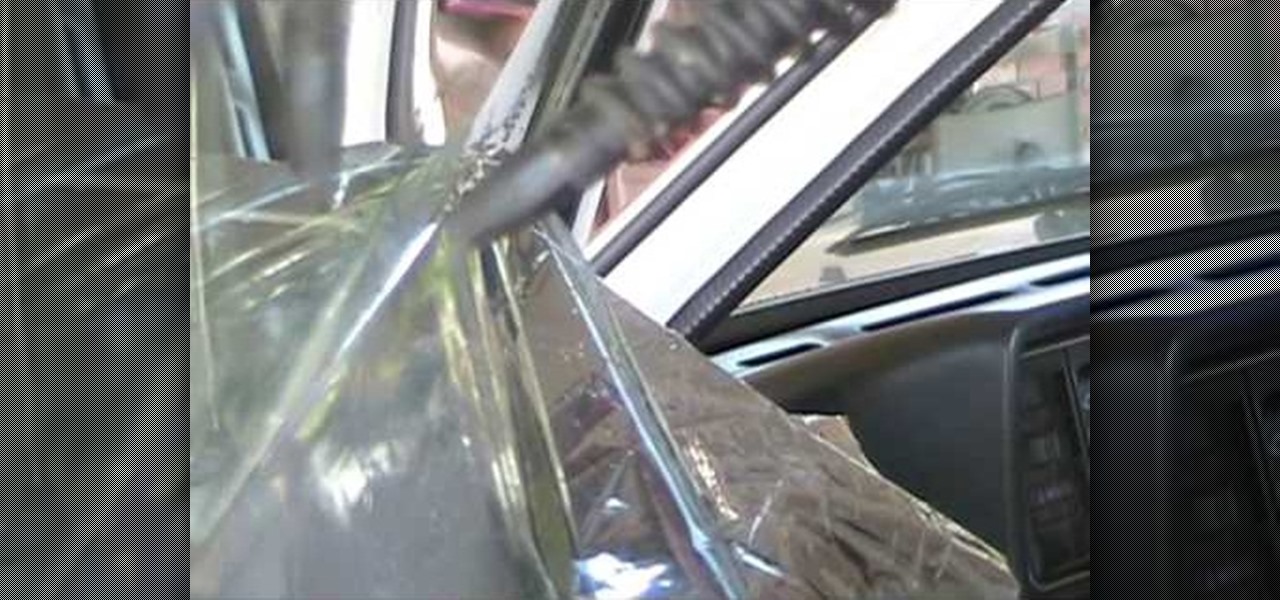
In this video tutorial, viewers learn how to remove old window tint. This task is very easy, simple and fast to do. Users will need a steam cleaner. Begin by peeling off the top part of the tint on the window. As you are peeling down the tint, spray the steam cleaner behind the tint. This will prevent any marks from being left behind. Continue doing this until you have completely removed the tint. This video provides a demonstration for viewers to understand and follow along. This video will ...
In this tutorial, we learn how to draw Totoro. Start off with the ears, then connect the top of the head around them and continue to draw the rest of the head. Fill in the eyes and the nose on the face, then make lines on the side of the face to show whiskers. After this, draw an egg shape as the rest of the bottom, then add hairs onto the stomach area. Draw small little lines on the bottom of the character to make it look like he is sitting on something. To finish, draw the character holding...
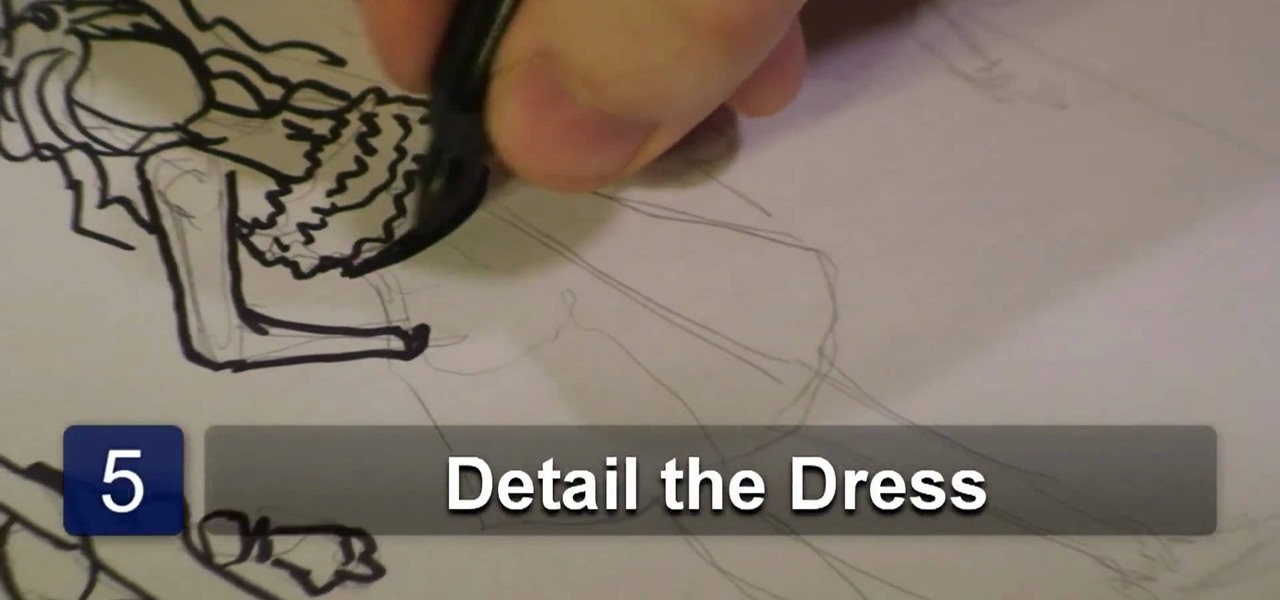
In this tutorial, we learn how to draw a variety of prom dresses. First, you will need to start out by drawing the dresses on different body shapes. Make dresses that are long, short, and knee-length. After this, use a marker to draw the outline of the body and the dress, then start to add in the pleats and the dress details. Add on scarves and other items to the different types of dresses, then continue doing this for the different types of dresses and body shapes. When you are done, draw in...
In this video, we learn how to do the choreography for Ke$ha's "Take it off". Start off on the ground doing a count of eight while moving your hands up your body, then pop up and move back down. After this, you want to twist your head around and then move to the side while walking and placing your hands over your face. Make sure to count in steps of eight, then walk back while shaking your body and clap with your wrists. After this, move your arms to the music and act like you are in a car wh...
In this video, we learn how to easily cut your bangs. First, you will want to take a shower and have your hair went and brushed out. Next, part your hair so that your bangs are in the front and the rest of your hair is tied back behind you. After this, grab your scissors that are for hair cutting, and then level your hair out in front of you. Be sure to hold your head up straight and don't look too far down or up. Next, cut the bottom of your bangs where you want them to be at, then continue ...
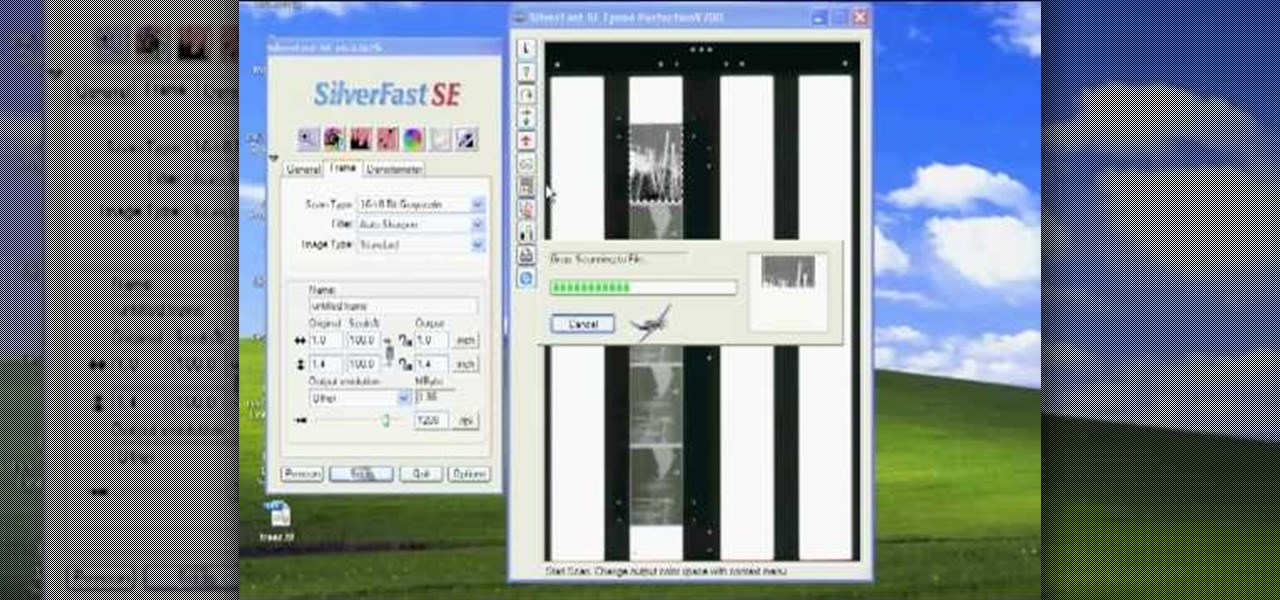
In this tutorial, we learn how to scan and edit negatives with SilverFast and Photoshop. First, open up the software and lay your negative in the scanner. Make sure you have selected the correct settings when you go to scan it, and click that it's transparent. Also, you will need to increase the size of it and make sure the lighting is correct. Now, scan the image and load it onto the software. Once it's loaded, you will be able edit it by zooming in and then rotating the image so it's the co...
In this video, we learn how to write the letter "b" in calligraphy copperplate. Start off with a piece of lined paper and your calligraphy pen. Create a smooth curved line going down, with a dot that is at the end of the line. After this, create a swirl on the left hand side of the line, then curve it out to make the top of the letter of the humps on the "b". Make sure you grab ink often, especially when you want to make a bolder line. Continue down to make the humps of the letter, then when ...
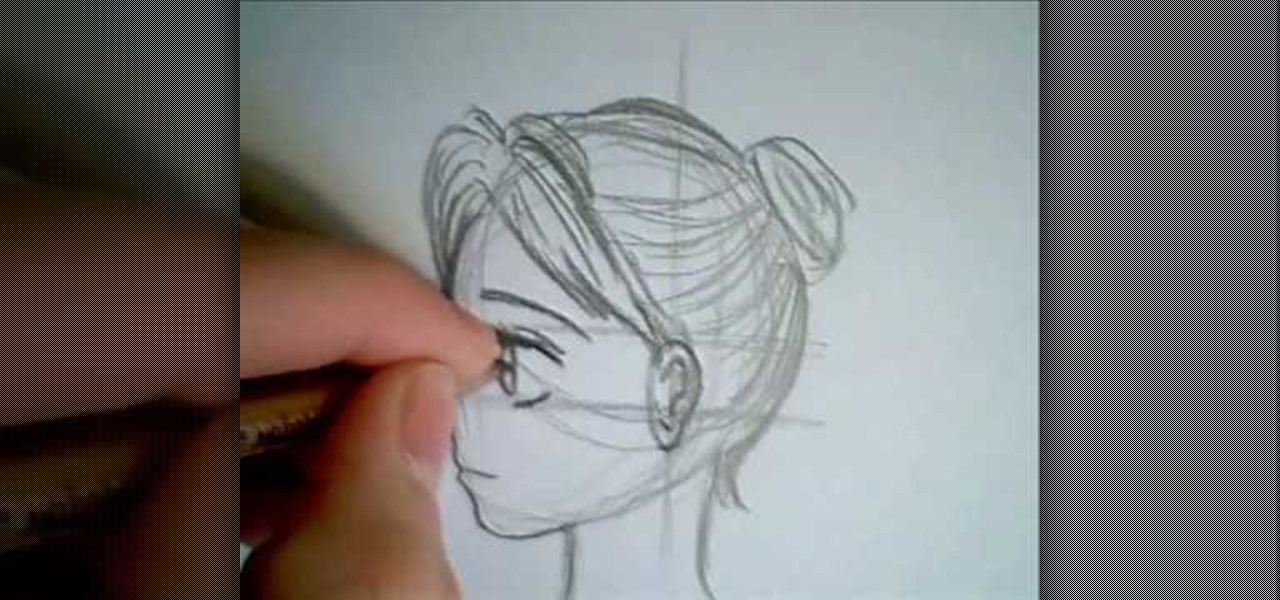
In this video, we learn how to draw a manga face sideways. start by drawing a round circle with a light pencil. After this, draw a chin that is from the side view. Next, add on the nose and make the chin look more prominent, like you are seeing the profile of the face. After this, draw on the ear to the center of the face, then start to add in further details. Make the eye and add shading by the nose to make it appear as though there's another eye. Add in eyelashes, then start to add in hair ...
In this tutorial, we learn how to draw an eye in GIMP. First, open up the GIMP software and set up a circle, then color it dark blue. Next, add in light to the middle of the eye, so it looks like a light is shining onto it. After this, make a small circle in the middle of the eye, coloring it black. When done with this, create a new layer and then add brightness to the pupil of the eye. Continue to play around with the contrast and colors of the eye, so it looks more realistic and life like. ...
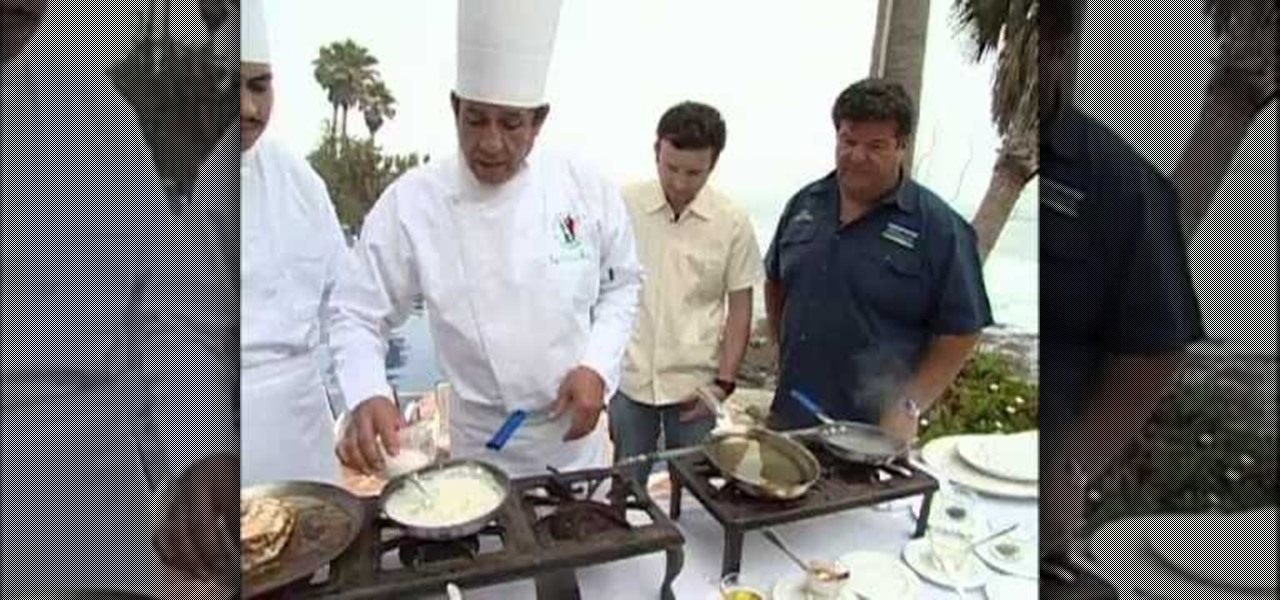
In this tutorial, we learn how to cook a halibut filet with Dan Hernandez. To start, you will need to heat up your pan with oil on the inside of it until it's hot. While this is heating, combine salt, pepper, garlic, and crushed onions on a bowl and mix it together thoroughly. After this, apply the spice to the filet and push inside of it. Now, place the filet with the season side down onto the oil and cook until golden brown on this side. Meanwhile, make a sauce with flour, salt, milk, chees...
In this tutorial, we learn how to count to 100 in Polish. You will start with "jeden" which means one, then move on to the rest of the numbers. It's very important to take your time when you are learning each individual number, so that you know how the accent should sound and you know how to say it properly in different sentences. It will be extremely helpful if you try and listen to an audio recording while you are saying the numbers so that you learn exactly how to say it. Continue to learn...
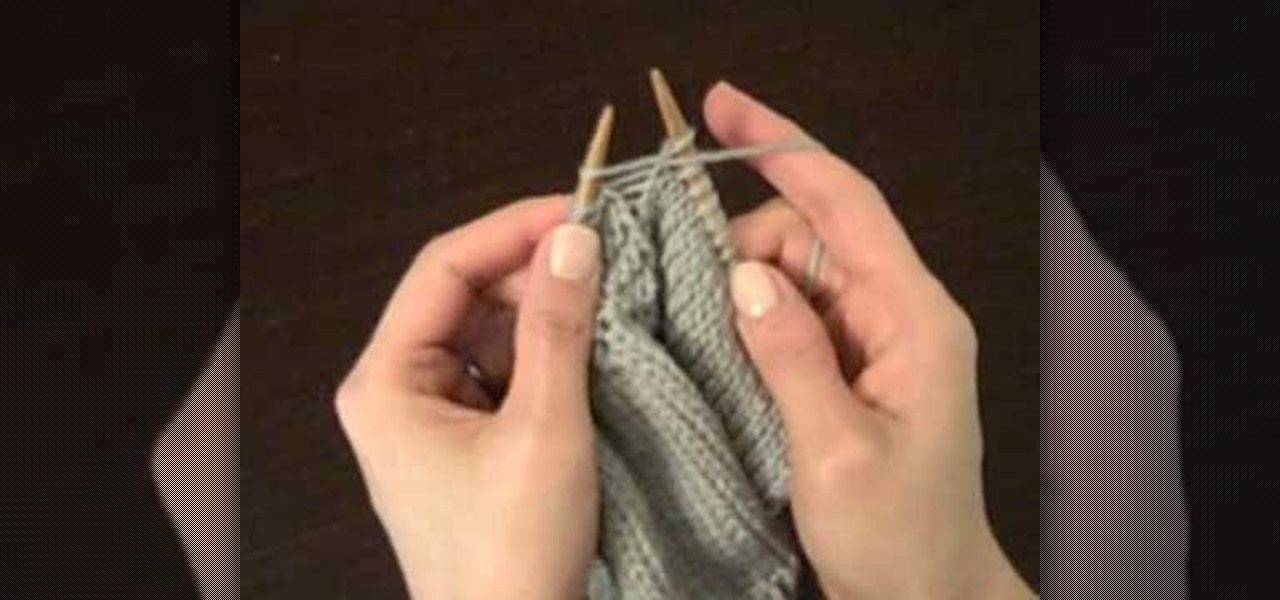
In this video, we learn how to do a purl increase stitch in knitting. First, make sure your yarn is in front, then do a normal purl stitch. Before you take your yarn off the left needle, go into the back of that stitch and pick it up from behind. Then, do a normal purl loop. After this, take the needle off. This is all you have to do to do a purl increase while you are stitching. If you don't understand it at first, then keep practicing and you will eventually learn how to do this. When you l...
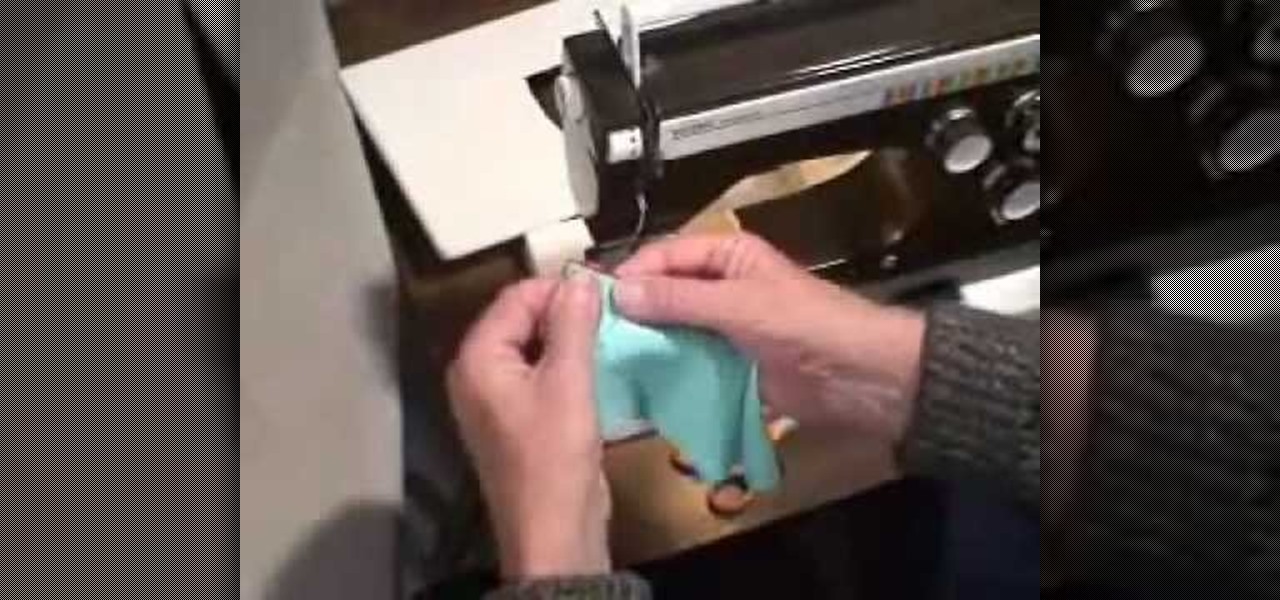
In this tutorial, we learn how to edge finish with lingerie elastic. First, grab your elastic and place it onto your fabric. Line up the elastic so it matches in perfectly with the fabric. Use a sewing machine to sew the elastic onto the fabric. Go slowly while you are doing this and lift the elastic in your hand as you continue to sew it on the fabric. When you get to the end of the fabric, the elastic will be sewn on, and you will be able to wear it! This only takes a few minutes, just make...
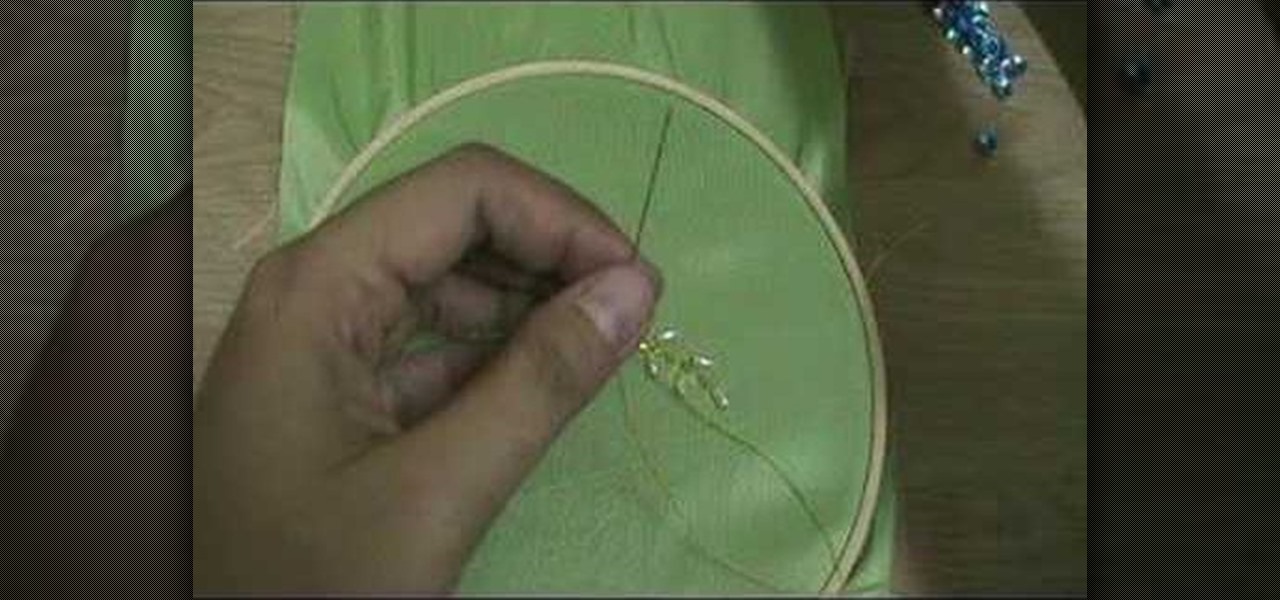
In this video, we learn how to embroider with beads and sequins. First, push the needle through the bottom of the cloth into the top where the sequin is at. After this, continue to thread in beads and more sequins. Make sure you are pulling through on the bottom so you attach the beads to the thread and they don't fall off. When you are done with this, you will push the needle through the top of the cloth, then tie it at the bottom and cut off the excess thread. When done, you will have a bea...
In this tutorial, we learn how to convert a fraction to a decimal. Start of by dividing the top number by the bottom number. You can do this by hand by writing out the long division of it, or you can use a calculator. If you choose to do this by hand, the bottom number will be on the outside of the division sign, and the top number will be on the inside. Once you have divided this out, the answer will be the decimal that you come up with. Continue to practice doing this will different numbers...
In this video, we learn how to make easy custom ornaments from clear bulb ornaments. First, you will need to grab your clear ornament, then grab some glitter glue and pour it into the middle of the bulb. Continue to fill in different colors into the bulb, then wipe off the top and shake it so the colors cover the entire bulb. The more you shake it, the more the colors will mix. After this has dried, place the clips back into the middle of the bulb, then you can hang this on your tree. This is...
In this tutorial, we learn how to prepare a PowerPoint file or presentation. First, open up the software and start a new project. After this, you will start a page that has nothing on it. Insert the title of your page as well as any images or audio you would like displayed. After this, you will be able to add in a transition that will easily make this page go to the next one smoothly. Continue on to the next page inserting your information for your presentation. If you are adding bullets for ...
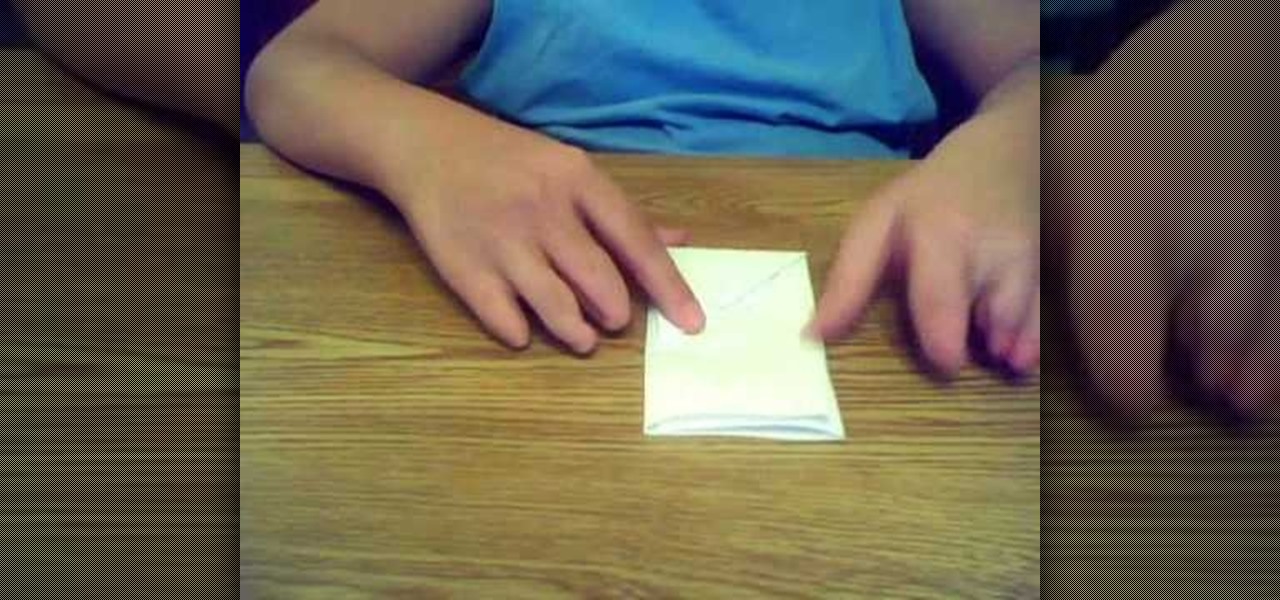
In this tutorial, we learn how to make a paper football for distance. First, take a piece of copy paper and fold it in half on both sides, then fold in half again, making a crease. Next, fold the bottom of the paper down into a triangle shape. Continue to fold this down, making a right and then left triangle until you reach the bottom of the paper. When finished, you will have a small strip of paper left on the bottom. Tuck this piece into the pocket that you created with the triangle pouches...
Gary France shows us how to properly straighten your hair in this video. Start off by blow drying your hair or simply just brushing it after the shower. Start with the underneath of the hair, then work the iron through the hair. Make sure to start at the root and end with the tips of the hair. Follow a comb through the hair until you reach the end. Continue this technique while working through all the different sections of the hair. You may need to place the iron through the hair several time...
In this video, we learn how to draw a manga chibi eye. Start off by drawing an outline of the eye with the round middle and the lines on top and on the bottom. After this, start to add in the small details of the eye, like the pupil and shine marks on it. Next, start to shade in the eye and make the lines thicker. Continue to draw in black until the back of the eye is covered black and another portion of the eye is white. Switch back and forth between different pencils to help you color in di...
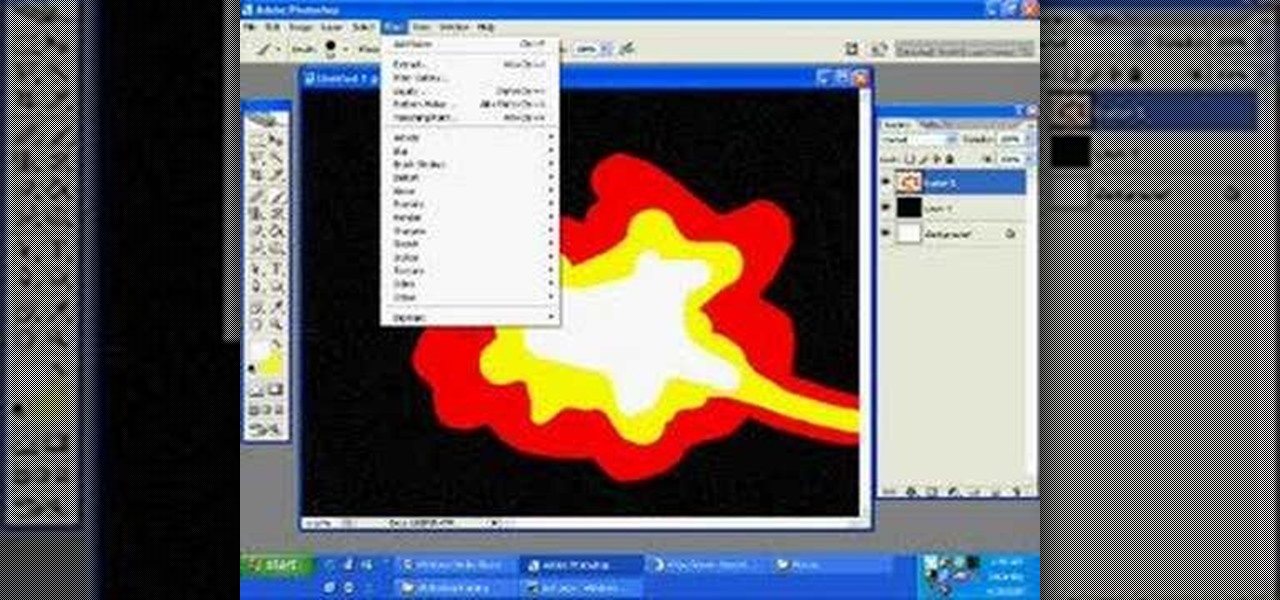
In this tutorial, we learn how to draw a galaxy in Photoshop. First, open up a new project and color the background black. Next, create different lines and circles inside of the black, and then blur out the image. Now, it will look like a galaxy in black space. Next, color a new background black and white with spots and mix it into the galaxy image that was made. Continue on to change different settings on the picture as you prefer, changing the opacity and different settings as you wish. Whe...
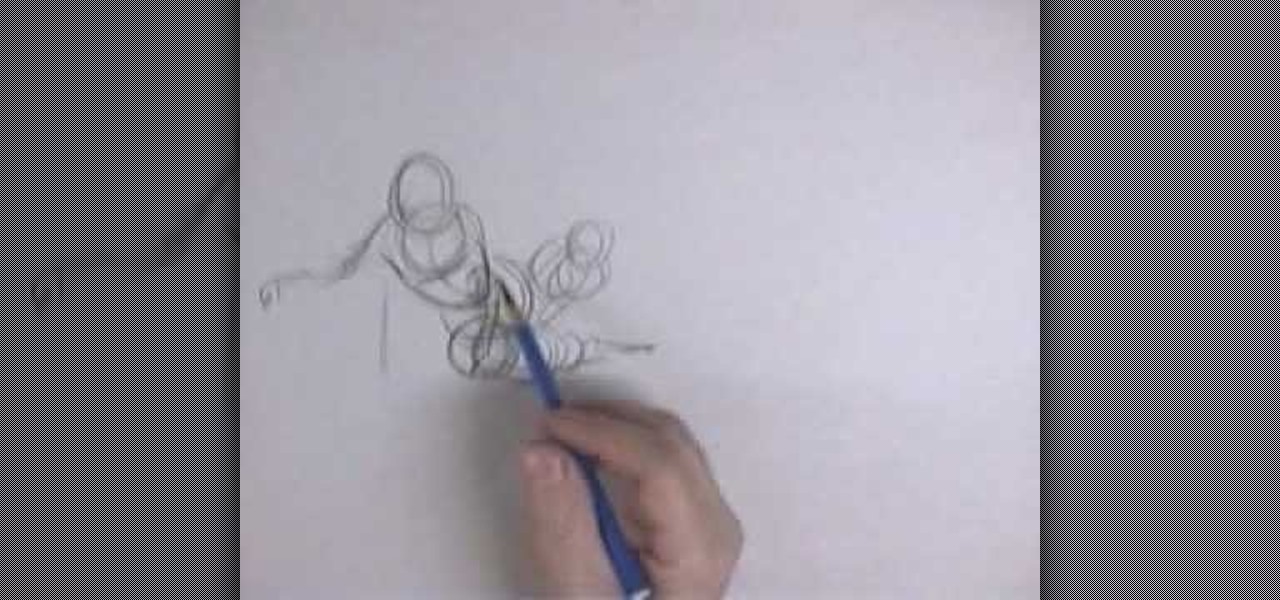
In this video, we learn how to draw foreshortened figures. First draw a circle and then continue drawing other circles to connect them together and make an out line. After you have drawn these, you will start to outline the circles so you see a body detail coming out of the drawing. Draw in the legs and the arms as well as the head. Don't worry about adding details to this, it's all about drawing just the figure. Shade on the different areas and add in lines to make the figure look more reali...
In this video, we learn how to use a big eye needle when making jewelry. This is a great tool when using stripping material. The needle is made of the eye and will work with ribbon or thread. First, open the eye of the needle, then thread the material through the opening of the hole. Next, string your beads over the point of the needle and then onto the material. Continue to do this for all the different beads you want to add, then your bracelet will be complete in a few short minutes. This m...
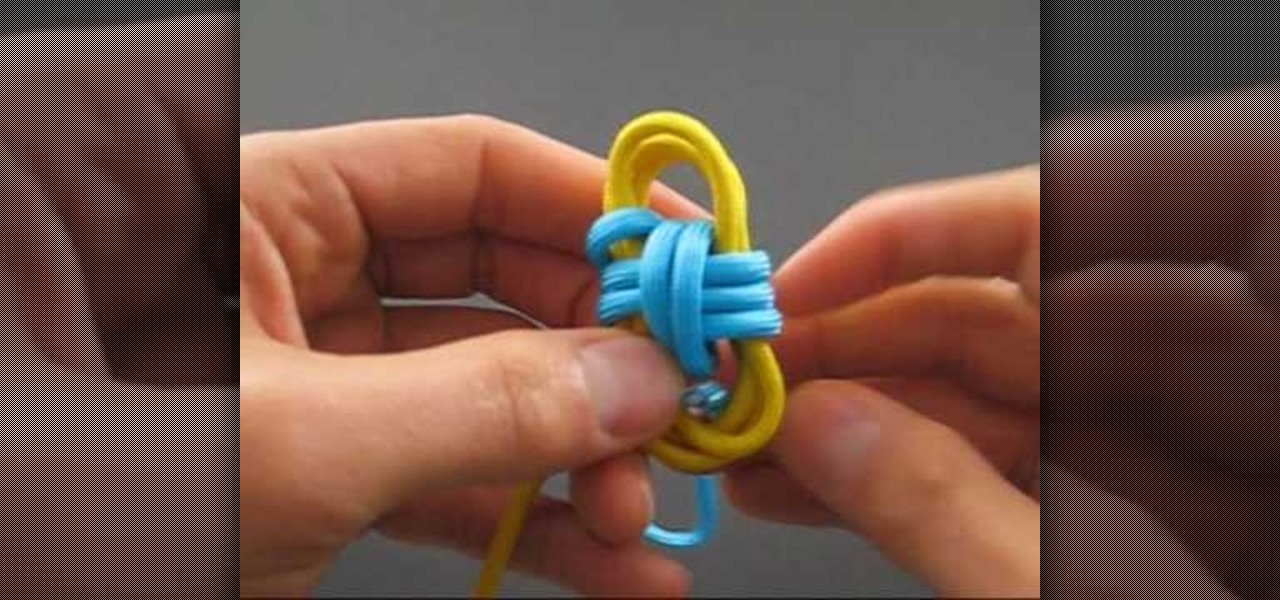
In this tutorial, we learn how to tie the two color monkey's fist knot. First, make a double overhand knot, and snip the edges off. Next, create the monkey's fist by taking one of the ropes and looping it around the fingers several times. After you do this, push the knot through the fingers and tie the other string around the entire loop several times. Push the string through the loop, then continue to tie on the opposite side around itself. To finish this up, Pull the two outside strings tog...
This video tutorial belongs to the Arts & Crafts how category which is going to show you how to do back stitch when embroidering. This is really simple and easy to do and takes no time to learn. For starting, mark five dots on the cloth. Then you stitch from point 1 towards 5. First you pass the needle from under the cloth through point #1, pull up the thread and pass it down through point #2. Now pull the thread up through point #3 and pass it back down through point #2. Then you pull the th...
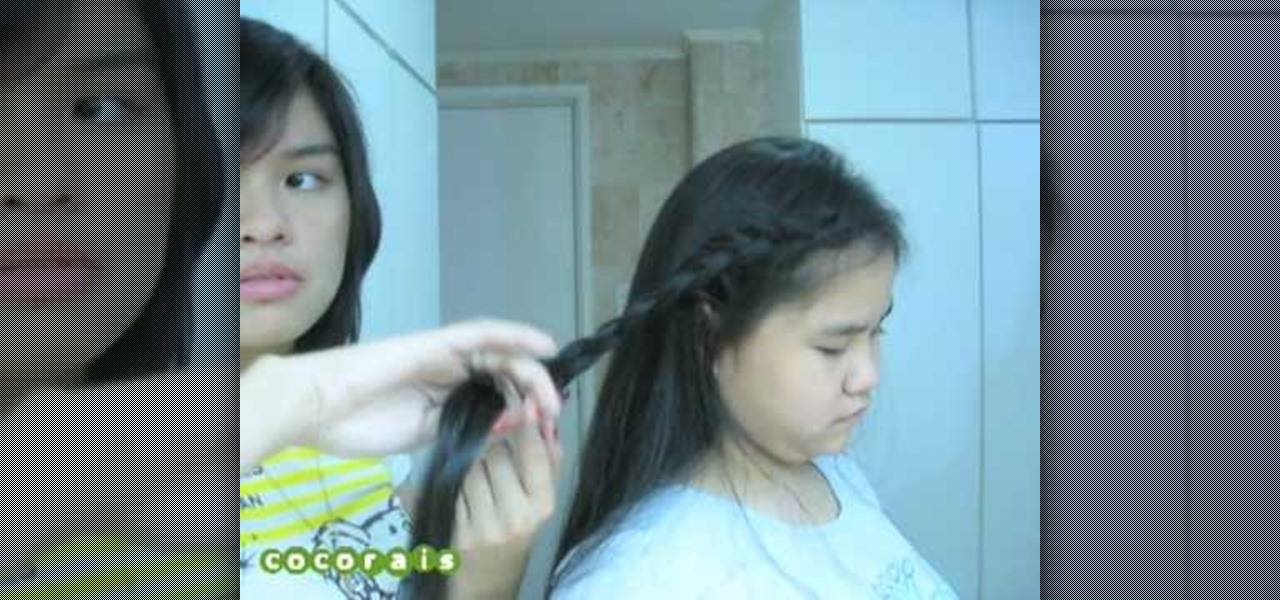
In this video, we learn how to do a yukata inspired hairstyle. First, brush out the hair, then bring the top section of the hair and start to braid it. Continue to braid it until you read the end of the hair, then tie it at the end. Now, set the braid aside and put the rest of the hair up in a pony tail. Push the hair together in a bun, then pin it together with bobby pins. After this, take the braid and wrap it around the bun, then secure it with more bobby pins. To finish the look, add in a...
In this tutorial, we learn how to do UVmapping with 3D Studio Max. Open up your image in the software, then go to "unwrap UV". Scroll down to edit and you will be able to see the basic scale. Grab the mass and scale it down, then use your element turn on to select the different pieces. The UV mapping will now turn a different color and show you where you have edited it. Continue to do this throughout the entire program. Make sure you have all other programs closed while you are doing this, an...
In this tutorial, we learn how to do an arrowhead stitch when embroidering. Start off by pushing the thread through, then pulling it under, then back through at a diagonal angle. After this, thread it back through, making the same angle on the opposite end. As you continue to do this, you will start to see arrows forming after two stitches. Place the arrows one in front of the last to make the stitch complete. When you are done, you will thread the needle through the bottom and tie it. After ...
First, bring the thread up and then make a diagonal line and bring the thread through again. Bring the thread through again below the diagonal line on the left side. Then, put your needle thread through the 'x' and make sure your loops are even. After this, bring your thread through and even up your stitch. Now thread through on the right hand side and go through the next 'x' shape. Continue to do this, and you will see the Vandyke stitch start to take form as you go on. There will be a verti...
In this video, we learn how to do sit ups to lose love handles. First you will need to lay down facing the ceiling and cross your arms over your chest. Raise your body up using your stomach and try to touch your elbows to your knees. Continue to do this and remember to breathe while you are doing this. Do as many crunches as you can, and try to do different variations to change things up. When you are finished, do more exercises and stretch your body out. Doing these every day can help you lo...