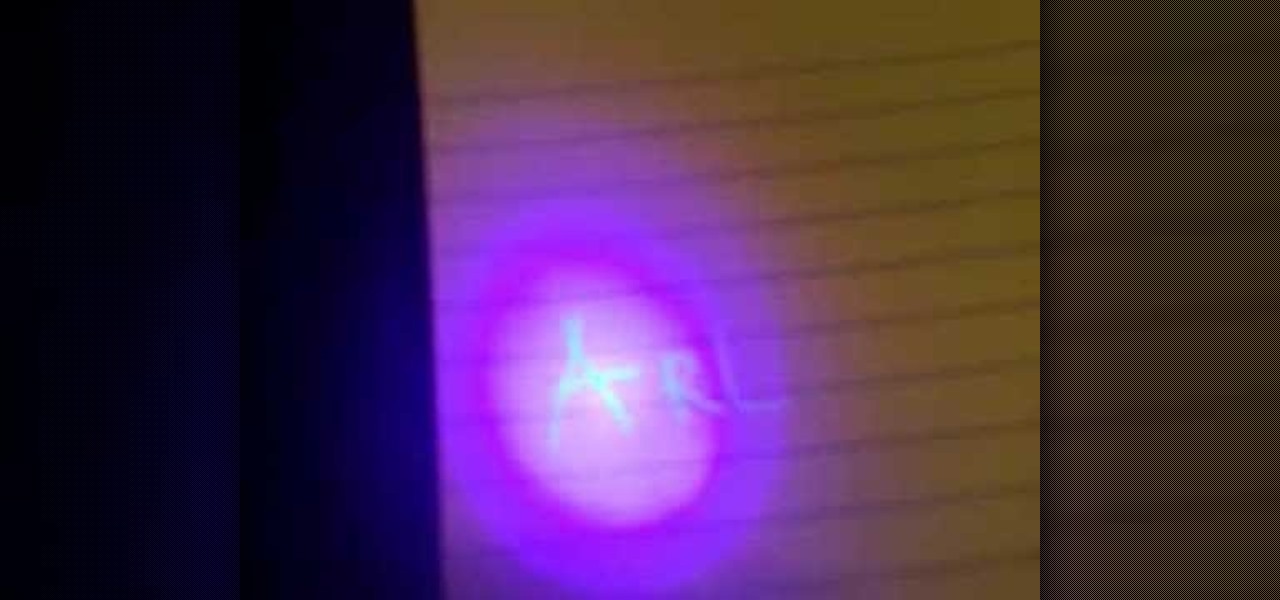
In this video, we learn how to cheat on a test or exam with a light. To do this, you're going to need a small hand held black light and a pen that writes in white. After you have these materials, you will write out the answers and information that you need onto a blank piece of paper with the pen. After you have everything written out, shine the small black light onto the paper. Now you should be able to see the writing as clear as day! Use this on a test and nobody will know you have all the...
Shooting home video is fun, and is a great way to get started on the path to a film career. But one thing that can kill your video is poor lighting. Not everyone is rich enough to a professional light kit, so what do you do to compensate? In this video you will get some great low budget, and even some free, tips on how to create proper lighting both in-doors and outdoors and tips on what to avoid in your scenes.
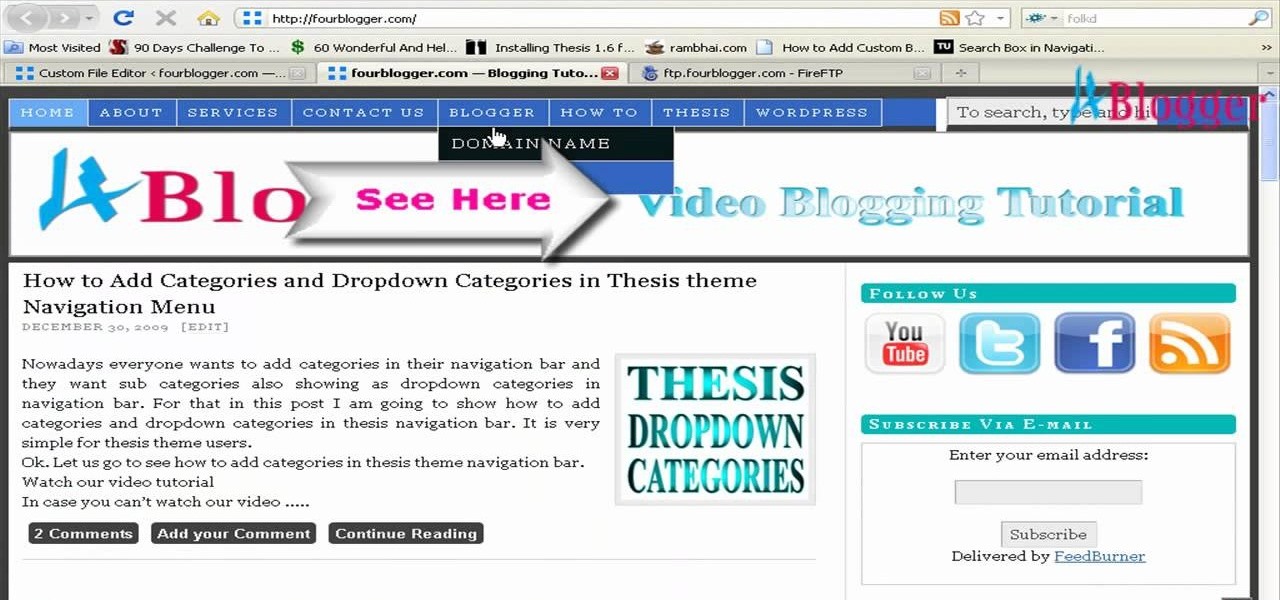
You can add banner ads in thesis header. To do this, first go to your word press admin and click on custom file editor in thesis option. Now select custom_function.php in edit selected file option and click edit selected file. You will get a warning so to do this you need to use FTP. Go to the path in FTP which is showing in the video and then click on Launch.php and now copy the code which is showing in the video and paste it in the launch.php. But you have to change your header image path i...
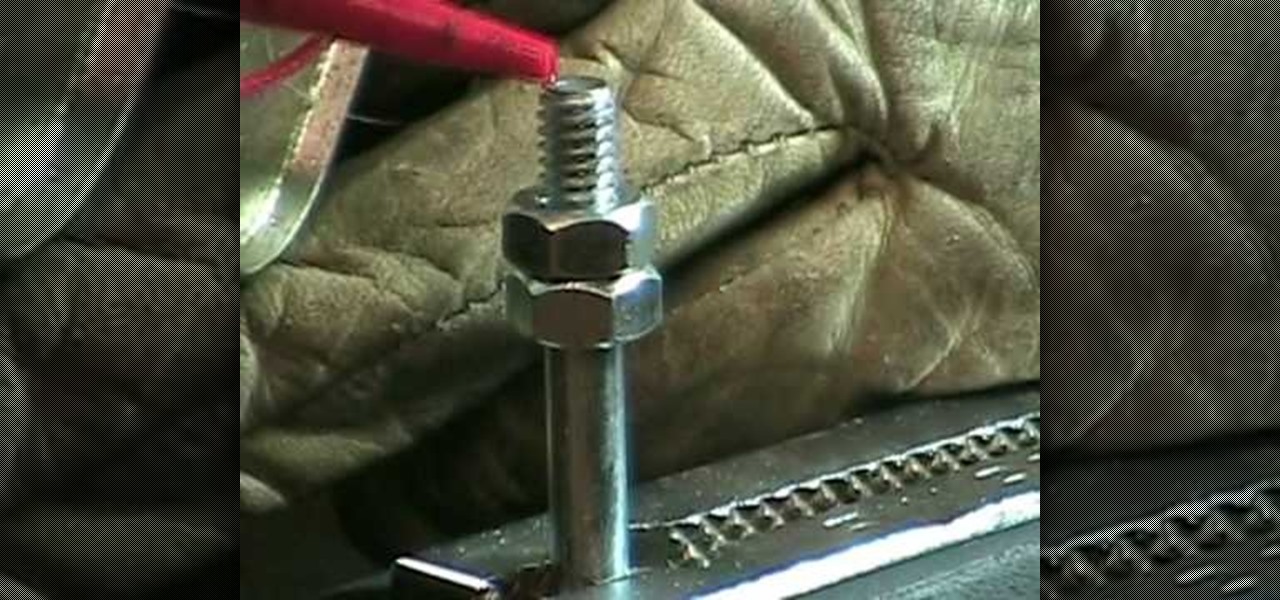
In this video tutorial, viewers learn how to cut a bolt and save the threads. The materials required for this task are: a hacksaw, steel bristle brush, bolt cutters, wrench, oil and a filer. Begin by putting some oil onto the threads of the bolt. Then place the saw on the desired groove and cut across through the thread. Now brush it with the steel bristle brush to remove the debris. Finish by removing the excess metal with the filer and unscrew the bolt(s). This video will benefit those view...
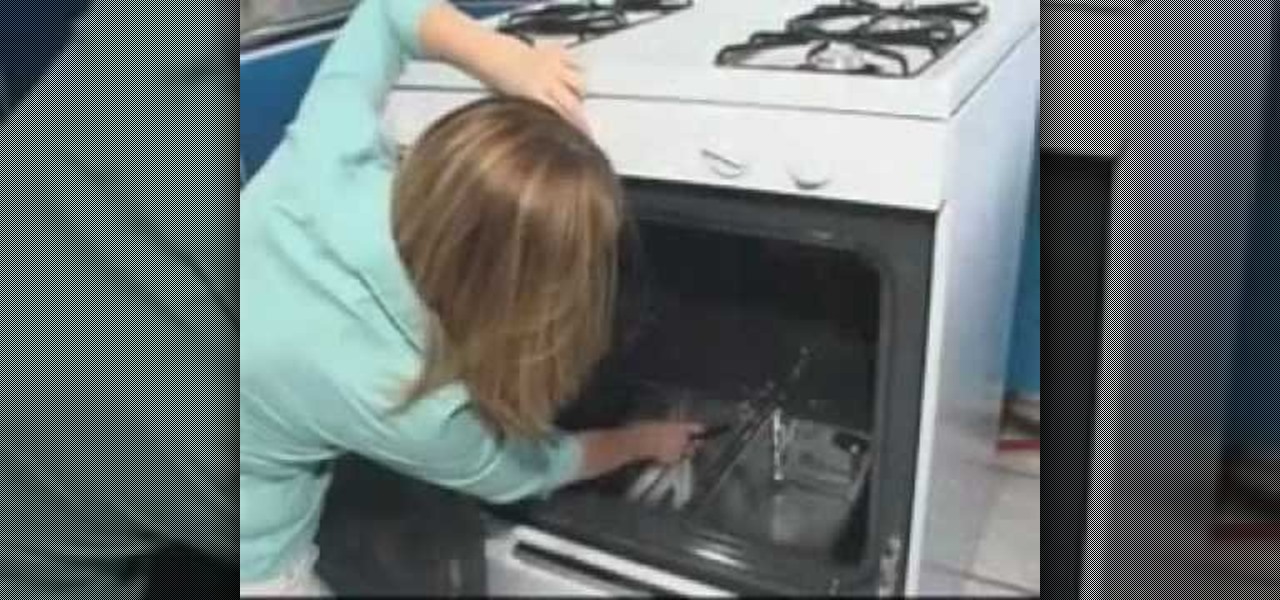
If you're having a hard time using any of the ranges or the oven on your stove, it may be because of the pilot light. This is an important part of the appliance that allows it to work correctly. No pilot light, then you'll have a hard time cooking anything.
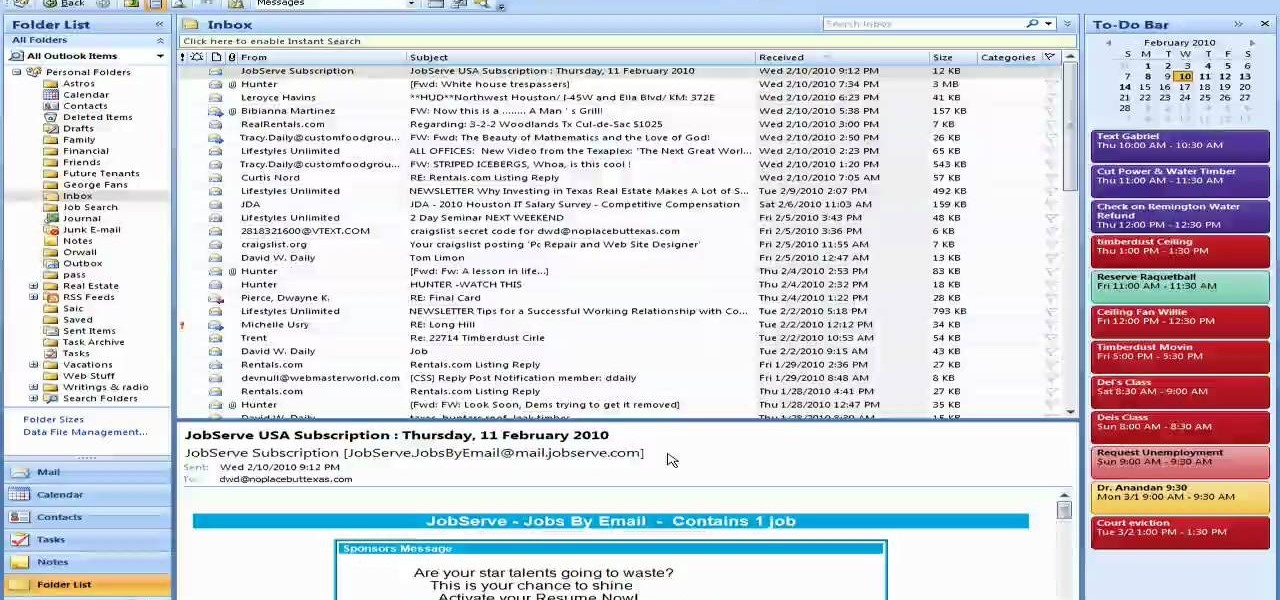
In this video, we learn how to save & backup your Outlook email to an archive file. First, go into Outlook and then open "file", "import/export", and "export to a file". Click next, then click "personal folder file" and click next. Now you will see your inbox, highlight "personal folders", then click next and browse to select a location where you want to save them, and click next. Next you will be asked to make a name for your folder and make a password if you want to, then click "ok". The fi...

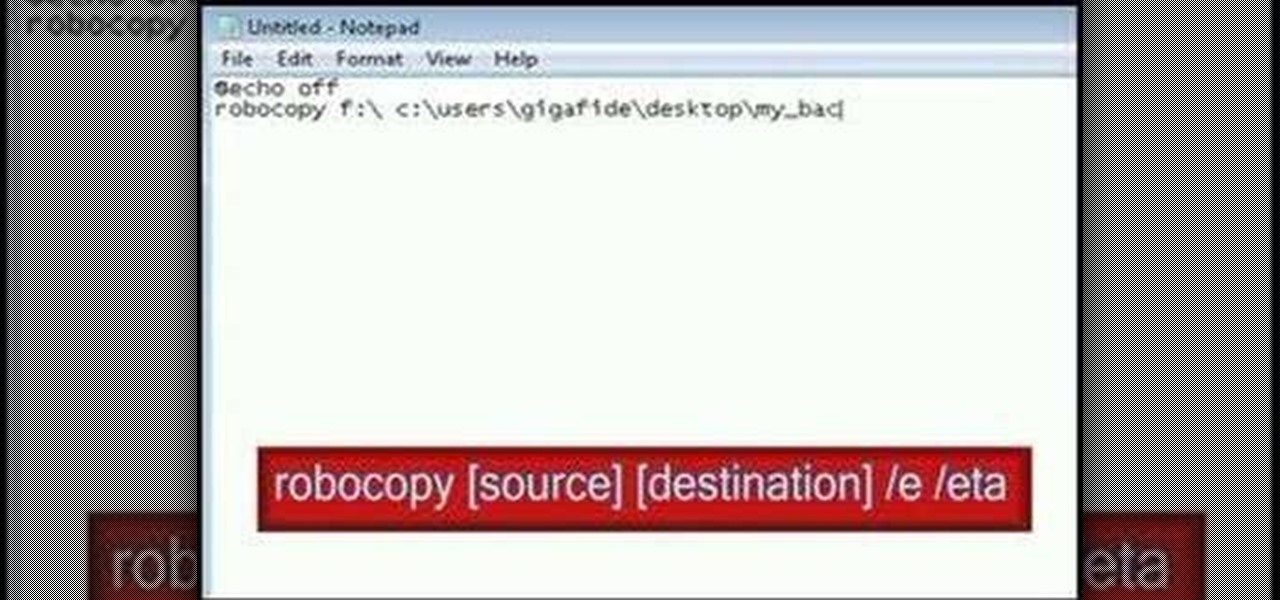
In this video tutorial, viewers learn how to make their own backup program. Begin by clicking on the Start menu and open the Notepad program. Then type:

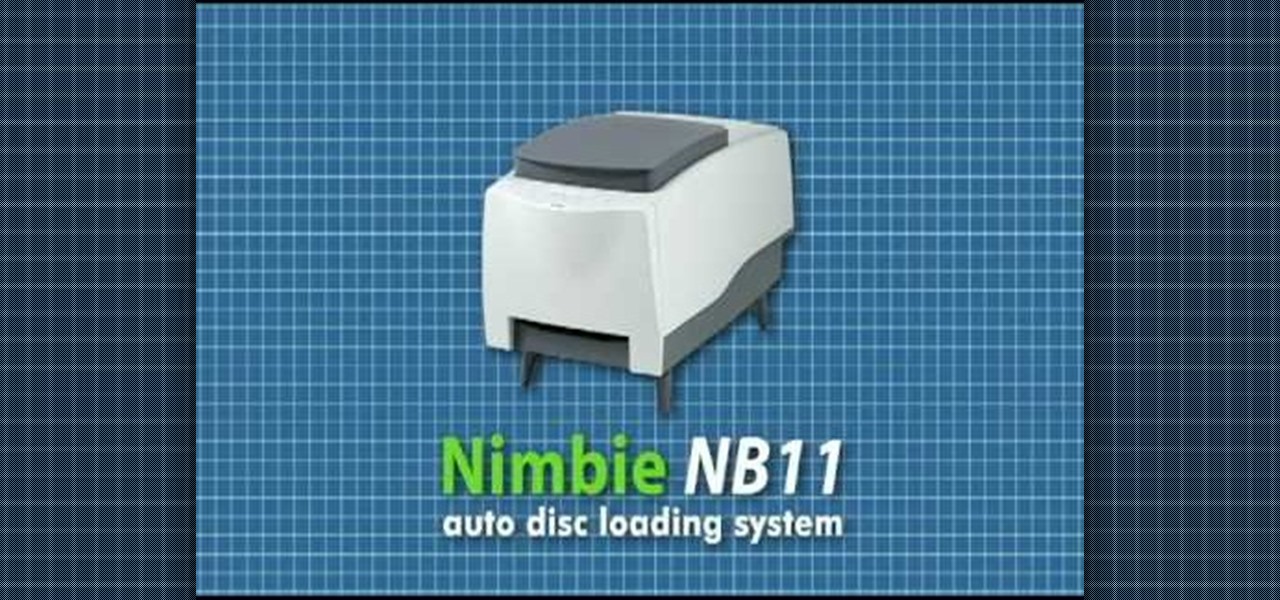
In this video tutorial, viewers learn how to light-scribe with a Nimbie BB11 disc burner. This device is an auto disc loading system that allows the user to light-scribe multiple disc without manually inserting them one-by-one. Simply load the disc into the machine with the labels faced down. On your desktop, double-click on the Q-Q-Box icon to start the program. Start up the labeling function, select a desires image and quantity up to 100. Then click on Print. The machine will then product l...

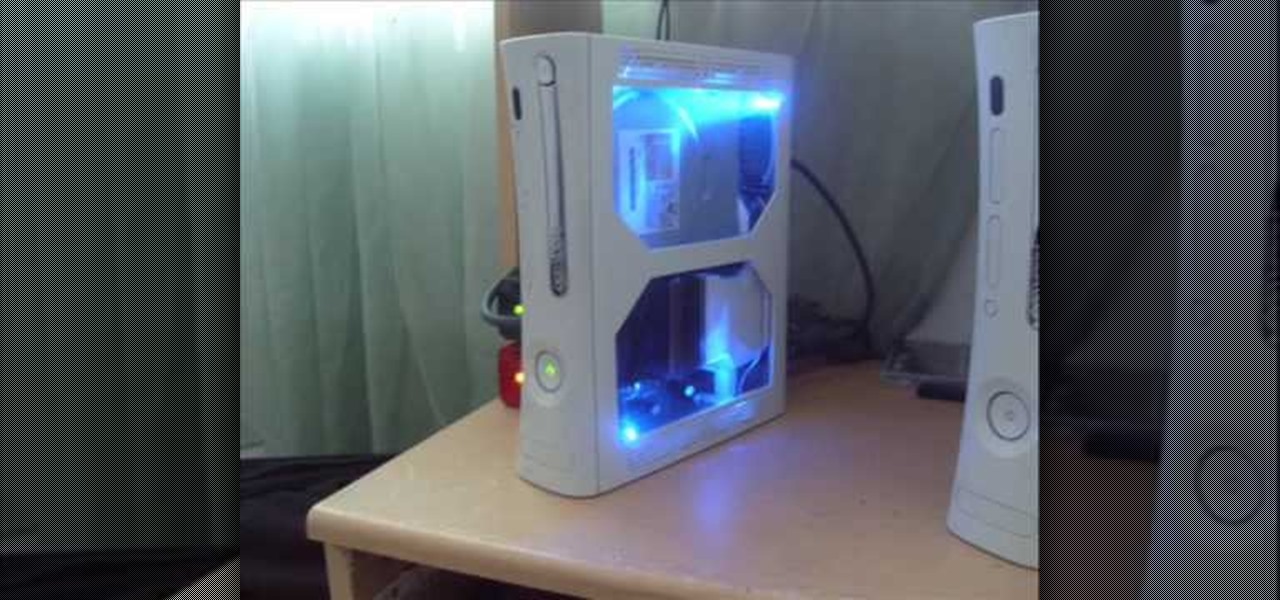
Your XBox 360 is a big part of you life. Probably about as big as your significant other. Make it your own by giving it some sweet case mods! This video will show you how to cut a window into the side of your console, install blue LED lights in it, and paint it. If you are one of those lucky XBox 360 owners whose real friends come see them sometimes, they will surely be impressed by this impressive mod.

This tutorial shows you how to use QuicKeys to create an autmation that saves web pages as PDFs. This action saves you three or four clicks in the normal process. Whether you're new to Startly Software's popular macro and automation application or are merely looking to pick up a few new tips and tricks, you're certain to be well served by this free video software tutorial. For more information, including detailed, step-by-step instructions, watch this video guide.

There's nothing worse than when you're driving to work or to the grocery store and all of a sudden, the check engine light comes on. This is one of the most dreadful lights that a car possesses. Not only does it signify that there's something wrong with your car, but it may also be a sign that if int's not taken care of properly, your car can be further damaged by it. So in this tutorial, you'll learn some basic reasons for why and what the check engine light means. Good luck!

You will see a great way to light and set up a blue/green screen for your next video. There are a lot of tips that will come in handy if you want to film on a blue/green screen and don't want to pay outrageous fees to do so. The key in setting up is to block out all outside sources of light so you have just the desired amount of lighting coming just from your own sources and also setting up the screen and stretching it out as tight as possible so you won't see any creases or snags in the mate...

You can make a screensaver with a MPG you get from the web and use "CamStudio" as one idea. You can use Infanview40, and install it the way you want it to open mpegs and add plug-ins that you get from the homepage.Open Infanview40, right click your .exe file to install in the program. Click "open" and Slide Show on INF.,scroll down to MPG that you want to add for your screensaver. Now the MPG is in the INFanview program,add to the screensaver.Click on "Play in full screen mode. Current Monito...

A common problem when shooting in low-light situations is that even if you open your lens to its lowest f-stop number, you're left with an image that's far too dark. One obvious remedy is to add more light. But what if you don't have more lights available to you? That's where the gain increase switch comes in. This free video cinematographer's guide will show you how to use digital gain settings to amplify available light to get better shots in less-than-ideal environments.

This a video tutorial that is showing its audience how to mix liquid glow stick colors in order to make a white light. The first step is to gather your supplies. To complete this scientific experiment you will need to get a few different glow sticks, preferably red, blue, and green. The next step is to turn all of your glow sticks on. The third step is to cut open the glow sticks and add them to separate cups. Next you can mix the green and the blue light together. Then finally add the red li...

This video demonstrates how to install trailer lights on your boat's trailer. In order to determine what size replacement kit you will need, you must figure out the width of the trailier at the widest point. First, remove the old lights. Use a large slotted screwdriver to remove the cover. Don't forget to wear eye protection. Next, use vice grips and a wrench to remove the exposed stud. Using a wire brush, remove the salt and loose corrossion. Then grease the threads of the studs. You are now...

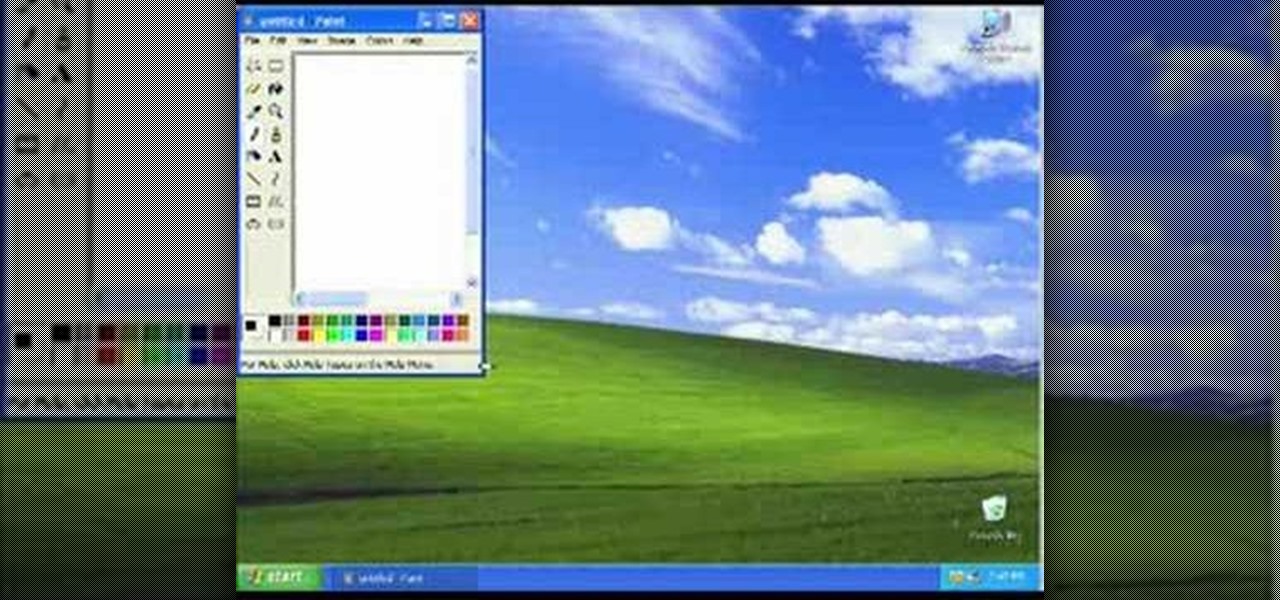
This is a video about how to use the printscreen button. You can take screenshots with the printscreen button on the keyboard. First you have to a pick an image whatever you want to save in your PC. In this video he is explaining about how to save the a picture about the animal description. Next press the printscreen button when you get the image. Next go to start button and next Accessories and next paint and open the new page on paint. Then go for paste in the edit. Then you will see the pi...

In this video tutorial, viewers learn how to save tomato seeds. Begin by selecting the type of tomato that you would like to grow again next year. Once selected, simply cut the tomato in half and scoop or squeeze out the seeds into a jar. Pour a bit of water and close the jar. Put the jar away for 2 days, as it will smell. The seeds will be undergoing a fermentation process as this time. Then take the tomatoes and drain the through a sift. Now wash the tomato seeds with some water and let the...

In this video, the instructor shows us how to take a screen shot off of Windows XP. First, you will want to pull up the screen that you want to take a screen shot of. After you have this up, you will hit the "Alt" and "Prnt Scrn" button at the same time. Nothing will show up on your computer, but it will have saved the image. Next, open up the program "Paint" and click "edit" on the top toolbar, then click "paste". The image will then show up on your screen. To save, click "File -> Save As", ...

This video is about how to install custom fonts on XP. The first thing to do is to open your browser and type "fonts" in the search bar. Several sites will appear and just simply click on any of the websites. Once you have found the site that suits you best, just start looking for fonts that you may like. And if you already have found a font, just simply press download then save it in your computer. Once you have saved it, other files need to be extracted so just simply extract it. After extr...

In this video tutorial, viewers learn how to remove the macro warning in Microsoft Excel. When you see the warning, click Enable Macros. Then right-click on of the sheet tabs and select View Code. Open the Modules folder menu. Now right-click on the module and select Remove Module. Click No to prevent the Module from exporting as a saved text. To go back to Excel, click on File and click on Close and Return to Microsoft Excel. Click on Save to save your workbook. This video will benefit those...

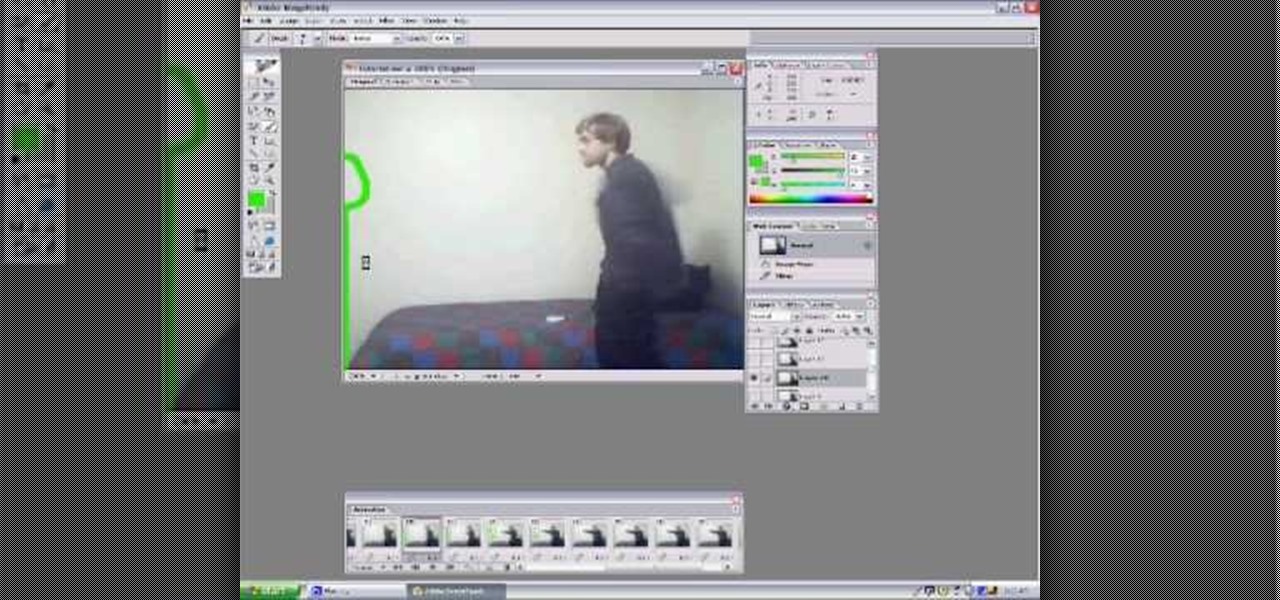
Make stick figure animations using Magix softwareFirst, record yourself with a webcam using Magix music maker. This software is used to record, save and edit the entire video. A trial can be downloaded or it can be purchased. Second, edit the video. Third, save the edited video as and AVI file. Open the AVI file with Adobe image ready. This is only available in older versions of Adobe Photoshop. Next, draw stick figures into frames. Add blood. Export each frame as a gif file into a new folder...

In this how-to video, you will learn how to make a .gif animation from video footage. First, open Photoshop, click file and select import video frames to layers. Next, select the video you want to use and open it. Once this is done, you will see the amount of frames in the videos as layers in the video. Go to window and animation to open a new display for the animation. If you want to shrink the .gif image size, go to edit and image. Change the size to your liking. Now, just go to file and se...

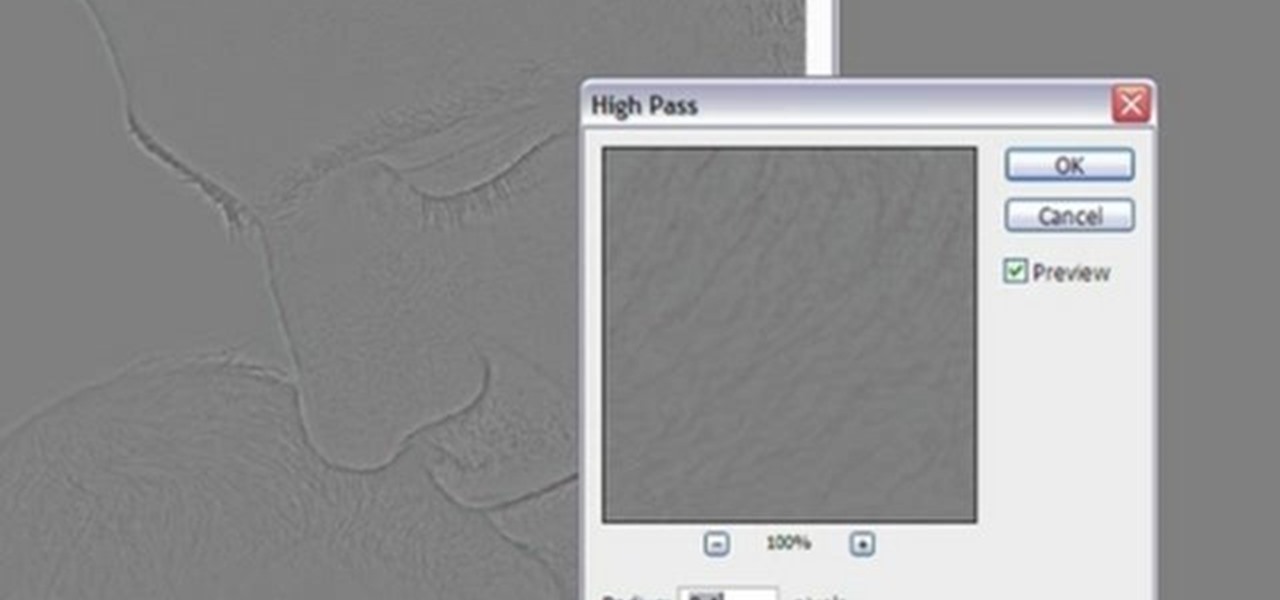
In this video tutorial, viewers learn how to sharpen photos in Adobe Photoshop CS3. Begin by opening the image in the program and duplicate the image layer. To duplicate, press the control and J button. With that images, go to Filter, choose Other and select High Pass. The images will now be covered entirely of gray. It is recommended to set the radius as 5-6 pixels and then press OK. Change the layer blending mode to overlay, soft light, hard light, vivid light or linear light. This video wi...

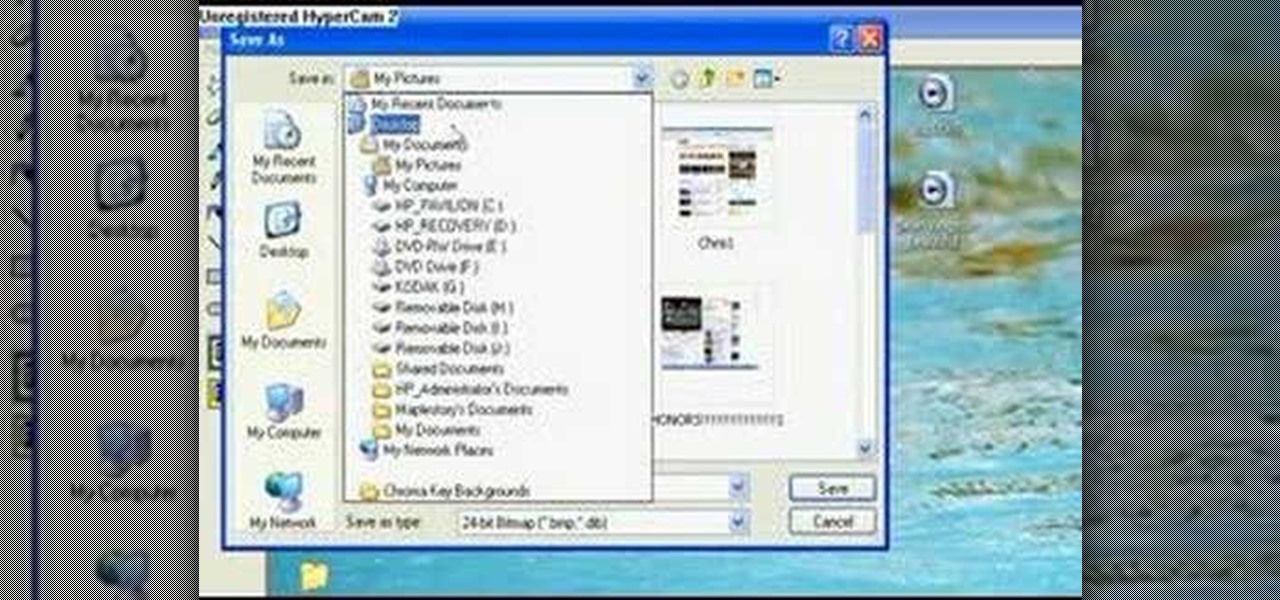
You don't need a camera to take a screen shot of your computer. In fact, a camera would probably give you an extremely blurry picture! There is a special button on your keyboard called Prnt Scrn. All you need to do is press that button. The screen shot of your desktop is then stored onto your clipboard. To get it off the clipboard, you need to paste it in paint. Open it up, go to edit and click paste. Then go to file and click save as to save your file. Choose where you want it to be saved, n...

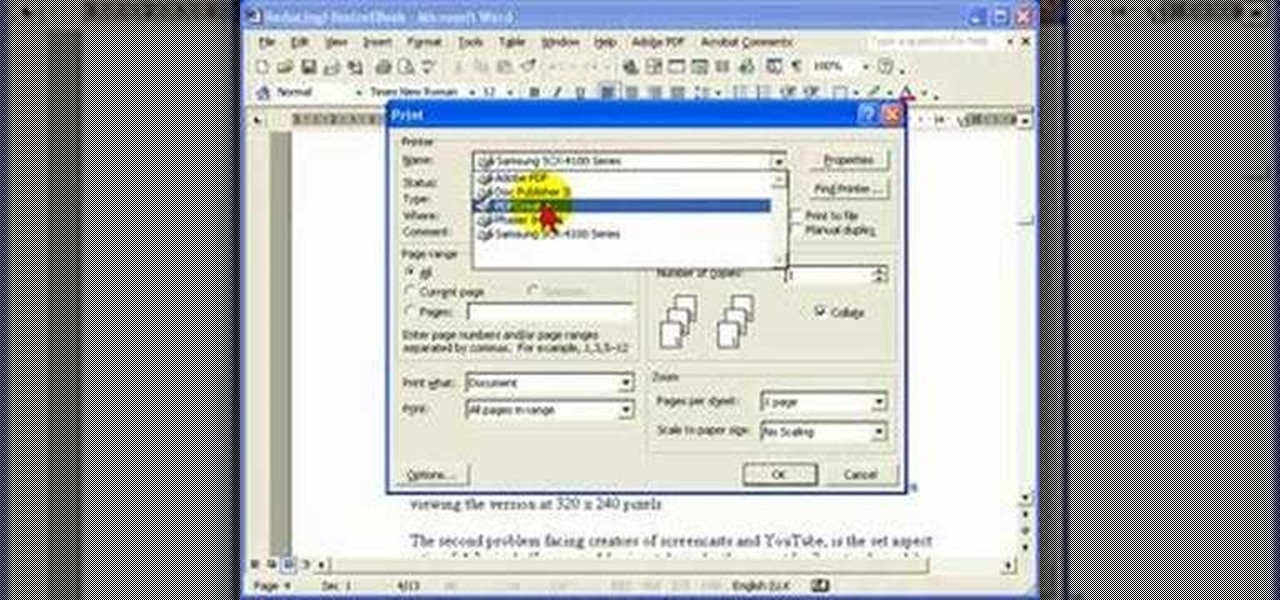
Steve Hicks from Screen Cast Central demonstrates how to convert your Microsoft Word files into PDF files using the Easy PDF Creator. First, download and install the PDF Creator. Then, open Microsoft Word and open the file that you would like to convert. Choose the file option from the top tool bar. Next, click the print option from the drop down menu. The print menu will now open. Under the printer name field select the PDF Creator option. Click the OK button. The PDF Creator summary window ...

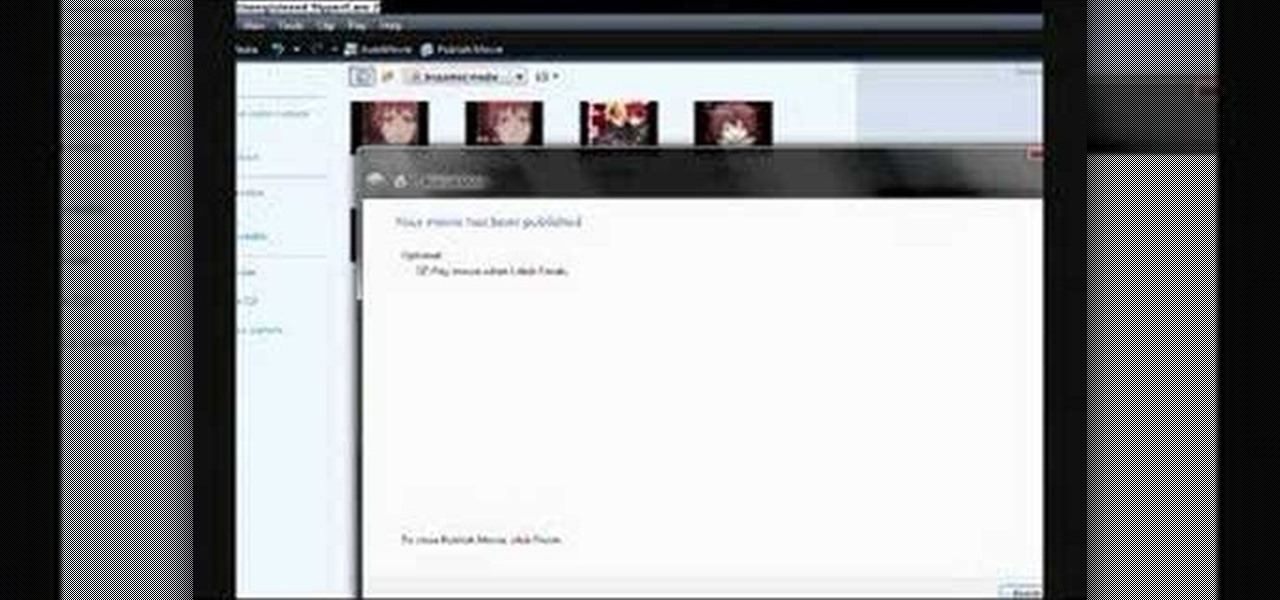
SchizoFilms brings the viewers instructions on how to make an animated GIF in Windows Movie Maker. First open up Movie Maker. You will need to import pictures. To do this, click the button on the top left of the screen that reads 'Import Media'. Find your files here and import them into Movie Maker. Now, you will want to order the pictures in the sequence you want them to show up in. To do this simply drag and arrange them. Now, you can make adjustments for how long you want each to run by dr...

In this video tutorial, viewers learn how to save money on beauty products. In-store cards and frequent buyer programs can save a lot of money. When you scan the CVS Extra Care card at checkout or in-store kiosk, coupons based on your purchase will be printed automatically. It will give good discounts. Web only offers are becoming popular. Private sale sites have also become popular. You simply sign up on the site and take offers that the site has. This video will benefit those viewers who ar...

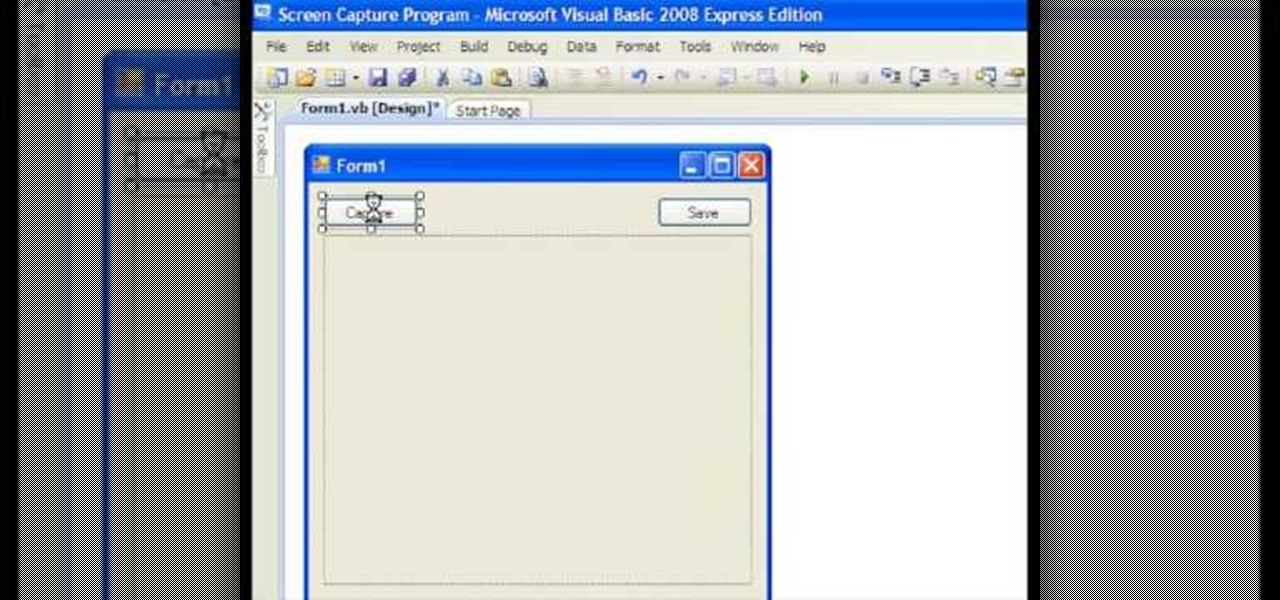
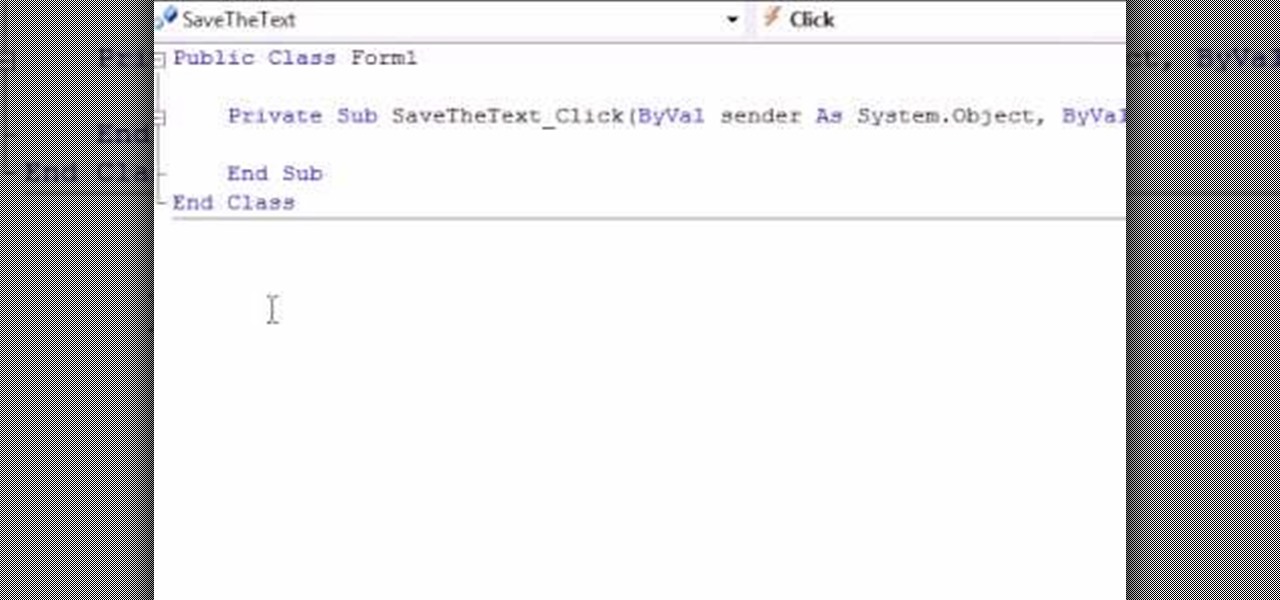
This video shows how to make a screen capture program in Visual basic. The first step to create a screen capture is to open a new project and open a new form window. The second step is to create to temples for either saving or capturing the picture you choose to select. The third step involves following the code structure given by the instructor to enable the correct function for the save or capture button options. The final step is to open the project as a finished work with the correct codi...

This video takes us through the process of using the Stream Writer and the Save File Dialog Step 1

In this video from DontPokeMeSoHard he shows how to take a picture of your iPod Touch's screen. If you hold the home button and press the power button, it will take a picture of whatever is on your screen at that moment. It will save the picture in your photos under Saved Pictures. If you're trying to remember a page on the Internet, it's a great tool for that. Just take a picture of it and it will save on your photos forever. You can view web pages now without being connected to the internet...

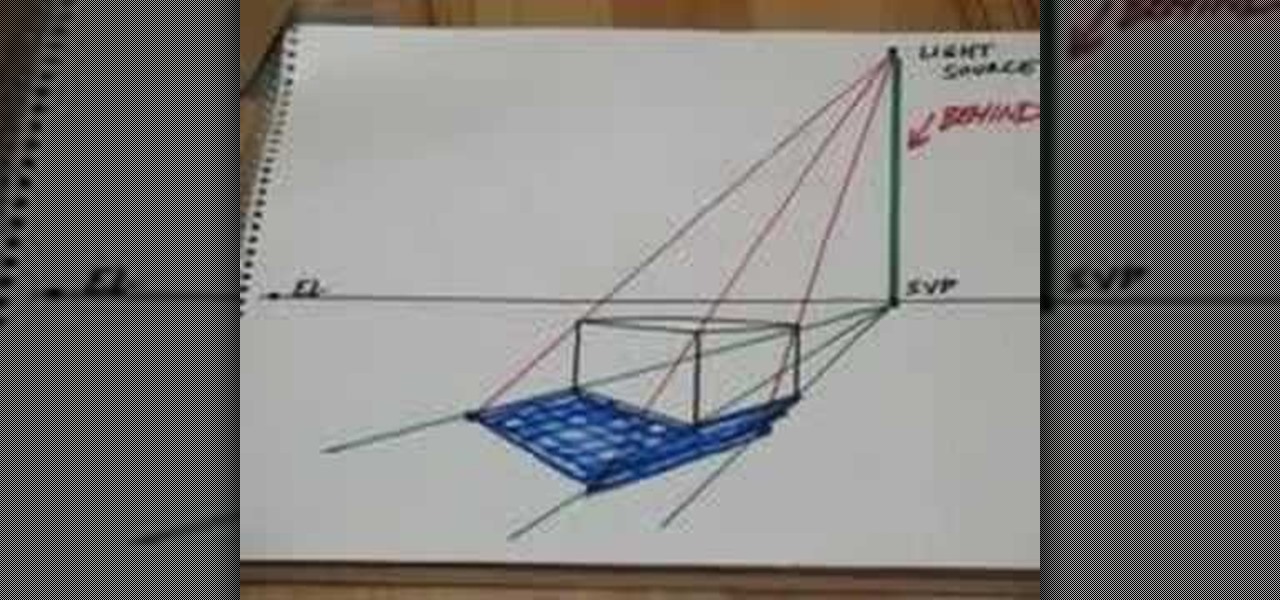
This video demonstrates the process for drawing prospective shadows using a light source. Start with the shadow vanishing point which is directly below the light source on the horizon line. Draw lines from the shadow vanishing point to the front three corners of your box. Next draw lines from your light source to the top three corners of your box. Where the shadow lines intersect, that area defines the shadow area and can be filled in for shadows. The shadows, of course, will line up with you...

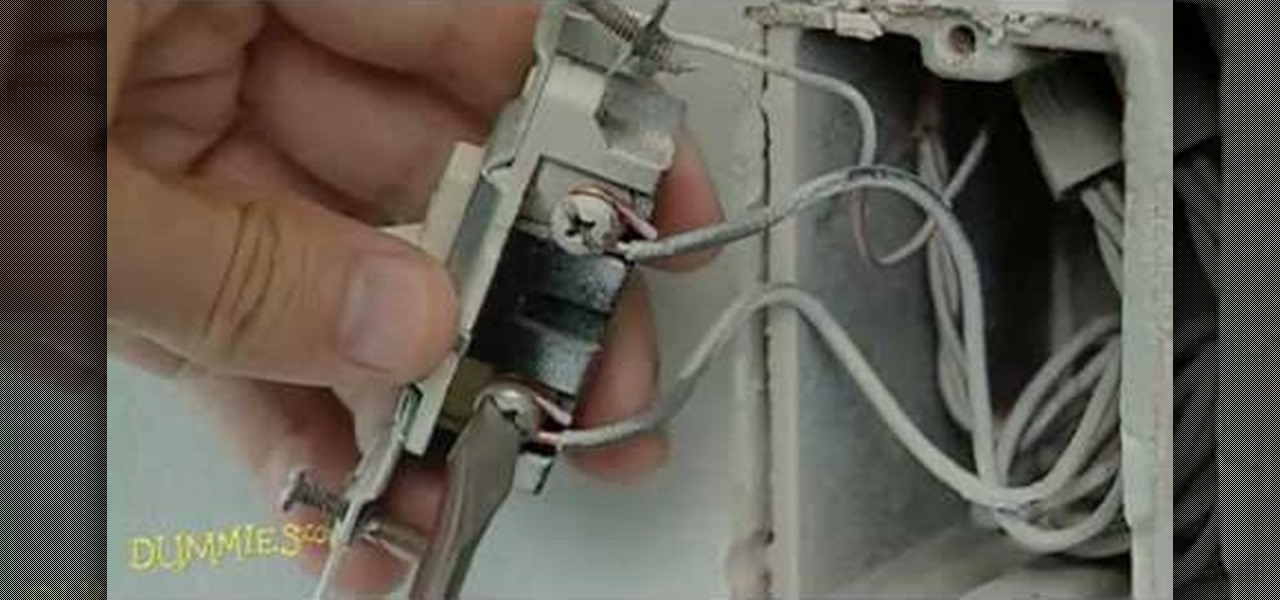
This video is from the Dummies video series. The video will describe the process of replacing a standard light switch with a dimmer switch. First you must pick a dimmer switch that has the capacity to control the light fixture you would like to dim. Add up the wattages of all light bulbs in the fixture and make sure it is less than the rated capacity of your dimmer switch. Next turn off the power to the existing switch from the breaker panel and test with a voltage meter. You will then remove...

In this beginners video, the instructor shows how to use Word 2007 by opening, closing, and saving documents. When you open the Microsoft Word software with out any documents, the window looks gray indicating the same. There is an office button present in the top left corner of the window through which you can access various options. Click on it, and select the open button which brings up the open dialog box. Now, you can browse through your computer and select any Word document to be opened....

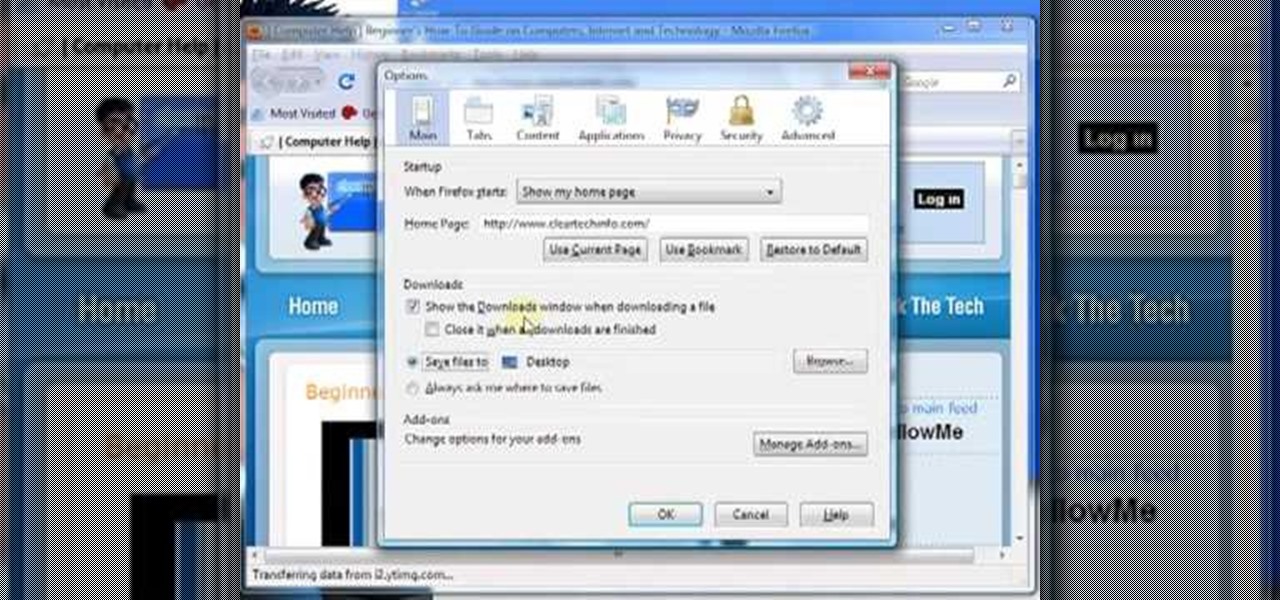
Firefox is the web browser which has many features and the Firefox Download Folder is one of those features. The following steps will tell you how to change the location of the Firefox Download Folder.

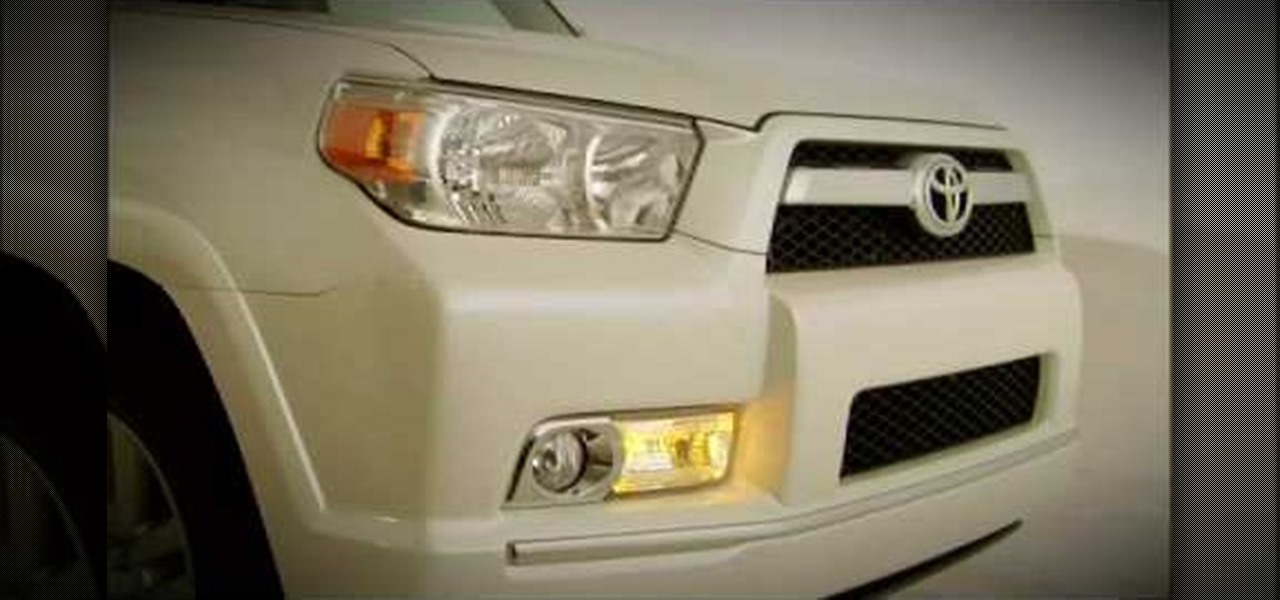
This video tutorial shows you the ins and outs of the keyless remote system on the new 2010 Toyota 4Runner. One of the remote controls that the system offer is to lock and unlock your doors. The locking will be signaled by the lights flashing. The unlock button if hit once will unlock your front doors and show two flashes of the lights. If you hit the unlock button twice within three seconds the lights will flash four times and it will unlock all of your doors. Finally it is installed with a ...

This video instructs the watcher on how to use the flash of a Vivitar to add light to photos taken outside if a little extra light is needed. Turn the camera on AV mode, choose an ISO setting like 100 or 200, then take a reading, either off the sky or an object. Then use the Vivitar to match up to that setting. Then position your camera off to the side to add a directional light to give the photo detail and kick. Follow the directions in this video to learn a new technique to give your outdoo...

In this Adobe Photoshop tutorial the instructor shows how to turn on headlights of cars realistically. To do this open the image of a car in your Photoshop software. Now select the dodge tool and choose a brush size that you want to apply. Now click on the head lights of the car a few times using the dodge tool to make it appear as if the lights are turned on. Now after doing this it appears as if the original lights were turned on and never looks like it was edited. This video explains how t...

Interested in animation? Let's animate some photos with Adobe ImageReady. First, put all pictures in a single folder. Open ImageReady and import the folder with the pictures. The photos will be arranged in the timeline but they play too fast. You can adjust the timing of each picture which has an icon under it. To save it as a gift file, click Internet Explorer on the toolbar. Then right-click it to "save picture as" and save it. It will help you in making slideshows/presentations.

You use a bike rack that extends from floor to ceiling. Pick where you want to put your picture and place the bike rack there. Adjust the bike rack so that it is at the level you want the picture. Then take a clamp light and clamp it to the pole of the bike rack. If the light slips on the pole, you can wrap some duct tape on the pole to create a surface that the light will stay on. Point the light toward where the back of the picture is going to be. If the picture you want to hang does not ha...


