How To: Sand wood
Sanding is an important step when preparing wood for painting or staining. You Will Need


Sanding is an important step when preparing wood for painting or staining. You Will Need

Longing for the coziness of a fire? Follow these tips for a safe and successful experience. You Will Need
Driven creatures undermining the very structure of your life – it might sound like a sci-fi flick, but it's all too real when these pests go after your home. Watch this video to learn how to deal with termites.

Board up a window for protection against strong storms and hurricanes. Learn how to board up a window.
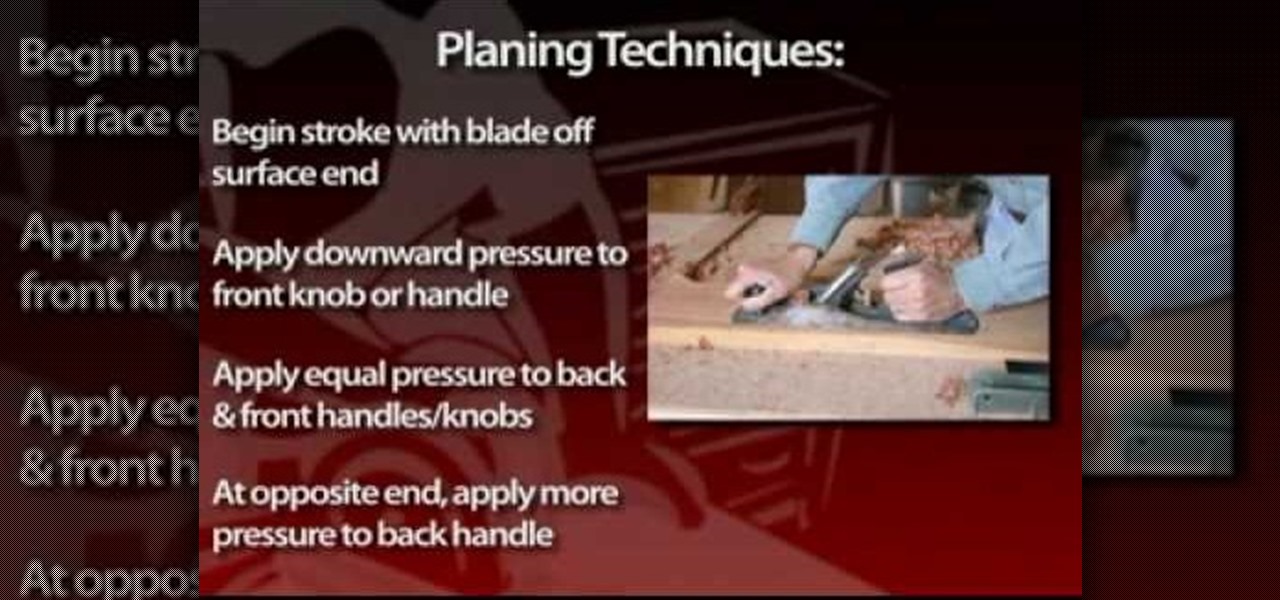
Hand planes are the epitome of fine woodworking. Extreme woodworkers use them, and serious collectors collect them. Planes come in a wide variety of sizes, styles and designs for specific woodworking purposes. Planes are available made entirely of metal, or made of wood with metal blades and parts. In fact, you can buy the blades and make your own planes, as the old-timers often did. Planes can range in price from about $25 for new, economical models to planes that cost several hundred dollar...
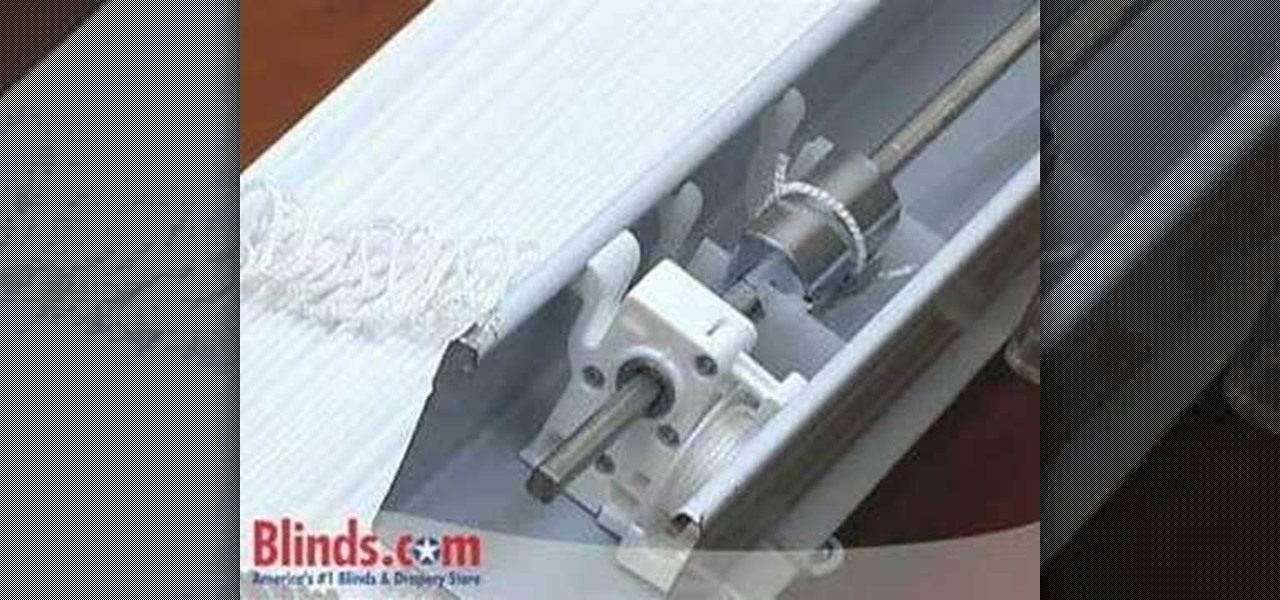
Do you need to replace the tilt mechanism on your old wood or faux wood blinds? The tilt mechanism controls the angle of the slats on your blinds. This short tutorial teaches you how to replace a tilt mechanism for your window blinds.

This Home & Garden how to video demonstrates the proper operation and use of the reciprocating saw. Remodeling your home doesn't have to be such a daunting task. Make sure to get a high amp reciprocating saw to cut your time in half. Cut pipes, wood, and things that are hard to reach with a typical round saw.

The belt sander is the king of all sanding systems. This Home & Garden how to video demonstrates the proper operation and use of the belt sander for sanding wood. Remodeling your home doesn't have to be such a daunting task once you've learned how to use a belt sander.

The table saw is the most efficient way to cut long pieces of wood. This Home & Garden how to video demonstrates the proper operation and use of a table saw for cutting wood. Use these table saw tips next time you are working on a home project.
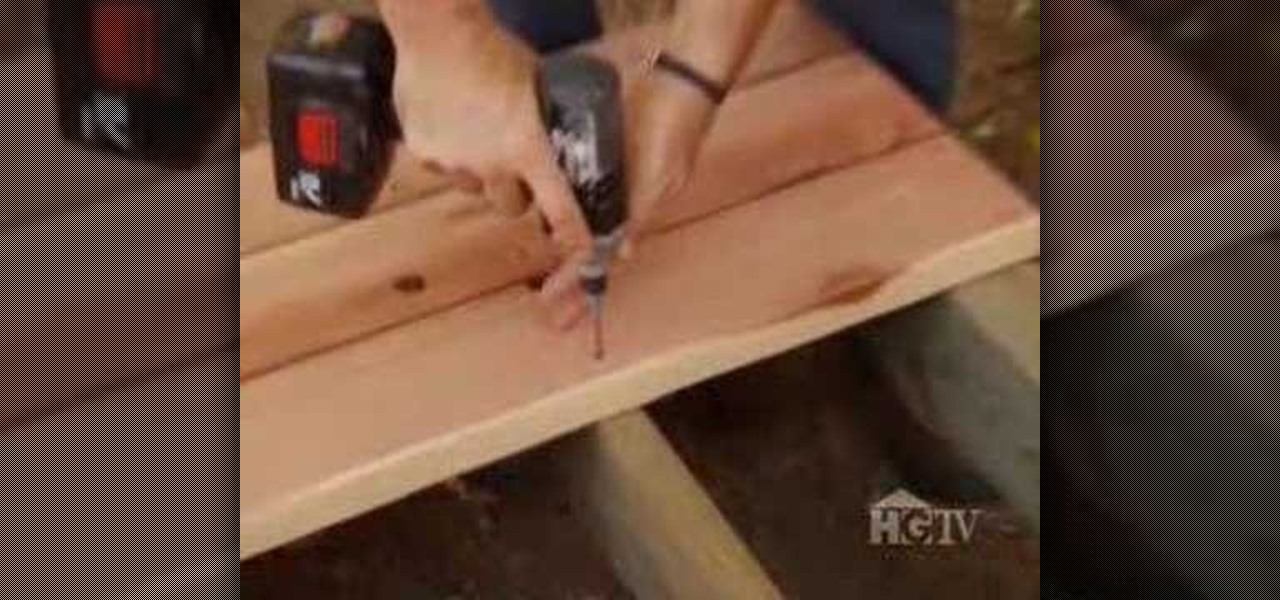
Doing a little remodeling and construction around the house? Choosing the right tools can be a daunting task. This home and garden how to video demonstrates the proper operation and use of an impact driver to drive screws into wood.

Are you going to start a home project but not quite sure what kind of wood to buy? This how to video talks about different kinds of lumber, and teaches you how to pick the right wood for your home project.
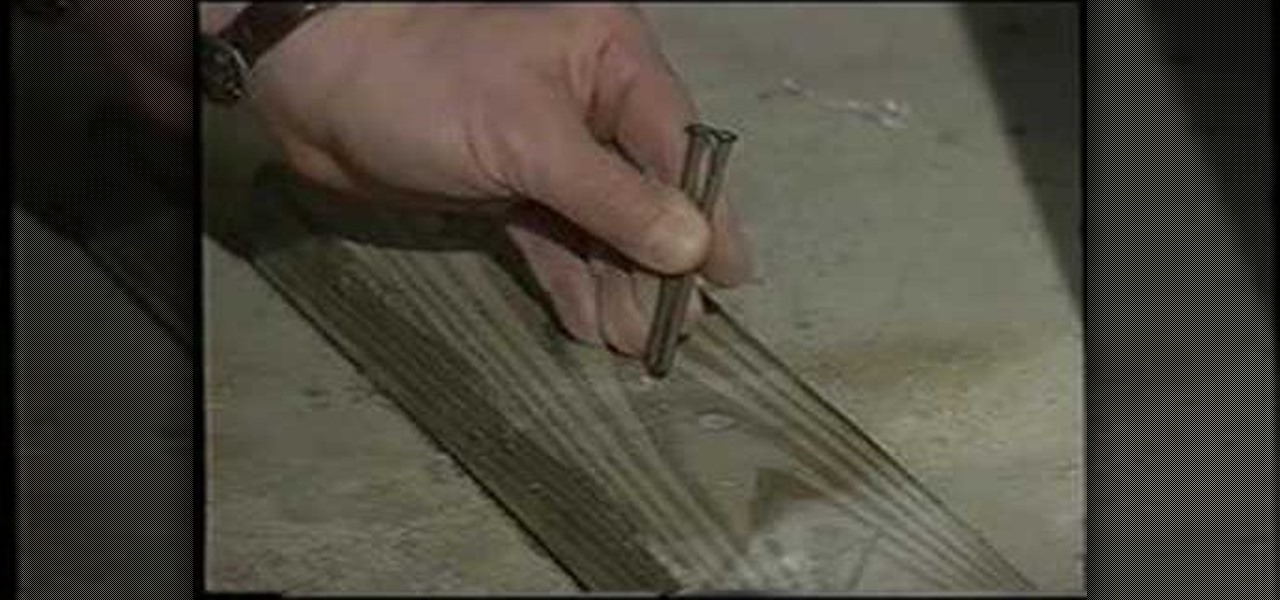
Tim Carter, of Ask the Builder, demonstrates a really simple way to nail wood to a concrete floor in your home with a simple rotor hammer drill.

Tim Carter, of Ask the Builder, demonstrates three easy ways to remove nails from pieces of wood, like trim or baseboards, so they can be reused in future home projects.

Tim Carter, of Ask the Builder, demonstrates two ways to prevent wood from splitting while nailing it down with your hammer in your home repair projects.
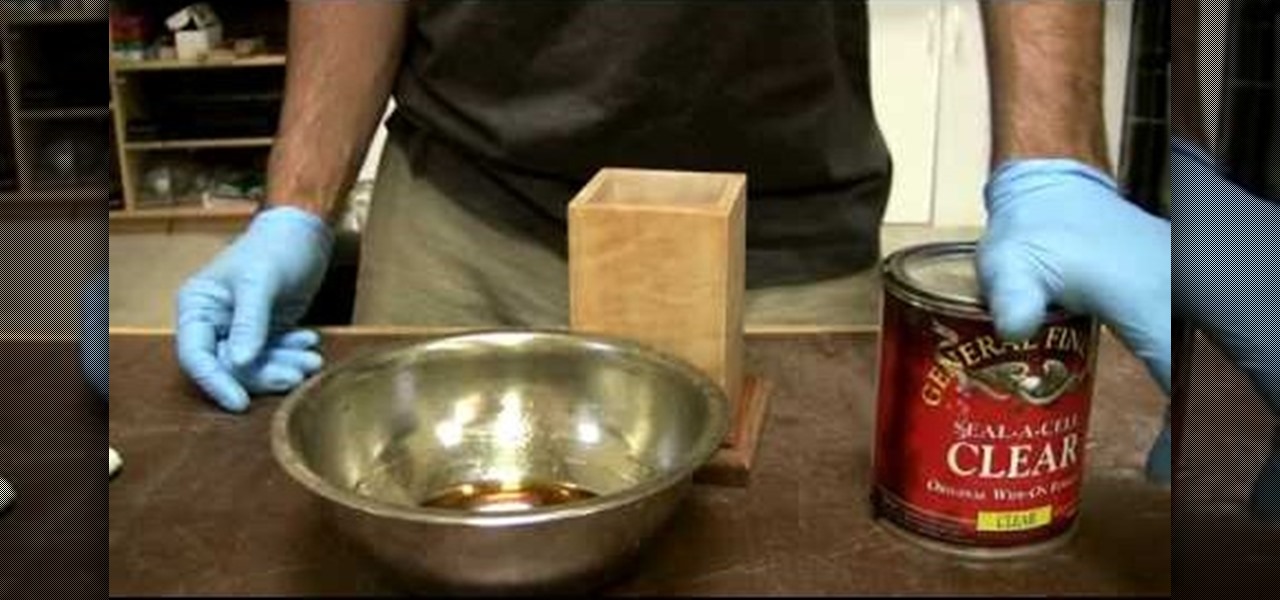
Learn about different finishes. In this video, the Wood Whisperer puts the finish on a pencil holder. It's not just any finish. Since we are working with a beautiful curly maple, the finish deserves a little extra special attention. Learn how to pop the grain.

Hydrangea is a garden favorite. It has lovely blooms and can become a good sized plant. Many ask when should it be pruned or cut back. A good rule of thumb is to understand that Hydrangeas bloom on old wood. As soon as the flowers are spent, as soon as they start to turn brown it is a good idea to prune. This allows a maximum time for the branch to grow, set new wood which will then turn into old wood and produce more flowers.

There are several ways of protecting the wood on your deck. You can paint it, stain it, or seal it. I chose to seal my deck because I want to keep the natural wood color. You will need to repeat this process every few years depending on the effectiveness of the sealer you purchased.
Tim Carter demonstrates two common ways to accomplish a mortise cut into a piece of wood. Limited tools and techniques make for an easy job to accomplish.
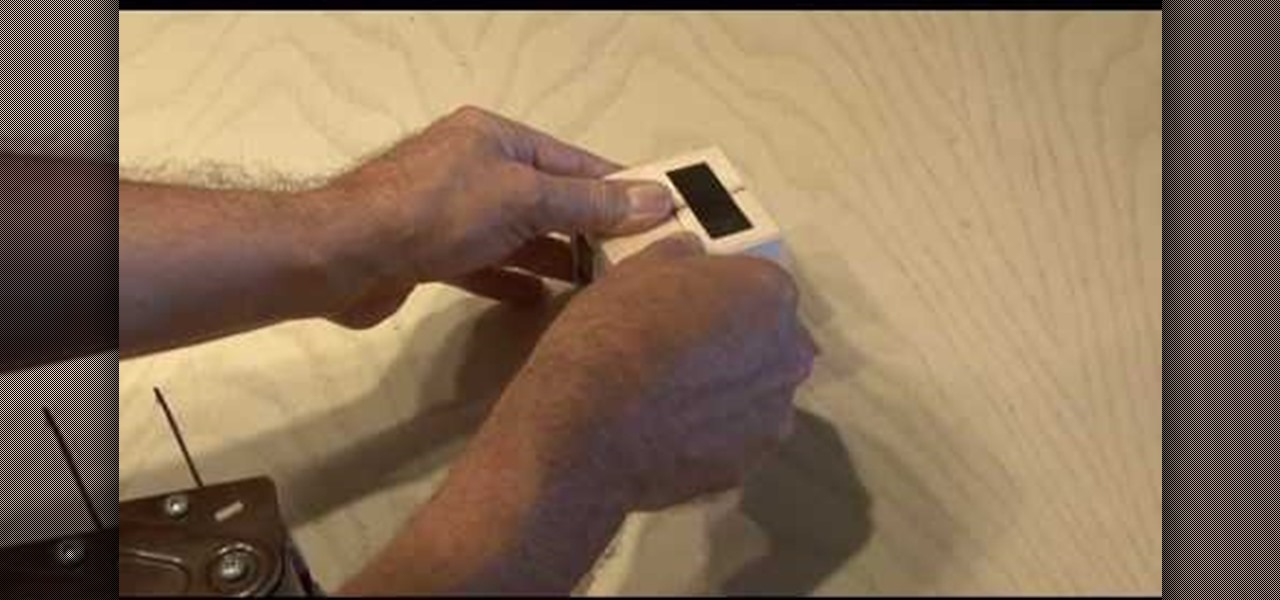
In this tutorial, we learn how to make a photo cube. This project can be done in a couple of hours and only costs a couple of dollars! To start, you will first get an exact measurement of the width of your wood. After marking these, you will cut the wood using a band saw. After the eight blocks are finished, line them up in a cube and use clear packing tape to secure them together. Use a sharp blade to trip the tape. You can then open up the cube to show six different sides and tape your phot...

In this tutorial we learn how to build pet steps for your animals with Lowe's. Start out with making the lines for the sides of our steps on a piece of ply wood. Cut these out with a circular saw and then start assembling the steps. Use wood glue, nails and a hammer to do this. After you have these assembled from the bottom up you can insert the steps for the inside of the stairs. Make sure all of this is secure and everything is nailed in properly. Then, add in padding to the steps for your ...
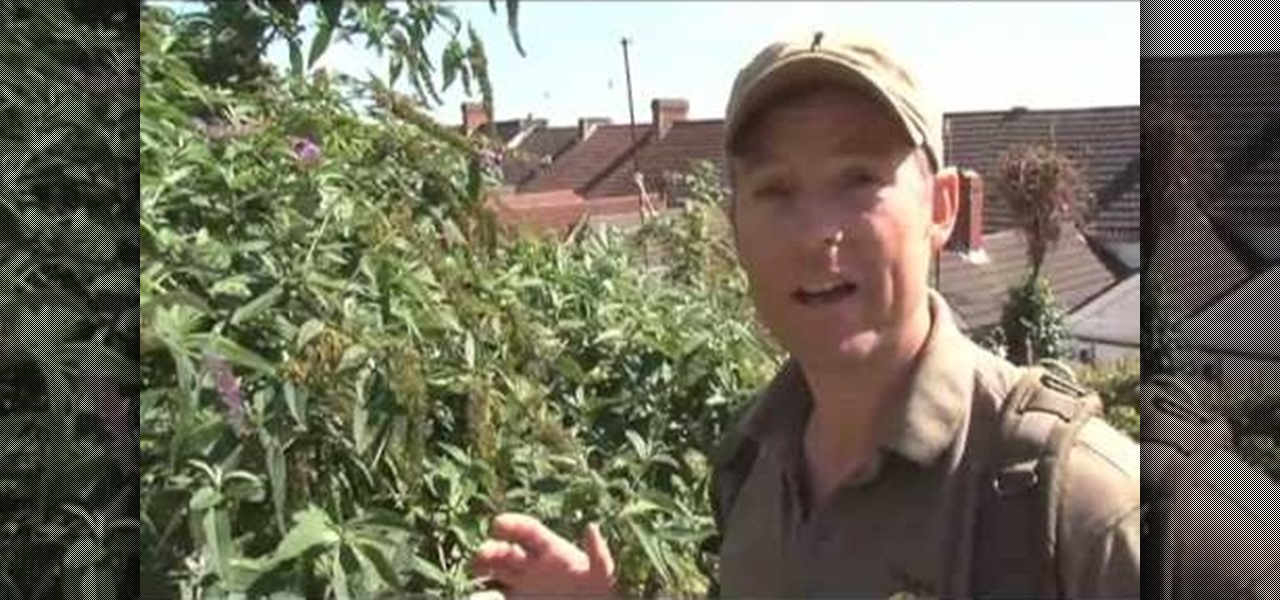
Forget surviving the wilderness— surviving the city is hard enough! This video talks about herbs, bushes, plants and trees that you can use in a survival situation in an urban environment. If you're down on your luck, forget about coins on the street corner and survive off your natural environment.

In this next woodworking tutorial, you'll find out how to make a favorite game using, of course, wood!
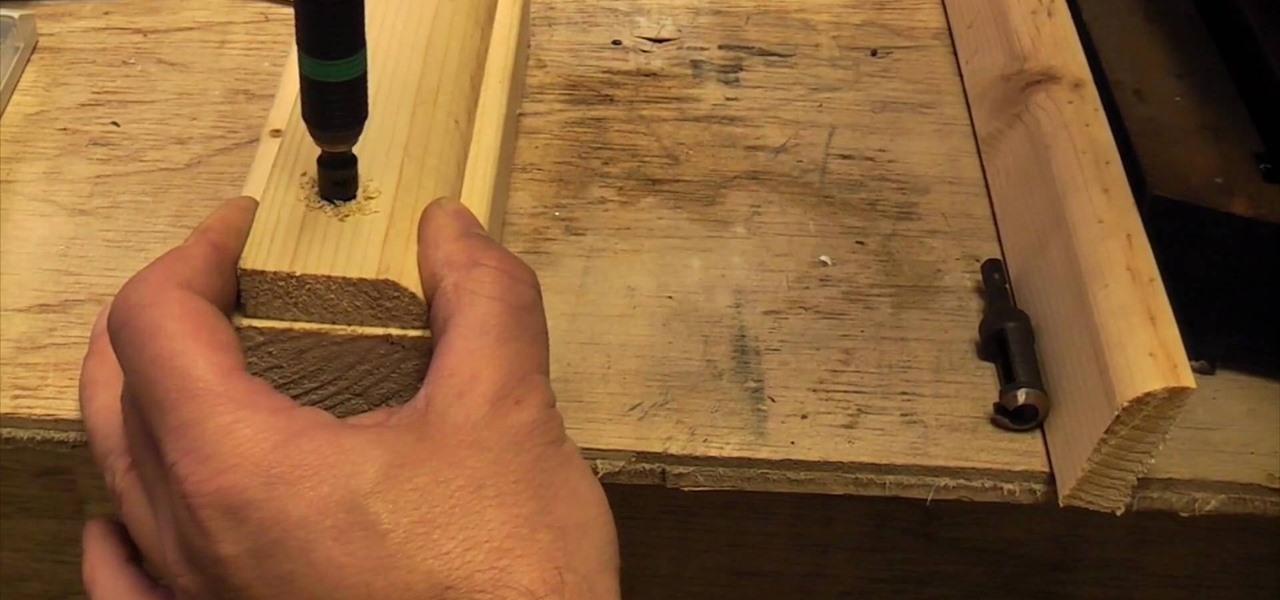
In this Home & Garden video tutorial you will learn how to conceal screw heads. This video is from www.ultimatehandyman.co.uk. It is very easy to do. You will need a kit called screw digger and plug cutter set for size 8 or size 10 wood screws. Using the drill bit from the set, drill the hole. This will drill a hole for fitting a plug in addition to the hole for the screw. Now take a piece of similar wood and cut out a plug with the plug cutter tool as shown in the video. Drive the screw in t...

If you are in the wild and have nothing to do, just to play around with your knife , then you should surely watch this video. First, you have to find a knife. After that you must find a good branch or piece of wood that's the same size as a spear. After that you must take the branch or piece of wood and sharpen one of the ends. Then , you must put the sharpened end in the fire so it begins to turn black. After that cut it again and this time cut it so it will be sharp enough to cut. It can se...

This video explains how to build a shaded vegetable garden. The instructor begins the video my explaining the benefits using a shaded garden as it offers protection from hail, heavy rains and gives you the ability to control the outdoor temperature better. The simplest way to build your shaded building is to place large wood forms into the ground and place wood planks over the top of each and nailing them into place. The entire frame is then covered with a plexiglass roofing to keep out rain ...

In this how-to video, you will learn how to trim rose bushes. You will need a pair of shears and roses. Cut anything growing from the summer. You should also cut any old wood as well. This will leave new growth for the rose bushes. The best way to remove this is to go in and cut it with almost an inch of cane left. Continue to cut the dead wood. Next, prune above the buds on the top. Do this all around the bush. Make sure they are all about the same height. Look for a good outside bud before ...

On this video from Bushcraft Machete, he explains the purpose of a scandi edge and how to use it. He uses the machete as a planer, stripping the bark from a log by holding the machete almost flat against the log and tapping the back of the blade with a stick. He explains that a scandi edge is sharpened all the way down to a point and has a very low angle. This type of edge makes the machete useful for carving off thin strips of wood. He has sharpened his machete with a scandi edge near the ha...
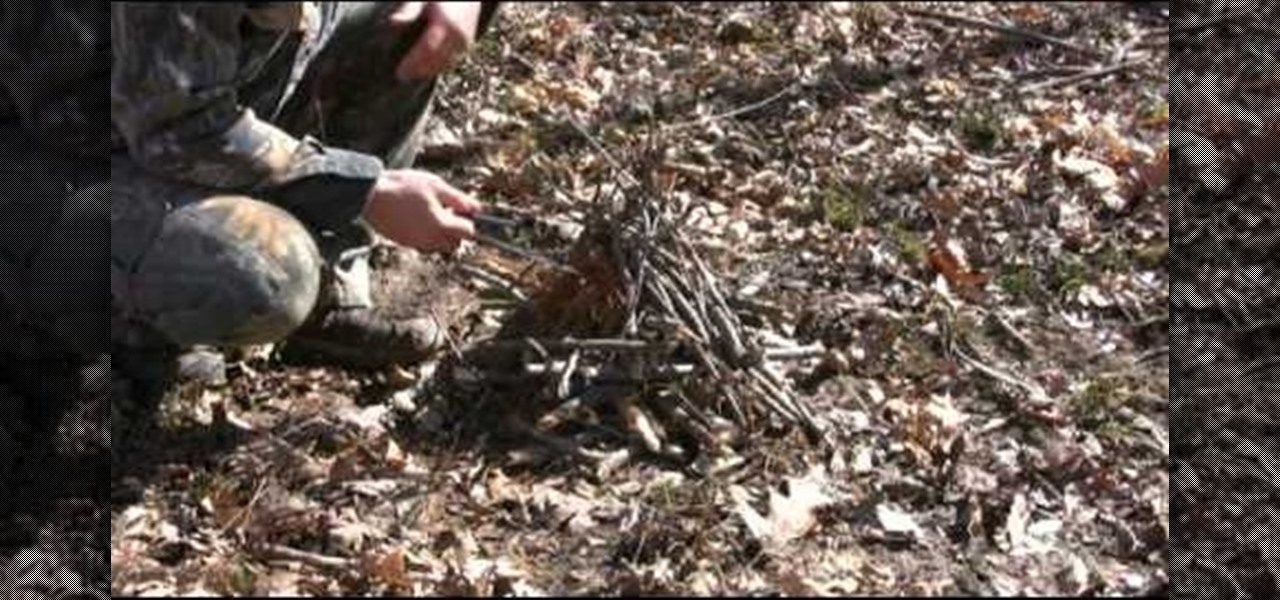
This instructional video demonstrates a technique for building a fire structure that will burn continuously and does not require ANY managing. This is a great method to know if you need the heat from a fire while you are sleeping, but do not want to wake up repeatedly during the night to add more wood.

Mike demonstrates how to create seamless tileable textures using just Photoshop. In episode #40, Mike used a Photoshop plugin called imageSynth to create similar textures of organic materials. However, in this episode, Mike explains how its probably better to use Photoshop alone when it comes to more rigid textures such as wood and tile. These textures can then be applied to your SketchUp models. See how to create perfect, detailed wood, tile, and other floor textures in Photoshop for use in ...
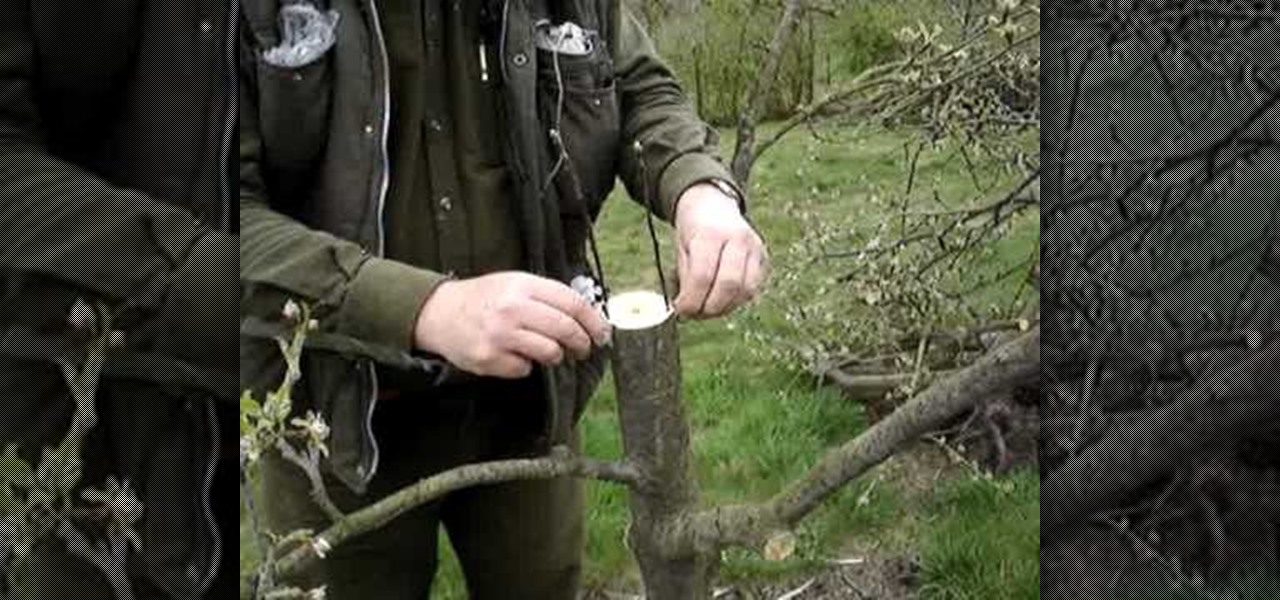
Grafting, also known as "top working," is simple-but-essential technique that enables you to change the variety of fruit a tree bears. In this tutorial, Stephen Hayes of Fruitwise Apples Heritage demonstrates the rind grafting technique, a useful method for grafting over a sound-but-unwanted apple or pear tree.

Take a look at this instructional video and learn how to perform the long board trick chopping the wood. This trick is performed by jumping the heel side of the board with the front foot while kick the back foot out and then jumping back toe side. This is done while carving and you can set it up with combinations of other tricks such as walking the plank or the cross step. Be sure to wear safety gear when attempting this trick.

Faraday Future's all-electric super sports car concept attracted a lot of attention at CES earlier this year, but now it is struggling to replace key driverless engineers and program directors who left the company amid its recent financial troubles.
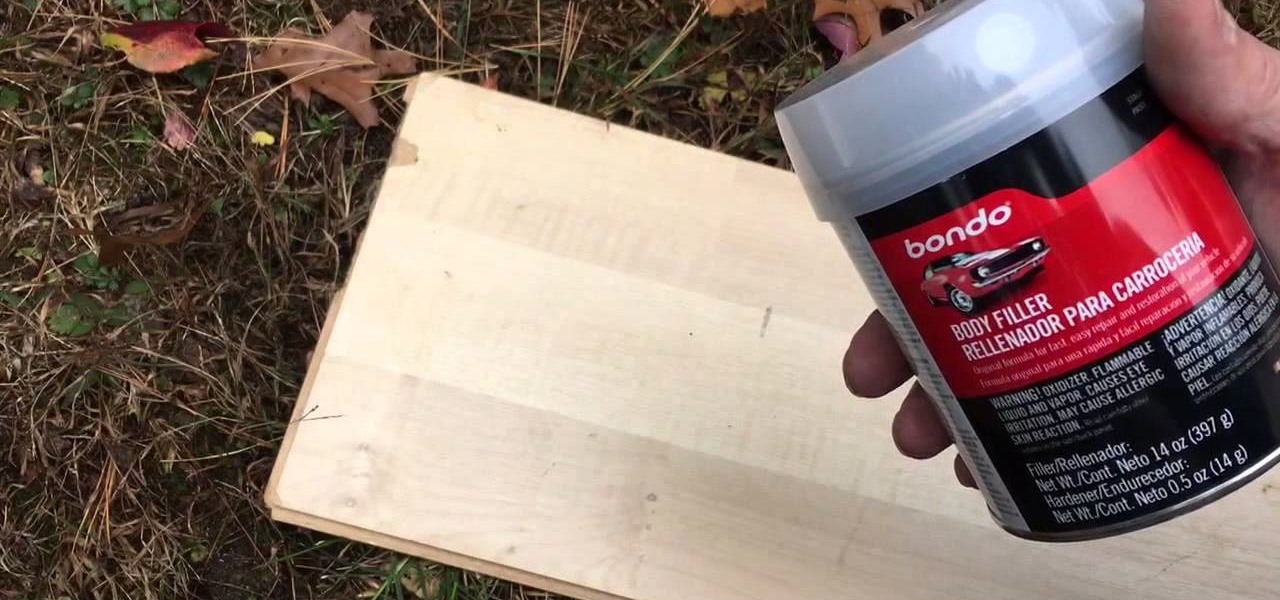
This video will show you how to fix a wood pecker hole in the side of your house.

A video tutorial that demonstrates how to make this hemp choker necklace with square knots and wood beads step by step.
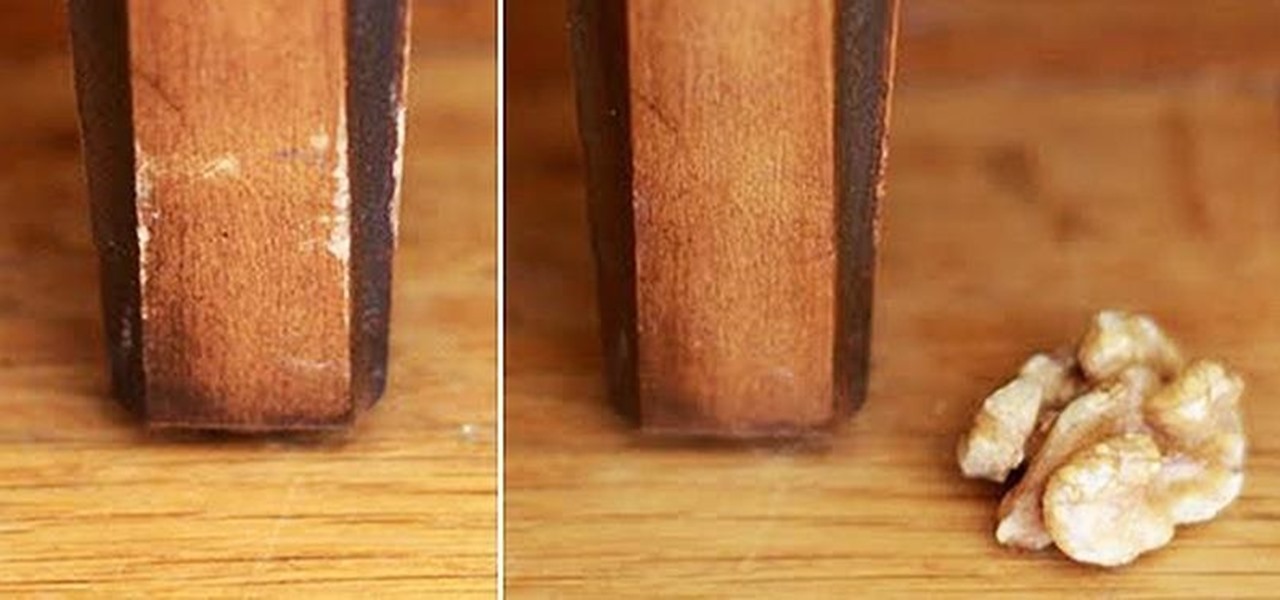
Furniture gets beat up—it's a fact of life. Your beautiful tables will end up scratched, the legs of your chairs will grow nicked, and you'll find interesting dents and damage in other places around the house, too. Yet if most of your furniture is made of wood, you don't have to live with unsightly scratches. In fact, you can remove years of damage with a simple snack food: nuts.
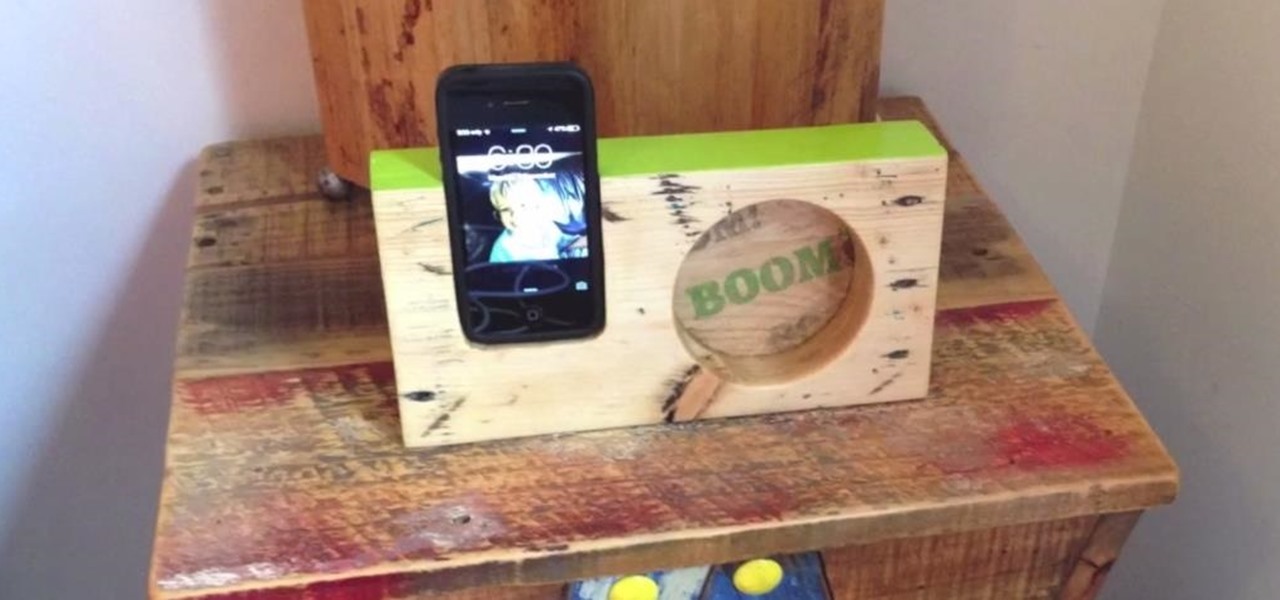
This pallet wood project is a really cool pallet project as you can make it from just one pallet board, it's super easy to make, and it's virtually free. The extra sound that comes out is quite surprising. Having said that, don't expect it to sound like a fully fledged designated speaker or you'll be disappointed.
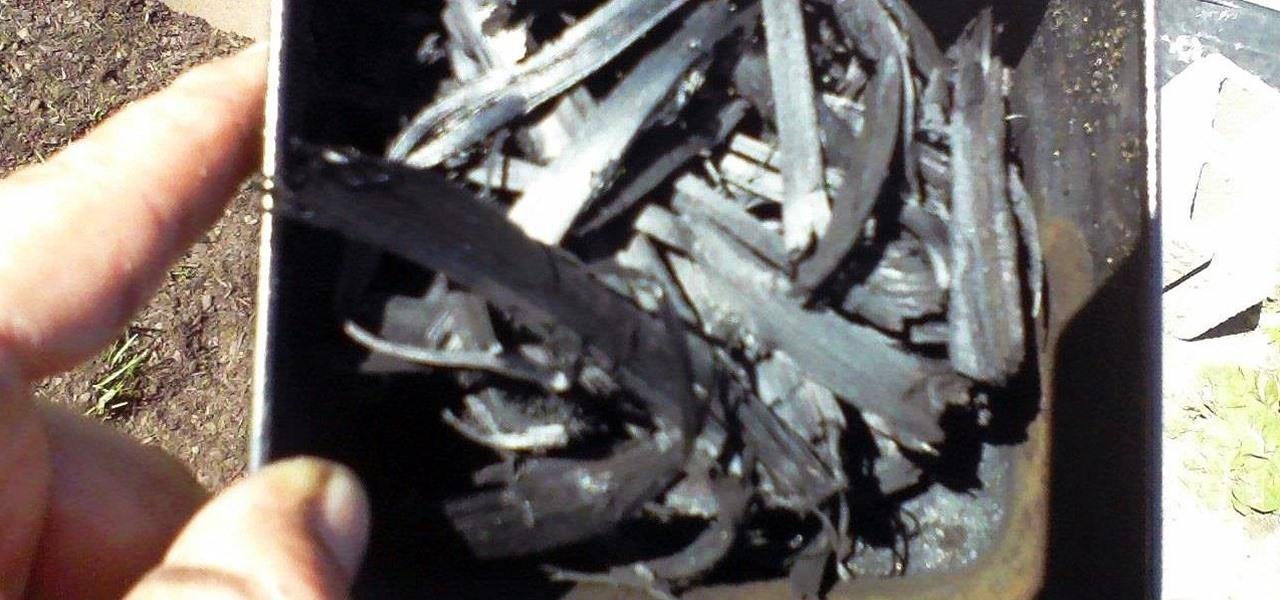
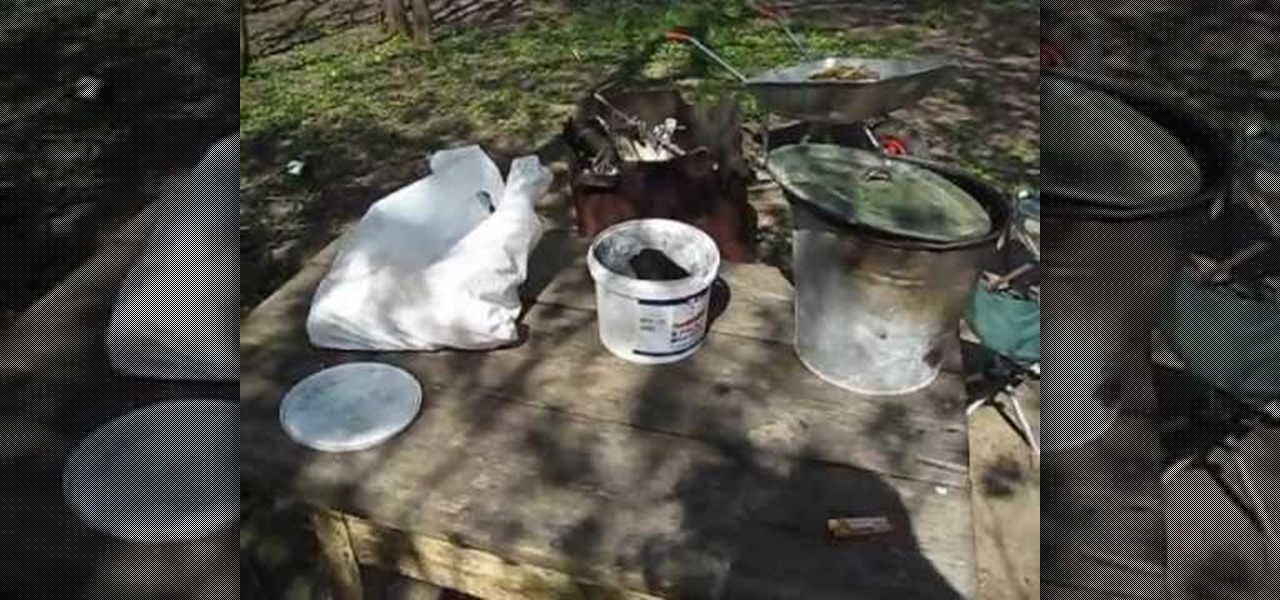
Hello, all. In this article, I will be showing you how to make one of the most useful products known to man. I am talking, of course, about charcoal.
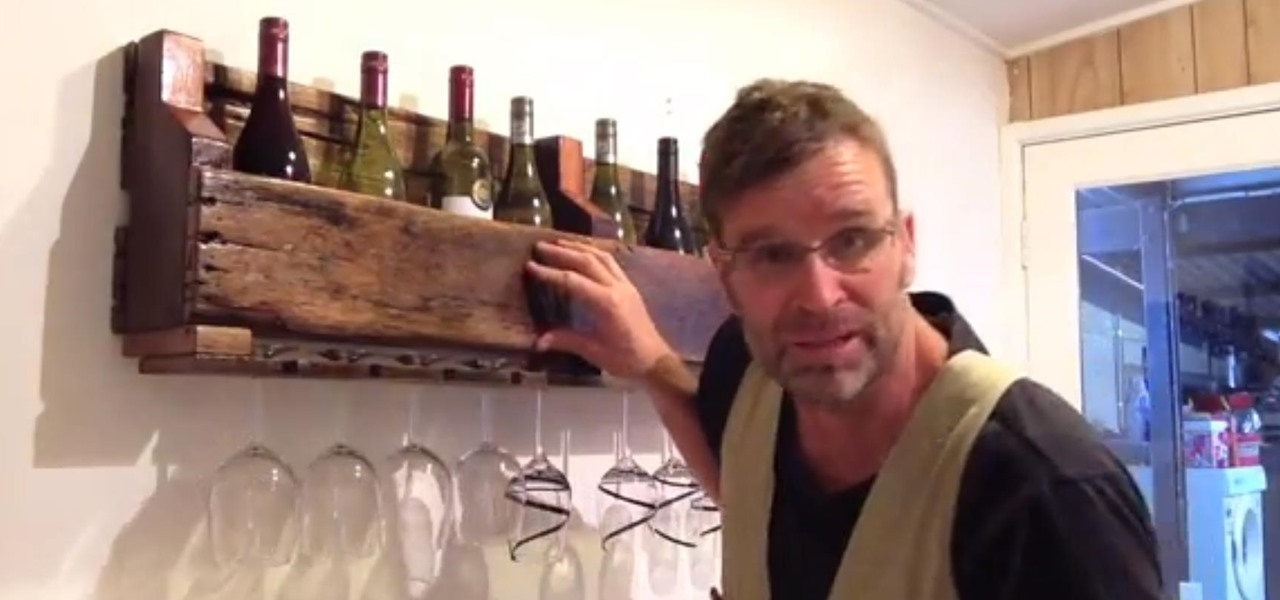
This is how to build a wine rack out of pallet wood. I was tossing around some wine rack ideas and decided that pallet wood, or reclaimed wood, is the perfect choice for a rustic wine rack. All you need for this project is an old pallet (for me a hardwood one is my choice). A pallet that has seen some wear is preferable so as to achieve that rustic look.

It's known that during the Thirty Years' War that took place in Europe between 1618 and 1648, soldiers used Swedish fire torches (also called Canadian candles) for heating, lighting, and cooking meals.
