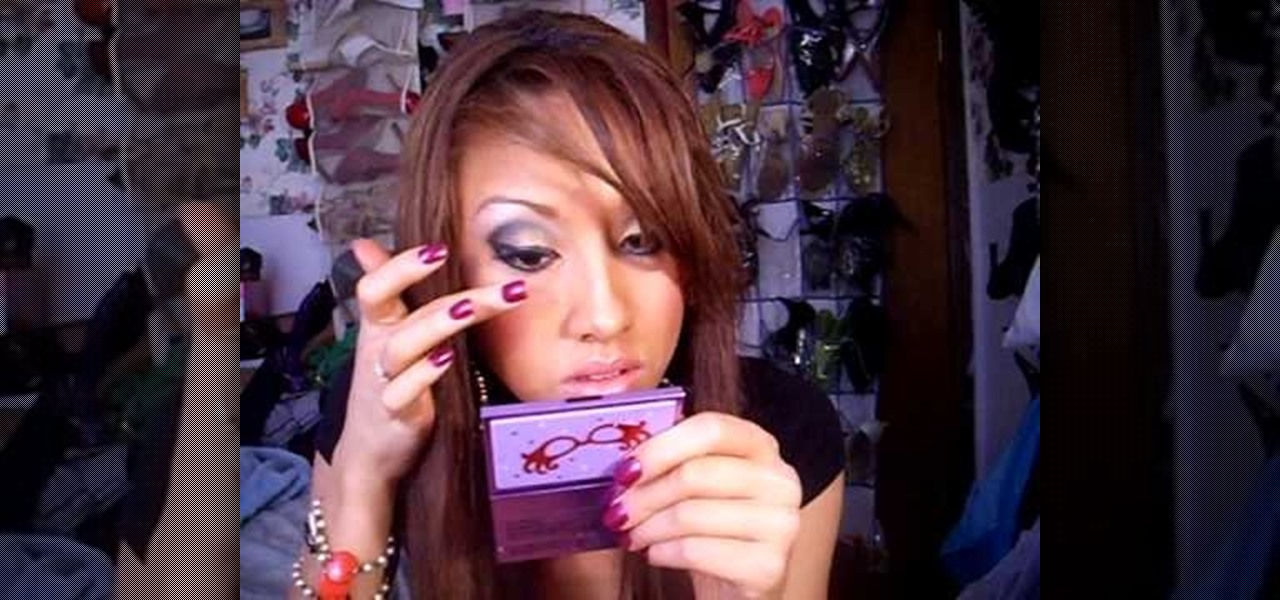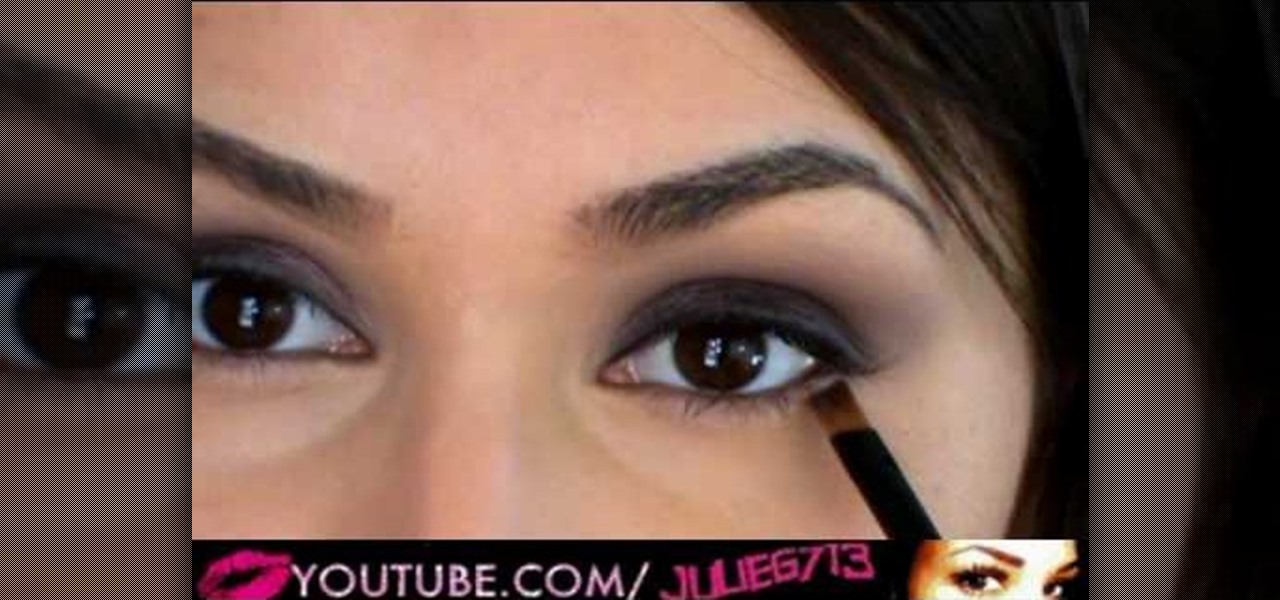
There exists a small set of makeup skills that is essential for your fashionable survival in the lipstick jungle: How to do the perfect red lip, how to shape and drawn in your brows, and how to do the perfect smokey eye. With these skills you'll be able to create a makeup look to suit any occasion, and we guarantee it.
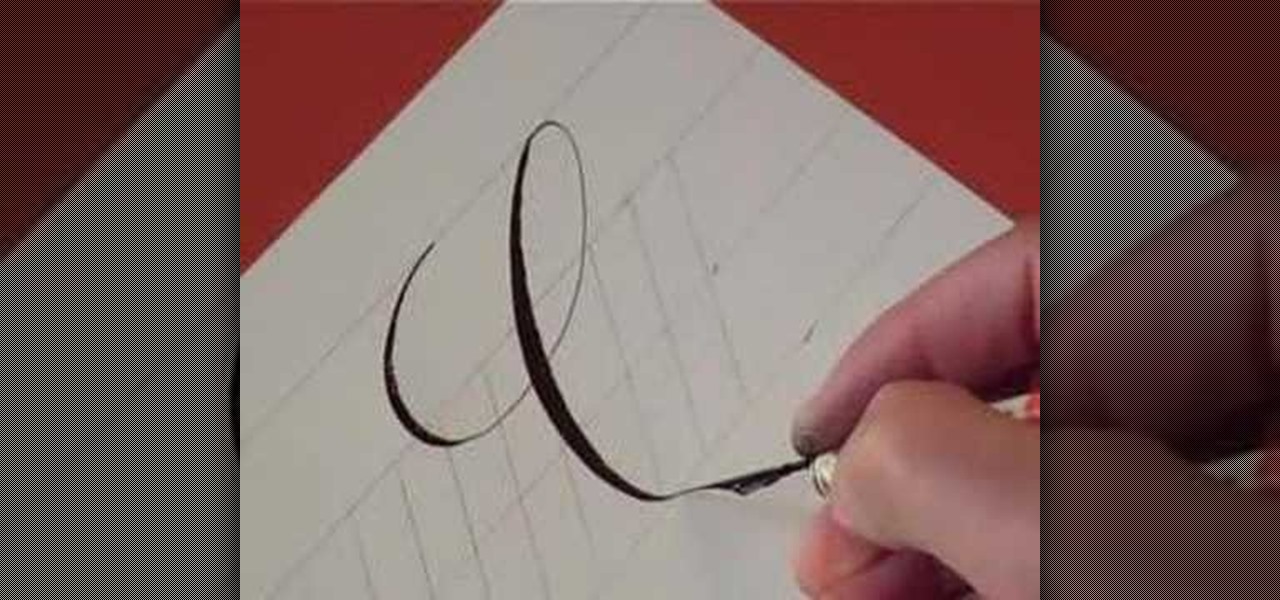
In this video, we learn how to write the letter "c" in calligraphy copperplate. First, dip your calligraphy pen into ink and start out making a large half circle on the paper. Dip the pen into ink again and make a loop with the top of the letter, then drag the pen down, making the "c" shape. End the letter with a loop on the bottom that isn't touching the inside of the letter. Make the lower case "c" by drawing the basic shape of the letter and adding a ball filled in with ink to the top of t...
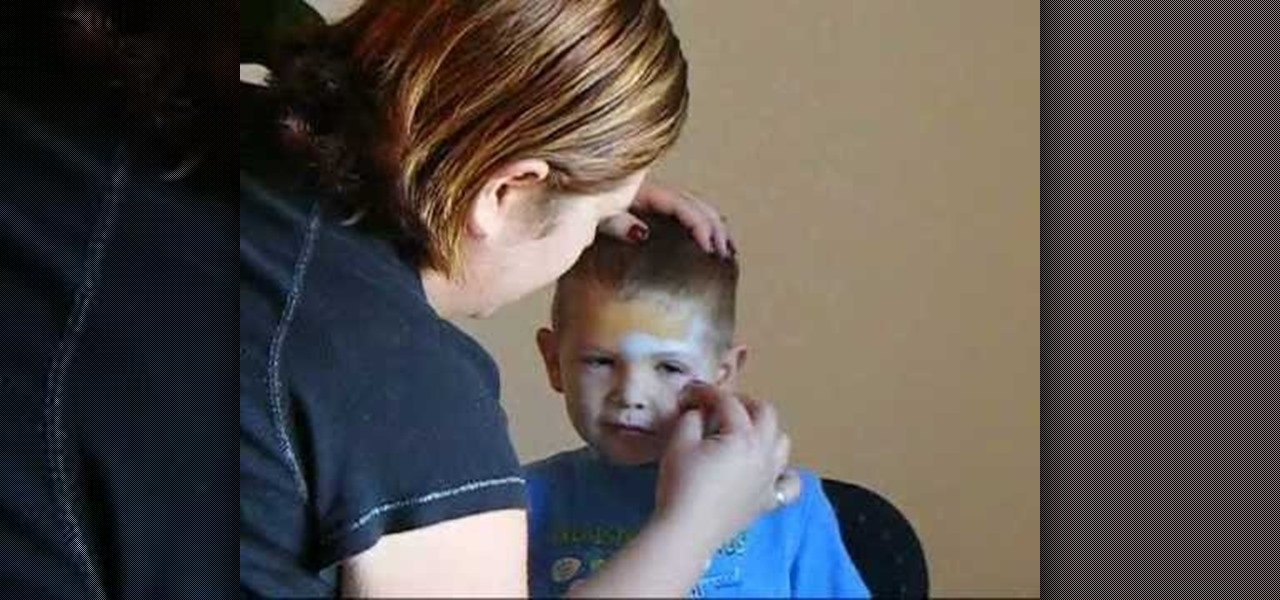
In this video, we learn how to do Batman face paint. First, you will need to apply a metallic silver paint to make a mask Batman design around the eyes. Next, use a fine tip brush to paint black for the outline around the Batman design. You may need to have the logo printed out by you so you know how to paint it. Next, draw a circle around each of the eyes, then you will have the completed Batman face paint! This is great for children and is extremely easy to do. This is great for parties and...
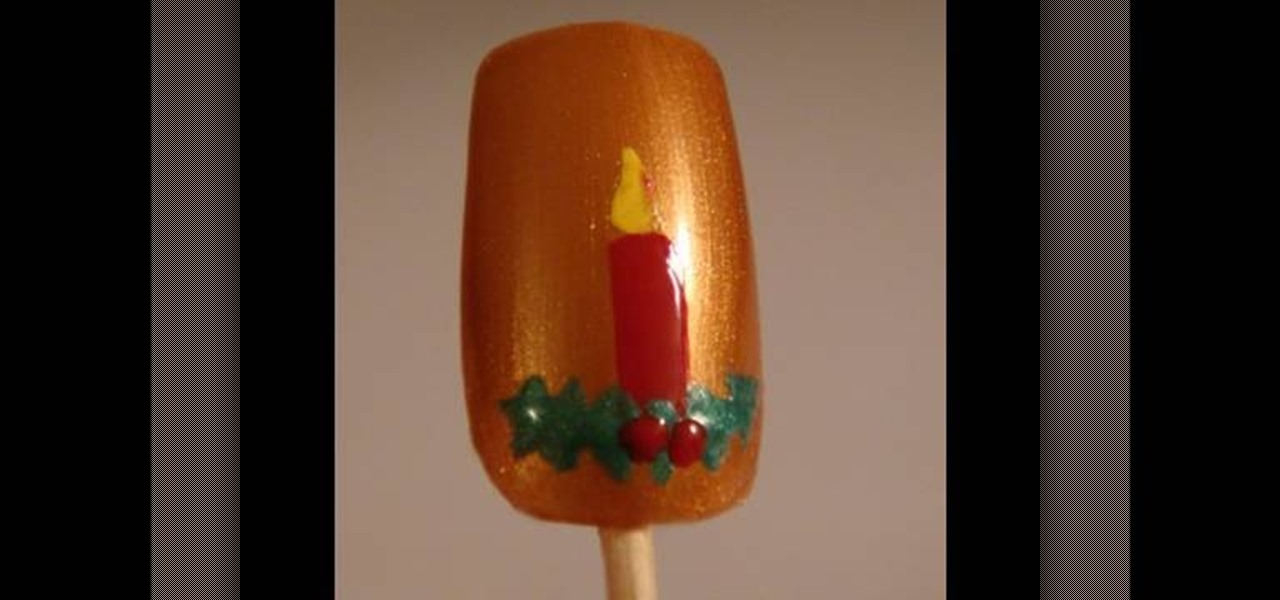
In this tutorial, we learn how to design Christmas holiday winter nails. First, purchase acrylic nails and paint them a burnt orange or copper color. Now, take a very small and pointed brush and dip it into red nail polish. Draw a candle onto the acrylic nail, then paint green around it to make holly and yellow above it to make a flame. Set this aside and let it dry, then continue to decorate the rest of your nails with either the same design or something else Christmas related. Apply to your...

In this video, we learn how to use a text box in Excel 2007. To do this, you will go to the insert tab and then go to the text box and select text box. Now, draw yourself a text box then highlight and copy the text you want, then paste it in. now you will have a paragraph of text written on top of your cells. You don't have to copy and paste, you can type it in as well. If you want to format the text, right click in the box and then change the preferences you want to change to format the text...

What happened to those carefree days in our childhood when we didn't care how we looked and slapped on our mother's makeup, completely out of the lines, drawing and doodling on our face just because it was fun? These days, putting on makeup is all about making impressions. Going to the office? Slap on some neutral, non-intimindating shadow and pretty but not too sexy lipstick. Going to the club? Go a bit smokier with the eyes to try outdo all the other girls there and get the guy.

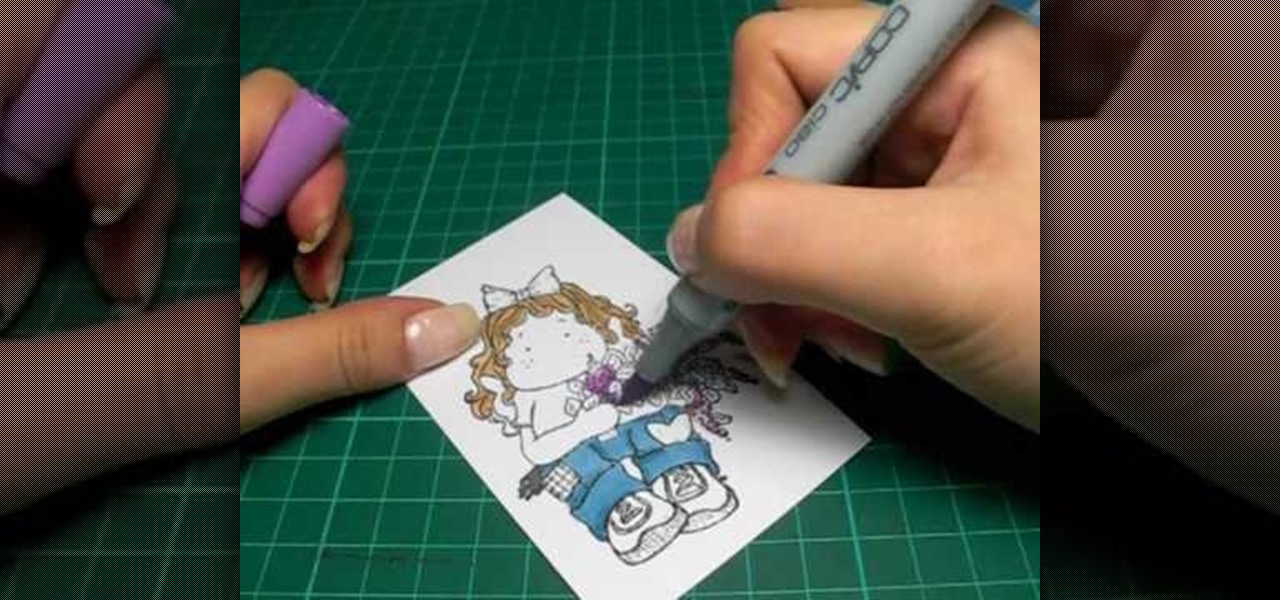
In this tutorial, we learn how to color with Copic pens. First, grab a picture that you want to color with your pens. After this, start to color in the picture with your different colored pens. After you fill in the colors, use a darker colored pen to add in shading and make the lines darker along the sides. Continue to color in your picture, adding shading where you prefer. Add in different colors and make the lines darker when you want them to look more bold. Make sure to add in highlights ...

In this tutorial, we learn how to make a pig out of punches. First, you will need to have white paper, pink paper, and black paper. You will also need punches that are in star shapes, different circle sizes, oblong shapes, and a flower shape. TO put this together, first glue a small heart shape to the bottom of the oblong shape and set to dry. Next, take a large pink circle and place two white dots and black dots on top to make the face. Next, draw two black circles onto a smaller pink circle...

In this tutorial, we learn how to make a sniper rifle movie prop. First, go to this website to get the blueprints: Sniper. After this, draw your gun out onto a poster board and cut it out, you will do this for around 6 of these poster boards. When you are finished, use the hot glue gun to stick all of these together. Next, sand out the sides and attach duct tape to the sides to keep it together. After this, grab two empty water bottles and an empty toilet paper roll. Cut around the top of the...

In this tutorial, we learn how to create stencil graffiti. First, take a picture and then separate into four layers. After you do this, you will draw out each layer and then cut each of them out. After you do this, synchronize all of the layers. Next, spray paint the background color. Last, you will add color to the actual picture then wait until it dries. This is a great idea for wall art for your home, and it adds a unique touch. Make sure to take your time with this when painting on the st...

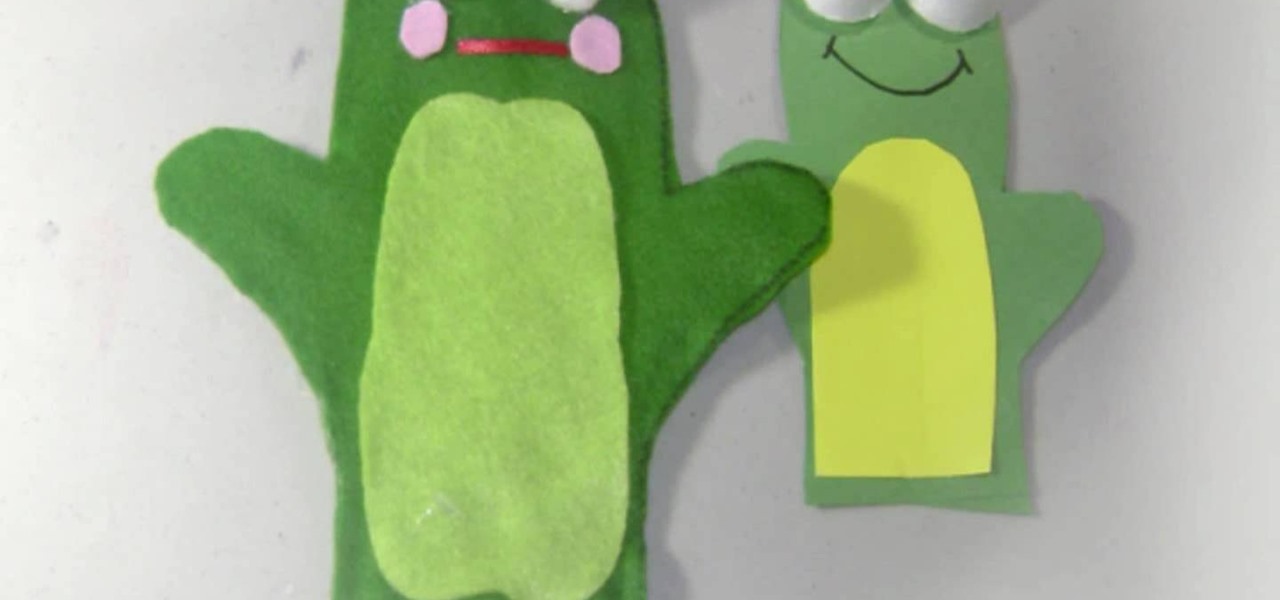
In this Family video tutorial you will learn how to craft felt frog puppets with your kids. The materials you will need for this are felt (pink, dark and light green), a piece of red lace, 2 large white pompoms, 2 small black pompoms, scissors, glue and marker. Take two layers of dark green felt and draw out the outline of half of the left palm. Fold the felts in half and cut out the outline. Stick the two pieces along the edges to make a glove. Next cut a rectangular piece out of the light g...

In this video, we learn how to create a gold and dark blue eyeshadow look. To start off, apply a primer to the top of the eyelid. Next, apply a gold eyeshadow to the entire eyelid, adding more on the crease of the eye going down to the bottom line. Next, brush a dark blue eyeshadow along the crease of the eye onto the outer edge of the eye. After this, apply a black eyeshadow to the outer edge of the eye and then blend the colors together. Next, draw black eyeshadow onto the bottom of the eye...

This video tutorial is in the Software category which will show you how to create a website in Dreamweaver and Photoshop. Open Dreamweaver and make sure you have the view on table mode. In the table mode, draw layout table and draw layout cells tools are alive. To define a new site, go to file > new folder and give the folder a name. then go to site > new site. On the site definition window that comes up now, give a name to your site and click next. Finally save this page into the ROOT folder...

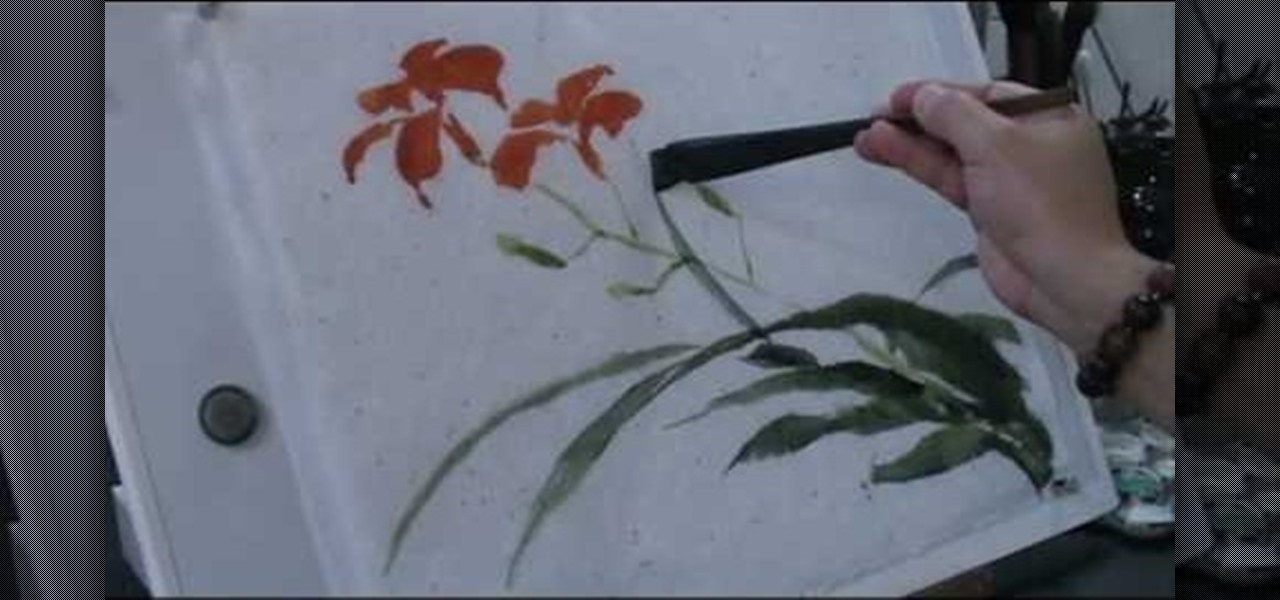
This video demonstration will teach you how to draw a Daylily in the Han Chinese painting style. It is very detailed, and should be easy to follow even for novice painters looking to improve their painting skills. The painter in the video talk you through not only what colors to use and the techniques he uses, but also the significance of the Daylily and the legends surrounding it.

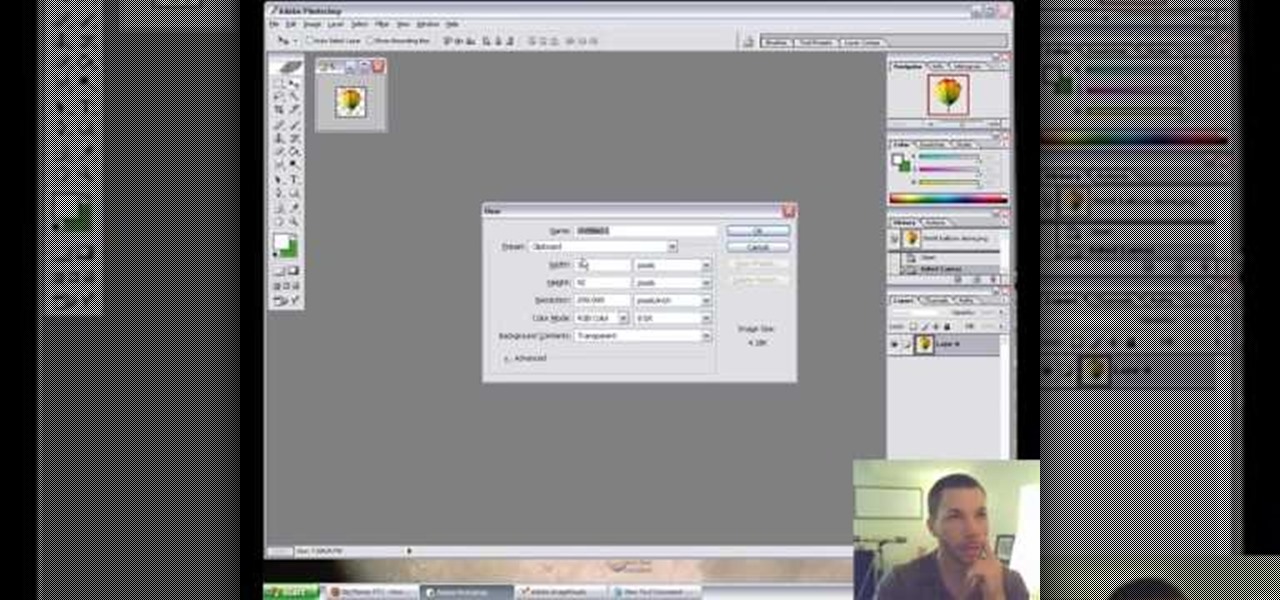
An animated GIF is a great idea for a banner to advertise your website or services. In this tutorial, you will see just how easy it is to make one of these moving objects using Photoshop CS or Adobe ImageReady. Animations draw the eye to your logo much more than an image that is standing still, so if you are looking to get noticed - this is the way to go.

Ballooning is a great way to draw a crowd at carnivals, as a street performer, or at restaurants. In this video, learn how to make a simple balloon alligator - perfect to put a smile on a child's face! Your Balloon Man, Mr. Fudge, is full of balloon tricks! Be sure to find other balloon videos on WonderHowTo from Mr. Fudge teaching everything from animals to planes! In a few twists and a few ties, you'll be an expert balloon artist in no time!

Being able to make balloon animals is a great way to draw a crowd. In this video, learn how to make a simple horse out of balloons - perfect for ballooning beginners. Your Balloon Man, Mr. Fudge, is full of balloon tricks! Be sure to find other balloon videos on WonderHowTo from Mr. Fudge teaching everything from animals to planes! In a few twists and a few ties, you'll be an expert balloon artist in no time!

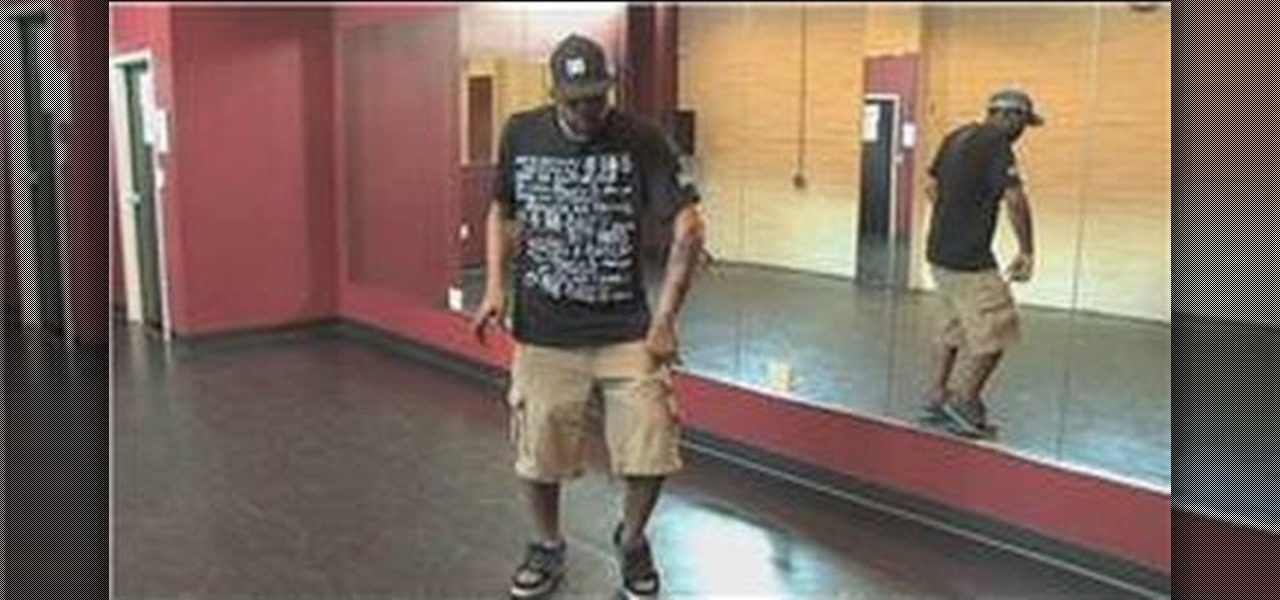
You want to dance like Usher? Usher is a performer who draws much of his influence from Michael Jackson, and one of his signature moves is a variation of the air walk. Find out how to pull off this moonwalk variation with help from this free dance lesson.

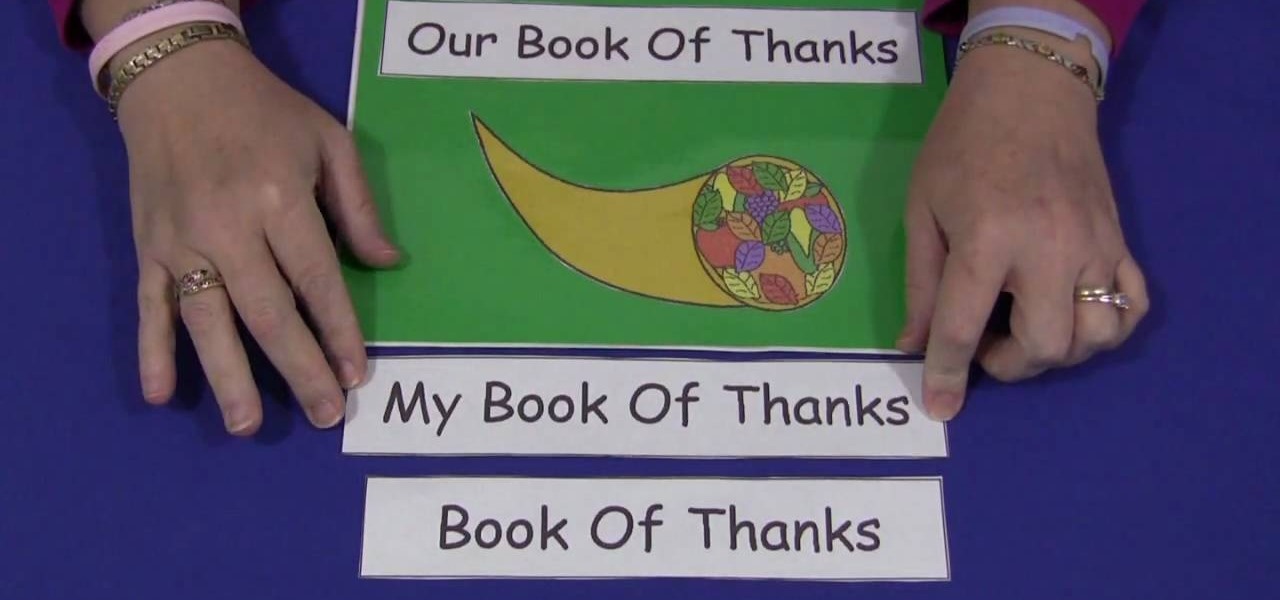
Childcareland demonstrates how to make a Thanksgiving book of thanks with kids in this video. A book of thanks can be done by a group or an individual. It begins a title page which can be labeled to reflect whether it is an individual book called "My Book of Thanks" or an group book called "Our Book of Thanks" or a general book called "Book of Thanks". The back page is a blank match of the cover page. In the middle are five pages labeled "I'm thankful for" with a line for older children to wr...

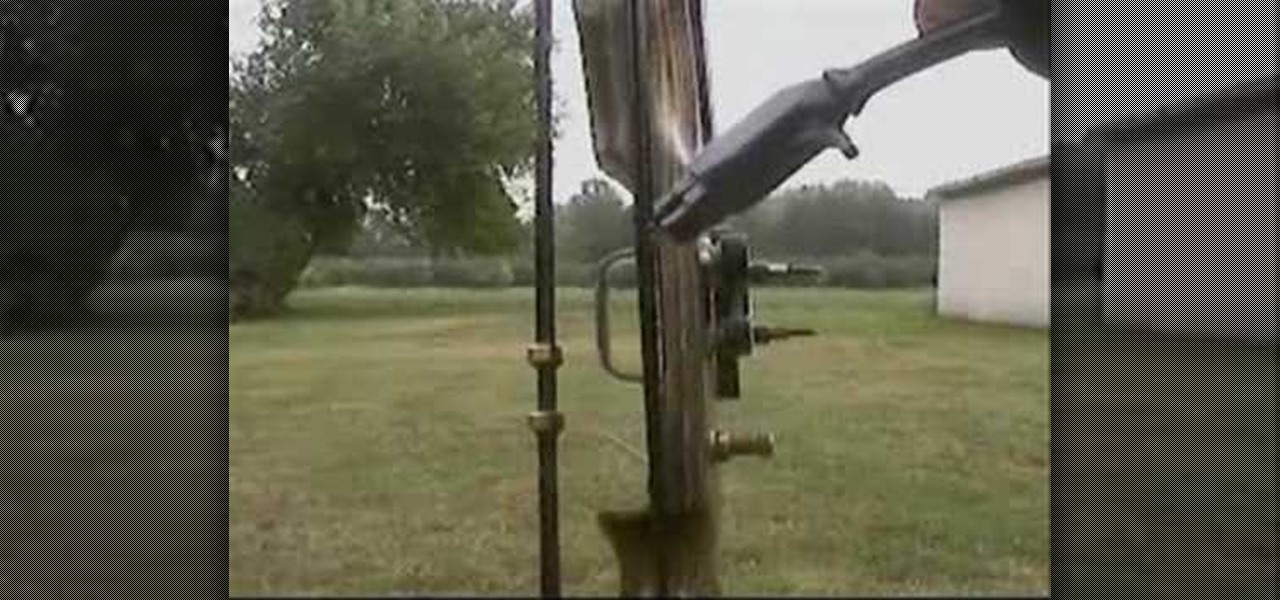
In this video tutorial, viewers learn how to properly shoot and sight in a compound bow. It is recommended that users use a release. Your body should be perpendicular to the target. Hold the bow vertically, and hold it with a relaxed and secure grip. When you are ready to begin shooting, learn a technique that will help you relax and steady the bow. When you draw the bow string back, you should be looking through the peephole on the bow string and where the target and pins come into view. Thi...

Miss 80 Million provides viewers with a step by step tutorial on how to create a ballet slipper look for your nails. Use black sparkle nail polish. Create a French tip with a very deep smile line that goes all the way to the corner. Use the same polish to draw a line straight down the middle vertically. Let it dry. Next take white Art Deco nail polish to create a diagonal pattern across the nail first one way then the other making sure the lines meet in the middle. After it dries, apply a top...

Lego owners sometimes decide to personalize their Lego pieces by drawing on them with permanent marker. If you've ever needed to remove permanent marker from your Lego pieces, here's a surprisingly easy way: You'll need a toothbrush, toothpaste, and a small bowl of water (only about an inch of water will be needed), and of course your marker-covered Lego piece. First apply toothpaste to the toothbrush. Next dunk the Lego piece in the water. Then place the Lego piece in your hand and lightly s...

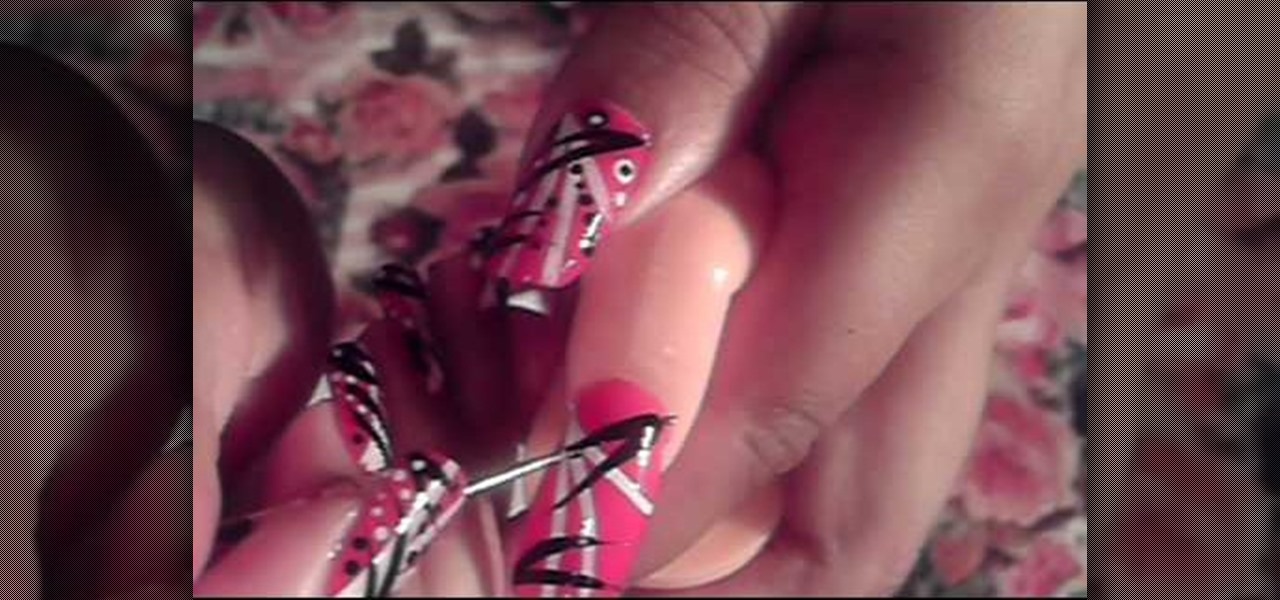
This video illustrate us how to create a sassy red, black and white nail design. Here are the following steps :step 1: First of all remove any previous nail paint.Step 2: Now apply some primer on the nails for long lasting effects of the nail paint.Step 3: Now take red nail paint and apply it all over the nails, let it dry.Step 4:Now take black nail paint and draw fine horizontal lines all over the nail.Step 5 : Now take white nail paint and apply polka dots on these lines as well as on the e...

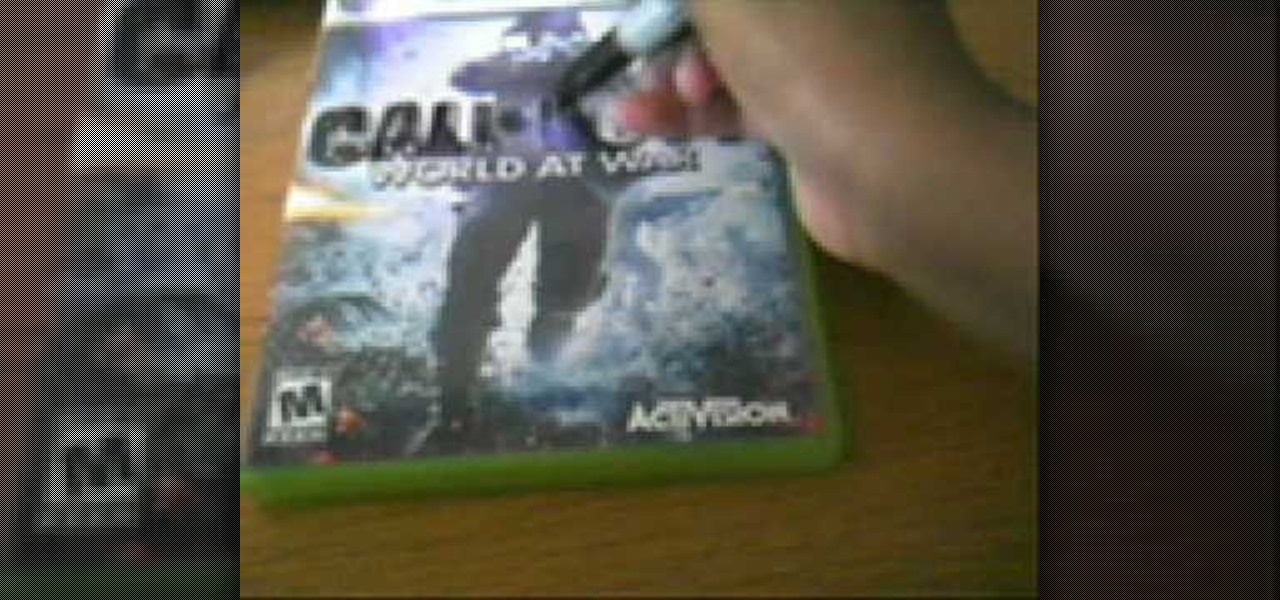
This video is a demonstration set to music about how to remove permanent marker from a plastic surface. It is not narrated. To follow along with this video, all you need is a can of Axe body spray, some clean, dry tissues, and a plastic surface that has permanent marker on it. The video shows a clean video game case, then the person draws and writes all over it with a black sharpie. The person proceeds to spray some Axe body spray all over the permanent marker writing. He or she grabs a clean...

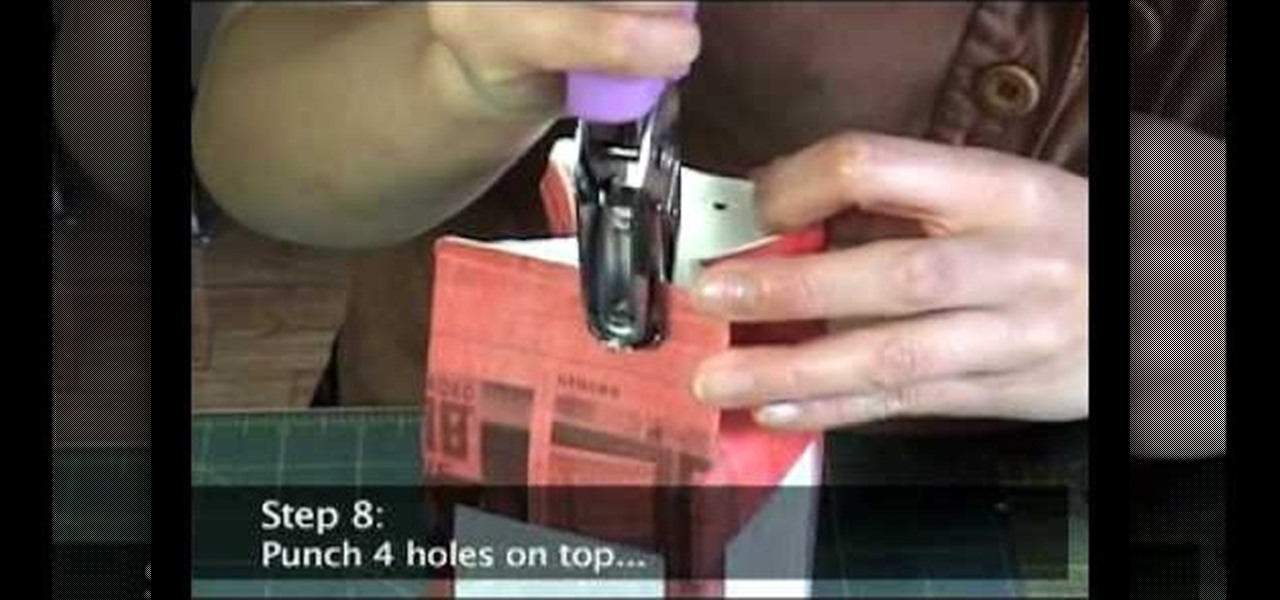
In this video tutorial, viewers will learn how to make a milk carton lantern. This lantern uses recycled items. The materials required for this lamp are: a milk carton, unryu paper, colored newspaper, raffia, ruler, glue gun, hole puncher, X-acto knife, glue stick and scissors. Flatten the milk carton. Draw a rectangle with each panel and measure about 1/2" form each of the sides. Measure about 3/4" from bottom and top. Cut out the rectangles with the X-acto knife. Glue the newspaper to the c...

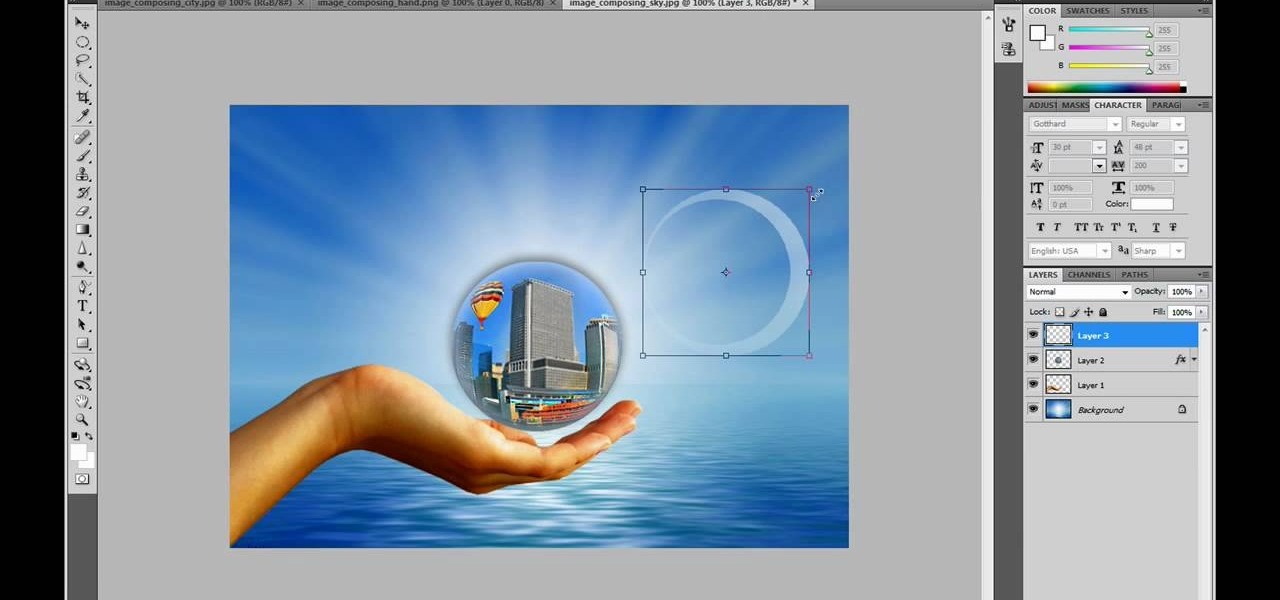
This video in the Software category will show you how to create a real cool manipulated globe in Photoshop. You will combine a few images and distort one of them to create a 3D image of a globe. There are 3 components; the background, a hand and an image globe. First open the background image. Then open the hand image, copy and paste it over the background, resize and position it correctly. Now open the third image, choose the elliptical marquee key, draw a circle and copy and paste it over t...

This is a great instructional video on how to apply star wars makeup. First you have to take off some glue stick to smudge on the second half of your eyebrows. Apply liquid green all over the face. Now apply yellowy green powder allover the face with a brush. Now contour bitches. Draw eye shadows with dark colors and eye brows with black color. Taper it out into a point both on the outer corners going up and in the inner corners going down, an Arabic kind of eye. Now set liner with black powd...

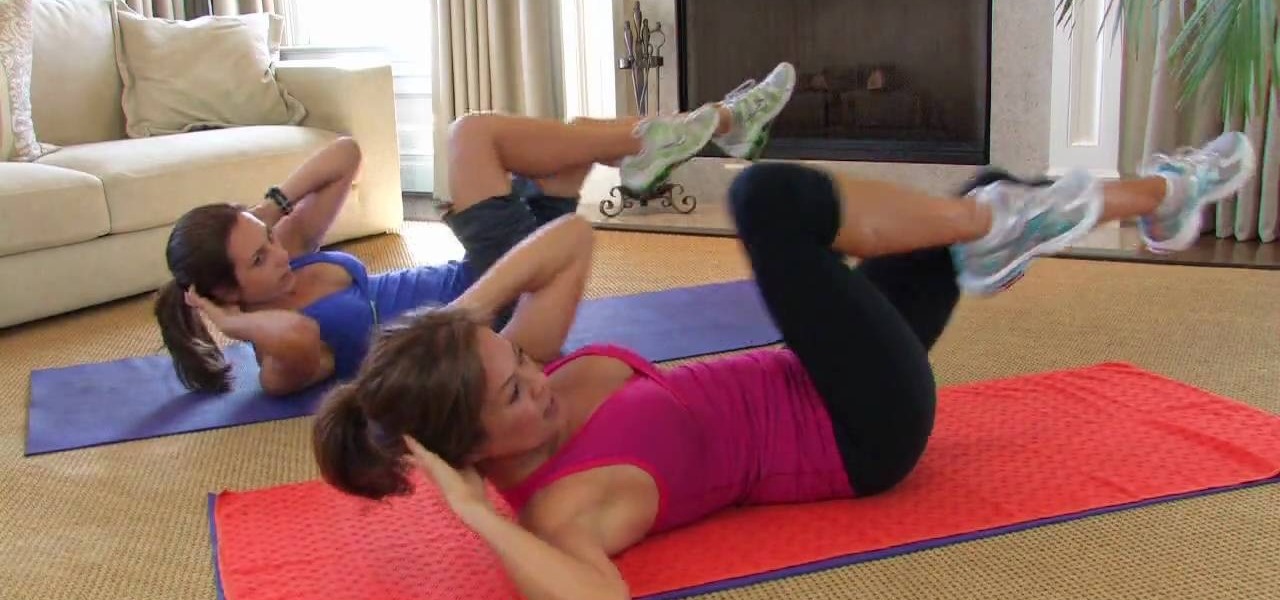
Bicycle crunches consist of lying flat on your back, your hand on the back of your head, knees bent to face the ceiling, feet flat on the floor. To perform the bicycle crunch bring one elbow up toward your opposite knee as you bring the knee toward your elbow. This will cause you to move part of your upper body and you should feel the workout in your abs. As you progressively get better at this move you can bring your legs straight up in to the air. 5 minutes of this 3 times a week should be ...

You can draw intercept in graph. The teacher took 4x + 3y =12 for solving using intercepts and told that the standard form of the equation should have X and Y terminal at the left side and constant at the right side.

In this video we learn how to use Smart Art graphics including creation of Hierarchal charts, flow charts, modify, adding gradients, style, and colors, in Word 2007. The first step is to click on the Smart Art icon in Microsoft Word 2007. Next, you can scroll through the Smart Art object choices. In this example we first want to click on the Text Cycle icon. Once we do that click on OK and the rough drawing will be placed on your document. After that click on design and you can format the gra...

For that, first, click insert, select any shape from the given options. Take drawing tools from format option. In that, we can choose from the most used colors , like, black, blue and red. Also we have options like, fill color. In that, theme color can be used for different type of colors. Also there are options for gradient colors, color effects. We can make 3D effects of the shape we inserted 3D options in format option. In text wrapping option, we have edit wrap points.

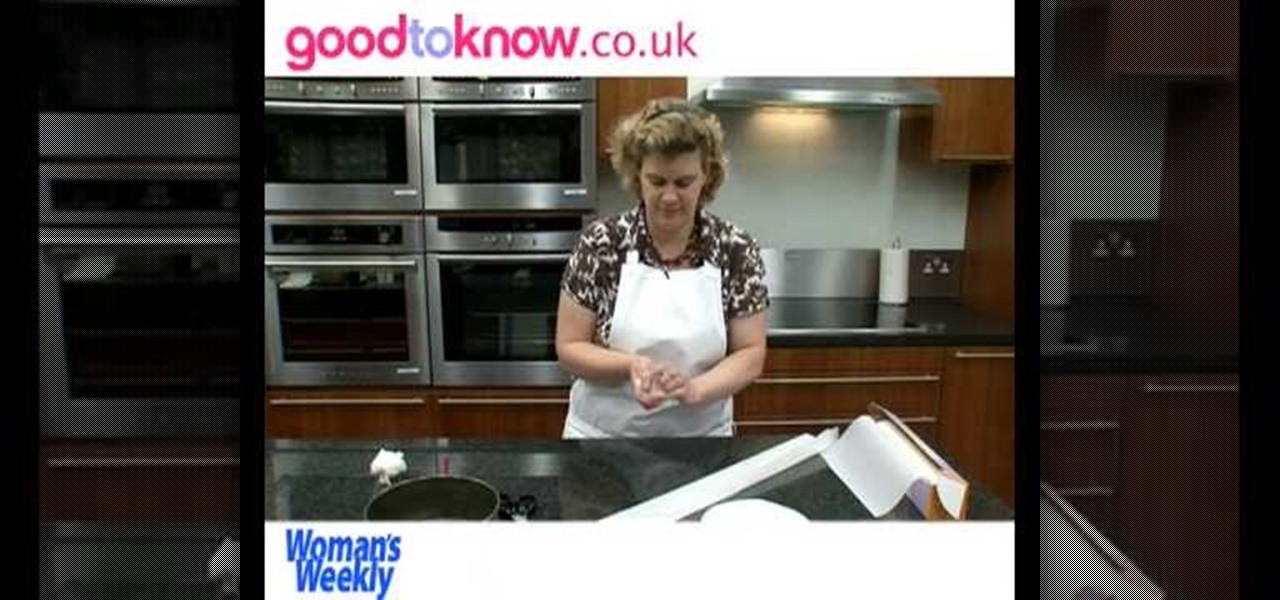
This film from Woman's Weekly shows you how to line a round cake tin. First you take non stick baking parchment. Fold the paper to double thickness, then rest the tin on top and draw around it with a pencil. After that, then cut just inside the pencil line to compensate for the thickness of the tin. For the sides, you roll the tin on its edge, allowing some extra for overlap and a little extra height above the tin. Make a fold a couple of centimeters from the top and then make some cuts from ...

This video shows a quick way to lift your sagging jowls with face exercises. This video targets the platysma and sternomastoid muscles at the front of

Now you can easily animate gradient image using Flash. For this you need to open flash, and then import an image which you want to work with. Create a new layer. Draw a rectangular. Go to color option and choose liner. You have to keep alpha in one side of gradient. Ad few key frames and use motion tween. Now go to your picture. You also make the same key frames of that. So it will be regular. After watching this tutorial you will be able to make nice gradient animation using Flash.

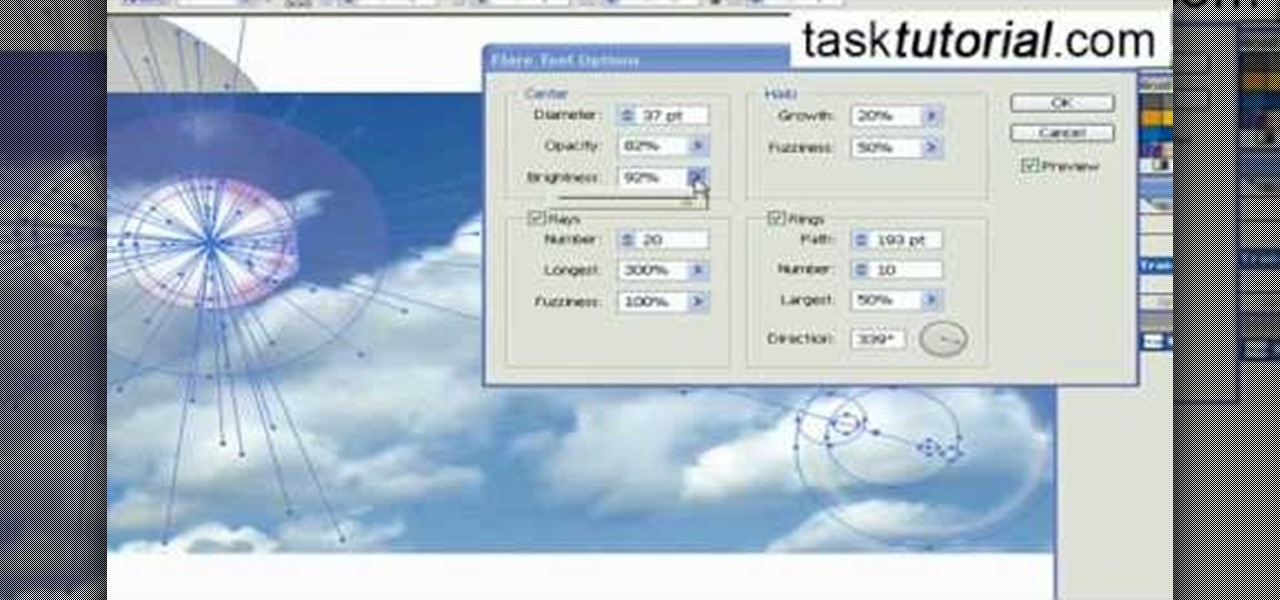
Ever wondered about the flare hitting your eyes from reflective surfaces (vehicle mirrors)? Let's create one. Open Adobe Illustrator with an image and embed it. Take the flare tool from tool palette. Draw the first shape and then second shape. To change settings, go to flare options. You can change the brightness, opacity and diameter of the flare which will add life to the image(open sky). This will help bring out some cool effects as well as realism to the image.

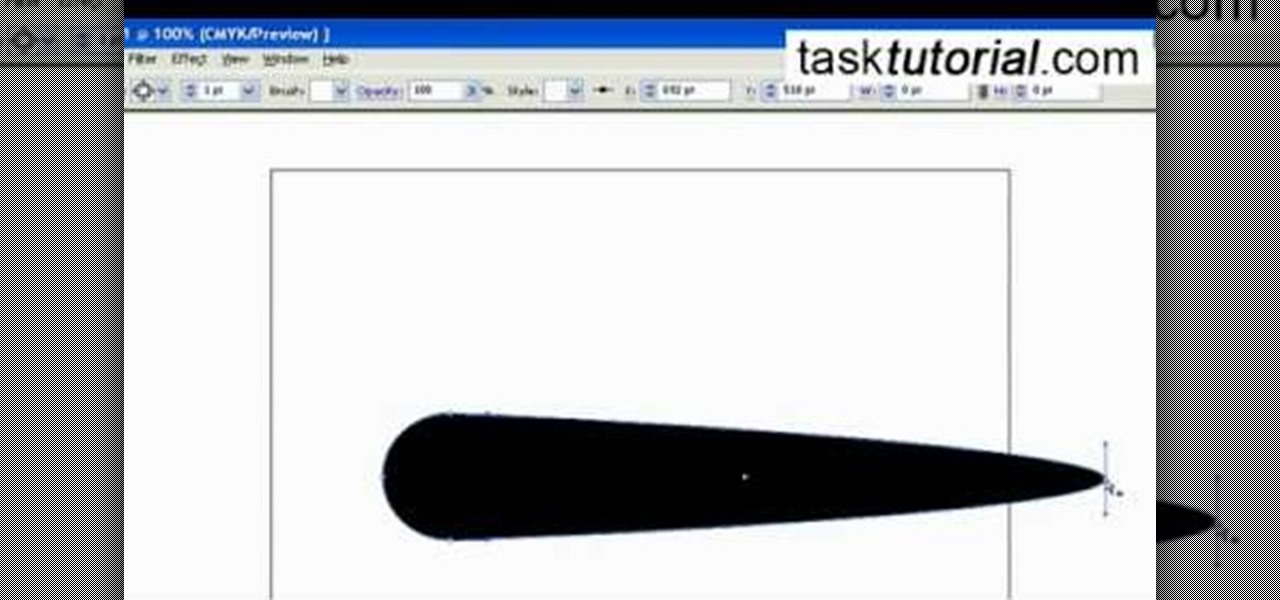
Let's get creative! In this video learn how to transform that boring old paintbrush in Illustrator into a totally new shape and size. You can turn your art brush into an arrow to a paint stroke to charcoal or even a fire truck or another fun shape! This tutorial will show you how to change your brush, step by step, and get the most out of Illustrator's drawing capabilities. Follow along with the video and soon you will be making unique designs with ease.

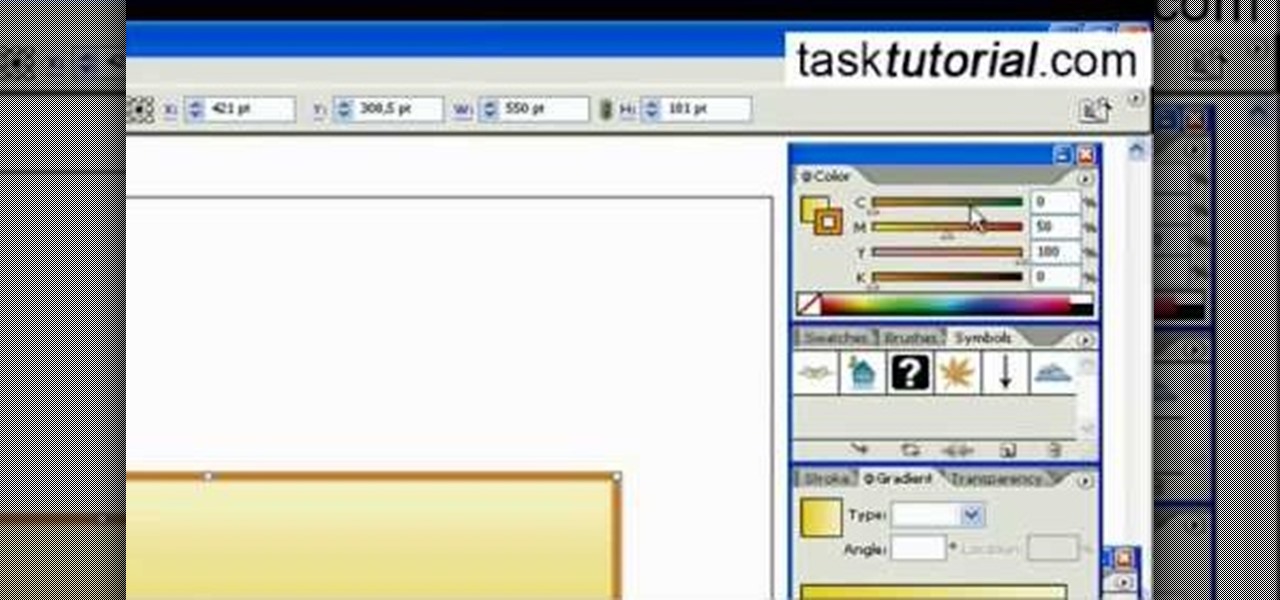
In this video tutorial by Task Tutorial we learn how to create a YouTube subscribe button using Adobe Illustrator. The first step to creating a button is to select the rectangle tool and draw a bar and then select a gradient fill. Next create the first color in the gradient and then the second color in the gradient. After that you'll want to change the gradient angle and also change the stroke width. Then you'll want to edit the stroke color to 9.6%. Then select the text tool and create your ...

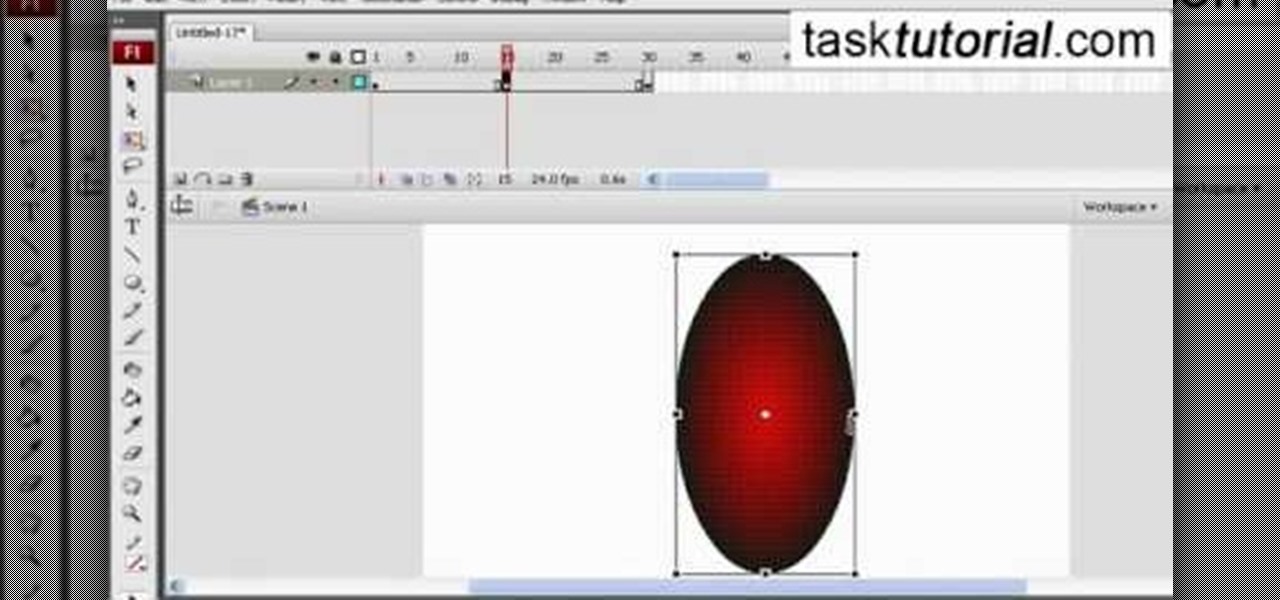
In this video tutorial the author shows how to stretch objects and text in flash. To do this open the flash tool and select the radial gradient. Pressing shift key draws a shape. Go to frame 30 and create a key frame by pressing F6. Now similarly do it at frame 15. Now at frame 15 select the free transform tool and stretch the image. Now create the shape twins in the locations shown in the video. Repeat the same process for a text starting with adding some text to the scene. Finally convert i...

Do you have interest in creating 3D objects? Open illustrator and draw a star tool with gradient fill in it. Then go to effects>3D>Extrude/Bevel. Select preview to view the star in 3D while changing its settings. One can rotate the star in any angle as well as change the thickness of the star. Then go to object>expand appearance and then click on the gradient. Our star is ready. It will help in creating 3D objects and shapes.

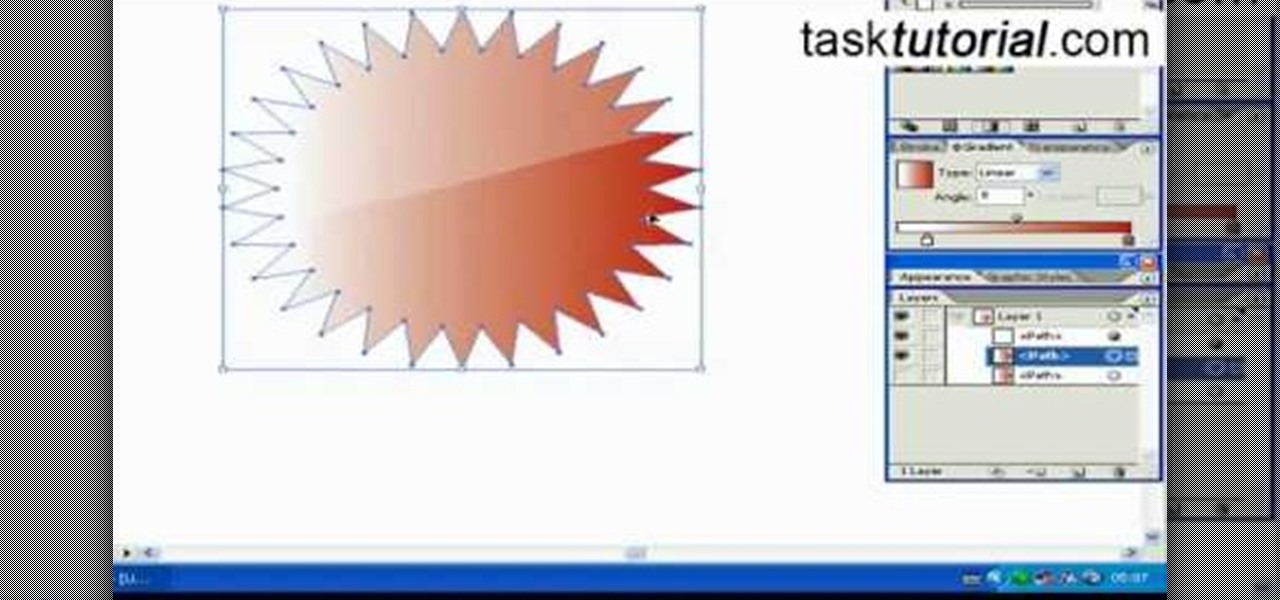
In this video tutorial, viewers learn how to create a web 2.0 style badge using Adobe Illustrator. Adobe Illustrator is a vector graphics editor. Viewers will learn how to manipulate the Star Tool in Adobe Illustrator, how to apply a custom radial gradient to that shape and how you can create, save, and open custom swatches. This video will benefit those viewers who design websites. These web badges can be used on a website to promote a product, announce a sale, or simply draw attention.


