In order to handle a Hot-and-Cold Guy, you will need to create an amazing experience. Then, you will need to draw back. You should, then, repeat this pattern over and over again. This should make him want to be with you more.
In order to build your very own home studio, you'll need the following: a microphone, drafting tools, paper, contractors, the Internet, and recording equipment.
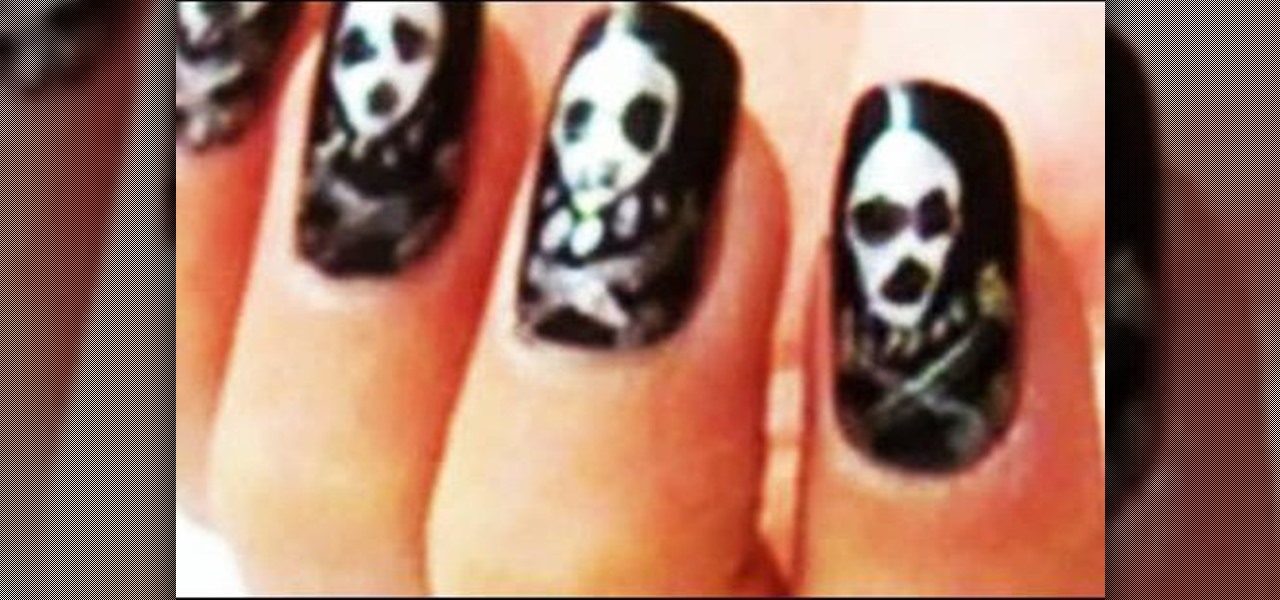
In this video, we learn how to create Halloween inspired skull nails. First, apply a base coat to the nails before applying anything else. After this, apply a black nail polish to the entire nail and allow it to dry. Now, take a silver nail polish, and draw a skull shape onto the nail. Use your black nail polish to create the eyes in the skull, then use a nail brush to create the shape of the head and bones underneath the skull. Let the nail dry, then repeat this on all your nails for a spook...

In this tutorial, we learn how to create a sea nymph makeup look. Start by applying purple shadow the eyelids, then apply a darker purple color over the top of it. Now, on top of this, blend a black to the eyelid colors, then line the top and bottom of the eyes. Draw a rough outline on your face next where you are going to apply the sequins. Start to color in your face where the sequin face mask is going to be, and color it blue and bright yellow, or whatever matches your mask. When finished,...
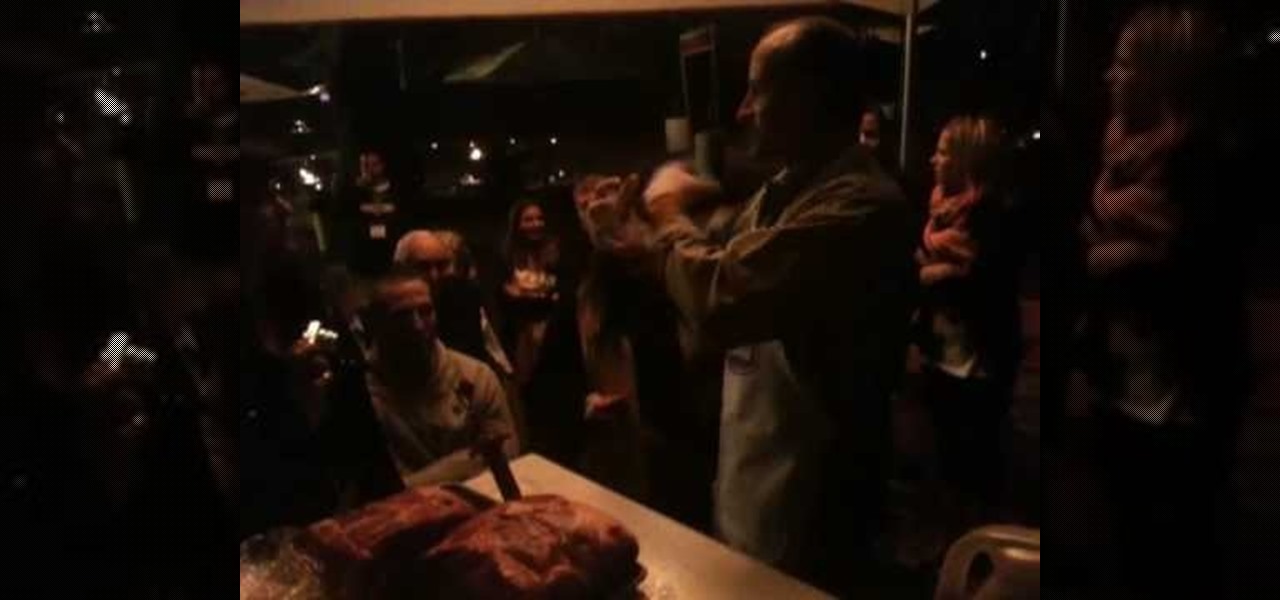
In this video, we learn how to make pork shoulder barbecue. First, heat up the grill with charcoal until it's hot all over. After this, prepare your pork shoulder by placing the entire piece of meat into a brine. If the liquid is saltier than the meat itself, it will cause the meat liquid to draw into the meat. After this, inject the meat with flavors that you like. The pork shoulder is many muscles, so you have to make sure to poke the injection into several of the right spots. When you're d...
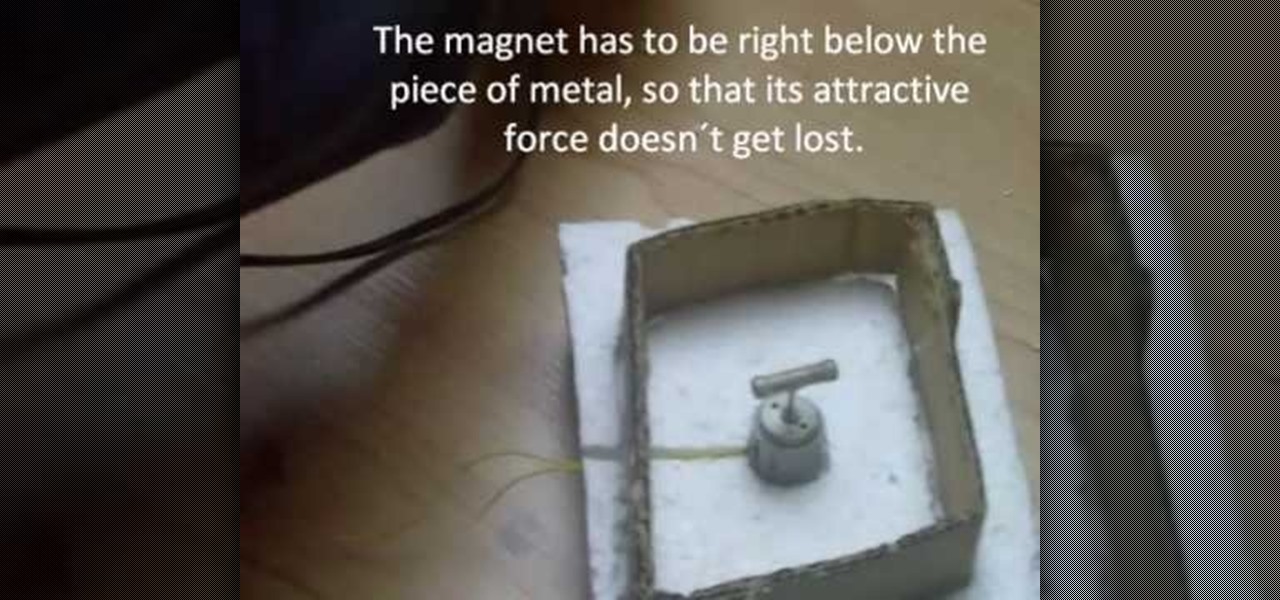
In this video, we learn how to build a magnetic stirring device. First you will need: a block of 1 inch thick Styrofoam, a piece of cardboard, 2 magnets, a small electric motor, a piece of non-magnetic metal, a hot glue gun, and a soldering iron. First, draw the shape of your cardboard square on the foam and cut it out. After this, take your soldering iron and melt away the Styrofoam from the outside. Then, make a hole in the middle for where the motor will be placed and push it inside. After...

In this video, we learn how to play pool with the down the rail drill. First, set up the balls in numerical order along the rail. Begin to run the balls using a drawing combination with right English. Do this each time for all of the balls and be careful not to scratch in the side pocket. You can also do this drill by doing follow and left English. This is a reduced version of different drills, to do the full drill set up all the balls along the entire rail. Run them in numerical order, then ...

One of the coolest beading effects is the kind that suspends various materials - from flowers to Latticinos - in a clear glass case. Swirled or marbeled shapes can also be added for interest, but either way the resulting work is like looking into a prehistoric block of amber and peeking around at such curious fragments.

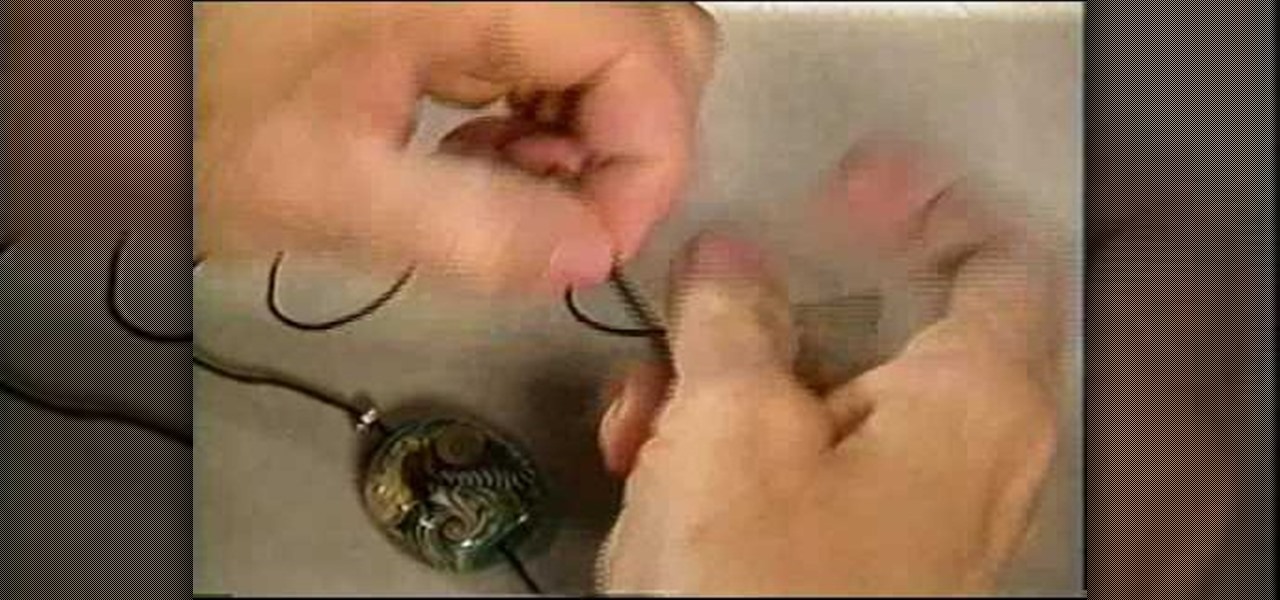
The phrase "you can never have too much of a good thing" isn't particularly true when it comes to jewelry. While we love our bohemian tree pendants and dangling chandelier earrings, we don't like the fact that they weigh five pounds and pull down on our ears and/or necks.

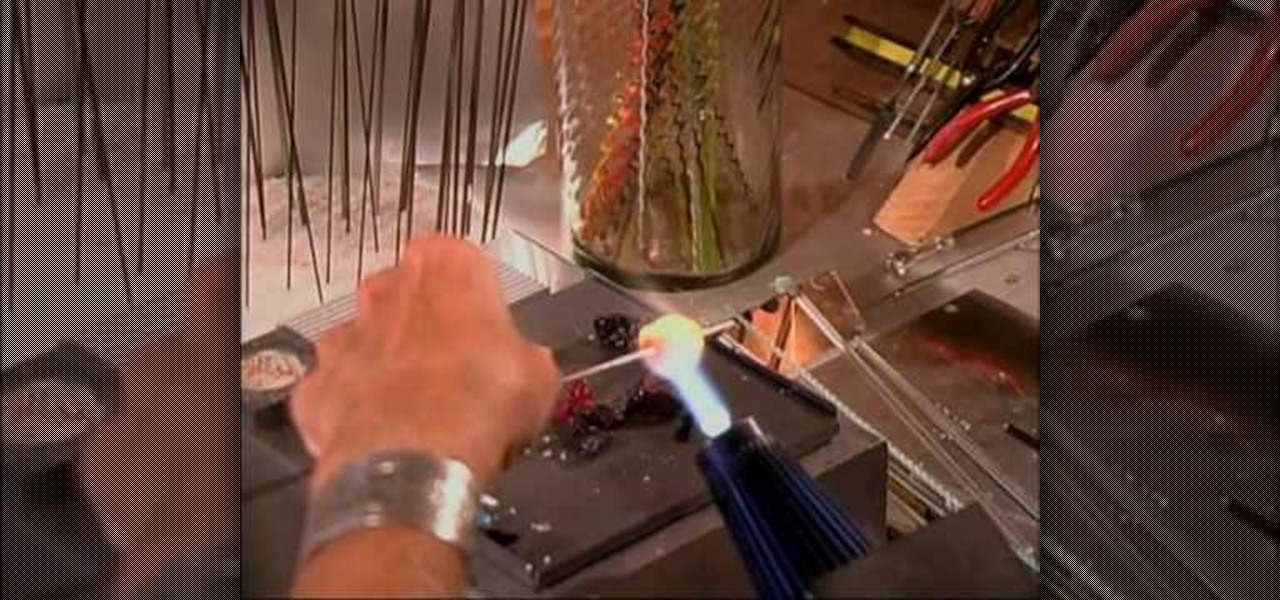
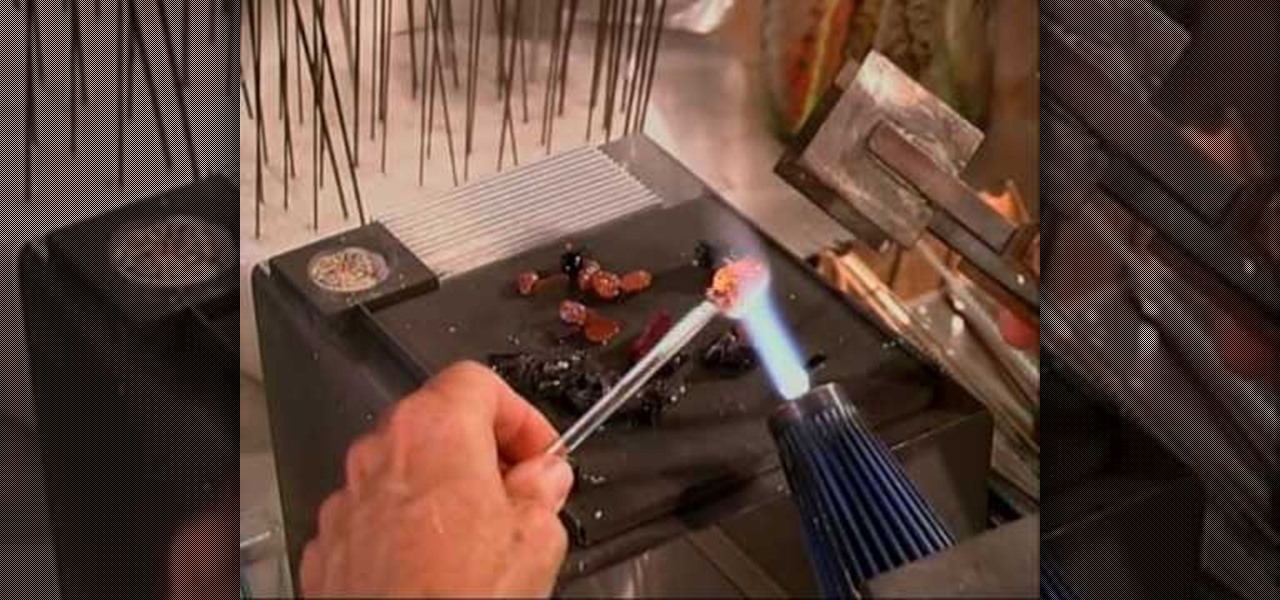
These gold stone stringers look like glistening incense sticks and are incredibly beautiful. Check out this jewelry making tutorial to learn how to turn gold stone lumps in blue and an orangey yellow into long sticks, or stringers, made of these melted lumps.

Christmas will be here before you know it, which means weeks of festive parties, spending quality time with friends and family, and, if you're the crafty type, making presents and other favors for friends. This year, surprise your loved ones with a truly unique gift by making this Christmas elf.

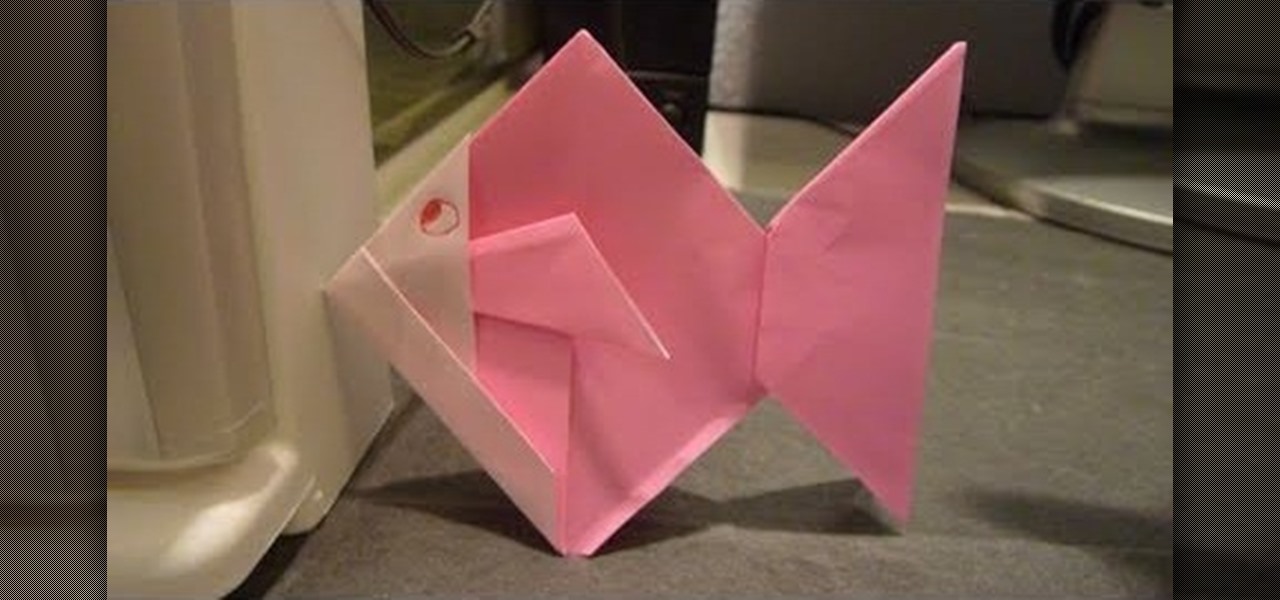
Okay, so we have to admit something to you: This isn't actually an origami craft in the strictest sense of the term. Origami dictates that an object be folded into being from a single sheet of paper, but for this goldfish we take a bit of a shortcut, literally. Instead of folding to get all the pieces in place, we make a few cuts to facilitate the fish-forming process.

In this video, we learn how to adjust to being alone after a divorce. Adjusting to life after divorce is difficult, but you can use solitude to help you. Each day, take some time to be completely alone, at least 15 minutes. Journal, paint, draw, or meditate to be alone. Pay attention to your inner self and give yourself the groundwork for success. Care for yourself and you will thrive. There will be life after a divorce, you just have to find your inner strength and start to build a new life....

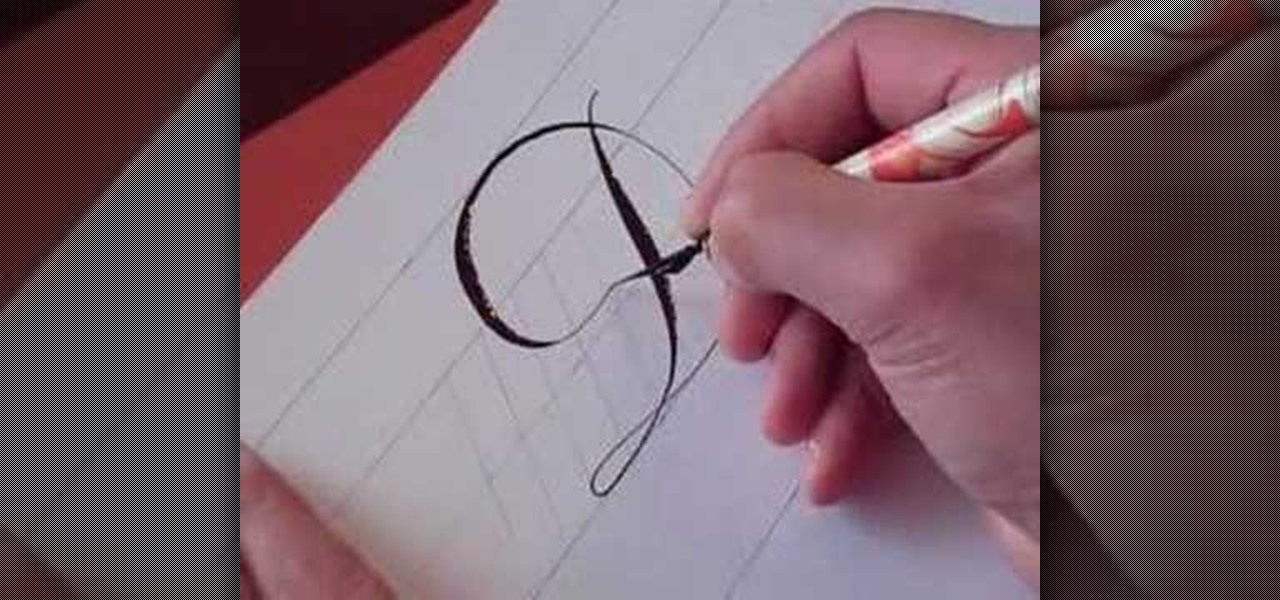
In this video, we learn how to write the letter D in calligraphy copperplate. Start off by drawing a thin line down the paper, pressing on the pen harder to make a thicker line in the middle, then thinning out at the end. Drag the line to the left making a thin line, then loop it around to the front of the line and make the D shape. After you make the shape, bring the line to the back of the original line and loop it. Do make a lower case letter, make an oval shape with a thick line on the le...

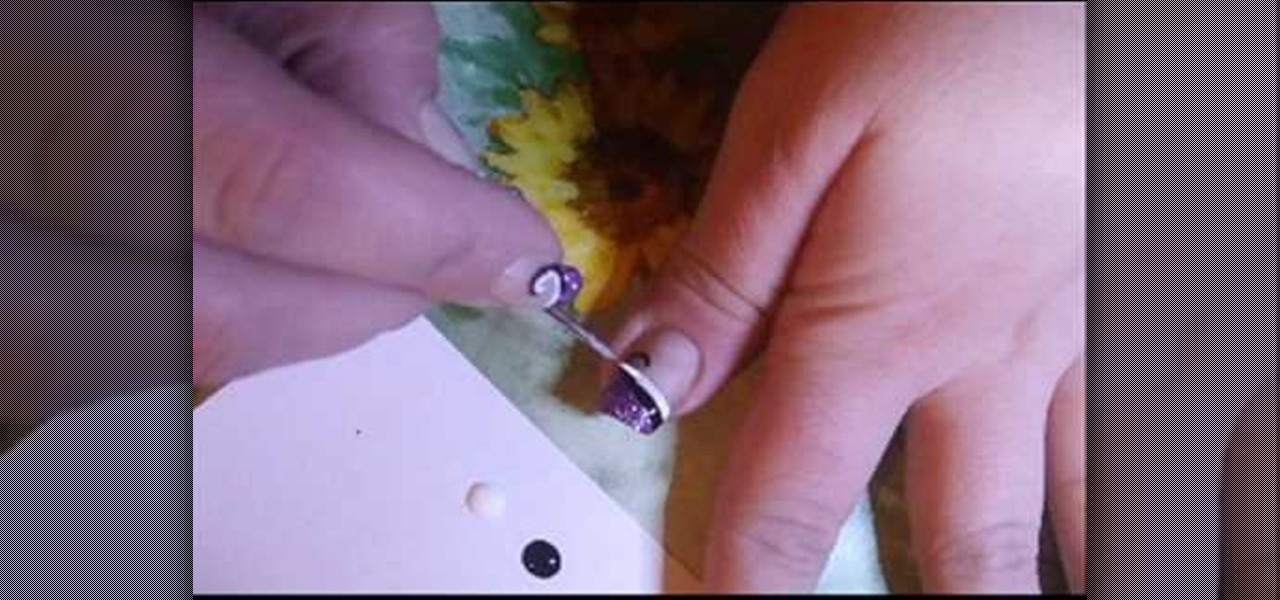
In this video, we learn how to create a white, purple, and black swirl nail art. Start off by applying purple glitter to the side corner of the nail. Next, draw on a black thick line underneath the purple, followed by a swirl at the end of the line. Then, take white nail polish and make the same line underneath the black line. Make sure you let the black dry before you paint the white on underneath it. When all colors are dry, apply a clear coat of nail polish over the designs. Now your swirl...

If the only way you know how to show a girl you dig her at the movie is the old "yawn and lean your arm over her shoulder" move, then you're clearly not getting any. When you're taking a girl out for a date at the movies, there's a fine line to be drawn between scary and creepy (fondling her a wee bit too soon) and just boring (sweaty palms, not approaching her at all). So how do you walk that fine line from first date to second date?

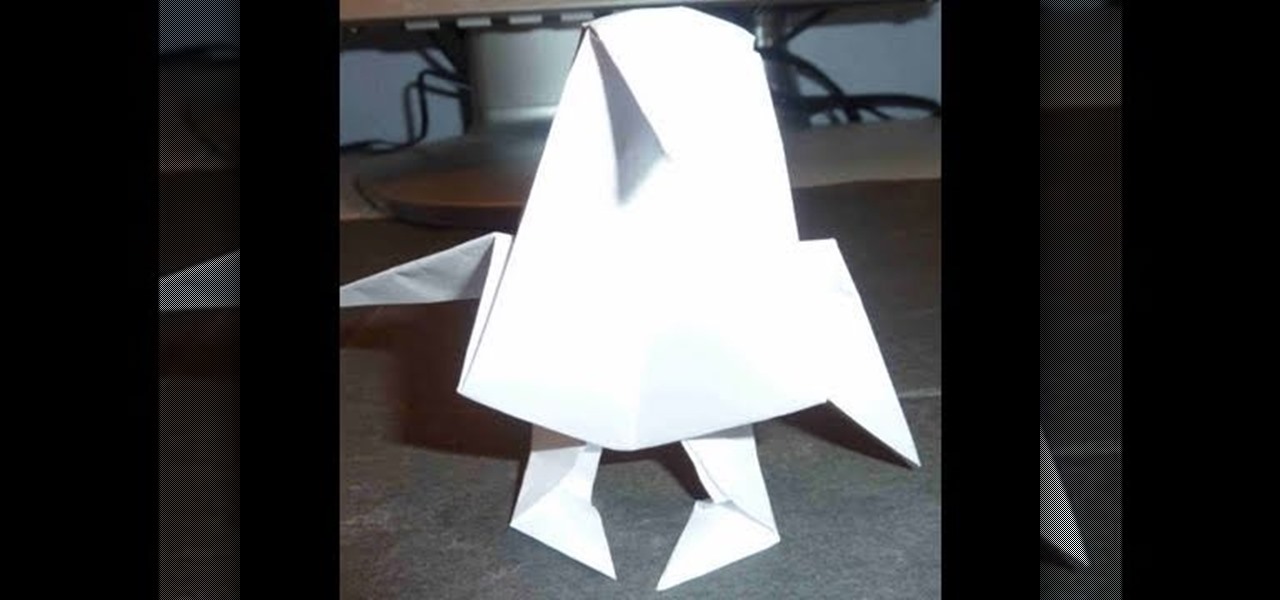
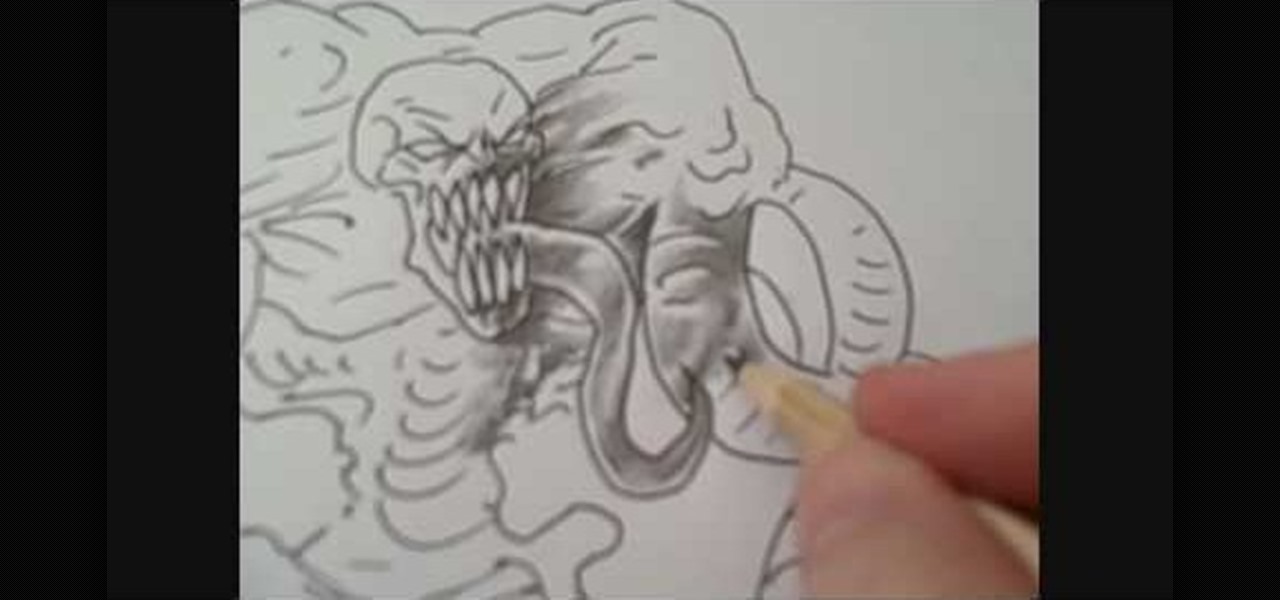
Is it just us, or does this ferocious alien/monster strangely resemble a cute, chubby wubby penguin? Whatever you decide this animal is, all we want to do is tickle its copious belly. Maybe this project would look like the alien it's meant to be if you drew ferocious eyes on it?

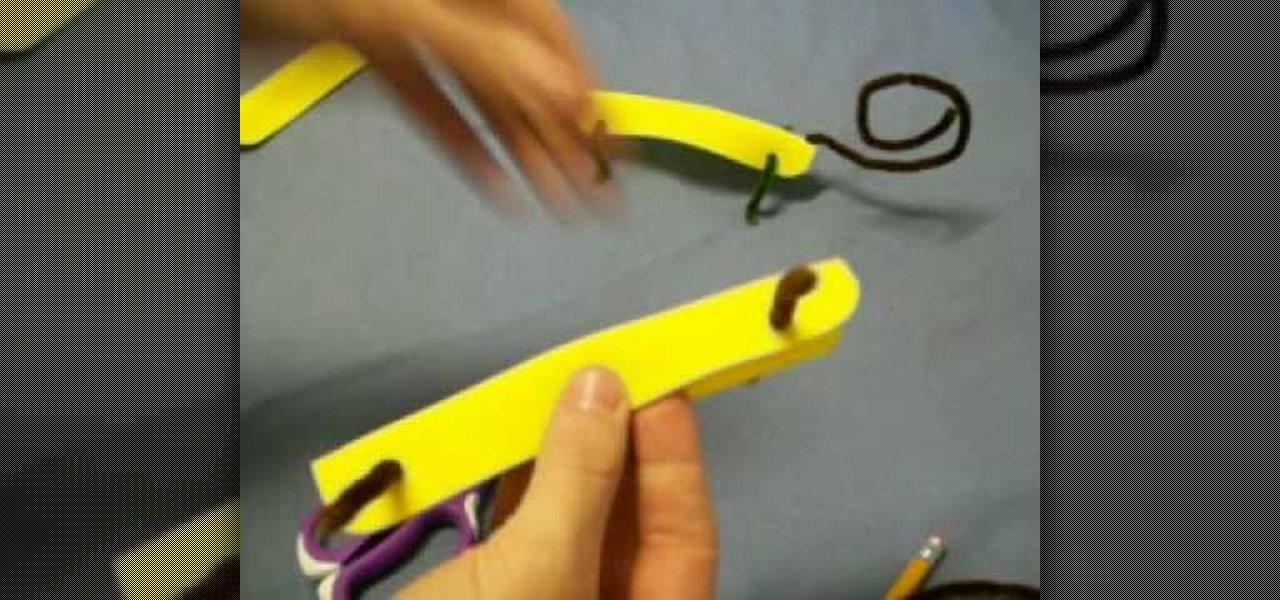
In this video, we learn how to craft a lizard out of foam and pipe cleaner. First grab your piece of foam and poke a hole into the front of it going through it, then through the back going all the way through. Next, poke the pipe cleaner through the holes so it looks like four legs. After this, poke a hole in the back to string the tail through. Poke a hole through the front and place a red pipe cleaner inside of it with a curl at the end to make it look like the tongue. To finish, draw on tw...

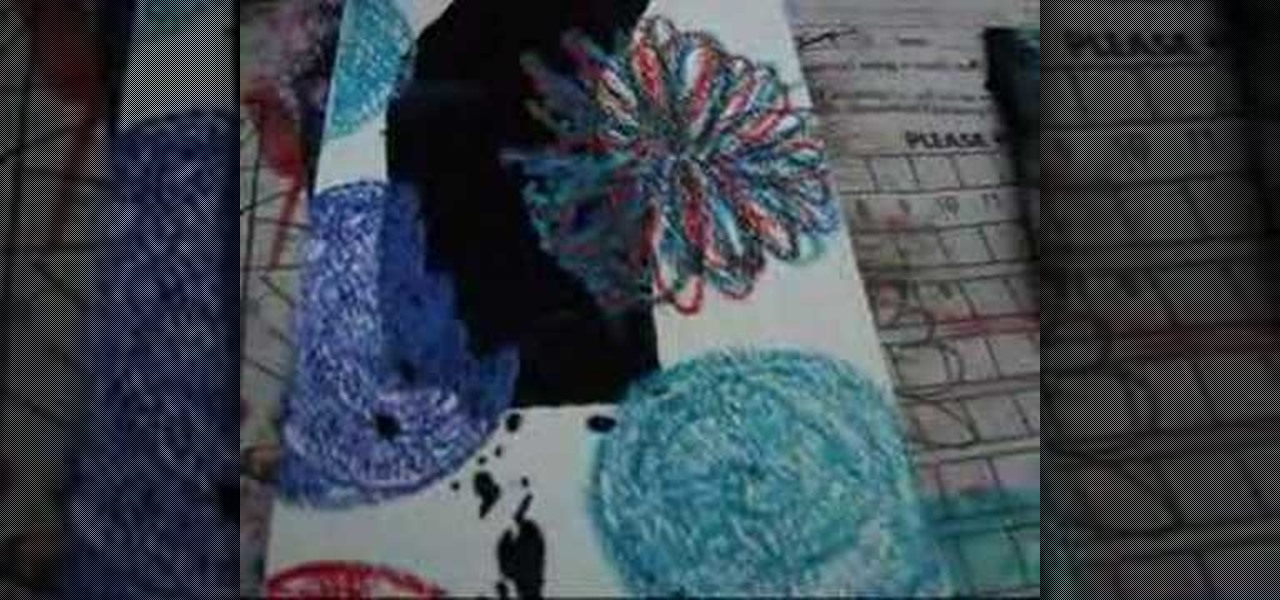
In this video, we learn how to make crayon resist watercolor background sheets. First, draw a pattern onto a piece of paper with crayons. You can make any kind of pattern that you want. After this, add some water color paint to the picture and use a credit card to push the paint around the picture. You will see that the crayon resists the paint and the paint sticks to the paper instead! Let this dry, then you will see that the crayon is still resisting the watercolor ink. After this, enjoy yo...

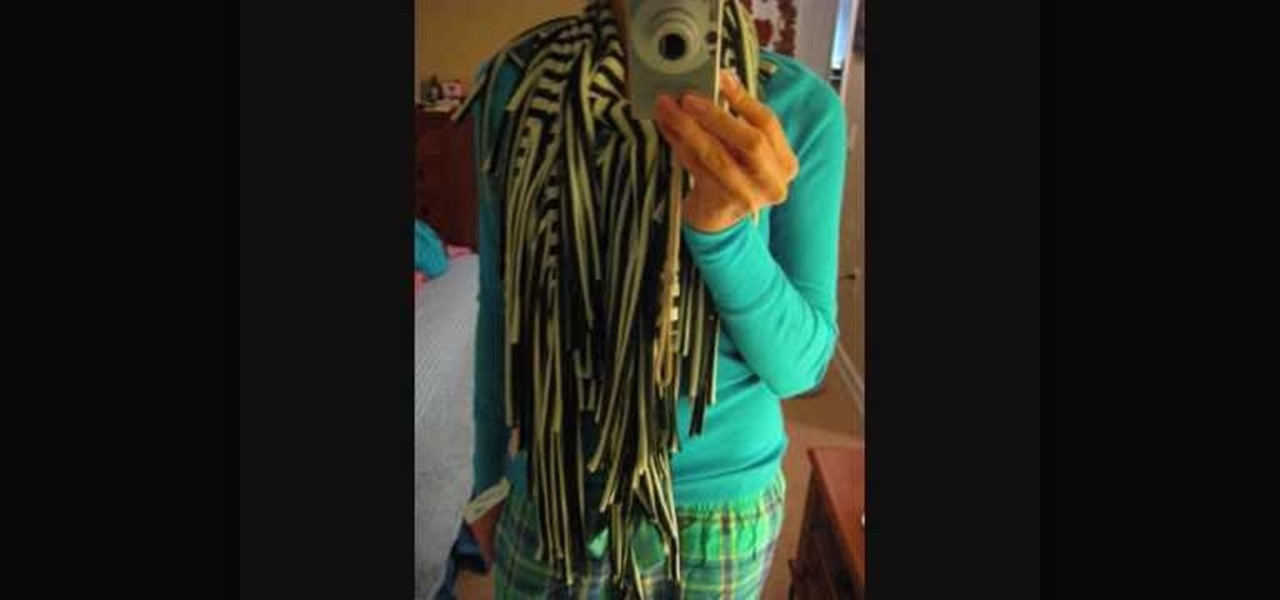
In this tutorial, we learn how to make a fringy scarf. You will first need 1 yard of fabric, then fold it with the right sides facing each other. Next, measure 19" down, then start to cut. After this, measure 7" down, draw a line from across. Now, start to cut towards that line, making fringe on the ends of the scarf. After this, you will be done with your scarf! The great thing about this is that you can use it in so many different ways. You can pair it with a casual outfit, or as a going ou...

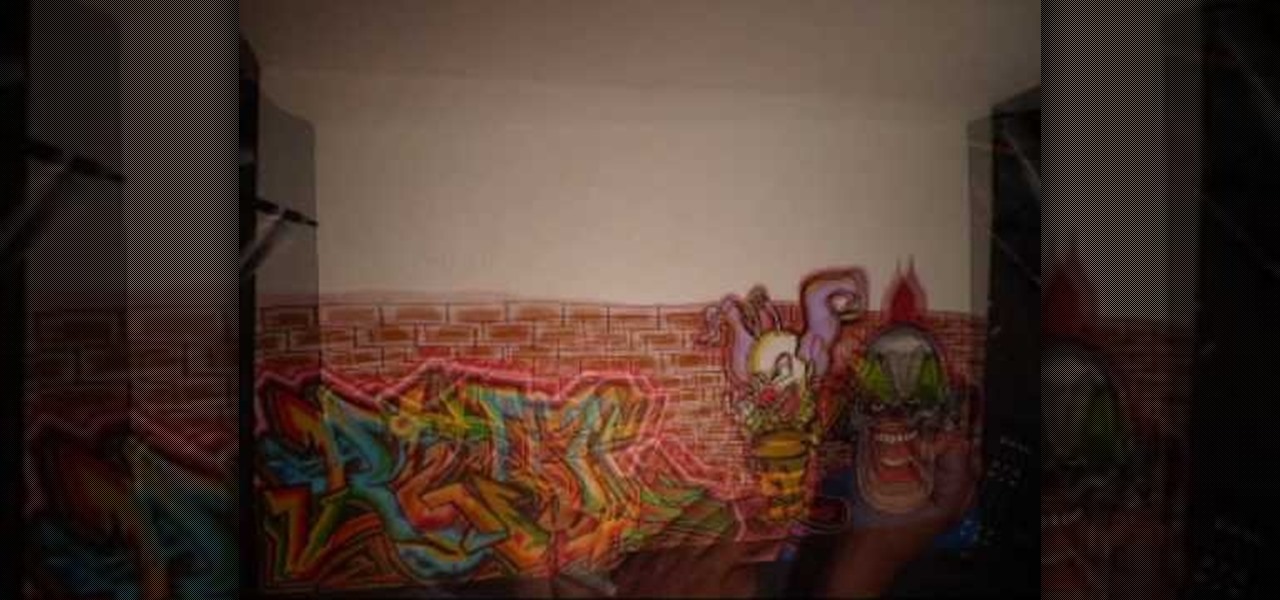
For this fun drawing tutorial, graffiti genius Wizard does two things he's never done before: 1. He graffitis his own last name, "Real," and 2. He colors in his graffiti, which includes clowns that could scare the pants off of the Joker, a bumpy brick wall, and a teeny bumble bee/clown hybrid who's more creepy than cute.

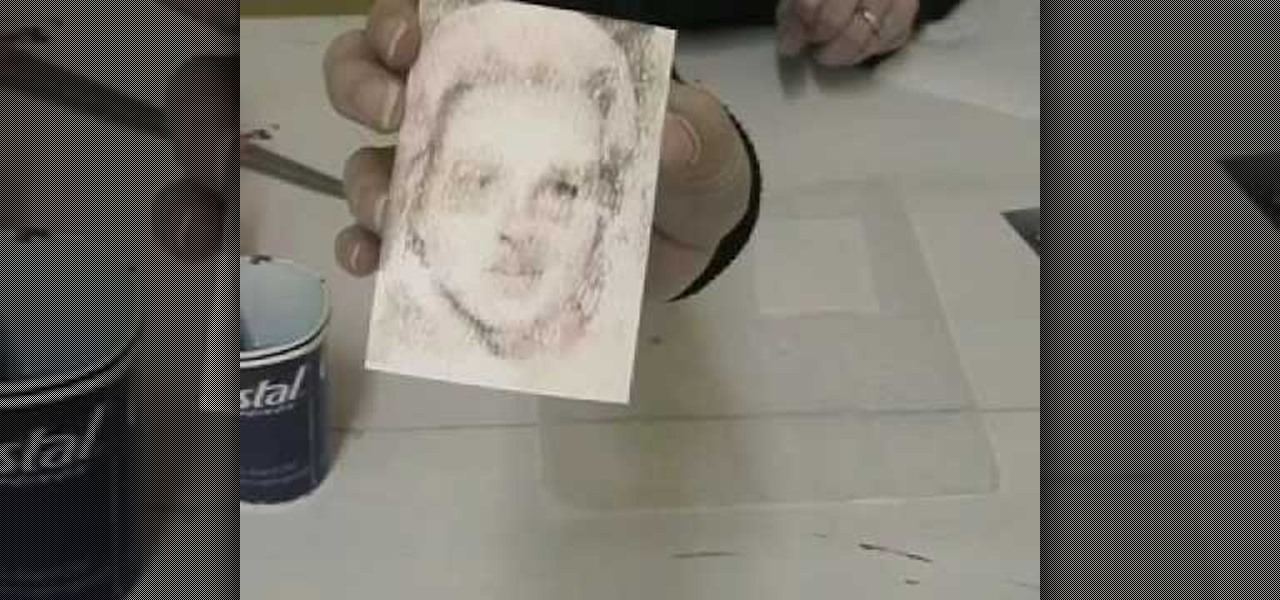
Make homemade trading cards of your family! These won't look exactly like baseball cards, or even feel like them, but they're cute and somewhat artsy depictions of your favorite photographs. You only need a few items (listed below), but make sure you have a nice photograph to transfer over. It won't look exactly like the picture, but it will look roughly hand drawn, but not quite. Definitely an interesting paper craft. Try it out. Experiment.

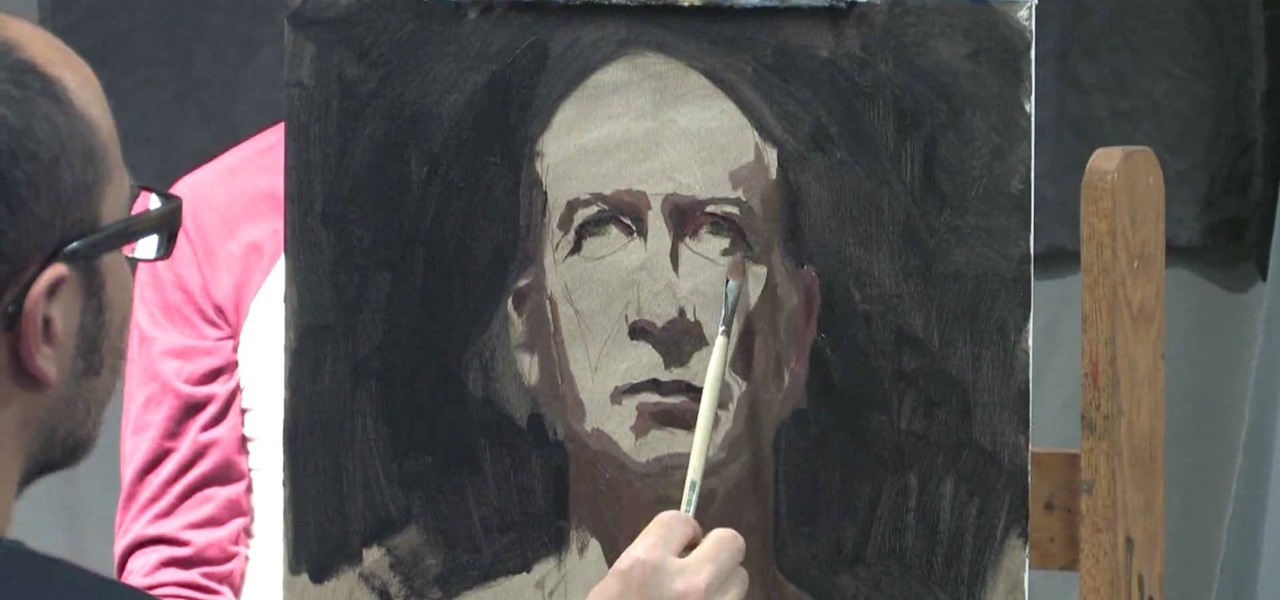
In this tutorial, we learn how to paint a portrait. Start off by having a subject to draw, then hold your paint brush loosely. Start to outline the face of the subject, then paint in the facial features. Shade around the eyes and cheekbones, and add the ears to the face. Use the paintbrush to create different types of strokes to the painting that fit the face you are looking at. Use shading to your advantage, because this can make a person look older or younger, depending on where you place t...

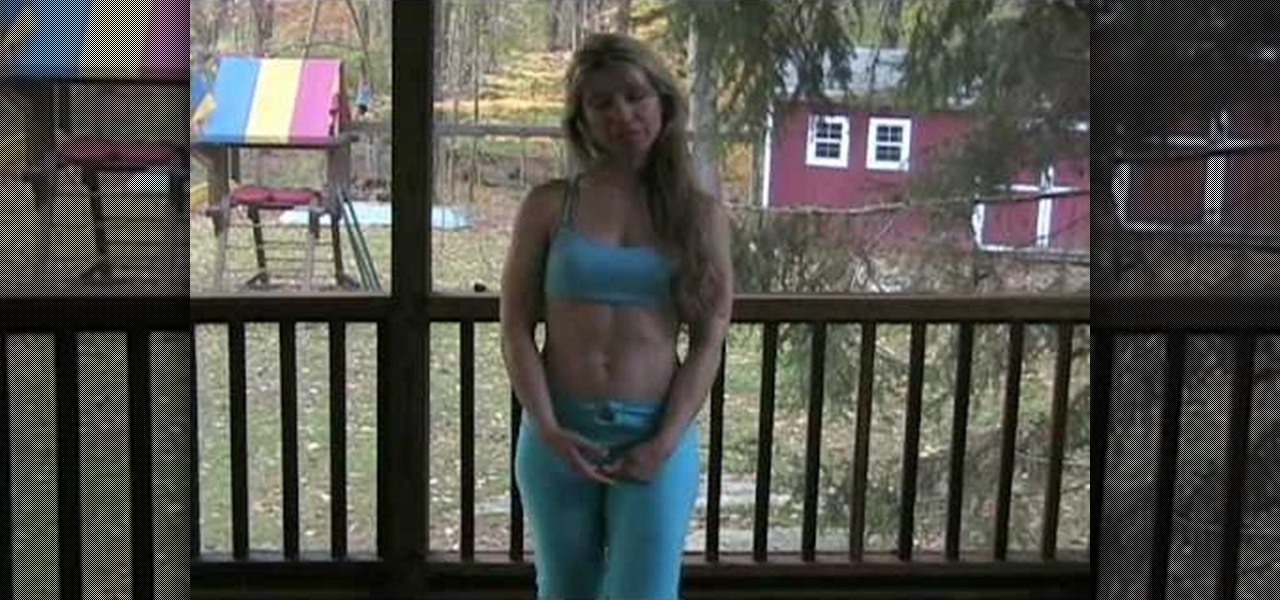
In this tutorial, we learn how to build your upper body with standard push-ups. Start off on the ground with your hands down directly underneath your shoulders and your feet drawn back without the knees bending. Keep this position for several seconds if you are new to working out and then bend down if you feel you can do controlled push ups. Push up and down slowly, because this won't use momentum to lift you back up. Make sure your body doesn't touch the ground, this can hurt your hands if y...

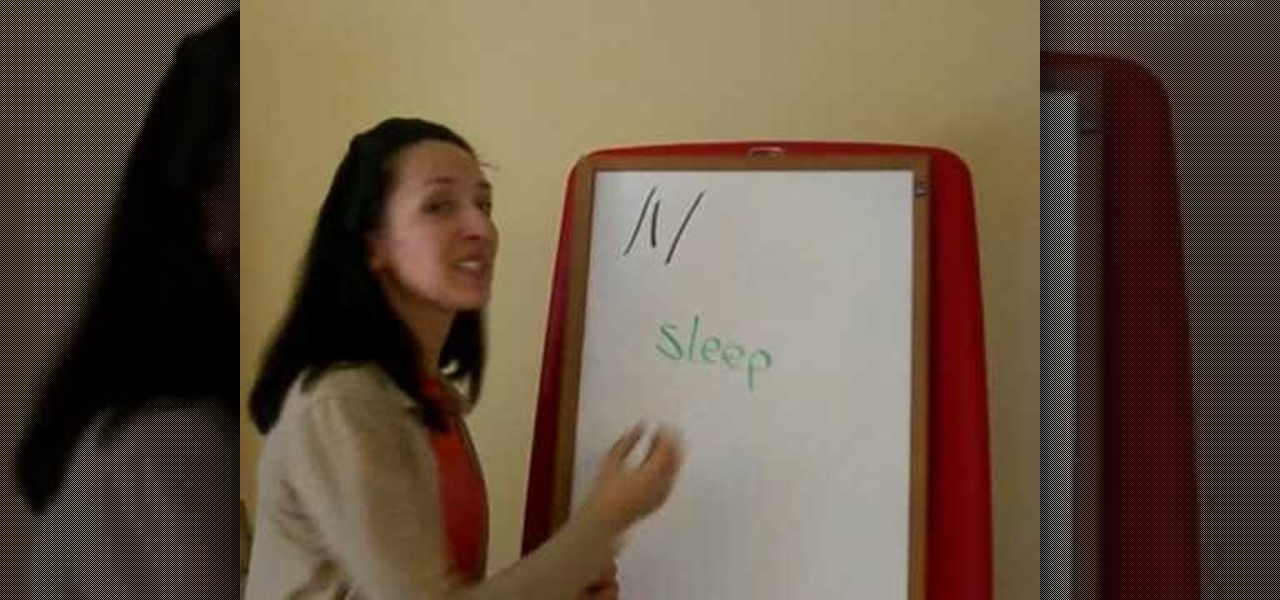
In this tutorial, we learn pronunciation tips to Speak English. To help someone learn this, use an analogy, imagery, and vivid explanation so they understand what you are talking about in full detail. Use your hands to make the motions, then relate words to your base words. You will need to repeat yourself a lot, and also draw pictures so it can help them visually understand. Don't use difficult words, just start by doing simple words that are easy to understand. Once the easy letters are und...

In this tutorial, we learn how to create sound with vocal chords. Your vocal chords remain open when you are breathing and are drawn together when you are singing. As the vocal chords release, it creates a ripple effect that releases noise through your mouth. You want to make sure you use solid breath, so you don't have tension in your vocal chords and while you sing. Your breathing technique should be similar to how you are using your vocal chords. You don't want to apply too much pressure t...

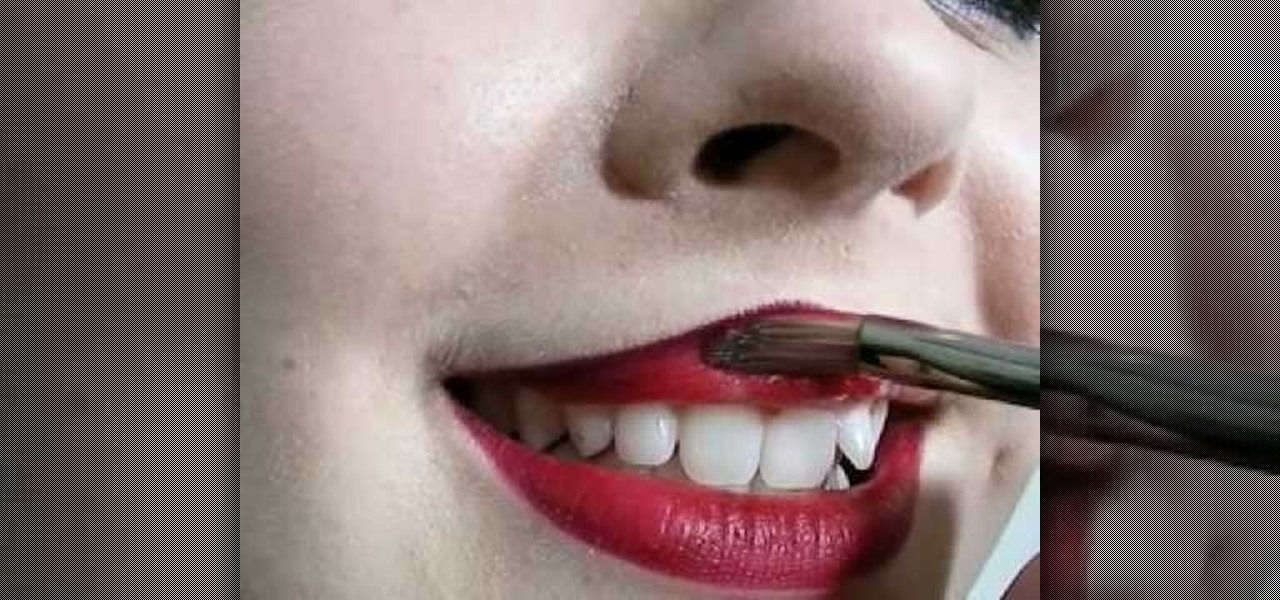
In this tutorial, we learn how to apply sexy red lipstick. Start by applying dark red lip liner to the top lip, using an exact line where your lip goes. Next, draw the line on the bottom of your lip line up to where the crease of your lips meet. After this, smile while you paint on red lipstick with a makeup brush. Apply several coats and move the brush slowly so you don't mark your face. Apply the lipstick to both of your lips and make sure it blends in well with the lip liner you applied ea...

In this tutorial, we learn how to hygienically pierce your lip at home. First, you will need a sharp needle that is cleaned with rubbing alcohol. Next, draw a line on your face where you want to pierce your lip. Next, grab your lip so it's taut, then place the needle into your lip. Go slower so you feel less pain while it is being inserted. When you get to the other side, insert the jewelry where the needle was, so it goes inside seamlessly. Once you get the jewelry to the other side, place t...

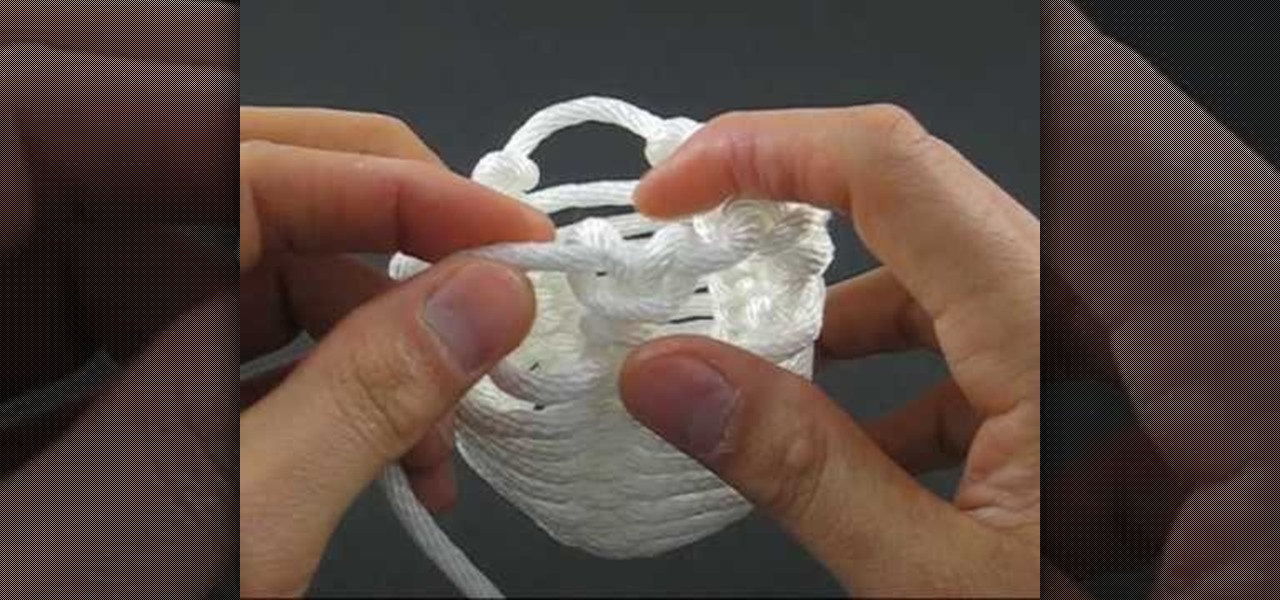
In this video, we learn how to tie a honey rope basket knot. To do this, you will need a 10ft of nylon rope. Start off by tying a counter-clockwise slipknot at one end of the rope. After this, pull the loop of the slipknot out four inches. Then, tie a second slip knot clockwise next to the first slipknot. Draw the loop length of the second so it's equal to the first. Next, continue to create slipknots next to each other until you've done five. No, hook your working end into the first loop and...

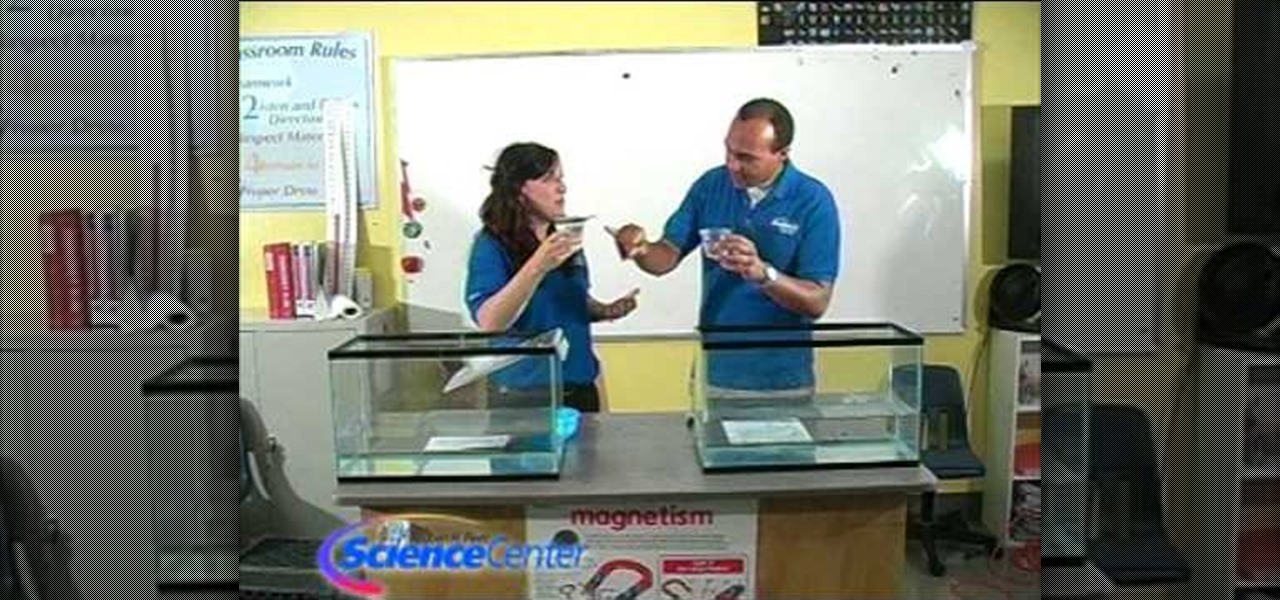
In this tutorial, we learn how to demonstrate the difference between land & sea ice. First, fill up two large aquariums with water, then add in a glacier to one aquarium and an iceberg in the other. This will see how the water level changes based on the melted of each different ice item. Draw a line at the water line where it started at, then when the ice melts, check the water levels. When finished, see what the water levels have ended up at. Now you will be able to show this to your student...

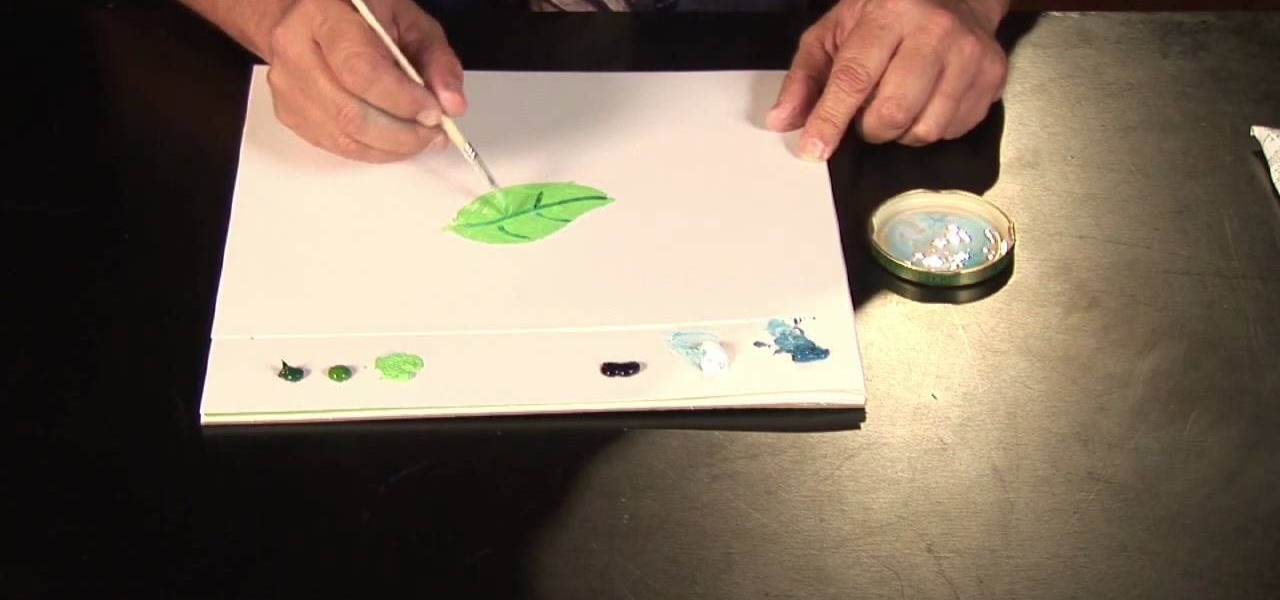
In this tutorial, we learn how to paint a leaf tree with oil paints. First, paint light green on the leaves using a blank canvas. After this, add in a dark green color to make the stems and the middle of the leaf. Use different greens to draw the leaf out towards where the tree would be. You can blend in darker parts to make highlights, then use white to make a shine on the leaf. If you make a mistake, don't worry. Just use paints to make something change on the leaf and make it unique and al...

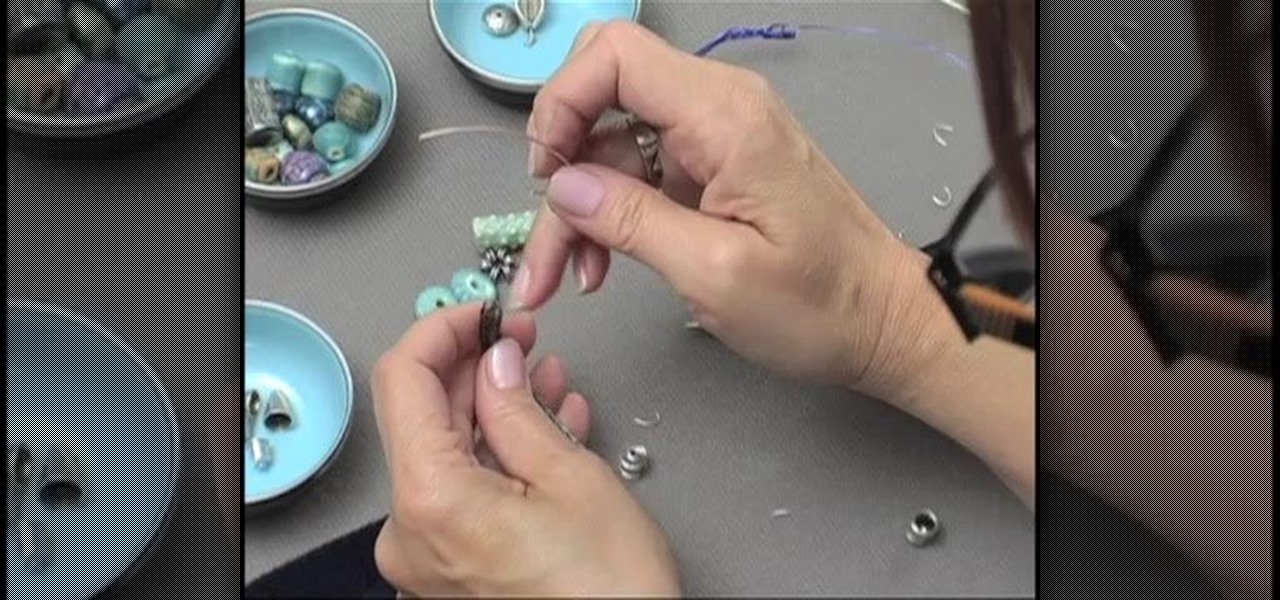
In this tutorial, we learn how to make a beaded Viking knit bracelet. First, pull a craft wire through a draw plate in the largest hole. After this, you will have a knitted weave bracelet. Now, place a hook in the loops at the end of the bracelet, and twist it down, then cut the end of the wire off and place an end cap on. After this, attach different beads and jewels to your bracelet, using wire to keep them in place. These will be one of a kind jewelry pieces that you can't buy in any store...

You know how in kindergarten you loved nothing more on a hot summer afternoon than to sip your Juicy Juice while scribbling wildly onto your favorite coloring book? Well, this tutorial stems from the same idea. While outlines, as provided in coloring books and yourself later as an artist, are a great place to start a picture, they certainly don't count as a finished product.

A few years back, the movie "Happy Feet" was hands down a favorite of kids everywhere. With masterfully choreographed high school band marching-like dance moves, loads of tapping, catchy songs, and Robin Williams' hilarious impersonation of a Latino penguin, the movie had a lot going for it.

In this tutorial, we learn how to dress for a size 8 with thin frame. To start, go shopping and pick out clothing that has a bright pattern and color on it. Also, pick out clothes that are going to accentuate your beautiful figure and draw the eyes away from the breasts. Use pleats on the chest to make it look more full. Use a ribbon around the waist to create a beautiful shape and give the waist a smaller appearance. Wear dresses with tights to make the look more appropriate during the day. ...

In this tutorial, we learn how to make a Victorian hat from a lampshade with Gwen. You will need: a lampshade, scissors, acrylic paint, paint brushes, glue, a compass, and cardboard. First, take the compass and make the circle as wide as you want your hat to be, then trace your lampshade on the cardboard. Now place the small end of the lampshade around the large circle that you drew. Next, cut these circles out of the cardboard. Leave extra room, don't cut it out exactly on the line. When fin...

In this video, we learn how to carve a papaya flower design. To start, you will want to take a sharp object and outline the drawing you want to make. Carve this onto the papaya, then remove the skin as you are making different shapes. If you want to do a large flower design, carve layers into the papaya to make the flower look more realistic. Take time to carve the different petals, stems, and other details. This is a fun way to make something beautiful with your food, and can double as a cen...

In this tutorial, we learn how to make a paper turkey. You will need: a pen, tape, scissors, and papers. First, outline your hand on all the pieces of paper, then cut them out. After this, stack them together and then tape them. Next, cut out and apply the wattle of the turkey. Next, draw in eyes and feather details on to the turkey. When you are finished, you will have a cut turkey made in just a few minutes. This is a great project to do with children and only takes a few short minutes. Whe...

Sewing patterns are a godsend if you're a beginner at sewing who's trying to get into making clothes and accessories like scarves and bags. A pre-drawn pattern helps you learn proportions, measurements, and drafting techniques you'll need later on when you design your own clothing.

In this tutorial, we learn how to make a heart bookmark. First, take a sheet of paper and fold it in half, folding the crease. Now, take a pencil and draw two heart humps from one edge to the next. After this, cut them out, leaving the fold together. Trim any edges that aren't round, then add glue to the edge of the heart, and fold it over and let it dry. You can now decorate this will markers and ribbons. To use as a bookmark place your page in the center of the heart. This is a great craft ...


