
How To: Use epoxy on your flies in fly fishing
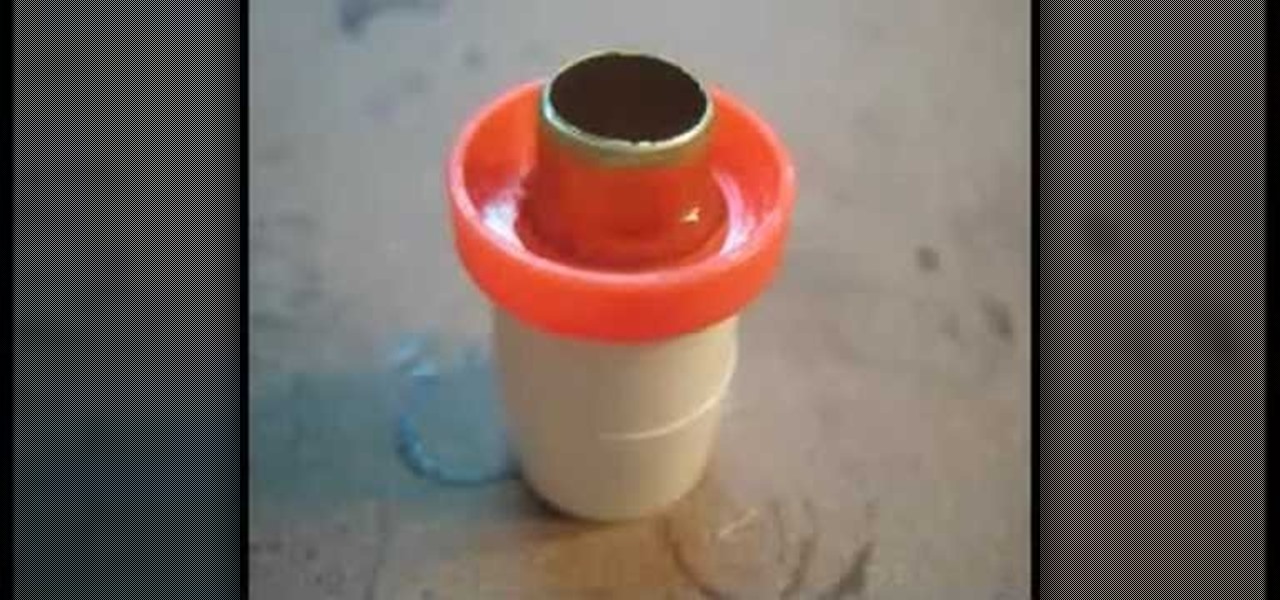
Bob Clouser shows us how to apply epoxy to your fly fishing lures.


Bob Clouser shows us how to apply epoxy to your fly fishing lures.
Systm is the Do-It-Yourself show designed for the common geek who wants to quickly and easily learn how to dive into the latest and hottest tech projects. They will help you avoid pitfalls and get your project up and running fast. In this DIY episode, see how to waterproof your thumbdrive.
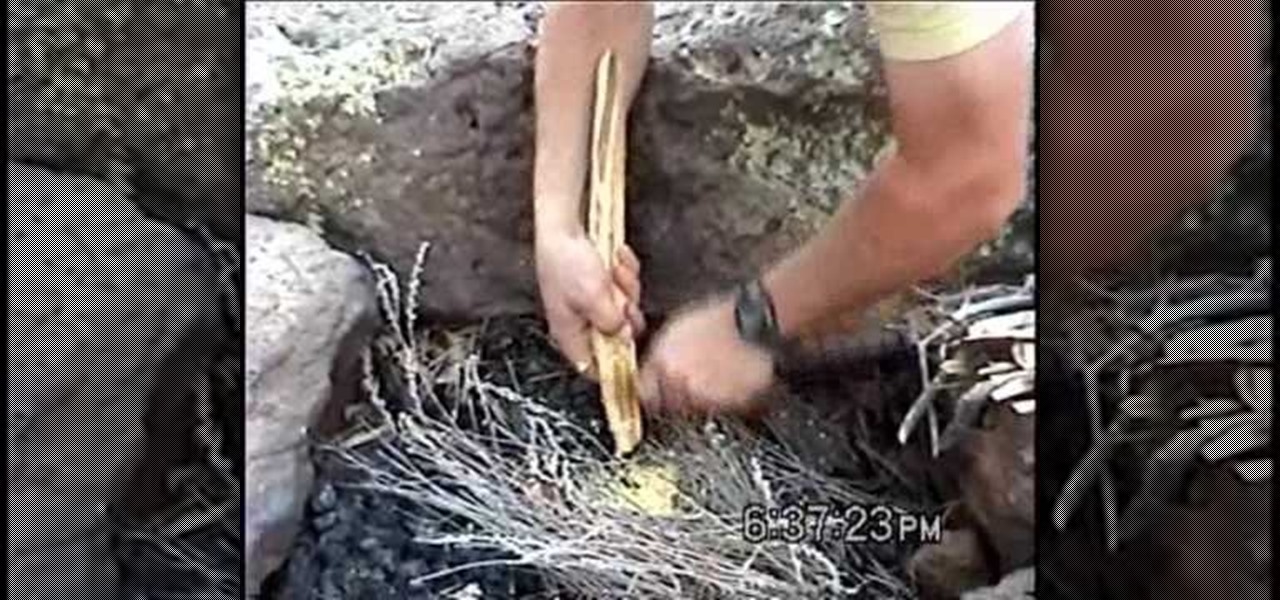
John Campbell shows us how to use pitch wood to create a fire. This is a good method to use when you have dead pine trees available. Pitch wood can be found in the first three to six inches of a branch of the dead pine tree. This area is covered with pine resin. You want to pick a branch on the dead tree, then cut this branch off from the main trunk. The area closest to the trunk should be soaked with the resin. Next, split the branch in half. Using one half, scrape off a bit of the tinder us...

Resin clay gumdrops are handy for creating gumdrop wreaths that last a whole lot longer than real gumdrop wreaths (which inevitably either end up with a few bite marks in them or melting).
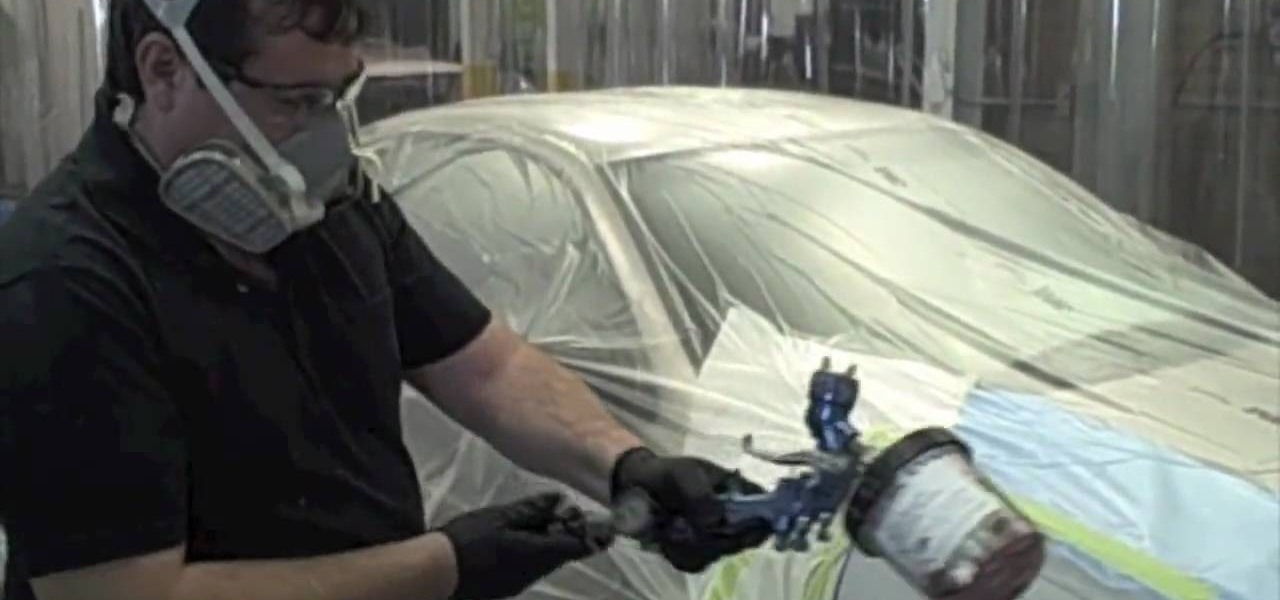
In this video Donnie Smith shows you how to apply primer surfacer. In addition to the visual instructions on the video, you can follow along with the instructions below from Donnie himself. After watching this video, you'll be an expert on primer surfacing!

This how to video shows how you can use a concrete repair epoxy to repair cracks or holes in your driveway or walkway. This tutorial is great for at home DIY projects.

Check out this video tutorial on how to make a fiberglass mold layup for car speakers. For fresh molds you must put several layers of wax on and I would consider PVA as well if the mold is less then a week old. Always use PVA (or equivalent) on your plug surface before molding.

In this video tutorial, viewers learn how to make a Hello Kitty princess mirror. The materials required for this project are: epoxy glue, tweezers, pendants, gems and a plain mirror. If the mirror has a logo, you can remove it by rubbing over it with some nail polish remover. Begin by mixing the epoxy. Then stick the Hello Kitty pendant and a pearl heart on the top cover of the mirror. Use a stick to apply the glue and tweezers to place the heart on the mirror cover. This video will benefit t...
Check out this video for creating a one piece mold using a repro laminating system. This is a professional video not for beginners. The repro laminating system is ideal for working on medium-sized projects, this process is easier, faster, and more economical than the epoxy laminating system. This process can be used in automotive, mechanical, fine art and film special effects uses.

In order to make bubbles for a miniature bathtub, you will need Amazing Casting Resin, Triple Thick, micro marbles/decorative beads, a dollhouse tub, and a miniature rubber ducky. You can purchase it in hobby stores: e.g. Hobby Lobby. Open it. Mix it well, according to the package. Poor it into the dollhouse tub. Allow the resin to set. It takes about 1 minute.
This is a video tutorial describing how to modify a nerf nite finder toy rifle. The first step is to take the nerf nite finder toy rifle out of the box and unscrew all of the screws on the gun. Then unscrew the light in the gun and then unscrew the back wiring and pry the metal out of the back. Next pull out the plunger tube assembly by unscrewing the two screws. Next add a pvc pipe to the connector piece from the gun, connect it to a piece of brass. Then add springs to your gun, and add a pi...

To keep fungal pathogens at bay in their crowded homes, wood ants mix potions to create powerful protection for their nest and their young.
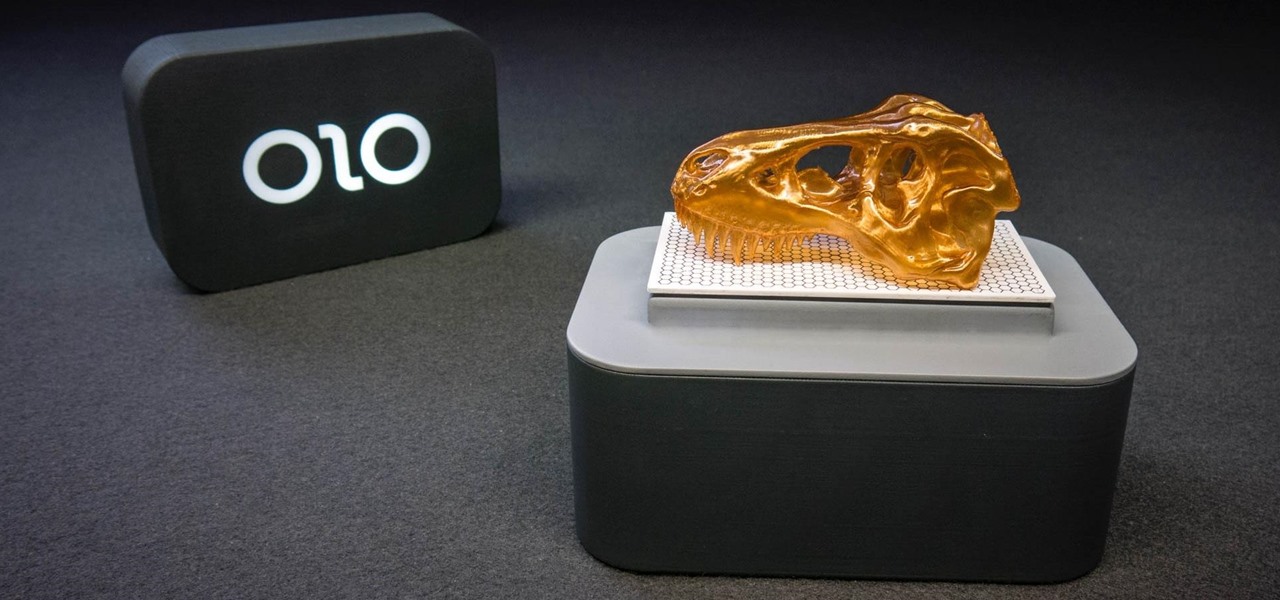
3D printers have been surging in popularity for both professional and personal applications, and now OLO is on the verge of making 3D printing practical wherever you go. Their eponymous 3D printer is battery-powered and uses the light from your smartphone's screen to create 3D objects out of special "daylight" resins.
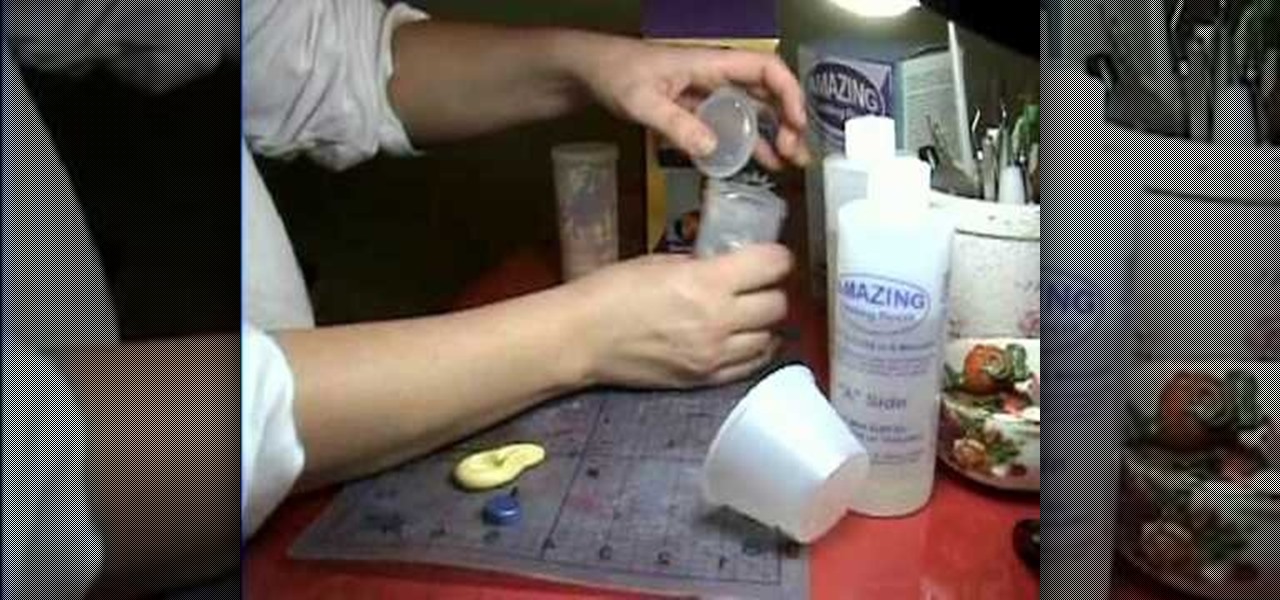
This video demonstrates how to make a miniature ceramics mold using resin. The object being made is a small saucepan for a doll house. A product called "AMAZING Mold Putty" is used. It is non toxic and can even be used for food. It comes in two tubes. One is yellow and one is white. Take a blob from each tube and make sure they are of equal size. Blend the two blobs together. You must work fast because the material becomes completely hard in 30 minutes. You probably have only three or four mi...
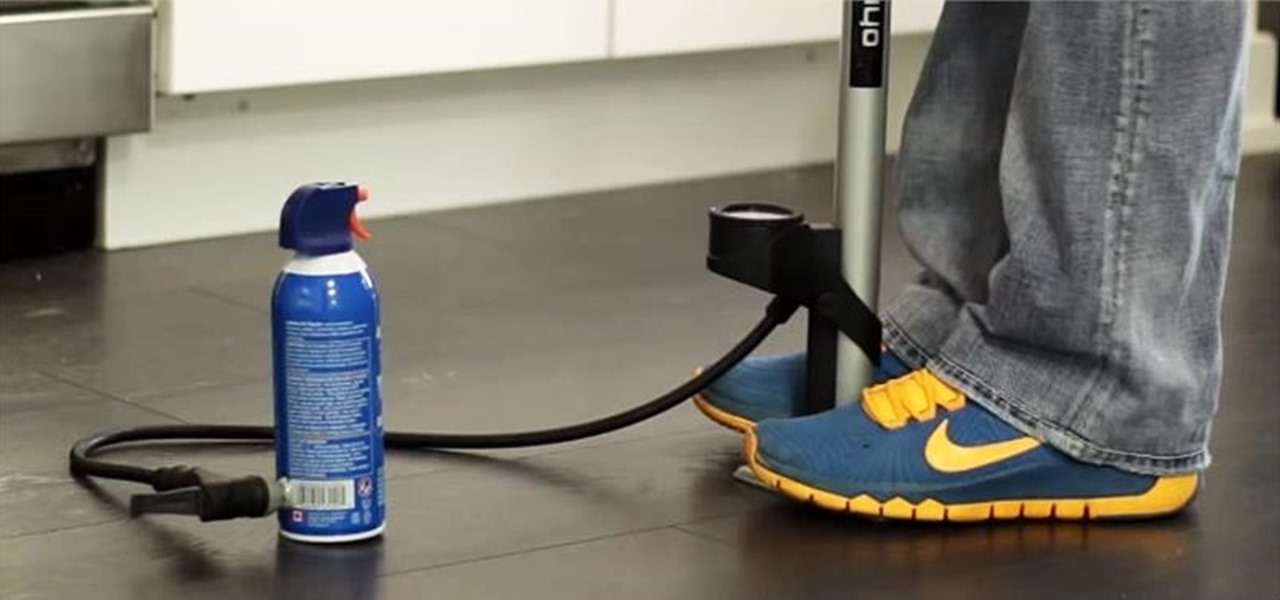
In this life hack video, I am going to show you how you can refill your air duster can with a bicycle pump.
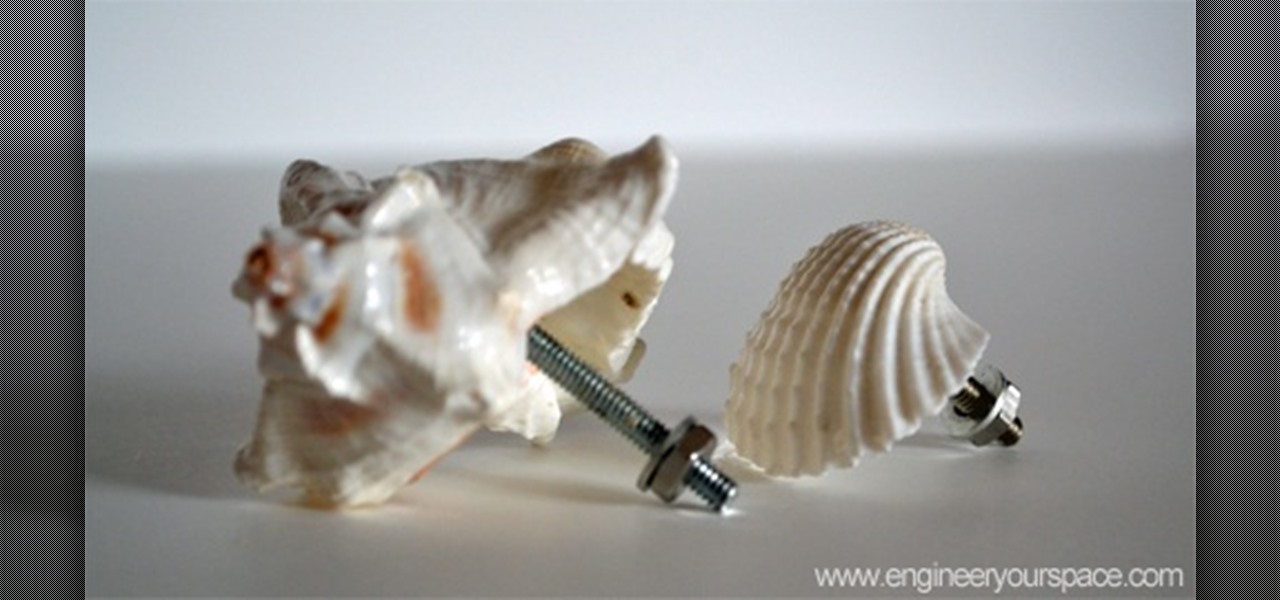
A quick way to revamp an old dresser is to change out the knobs for some new decorative ones. Here’s an easy and budget-friendly way to make your very own DIY dresser knobs using shells – perfect if you’re looking to add a little bit of the beach to your decor: What you’ll need: shells (I got mine from the Dollar Store), nuts & washers, bolts (about 1 to 1.5 inches longer than the thickness of the shell), scrap rigid cardboard, rubber bands and epoxy glue.
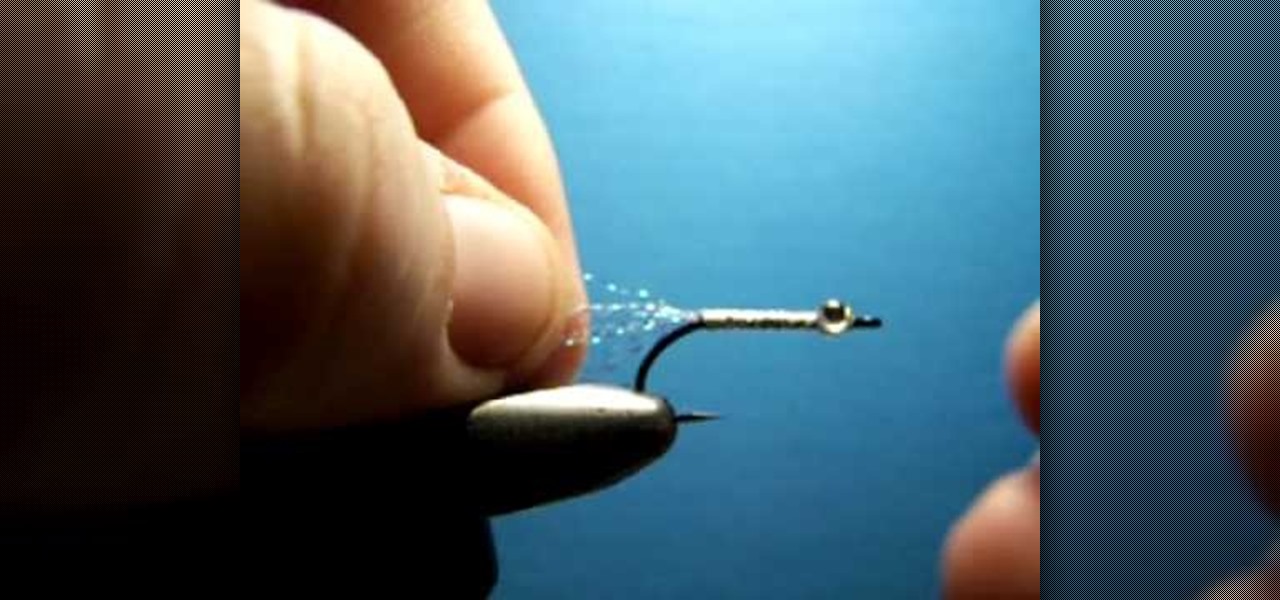
Flashback Max from Alaskaflyfish.net demonstrates how to tie an odd-looking little thing called the Plasti Dip fry. Plasti Dip is a product that can be used to make a rubbery surface. It doesn't run like epoxy, and sets up quickly. As Max puts it, "Dead-drift that puppy, and see what ya get!"

Here's how to make a simple green laser projector using a DC motor, pipes, and epoxy.
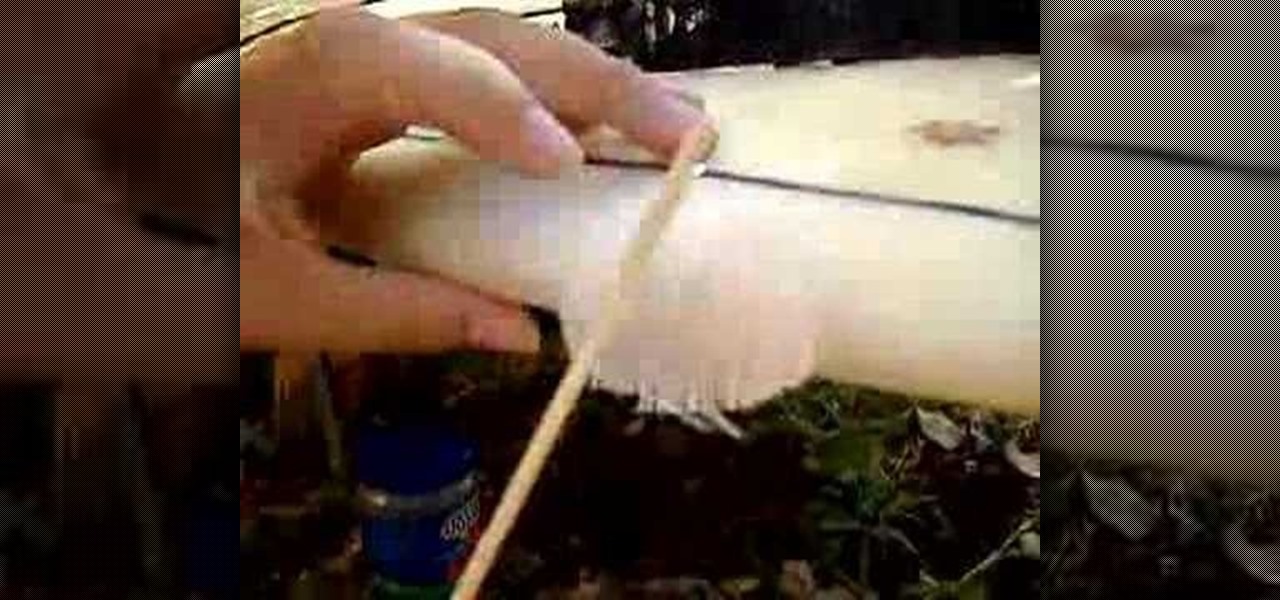
How to fix a small ding in your surfboard and the right way. First sand the ding. Cut out a patch of fiber glass to fit over the ding. Apply resin. Let it dry. Then apply another layer of glass.
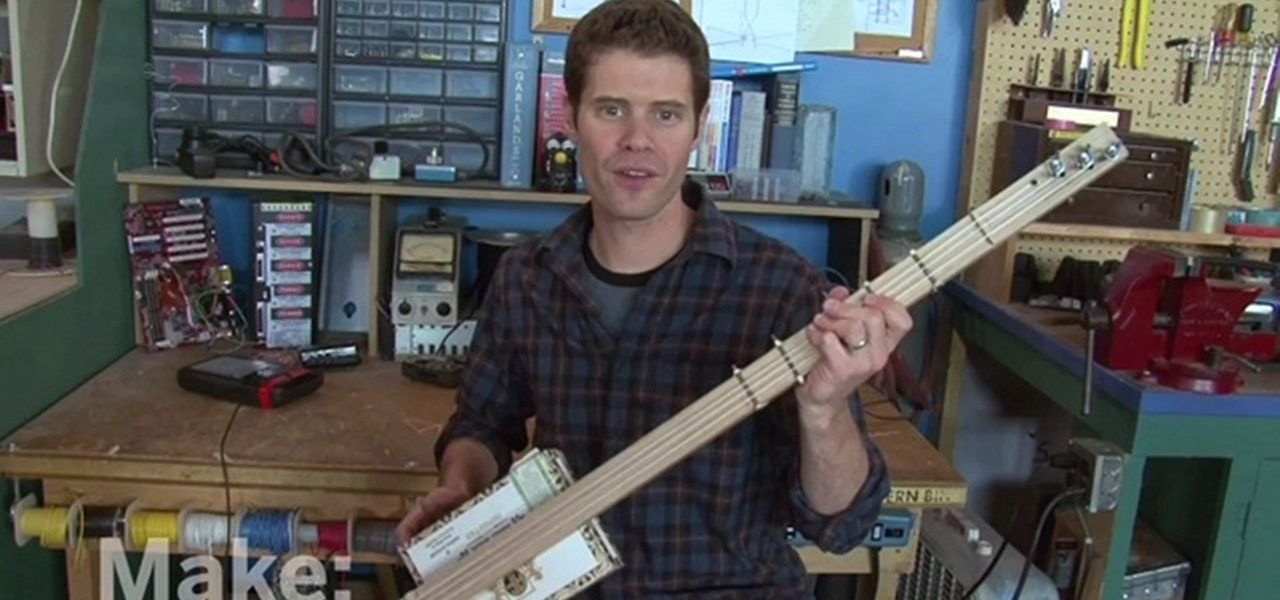
This video will show viewers how to simply make a 3 string guitar using an empty cigar box, a piece of oak, some string, and a few eyebolts. You start with a 1 by 2 piece of oak which is about 3 feet long. First, you should begin by making some markings along one side of the oak, first at 1/2 an inch and then at 1/4 inch spacing after that. Drawing 3 symmetrical lines where the strings should go, drill holes at the intersections of the lines you have drawn. The holes should be made using a 1/...

Don't wait for a full moon to unleash your inner beast. Get your growl on with these tips on creating the ultimate werewolf mask.
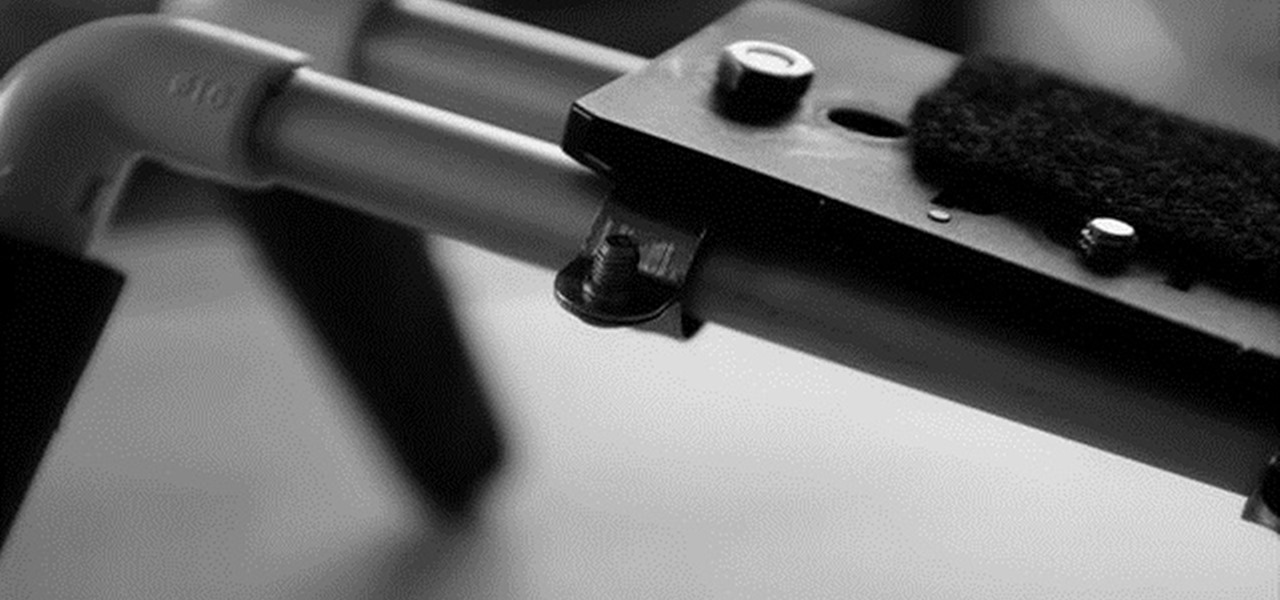
The hardware you will need is: two tubes of 15mm aluminum, sheath pipe insulation, rubber plugs for chair legs, super glue or epoxy, media plumbing tape, and assorted hardware - screws and bolts. A craft knife will also be useful.
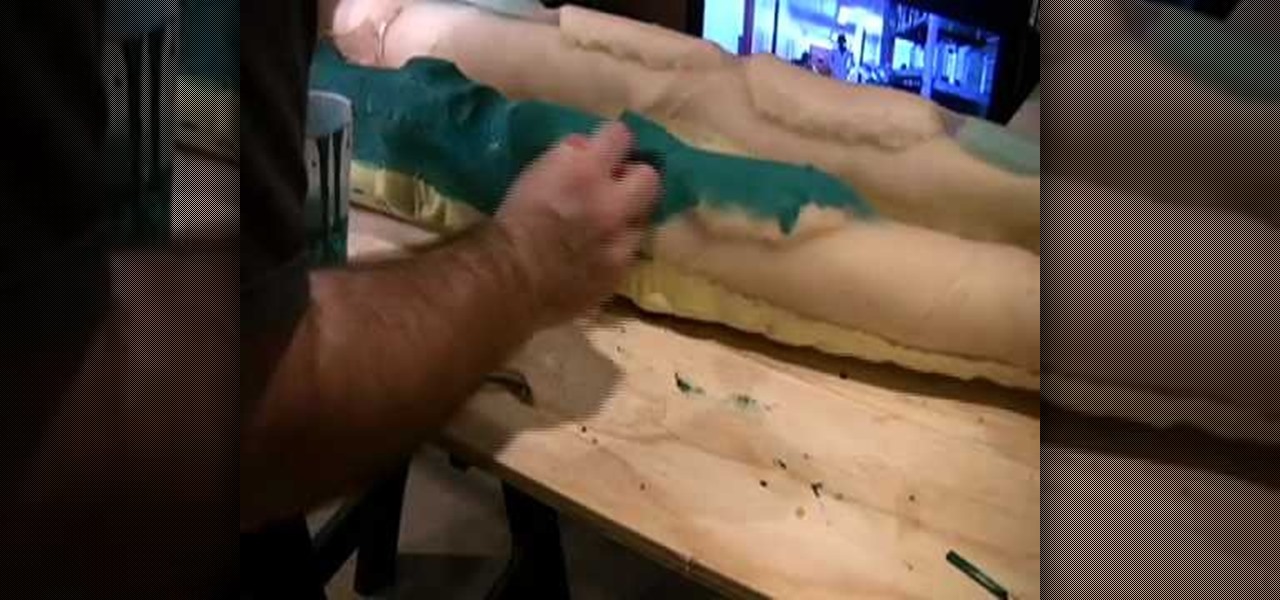
Now you too can build your own prop of eldritch horror! Guaranteed to induce a SAN check in anyone who sees it, this tutorial shows you how to build a set of flexible Cthulhu tentacles out of one inch furniture foam, half inch furniture foam, steel wire, pantyhose, one inch PVC tubing, epoxy and a jar of latex.
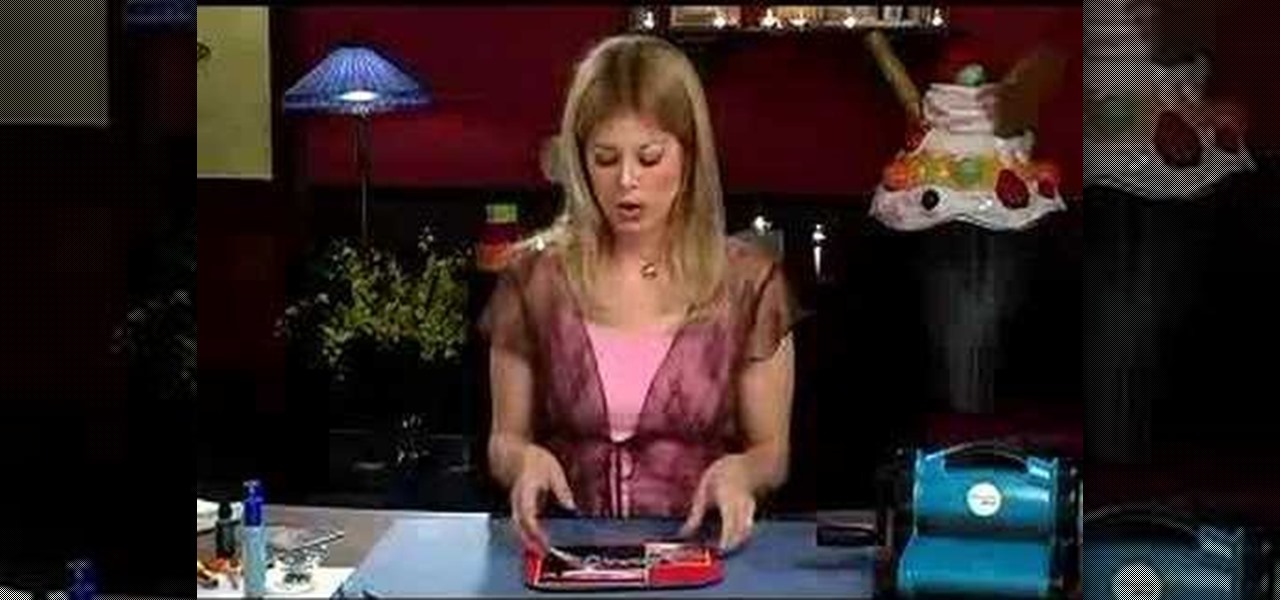
In this how-to video, Bethany's layout captures all of the fun, whimsy and flavor of the circus. She creates some cotton candy letters for her Title using a Circus die cut alphabet set and some shiny, textured papier paint. With some custom epoxy embellishments, dyed-to-match brads and colorful staples, this page will make you want to be a kid again! Watch this video crafting tutorial and learn how to make a circus themed album layout.
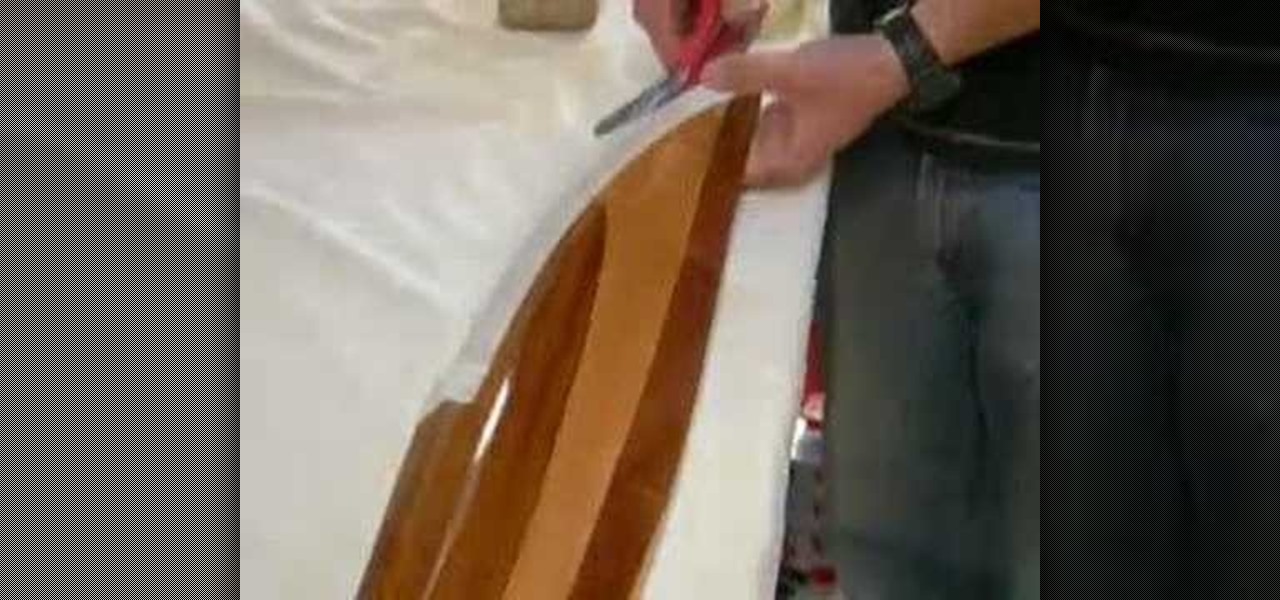
This video will show you two different methods of repairing the leading edge of a wooden aircraft propeller. Learn how to properly apply epoxy, clean the area of the repair, and make the edge look like it was never damaged!
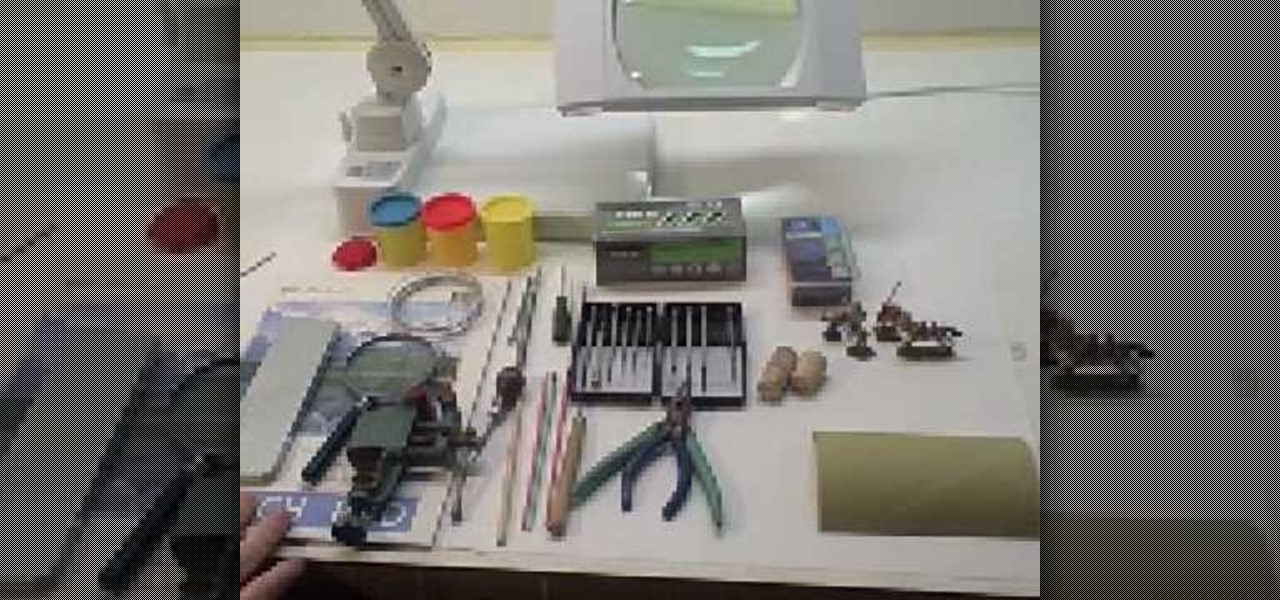
It can be intimidating to sculpt fantasy miniatures, even if you have some artistic experience. Working at that scale, every little mistake could be a disaster! But in this 15-part video tutorial, you'll learn how to make your mini figures turn out looking great, every time.

Prescription swimming goggles cost almost as much as a new pair of glasses. That's way too expensive, especially if you don't get to go swimming as often as you'd like. But using the clever tips in this video tutorial, you'll be able to make a pair of prescription swimming goggles for less than you'd spend on a tank of gas to get you to the beach.
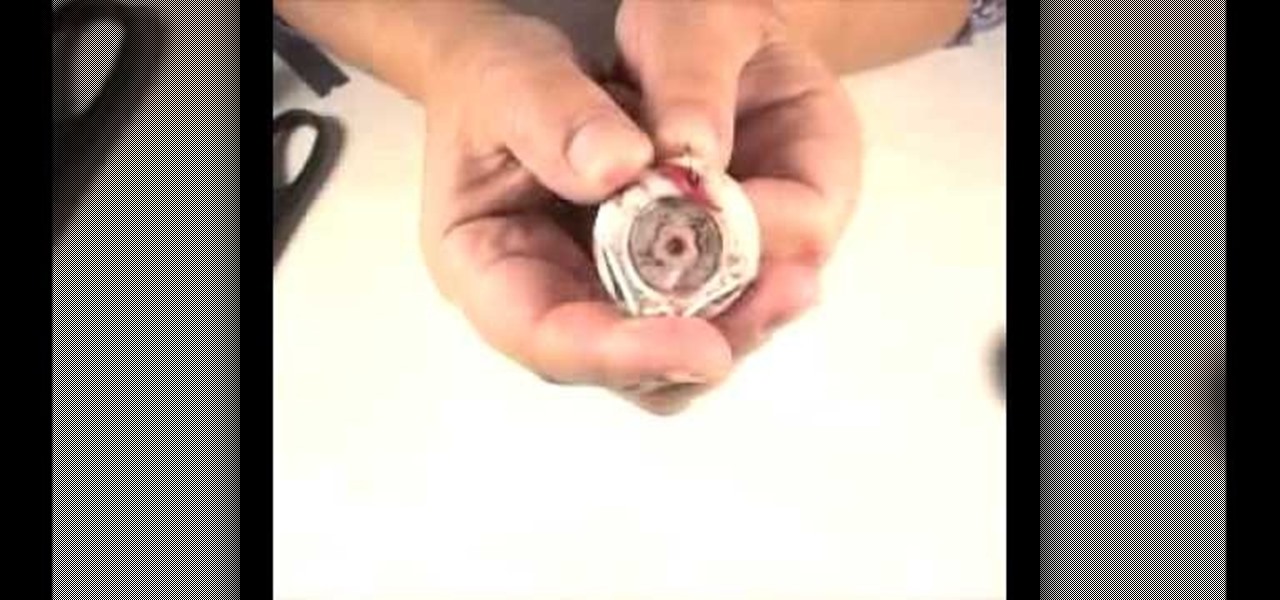
Magic Glos is a fun product that you can add to polymer clay or resin products to make your project glossy and shiny. You can even apply Magic Glos to paper projects, though you'll need to seal it to prevent bleeding.
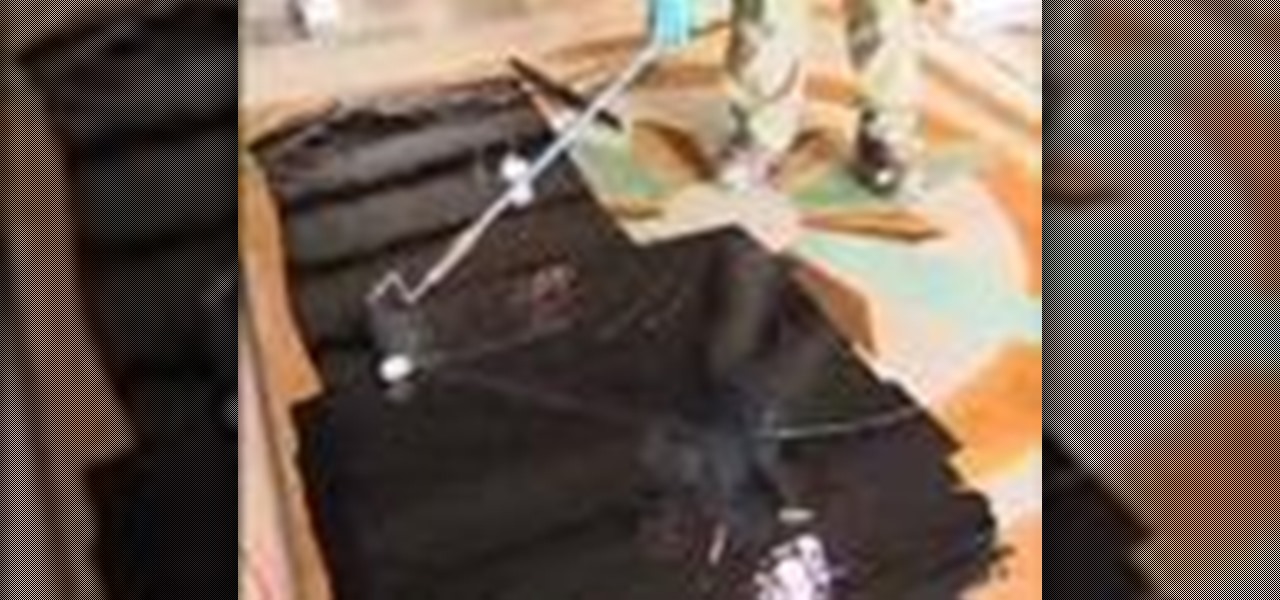
Watch this video from the Concrete Network on proper use of the notched squeegee & spiked roller to apply epoxy floor coatings.
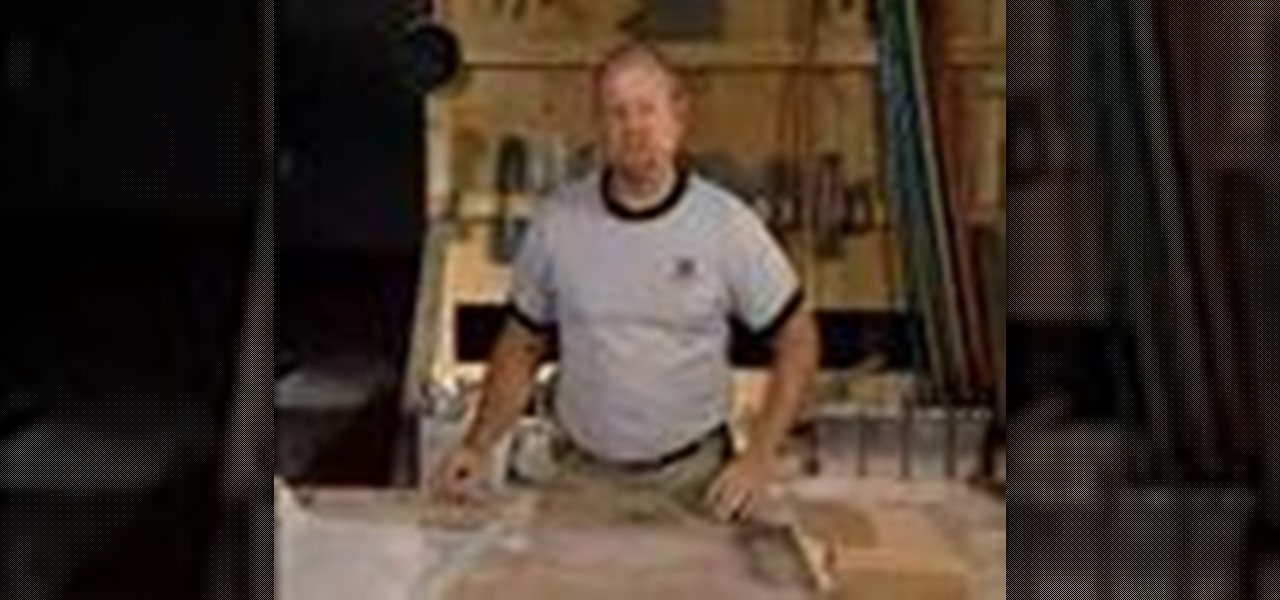
Watch this video from the Concrete Network to learn the proper function and use of the moisture test, calcium chloride test, and pH test when pouring a concrete overlay or epoxy.
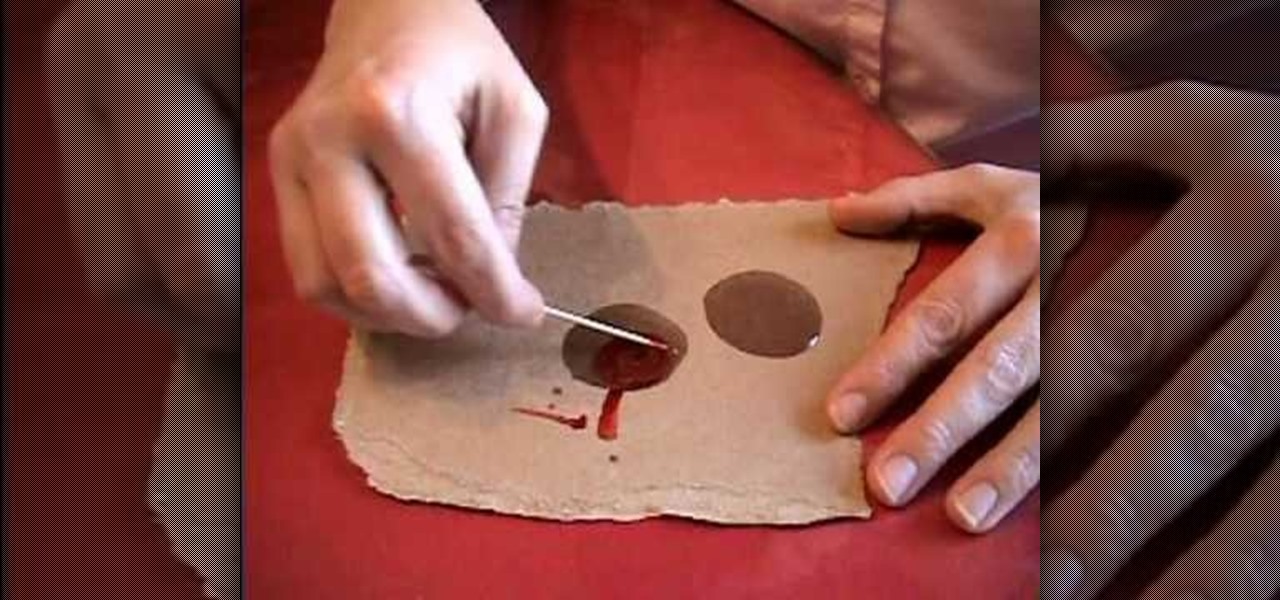
This video shows you how to make a miniature Jell-O mold, for display in a dollhouse. In advance, you will need to make a Jell-O mold out of polymer clay. You will need to shape it into a conventional form for Jell-O molds.
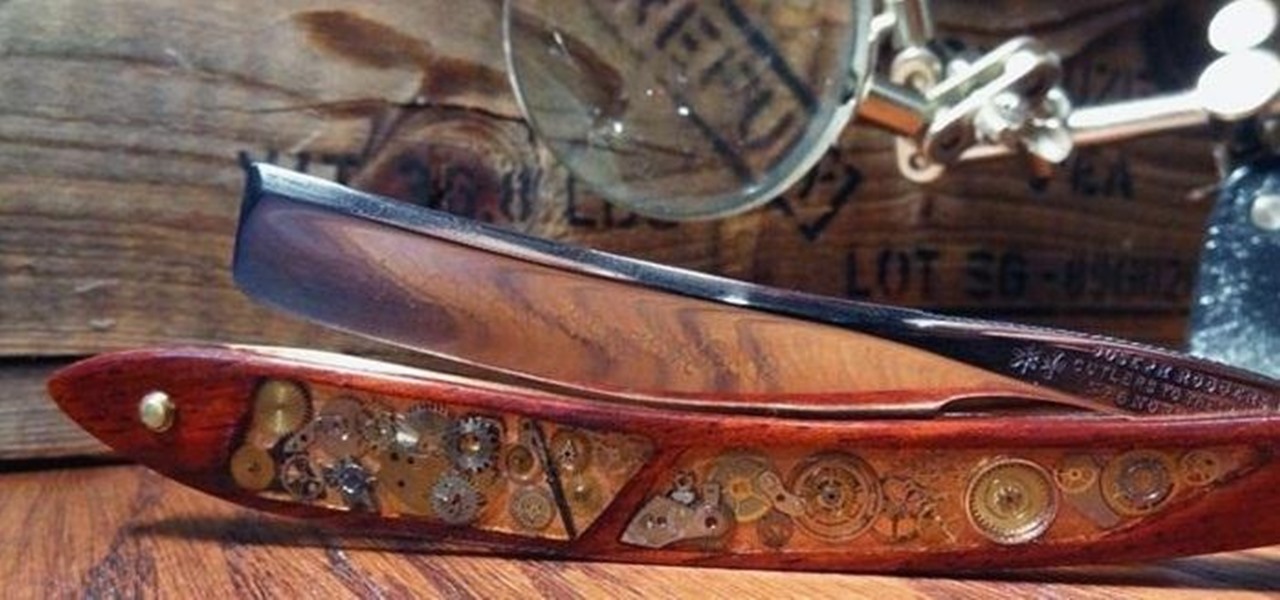
I collect straight razors from the Victorian era and then add some steampunk style. Step 1: Remove the Old Scales

Glow sticks, a popular favor at parties and outdoor events, and a must-have on Halloween, can be traced back to the United States Navy in the mid-1960s. The military desired improved visibility during night operations, and glow sticks, with their small-size portability and lack of batteries, were a perfect tactical solution.
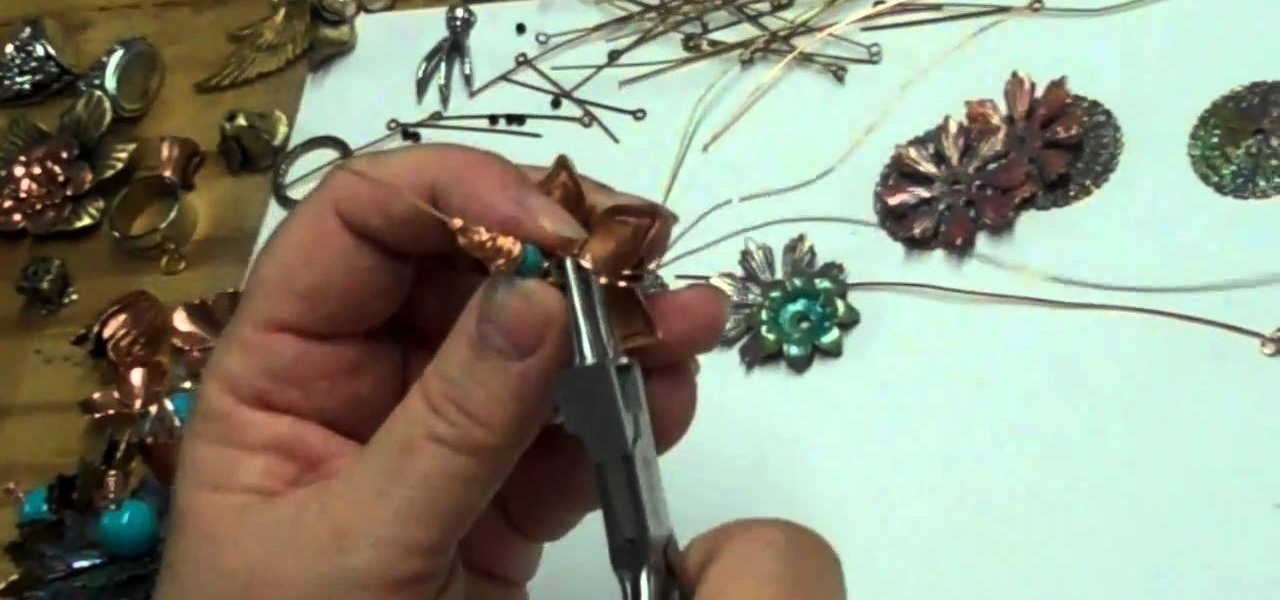
Wire wrapping is like the bread and butter of jewelry making. It doesn't matter if you're into vintage inspired, assemblage necklaces or Steampunk pieces - wire wrapping is essntial for securing everything in place and often times is even used as part of the decor.
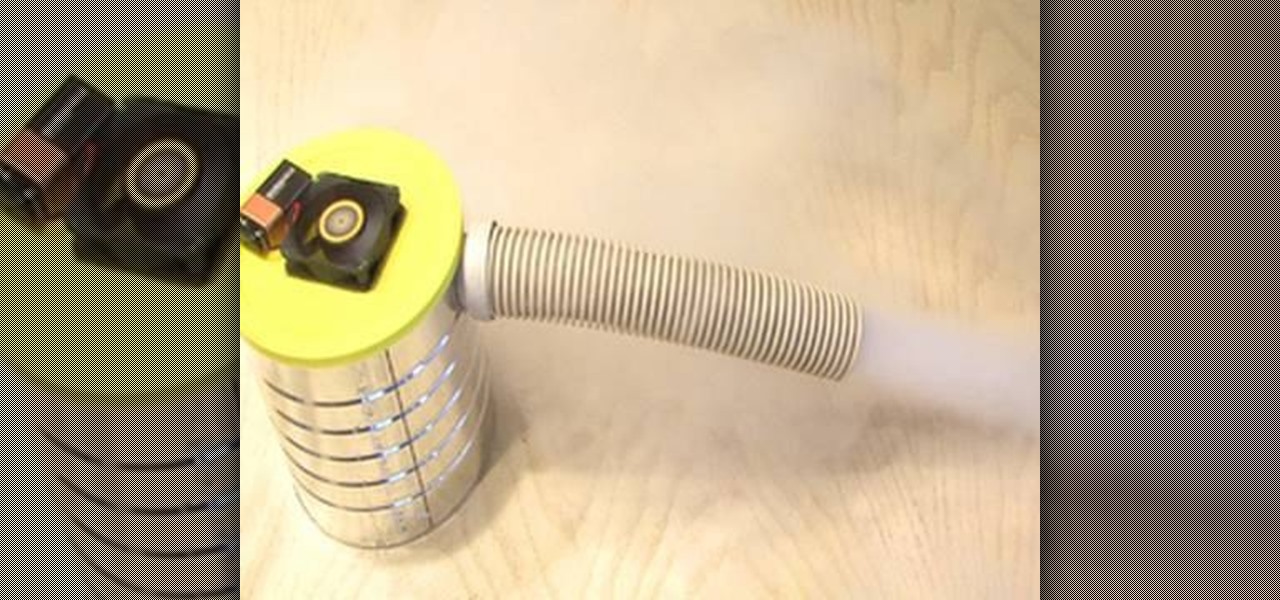
For great looking fog, you no longer need to go to the local film prop store or Halloween store (which is almost always closed 11 months of the year). You can make your own homemade version of a fog machine.
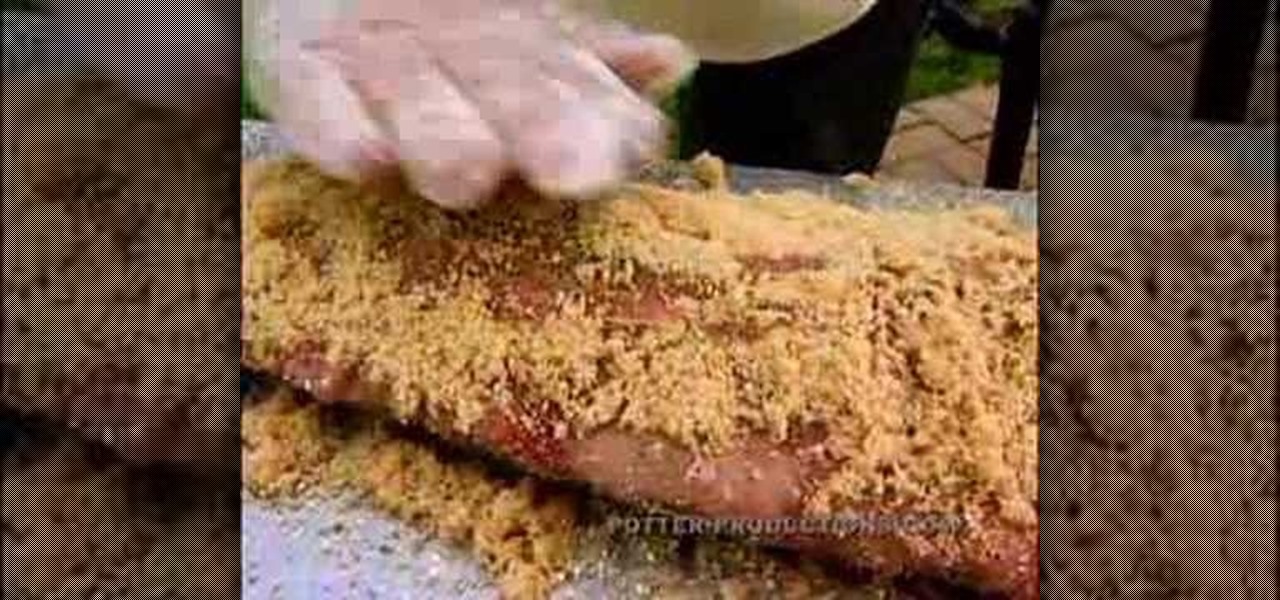
Skip Steele and Terry Black of the award winning Super Smokers BBQ Team share their method for making championship barbecue ribs.
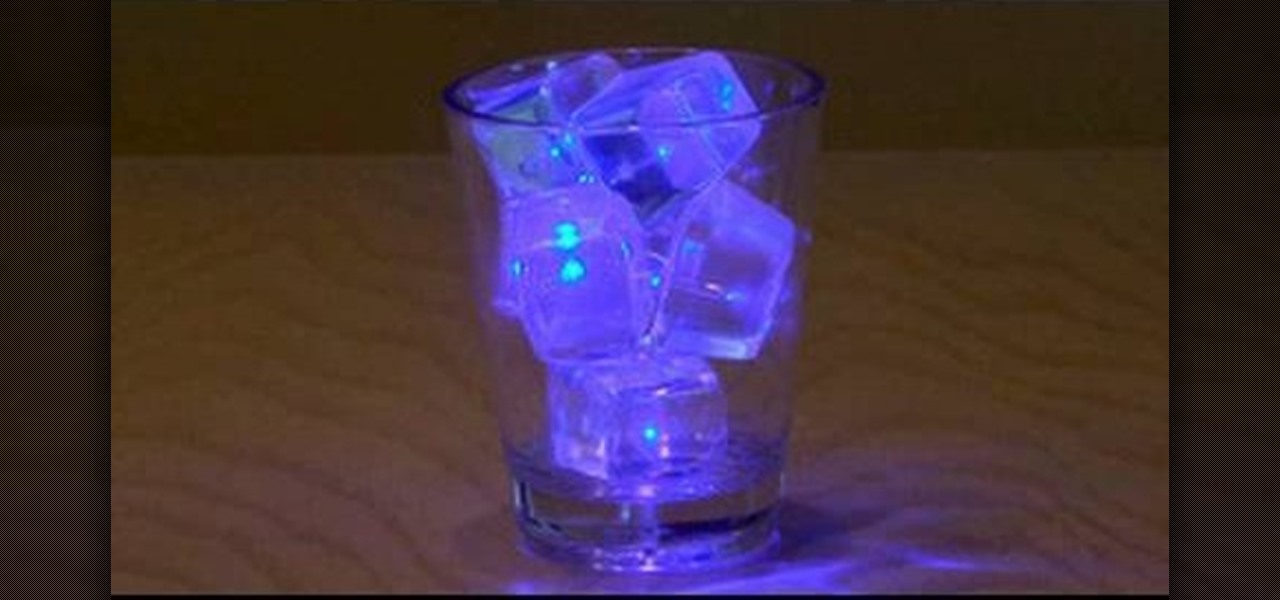
Learn how to make LED ice cubes with this tutorial! Steps:
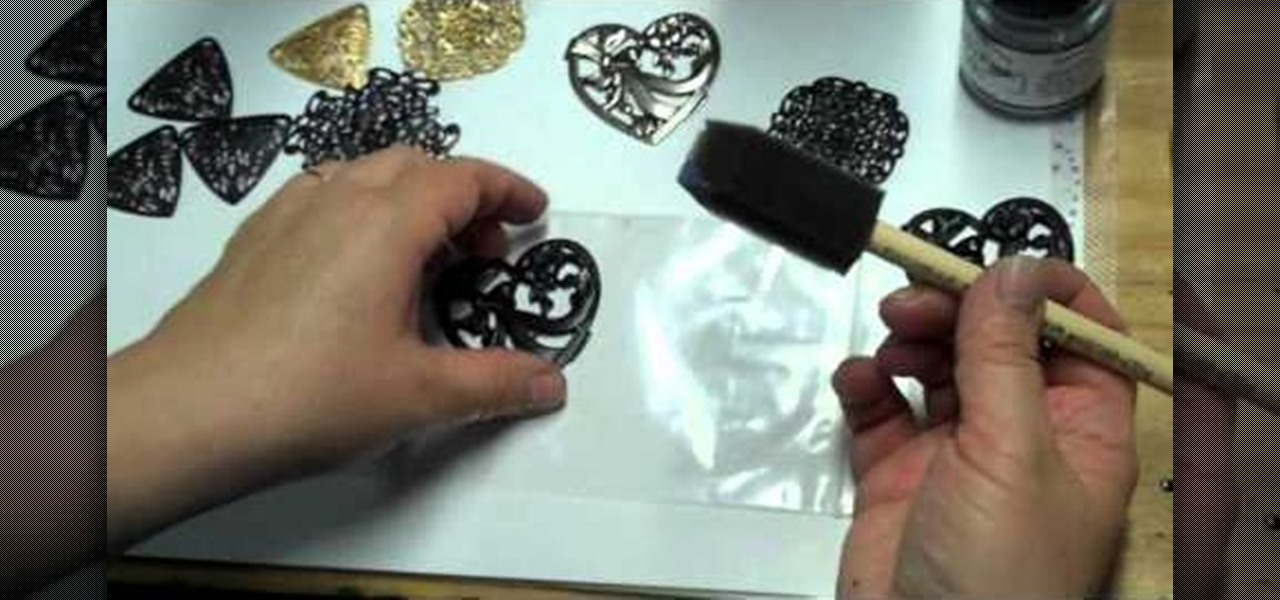
Gunmetal gray is one of the coolest, most biker-chic finishes out there when it comes to jewelry making. If you enjoy working with filigree pieces in your bracelets and necklaces, why not make them less granny fantastic and more urban chic by adding a nickel-free gunmetal finish?
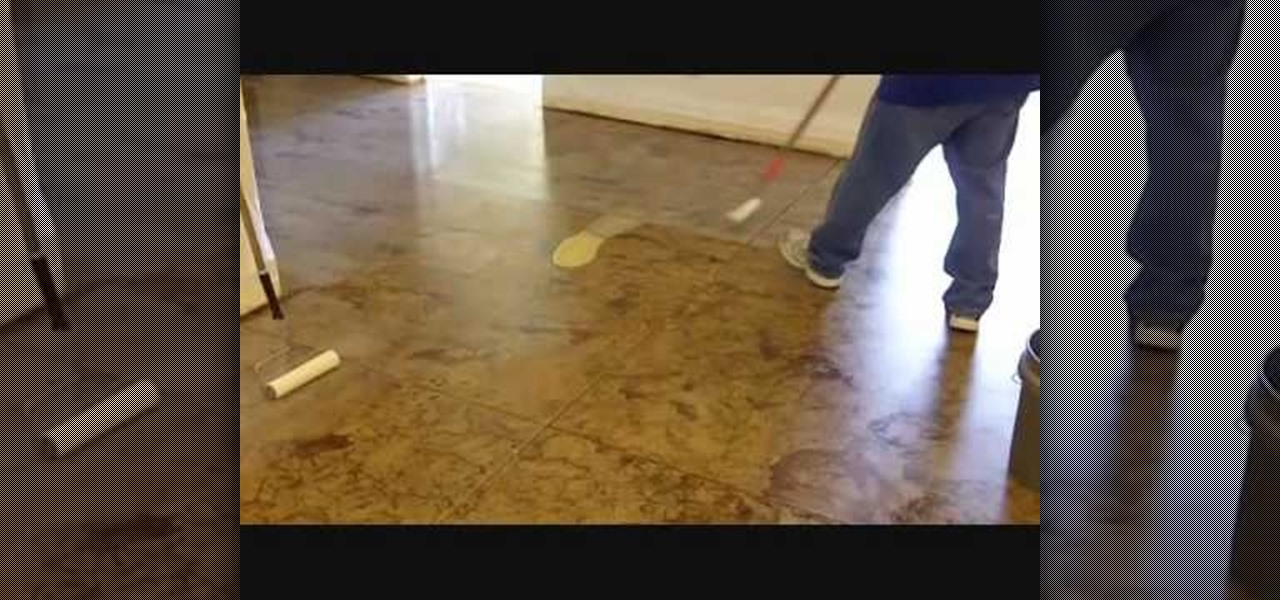
In this tutorial, we learn how to stain a concrete floor. To start, you will need to prepare your floor by cleaning it vigorously. Remove all dirt from the floor, then use detergent and water to wash, when finished dry with a shop vac. You will have to use a hand brush to scrub alongside the walls. After this, wash your floor with a mixture of water and baking soda, then use the shop vac to dry. Next, rinse the floor off with plain water and dry with shop vac once more. To finish, apply faux ...

Ever find yourself short on material and that one board you really need has a nice open knot in it? You could always go out and buy more material, but sometimes its just easier and faster to stabilize and repair the knot. And instead of trying to hide the knot, sometimes it's just better to embrace it and make it look look resinous and natural. And that's the goal here. Our guide uses an epoxy/dye mixture to create a stable and decorative knot. With a little elbow grease, and this video from ...