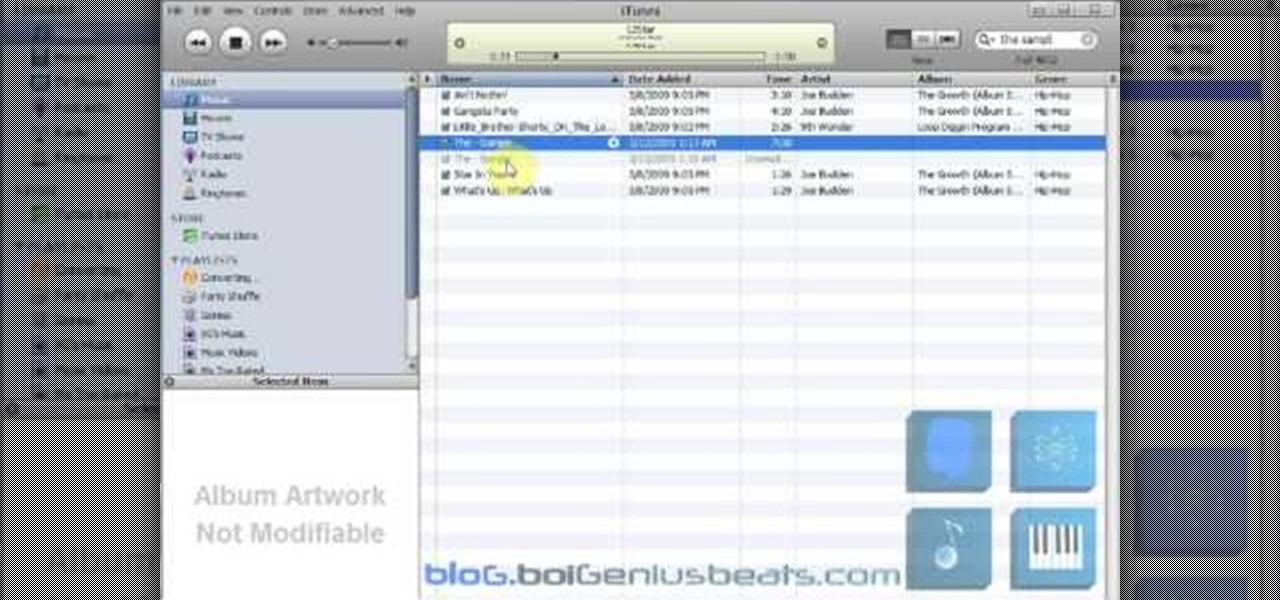
This video tutorial belongs to the software category which is going to show you how to convert an mp3 to WAV format in iTunes. Go to file menu and click 'add file to library'. Grab your mp3 file that you want to convert by double clicking on it. This will automatically add to the iTunes library. In the library click on 'music' and find the file that you just added. Now click on edit > preferences > general > import settings. Now in the 'import settings' dialog box, select 'WAV encoder' under ...
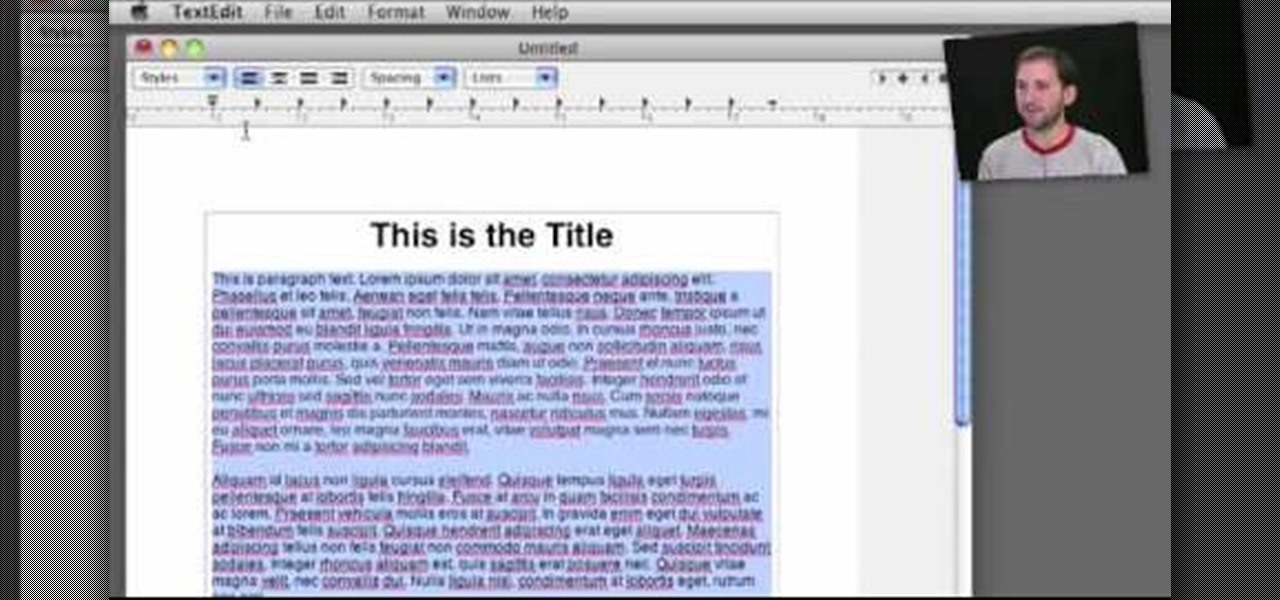
Before you buy a professional word processor consider using TextEdit, a program that comes with your Mac and can handle most non-professional word processing needs. You can format and style text, add images, lists and tables, and even open Word docs. It's easy! So easy, in fact, that this home-computing how-to from MacMost can present a full overview of the process in about five minutes. For more information, including detailed, step-by-step instructions, watch this Apple lover's guide.

Do you need an image (freeze frame) from a particular frame in your clip for your website? In this video clip, you'll learn how to create freeze frames in Final Cut Pro or Express. Whether you're new to Apple's Final Cut Pro non-linear video editor or just want to better acquaint yourself with the popular video editing program, you're sure to benefit from this video tutorial. For more information, including detailed, step-by-step instructions, watch this tutorial.
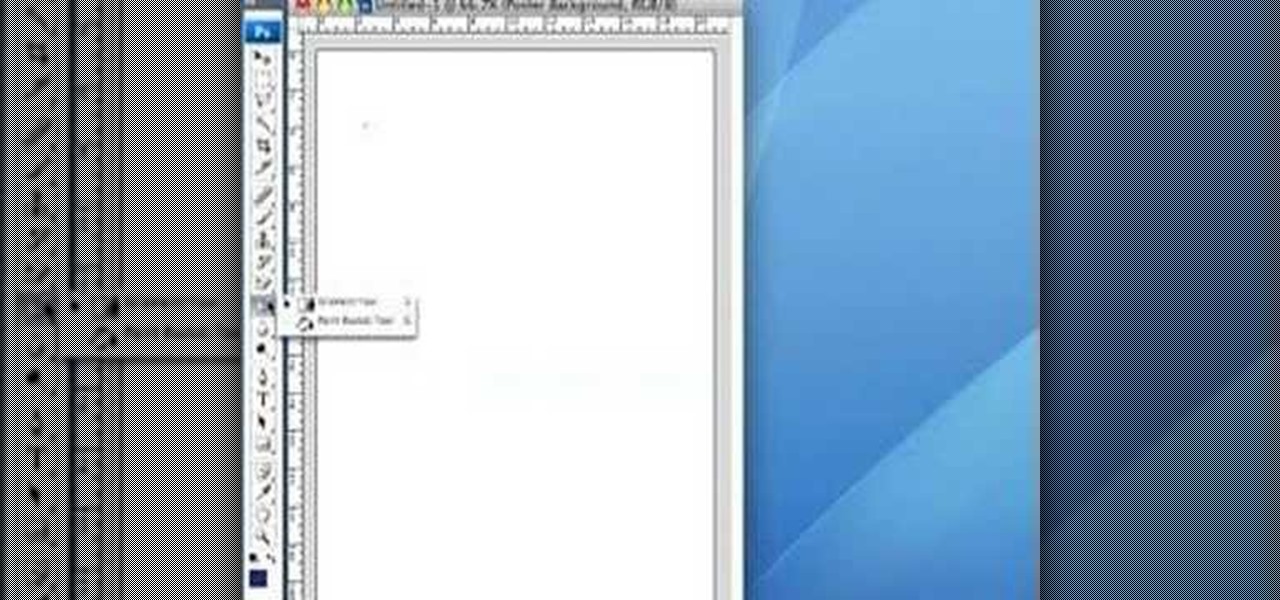
In this tutorial, you'll see how to create a grindhouse-style movie poster using Adobe Photoshop. This clip will teach you what you need to know. Whether you're new to Adobe's popular raster graphics editing software or a seasoned professional just looking to better acquaint yourself with the program and its various features and filters, you're sure to be well served by this video tutorial. For more information, including detailed, step-by-step instructions, watch this free video guide.
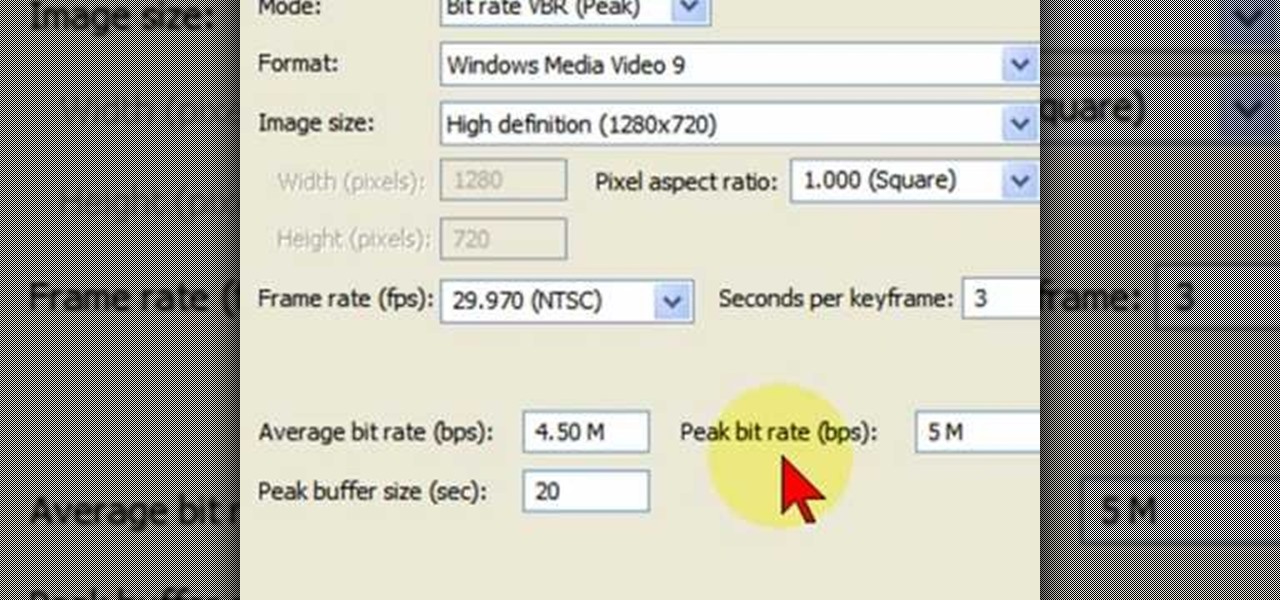
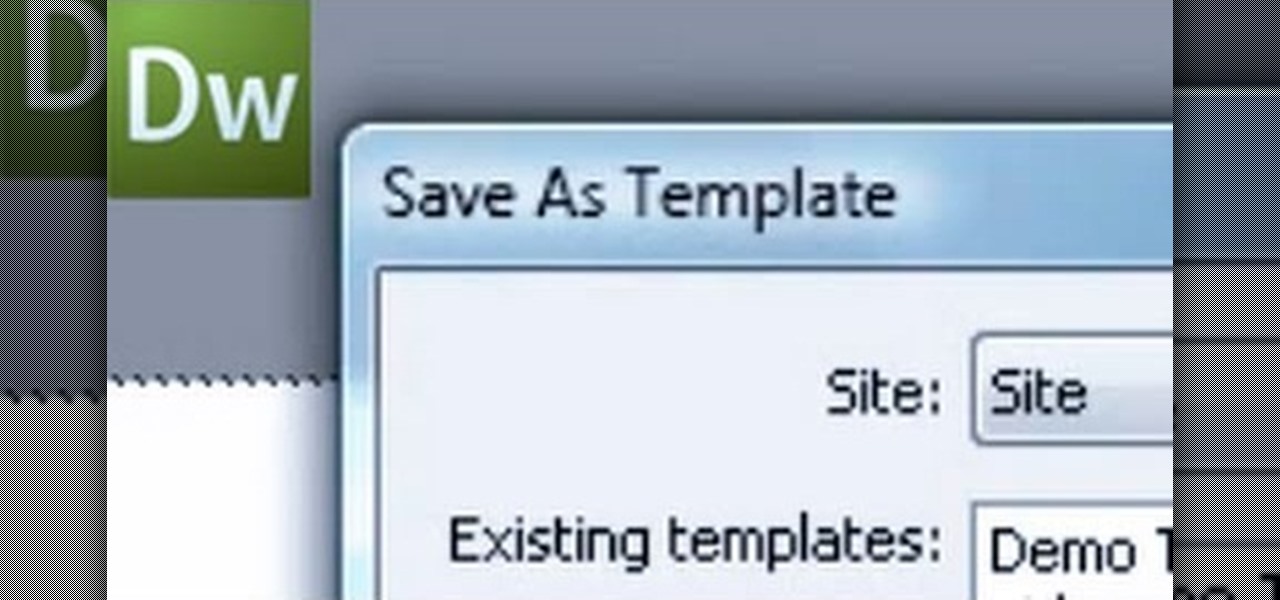
In this video tutorial, viewers learn how to render high definition videos in Sony Vegas Movie Studio. Begin by clicking on File and select Render As. Then select the file type. Now click on Custom. In the Audio tab, set the mode as CBR, format as Windows Media Audio 9.2 and attributed to 128 k-bps. In the Video tab, set the mode as Bit Rate (Peak), format as Windows Media Video 9 and image size as High Definition (1280x720). Now save the template. This video will benefit those viewers who en...

In this video tutorial, viewers learn how to equip their golf bag in World Golf Tour. Begin by visiting the World Golf Tour website and enter the main menu. Then click on My Settings and select My clubs. Here, users are able to select a club that they want to play with for the next round. The upper blue section represents the clubs that are currently in your bag. The lower section represents all the clubs that you own, sorted by type. When finished editing and customize your club selection, c...

In this video, we learn how to upload a video to your Facebook profile. First, log onto your Facebook account and go to your home page. You will now see an option where you can write in what your status is, then you will see small icons underneath it. Look for the icon with the video camera and click on it. Now, a browse box will pop up, so click on that to find the video you want to upload. Click on the video you want to upload, then hit "upload". After this, the video will start to load and...

In this video tutorial, viewers learn how to add video transitions to a video in Pinnacle Studio. This task is very easy, simple and fast to do. Begin by imputing the video clips into the time-line. Then click on the Transitions tab and select a transition. Once selected, simply drag the transition in between two video clips. There are many transitions to select from. Users are able to preview each transition by clicking on it and pressing the Play button. This video will benefit those viewer...

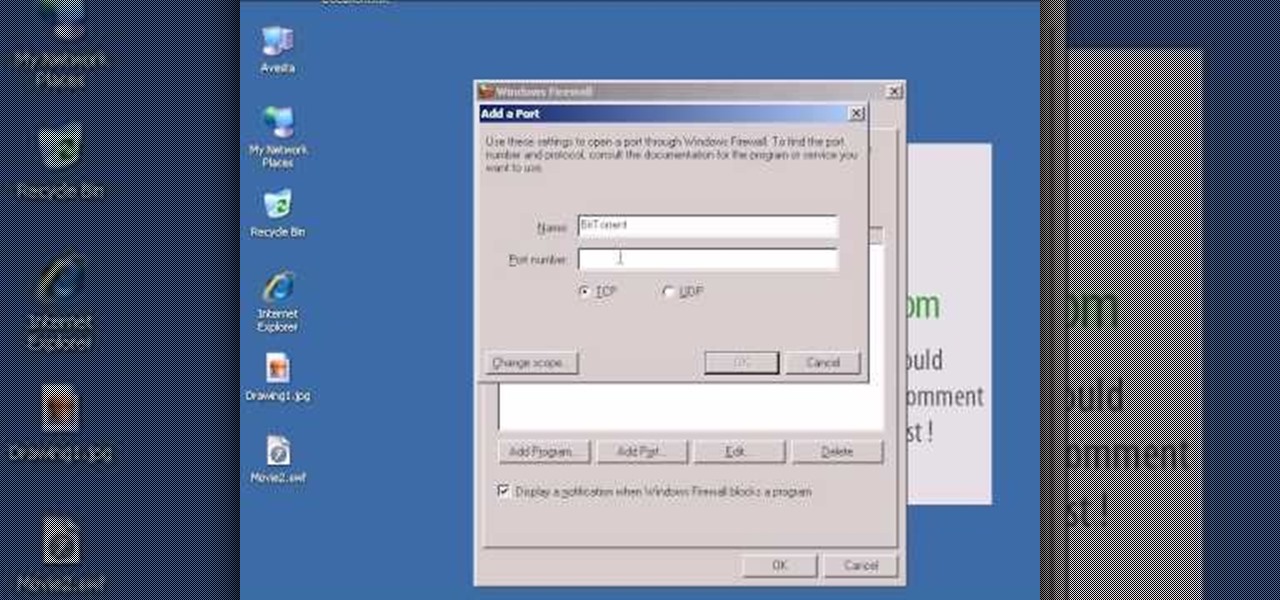
In this video tutorial, viewers learn how to open ports in Windows firewall. Begin by clicking on the Start menu, go to Control Panel and select Windows Firewall. In the Windows Firewall window, click on the Exceptions tab. Here, users are able to add, edit or delete exceptional ports. To add ports, click on Add Ports. Now name the port, input the port number, select the port type and then click on OK when finished. This video will benefit those viewers who use a Windows computer, and would l...

In this tutorial, we learn how to use templates in Dreamweaver. First, go under "create new" and click on "hdml". Start with a table that has three rows and one column at 100% width. Click in the middle one and split the cell into two columns. Now, click "insert", "template objects", then "editable region". Type text into this box, then it will show up on your page. Whenever you open a file, this will be the part you can edit, while you won't be able to change anything else. Now go to "file" ...

This video tutorial is in the Software category which will show you how to "Photoshop' someone into an image. It is like cutting and pasting one image over another. First open both the images. Ctrl and click the person's image that you want to move over. Drag the cut out image over the other picture where you want to superimpose it. Then click "edit', resize, rotate and position the image where you desire. Then go to "Image Adjustments' and adjust the brightness and contrast to match with the...

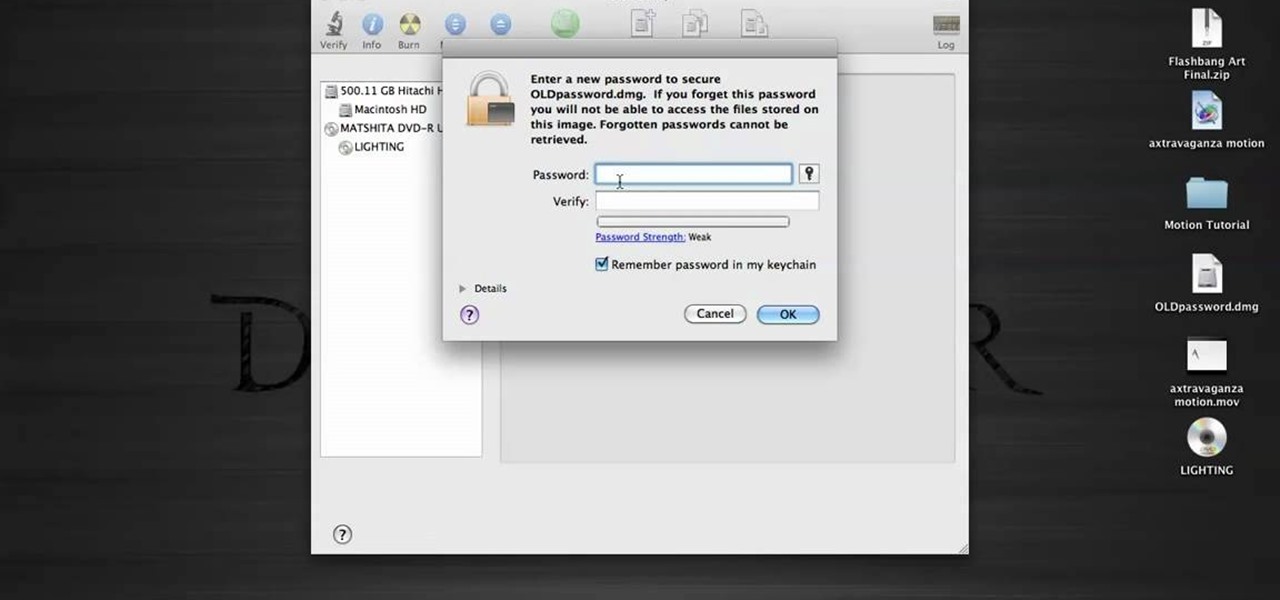
In this tutorial, we learn how to password protect a folder in Snow Leopard on your Mac. First, go to the finder and click on "utilities". Now go to "file, new, disk image from folder". Now, you can select the folder you want and then click "image". Make it a read/write folder so you still can edit the files and enable the encryption. Save this, then it will ask you for a password. Create a password and then verify it. When finished, uncheck the "remember my password", then click on "ok". Now...

In this tutorial, we learn how to get vWallpaper from Cydia. First, go into Cydia and then go into "manage" and "add a source". You are going to hit "edit" then "add" and then type in "i.danstaface.net/deb/". You should now be brought back to sources and have a prompt shown on your screen next. Now, click on "vWallpaper" and don't install anything else. Once you have installed this, you will be brought back to your home page and you will have to restart your springboard. After this, if you ha...

In this video tutorial, viewers learn how to create a auto-tune, T-Pain effect in the program, Garage Band. This task is easy, fast and simple to do. Begin by opening the program and import the vocal audio. In the time-line under Advanced, increase the Enhance Tuning to 100 and check Limit to Key. Then open the Track Info Pane and go to Details. Now set the Reverb to 30% and Echo to 17%. This video will benefit those viewers who are interested in music editing, and would like to learn how to ...

In this video tutorial, viewers learn how to copy DVD9 movies to DVD5 on a Mac computer. Users will need to download the DVD Copy Pro program from the link provided in the video description. Once downloaded and installed open the program and insert the DVD into the computer drive. Then check "D9 to D5 compression" and select .DVD media under Output Options. When finished, click on Start and wait for the program to finish copying. This video will benefit those viewers who use a Mac computer, a...

This video tutorial is in the Electronics category which will show you how to get install0us v2.5 for iPod Touch or iPhone. Click on Cydia and let it open up. Once it is open, click on manage > sources > hackulo.us > installous > modify > remove. Then go back to sources > edit > add. In the URL box, type in cydia.install0us.com and then click 'add source'. Then click return to Cydia and click 'done'. Then go back to manage > sources > install0us repository and here you will see the install0us...

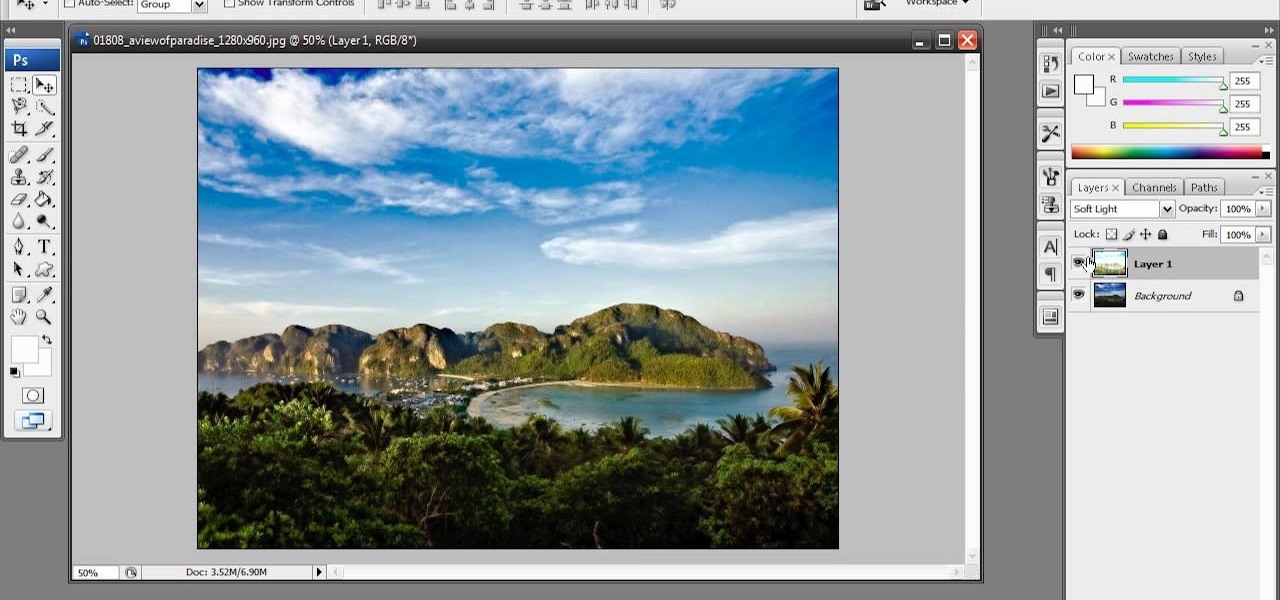
In this video tutorial, viewers learn how to enhance an image in Adobe Photoshop. Begin by duplicating the layer by press the Control and J buttons. Then change the blending mode to Soft Light. Now press the Control and M keys to open Curves, and drag the curves up to brighten the image. Then click on Filter, go to Blur and select Gaussian Blur. Set the Radius at 2.7 pixels and click OK. This video will benefit those viewers who enjoy editing images, and would like to learn how to enhance a p...

In this Electronics video tutorial you will learn how to take a picture with your LG GW620. First you got to press and hold the camera key on the side of your phone. This will open up the camera options. If you tap the screen you will see the options icons on the side. The various icons are zoom, exposure, flash, macro and settings. On the right hand side you have the back, camera mode and the gallery icons. To take a photo, tap on the camera mode icon. The photo will be clicked and then a li...

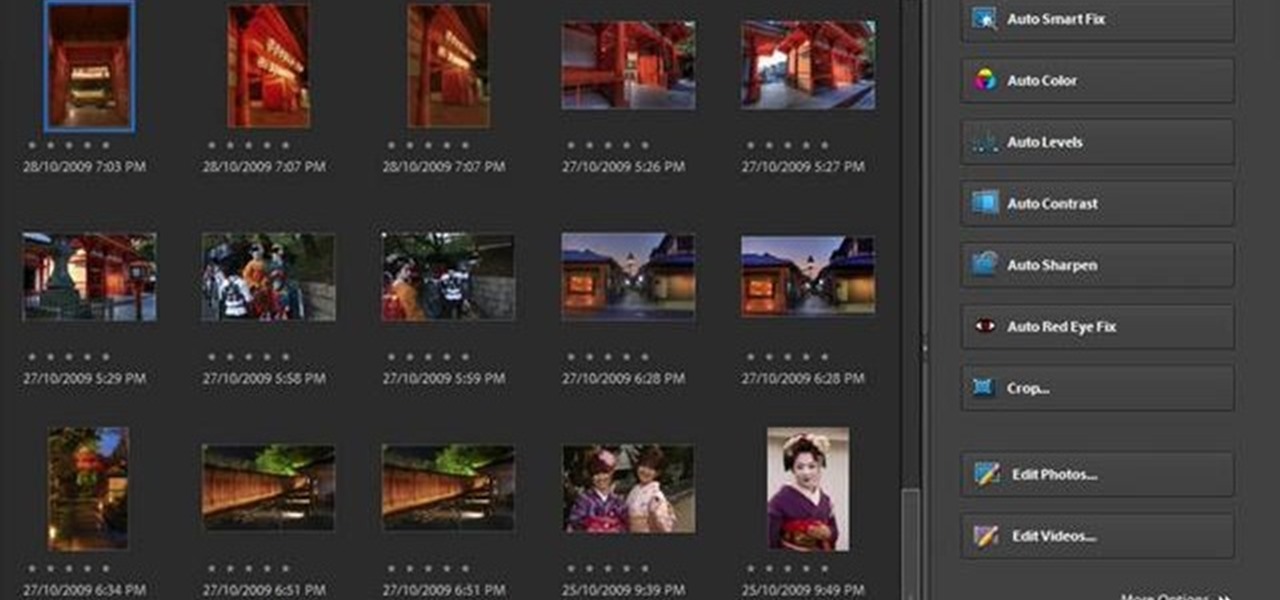
One of the most frustrating things about learning Adobe Photoshop is that there are multiple ways to do the same thing. Here are the six most obvious ways to open a photo in Photoshop Elements, CS4 or CS5. Whether you're new to Adobe's popular raster graphics editing software or a seasoned professional just looking to better acquaint yourself with the program and its various features and filters, you're sure to be well served by this video tutorial. For more information, including detailed, s...

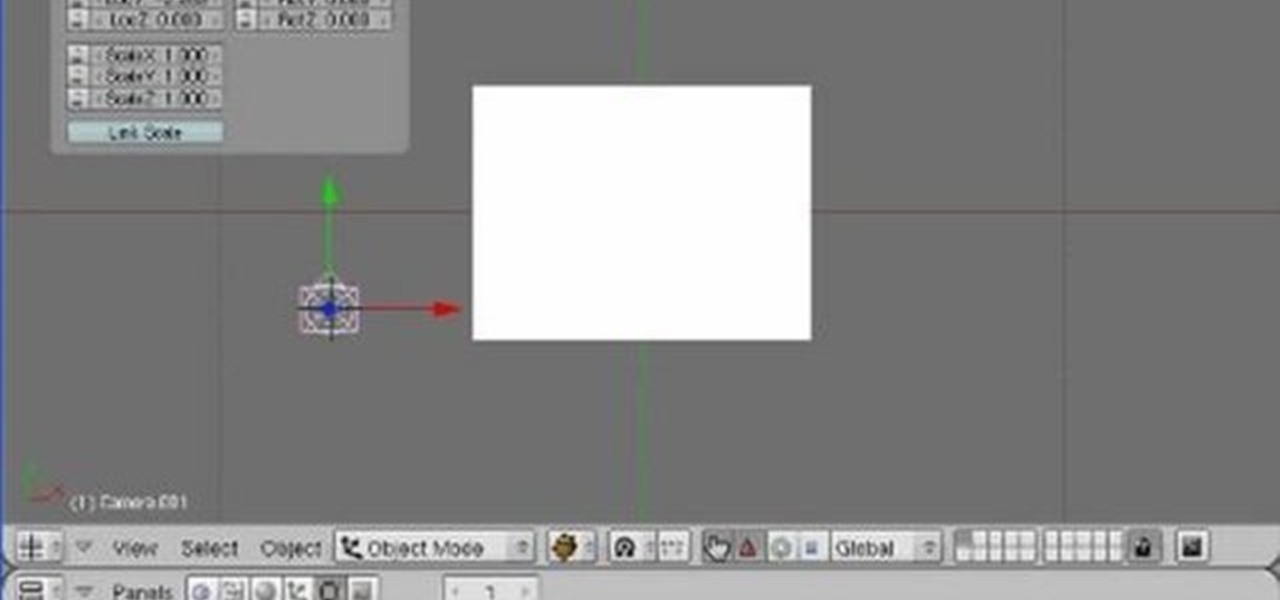
See how to do localized image distortion using Blender. The rig is a simple UV-textured plane filmed using an orthographic camera. You then subdivide the plane, add some curve guides, and use proportional editing to alter an image. The above before-after shot shows a nose job (rhinoplasty), teeth filing, raise cheekbones, enlarged eyes, and a lengthened face. Whether you're new to the Blender Foundation's popular 3D modeling program or a seasoned graphic artist just interested in better acqua...

One of the most popular applications of the cheating tool Cheat Engine 5.6 for the Facebook game Wild Ones allows you to change your pet's color to whatever you want. This video will teach you how to do so by using Cheat Engine to hex-edit your character. This video demonstrates how to make your character blue, but you can use this technique to make them any other standard color.

Blender is really cool in that you can mix your modes of editing between projections of that video in 3D space, 2D-based compositing, and 2D-based mixing in the VSE, all at the same time. An über-cool idea is to use your video to texture something - a plane, or a sphere commonly, and then film that texture using the camera (orthographic or lens-based) to get all sort of very cool distortion effects. Whether you're new to the Blender Foundation's popular 3D modeling program or a seasoned graph...

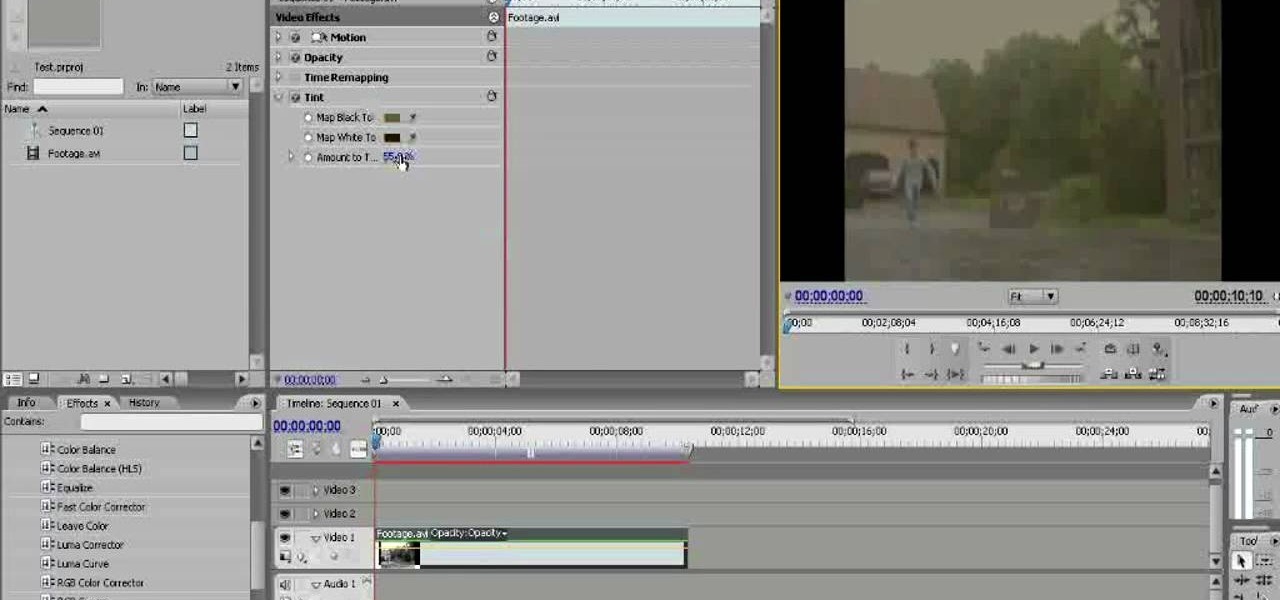
Old TV's were not famous for their high-fidelity color, but the brown-saturated look they made standard now evokes a lot of nostalgia among viewers. Because of this, it may behoove you, the filmmaker, to know how to simulate that color effect without having to actually use crappy cameras or televisions. This video will show you how to create an old TV effect while editing using Adobe Premiere Pro CS3. Embrace the nostalgia!

Creating cool background for videos is just one of the many awesome things that you can do using Adobe After Effects to do your effects editing. This three-part video will teach you how to create animated backgrounds and add additional text with flare. The results look very cool, as will your video after your apply these lessons.

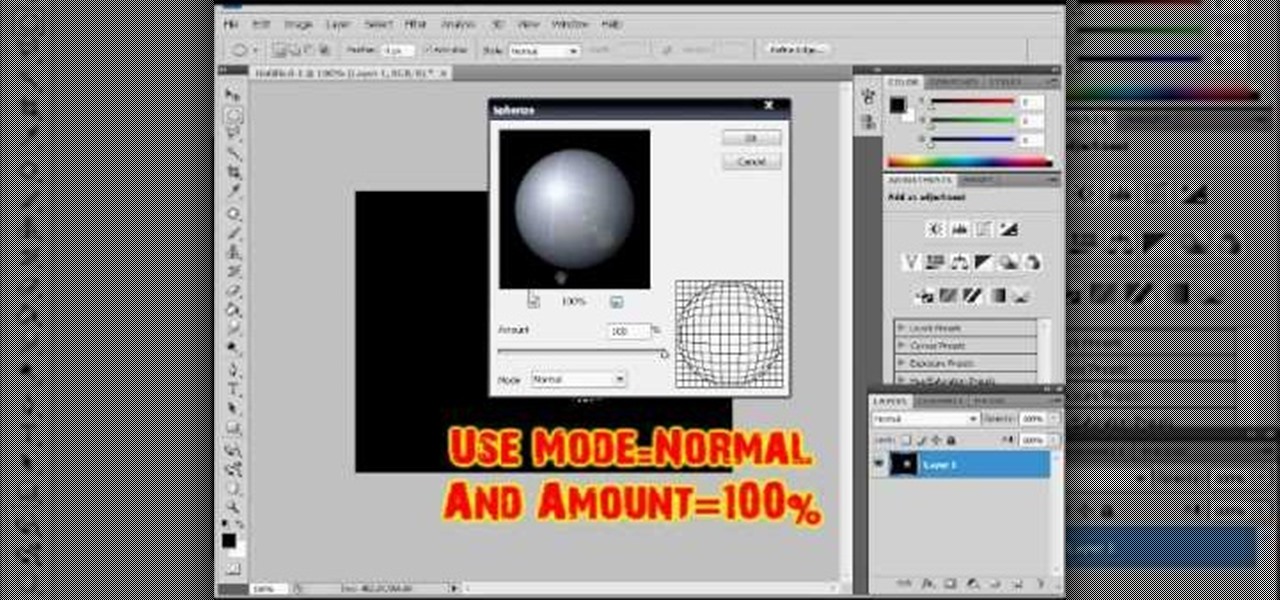
In this video tutorial, viewers learn how to make a shiny glass ball in Adobe Photo-shop. Begin by creating a new document with the default size and a transparent background. Then paint the entire background in black. Now select the marquee tool and create a circle anywhere in the background. Now go to filter, click on Render and select Len Flare. Make the lens flare 105 mm prime with 141% brightness. Then go to Filter, click on Distort and select Spherize. Use normal mode and set the amount ...

In this video tutorial, viewers learn how to make a red-cyan anaglyphic 3D photo, using Adobe Photo-shop. Begin by taking two pictures of the same image. The second picture should be 6,5 cm to the right of the first picture. Now load both images onto Photo-shop and drag the second picture over the first one. Select Layer, click on Blending Option and uncheck Channel R. Place the red on the left side and cyan on the right side. This video will benefit those viewers who photo editing and would ...

In this video tutorial, viewers learn how to copy DVD videos with DVD Shrink. This task is very fast, simple and easy to do. Begin by opening the DVD Shrink program and make sure that you have inserted the DVD into the disc drive. Now click on Open Disc and select the DVD drive from the drop-down menu. Click OK. The program will begin to analyze the DVD. When finished, click on Full Disc, select a folder destination and click OK. Now wait for the DVD to finish encrypting. This video will bene...

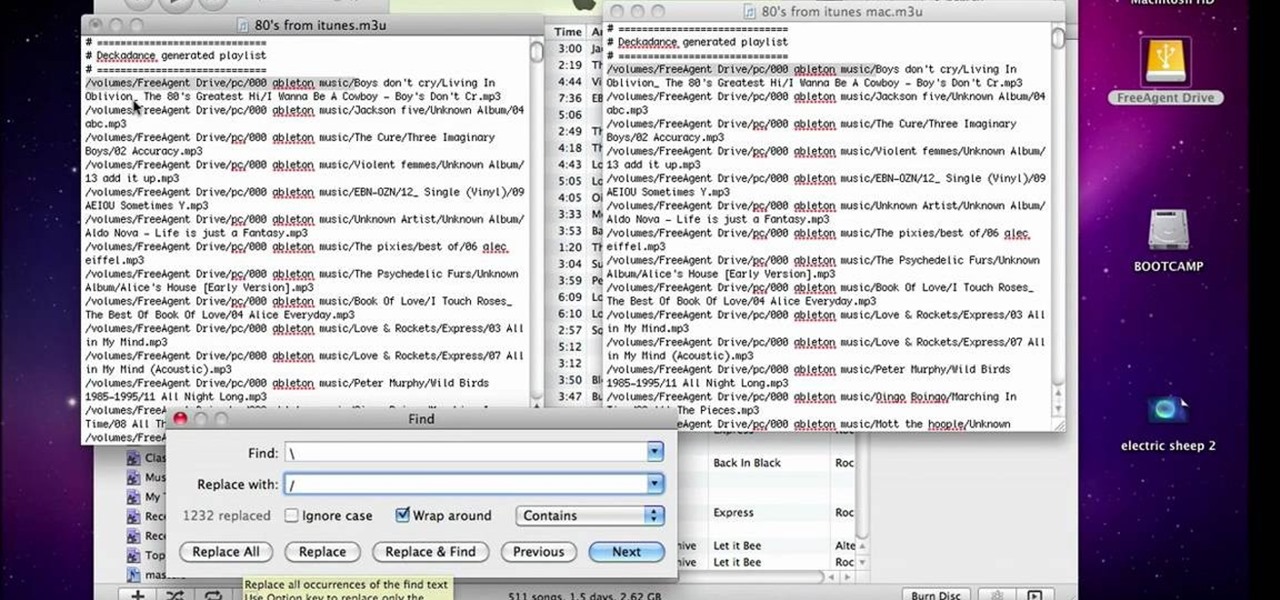
This video will show people who are switching from a PC to a Mac how to move your iTunes playlists to your new computer. From your PC, you should go to the File tab of iTunes and go to your library, choosing "Export Playlist". Next, go to your Mac and select the "Import Playlist" option on the drop down menu. On your Mac, open the file for the PC playlist and use the "Find" option from the Edit menu in order to replace the parts of the address which are different from that of the format which...

If you want to take a boring photo and pump it full of life, Photoshop CS5's two methods for making a High Dynamic Range image will do just that. The first is a streamlined and improved merging tool, and the second is a new HDR tool that turns a single image into a trendy HDR masterpiece. Whether you're new to Adobe's popular image editing software or a seasoned graphic design professional just looking to better acquaint yourself with the unique features of Photoshop CS5, you're sure to find ...

Skip out on the pain and sheer torture of reading through the Sony Vegas manual and start using the program from day one by watching this tutorial.

Interested in synchronizing audio and video in Final Cut Pro? Learn about the sync menu in Apple's Final Cut Pro 6 with this video editing tutorial. Whether you're new to Apple's Final Cut Pro non-linear video editor or just want to better acquaint yourself with the Final Cut Pro 6 workflow, you're sure to benefit from this free video tutorial. For specifics, including a step-by-step overview of how to use the sync menu, watch this Final Cut Pro lesson.

Polish those not-so-pearly whites! With Adobe Photoshop CS4, it's easy to digitally brighten your smile. See how it's done with this video lesson. Whether you're new to Adobe's popular image editing program or a seasoned graphic design professional just looking to your bag of tricks, you're sure to be well served by this video tutorial. For more information, including step-by-step instructions, and to get started digitally whitening teeth yourself, watch this free video guide.

Learn how to use the Gaussian blur tool to add mood to your digital photos while maintaining sharpness and detail. Meet the Adobe Photoshop pen tool! Whether you're new to Adobe's popular image editing software or simply looking to pick up a few new tips and tricks, you're sure to benefit from this free video tutorial, which presents a complete overview of how to use the Gaussian blur filter when touching up a photo. For more information, and to get started using the Gaussian blur tool yourse...

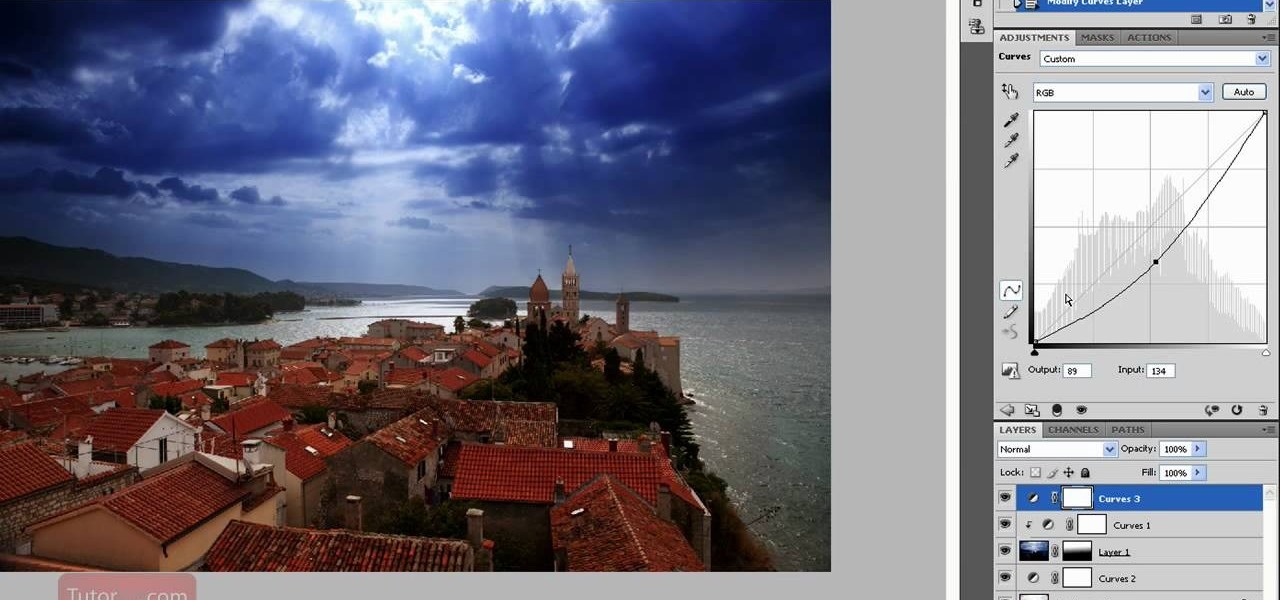
Dislike the color of the sky in a certain digital photograph? Change it with Photoshop. Whether you're new to Adobe's popular image editing software or simply looking to pick up a few new tips and tricks, you're sure to benefit from this free video tutorial, which presents an overview of how to turn unwelcoming skies a deep, saturated blue. For more information, and to get started adding dark blue skies to your own digital photos, watch this graphic designer's guide.

If you've ever had a friend who was unable to make a birthday party or graduation due to scheduling, sometimes it can depressing. Especially if you always take pictures with each other for any occasion. Well in this tutorial, you will find out how to Photoshop a person into a picture easily. It's just a cheap, easy way to show that no matter what, nothing can seperate you two. Enjoy!

Photoshop is capable of doing so much in such a single program, it's amazing. You can easily create images as well as edit and enhance some of your own photos. But another great thing is that you're able to save certain files a certain way, that you couldn't normally do without using Photoshop. So in this tutorial, find out how to make a hdr image (high dynamic range) from a single raw file. Enjoy!

Do you enjoy taking pictures of bodies of water such as lakes, rivers, adn even oceans? Do you find imperfection in these photos such as bubbles, dust, and other thigs? Do you wish that there was something out there where you could get rid of it all? Well there is! Photoshop is a piece of software that enables you to edit photos at your pleasure. You can take things out or add them to it, whatever you like. So in this tutorial you'll find out just what it takes to clean up murky water using t...

You will get the best images possible if you learn to maintain your camera and keep the lens clean. In this tutorial, learn how to clean the lens of an SLR camera like a professional. With a clean lens you will be able to take crystal clear photos and avoid any blur or unwanted blemishes. So, follow this step by step and keep your camera in top shape. You will save yourself tons of editing time if you just keep a tidy lens.

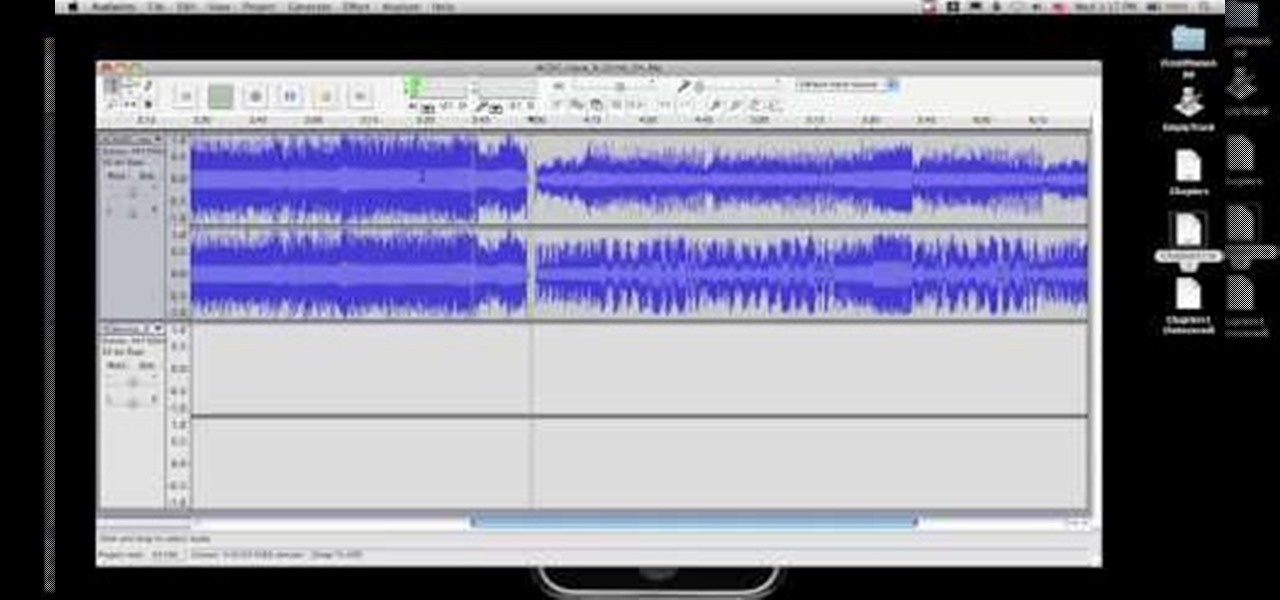
If you have more than one audio track that you need to splice together, check out this tutorial. In this video, you will see just how easy it is to combine audio tracks using Audacity. Audacity is similar to Garage Band and is a way to edit and save music and other audio files. This software is widely used for podcasts as well.

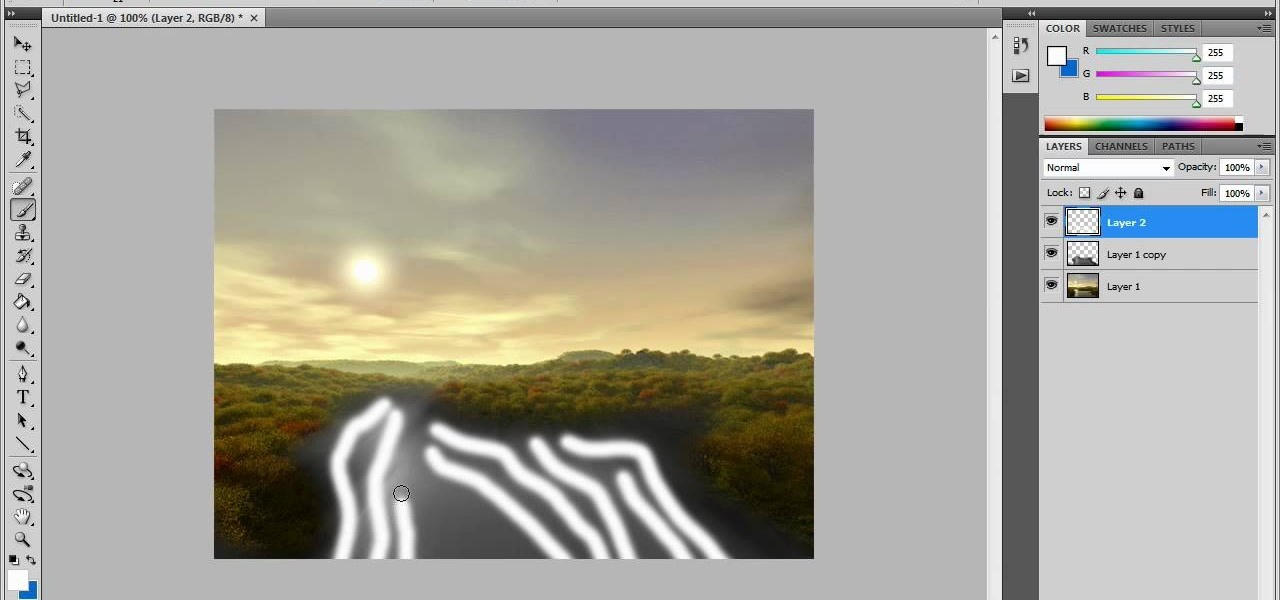
In this video tutorial, viewers learn how to create fog using Adobe Photoshop. Begin by importing the image into the program and duplicate the image. Now go to Filter, select Blur and select Radial Blur. Set the amount to 100, Blur Method to Zoom and Quality to Best. Now select the rectangular marking tool and select the sky. Then open the Hue/Saturation menu and set the Saturation to -100. Use the eraser tool to remove the gray from the edges. Now use the paint tool and paint white streaks o...


