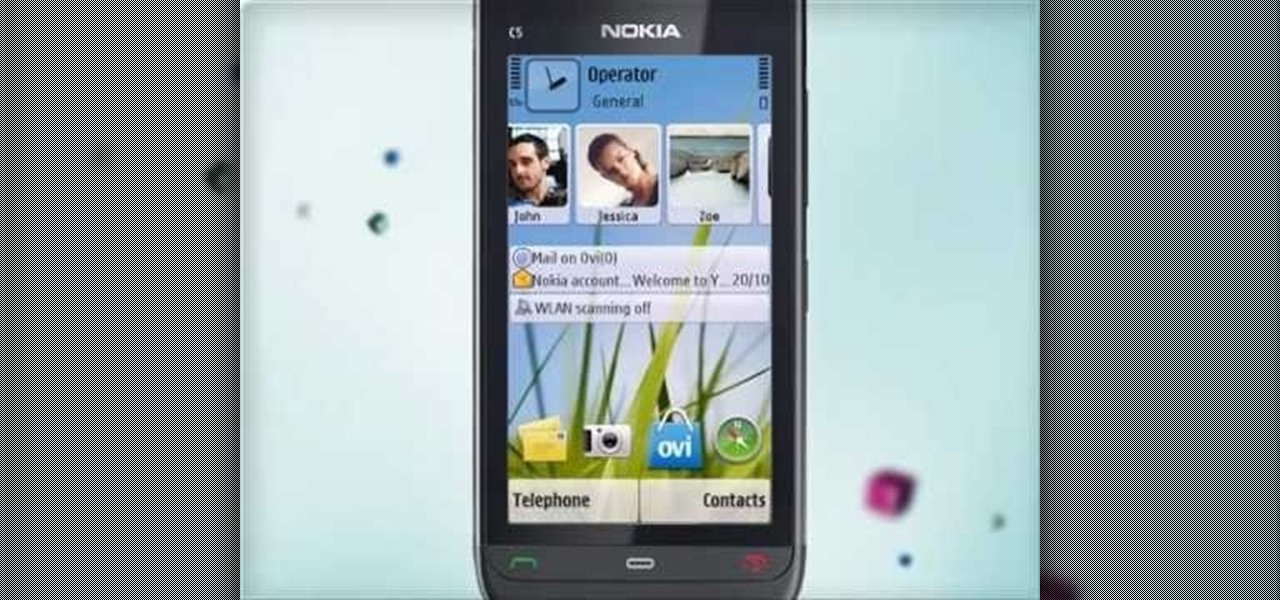
Learn how to make contacts that include a photo in the contact information displayed on the home screen. Also learn how to add a web feed to contact information and how to remove a contact from the home screen. The C5 is the first offering in Nokia's new "C" series of mobile phones. It runs on Nokia's Symbian OS and features a 2.2-inch screen and 3.2-megapixel camera. Want more? Search WonderHowTo's sizable collection of C5 video tutorials.
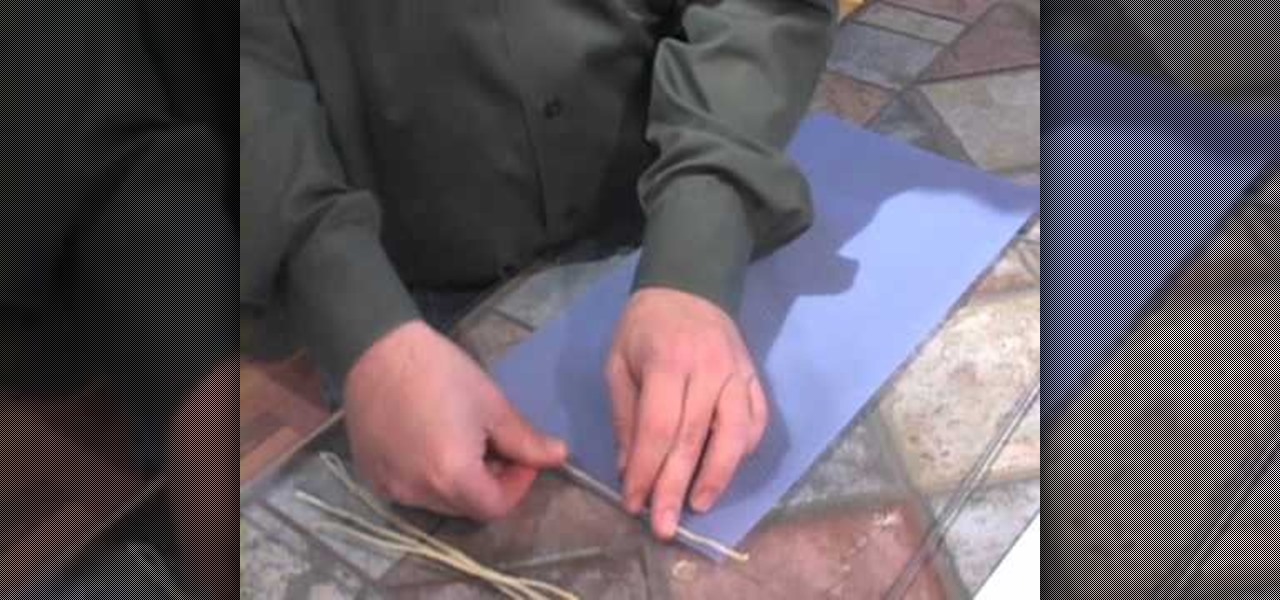
Beeswax is a clean-burning and pleasantly scented wax for candles, and beeswax candles make excellent gifts. This tutorial shows you how to make your own rolled beeswax candles at home. All you need is your primed candle wick and a few sheets of beeswax.
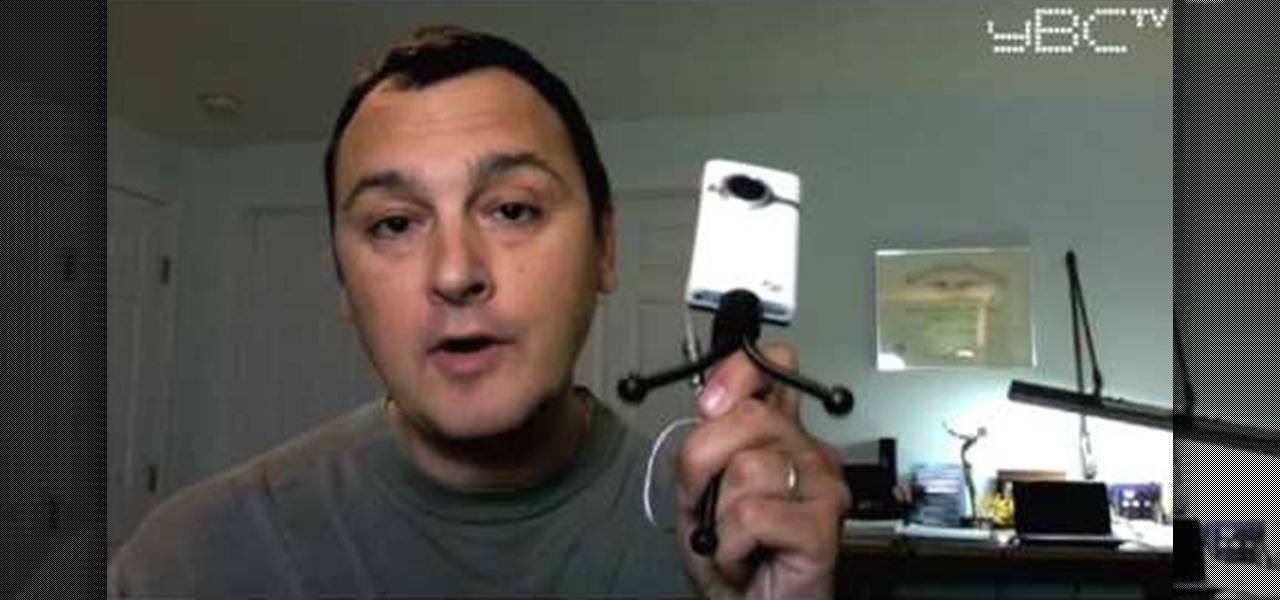
In this video, we learn how to create professional looking business promotional video. To make your video more professional, you can first make your video shorter. The shorter the better, which will get your point across more quickly. Videos should be less than a minute and thirty seconds. If you're using a web cam, don't get too far away from it. If you're using a Flip camera, use a tripod and make sure the light source is coming from in front of you. Natural lighting is also nice. Make sure...
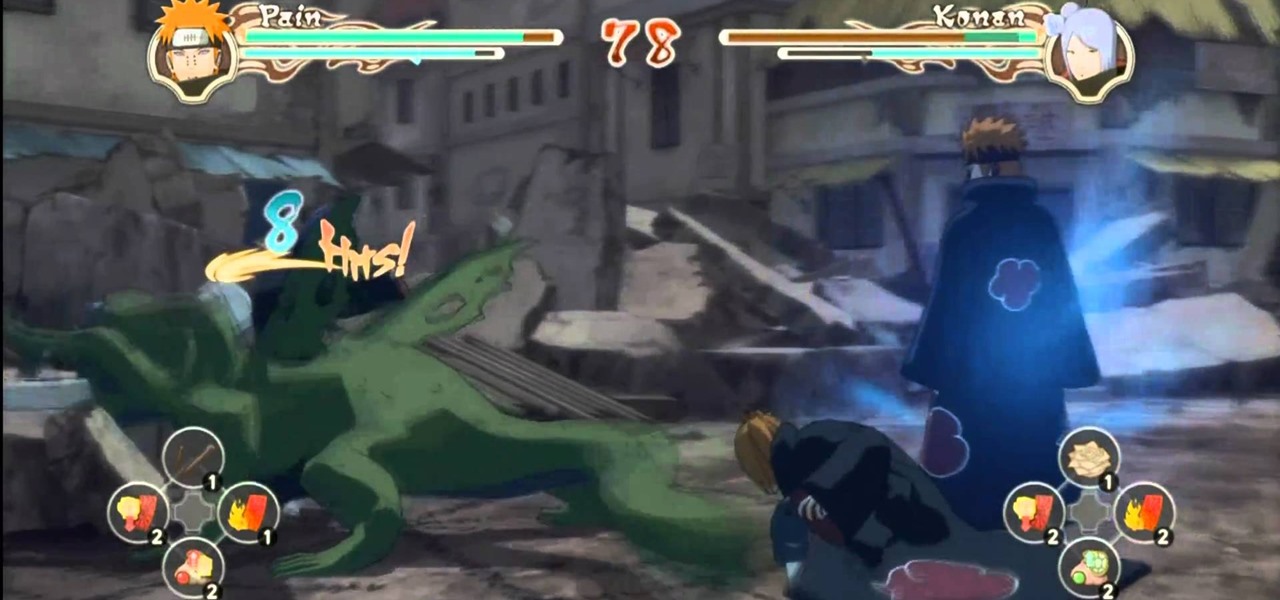
There are many, many playable characters in Naruto Shippuden: Ultimate Ninja Storm 2, some more hidden / secret than others. In this video you'll learn how to unlock two of the more difficult characters to unlock: Lars Alexandersson and Minato Yamikaze.

In this video, we learn how to take better digital pics using color and white balance. Color is one of the most powerful elements in any photograph. This can be powerful enough to be the subject of any photograph. Consider the colors and see how you can make them be the main object in the photo. Use your white balance on your flash to get the photo to show the color or the lack of color a lot better. The camera has to know what kind of light it's in to reproduce this correctly. Just change th...

In this tutorial, we learn how to draw substitutions in Toon Boom Animate. When you are inside of the program, you will see the 'drawing substitution' preview window on the side of the screen. Create the animation how you like it, using different shapes, colors, etc. You can use the high camera map to see how it looks an make a mat to put around the stage. Once you're finished, save this to your computer and then extend out the timeline. To animate him, hit F5 and then drag out the length of ...

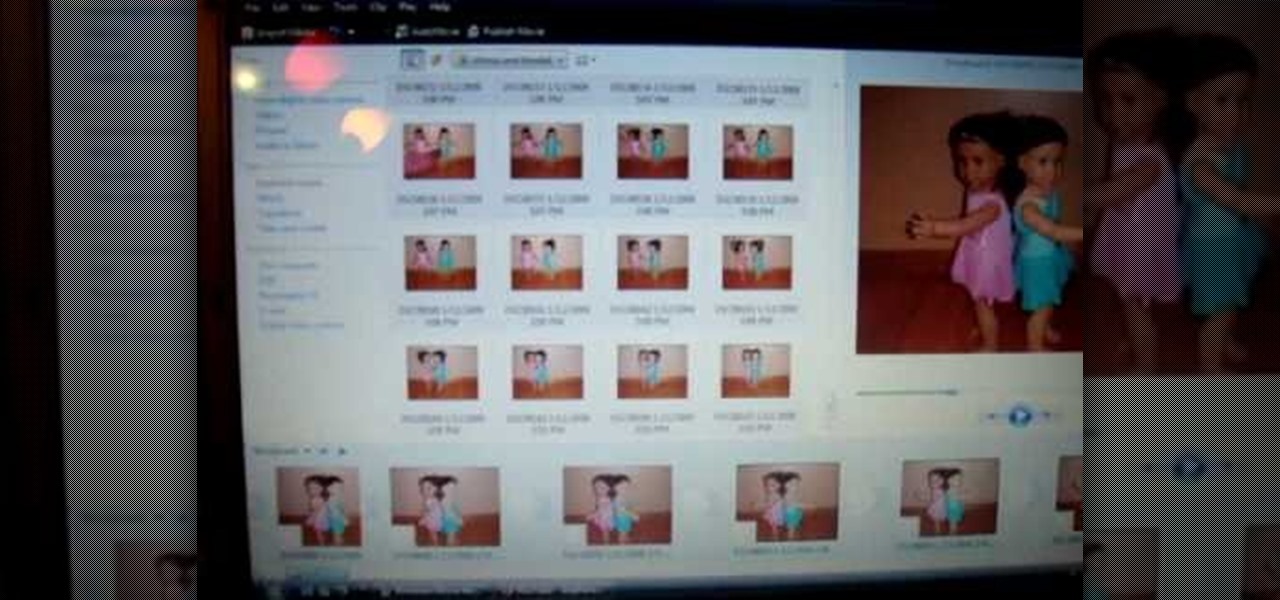
In this video, we learn how to make a stop motion video with your American Girl Dolls. First, you will need to get a tripod to place your camera on and move it around. After this, put your doll out and then take a quick picture. Then, move her arm a little bit taking pictures one by one. You will be moving her, going out of frame, then coming back into the frame. When you're finished, load the pictures onto your computer and then choose all the pictures that you want to use. From here, you wi...

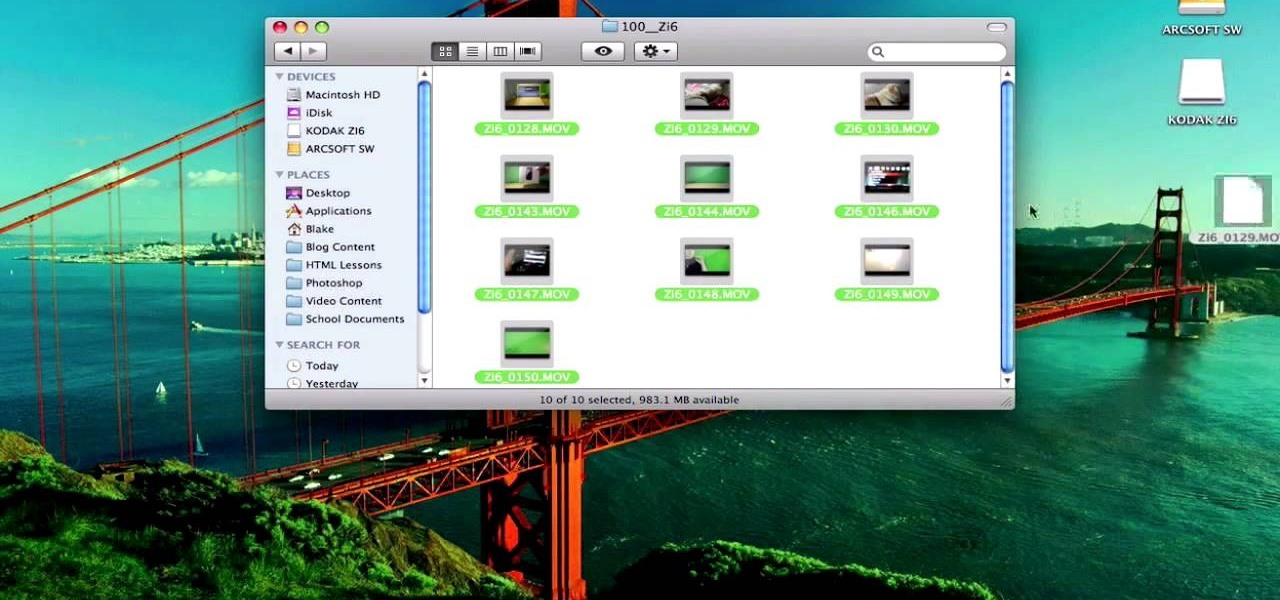
In this video, we learn how to take better pictures for eBay. If you're selling something on eBay, you want your item to look good so it will sell quickly. People are more likely to buy from you if you have good pictures which showcase the product you're selling. The first thing you can do is to clean the product thoroughly and then set it on a sheet with a green background and green all around it. From here, take different shots with your camera and then load it onto your computer. After it'...

In this tutorial, we learn how to take pictures right after sunset. To get the optimal setting for pictures after sunset, you will first want to place your camera on a tripod. You want to get a view of both the sky and the tops of buildings that have just turned their lights on. After sunset, set your flash to a setting for outside and then take a picture of the sky with the clouds showing lightly in the air. Make sure to take a wide angled shot so you can see a clear view of the surrounding ...

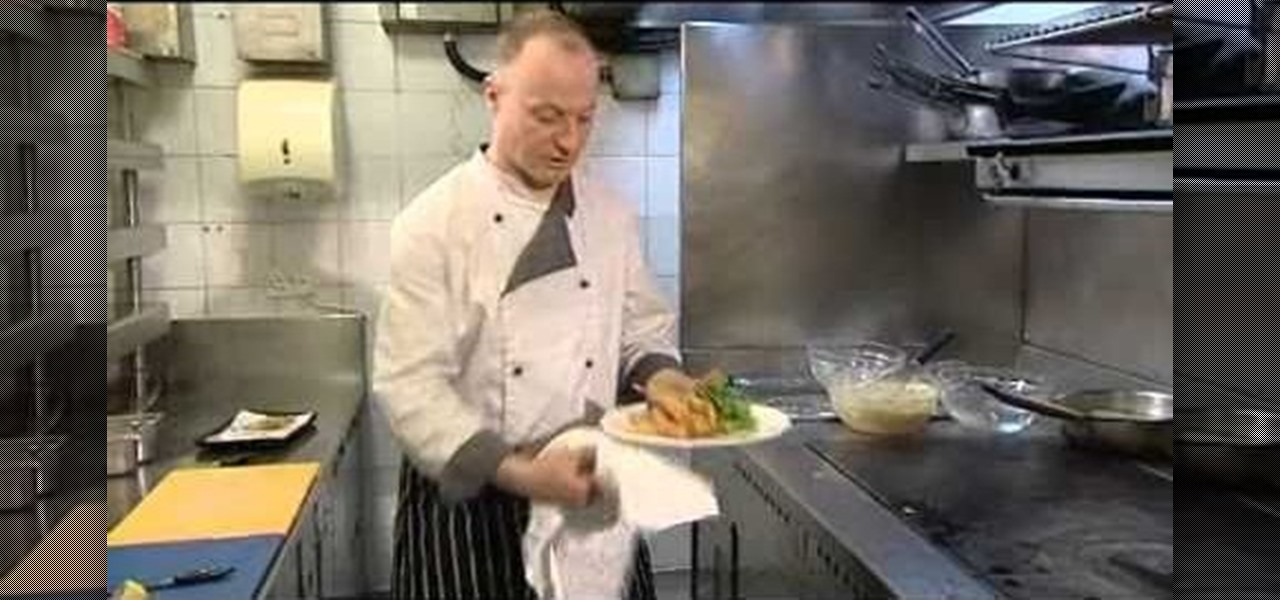
If you're not into pork, you probably won't like this particular recipe, and if you're not into raw meat, you may want to avoid this, too. Because this video recipe covers a meal that requires Parma ham, which is ham that is eaten uncooked. You could always dive in and try it out anyway, because it's well worth the experimenting! Plus, there's prawns, fresh salad and lemon juice.

In this tutorial, we learn how to knife someone in the face with film effects & tricks. This effect is mostly done in the camera and not in computer software. First, get two identical knives and a hat you don't mind ruining. Then, remove the blade from one of the knives and fix it to the hat. Once you have the knife set up, put your actors in place. When you do this part, use caution to make sure you don't throw the knife at anyone. Throw this into the air, then take the shot to the person wi...

In this video we learn how to build a $30 steadycam. Making this yourself will save you thousands of dollars and allow you to get smooth shots with your camera! First, you will need to take a round free weight that is used in the gym. After this, grab a pipe and stick it into the middle of this, making sure it's a tight fit. From here, attach another pipe to it using bolts to screw it together. Once you're finished, you can attach your cam to it and use it to take your shots whether they are ...

In this tutorial, we learn how to use AV mode & High Speed Sync (flash). First, go to AV mode and change the settings to 2.8. When you do this, your shutter speed will blink at 250. To fix this, hit the lightning bolt with the "h" and change it to the high speed setting. Now, your camera will be able to use the high speed shutter with the flash as well. Now, take some shots of your subject in the sun and you should be able to see a huge difference. The background should come in crystal clear ...

In this tutorial, we learn how to use fill flash to get blue skies. If you take a picture of someone in front of a blue sky, they will most likely have shadows on their face, making the sky look good and them look bad. If you change your flash, the sky will look pure white and the person will look good. To change this, put a flash onto the camera, then use the exposure compensation to -1. Then, adjust your flash exposure to 2 2/3 and take the picture of the subject again. Now, you will have a...

We seldom see Kim Kardashian on camera - whether it's formally at a red carpet event or just being captured by the paparazzi while shopping - without a full face of makeup and perfect ringlets in her locks.

Naughty Bear is angry again! Those silly bears have set up birds with cameras to spy on him! How RUDE! It's time to get back at them and take those birds out! In this video you will get a complete walkthrough of the level along with tips on the best way to proceed. Just remember to converse your ammo for this level! Birds are hard to hit on a roof if all you've got is a giant machete!

You can use MMS and Tethering on the iPhone 3GS. So first go to the settings and there you have to click on general and then go to network. there you can see Cellular data network, VPN, internet tethering etc.

In this video, we learn how to capture your holiday in eight digital photos. This is a challenge for most people, but it can help you remember your vacation without taking hundreds of photos. First, make sure you have different lenses to capture shorter and longer distances. Find photographs of the most beautiful places, using travel guides and locals as help on where they are. Capture a beautiful sunset or a memorable church with your camera, this will help you remember your surroundings. Al...

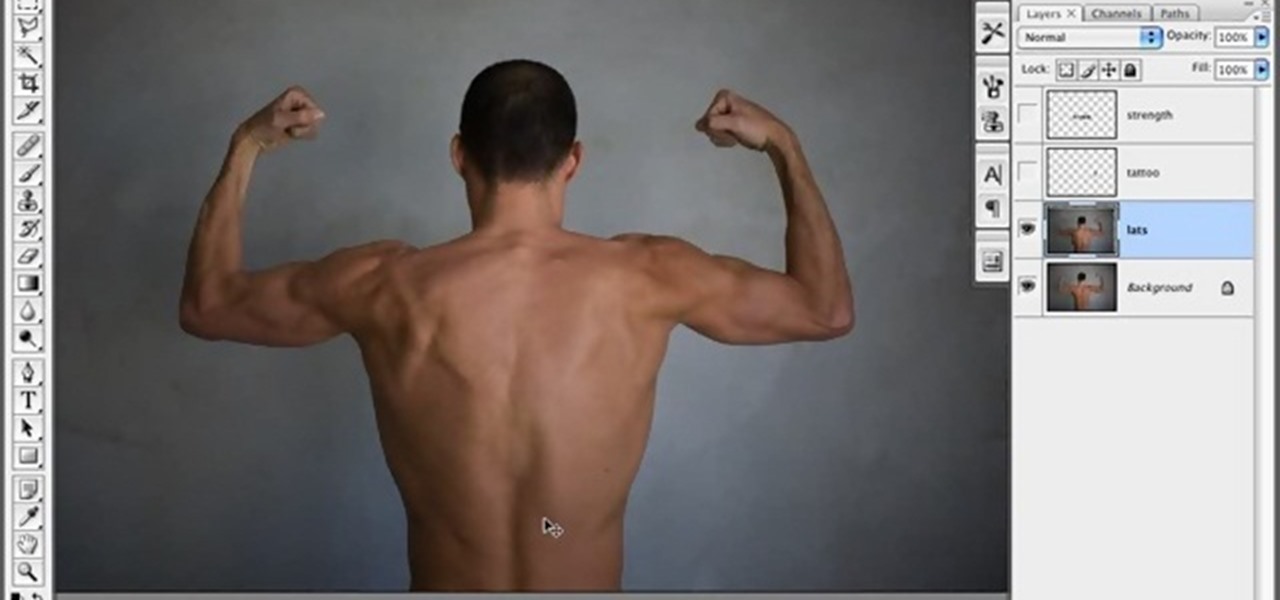
In this tutorial, we learn how to create a muscle man in Photoshop. Start off by opening up a picture with a man who has his back to the camera and is flexing his muscles. Now, use your tool to make his back look more broad and add more skin to the body. Copy the muscles that are on his back and reapply them to the sides. Use the blending tool to make this all look like the same body part. Add more definition to the abs, then apply more muscle to the upper arms as well. When you are done, the...

In this tutorial, we learn how to set up and light an inexpensive green screen. First, use the backdrop with anything that is a lime green color. You can use anything from a green colored wall to a green blanket. Put one light on both sides of the screen, then place blue color over the lights. Place the camera in front of the green screen and look at the lighting to make sure the lighting is right in the area. When you are ready, use software to change the background to different places. When...

In this video tutorial, viewers learn how to make stop motion animations. Begin by mounting the camera onto a stable surface position, such as a tripod. Then layout the figure to a desired position for the first frame. Now take a picture and slightly move the figure for the second frame. Continue moving the figure and taking frames until you have completed your animation. Then upload the frames onto your computer. Open the images in a movie editing program and make sure to set the picture dur...

In this video, we learn how to upload a video to your Facebook profile. First, log onto your Facebook account and go to your home page. You will now see an option where you can write in what your status is, then you will see small icons underneath it. Look for the icon with the video camera and click on it. Now, a browse box will pop up, so click on that to find the video you want to upload. Click on the video you want to upload, then hit "upload". After this, the video will start to load and...

If you've been fighting to get the legendary rank in Red Dead Redemption, for the Xbox 360 and PS3, then you're wait is finally over. In this next video, you'll find out how to easily get it in no time at all.

In this video tutorial, viewers learn how to shoot an engagement photo. An engagement shoot should be a lot more special and personal. To do that, you need to find meaning to the photo. Finding a scene with a deep meaning will help make the photo much more special. A challenge when shooting an engagement photo is to get the couple to be comfortable and relaxed in front of the camera. Try to get the couple to interact with one another to make the photo look honest and real. This video will ben...

See how to spin images using Blender. First, you'll see how to use the UV-Textured plane rig and physically rotate the mesh. Next, you'll see how to use Nodes, and then the Sequencer. This clip discusses Orthographic camera scaling, animation, and considerations about clipping. Whether you're new to the Blender Foundation's popular 3D modeling program or a seasoned graphic artist just interested in better acquainting yourself with the application, you're sure to be well served by this free vi...

See how to do localized image distortion using Blender. The rig is a simple UV-textured plane filmed using an orthographic camera. You then subdivide the plane, add some curve guides, and use proportional editing to alter an image. The above before-after shot shows a nose job (rhinoplasty), teeth filing, raise cheekbones, enlarged eyes, and a lengthened face. Whether you're new to the Blender Foundation's popular 3D modeling program or a seasoned graphic artist just interested in better acqua...

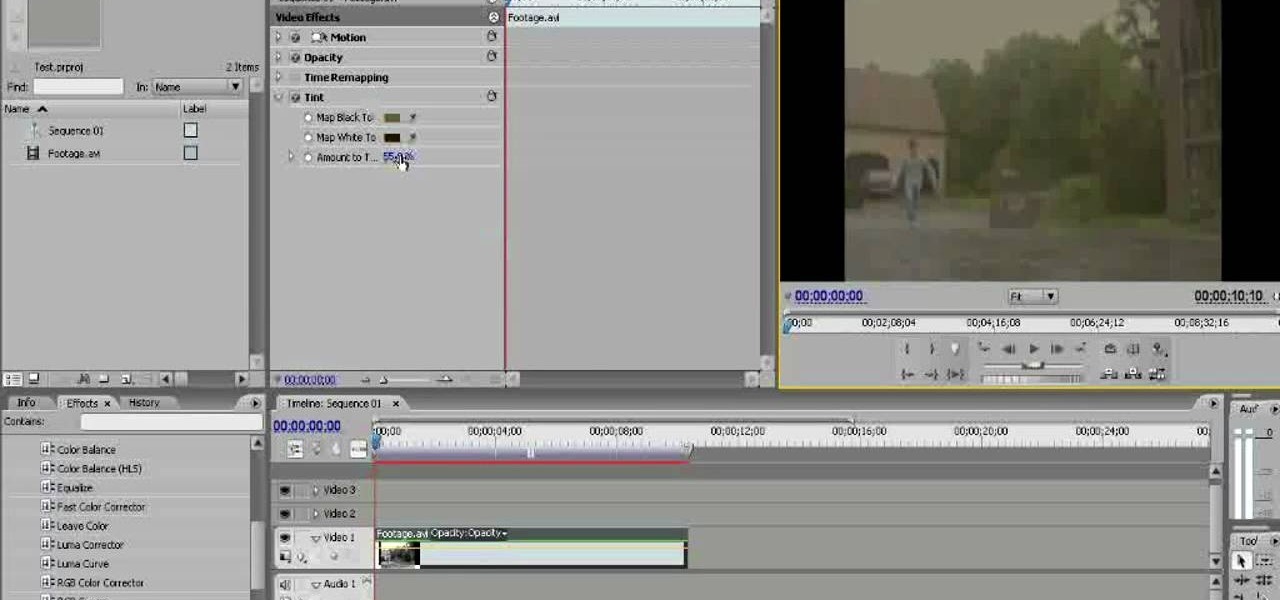
Old TV's were not famous for their high-fidelity color, but the brown-saturated look they made standard now evokes a lot of nostalgia among viewers. Because of this, it may behoove you, the filmmaker, to know how to simulate that color effect without having to actually use crappy cameras or televisions. This video will show you how to create an old TV effect while editing using Adobe Premiere Pro CS3. Embrace the nostalgia!

Have you mastered lucid dreaming, but want to take it to the next level? In this 10-part video tutorial series, you'll learn some great advanced techniques for lucid dreamers. Watch this tutorial series for excellent advice. You'll be able to explore and go beyond your ordinary dreams, from controlling them to mastering them.

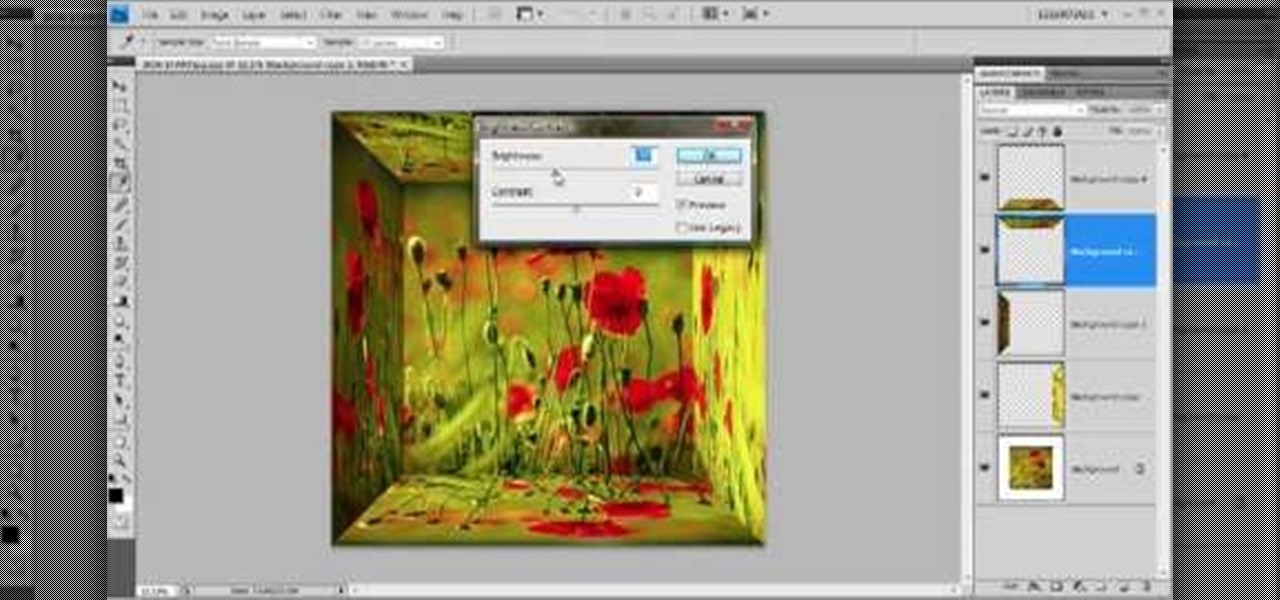
Since the introduction of Photoshop, people have embraced the many different elements that it has to offer. Not only can you take away blemishes and body fat in a matter of seconds, but you can also add other things that you could only achieve by using simple camera tricks. In this tutorial, you'll find out how to make a mirror box effect using the software. It's easy to do and really cool to look at. Enjoy!

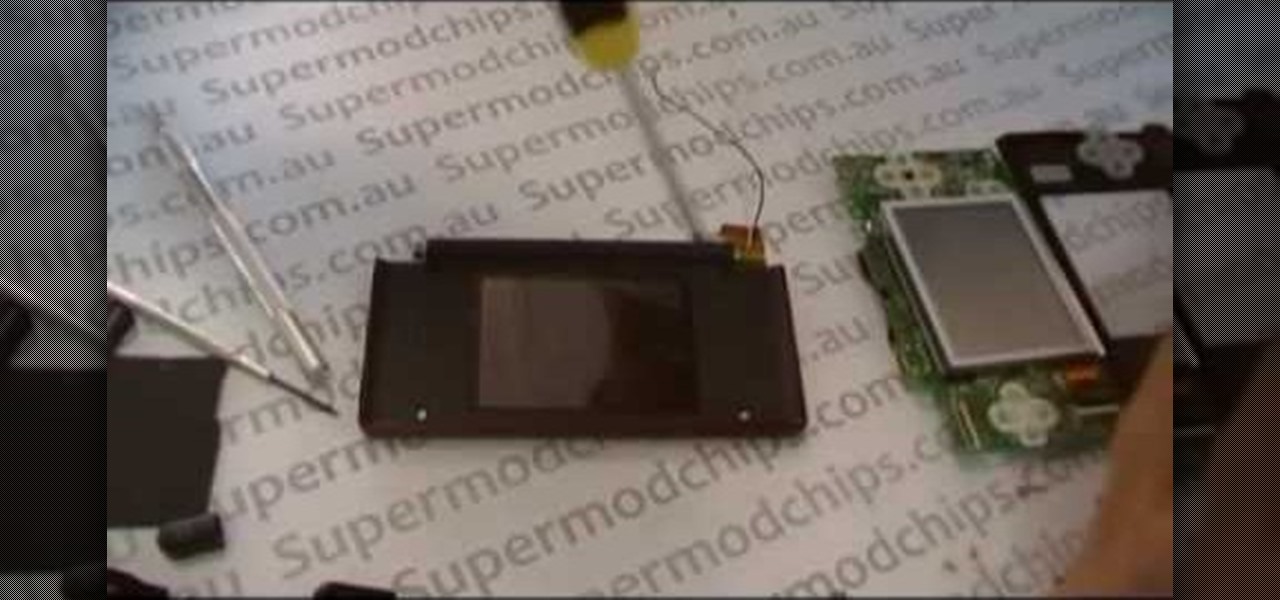
The Nintendo DS is one of the most technologically advanced handheld gaming devices out there. Not only does it have dual screens, but a touch screen as well. Some of the more recent DS' even have a built in camera. But with all great technologies, problems are sure to rise. In this tutorial find out how to repair the Nintendo DS Lite top screen. Remember, opening the device can possibly result in a voided warranty, so know what you're doing and good luck!

In Part 6 of a series of video clips, `ClickHerePhotography` gives tips on how to select the right tripod for various outdoor environments and conditions like snow, rain (hail and thunderstorms), mud, dirt (dust) and waterbodies (river,streams or oceans). It is important to use a sturdy tripod designed to withstand the elements. After using the tripod for the day, it is essential to clean it. For instance, sand or salt water will weardown the legs of the tripod if left for long periods of tim...

A common problem when shooting in low-light situations is that even if you open your lens to its lowest f-stop number, you're left with an image that's far too dark. One obvious remedy is to add more light. But what if you don't have more lights available to you? That's where the gain increase switch comes in. This free video cinematographer's guide will show you how to use digital gain settings to amplify available light to get better shots in less-than-ideal environments.

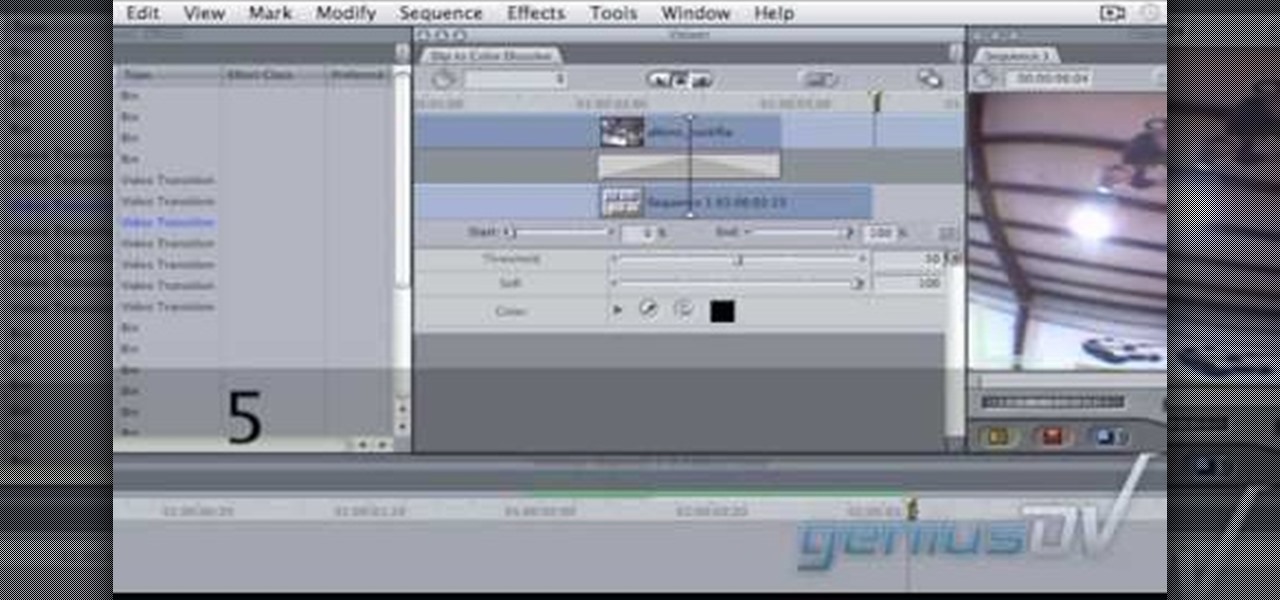
In this video tutorial, viewers learn how to create a freeze-frame effect in Adobe Final Cut Pro. Begin by placing the time line indicator to where you would like to place your freeze-frame. Press Shift and N to create the freeze-frame. The default user preference is 10 seconds. To change it, change the time and click on the insert button to splice the new freeze-frame time into the time line. Now click on the Effects tab and select the Dip to Color Dissolve under Video Transitions and Dissol...

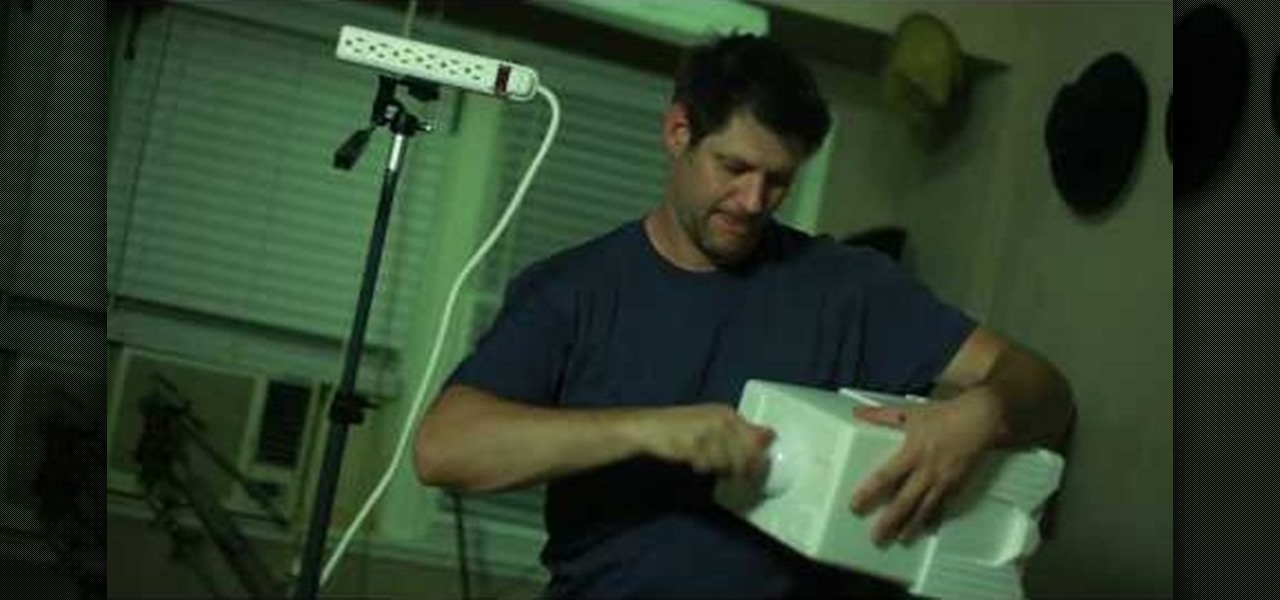
This video shows how to make a studio softbox light for under 20 dollars. It is made with items found around the home or easily acquired. The author takes us through the process in a step by step manner. It starts with a cheap camera tripod upon which a plastic electrical outlet strip is attached using either a screw or strong plastic adhesive. An electrical plug with a light socket attachment is plugged into the strip to allow the light to be attached. A small cooler with a hole cut in the b...

Photoshop is an amazing piece of software that can be used for so many reasons. Whether it be recreational or for business it has many different helpful tools. This tutorial shows you how to make a cool looking 3D film strip. Enjoy!

This video shows the method to select the right set for your web show. The video tells us what a set is and its importance in the show. A set is a place for shooting your own show. The set should be designed carefully and properly. A typical set should be bright with various colors. It should not look depressing like a blank wall. Make a set which will look fine on camera. There should be an element of fun in the set. The set should be made to grab the attention of the viewers. The design of ...

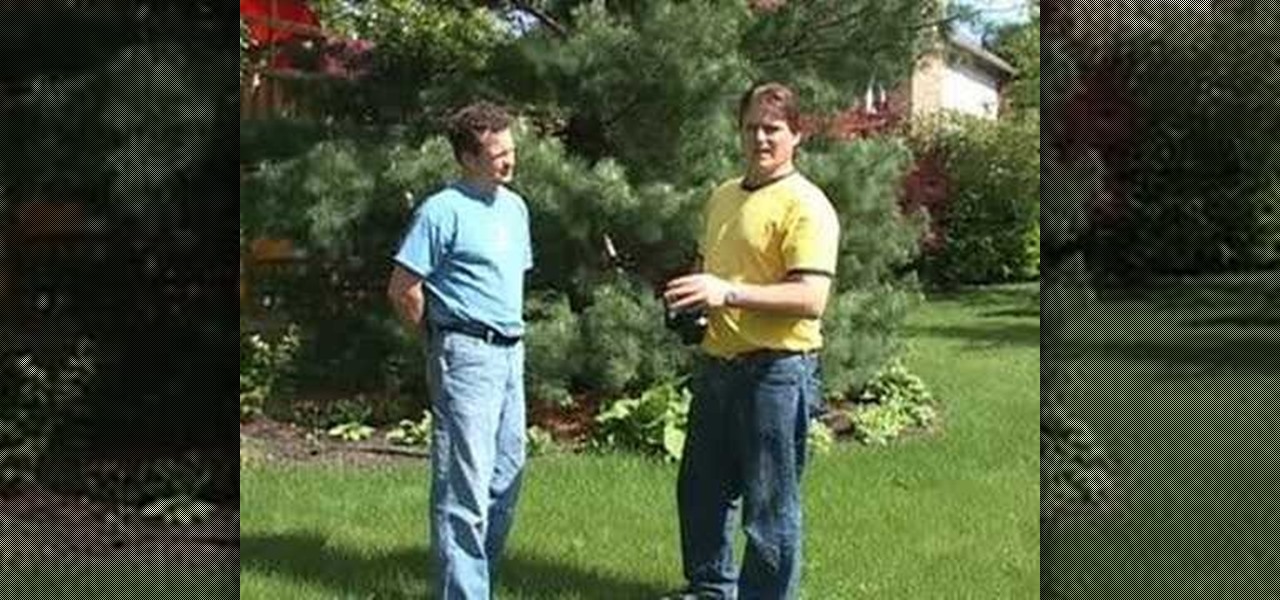
Curtis Smith, Extension Horticulturist, and Jeff Hart of the Albuquerque Parks Department discuss the types of trees that grow in Albuquerque.

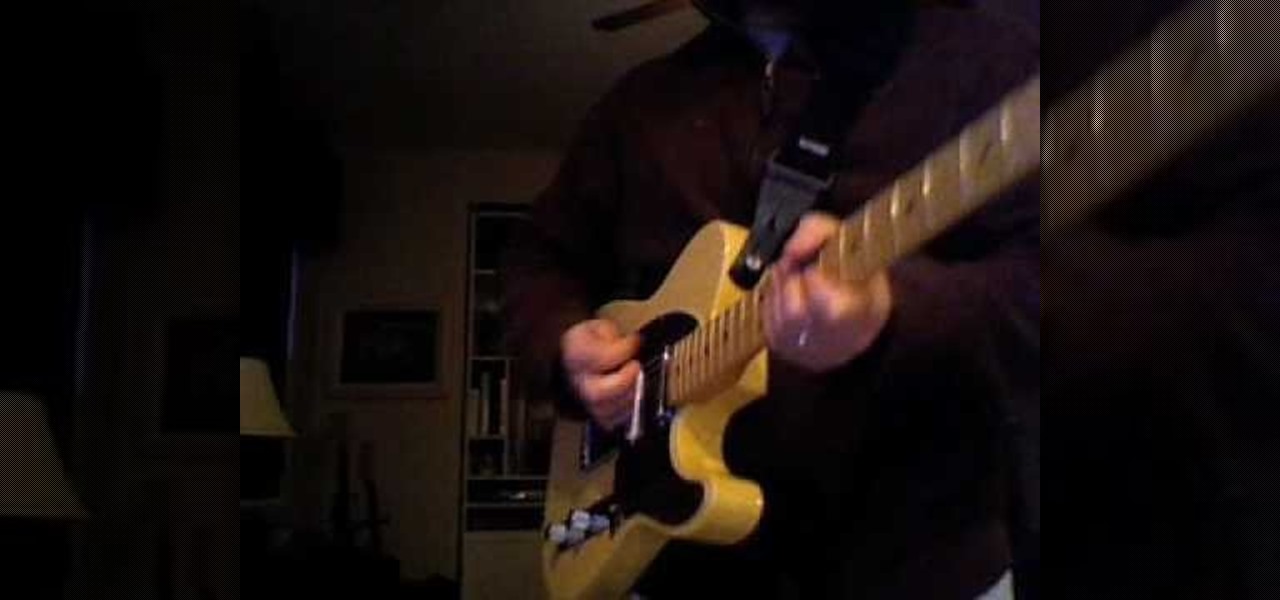
Marty Schwartz demonstrates a guitar trick--how to make your electric guitar sound like a light saber from Star Wars. First, he turns his volume knob all the way down. Then, he plucks the string, keeping the front side of the guitar facing away from the camera. Then, after he plucks the string, he turns the volume knob up as he waves the neck of the guitar in his hand like a light saber. The volume knob is turned down as the guitar swings to the side, and turned back up as it nears the listen...

In this video tutorial, viewers learn how to use a green screen in iMovie. Begin by opening iMovie and click on Preferences. In the General tab, make sure the Show Advanced Tools is checked. Now film your video with your green screen. Then import the video(s) onto your computer from your camera. In iMovie, click on File, go to Import and select Movies. Place the video(s) in your project. Drag the green screen clip onto the project clip. When the menu pops up, select Green Screen. This video w...

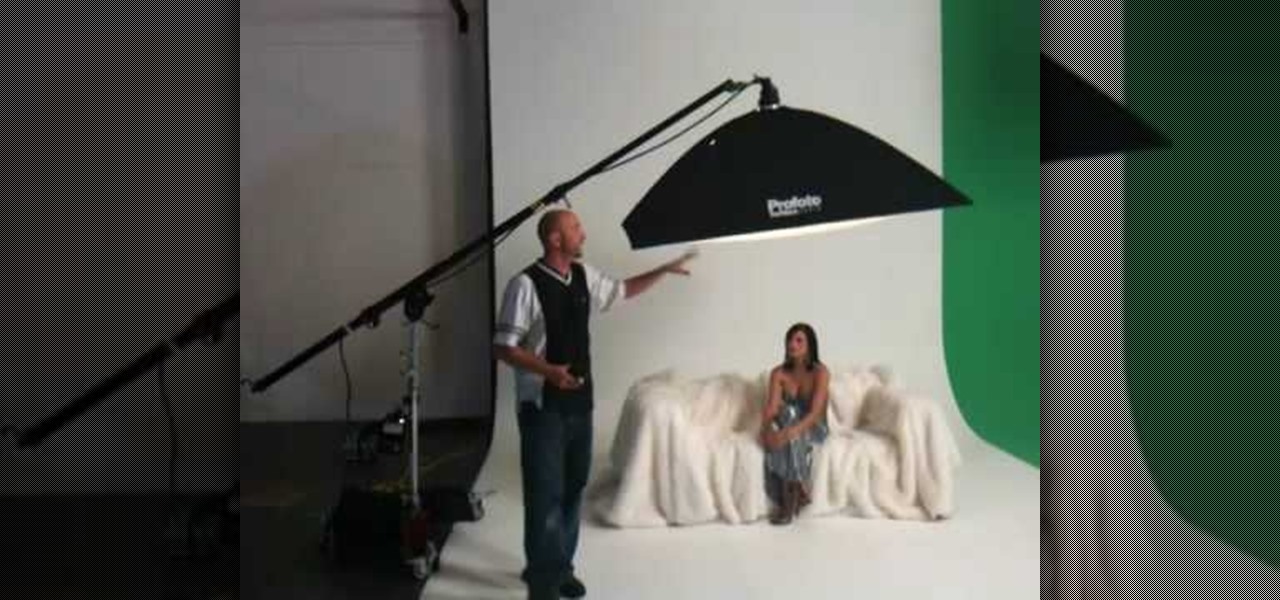
Mike Wallace is going to show you how to set up a softbox in order for a photo shoot. First, you are going to need an 1200 watt generation and with the Profoto one it comes with a pocket wizard built into it so it allows the photographer to meter and trigger with a pocket wizard TT1 on the mini camera. Also, you want to use a Manfrotto Megaboom softbox, and this is much easier then using a ladder because on the ladder you'd need to climb it whenever you wanted to reposition it. With the Megab...


